Pepper and Pine
Inspiring a Love of Learning
Educational resources for the Waldorf Inspired homeschool & classroom

“True Teaching is a shared experience. It nurtures both the student and the teacher.”
Teaching is a dynamic relationship between the teacher and student. The same care we take in crafting a beautiful curriculum should also be taken in creating a learning experience that is joyful, engaging and enriching for both. Nourish your experience with monthly newsletters.

Begin your journey here…
Welcome to Pepper and Pine—a space dedicated to enriching your homeschooling journey. Here, you’ll discover video tutorials and articles on education, homeschooling, crafts, recipes, and organization. My goal is to help make your homeschooling experience both enjoyable and deeply fulfilling.
I’ve organized this site by subject as well as grade level; however, you’ll find many lessons are well suited for multiple ages and grades.
If you are new to Waldorf, begin with the articles and videos on Waldorf education. Often I find that families like to include a bit of Waldorf, especially when the children are young.
If you prefer a unit study approach, I have an extensive collection of options in science, math, history, language arts and even form drawing. Handwork holds a special place in my heart and is the one speciality Waldorf subject I strived to include each year.
Part of our family culture is to cook our main meal at lunch. Cooking and food are a central tradition in our home. I’ve collected many of our recipes — some I learned from friends, others from families and still others are inspired from our restaurant experiences. I’ve organized our recipes into appetizers, salads, main dishes, desserts and drinks, but those main dishes include breakfast, lunch and dinner.

Explore the Latest Post
Subjects, Main Lessons & Unit Studies
What subjects work best with unit studies, and which belong in main lesson blocks? And what’s the difference between the two? This post details the difference between unit studies and main lesson blocks so you may find an approach that works best for you and your family.
In our homeschool, we’ve used both approaches, each serving a unique purpose. As you explore the subjects and main lesson blocks, you’ll notice that some align closely with Waldorf pedagogy, while others reflect my children’s personal interests. You’ll also find an extensive collection of subject-based video lesson, rather than grade level-based lessons organized under the subject tab. There you can explore science, math, history, language arts, form drawing, with handwork featured under the Waldorf section.
I design our lessons with multiple ages in mind, creating a family-style homeschool where everyone can learn together. You can explore specific subject areas or scroll down to see previews of Science, Math, and History lessons.
Subjects
-
![]()
Nature Science
Nature science is explored in the younger grades through nature stories, nature walks, gardening, and playing in nature. Honing their powers of observations and through nature curiosity, children build a foundation for the sciences.
-
![]()
Math
For the first 3 years of elementary school, student are learning the quality of numbers and the four basic mathematical operations for whole numbers up to 5 digits. Fractions are introduced in grade 4 followed by geometry in grades 5 and 6 with pre and basic algebra in middle school. It takes a full 8 years to master the four mathematical operations for whole numbers, fractions and decimals.
-
![]()
Science
Following the life sciences of the younger elementary years, students in middle school (grades 6th-8th) have main lesson blocks in mineralogy, astronomy, physics, chemistry and anatomy.
-
![]()
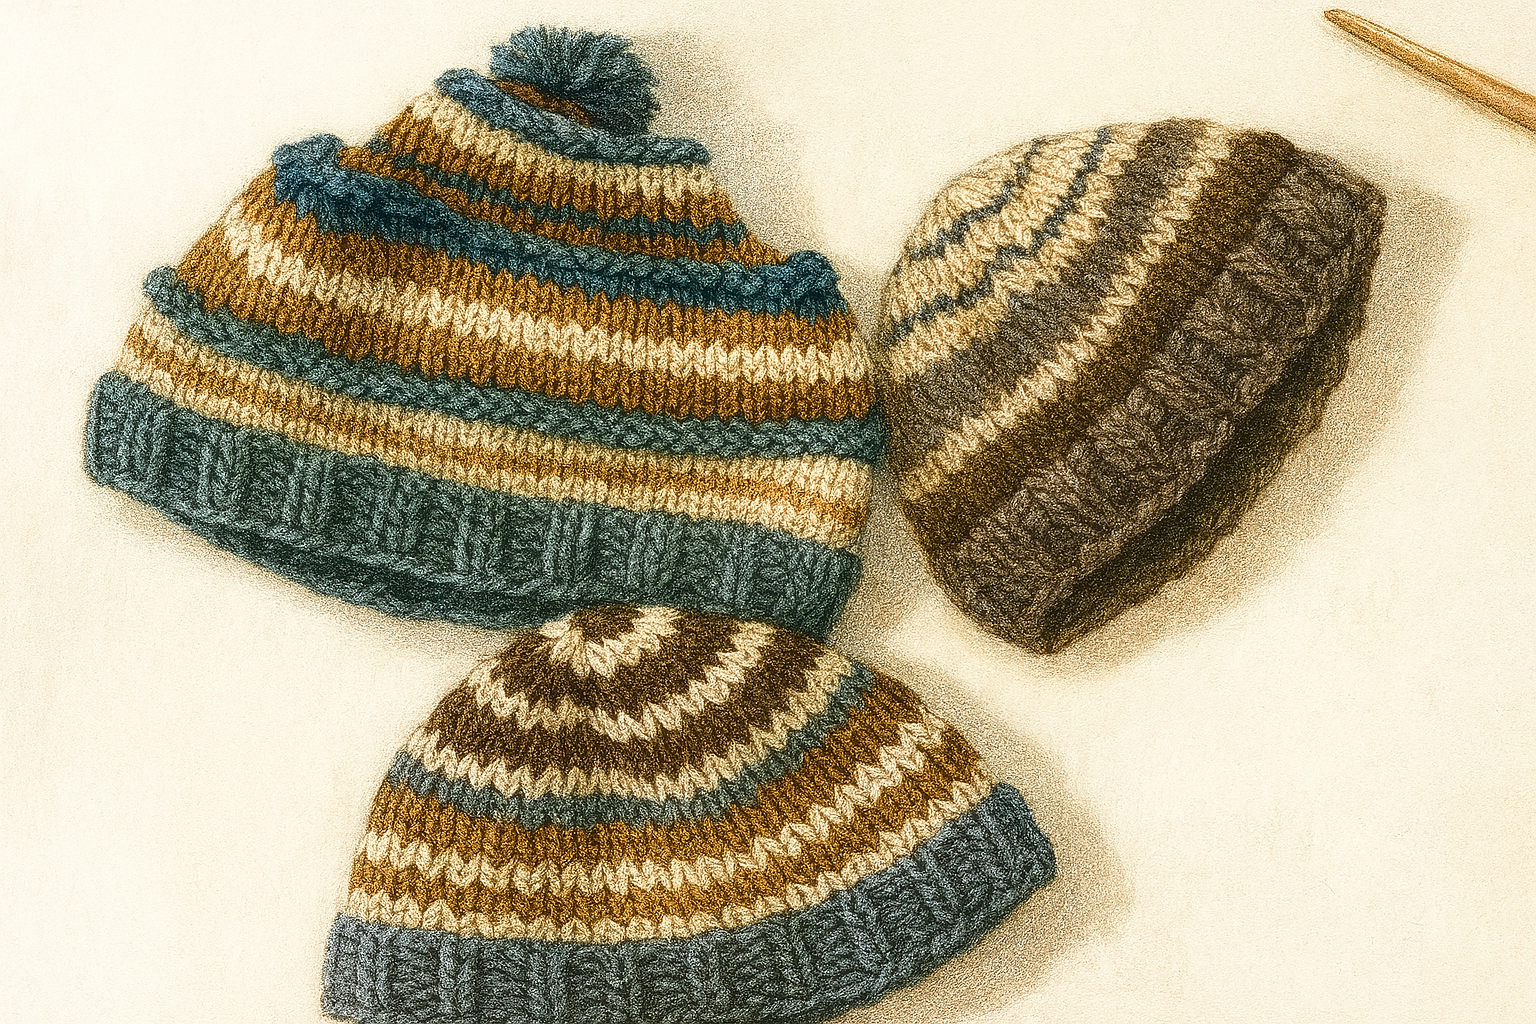
Handwork
Handwork draws the will of the student in the hands as the she learns and eventually masters the art of knitting, crocheting, stitching, embroidery and sewing. As the student preservers through each project, their confidence sense of accomplishment, and joy in handwork develops. The efforts made to visualize the project and execute the steps necessary to complete the work are skills that will serve the student for life.
-
![]()
Language & Literature
Language study in the first years of elementary school focuses on the basics of writing, spelling, grammar and reading. Once the student is proficient in the basics, poetry, creative writing and composition are included. Foreign language begins in Grade 1 with one or two foreign languages. Literature and the various types of essay writing are explored in upper elementary.
-
![]()
History
The power of storytelling is especially present in the study of history which begins with the stories of fairy tales, Legends, stories of Indigenous tribes and Prophetic stories. By 5th grade, students explore the Ancients before embarking on the history of Asia, Africa, Europe and the Americas. By the end of middle school, students have covered the Renaissance, the Age of Discovery and the Industrial Revolution.
-
![]()
Form Drawing
Form drawing is the first lesson a student engages in in Grade 1 and will continue with through the grades. While the formal lessons for form drawing may come to an end around grade 4, the practice continues well into middle school and high school.


The Grades
-
![]()
Kindergarten
Kindergarten is a warm inviting space of rhythm, routine, play, and learning by imitation. Children live in a world of wonder where there is no cognitive distinction between world of dream-like fantasy and reality. The space may be decorated with natural materials and filled with seasonal treasures. Daily routines create security and harmony, while storytelling, singing, and imaginative play nourish the child in line with their development. Simple handwork, baking, and outdoor play engage their senses and strengthen their will through the formation of habits through meaningful age-appropriate work. And remember: Child’s play is their work. Rather than formal academics, the focus in kindergarten is on cultivating reverence, supporting free-play, and creating a safe environment that feels nurturing and secure.
-
![]()
Grade 1
In Grade 1, the 7-year-old is still thriving in the world of imagination. Their full awakening from the dreamy world won’t be until the nine-year-change. The teacher/parent is the guiding authority figure, providing security and foundational teaching. Deep love permeates this relationship as children see their parents/teachers as trusted all-knowing figures. Lessons are brought artistically, through fairy tales, myths and nature stories, that carry living lessons and archetypal characters. Writing grows out of pictures and form drawing, and numbers are approached imaginatively through story and rhythm before leading to arithmetic. The child’s sense of beauty and reverence is nurtured, grounding their first steps into gentle academic work.
-
![]()
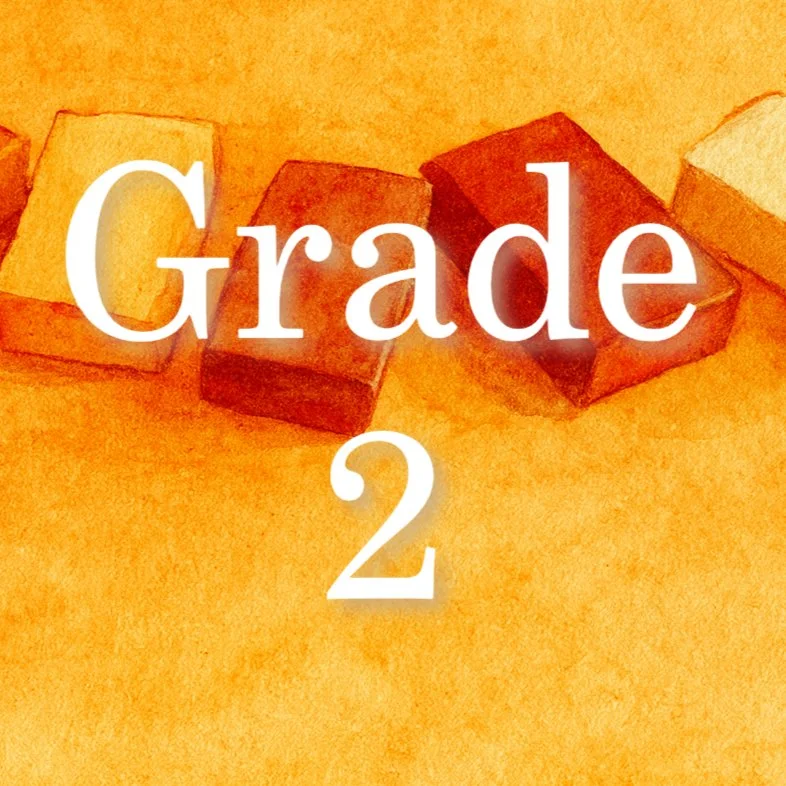
Grade 2
In grade 2, the 8-year-old finds fascination in the world of polarity. Good and evil, right and wrong, and good and bad are examined through the stories of the saints, fables and legends. Now that the basics in reading and math have been established in Grade 1, students will practice these skills on the road to mastery. Since all four math functions are introduced in Grade 1, students will deepen their understanding by learning how to borrow and carry as their move from mental math to written math. Imaginative stories and pictorial math representations remain the basis for teaching in the elementary years. Stories, poems, and artistic activities cultivate their imagination, while practical activities like gardening and handwork strengthen their growing sense of responsibility.
-
![]()
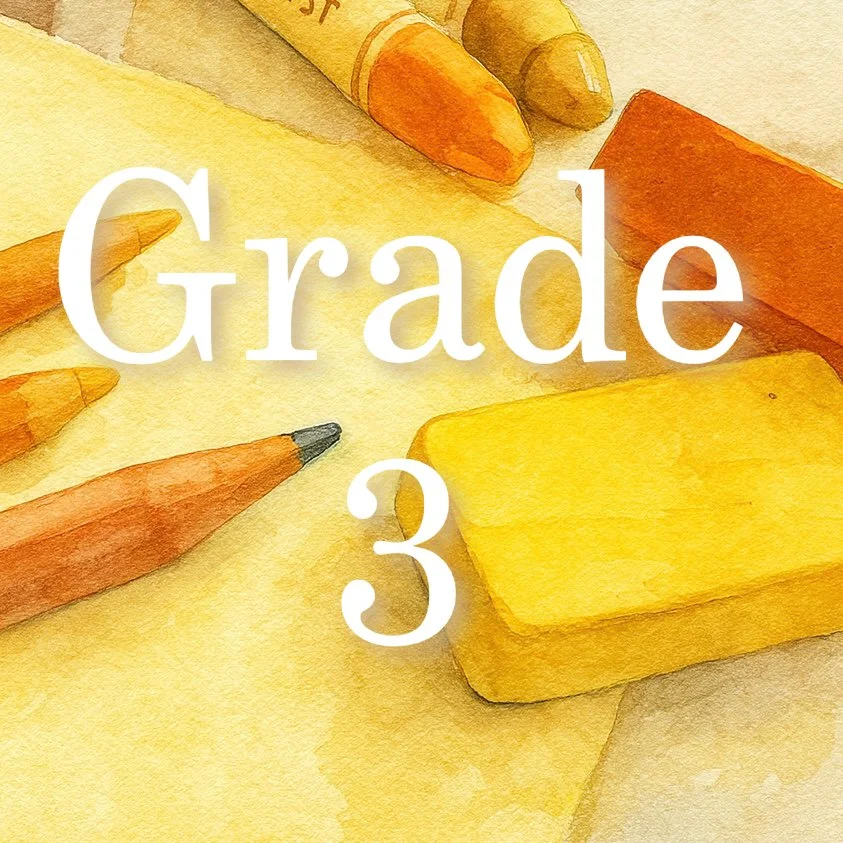
Grade 3
In Grade 3, the 9-year-old enters a developmental stage called the “nine-year change,” when they feel a new sense of separation and individuality. The nine-year change is a monumental developmental change, and the Waldorf curriculum meets this with practical, grounding studies: farming and gardening, building and shelters, and clothing and weaving projects. Old Testament stories echo the child’s inner experience of wandering in search of a place to call home and a need to feel secure in this new world, not the fantasy existence they’ve experienced so far. They are now learning to find their place on earth and discover who they are. They are meeting themselves for the first time with a burgeoning sense of introspection that will be further developed in adolescence. In math, measurement and practical applications are introduced, while grammar and composition develop in language for the first time.
-
![]()
Grade 4
In Grade 4, the 10-year-old has come to terms with their new reality, and now contends with the ‘fall from paradise’ feeling as they grapple with the challenges of being human on earth. They are now fully awake from the world of fantasy, and the curriculum meets the child and these sentiments with the study of Norse mythology which the children may relate to Thor’s descent to earth and the loss of his hammer and his power. These stories appeal to children in their phase of questioning authority. They may try out new bold behaviors and seek out opportunities to test their independence. The fourth grader is confident, curious and sometimes challenging of authority.
-
![]()
Grade 5
The Grade 5 student of 11 is in their “golden year.” Children are harmonious in body and mind, and their studies reflect this balance. In between the turmoil of the 9-year-change and that of adolescence lies this fleeting perfection that the Waldorf pedagogy recognizes and meets the students’ desire for harmony and perfection with Geometry, Botany and Ancient Greece. Grade 5 is a transition year. Prior to this, children received history in the form of stories, legends and fables. In Grade 6, they will receive history from recorded sources, yet in Grade 5, they receive a mix of the two in the form on the Ancient civilizations: India, Persia, Mesopotamia, Egypt, and Greece, which highlight myths, creation stories and a deep respect and understanding of the people and the beliefs of the past. In Botany, they are connected to the world plants, while geometry introduces them to exactness, form, perfection and beauty. In math, decimals and more advanced operations are studied.
-
![]()
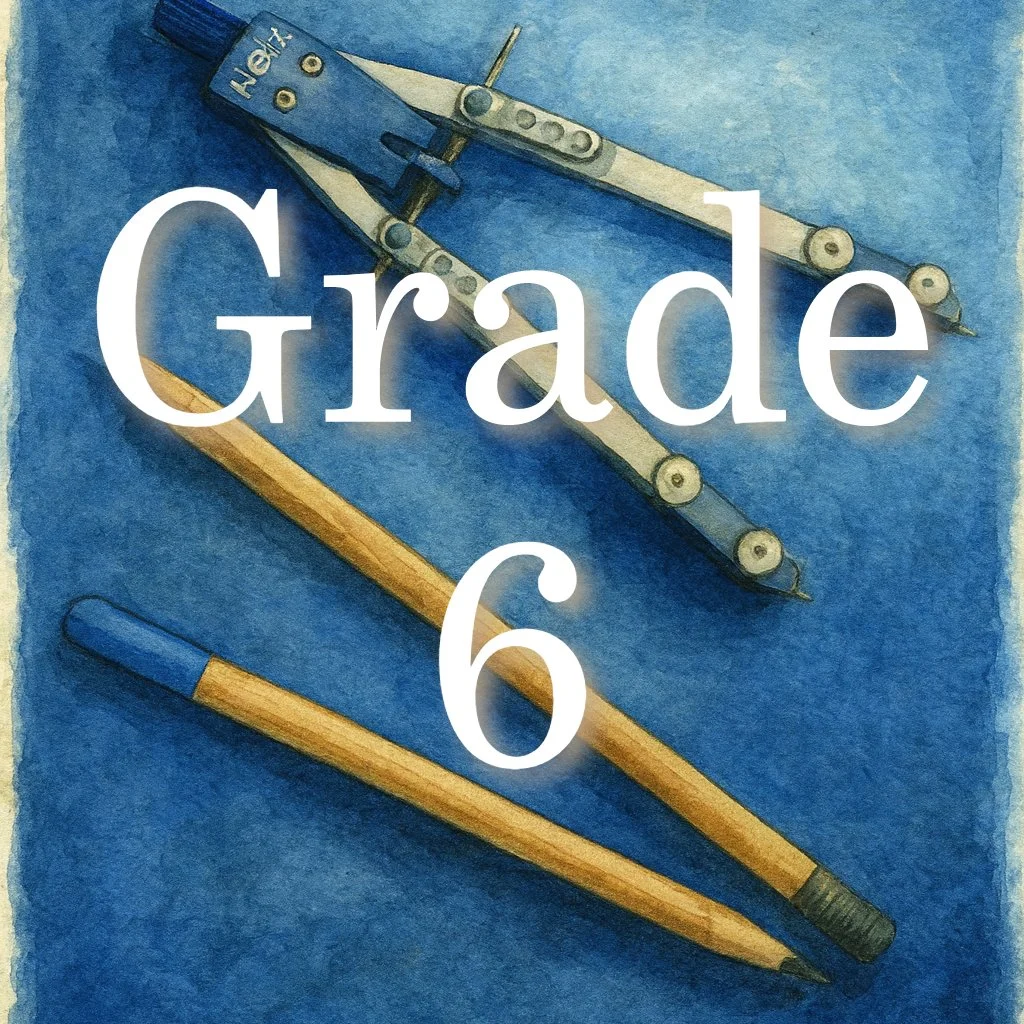
Grade 6
The Grade 6 student of 12 years old is approaching puberty, a time when students become more critical and analytical. They are ready for the study of the Roman Empire, where laws, structure, and order mirror their inner need for clarity, fairness and justice. The Dark Ages follow the study of Rome and open the possibility of exploring the Golden Age elsewhere in the world bringing balance to the history block on Medieval Europe. Whereas Grade 5 was history heavy, Grade 6 is science heavy. The years of nature study, gardening and living stories forms the bedrock for the studies that follow. Mineralogy introduces the study of the earth’s solid structure through the archetypal rocks of granite, the fire rock, and limestone, the water rock. Physics is introduced in Grade 6 with the basic concepts of acoustics, optics and heat.
-
![]()
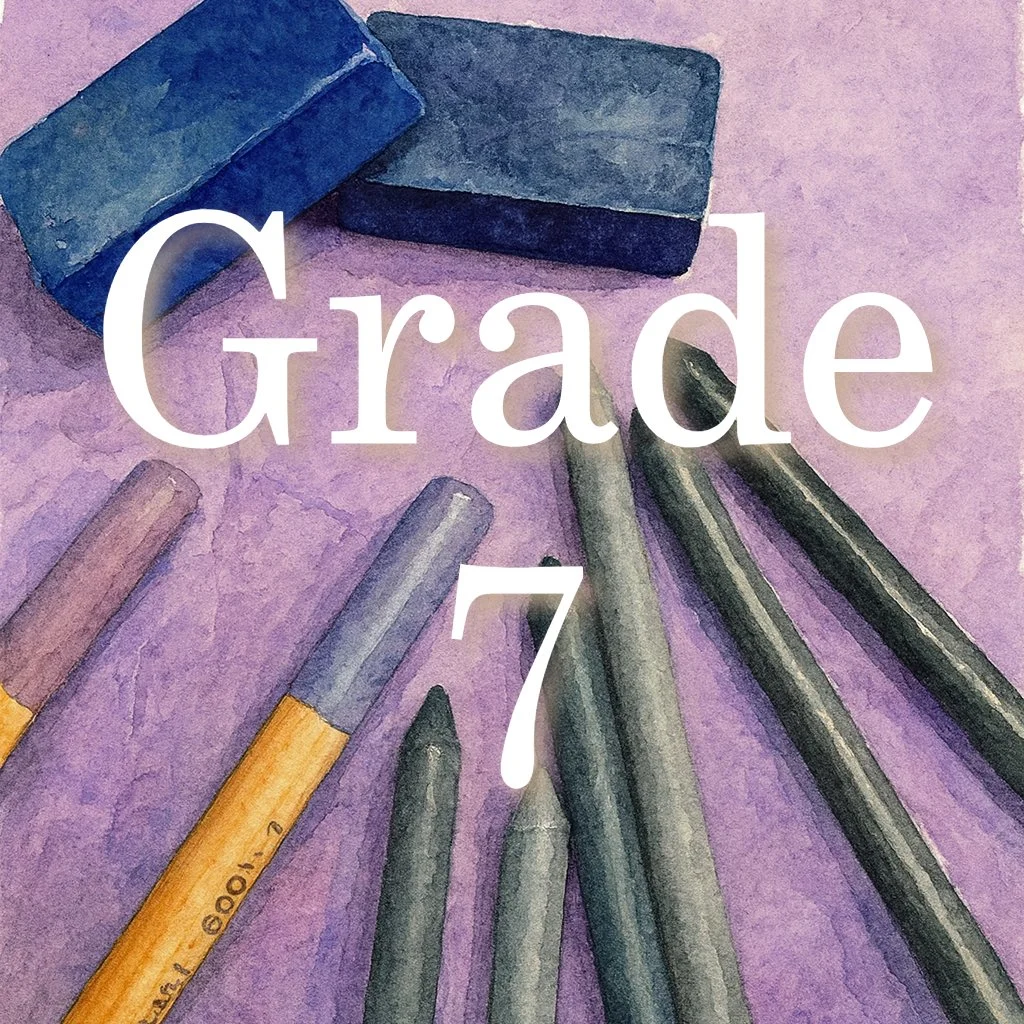
Grade 7
In Grade 7, the 13-year-old will study the Age of Discovery at a time when they are experiencing their own personal exploration as they stretch their boundaries. They are eager for adventure and the central historical themes parallel the student’s own quest for discovery, exploration and independence. Renaissance biographies and portraits inspire creativity and strive for students’ to explore their own potential. Physics continues with the study of electricity and magnetism. Chemistry is introduced with studies of combustion and transformations, acids and bases and salt formation. Physiology and nutrition gives them insight into their growing bodies. Perspective drawing and black and white charcoal drawing meets the student’s new capacity for reflection and perspective, while essay writing: persuasive, compare/contrast and expository writing expand and build on their previous skills.
-
![]()
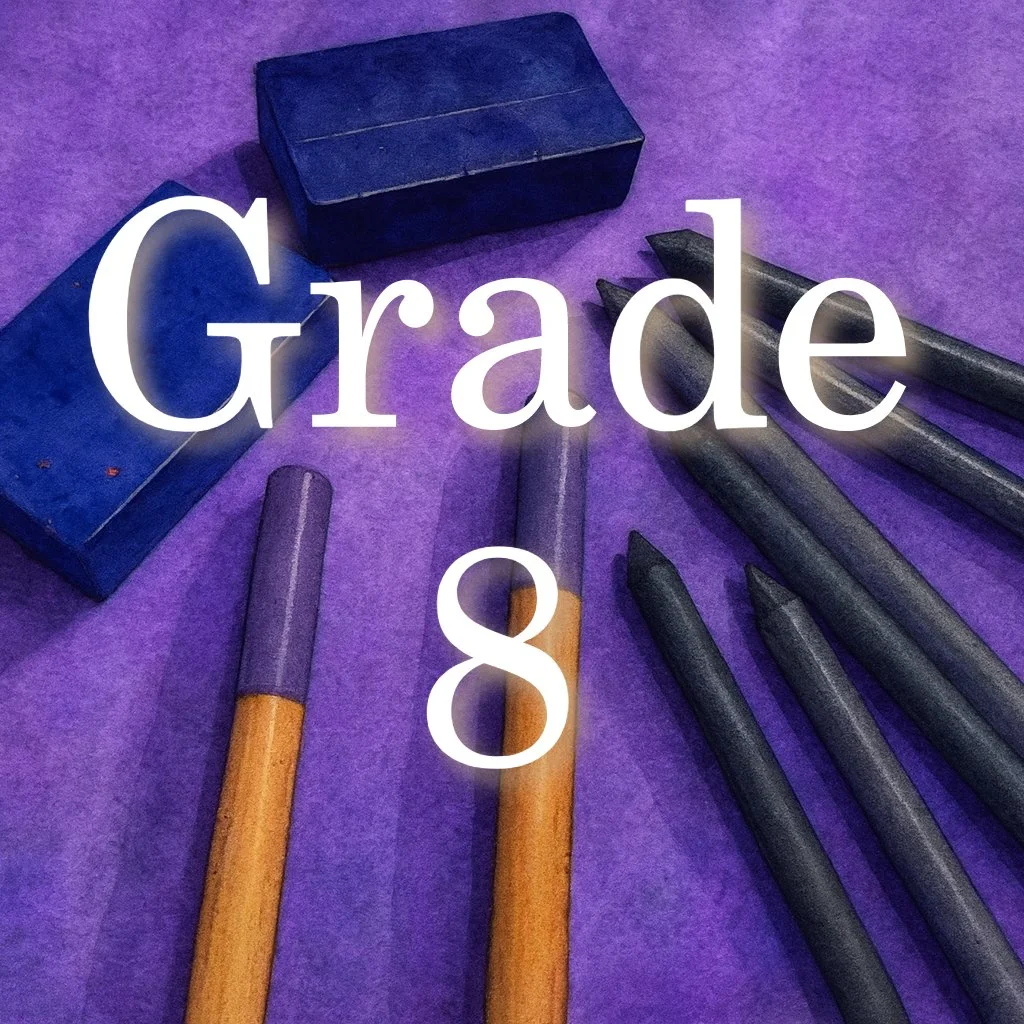
Grade 8
By Grade 8, the students of 14 are on the cusp of adolescence and ready to meet the world with greater maturity. The curriculum brings revolutions: political, industrial, and cultural, introducing the forces that shaped the modern world. The new world, the French and American revolutions and the tremendous advancements in industry are the focus in history. And, for the first time, the sewing machine is introduced in Handwork to mirror the lessons in history. If the western movement was not explored in Grade 4 or 5, it may be covered in Grade 8. Physics expands with mechanics, chemistry with more systematic experiments, and anatomy with deeper study of the human body. In math, algebra is introduced while geometry continue to advance. Grade 8 math is a solidifying of all the mathematical concepts so students may enter high school prepared for higher math. Literature may include Shakespeare or modern works that reflect human struggles and triumphs.
-
![]()
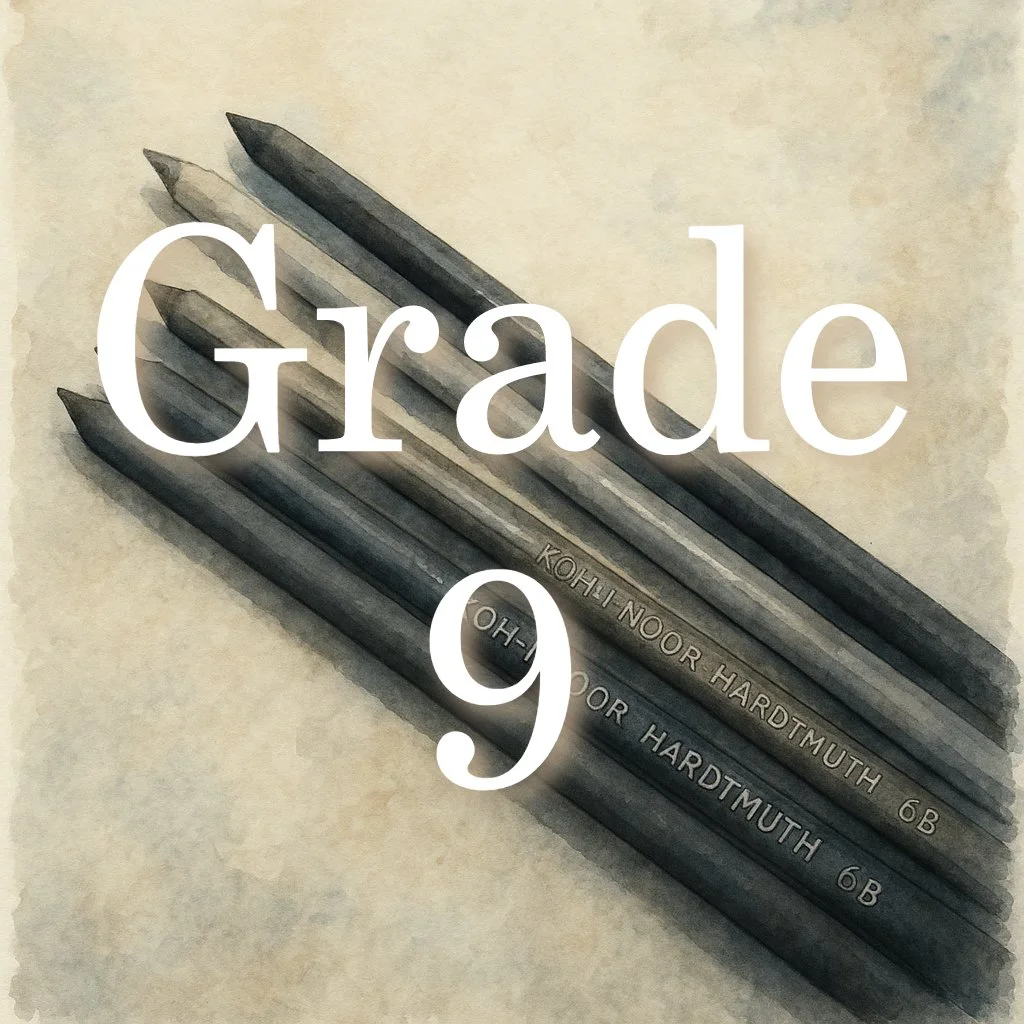
Grade 9
Grade 9 marks a significant shift in Waldorf education. Ninth graders enter high school full of questions, doubts, and a search for identity. They live strongly in polarities: light and dark, comedy and tragedy, idealism and rebellion. This mirrors the sentiments they experienced in Grade 2, only now that they are post puberty. The curriculum meets the student by exploring contrasts: comedy and tragedy in literature, revolutions in history, and the study of dramatic changes in science as seen in organic chemistry and geology. In math, geometry is deepened with more rigorous proofs, while algebraic equations, quadratic equations and binomial theorems are studied in algebra. Formal labs (not demonstrations) are offered in physics and chemistry and for the first time in the curriculum, the focus shifts from an imaginative and pictorial presentation to one that is analytical, abstract and critical. T
-
![]()
Grade 10
By tenth grade, students are more grounded, with a growing capacity for clear thinking and a desire for balance. This is mirrored in the curriculum with a focus on order, form, and structure. In literature, epic poetry and historical novels like Beowulf and Gilgamesh bring breadth and continuity as it reflects the lessons from Grade 4 and 5. History in grade 10 mirrors the history blocks of Grade 5 with a deeper, more thoughtful exploration of the ancient civilizations of Persia, India, and Egypt and up to the decline of the Grecian states under the rule of Alexander the Great. In science, chemistry introduces the properties of metals, the study of mechanics is deepened in physics and embryology is studied in physiology. Earth science focuses on oceanography and ecology. Algebra II introduces logarithms and plane trigonometry . Geometry continues with Euclidean coordinate geometry and projective geometry.
-
![]()
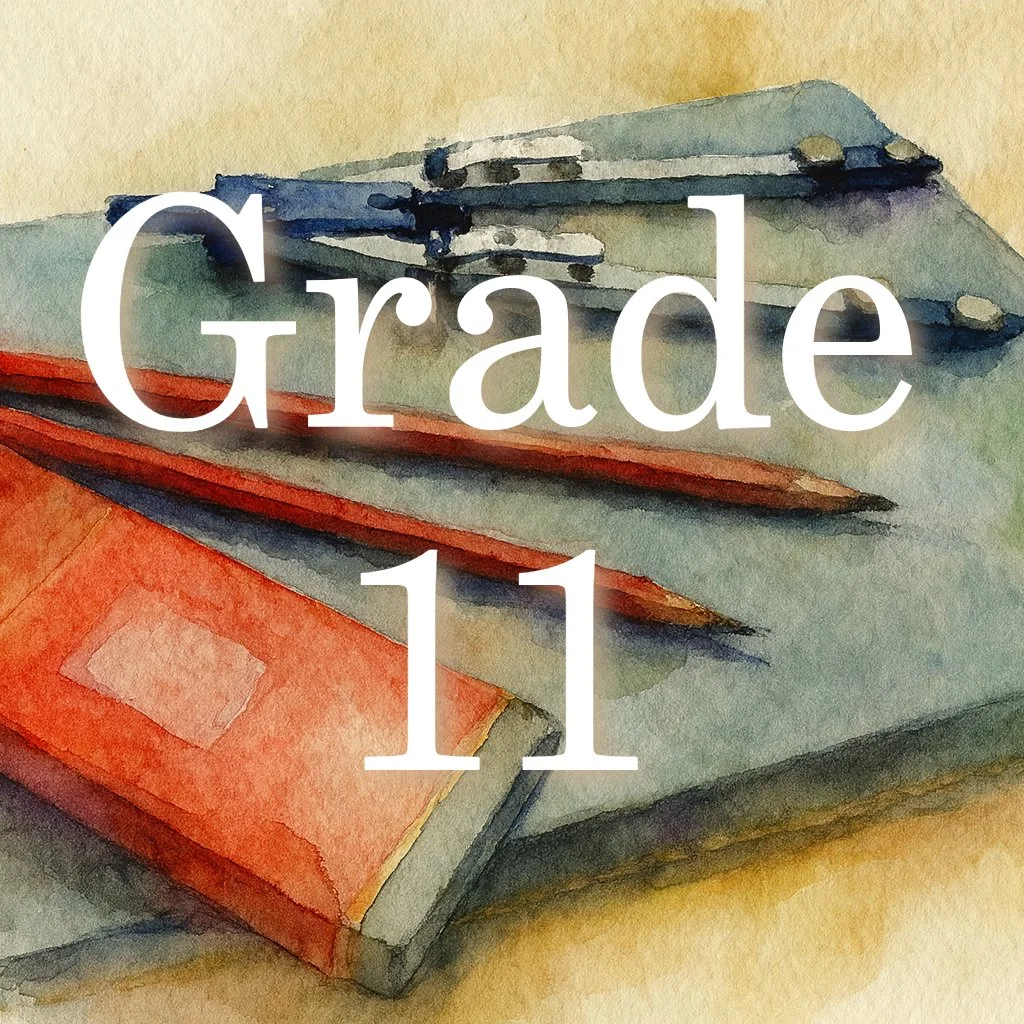
Grade 11
Eleventh grade is often described as a year of profound questioning. Students face the “dark night of the soul” as they wrestle with existential questions in their search for truth. In literature, great works such as Faust, Hamlet, and Parzival meet the student and reflect their search for meaning. History in Grade 11 mirrors that of Grade 6 with the Age of Enlightenment and the Industrial revolution as Roman, medieval and renaissance history are explored through the post puberty lense of the 17 year old. Physics introduces electricity and magnetism, while chemistry takes up atomic theory. In math, trigonometry and pre-calculus meet the student’s growing capacity for abstract thought.
-
![]()
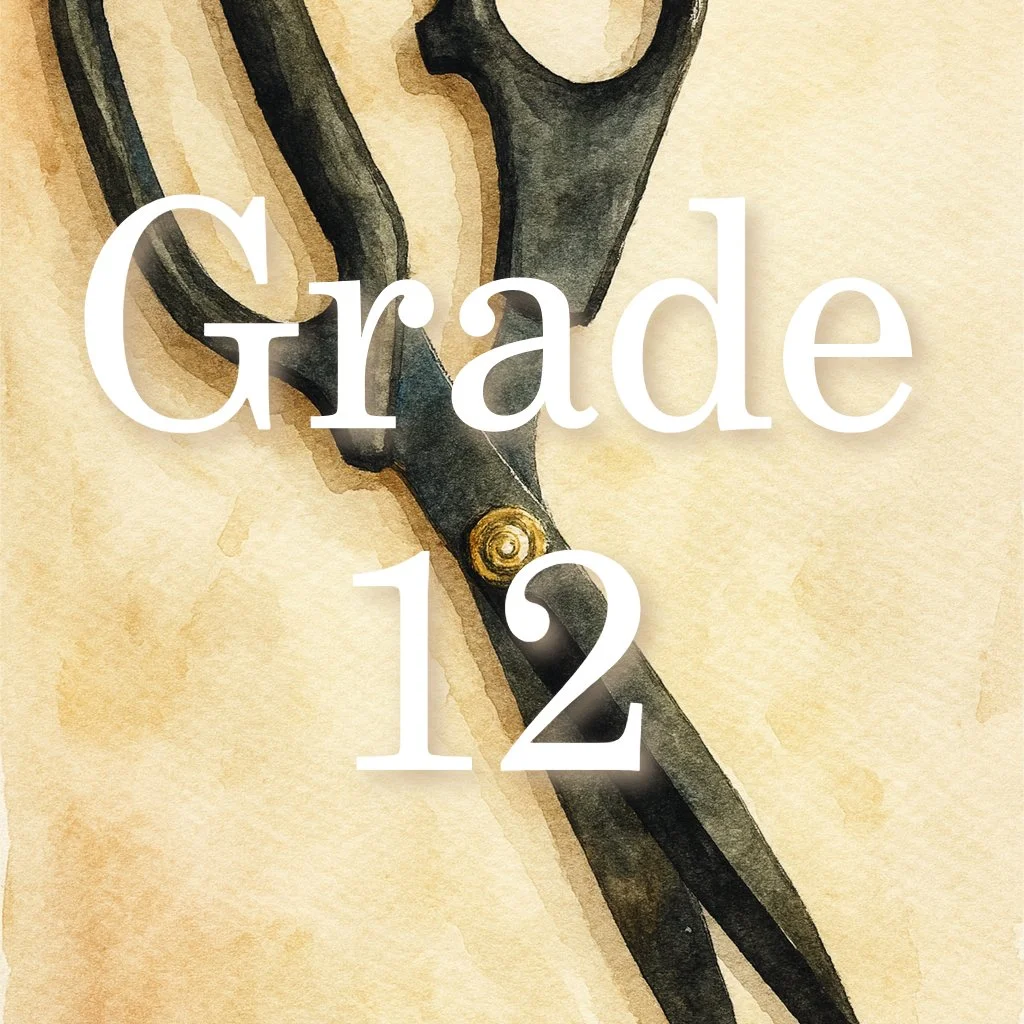
Grade 12
Twelfth grade marks the culmination of the Waldorf journey. Students are preparing to step into the adult world, and the curriculum reflects this by offering subjects that show wholeness, synthesis, and destiny. Modern history is looked at from the present perspective with a study of the ideologies that shaped the 20th century: fascism, communism and capitalism. The threefold social order is explored in society: political, cultural and economic just as the person has a threefold nature of thinking, willing and feeling. Literature includes poetry that speak to the human’s striving for freedom, inner light and higher truths in transcendental works of Emerson, Hawthorne and Whitman. In science, modern physics focuses on relativity, quantum theory, and genetics, as well as advanced chemistry. Math moves into calculus, allowing students to grasp processes of change at the highest level.


Main Lesson & Main Lesson Block
A main lesson is at the heart of Waldorf education and forms the rhythm of each school day. It usually lasts about two hours and includes an opening activity, a review of the previous day’s work, an artistic representation of the lesson, and new material. During this time, students focus on a single subject through narration, illustration, writing, and artistic work. The main lesson brings together thinking, feeling, and willing, offering a rich and balanced way to learn that is developmentally appropriate. While subjects such as foreign language, music, and handwork happen twice weekly or weekly, the daily main lesson provides a focused time for deep exploration and meaningful engagement.
A main lesson block is a concentrated study of one subject such as history, science, or mathematics that typically lasts three to four weeks. Each day, the same subject is taught to allow students to immerse themselves in the topic and build continuity in their learning. Once the block is complete, that subject is set aside until it returns later in the year. Unlike unit studies, which weave several subjects together around a theme, main lesson blocks stay focused on one area while allowing natural connections to arise. Teachers have freedom to choose the order and timing of each block, creating a cohesive and creative learning experience that serves the developmental needs of the child.
Learn more about the main lesson block approach & how to create a successful main lesson.
The Waldorf Main Lesson & Main Lesson Block
-
The Main Lesson Block
A Main Lesson Block is unique to the Waldorf pedagogy. Blocks rotate throughout the year, lasting about 3-4 weeks. During a block, a single subject is explored in depth.
-

The Main Lesson
What is a Main Lesson and how does it differ from other lessons? A Main Lesson is unique to the Waldorf pedagogy and follows a three day cycle unlike other methods of lesson delivery.
-
Opening Activities
Opening Activities are the first lessons of a main lesson. Playing games, doing mental math or practicing tongue twisters are some activities that help the students engage in preparation of the main lesson.
-

Daily Work
Daily work is necessary though separate from the work of a main lesson. Lessons in grammar and math are typical daily work practice that students perform daily to become proficient in practical skills.

Waldorf Math
In the Waldorf approach, mathematics is taught through rhythm, story, and imagination, allowing numbers to come alive in ways that reflect a child’s natural growth. Math is not presented as an abstract subject but as something living and connected to the world around us. In the early years, children explore the qualities of numbers before moving into the quantities of numbers, building a foundation of wonder and understanding. Over time, the lessons move from hands-on experiences and imaginative stories to logical thinking, proof, and abstract concepts in the upper grades. Mathematics begins with the basics of arithmetic where the four math operations of addition, subtraction, multiplication and division are taught in Grade 1. Mastery takes years but quickly, fractions and decimals are introduced followed by Geometry starting in Grade 5 and Algebra in middle school.
-
![]()
Arithmetic
Math can be a daunting subject area to tackle. We may have experienced our own math trauma in school which led up to grow up believing we weren't good at math resulting in a fear or dislike of the subject. Some of us did well in math. We learned the exactness of math and the clear answers it expects and rested in the solid belief that there is an answer in math and we will persevere to find it.
-
![]()
Mental Math
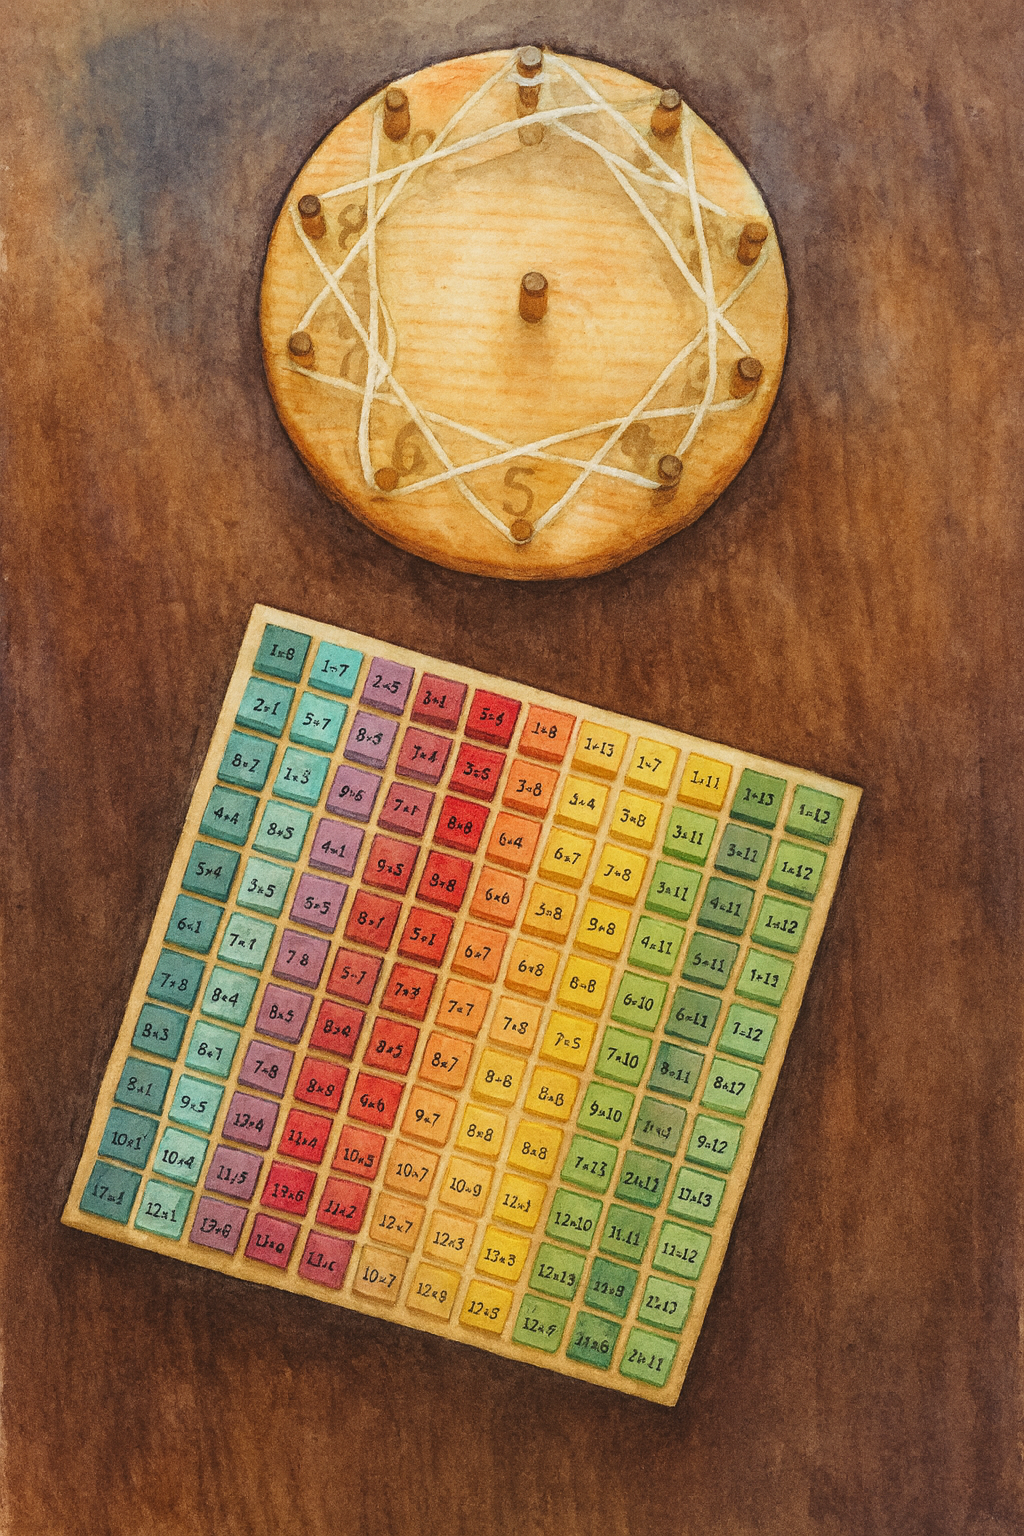
Mental Math are math questions that can be worked out in one's head. Often, they are two part questions which involve a multiplication or division question first, followed by an addition or subtraction question next. When you add in fractions, decimals and percents, you can easily see how complex the questions can become. One thing about math is that it is exact. 12 x 4 = 48. Always. It isn't maybe 47 or sometimes 49, it's simply 48.
-
![]()
Geometry
Geometry is one of the most fascinating fields of math a student will encounter, in my opinion. There's so much you can do when children are young with simple math centered on identification of shapes and solids. While introducing geometry this way and with picture books may not reflect the Waldorf approach authentically, it has been our approach in our homeschool for years. I love adding living books into our lessons because I'm often at a loss for stories of my own. Plus, I am not a teacher by profession and rarely solely rely on a curriculum, so I appreciate the breadth and depth of the books and resources available.
-
![]()
Algebra
When it comes to teaching Algebra the Waldorf way, I admit, I haven't stayed true the teaching method. Instead, I've relied on the Key to Algebra as a teaching tool to introduce and teach algebra in a slow and gentle way. While we do have the Live Education Waldorf curriculum for middle school which includes the Algebra main lesson book and Teaching Mathematics in Rudolf Steiner Schools, I didn't use them as much as I would have liked. In part because the imaginative and real life approach to algebra was such a departure from the way I learned and understood math, I had a hard time getting my mind reoriented so that I could teach it that way.
-
![]()
Math in the Garden
When it comes to math, there’s practical everyday math, then there’s everything you learn in school in your math class. While there is overlap, it’s sometimes hard to make the leap from a math worksheet on fractions to baking a batch of cookie and choosing to cut the recipe in half or double it. Equally it’s hard to make the leap from your percents worksheets, to calculating your final cost (plus tax) of a T-Shirt marked $14.99 with 40% and 8% sales tax.
-
![]()
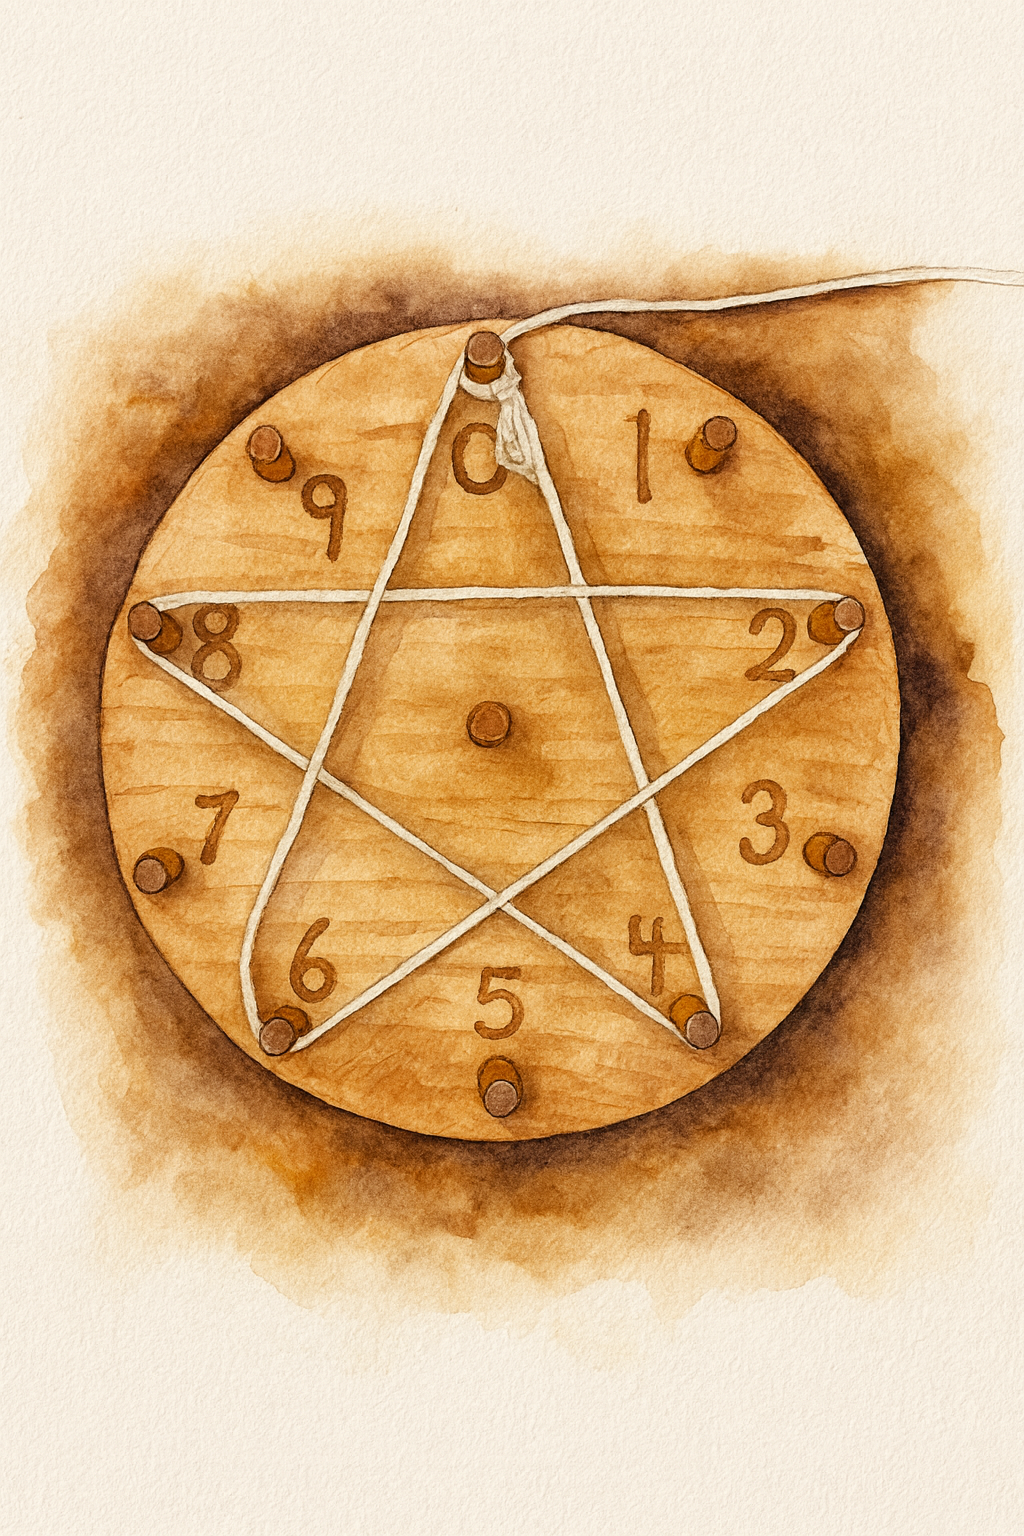
Quality of Numbers 1-12
In a Waldorf setting, the numbers 1-12 are explored through daily stories which explore the quality of each. Let’s explore the numbers together. Each number has a video in which I share the resources I’m using to explore that number as well as a chalk drawing tutorial. I use a number of resources and for the bulk of the numbers the resources are the same, but there are specific math picture books that I’ve chosen for each number. I dipped into my own library to source these books as we’ve accumulated a number of math resources over the years. If you have just the right book for any of the numbers 1-12 (or beyond) please share your resource in the comment section.


Waldorf Science
In the Waldorf approach, science is introduced formally in Grade 4 with zoology and in Grade 5 with Botany, but it is not until the study of physics, chemistry and anatomy in middle school that science study will resemble the scientific approach many are familiar with. Science is taught naturally and through interaction and observation starting in kindergarten with play in nature. Later children take guided nature walks, listen to nature stories and collect natural treasures for the seasonal table. A deep relationship with nature is built organically and age appropriately so that when the formal studies begin, students are developmentally ready for the content. Lessons are built on a foundation of exploration, experience and natural discovery.
Elementary Science Main Lesson Blocks
-
![]()
Seasonal Rhythm Waldorf-Inspired Nature Appreciation
The first science lessons in Grade 1, 2 and 3 in a Waldorf setting are focused on the observable world of the child. Science emerges through nature stories, seasonal rhythms, and hands-on experiences like gardening and farming, cultivating wonder and reverence for the natural world.
-
![]()
Charlotte Mason Nature Study
The Charlotte Mason, nature study approach is similar yet subtly different from the Waldorf approach to Nature science in the early grades. The majority of the nature study learning is done through observation by the child. Charlotte Mason saw Nature as a way for children to develop a sense of wonder, reverence and connection to God‘s creation.
-
![]()
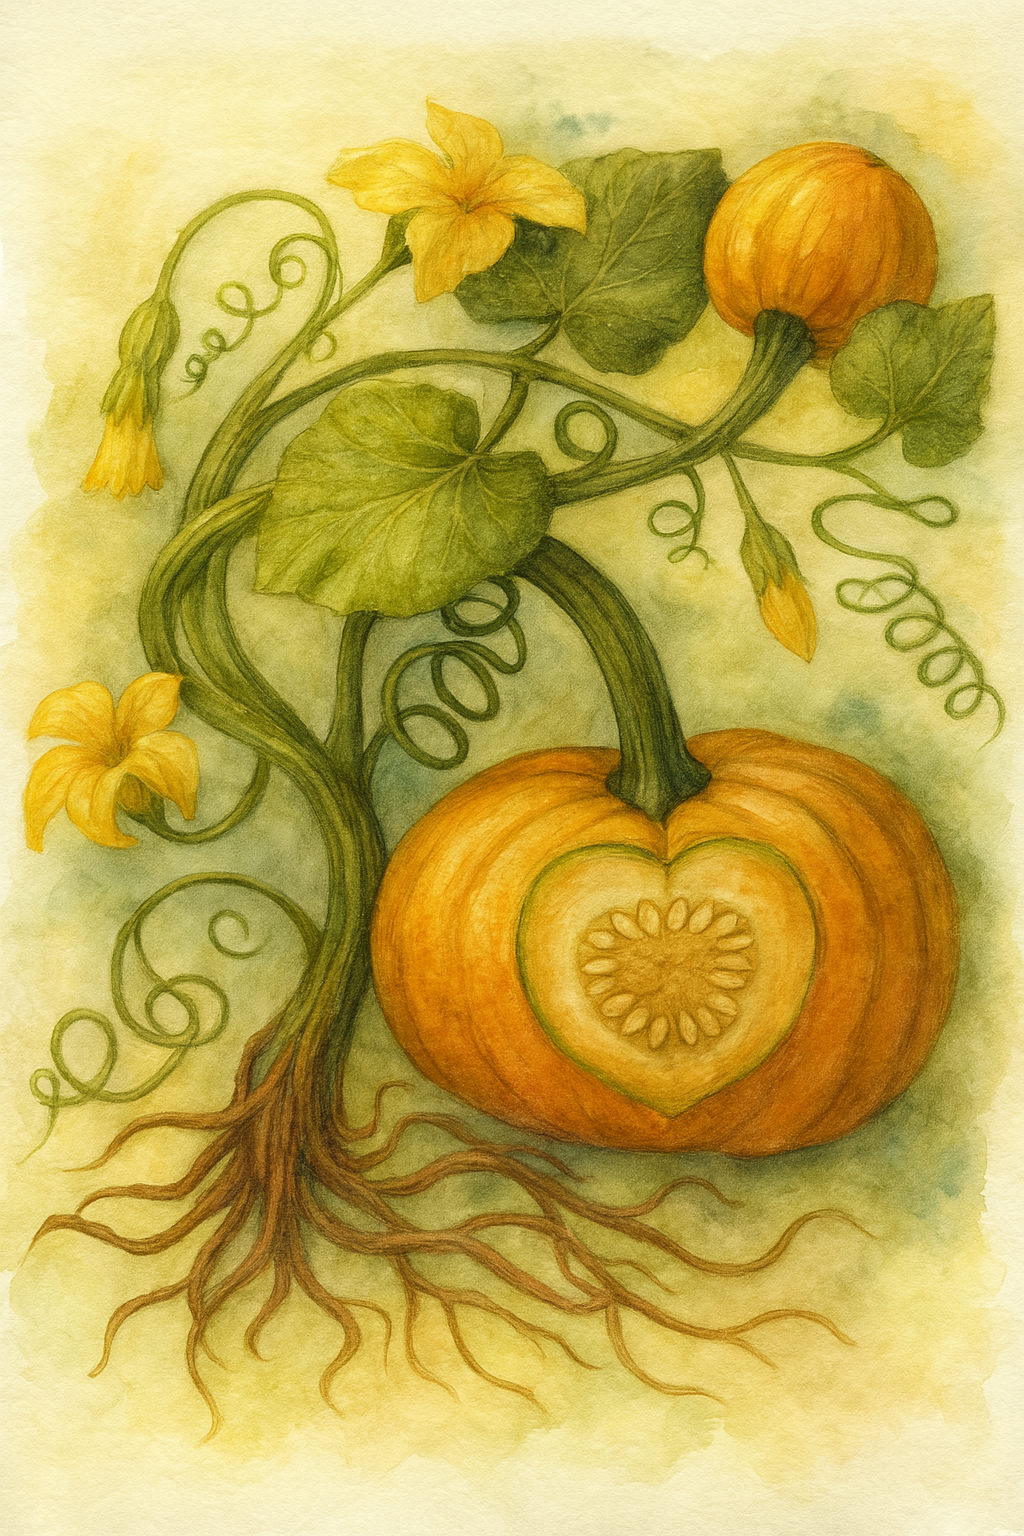
Gardening
It’s a quintessential rite of passage for a child to tend a garden. Some garden land as large as farmland and others grow an herb garden in jars in the kitchen. Yet others opt for foraging in nature for edible food. However you do it, teaching children where our food comes from is a lesson for life.
-
![]()
Bees
Our Bees Unit Study is perfect for Grades 1-4 as it complements the Nature Sciences of the early years. A Unit Study meets the needs of multiple grades in a single unit by using various resources and providing an assortment of projects that children may do at their own level.
-
![]()
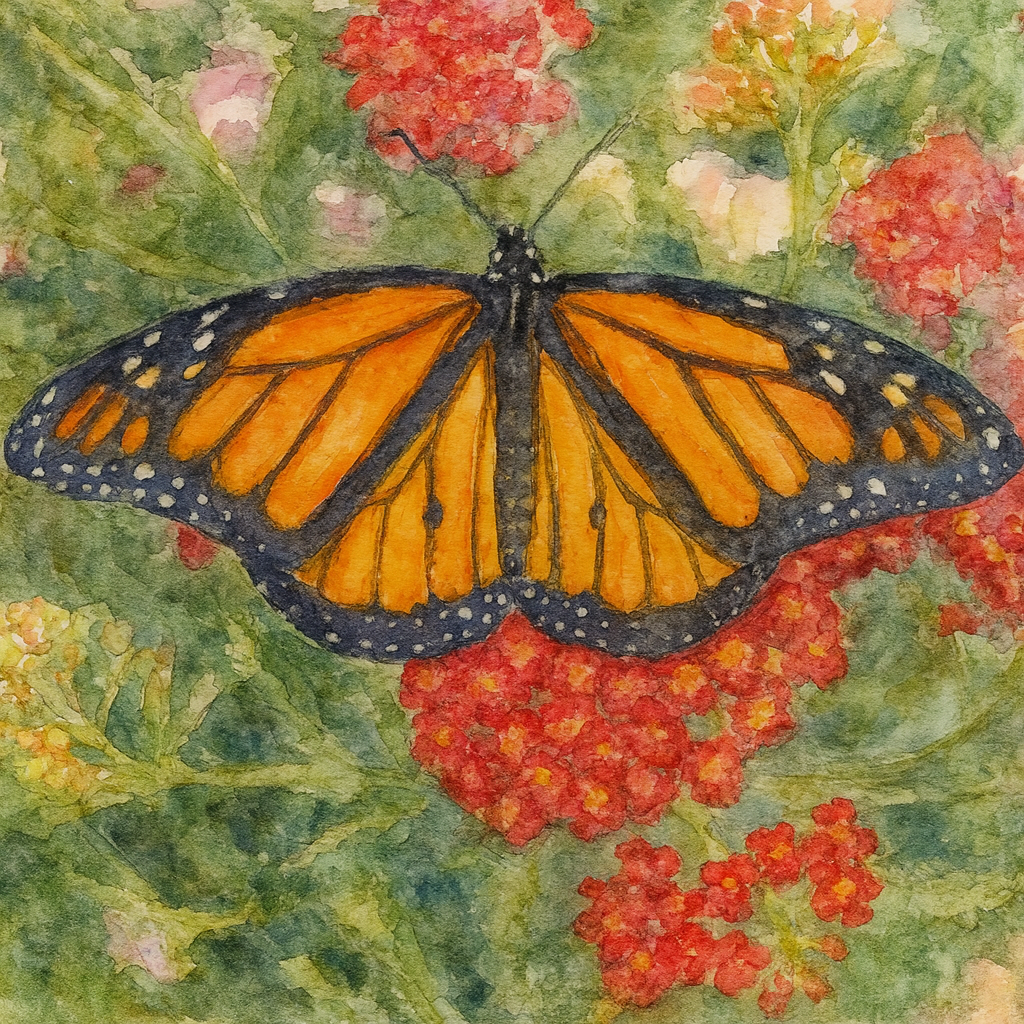
Butterflies
Unit Studies on plants and animals (or insects) children see often is a great way to introduce a nature science to young elementary students. The study of butterflies delights children and watching them go through their metamorphic process is thrilling.
-
![]()
Birds
While, we tend to follow the Waldorf pedagogy, there are times I put together a unit study rather than a Main Lesson Block. A unit study is a concentration on a single subject for a short period of time. This Unit Study on Birds includes hands-on activities and plenty of picture books.
-
![]()
Zoology
The Zoology block in Grade 4 in Waldorf schools in unlike a typical zoology class. Instead of the traditional classification of the animals in the Animal Kingdom (which is saved for a bit later), the class begins with the exploration of the human form looking at the head, trunk and limbs. From this point, lessons on animals that exhibit one part of the human form are explored so that the qualities of animals are discovered.
-
![]()
Botany
In Grade 5, the study of Botany from the Waldorf pedagogy begins with the smallest of plant cell life: Algae, Fungus, Lichen and moving into more complex plant life like mosses, horsetails and conifers, until concluding with complete flowering, fruit bearing plants. Additional lessons may be explored when learning about monocots and dicots in relation to geography and history making the block diverse and and interdisciplinary.
-
![]()
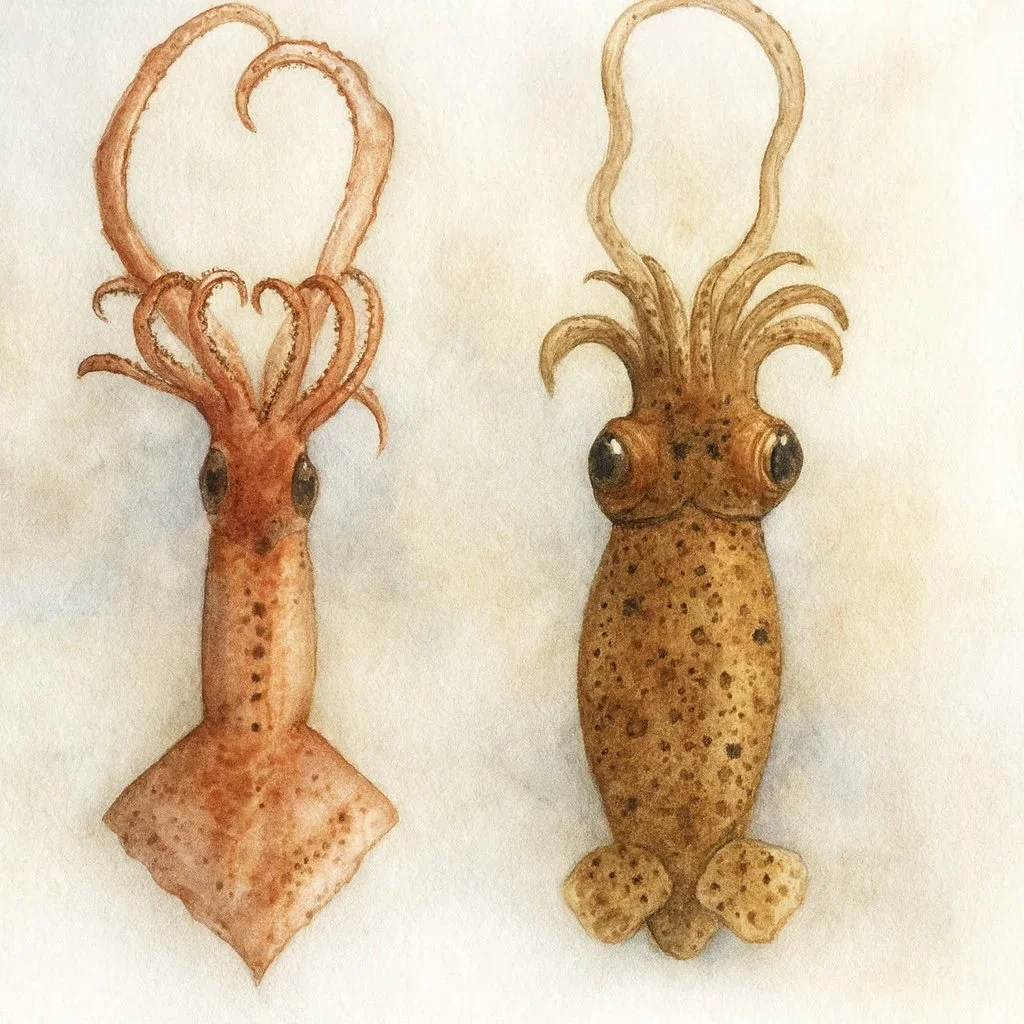
Reptiles
This unit emerged and faded several times over the years before I finally collected our resources to put together a unit study. The projects are drawn from other units as very little was organized specifically for this unit which inspired a unit on Dinosaurs and evolution.
-
![]()
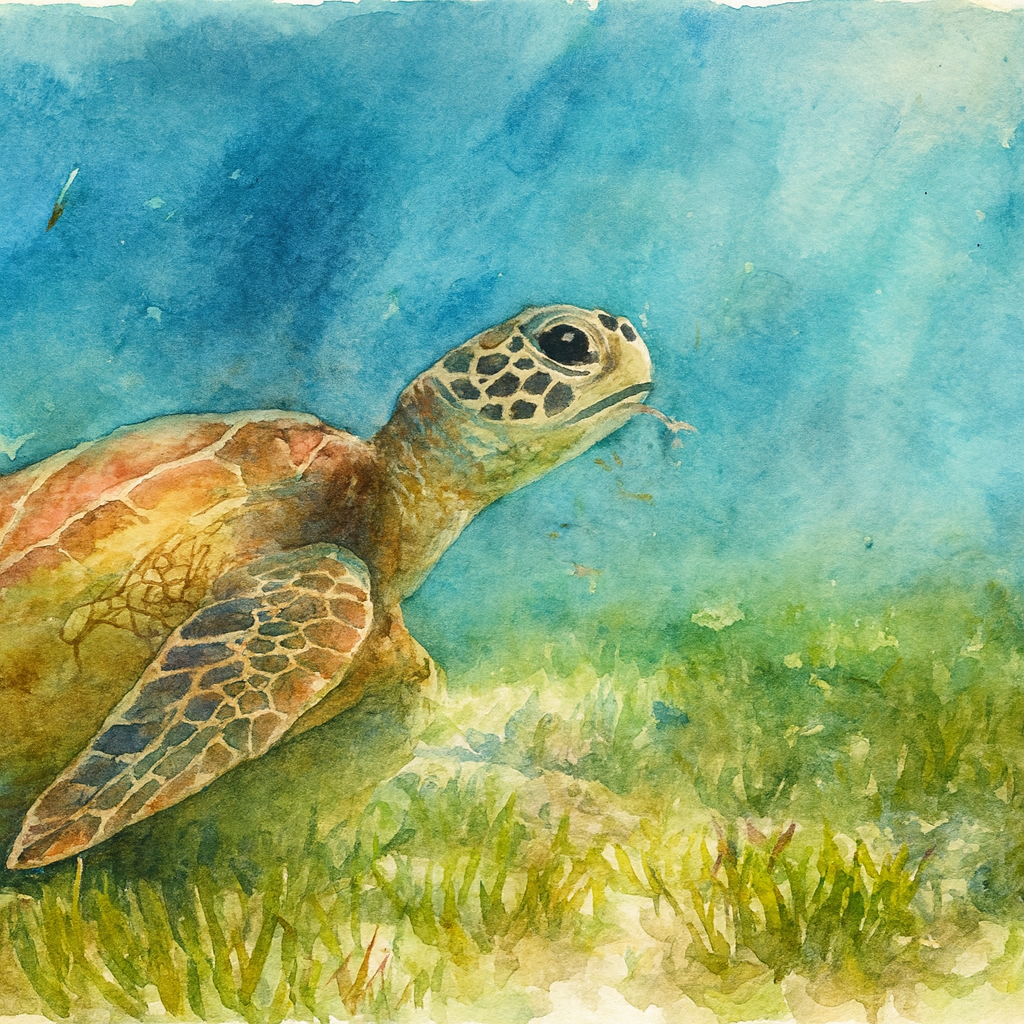
Sea Turtles
When doing our Ocean Main Lesson block, we were inspired by the several other topics that would be their own months long unit. Sea Turtles appealed to us as we have visited Hawaii and swam amongst sea turtles. This unit is a mini unit lasting about a week or two. The resources are easily covered in a couple days but the projects take longer.
-
![]()
Ocean
The Ocean Main Lesson block is an opportunity to dive into the ocean and explore above and below. This block centers around the California coast primarily, but takes on a broader historical aspect as well. Smaller blocks on Whales, Turtles and more are included within the larger block.
-
![]()
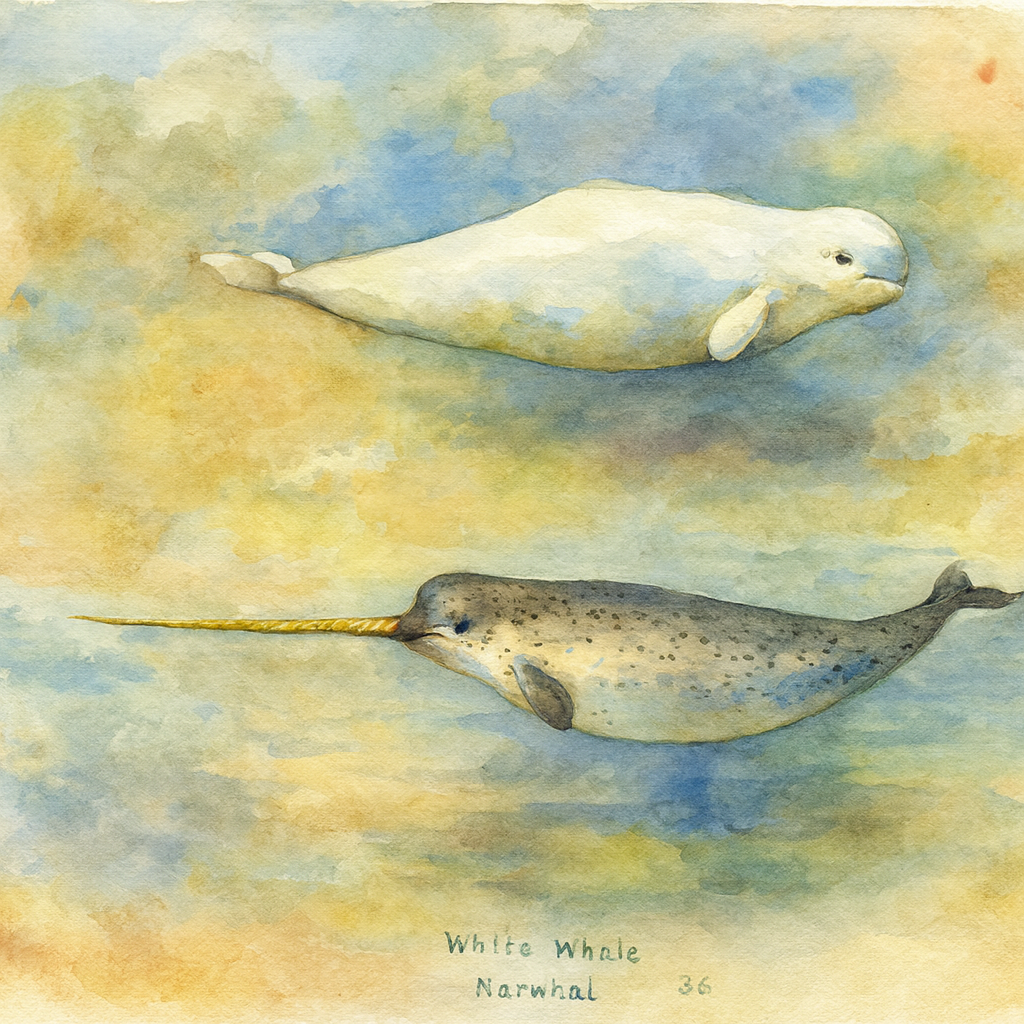
Whales
Our Whales unit is another mini unit inspired by a larger unit: Ocean. However, sometimes it’s a book or project that inspires a unit as well. Some of the resources for this unit were ones I’d see other homeschoolers use and found them inspiring and thus a mini unit on Whales emerged.
-
![]()
Horses
On occasion, a child of mine will have a specific interest that warrants a specific unit study. The study of horses is one just unit study. My daughter become enthralled with horses and horseback riding, so I put together a unit to serve her interests as well as serve an older student with a variety of resources including historical for my older son.
-
![]()
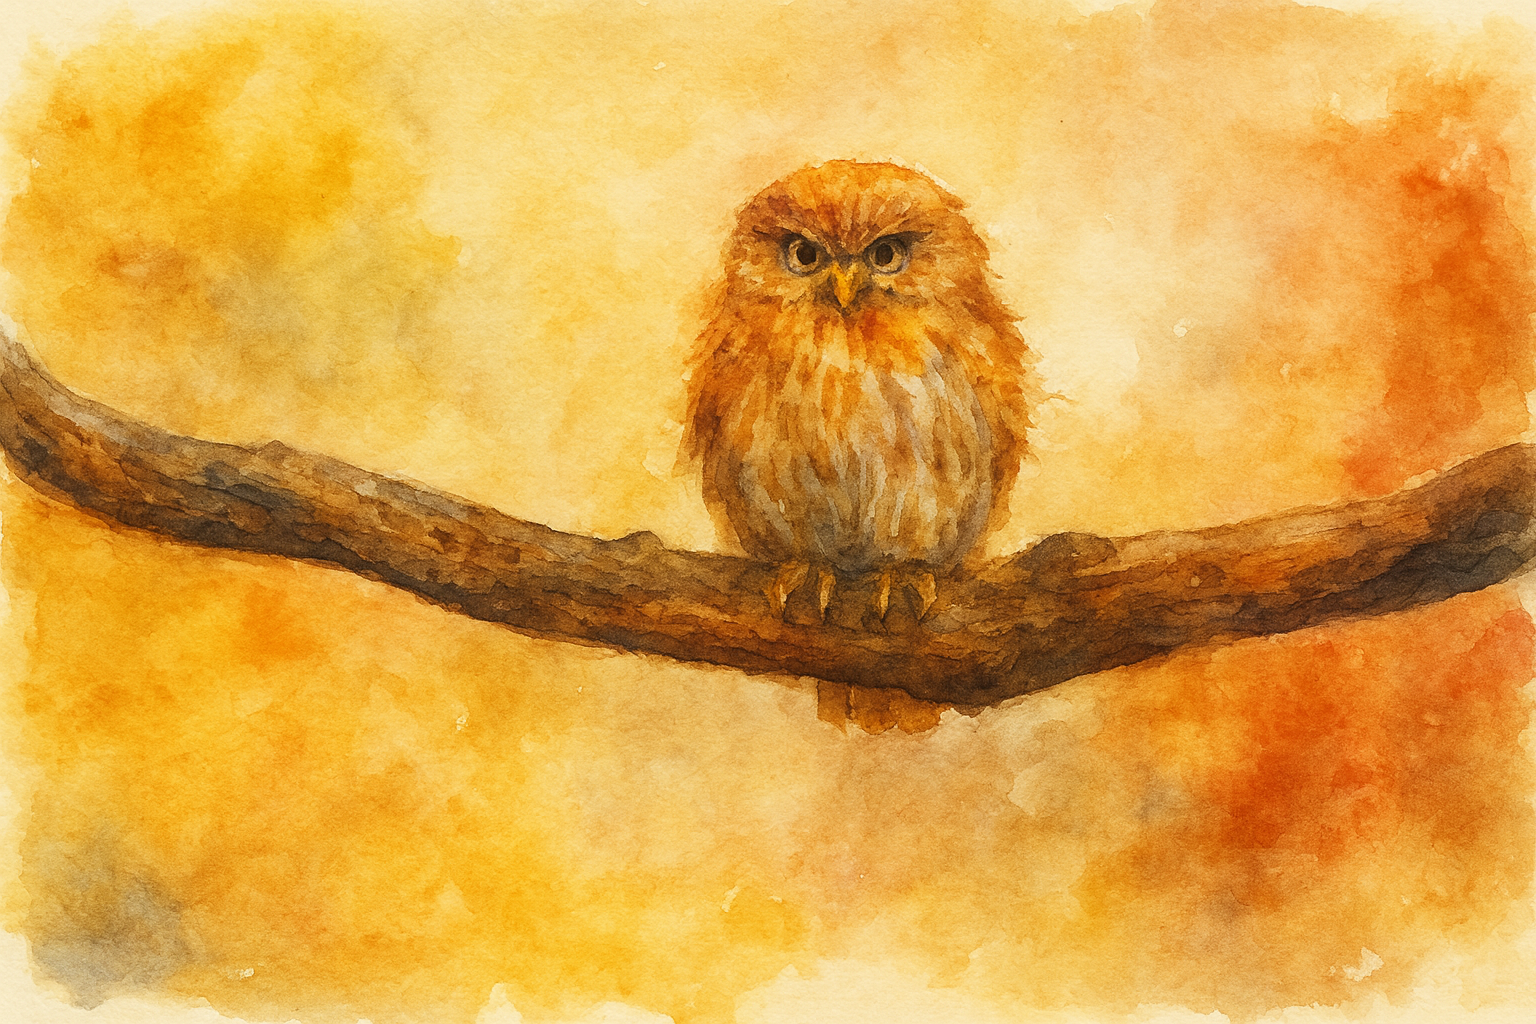
Owls
A unit study can be as broad or as specific as you would like it to be. While doing our unit study, we departed to do a smaller owl unit study. In part I was inspired by resources I had seen other homeschoolers using and was excited to include that into our bird unit. Once we included those resources into our bird unit, I realize that we had created a mini Owl unit.


Middle School Science Main Lesson Blocks
-
![]()
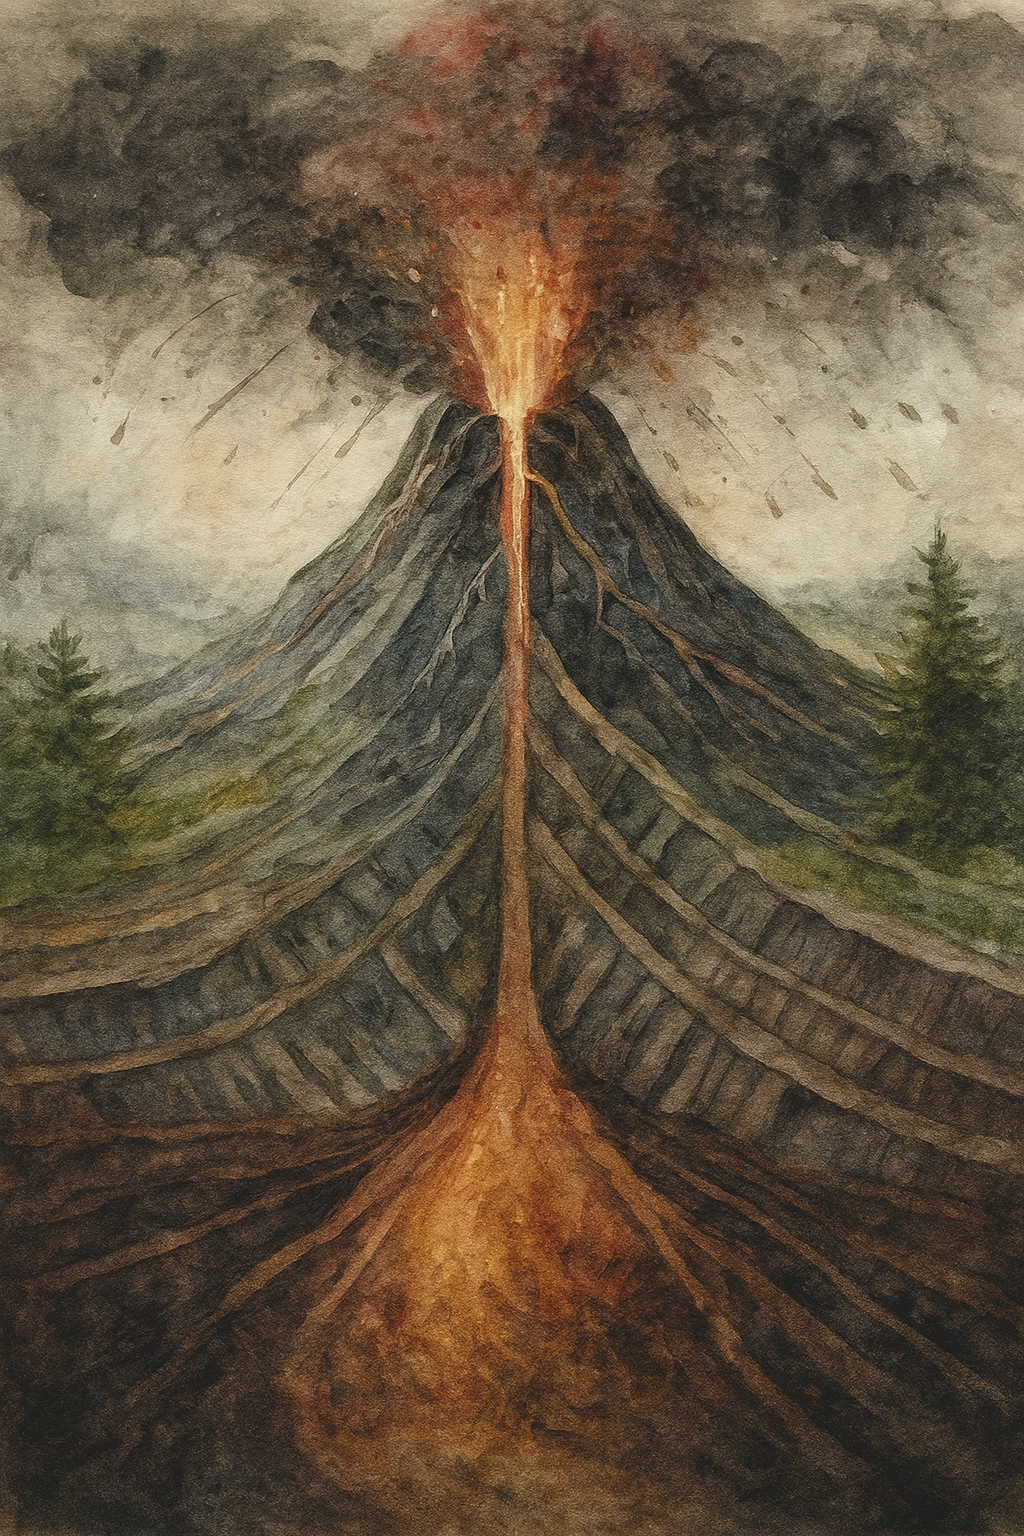
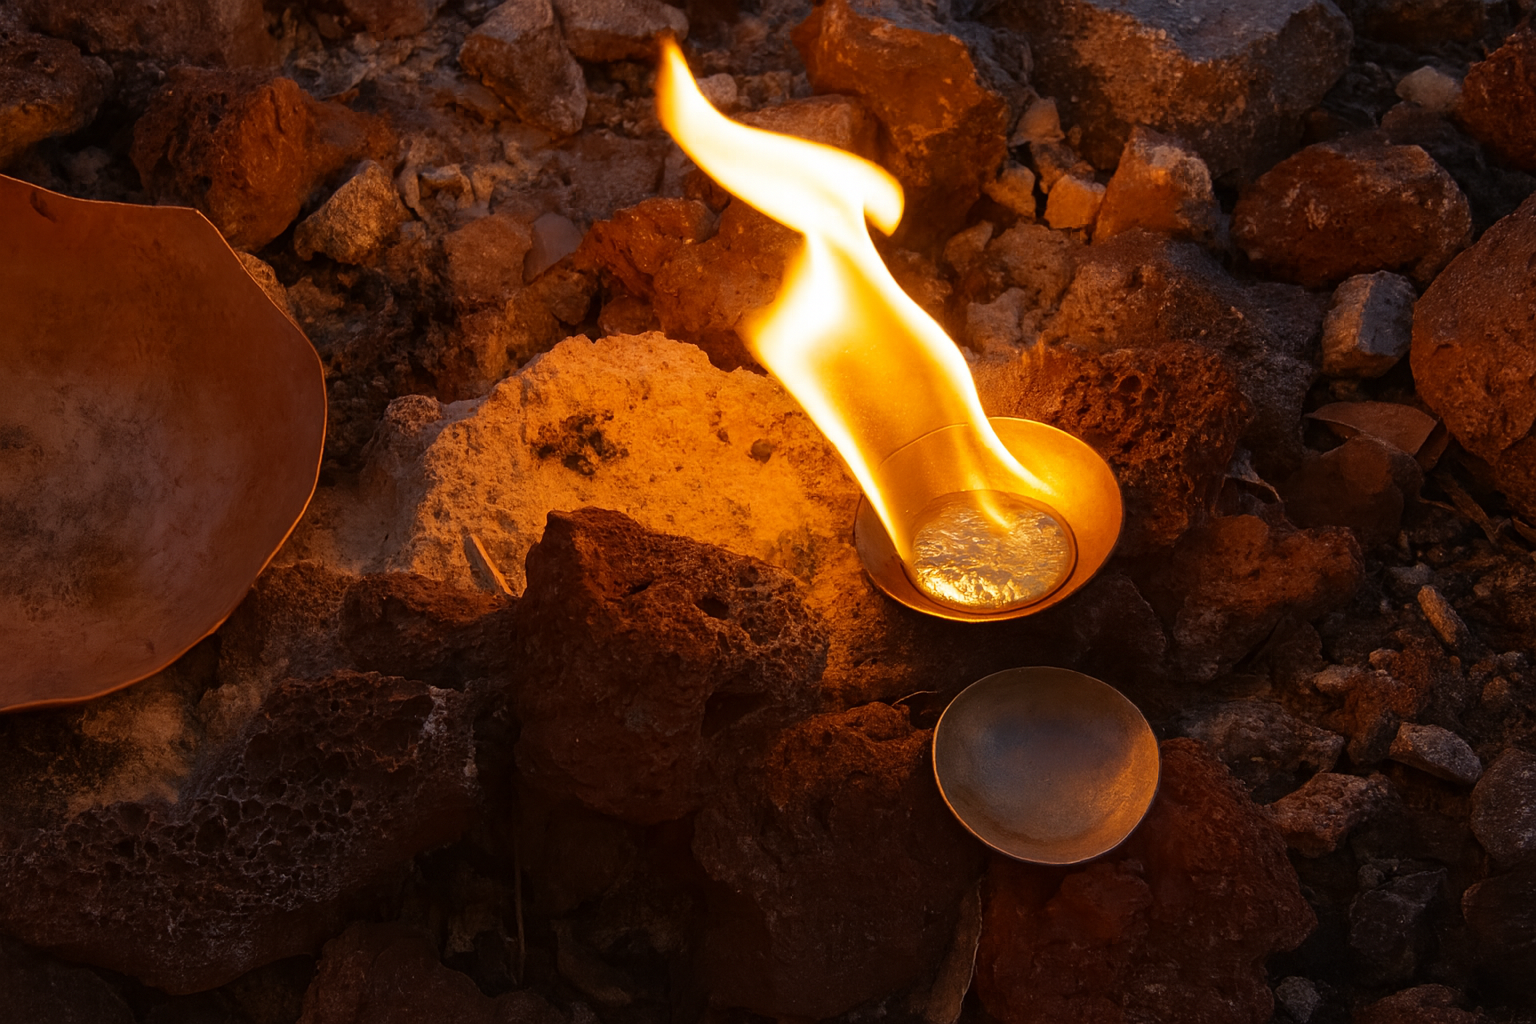
Mineralogy
The Waldorf approach to mineralogy in Grade 6 is through a blend of scientific observation, artistic expression, and imaginative storytelling. Rather than beginning with abstract facts, students are guided to observe the forms, colors, and structures of minerals and rocks with deep attention to detail. The goal is to awaken wonder and a sense of connection to the natural world, allowing scientific understanding to arise from a lived experience.
-
![]()
Astronomy
Grade 6 is science centered with multiple science blocks including Astronomy. Astronomy is taught through a poetic and experiential lens that nurtures awe and reverence for the cosmos. Lessons begin with careful observation of the night sky—tracking the movement of stars, planets, and the phases of the moon—before introducing scientific explanations. Mythology, cultural stories, and artistic renderings of constellations are woven into the curriculum to foster a personal and imaginative relationship with the heavens.
-
![]()
Anatomy
Anatomy is introduced in Grade 7 with a focus on the human being as a harmonious whole, rather than a collection of isolated parts. The approach is both reverent and artistic, emphasizing the wisdom and beauty of the human body. Lessons begin with major systems such as the digestive, circulatory, and respiratory systems, exploring how each one supports life and interacts with the others.
-
![]()
Physics
Physics is introduced gradually, beginning in Grade 6 and deepening through Grades 7 and 8, always grounded in direct, sensory experiences before abstract theory. In Grade 6, students explore acoustics, optics, heat, and magnetism through hands-on demonstrations. The focus is on careful observation and describing phenomena in precise, vivid language. In Grade 7, the curriculum introduces mechanics and electricity. Students examine simple machines, levers, and pulleys, observing how force, work, and motion interact. By Grade 8, physics becomes more analytical and quantitative. Topics such as hydraulics, aerodynamics, and electromagnetism are explored.
-
![]()
Chemistry
Chemistry is introduced in Grade 7 and further developed in Grade 8, always beginning with observation and experience before moving into theory. In Grade 7, students explore combustion, acids and bases, and the transformative nature of substances through dramatic, hands-on demonstrations. In Grade 8, chemistry becomes more structured and analytical. Topics such as the lime cycle, photosynthesis, and industrial processes like fermentation and metal refining are explored.


Waldorf History
History can be one of the most thrilling subjects to explore whether or not you do a Waldorf approach to your Homeschool. Some of the most fantastical stories are true! But what stories to tell and when to tell them depends on your educational approach.
The Waldorf approach to history is entirely based on the child’s emotional, intellectual, physical, and most importantly, spiritual development.
In Grade 1, the young child of seven years old steps into the world of learning. This is their first formal introduction to classroom, academic learning. At this age, the heart is still fully immersed in wonder, imagination, and whole picture thinking. Children are not ready for abstract thought, critical thinking or analytical, explanations.
Learn about the Waldorf approach to History for Grades 1-8
Ancient Civilizations
-
![]()
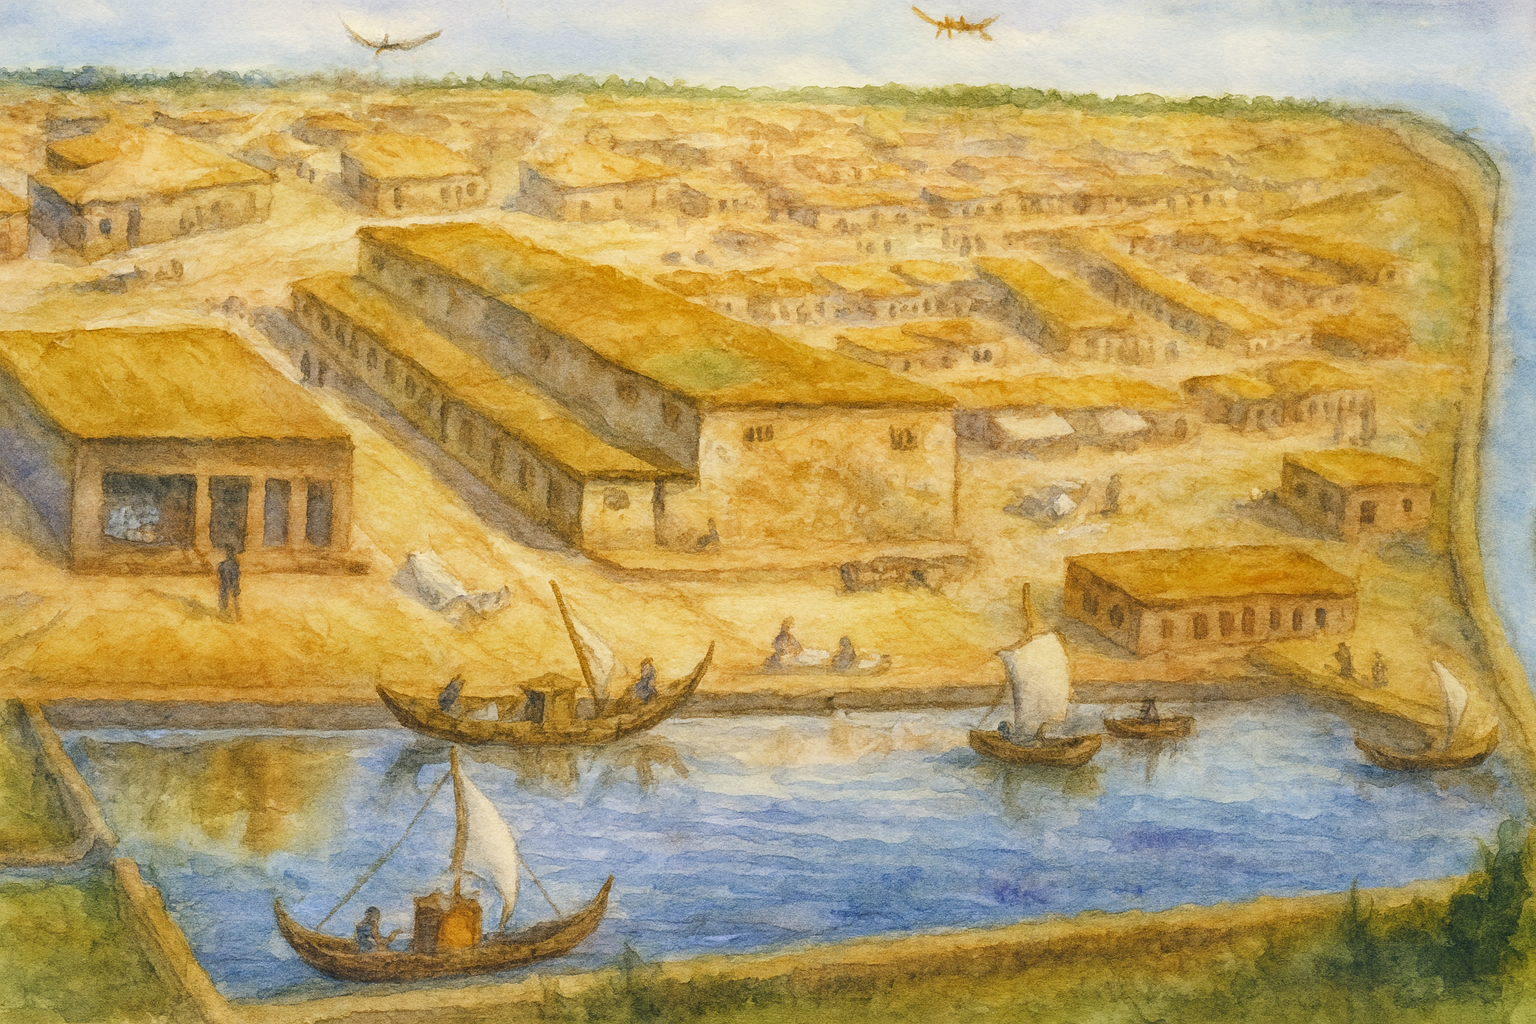
Ancient Mesopotamia
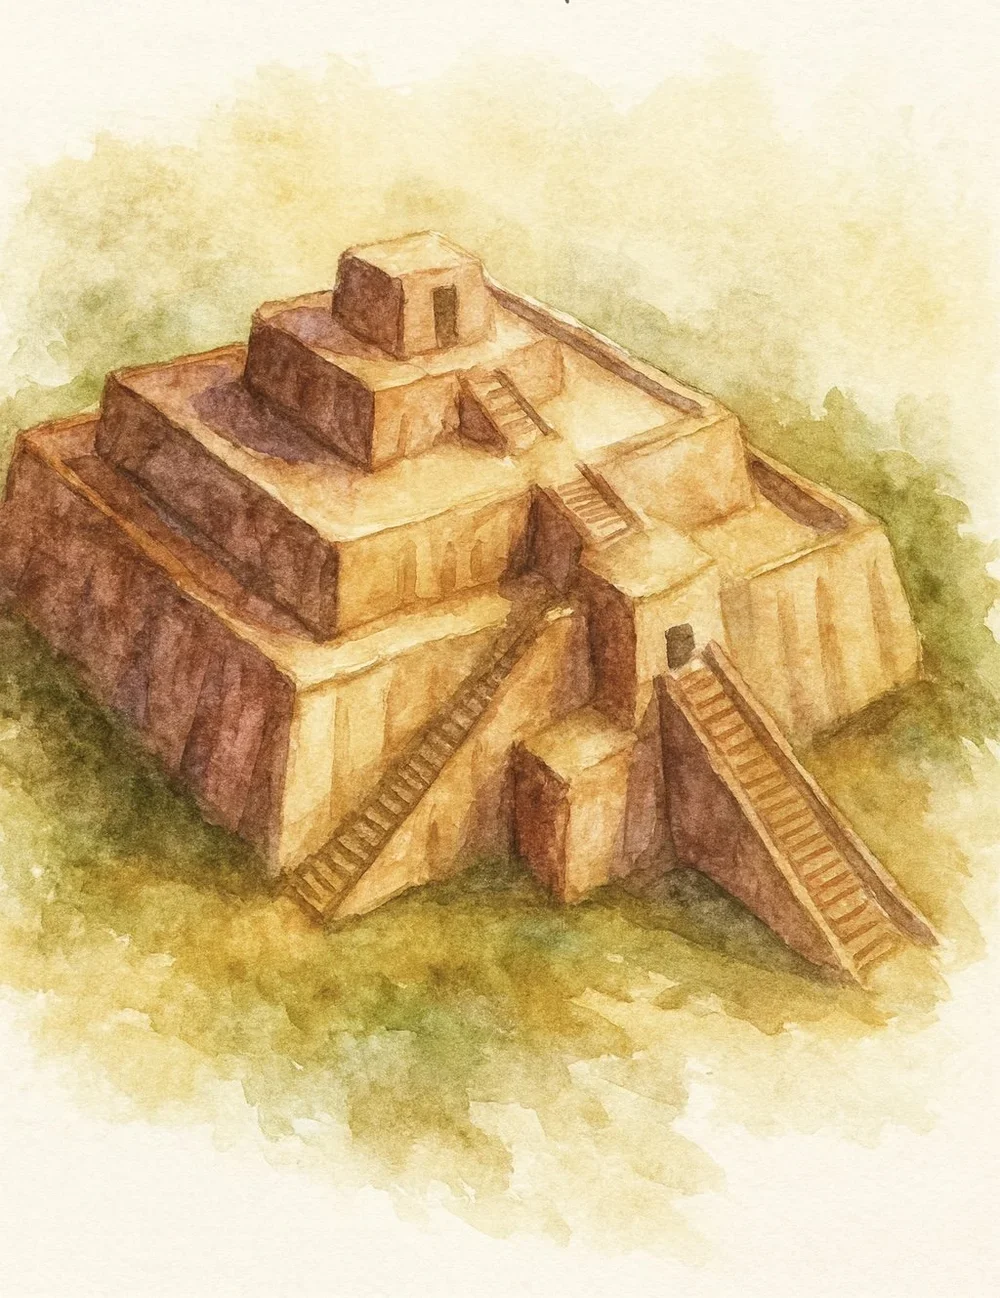
The ancient civilizations blocks for the Waldorf curriculum for year 5 is fairly extensive having continued from the previous year's exploration of Norse mythology, the civilizations of Akkad and Sumer and the study of the Buddha and the Jataka Tales. For year 5, the student will cover the ancient civilizations of India, Persia, Mesopotamia, Egypt and finally Greece. Greek history and ancient Roman history will also be covered in year 6.
-
![]()
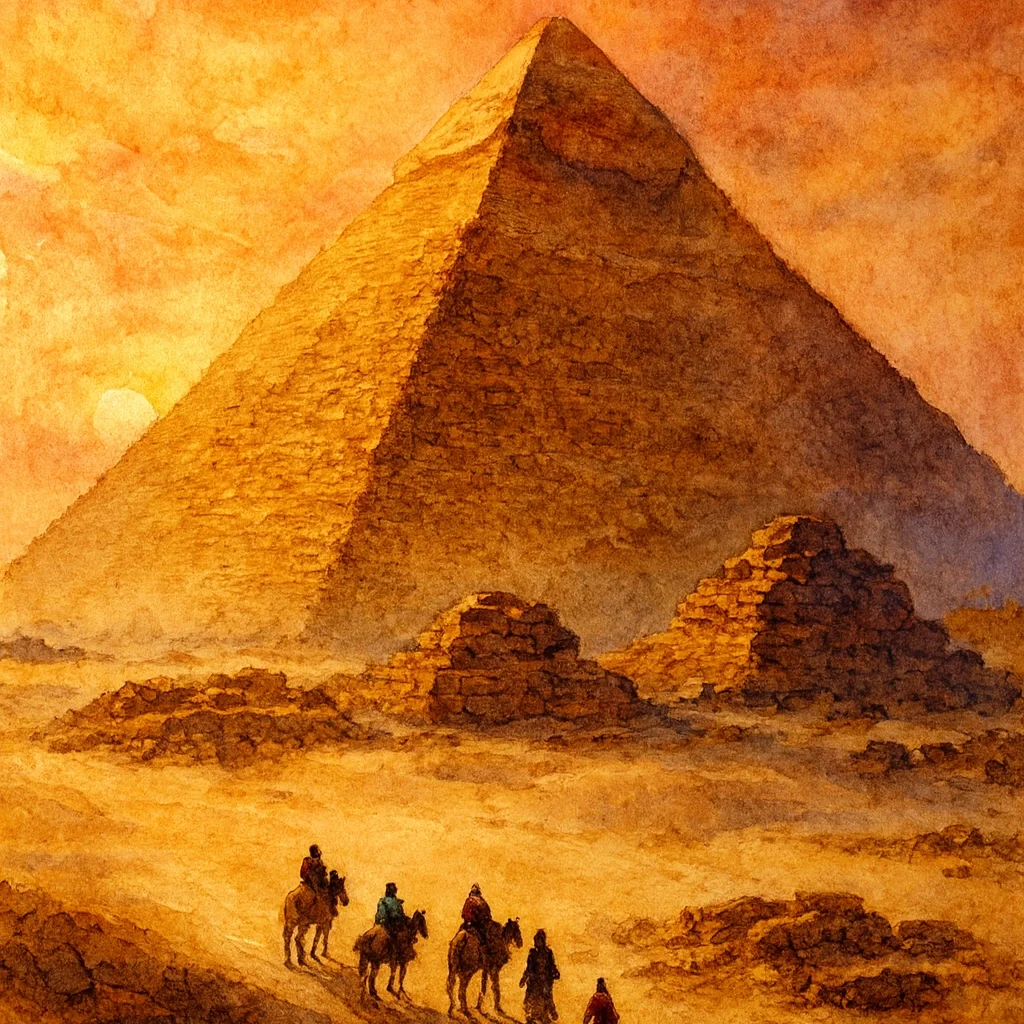
Ancient Egypt
Curious about how to put together a unit study? Join me as I take you through my process for putting together a unit study for Ancient Egypt. Much of the process is the same for all my history units, and only varies slightly for other units. I use a Waldorf curriculum as a default curriculum but often stray from the curriculum and come up with my own lesson plans.
-
![]()
Ancient India
The Ancient Civilizations are taught in Waldorf schools in grade 5 when children are 10-12 years old. The ancient cultures are taught uniquely in a Waldorf setting as the main aspects of the lessons are concentrated on the beliefs of the people, their spiritual beliefs, their creation stories, and their divinely guides teachers on the earth plane. While I tend to add other books and resources to our main lesson blocks, these additional resources may take away from the approach or may add needed background information for the teacher or student to give context to the lessons.
-
![]()
Ancient China
In Ancient China, there is an emphasis on balance, Harmony (Yin and Yang), a reverence for nature, and an ordered social life. The child between the ages of 10 and 12 are in their golden age of childhood, which means that they have come through the challenges and turmoil of the nine year change, and they have yet to encounter the challenges of adolescence and pre-puberty. I.
-
![]()
Ancient Greece
We often do our History blocks in the winter as we tend to do a lot of reading and storytelling as part of our lessons. When doing our ancient civilizations, we tend to keep the history focused on traditions, culture, beliefs and biographies when possible. We also love our hands-on projects and activities so we tend to add as many as possible in the form of kits, crafts books and recipes.
-
![]()
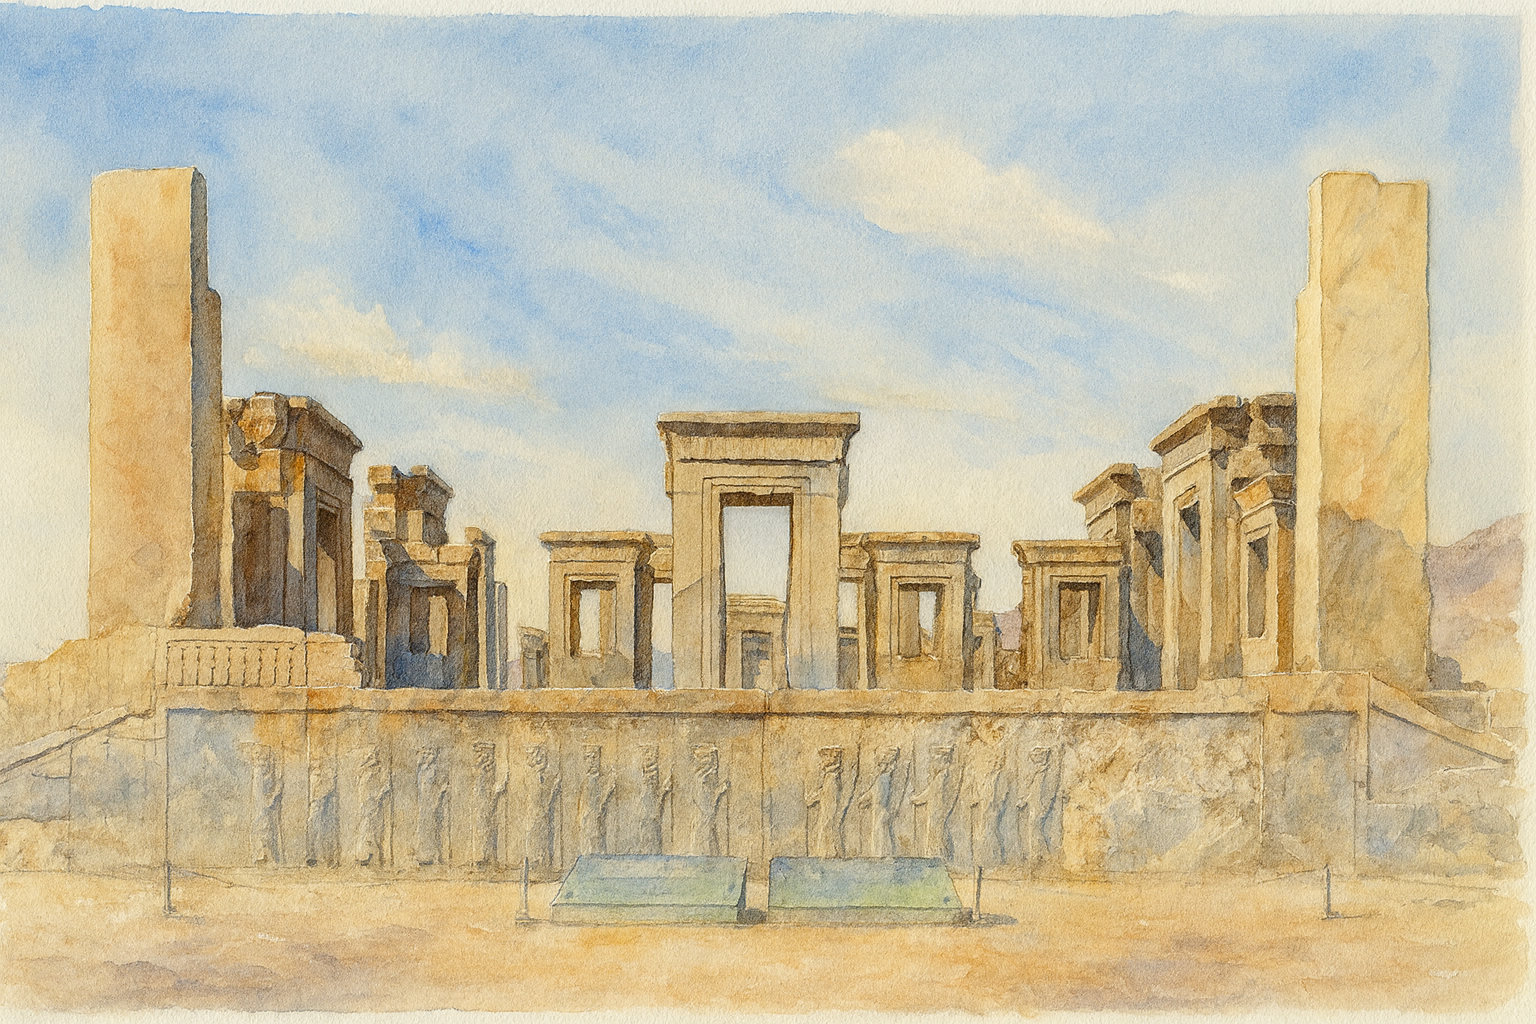
Ancient Persia
Of all the ancient civilizations, Ancient Persia as been the tastiest. We often include cultural or historical recipes with our history blocks and this block began years ago when we started adding Persian cuisine to our recipes. In addition, for this unit, we added an assortment of living books and our Live Education Waldorf curriculum
-
![]()
Ancient Rome
Join me as I put together our Ancient Rome unit study. You'll get great tips on putting together unit studies in general while you view books specifically for our Ancient Rome unit. I like to cover three areas of learning when teaching history: Belief (religion or mythology) of the people, Culture or daily life, Historical events. I do this in the following ways: Historical fictions, Biographies/autobiographies, Hands-on activities, History books, Interactive projects, A book on Mythology or religion
-
![]()
Norse Mythology
In grade 4, the mythologies, folktales and epic poems are taught just at a time when the child is in turmoil between his inner and outer world. The fall of the divine and the journey of the human through life and its suffering is mirrored in the Norse myths the fall of Thor and the loss of his hammer. The creation story of Adam and Eve evoke the same sentiment.


World History
-
![]()
Rome
Join me as I put together our Ancient Rome unit study.I like to cover three areas of learning when teaching history: Belief (religion or mythology) of the people, Culture or daily life, Historical events. I do this in the following ways: Historical fictions, Biographies/autobiographies, Hands-on activities, History books, Interactive projects, A book on Mythology or religion
-
![]()
The Middle Ages | Medieval Europe
I’ve collected a wide assortment of resources for this unit study on Medieval Times with a focus on Europe. While our Live Education Waldorf homeschool curriculum for grade 6 includes several lessons on this time period from other areas in the world, I’ve decided to split up this time period and focus this unit primarily on Europe followed by a unit I’m calling “The Silk Road” which will focus on other areas of the world.
-
![]()
The Silk Road
When we first embarked on our Silk Road main lesson block, we thought we would simply add a few resources to complement our Middle Ages unit. Three years later and this little unit has grown into several deeply engaging main lesson blocks that span over 1000 years of history and half the world from North Africa to China.
-
![]()
West Africa
Is it really Medieval if Africa was experiencing its Golden Age? It was an age of exploration, wealth, power and civilization. This unit study on Africa covers the time period of about the 900s to the 1400s, and focuses on the empires of Mali, Ghana and Songhai. While putting together our history unit studies and main lesson blocks, I like to look for books and resources for a rich experience. I add picture books, historical fiction, project books, cookbooks, folktales, biographies, and history books as well as projects and outings if possible.
-
![]()
The Great Khans of Mongolia | Kubla Khan, Genghis Khan, The Great Wall of China
It's not a history unit if you don't talk about the people. After all history is His Story right? Her story is mixed in there, but is rarely the focus. While I have not made an effort to explore female historical figures, I think we do ourselves, our education and our children a disservice when we don't include their stories.
-
![]()
Ibn Batutta
This unit study is on Ibn Battuta’s life. It’s a smaller unit study than what we normally do and accompanies our larger Silk Road unit study which has grown over the years to included several smaller units on the time period of about 600s to 1500 and spanning the areas from North and West Africa, to Arabia and Asia. When we do our history units, we love to include biographies, projects and recipes. Each region has much to offer in the way of exploring the food that’s either historical or regional.
-
![]()
Golden Age of Islam
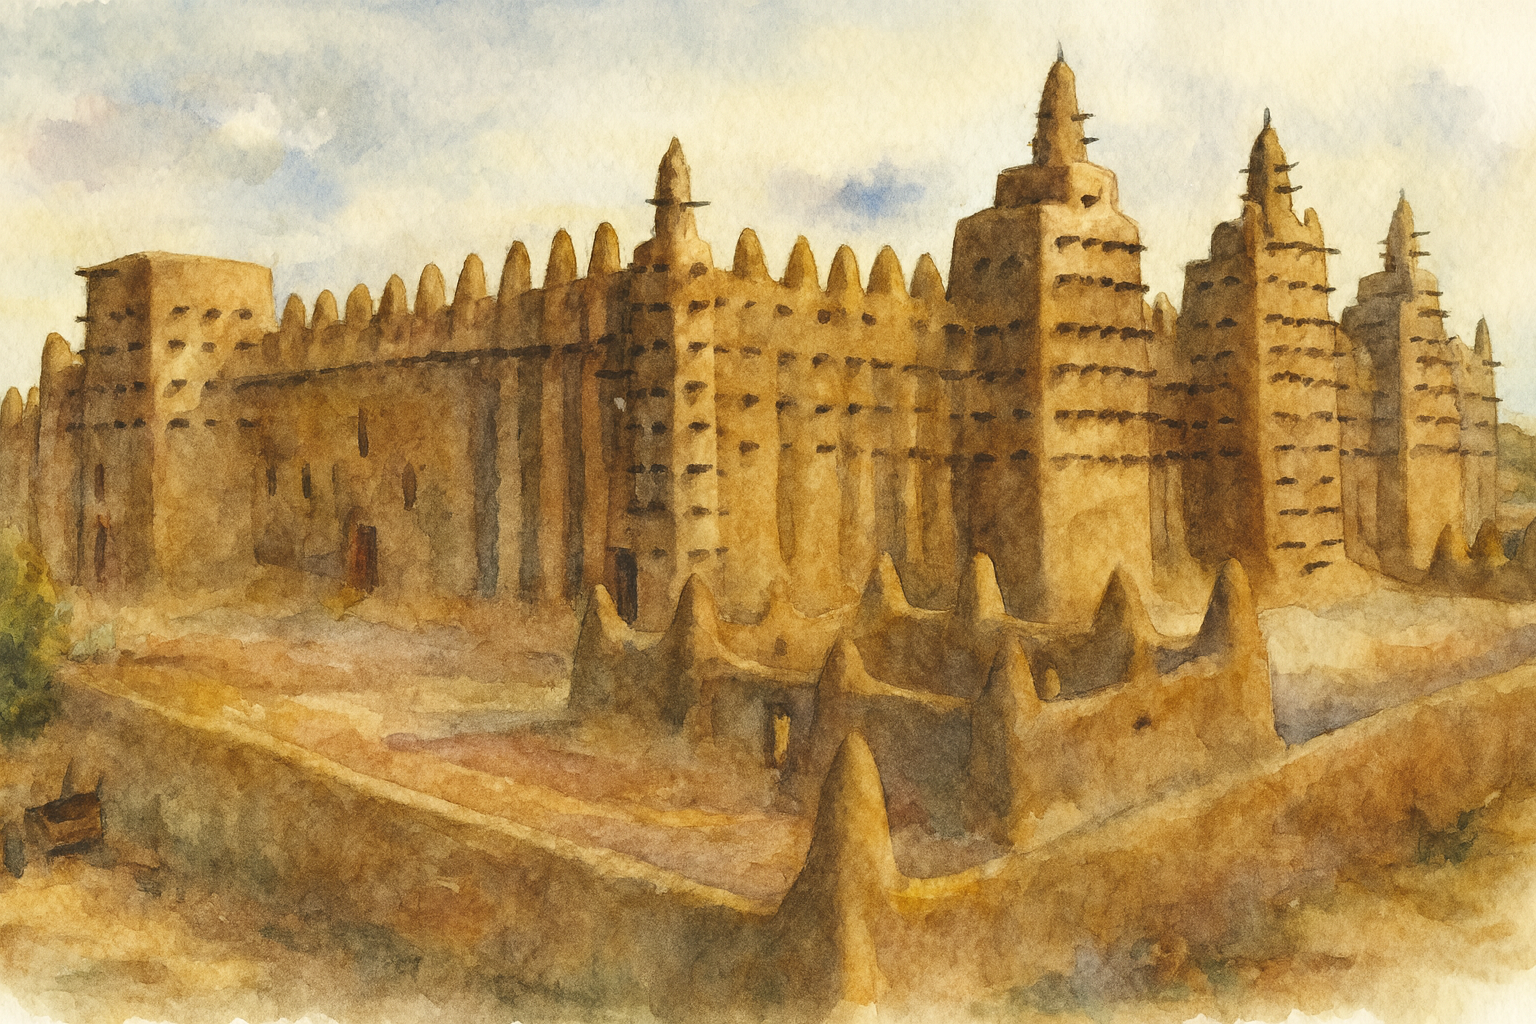
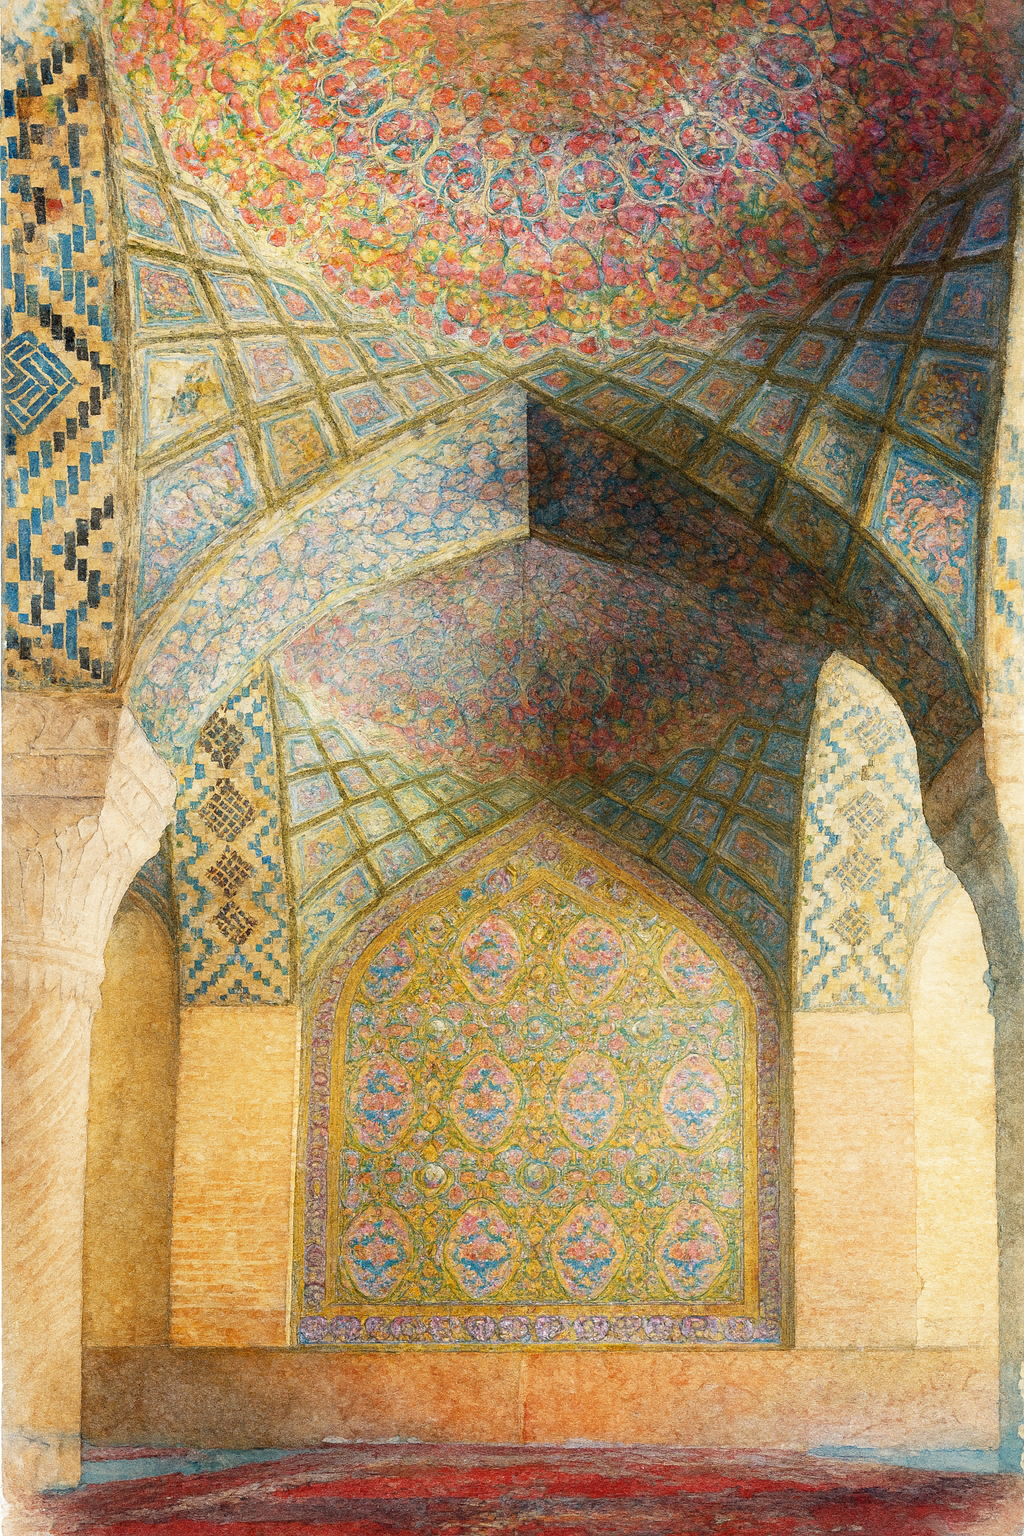
Are you curious what was going on in the rest of world while Europe was deep in the Dark Ages? While it's considered the Middle Ages or Medieval Times in Europe, other parts of the world had been civilized and had been flourishing for centuries, even millinias. Let's explore other parts of the world together. I have a series of Main Lesson Blocks and Unit Studies that explore North Africa and Ibn Battuta, West Africa and Mansa Musa, Mongolia and Genghis Khan, Ancient China, China and Kublai Khan, The Silk Road and Marco Polo and the Muslim world of Arabia, Persia and the Ottoman Empire with notable historical figures such as Ibn Haytham, Ibn Sina, Khalid ibn al Walid, Saladin and more.
-
![]()
Marco Polo Unit Study
As we explored historical events and notable figures, we were whisked away into histories that deserved their own units rather than afterthoughts to a larger Middle Ages unit. As a result, we now have an African main lesson block which focuses on the empires of Mali, Ghana and Songhai, the king Mansa Musa and the time period of about the 900s to the 1400s. We also did a unit on Ibn Battuta, Marco Polo and the Great Khans of Mongolia.


US History
-
![]()
Age of Discovery
In a Waldorf setting, the Age of Discovery is presented in Grade 7 along with the Age of Exploration, Renaissance Biographies, Reformation Biographies, and European Geography. The Age of Discovery covers the explorers, such as Christopher Columbus, Vasco de Gama, Ferdinand Magellan, and the Hernan Cortez and Francisco Pizarro (who conquered parts of central and South America)
-
![]()
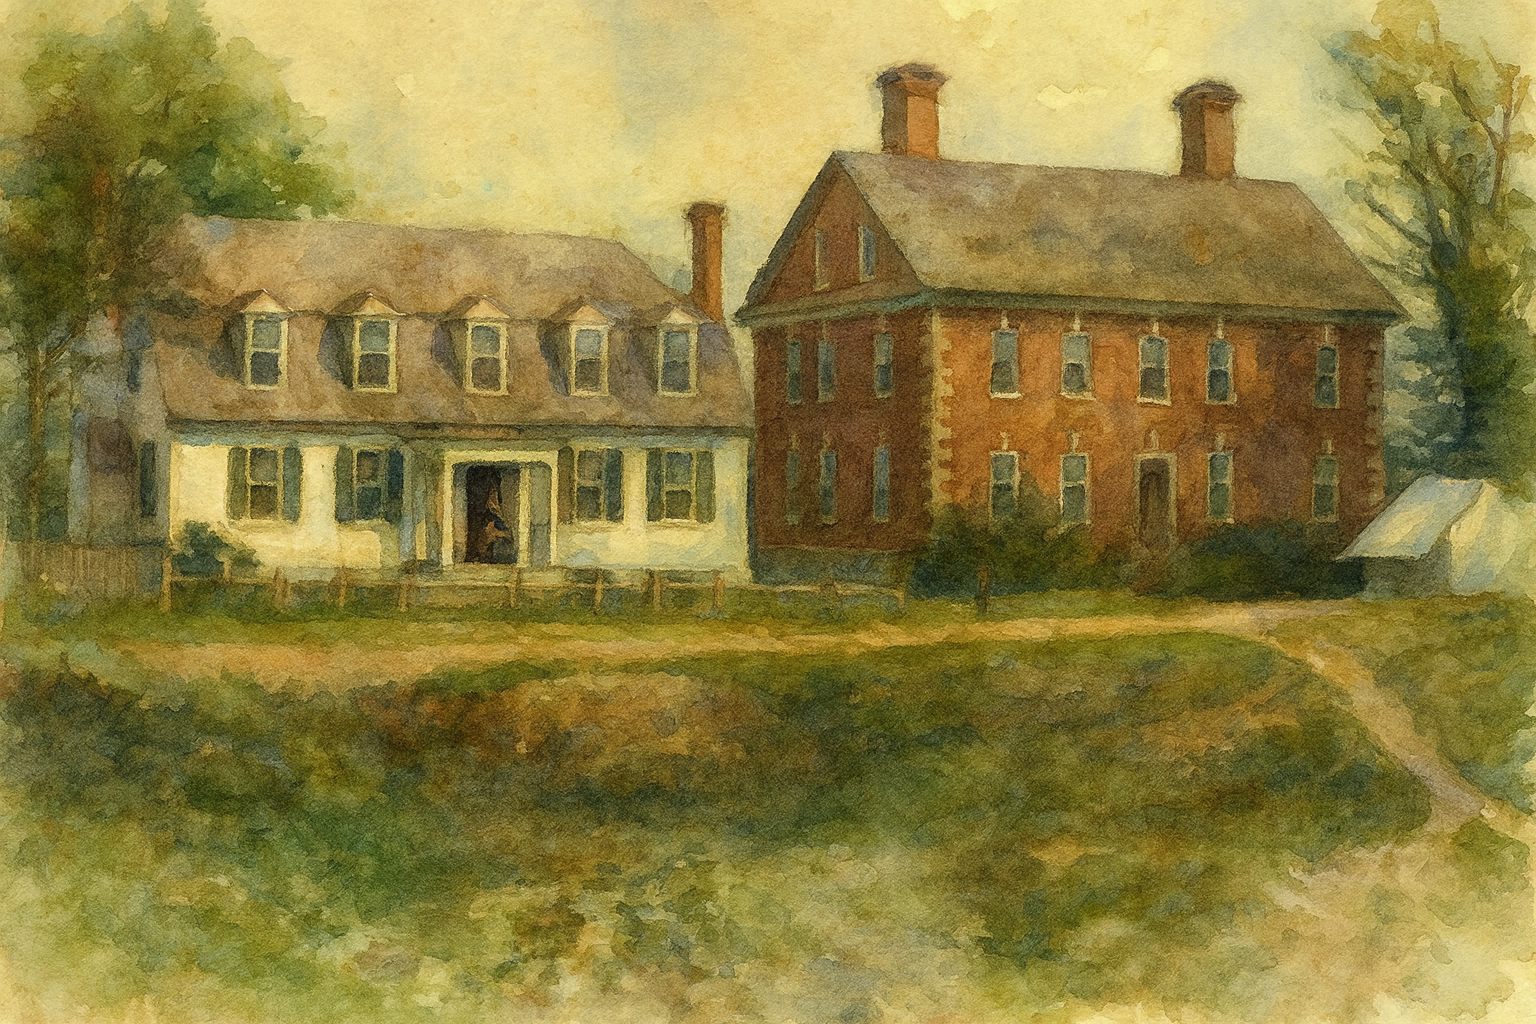
Colonial Times
The Colonial Times along with the American Revolution and Civil War are covered in the US history block for grade 8, while Western Expansion is taught in a local history block in Grade 5. However, I brought this unit to elementary school as a unit study rather than a Waldorf inspired main lesson block.
-
![]()
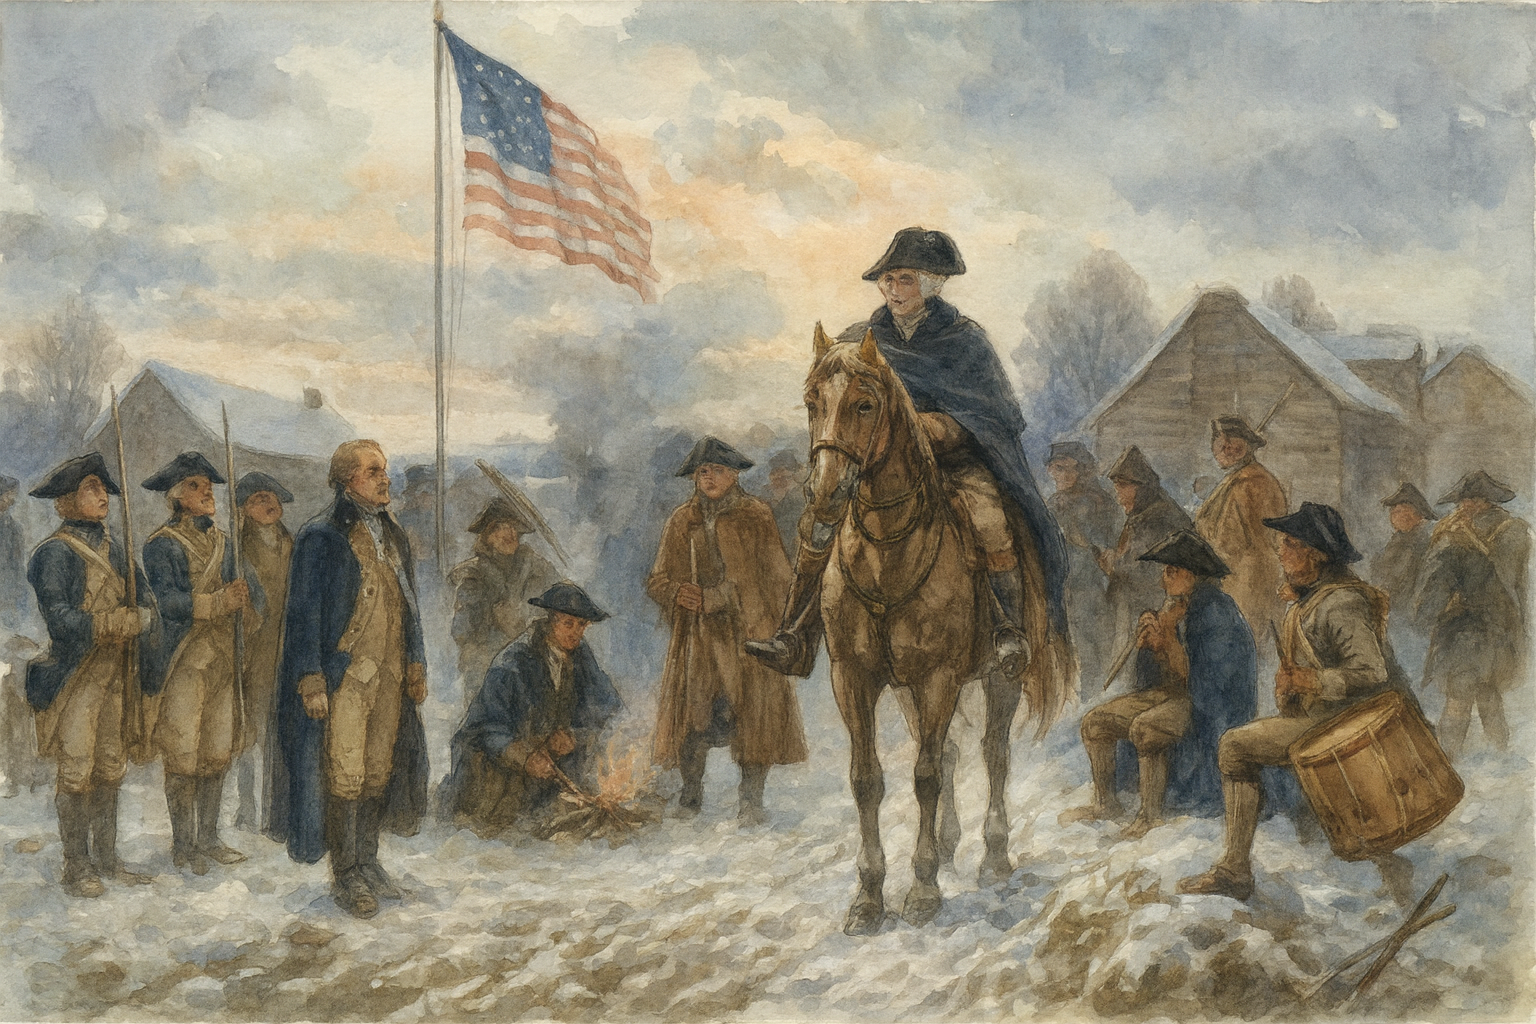
Revolution
Our American Revolution Unit Study was completed a few times with unique projects each time. While some books (especially picture books) may be used again when a unit comes around again, often I collect some fresh books to inspire all of us. This unit was small and was a companion to the Colonial Times unit. Many of the projects may be used with either unit.
-
![]()
Civil War
Upon entering adolescence, the Grade 8 student has a desire for stronger critical thinking and refined moral capacities. The ability to engage in critical thinking is a milestone marker of puberty. The Civil War provides a rich opportunity for student to discuss, examine conflict, freedom, justice, and human rights. By this age, students can understand social upheaval and national transformation.
-
![]()
Western Expansion & Lewis & Clark
When I started planning our American History units, I quickly found myself overwhelmed by the sheer volume of materials available. Everything looked to inviting and inspiring and I did something I do often, I overbought and over planned. Then I had to read our way out of the massive pile of books I had purchased! We did…slowly and over years.
-
![]()
California History
California history including the gold rush make up this unit. It's a mix of biographies, historical fiction, resource books, kits and a 'how to draw' book. I think I'm most looking forward to the kit we got for panning for gold. We also really like the 'Who Was..." books for their simplicity, content and illustrations. No unit of mine would be complete without a hands-on activity and this unit includes a 'gold' excavation kit.
-
![]()
Alaska Unit Study
Our exploration of Alaska came about because my sister, Samiah and her family, moved up to Alaska in the fall of 2020. Once there, she was diagnosed with a brain tumor and after surgery, it was discovered that it was an aggressive and fast growing brain cancer. As a family, we decided to visit her after she recovered from brain surgery but before she began her cancer treatment which included chemotherapy and radiation.
-
![]()
US Geography
Ever learned the fifty states and capitals only to forget them? Try adding some games like Fast Track States and Capitals or, my favorite 10 Days Across the USA. If songs are your thing, you can try the states and capitals CD by Audio Memory. These catchy tunes will get you memorizing the states and capitals in no time!


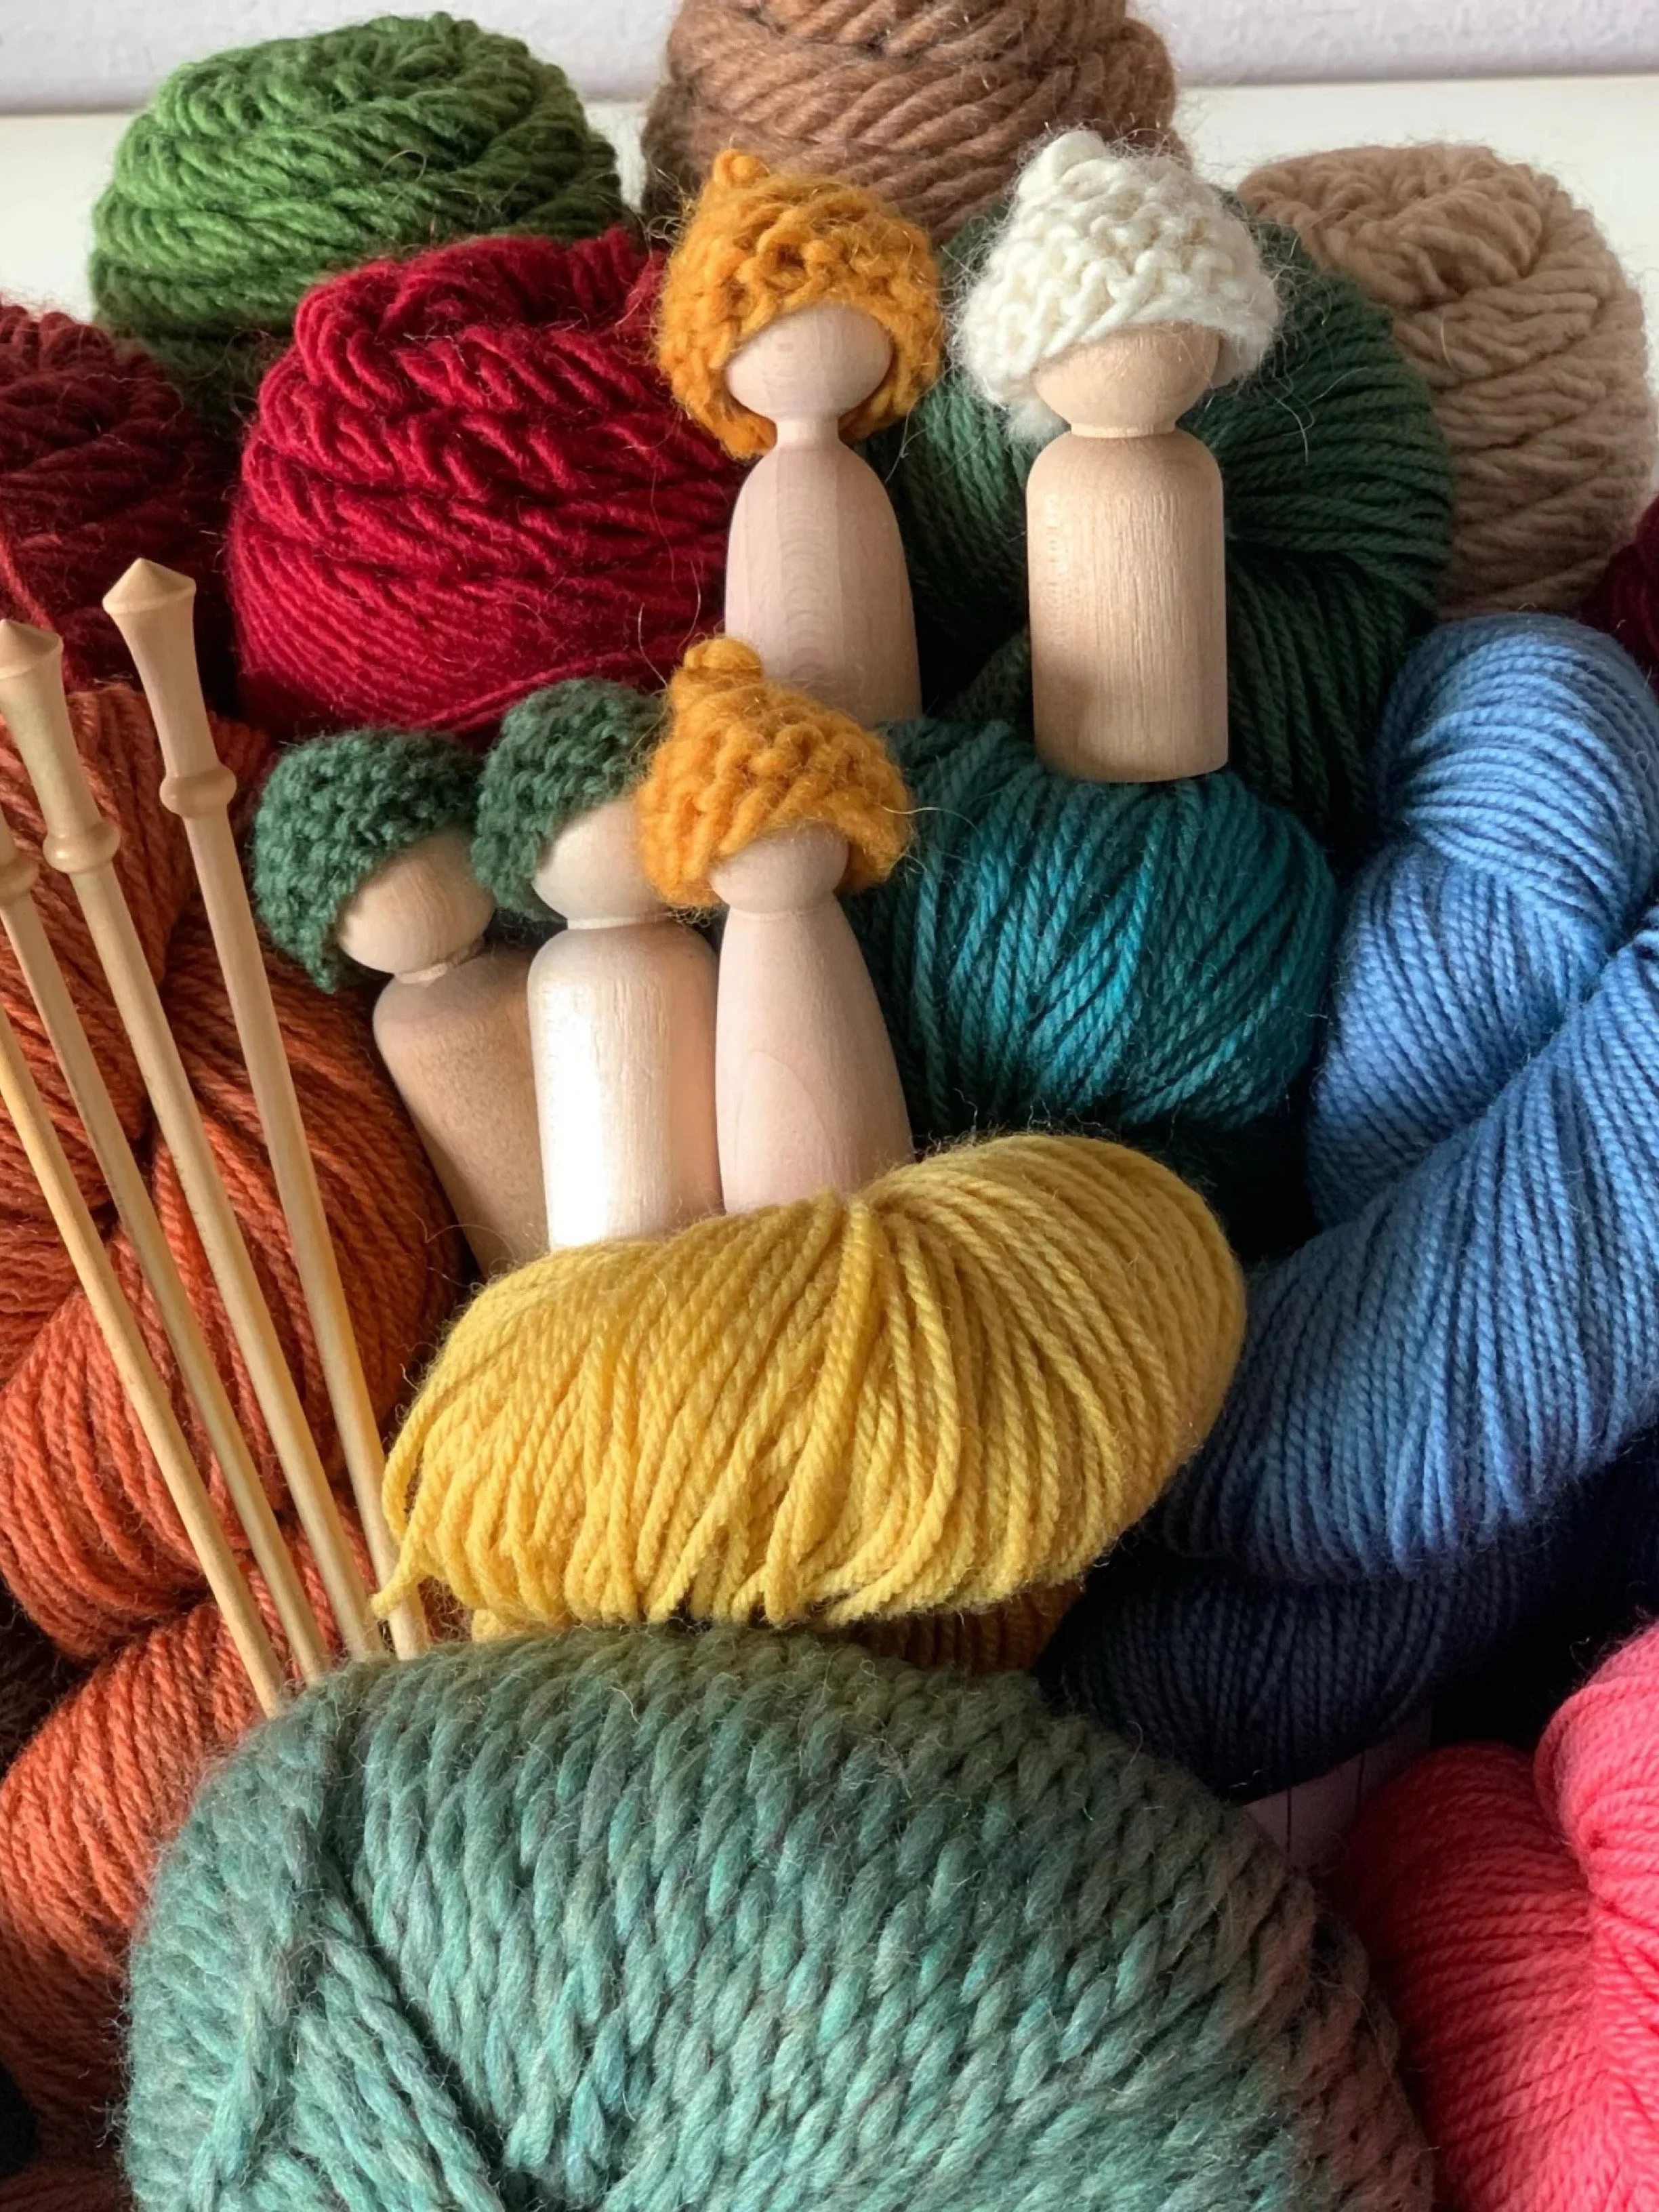
Handwork
Handwork is a subject found in Waldorf schools just as you would find math or literature. However, handwork classes are not daily, rather they are twice a week or weekly. Handwork is the willing of the child manifested beautifully, artfully and with much perseverance and dedication in projects using natural materials like wool or cotton.
Just as the Waldorf pedagogy aims to support the child with education that meets the developmental needs and changes of the child, so does the handwork approach. Each year, the child is introduced to a new skill which reflects their needs. In many ways, the handwork projects and skills mirrors the main lessons for that grade level.
For instance, in Grade 4 when the student is awakening to their individuality and studying Norse mythology, the handwork focuses on embroidered initials and celtic embroidered forms. In Grade 8 when the student is studying the industrial revolution, he is introduced to the sewing machine in Handwork.
Handwork Through the Grades
-
![]()
Grade 1
Grade 1 handwork focuses on building foundational skills that support the child’s will development, concentration, fine motor skills, and inner calm. The curriculum is deeply connected to the child’s developmental stage and is taught through storytelling, rhythm, and imagination.
-
![]()
Grade 2
In Grade 2 of a Waldorf school, handwork builds on the knitting skills learned in Grade 1, introducing more complex projects like knitting in the round with four needles. These activities support fine motor development, concentration, and inner balance while fostering creativity, perseverance, and a love for purposeful work.
-
![]()
Grade 3
In Grade 3, handwork focuses on practical skills like crocheting and simple garment making, helping students feel grounded through purposeful work. Projects often include crocheting hats, bags, or animals, reinforcing fine motor coordination and independence.
-
![]()
Grade 4
In Grade 4, students explore cross-stitch or embroidery, as they decorate useful items or create geometric patterns. This encourages harmony and beauty in their handwork as their sense of form matures.
-
![]()
Grade 5
In Grade 5, students learn to knit in the round using four needles, creating socks or animals, which supports their developing individuality and ability to manage complexity. The work builds resilience and patience through steady, structured progress.
-
![]()
Grade 6
In Grade 6, handwork includes pattern making and sewing animals or useful objects from fabric, fostering spatial awareness and practical application. Projects grow in complexity to match the students’ growing analytical thinking and capacity for precision.
-
![]()
Grade 7
In Grade 7, students engage in more advanced machine or hand sewing, such as designing and constructing clothing, bags, or accessories. This process encourages self-expression, planning, and the ability to bring an idea through to completion. Doll Making continues with more complex details, refining skills students have previous learned.
-
![]()
Grade 8
In Grade 8, handwork culminates in a major individual project that may include quilting, costume making, or other fiber arts. This independent, creative endeavor helps students reflect on their skills and identity as they prepare to transition into high school.
-
![]()
Grades 9-12
In Waldorf high school, hard crafts deepen students’ engagement with form, function, and beauty through practical, hands-on projects such as metalwork, woodcarving, bookbinding, and leatherwork. These crafts cultivate precision, perseverance, and artistry, fostering both self-discipline and a deeper connection to traditional skills and natural materials.

Homeschool Haul
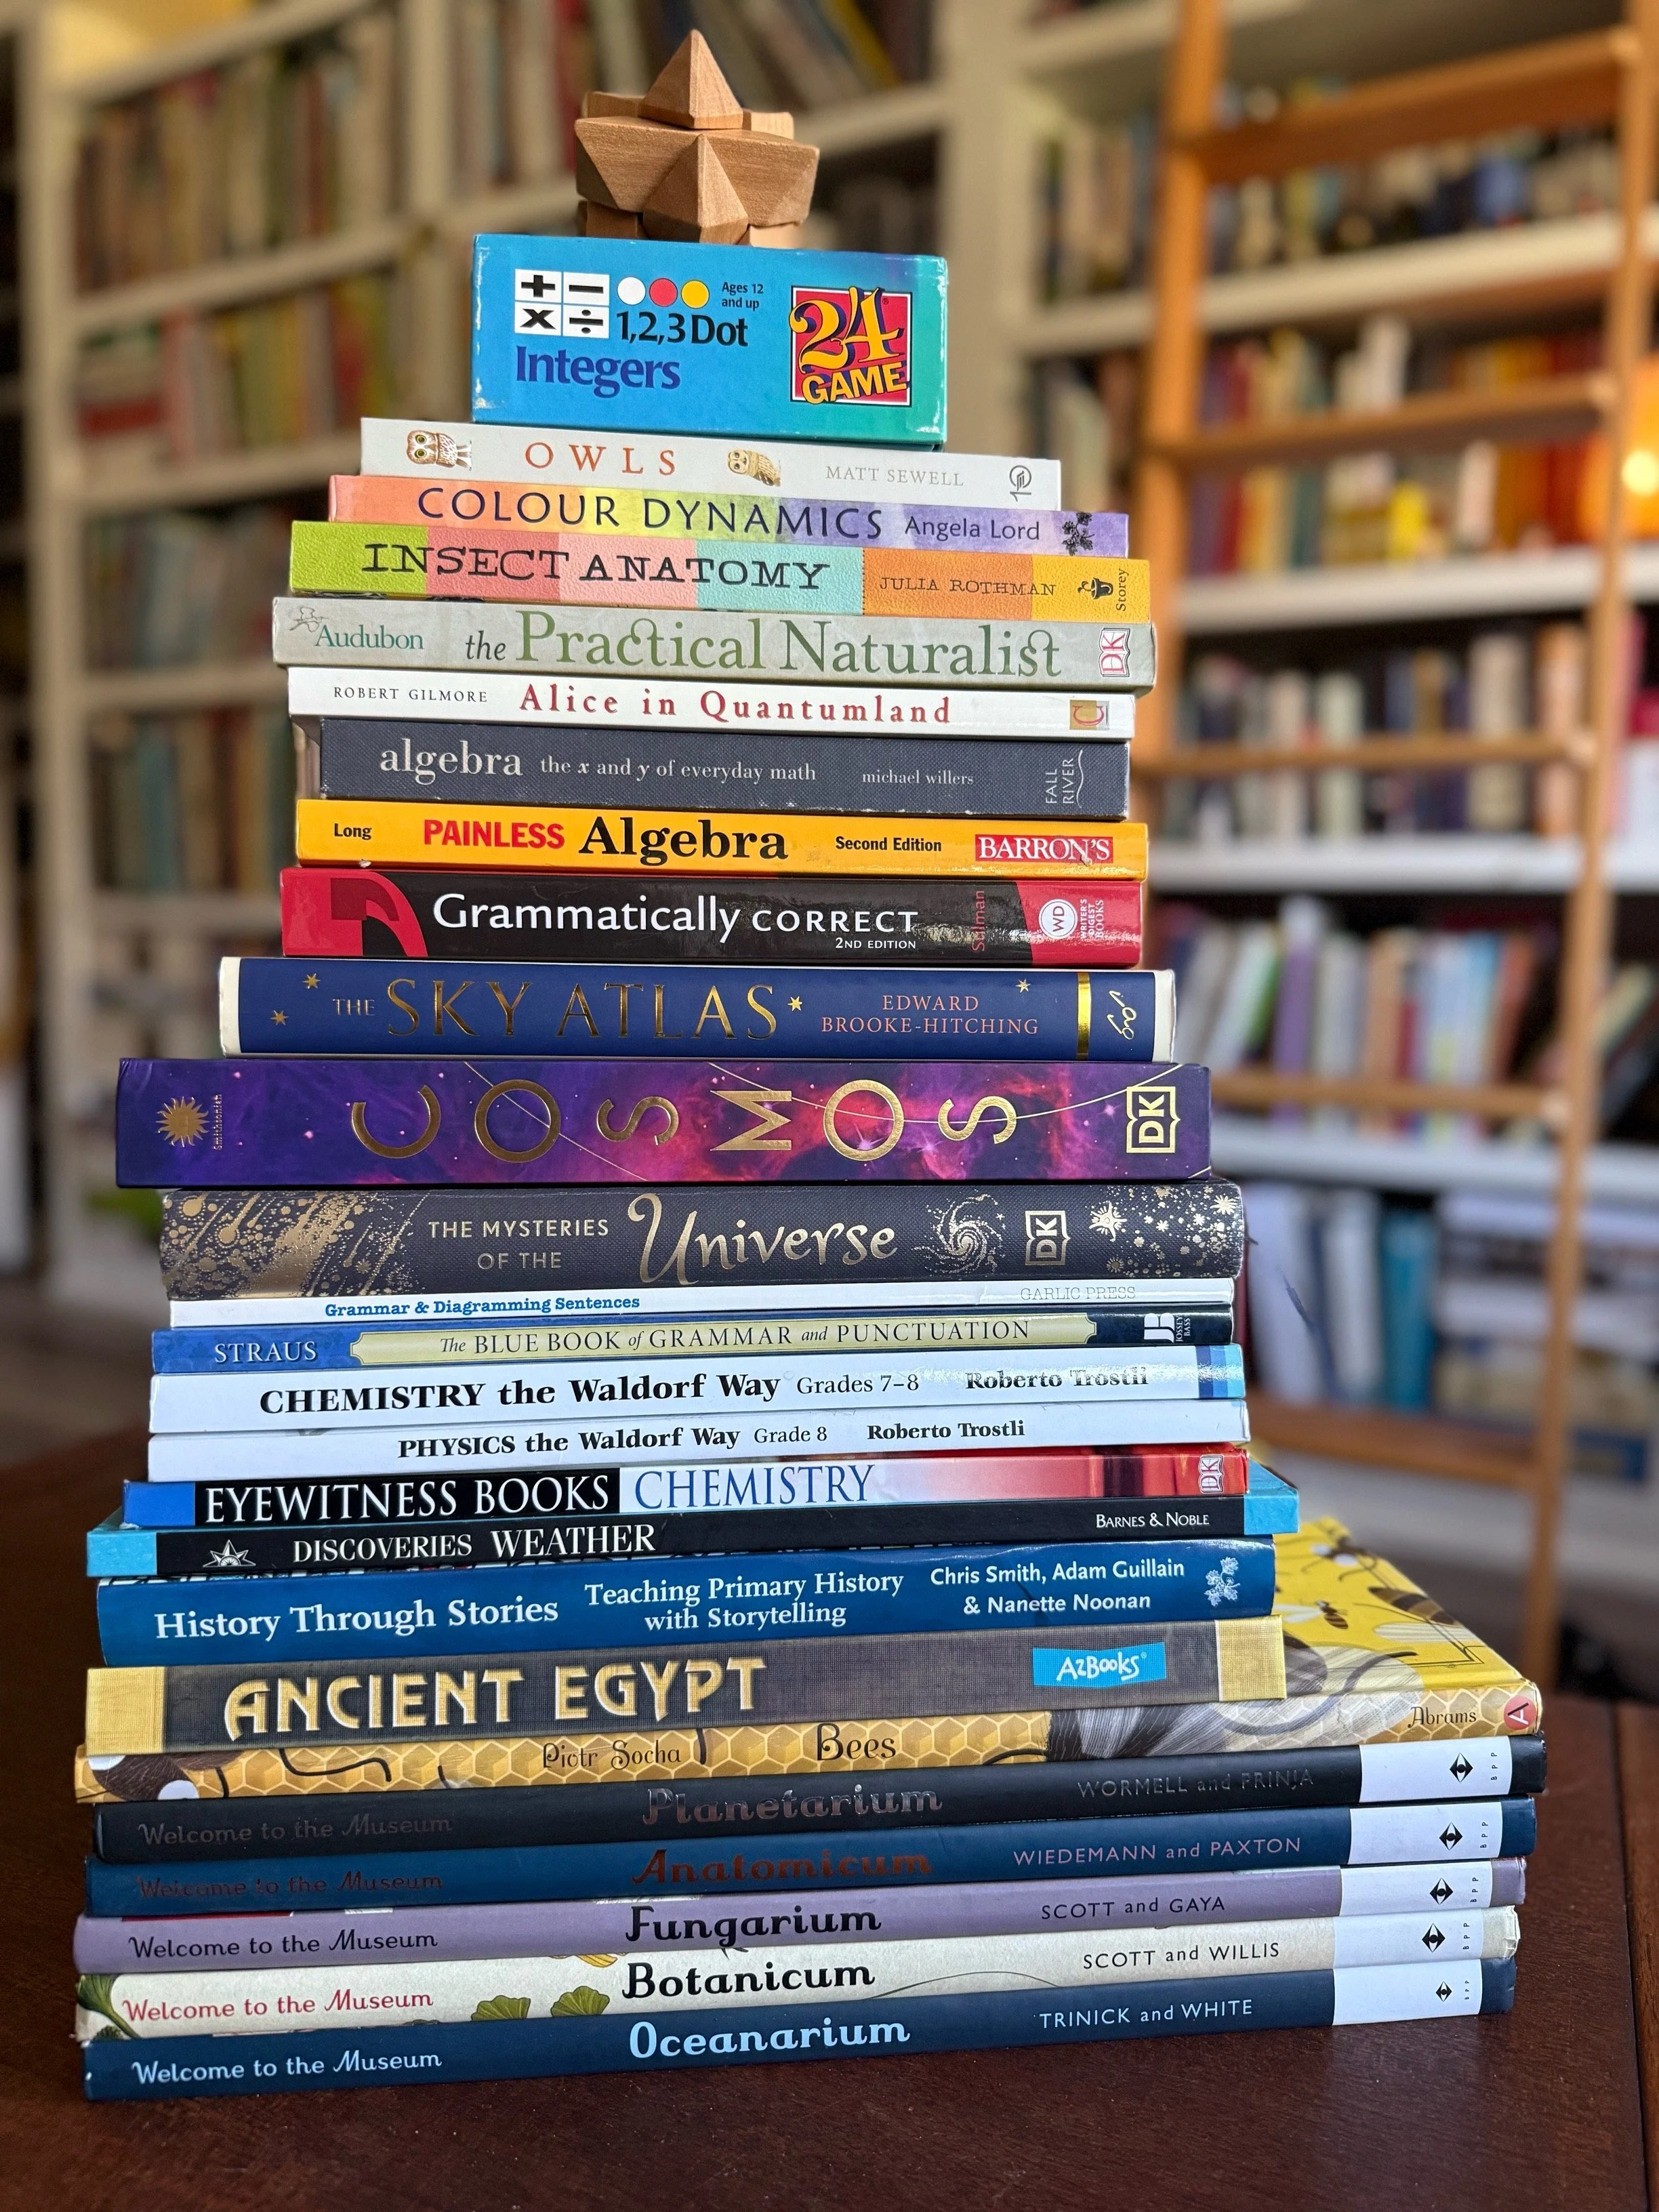
Nothing excites a new school year like a homeschool or curriculum haul. I make a couple huge orders in the summer and winter for material to last the semester and year, often with materials to use again and again with my other students. Many of the supplies I get are either books, handwork material or hands-on projects. I get most of my supplies from a few of my favorite vendors: Rainbow Resource, A Child's Dream, Acorn Naturalists, and Nature-Watch. I also buy from Waldorf Supplies, Barnes and Noble and other vendors. We homeschool using a charter school which provides educational funding to purchase homeschool related materials, so much of what you see in my curriculum and homeschool hauls comes from charter funding. While this allows me to try out new materials without the worry of cost, the materials do belong to the school and need to be returned to the school when we withdraw from the school. Consumable items are not returned as well most of the books and games.
Waldorf Inspired Homeschooling
-
![]()
Ruining Your Kids with Waldorf Education
“You cannot mess up your kids, but you can make mistakes”
M. Chaudhry
What a relief that you cannot mess up your children, but you can make mistakes. Well it’s not so much a relief that you can make mistakes, but mistakes are part of our human existence and when we come to terms with it, we may better navigate the fall out of mistakes by correcting them and changing our course.
-
![]()
What Happens When You’re Not Waldorf Enough
It’s possible to feel like you are not Waldorf enough when there are plenty of opportunities to see how others are applying Waldorf principles. Are you really not Waldorf enough? Maybe…but that’s okay!
-
![]()
How to Avoid BOTH Kinds of Homeschool Burnout
There’s burnout and then there’s BURNOUT. Distinguishing between the two is important so you can find viable solutions. Burnout that is associated with the change in season, the months prior to the school year ending, or with winter blues is fully manageable and curable. BURNOUT is not.
-
![]()
Untrained and Unskilled in Waldorf
What happens if you are untrained or unskilled in Waldorf education and I don’t feel capable to teach your children? This is a valid free that has a solution! It’s improbable that we are going to be skilled in all aspects of education. We have two solutions: Learn or hire out.
-
![]()
When There’s NO Time For Hands-on Projects
There’s certainly not going to be enough time to do hands-on projects and keep up with academic rigor. Or there will be time for both but not for something else. When choosing to do hands-on projects, you are choosing something that will take time, require set up, and will probably leave behind a mess to clean up.
-
![]()
How to Achieve Rhythm and Consistency in Daily Schedule
When life changes with a growing family, or a new endeavor (like homeschooling), or a move to a new neighborhood, our rhythm is disrupted and our daily schedule needs renegotiating. If you’ve never had a consistent schedule or a good rhythm that works for you, I have a couple suggestions.
-
![]()
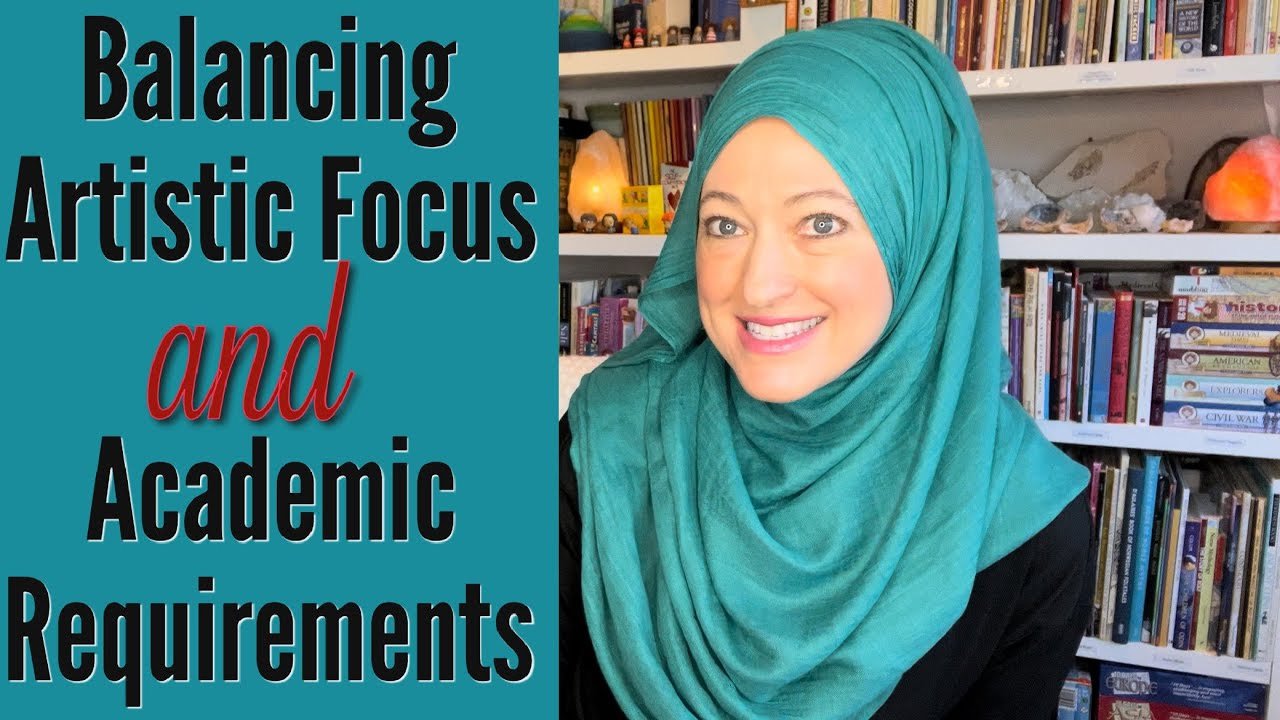
Balancing Artistic Focus and Academic Requirements
How do you balance artistic focus and academic requirements in Waldorf education? What IS artistic focus and academic requirement? Many main lessons in a waldorf setting include written work and an artistic expression. This art isn’t an art lesson, it’s a core subject lesson with an artistic representation of the lesson.
-
![]()
Are They Compatible? | Charlotte Mason & Waldorf
The short answer is yes! The long answer is there needs to be some understanding on what can be combined and what cannot. There are some deep differences between the Waldorf and Charlotte Mason philosophy, and I will help break down some of the differences in the main lesson block versus the short varied lessons, the duration of lessons, and the use of living books versus storytelling.
-
![]()
Worried About Expensive Waldorf Supplies
Waldorf supplies are expensive. It’s hard to justify the cost of these materials when there are cheaper more accessible materials. I’m sharing my list of items worth spending money on versus items you can find alternative for. The first place I invested money in, and a product I still have today is our grade 1 curriculum by Live Education.
-
![]()
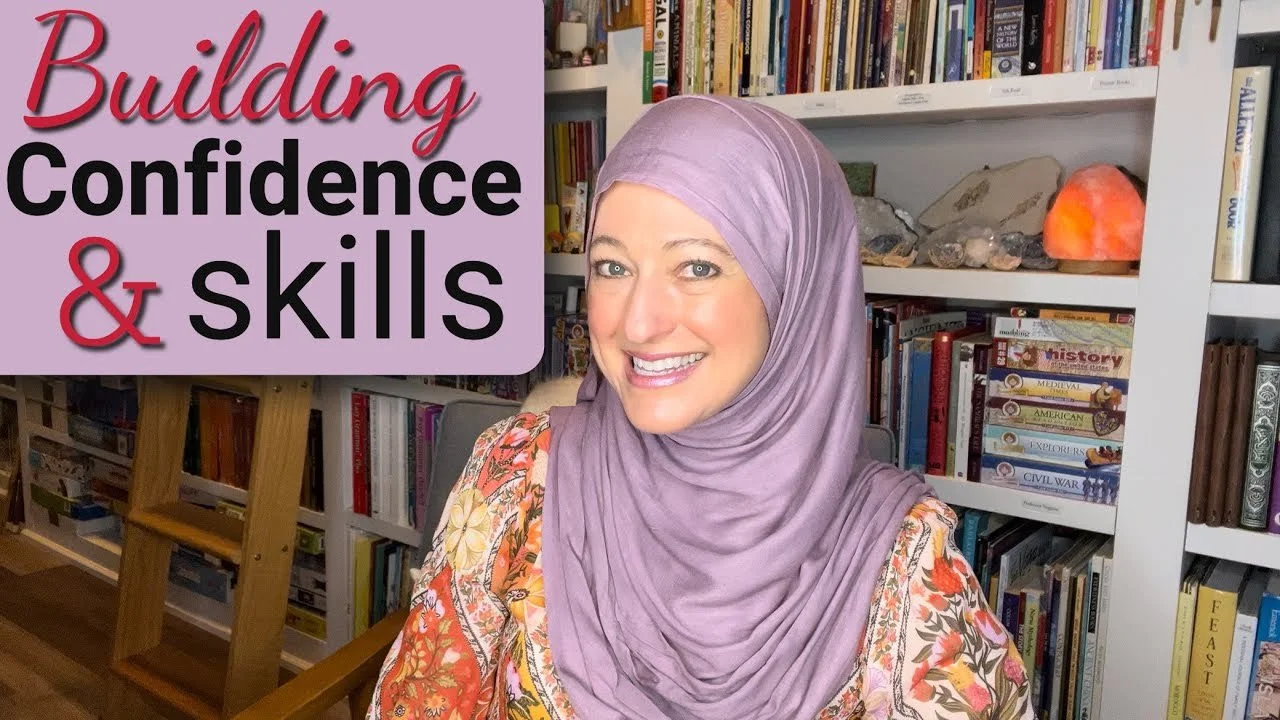
Building Confidence and Skills in Waldorf
How do you build your skills and confidence in Waldorf? The two main areas are practice and knowledge. The more you gain knowledge in the particular area you’re looking to build confidence in the more confidence you will have. And the more you practice the sharper, your skills will become, and the more confident you will be.
-
![]()
Is Waldorf Right for the Muslim Family
This introduction to Waldorf pedagogy for the Muslim family explores the origins of Waldorf education, its connection to anthroposophy, and how aspects of this educational approach can be adapted and aligned with Islamic beliefs, while acknowledging areas of fundamental difference.
-
![]()
Grade 1 Waldorf Pedagogy for the Muslim Family
Can the Waldorf pedagogy be adapted for Muslim families?I share how I brought stories to suit our family’s religious and cultural needs, while still maintaining the essence of Waldorf education. We start grade 1 at about age 7 when formal education begins. In grade 1, the subjects you are likely to find are form drawing, the letters of the alphabet, the numbers, nature study, the recorder, foreign language, eurythmy, games, and handwork.