When approaching the sciences of the middle school years (years 6, 7 and 8) in a Waldorf setting, you’ll find a drastically different and quite refreshing delivery physics and chemistry. Instead of tables, theories and graphics exploring the elements, states of matter, metals and their reactivity, organic and inorganic chemistry, and more, you find a slow yet thrilling observation of the phenomena. Students will watch in wonder as a demonstration occurs, with the teacher explaining the apparatus, not the experiment. She will delivery the demonstration yet not explain it or conceptualize it. It will be left alone until the following day when she will ask the students to use their power of memory to recall the sequence and results. Through observation, conclusions will be established by the student. The student will move from “observation to thinking” and ” conclusion to concept” (Chemistry in Classes 7 and 8 by Graham Kennish page 21). If explanations and concepts are delivered with or before the lesson, those concepts become hardened as part of the phenomenon and leave no room for living, dynamic thought. Those powers of observation are dulled and replaced with cold hard facts that were undoubtedly discovered and observed by philosophers of the past (scientists).
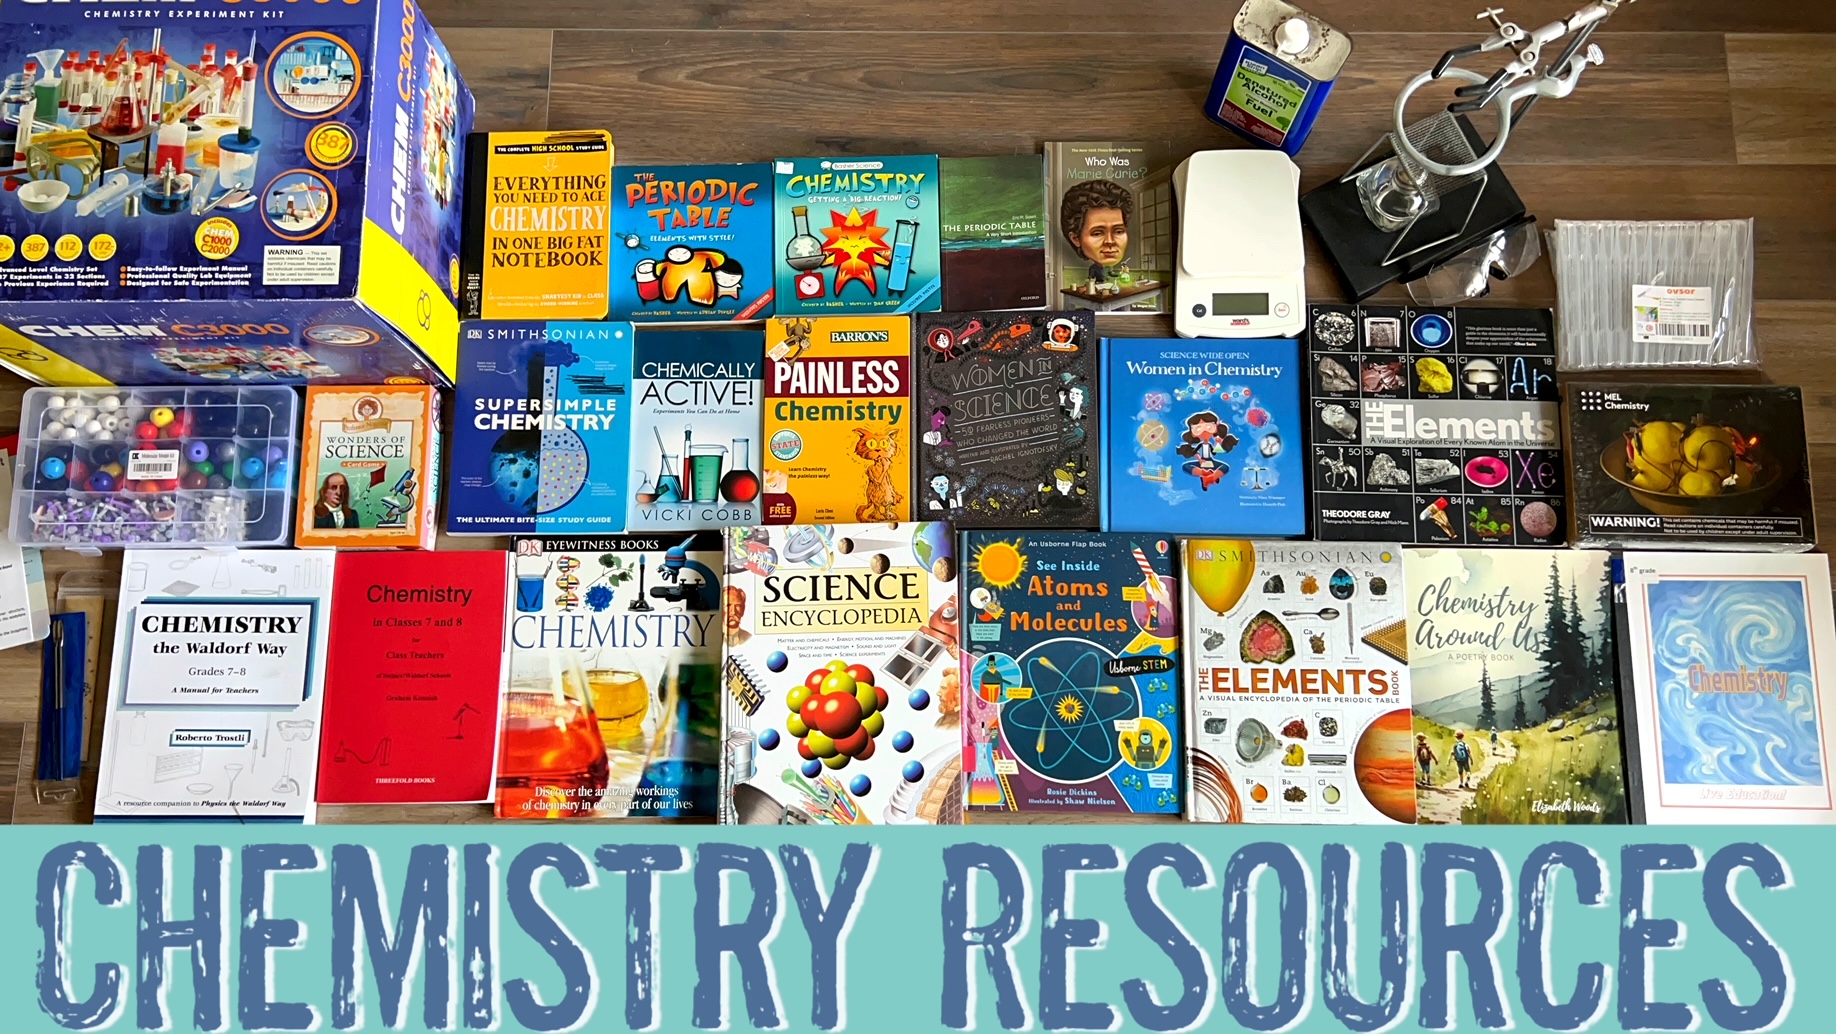
These are the books and resources I’m using to put together our Waldorf Main Lesson Block for Chemistry starting in grade 7 and continuing to grade 8. While I recommend 1-2 chemistry resource books for the teacher to familiarize herself with scientific concepts, this is not meant to be used in delivering the lesson or for the student. However, I do share an abundant list of resources in the Chemistry Unit Study video as well as the list of resources below that would be suitable for families who wish to approach chemistry in a conventional way. As for Chemistry in the Waldorf or Waldorf inspired approach, I have very few, yet incredible rich resources to share with you. Only one of these resources is necessary, and I make no secret that my current favorite middle school science resource is Chemistry the Waldorf Way and Physics the Waldorf Way (if you are looking for a Waldorf Physics resource). Your chemistry resource is only one of many things you’ll need to teach chemistry. Unlike other subjects in which a book and few supplies is sufficient, in chemistry, you budget needs to accommodate the supplies and materials needed for demonstrations.
Additionally, you’ll need a Main lesson book and while I prefer the 9.5″x12″ blank Main lesson book from A Child’s Dream, some teachers recommend an even larger main lesson book. One other thing to note: In the Live Education Anatomy main lesson book, it suggests that you do your chemistry main lesson block prior to doing your anatomy block. Sound advice. But if you are working with individual books rather than a full curriculum you may find this challenging. To date, I’m only deeply familiar with the Live Education curriculum having been first introduced to it in 2003, though since then, many other curricula have found their way to the marketplace inviting many choices. Whatever path you choose, may you find the resources easy to use and meaningful for your students.
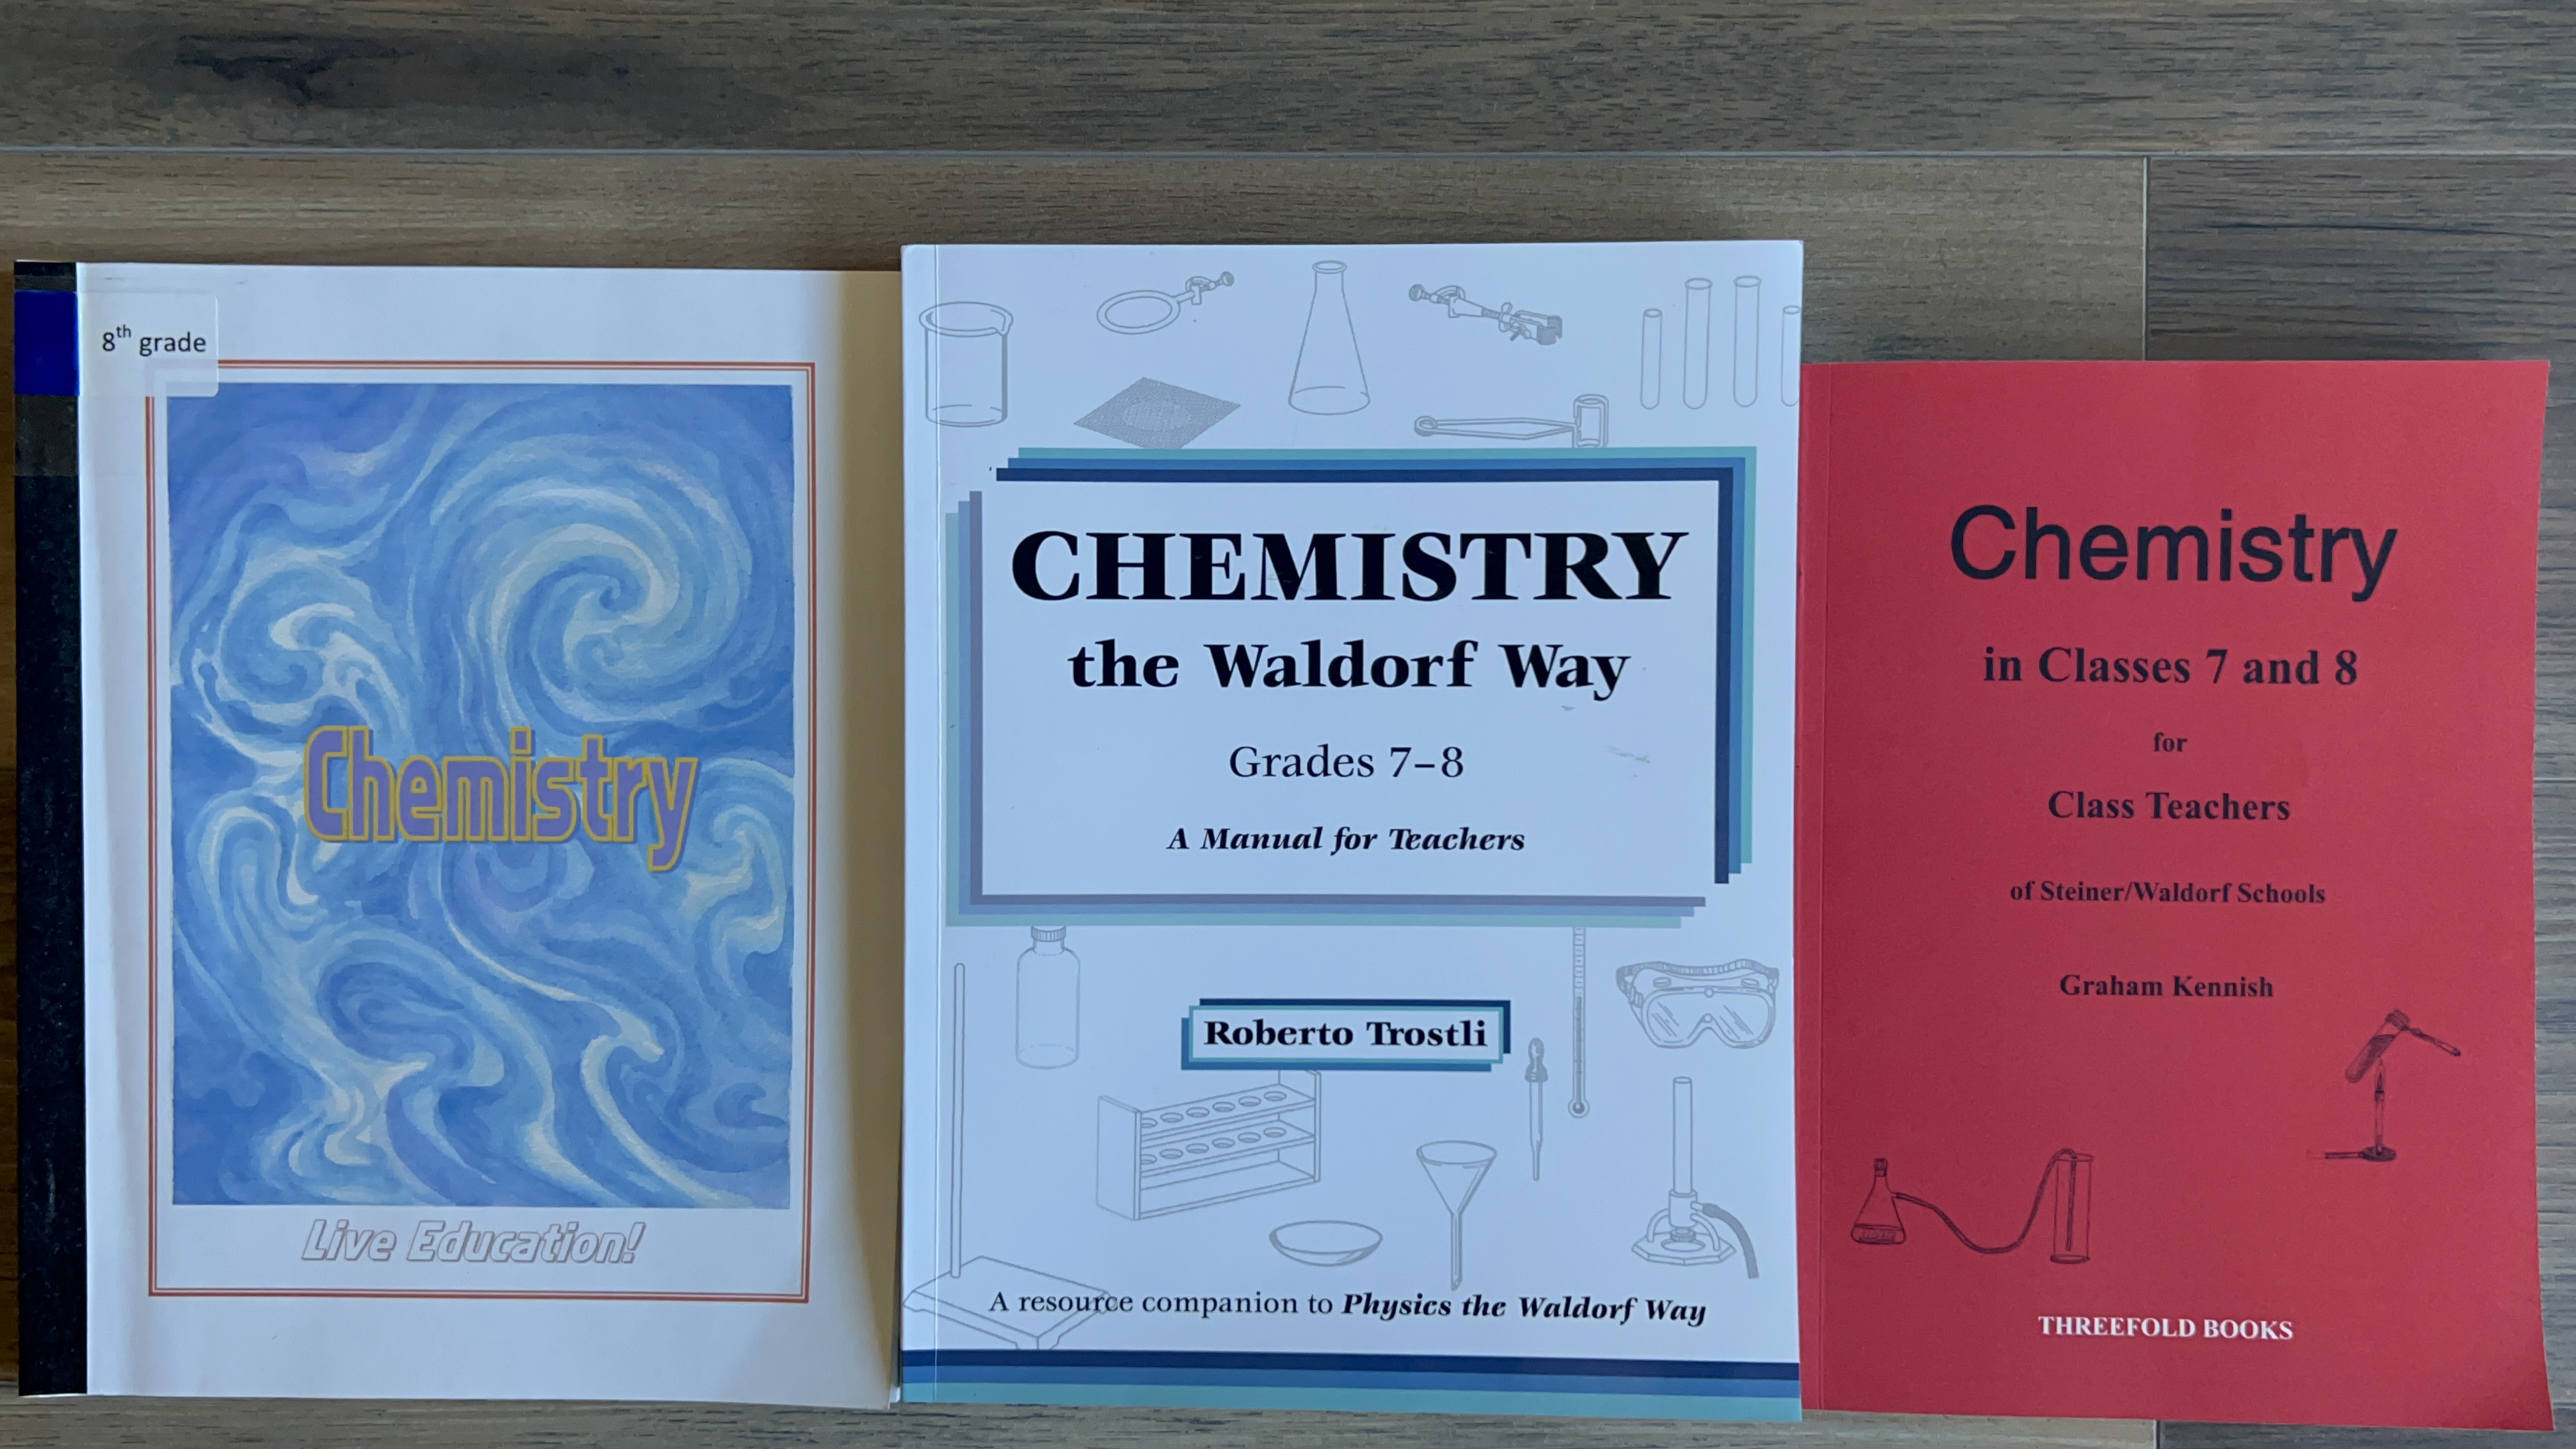
Waldorf Chemistry Resources
- Chemistry the Waldorf Way: A Manual for Teachers Grades 7-8 Paperback – by Roberto Trostli (Author)
- Chemistry in classes 7 and 8 for class teachers of Steiner/Waldorf schools (THREEFOLD BOOKS IN ENGLISH) Paperback – by Graham Kennish (Author)
- Live Education Grade 8 curriculum (including Chemistry)
Chemistry Resources
What’s the difference between Waldorf chemistry resources and these resources? Primarily, it’s in the scientific content. You’ll find all the science that’s been discovered through years and years of science exploration in chemistry and beyond collected and organized in the following resources. You will also find experiment suggestions. What you won’t find is the opportunity for your student to make his or her own conclusions based on observations of the phenomenon through chemistry demonstrations. When the student discovers the unfolding of a chemical process and sees the results without being told of the concept or having the phenomenon explained, the student may live the science in a dynamic way, while the observations and memory of the demonstration settle in the students mind.
Can both approaches exist in one unit? I would encourage you to do these lessons in the way you feel most comfortable. The following resources are more than you will need for middle school, so I suggest using just the ones that appeal to you the most and avoid books that are redundant as I have shared many books that are quite similar. One type of book that I think works for both a Main lesson approach as well as a unit study are biographies. And while female scientist biographies may have been slim in the past, I’m pleased to see so many females represented in this space now.
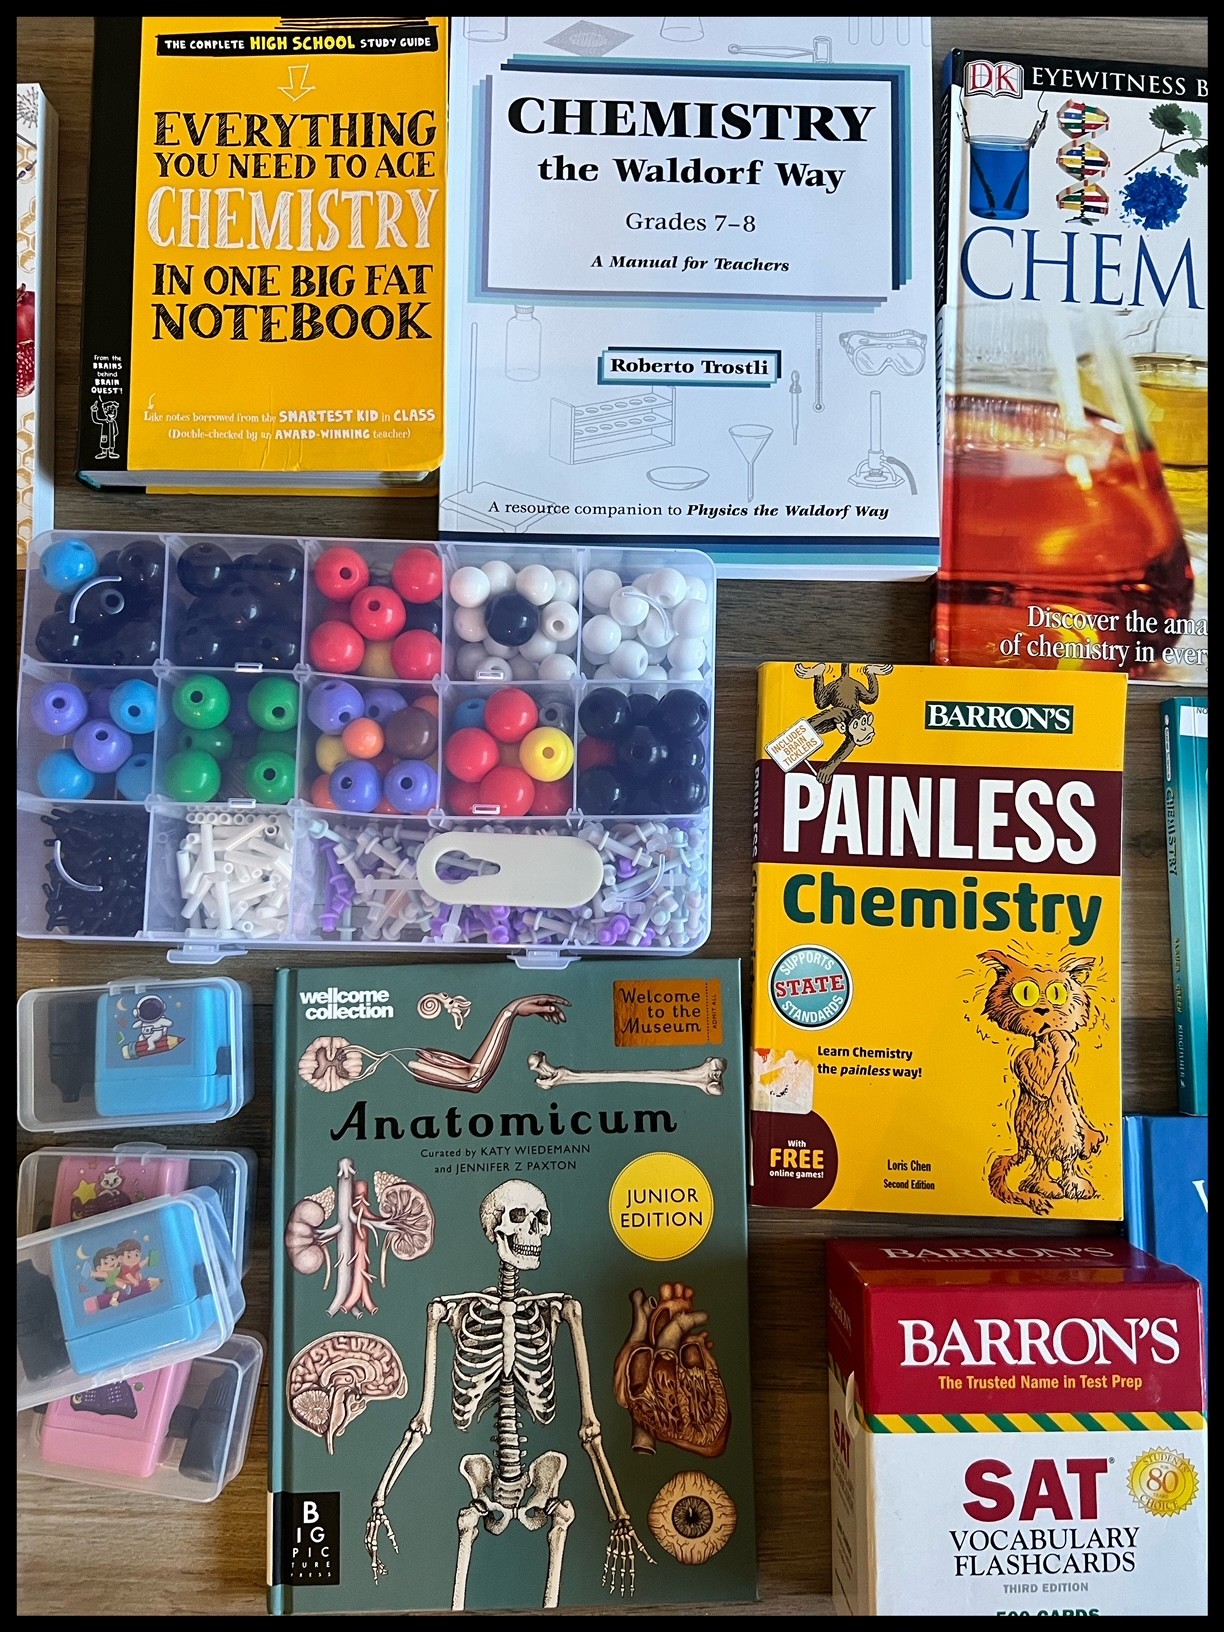
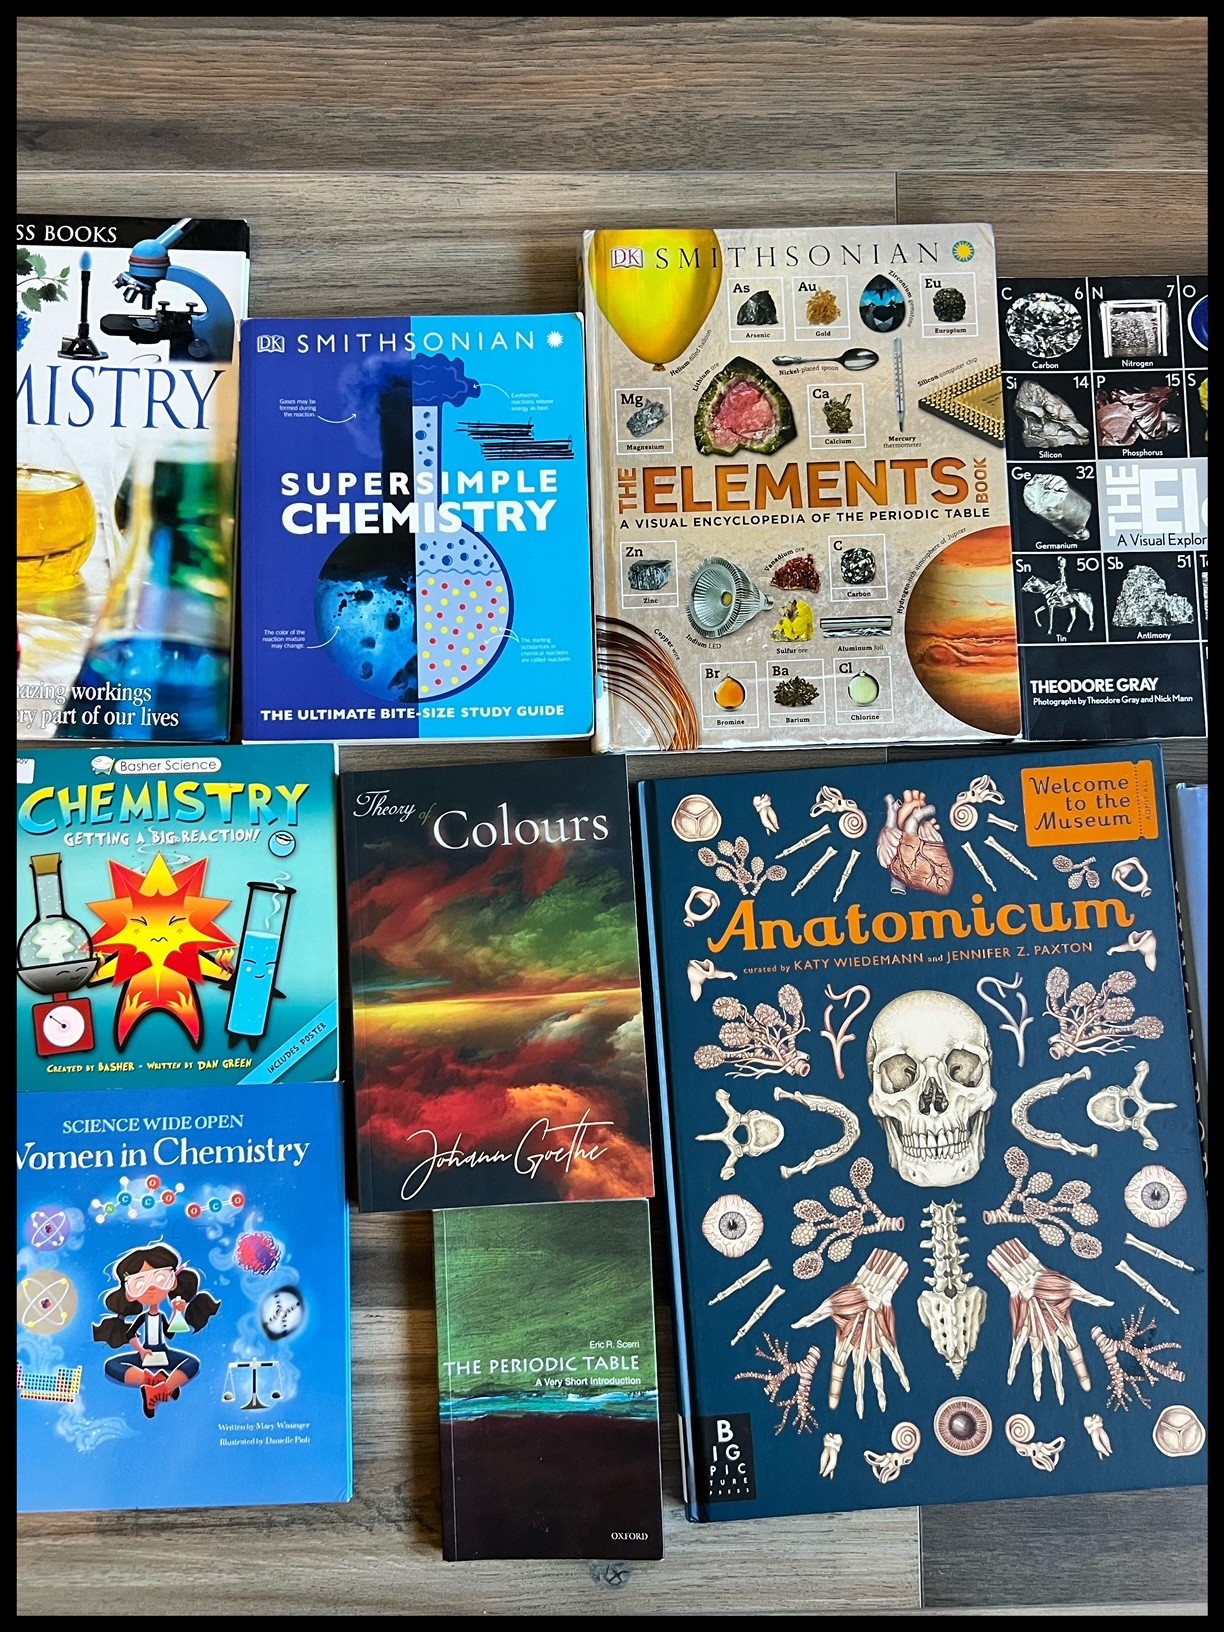
Chemistry Resources
- Thames & Kosmos Chem C3000 (V 2.0) Chemistry Set
- Everything You Need to Ace Chemistry in One Big Fat Notebook
- The Periodic Table: Elements with Style! by Simon Basher (Author), Adrian Dingle (Author)
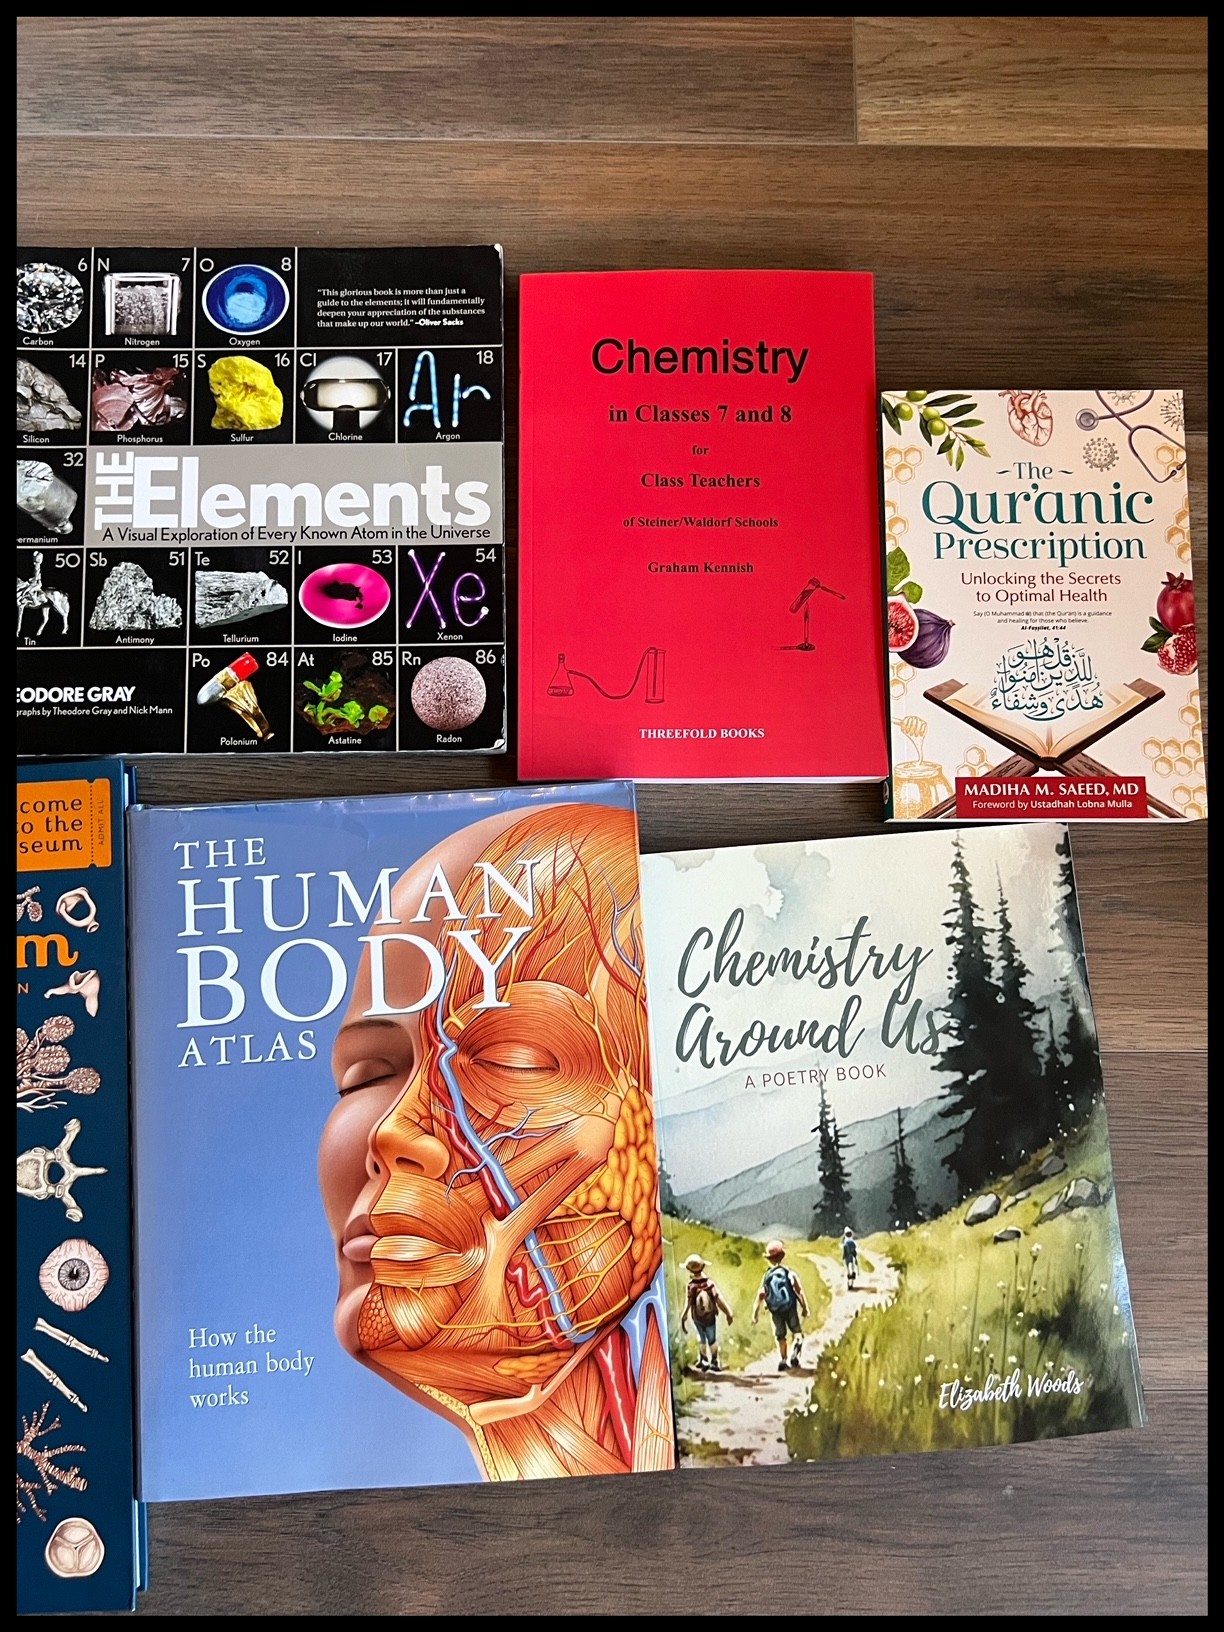
- Chemistry Around Us: A Poetry Book Paperback – by Elizabeth Woods
- Molecular Model Kit, 444 Pcs Organic Molecular Chemistry Set
- The Human Body Atlas: How the human body works Hardcover – by National Geographic
- The Elements Book: A Visual Encyclopedia of the Periodic Table (DK Our World in Pictures) Hardcover –by DK (Author), Smithsonian Institution
- Elements: A Visual Exploration of Every Known Atom in the Universe by Theodore Gray (Author), Nick Mann (Photographer)
- Painless Chemistry by Loris Chen
- The Periodic Table: A Very Short Introduction (Very Short Introductions) 2nd Edition by Eric R. Scerri
- Super Simple Chemistry: The Ultimate Bitesize Study Guide by DK
- Basher Science: Chemistry: Getting a Big Reaction Paperback – by Simon Basher (Author, Illustrator), Dan Green (Author)
- Basher Science: The Complete Periodic Table: All the Elements with Style! Paperback – by Adrian Dingle (Author), Simon Basher (Author, Illustrator), Dan Green (Author)
- DK Eyewitness Books: Chemistry: Discover the Amazing Effect Chemistry Has on Every Part of Our Lives by Ann Newmark
- Outset Media Professor Noggin’s Wonders of Science Trivia Card Game
- Science Encyclopedia
- Knowledge Encyclopedia Science! (DK Knowledge Encyclopedias)
- Women in Science: 50 Fearless Pioneers Who Changed the World by Rachel Ignotofsky (Author)
- See Inside Atoms and Molecules Hardcover – by Rosie Dickins (Author), Shaw Nielsen (Illustrator)
- Who Was Marie Curie? Paperback – by Megan Stine (Author), Who HQ (Author), Ted Hammond (Illustrator)
- Women in Chemistry by Mary Wissinger (Author)
- Mel Chemistry
Chalk Drawing | Combustion
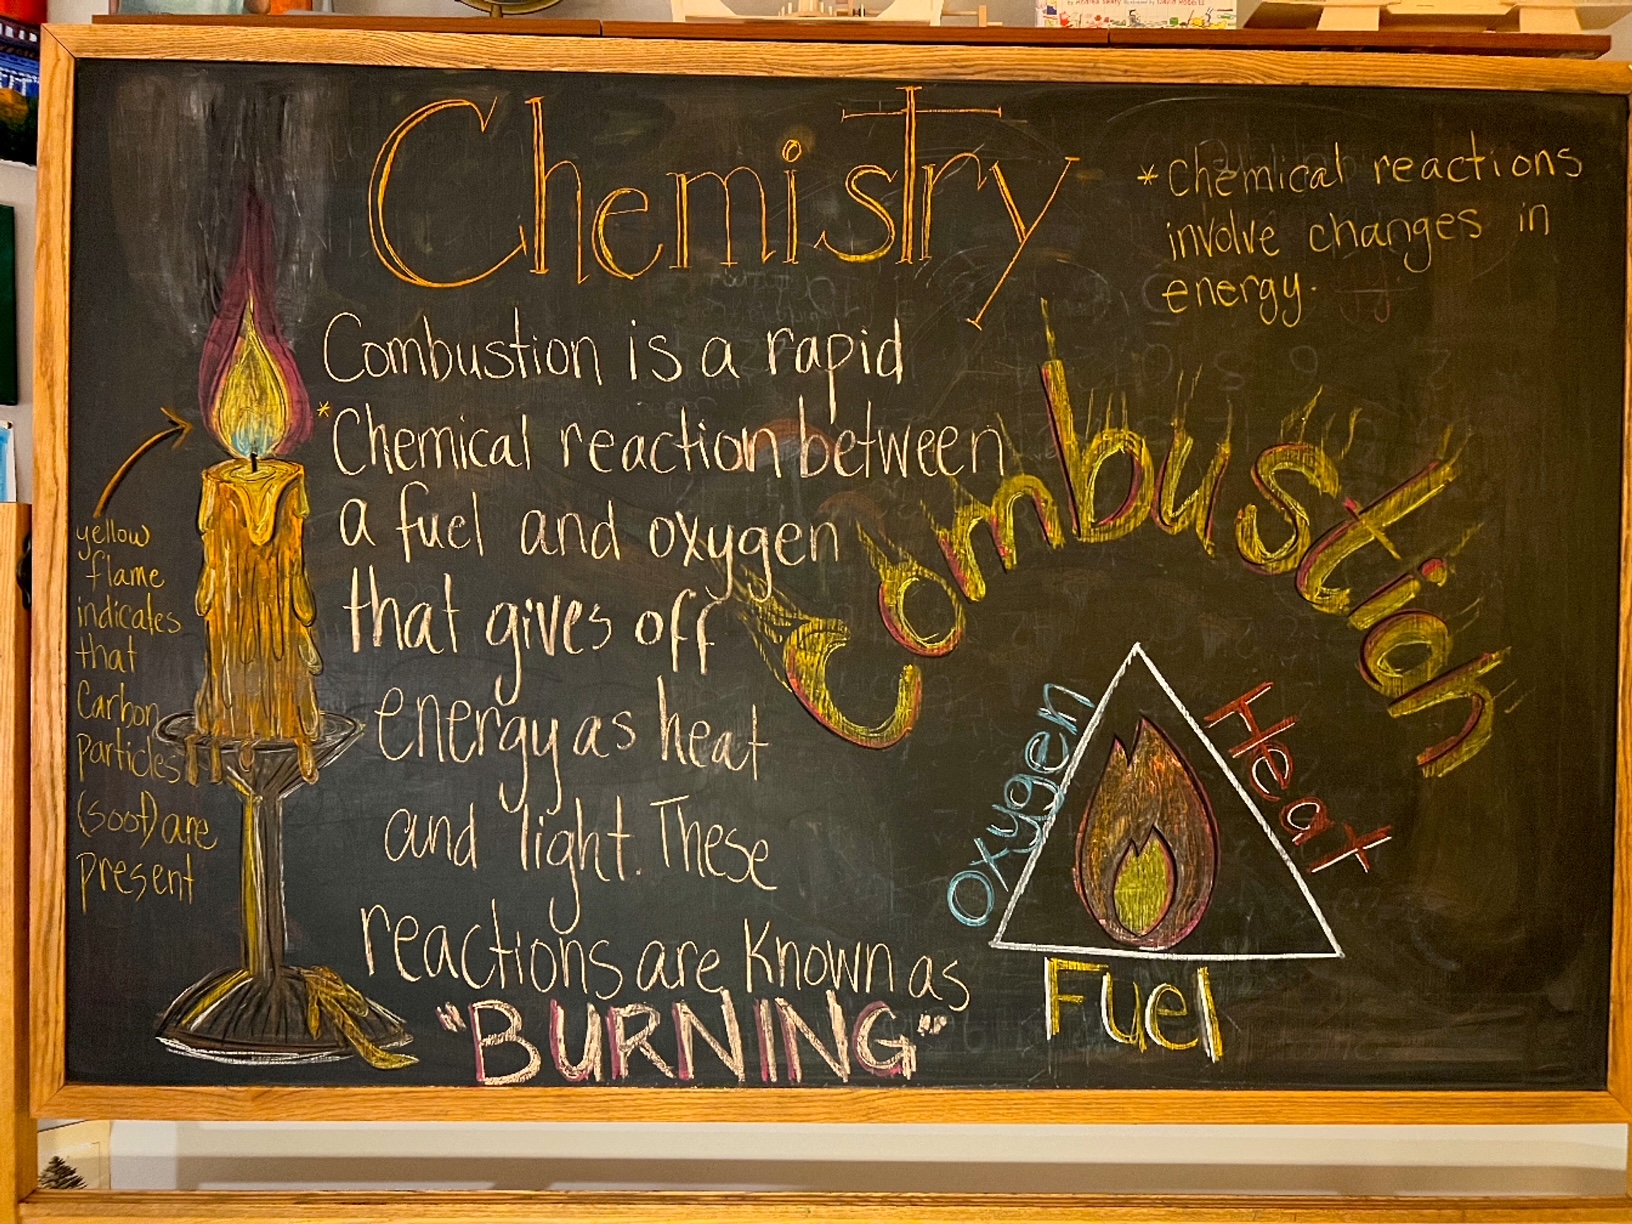
Chalk drawings are a quintessential part of Waldorf Main Lesson Blocks, but you don’t need to do a large scale drawing. While I have used my 4 foot by 6 foot chalkboard, I have made them on smaller boards or more often done drawings in a Main lesson book with my student. And even if you use a large chalkboard like mine, you don’t need to fill the whole board with a drawing, though I have been guilty of that in the past. For this chemistry drawing on combustion, I have one drawing, a graphic, a title and some text. This cuts down on the time it takes to make a drawing, and also lessens the need to keep it up long term as I have in the past because once you invest so much time in a chalk drawing, it can be a little hard erasing it.
For this drawing, I cleaned the chalkboard with a wet rag and let it dry completely. It does take at least 2 passes with a rag to clean it thoroughly. I used Super Simple Chemistry: The Ultimate Bitesize Study Guide by DK as illustration inspiration as well as some pinterest ideas that came from my homeschool friend, Emily at Life on a Ranch Homeschool. I sketched a couple designs in the Live Education Chemistry curriculum and opted to start with this drawing on Combustion as it is the first chemical process we will be covering. While these lessons still serve as an introduction to the subject area, I love connecting and relevant the lessons are for a middle school student.
Chemistry Lesson 1 | The Chemical Processes
You might look at the watercolor of blue ‘water’ and think, “That’s easy”, and you’re right, that’s easy looking and doesn’t seem to require any special skills, but our artistic representation of this first lesson in Chemistry: An Introduction to the chemical processes, took longer than expected and was harder to do than you’d think. The illustration may seem inconsequential to the lesson, and certain some would say it’s not necessary, it’s the lesson content that’s important, and for this lesson, I completely agree. However, I encourage you to do the water color representation of water because it was both meditative and engaging, gave my students time to pause and reflect (though what they reflected on may not have been the lesson), and allowed us to play with watercolors in a way that reflected the water cycle and the importance water plays in some chemical processes.
While this lesson covered three chemical processes: Combustion, Salt Formation and Solutions and Solvents, we only had space to write about two of them so we will save the third chemical processes for another entry. The imaginative story that opened this lesson draws upon the mineralogy block from the previous year. The story begins with volcanoes, a candle and our own digestion to weave the story to fire and combustion. We then look at the opposite of combustion and we explore the water cycle in relation to the limestone cycle, finally resting on salt formation and precipitation. We conclude the lesson with an introduction of solutions and solvents.
Chemistry Lesson 2 | Introduction to Combustion
The introduction to combustion was a beautiful imaginative story that gentle wove together concepts that were learned in the previous years in the mineralogy and botany main lesson blocks. Call backs to zoology were made as well, though more subtly. I like how we began by looking at volcanoes, a candle and even digestion to see what they all had in common before exploring combustion further. Other chemical processes were touched upon as well like oxidation and acids and bases. Even though several lessons are devoted to this introduction of combustion, the time is well spent in establishing a clear foundation as the study of chemistry is subtle in its causes though its reactions are spectacular.
Combustion Demonstration | The Chemical Process of a Candle
In this lesson for chemistry, we finally dive into our first demonstration. This demonstration involves seeing how long a candle flame burns within a glass jar. For this demonstration, we used a pint sized jar, a quart and 1/2 gallon mason jar. We hypothesized how long it would take before the candle extinguished in each jar, thinking the candle would burn twice as long in the quart versus the pint and twice as long in the 1/2 gallon as in the quart since those sizes are twice as large. The results were not as expected, however, I think more data needed to be collected for better results. However, the purpose of observing that the flame is extinguished after a period of time within the enclosure was achieved and this demonstrates that combustion needs a fuel (the candle), heat (the flame) and oxygen (the air).
The most exciting part of this demonstration was when we used water to create a seal so no air could seep in from under the lip of the jar and instead we saw the water rise in the jar as a vacuum was created as the oxygen was consumed out of the air.
For this demonstration we will need a candle, lighter, jars of various sizes and optionally, a dish and water if you want to try that variation of the demonstration. We included the lesson into the main lesson book a day after the demonstration was complete. We revisit the demonstration the following day as we recapitulate the demonstration before lesson work and the the new lesson.
DIY Chemistry Game
For one of our chemistry lessons, the curriculum suggested that the student record a list of elements with their symbols into the lesson book. Not all the elements were listed, only about 20 common ones related to the lessons were listed in the book. This project would be great as a group project with students doing a whole set of elements or making several sets of just one element. We took some liberties with the illustrations as related to the elements. For instance, we chose a tree for carbon rather than a diamond or graphite pencil which are both excellent ideas another homeschooler on Instagram suggested because carbon is trapped in plants and when you burn a tree, for instance, the carbon is released back into the air as carbon dioxide. And since we just finished several lessons on combustion, a tree for carbon made sense and was relevant.
Also, there is a difference between sodium the element and sodium the mineral, same for potassium. As both minerals contain the elements by their name, I used the mineral illustration on those cards with a salt crystal and banana to symbolize potassium even though there are far better choices for foods containing potassium. Many illustrations in fact contain images that depict the elements in their compound form just as iron being shown as a steel bridge or chlorine being shown as water because chlorine in the form of bleach is used to sanitize water.
This game was such fun to play that I’m considering doing another set with elements we haven’t done yet. And as I did this set for my daughter, I thought it would be fun for her to do the next set, though I think these elements are easier than the ones we haven’t done yet. The elements we did for this set are hydrogen, helium, nitrogen, oxygen, neon, carbon, sodium, potassium, phosphorus, sulphur, chlorine, aluminum, silicon, zinc. gold, silver, lead, iron, copper, mercury, and tin.
For this project we used Fabriano Hot Press 140 pound watercolor paper, Gabie watercolors, The Elements Book: A Visual Encyclopedia of the Periodic Table (DK Our World in Pictures) Hardcover –by DK (Author), Smithsonian Institution, and a Sharpie black ultra fine point.
Combustion as Transforming Fire | Demonstration
The combustion portion of Waldorf Chemistry main lesson block covers several lessons including practical demonstrations. While we did not do this demonstrations quite as advised in the Live Education curriculum (suggested burning material on a metal plate over a fire), we did collect a number of organic and non organic materials to burn over the flame of a candle. We avoided synthetic material except a small piece of faux leather.
We conducted this demonstration indoors with ventilation, but even with air flow, the smoke smell was strong and the room needed to be aired out afterwards. We collected and burned the following materials: garlic clove, rosemary stem, flower and leaves, toothpick, chicken skin, peach leaf, wool, silk, wool felt, hair, matches (for the phosphorus), steel wool, and faux leather.
I used both an alcohol burner and candle to burn the materials. We used safety glasses and had safety measures in place in case of fire. While these safety measures may be overlooked in a home environment, and they may seem unnecessary, it is important to teach these safety measures when doing lab work.
Following the demonstration, we collected the burnt material and observed the blackened ashy material. We didn’t revisit this lesson for a couple days when we did the main lesson book work. At that time, we recapitulated the demonstration and reflected on which materials burned, how they burned, how fast they ignited, how long they burned, how easily they burned, what odor they produced and finally what was left behind after the burning process. We briefly re-did one demonstration to solidify the idea that when something burns, it is transformed into gas (smoke) and ash.
Combustion as Transforming Fire | Main Lesson Work
In a Waldorf setting, the physics and chemistry lessons in which demonstrations are performed are experienced in the following way: The demonstration apparatus and materials are removed or covered directly after the demonstration is complete. The phenomenon of the demonstration is not talked about until the following day in which the demonstration activity is recapitulated with as much detail as the students recall. Only after the review is complete, does the main lesson book work begin in which the student will recall and describe the demonstration with detail noting what was observed.
While illustrations are often included with main lesson work, as the students get older, there is more written work to illustrations compared to when the students were younger. For this reason, you will find main lesson books that have lined pages with fewer blank pages. For this lesson we continue with our 9.5″X12″ blank main lesson books found at A Child’s Dream as I prefer the blank pages and larger format at the moment.
For this lesson, I instructed my student how to do the work, but ended up doing this sample for her to copy the format but include her own narration. The illustration for this lesson was simple yet descriptive so as to show the combustion process of transforming material into smoke and ash.
Chemistry Lesson | Wax as Soot | Waldorf Main Lesson Block
In this chemistry demonstration, we observe how wax liquifies, combusts, produces heat and light and finally, produces smoke which contains unburnt carbon from the wax. We collected the soot on the bottom of a glass. The black residue was collected and smudged onto the main lesson book. If more could have been collected, we could have made an art medium as was used in cave drawings thousands of years ago. As we could not collect enough residue, we opted to use the ash from the burnt matches to make ink or paint.
In the meantime, we used the black residue, soot, and some ash to smudge a drawing into the main lesson book. We could use the ash to make charcoal drawings, too.
Two days after the completion of the demonstration, we began the main lesson work which includes a detailed recapitulation of the demonstration, an illustration and a narration.
For this lesson, I wrote a narration my daughter may refer to in preparation for writing her own. The illustration is very simple and similar to what we have on the chalkboard so she can copy either the drawing I made in a main lesson book, or the one from the chalkboard.
Chemistry Lesson | Wax Vapor Ignite | Waldorf Main Lesson Block
In this Waldorf chemistry demonstration using the chemistry main lesson book by Live Education, we observe the thrilling phenomenon of a candle being relit from the smoke when a lit match comes in contact with the wax vapor.
Before beginning this lesson, I did a trial run of the demonstration to ensure it would work well. Unfortunately, the first several attempts did not work when it came time to do the demonstration.
After a few more attempts, I noticed that it seems to work best when the wax has melted and vaporized after a couple minutes of burning or if the tip of the candle wick is still flowing red indicating there’s enough heat to combust when the flame from the match “jumps” to the wick.
Two days after this demonstration was completed, we began the recapitulation process to review the phenomenon. A simple illustration was included in the main lesson book as well as a detailed narration explaining the process and phenomenon.
Wax Vapor is Flammable
Sometimes a lab doesn’t go as planned. In this case, our Wax is Flammable demonstration didn’t produce the expected results. We troubleshooted the problem over a couple days but could not get the wax vapors to travel through the glass tube effectively enough to ignite with a lit match on the other end. I still chose to write up the lab with an illustration and narration which depicted the process and the expected results. I also added information on how you can collect the white residue that’s collected in a flask to see how the wax went from solid, to liquid to gas and back to solid again. While we didn’t collect the residue, we did see it solidify slightly in the glass tube.
For this demonstration, we used a paraffin wax candle, an apparatus to hold the glass tube, a glass tube and matches. The expected result is that a secondary flame will burn on the other end of the glass tube while the candle is burning. It’s important to let the candle burn for a few minutes so enough wax has liquified. I also think using a candle with a larger flame might produce more wax vapor. That option wasn’t available at the time, but the next time I pour paraffin wax candles, I will use a cotton wick rather than a waxed wick.
Water Vapor in the Chemical Process in a Candle
Did you know that combustion produces heat, light, carbon dioxide and water vapor? All four may be observed through the combustion process if you know what to look for and how to test for it. In this chemistry demonstration using the Live Education Waldorf curriculum, we are observing the production of water vapor as a result of combustion. In this lab, a chilled glass jar is recommended in order to better see the water vapor.
We used a quart mason jar that was chilled in the fridge for 10 minutes or in the freezer for 3 minutes. In the first demonstration, we did not see noticeable droplets. And because the jar frosted with seconds of removing from the fridge, it was hard to see a distinguishable difference. In the second demonstration, we used a room temperature glass flask. This worked great, but it became difficult to see clearly the water vapor from the possible wax residue. In the third and final demonstration, we used a room temperature glass mason jar and had the best, most noticeable results. The water vapor was distinct and there was no wax vapor.
Carbon Dioxide to Extinguish a Flame
DId you know you can use a gas to extinguish a fire? Not just any gas though. If you fan a flame, you increase its burning as you introduce oxygen. But once the oxygen (or fuel source) is consumed, the fire is extinguished. As we experienced in early demonstrations, a fire may consume all the oxygen in a container, and extinguish itself because the oxygen has been consumed. In this lab, we produce carbon dioxide by burning a candle, but use this gas to demonstrate two things: Carbon dioxide is heavier than air, and carbon dioxide can rise up when heated by a flame and extinguish a flame, rather than ignite it as wax vapor can.
In the first lab, we collected carbon dioxide in a flask, put it right side up and dropped a lit match in it. We saw that it extinguished before it was half way down. We ran this demonstration alongside a flask with air to compare the difference. In the second lab, we used a glass tube to collect and funnel the hot carbon dioxide through a tube and observed how it extinguished a lit match immediately. It took longer if the flame was doused with an excelerant or the flame was in a draft.
Chemical vs. Physical Changes Chemistry Chalk Drawing | Waldorf
As we continue with our Chemistry Main Lesson Block, I added another chalk drawing for this new section we are covering. I’ve switched resources at this point to focus on the labs from the book Chemistry the Waldorf Way by Roberto Trostli A Manual for Teachers Grades 7-8. The first section of this book covers labs for Combustion, a topic we have previously covered in our Live Education Waldorf main lesson book on Chemistry for grade 8.
In the book by Trostli, some simple demonstrations are presented in the first section that overlap (conceptually) some of the labs we did in our Live Education curriculum. However, I opted to do some of these again, and then while preparing this chalk drawing, I decided to do several labs to solidify the concept of physical vs. chemical changes in chemistry.
For this chalk drawing, I made a sketch beforehand, however, I ended up erasing the text on the chalkboard twice before altering the text to include a chart on the difference between chemical and physical changes which I found in the book by Trostli (page 34). I also used the book Chemistry by DK Eyewitness for illustration inspiration for the flask which depicts the chemical reaction of copper with nitric acid to form nitrogen dioxide (a pollutant), blue copper nitrate and water.
For this drawing, I used Sargent Art square chalk pastels on my 4’x6′ slate chalkboard which painted with chalkboard paint several years ago when the slate got too smooth and wouldn’t hold chalk well.
Chemistry Trivia Cards
For this project I’m using our Fabriano hot press watercolor paper which measures 9″x12″. I’ve cut the paper into quarters so each card measures 4.5″x6″. I’m using Stockmar watercolors, Koh-i-Noor woodless pencils, a fountain pen and a pencil for the illustrations and questions. I’m using the Black and Dekker 5 mil laminating sheets and my Heidi Swapp Minc laminating machine. I used my Cutterpillar Pro to trim the cards.
I’m working alongside my 14-year-old daughter and together we each made a set of four cards. We will likely add more as we work through our chemistry main lesson block, but for now, we can use our trivia cards for our opening activities.
For these cards, we re-used illustration ideas from main lesson book entries. We have a card for combustion, physical changes, chemical changes and atoms & molecules. On the back of each card is a set of questions (true/false, multiple choice, fill in the blank). We aim for at least three questions, but for some, I could fit up to 5 questions. We used a fountain pen, but if you laminate, you can use pencil as the lamination will protect your project from smudging.
I used Stockmar watercolor paints, and so did my daughter, but her set got water damaged from some spilled water and instead of fixing them or doing them again in watercolors, we opted to do her second set in colored pencils.
Waldorf Chemistry Lesson | Physical Changes Lab
Physical changes are ones that may be reversed through filtration, distillation, evaporation, freezing, melting, heating, cooling and more. No new products are made when a physical changes occurs, though there may be changes in size, shape, density or texture.
In this Waldorf chemistry lab for grade 7/8, we are showing two physical changes processes with two additional ones shown in the main lesson book. We are striving to use materials we used in the chemical changes labs to illustrated the stark differences in outcome between physical and chemical changes. So while paper and wax were used in this demonstration to show change and reversibility, when using both materials in combustion, we see a change in properties and new products as a result.
For this lesson, we used the Roberto Trostli book Chemistry the Waldorf Way for grades 7 and 8. We continue to use our Live Education Waldorf curriculum for grade 8 with the chemistry block as well. Both resources are provide lessons and information on how to set up a Waldorf chemistry lab and demonstration to view the phenomenon. After a day or two, the demonstration is revisited and the write up to the lesson begins.
However, with these lessons on chemical and physical changes, we spent about a week or two working through various demonstrations before finally writing up the lesson.
Chemical Changes Waldorf Chemistry Lab
Chemical changes are ones in which new products are formed with new properties. Chemical changes are not reversible; they are permanent and the original materials may not be recovered. Chemical changes may produce or absorb energy.
This lab coordinates with the lab on physical changes.
For this lab we did the quintessential lab of mixing baking soda and vinegar together to induce a rapid reaction that produces carbon dioxide. While this demonstration is often used in geology when constructing volcanoes, this is actually a chemistry lab and deserved to be experienced in its proper place: A chemical change. This chemical change is endothermic and if you hold the beaker, you may feel a slight temperature change as the beaker gets cooler, provided you don’t end up soaking with sodium acetate dissolved in water!
The second demonstration was burning paper. While we did a complimentary lab with paper by changing paper scraps into a new sheet of handmade paper, this lab show a different reaction when that same paper is burned through combustion. The result is that the paper burns with heat and oxygen, producing carbon dioxide, water vapor, soot and ash.
Exothermic Reactions | Waldorf Chemistry
As we move into our second topic within our Waldorf Chemistry Main Lesson Block, we explore chemical reactions that are either endothermic or exothermic. For this demonstration, we observed what happened when we mixed sodium hydroxide with water. When working with sodium hydroxide, the main ingredient in lye, you have to be sure you follow strict safety protocols. Sodium hydroxide is a strong base and is highly caustic. You must handle it with case and caution. Wearing gloves is a must and when mixing with water be sure to add sodium hydroxide to the water, NEVER add water to the sodium hydroxide. The reaction is highly exothermic.
When adding sodium hydroxide to water, a little goes a long way. We added 3g of lye to 30 ml of water and it was sufficient to record and feel a significant increase in temperature. For this demonstration we measured the temperature of the water before adding the lye. Immediately after adding the lye, the water became warm by about 20 degrees. We measured using a digital infrared thermometer, the kind you can point to an object and the temperature is recorded. We opted for that one to avoid any contact with the highly alkaline solution.
When sodium hydroxide is mixed with water, the crystal lattice is broken apart and the sodium, which is slightly positive is surrounded by the slightly negative charge of the oxygen in the water molecule. And the hydroxide of the the lye is slightly negative and is surrounded by the hydrogen of the water molecule which is slightly positive. The result is aqueous sodium hydroxide which needed energy to initiate the breaking of the crystal lattice, but the the result was an ultimate release of energy in the form of heat when the sodium hydroxide became surrounded by a hydrated shell.
Endothermic Reaction | Waldorf Chemistry
There’s one demonstration that can serve three lessons (and probably more!) and that’s mixing vinegar with baking soda. It’s a simple demonstration that’s safe with materials that are easily accessible. And while I take grievance when this reaction is used in earth science for volcanic eruptions, it fits perfectly as an example of an endothermic reaction, a chemical change and as a means to make and collect carbon dioxide.
For this demonstration, we used 200 ml. of vinegar and slowly added 1/6 of a cup of baking soda. We measured the starting temperature of the vinegar and recorded the temperature as it dropped about 20 degrees using a digital thermometer. You have to be very careful about adding your baking soda as to avoid having it bubble over. I was not careful enough!
This was a simply demonstration to show a chemical change with an endothermic reaction. The prep and cleanup were simple and quick and demonstration was equally fast. We tried plaster of Paris to see if that was an endothermic reaction, and it is not, though the exothermic quality was minimal.
Chalk Drawing Acids and Bases
It’s not typical for me to have multiple chalk drawings for one main lesson block, but in this case, we already have three! In our previous chalk drawing, I included a chart on the difference between chemical and physical changes which ended up being an informative chalk drawing that we referred to often. For this chalk drawing, as we move into the topic of acids and bases, I wanted to include useful information that we could refer to as well, but that’s not what ended up happening.
Instead, this chalk drawing depicts our latest chemistry demonstration in which we tested various substances against a pH indicator (we used red cabbage juice). I like how it’s bright and beautiful, but it’s not very informative and it probably won’t be up for long.
I’m working on my 4′ by 6′ chalkboard by Ghent. It is a slate chalkboard that I painted over with chalkboard paint one year when my chalks were not sticking well for my chalk drawings. It’s needing an update, but thankfully the chalks adhered very well this time.
For the first time, I’m using Mercurius chalks. I’m using the 16 color set which is gorgeous! The chalks are so smooth and more intense in color than I expected. The set does not come with white or black so I used my Sargent Art square chalk pastels for my white highlights and black shadows.
You can find the Mercurius chalks at A Child’s Dream.
Red Cabbage pH Indicator | Waldorf Chemistry
Testing how acidic or basic a substance is using red cabbage juice is a beautiful and exciting chemistry demonstration as the purple juice may change subtly or dramatically when substances like lemon juice or bleach are added. Red cabbage juice can be used as pH indicator as it changes colors depending on whether the substance is an acid or base.
For this demonstration, we used a quarter red cabbage cut into chunks and then blended in the NutriBullet. You can also boil the cabbage for 10 minutes and reserve the liquid. Blending was a faster method. Once blended, you strain the juice. We added about 15 ml of liquid to each of our 6 Pyrex no. 9800 test tubes.
We juiced half a lemon, and added about 10-20 drops to the red cabbage juice. The liquid turned from purple to pink indicating a strong acid.
Next we added about 10-20 drops of vinegar which turned the solution pink.
Bleach is next and to our surprise, the solution turned deep blue/green, but then almost immediately began to turn milky cloudy white/yellow. Bleach is a strong base but it is also an oxidizer causing the white/yellow color change.
For ammonia, we used Windex which is already a blue color. It would have been better to use a clear ammonia, but regardless, the color turned green and blue and the remainder stayed untouch and remained purple. As we didn’t mix the solution, we saw a beautiful variegated color range with each color stacked upon each other, yet gently mixing.
We carefully added a few grains at a time of lye. Lye is highly alkaline and caustic. It also produces an exothermic reaction when mixed with water. For these reasons, handle this chemical with care. For this entire demonstration we used gloves and goggles, but especially when working with sodium hydroxide, one should follow all the safety precautions. Adding lye was thrilling as the granules are highly basic but take time to dissolve. The color at the bottom is a bright orange, but as the sodium hydroxide becomes aqueous sodium hydroxide, the color turns yellow and green.
Lastly we added about a 1/4 teaspoon or less of baking soda to the purple liquid and watched this slightly basic solution turn the prettiest blue color throughout.
Amazing! Thank you for sharing this. We are launching into my daughter’s 6th year of school. (She started at 7). We started introducing chemistry last year and will begin a quarter long co-op class this year. These ideas are so inspiring.