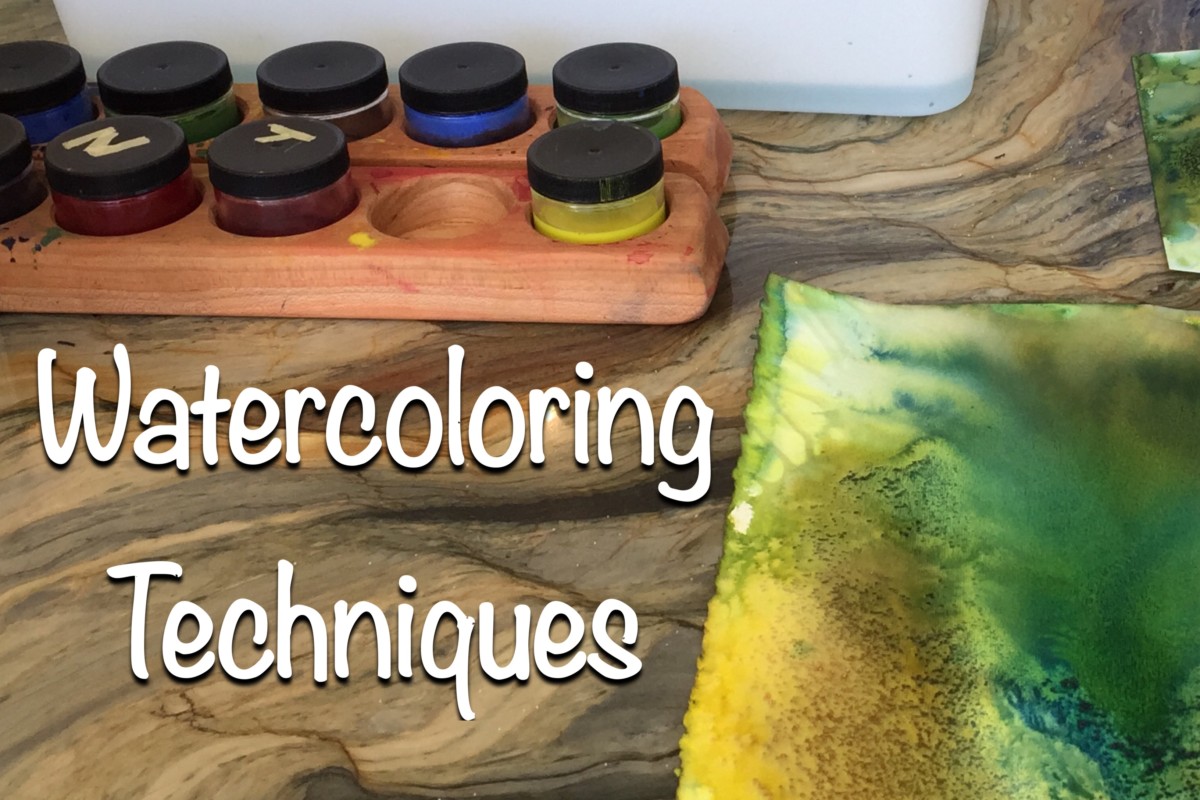
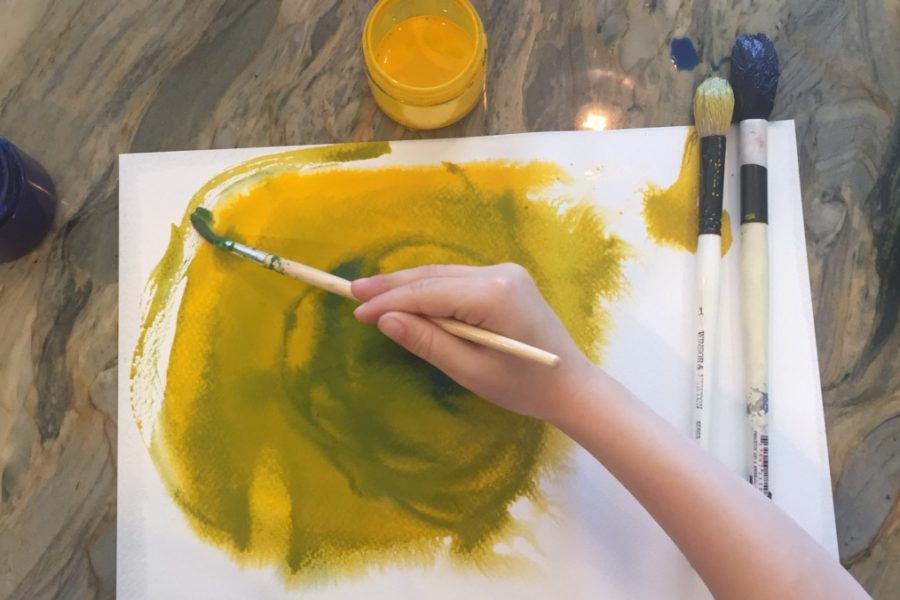
Watercoloring is one of my kids’ favorite artistic outlets. I’m going to show you a few different techniques that you can do using a typical Waldorf technique called ‘wet on wet’ watercoloring in which the watercolor paper is first wet with water using a sponge or dipping it into a basin of water.
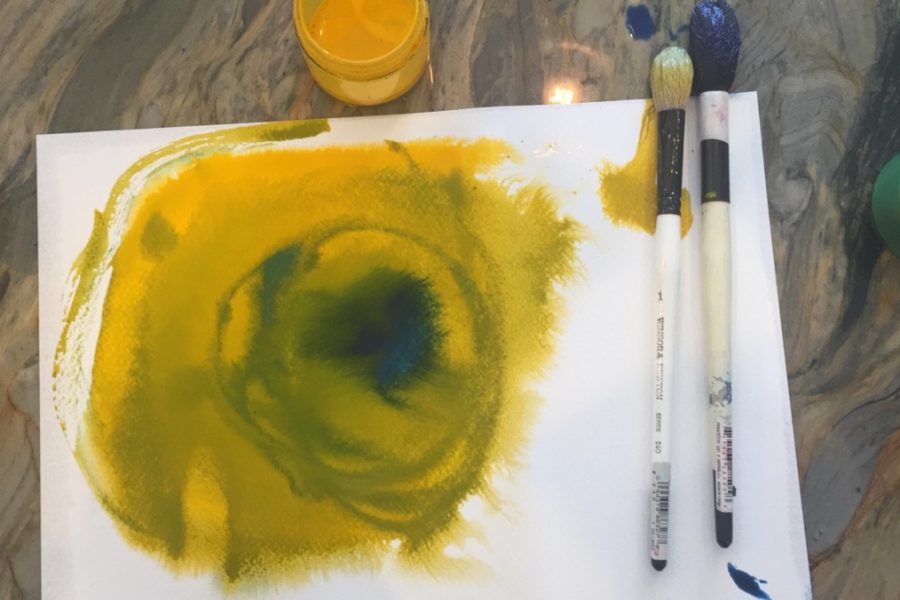
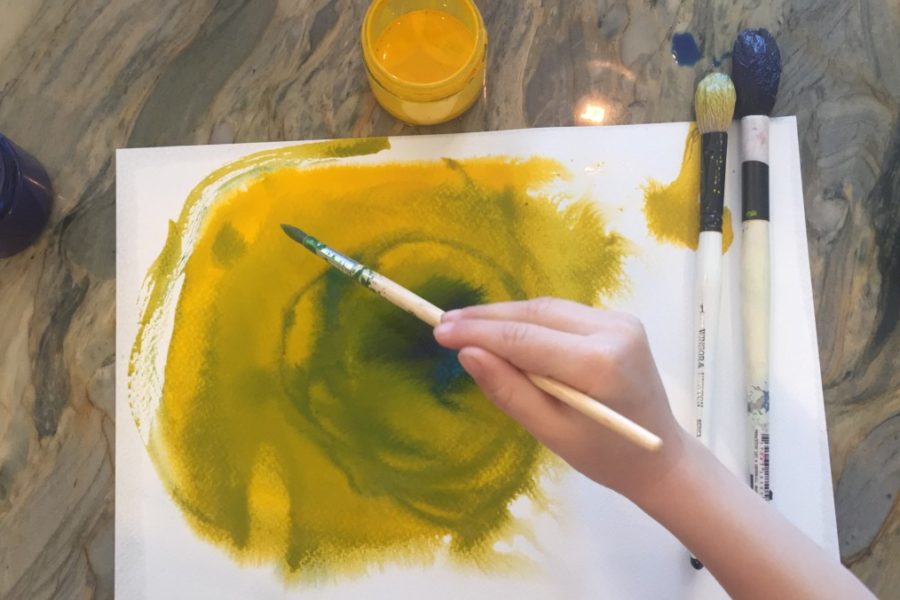
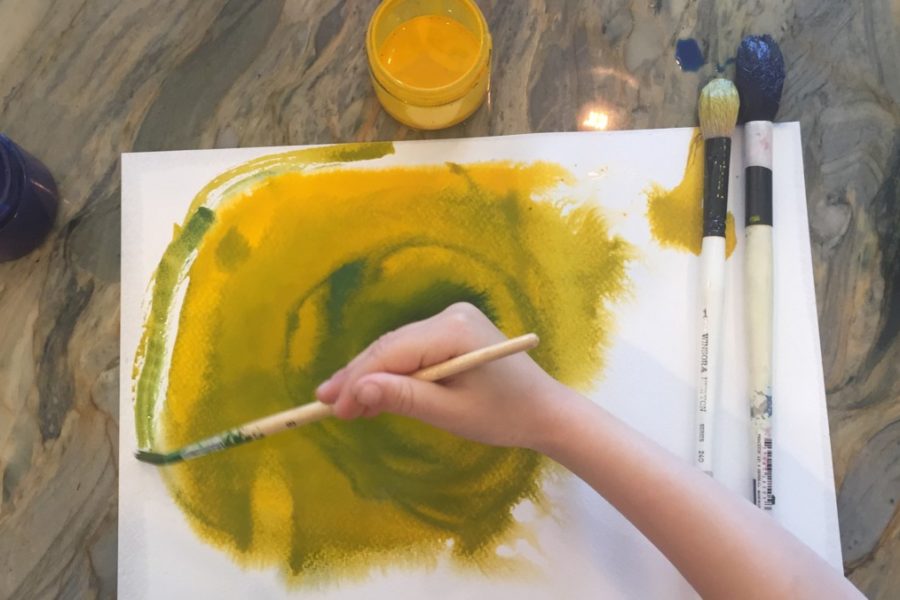
If you are working with young students, it is recommended that you use only the primary colors to begin with and allow the kids to discover the secondary and tertiary colors on their own. When doing this technique, the first color, say yellow, is placed in the center of the paper while the blue is place around. Because the paper was already wet, the colors begin to move on their own and, with a little help, eventually meet with resounding results.
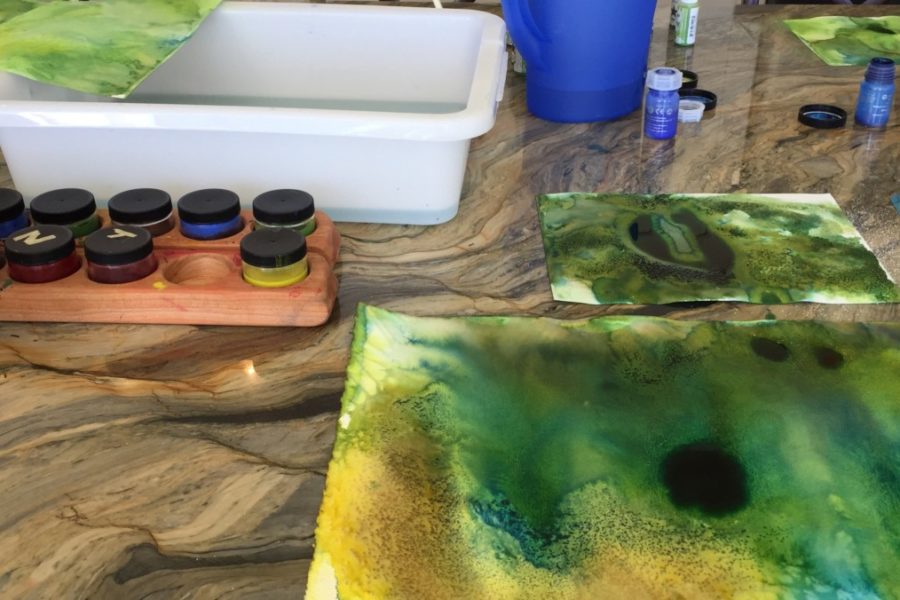
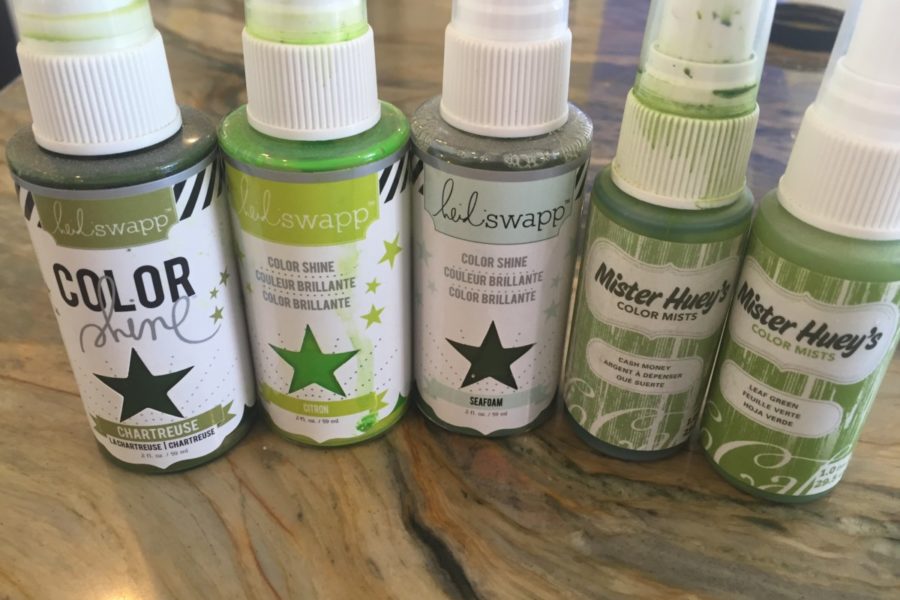
Today, we not only played with a traditional Waldorf brand, Stockmar, but we also used Tim Holtz Distress re-inkers, Heidi Swapp Color Shine and Mr. Huey’s sprays. With all these watercolors, we first wet the paper before adding color with the exception of ‘mopping up the mess’ at the end of our project in which we used dry sheets of paper directly on the counter to soak up the color that had spilled onto the counter from our projects.
We also used salt for a thrilling effect in which the water is pulled towards the salt granules leaving the area pale in color while concentrating color around the dissolved salt grain.
We also used a spray bottle filled with water to facilitate color movement or to dilute areas of concentrated color.
Level: 4 years and up
Duration: 1 hour or less
Cost: Initial investment of about $30 for 100 projects
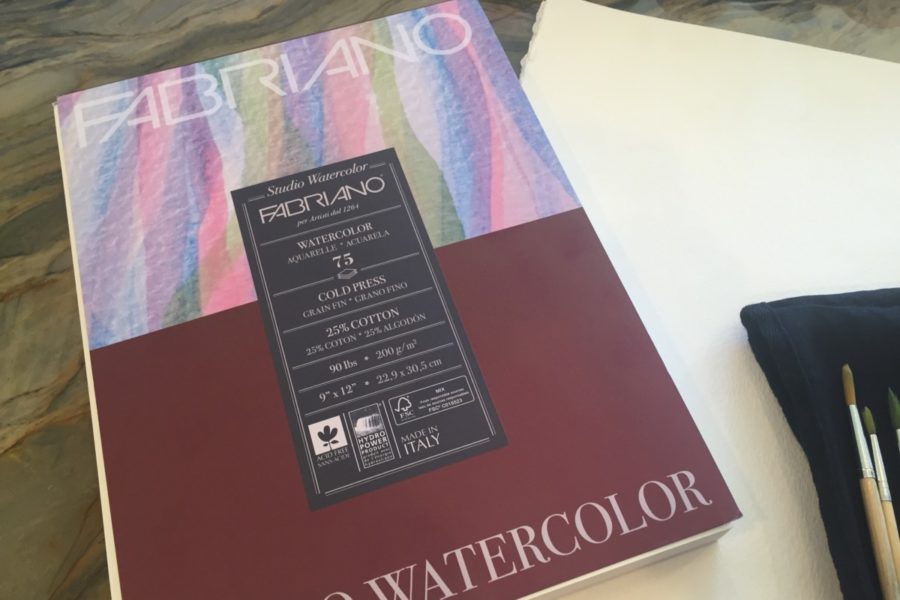
Materials can be found at A Child’s Dream, Dick Blick and Scrapbook.com.