https://www.youtube.com/watch?v=YB0TIcbt83s
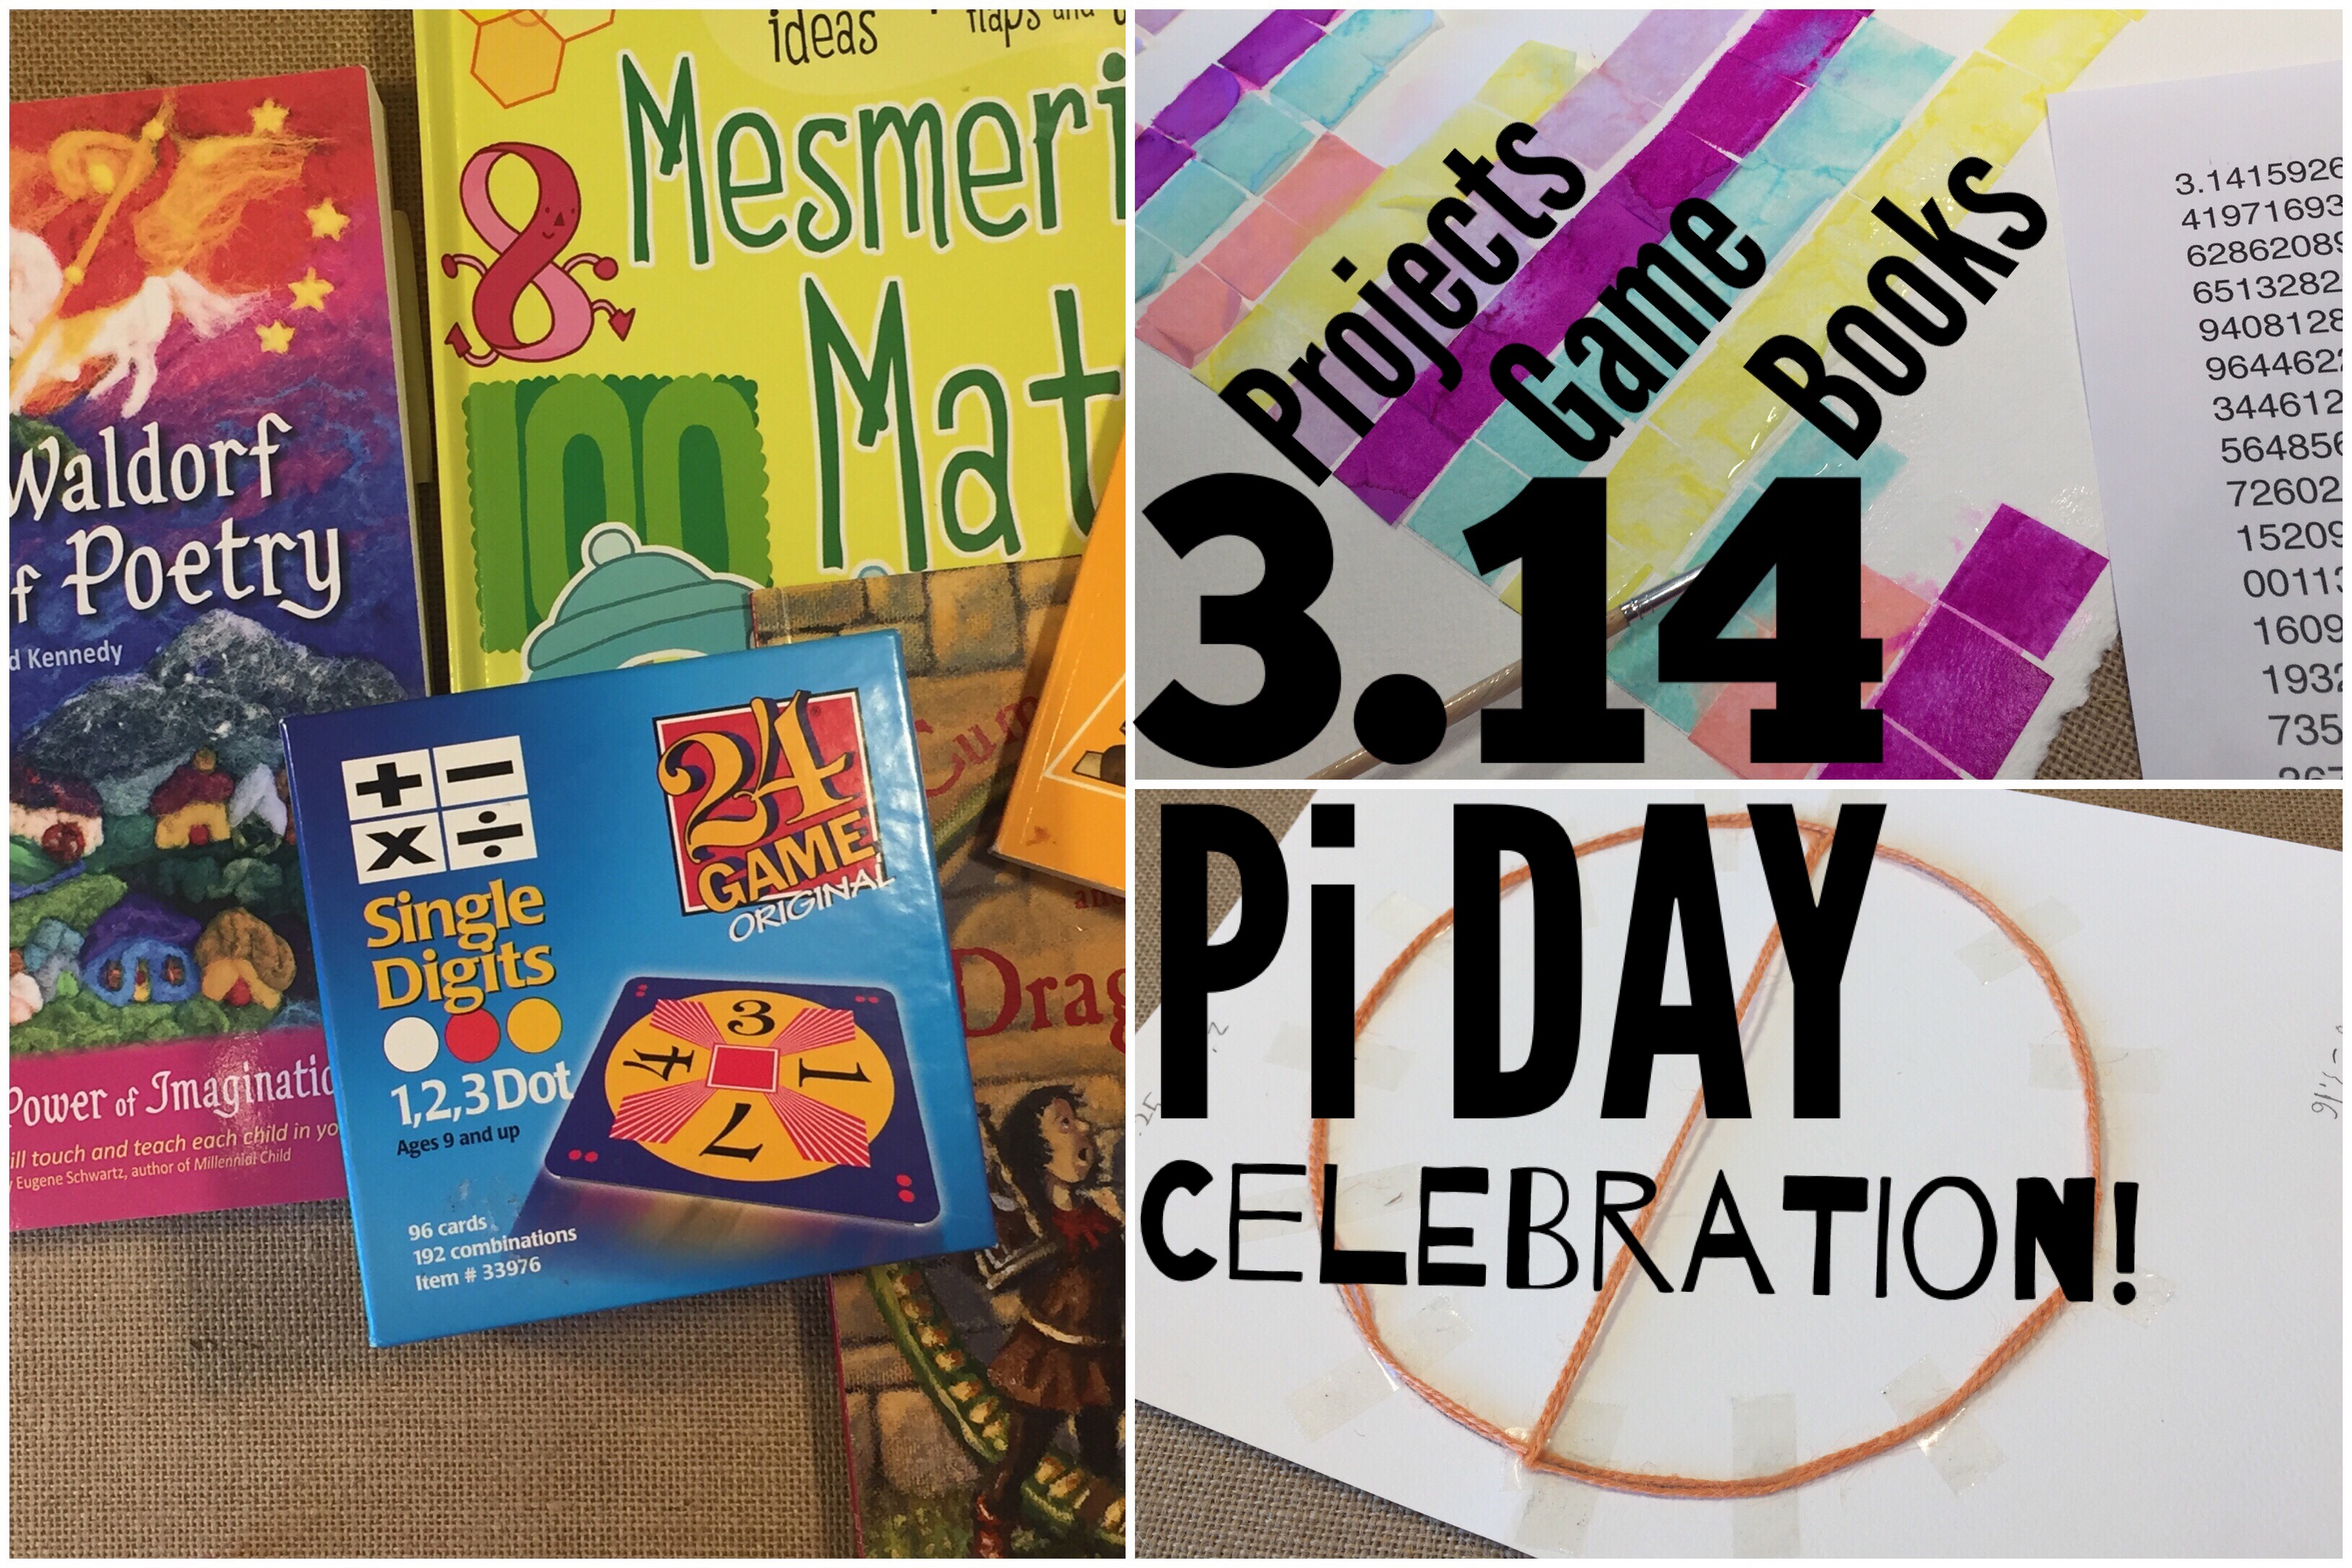
What’s Pi Day? It’s the 14th day of March 3.14! It’s just a fun day to celebrate this amazing number. Do you even know how to find pi? It’s actually pretty easy to find, and we got pretty close to pi. How close? Check out the video to find out! I also share 3 projects, 1 game and 4 books…get it? 3.14 😉
Don’t forget to check out the other channels participating in the Pi Day festivities: Pi Day Playlist
If you like the game, here’s a tutorial I made on how to play it as well as others like it. 24 game is a fun, challenging and educational math game. I also share my Geometry projects on my channel. These are creative, artistic math projects that are both educational and enjoyable to do. We got a lot of our ideas from our Waldorf curriculum as well as the book String, Straightedge and Shadow geometry book.
The Beauty of Math | Waldorf, Geometry & Pi Day | March 14
It’s Pi Day again. On March 14th (3.14) mathematicians around the world celebrate the beauty and mystery of the circle. Today, I’m sharing three projects that we did for a geometry lesson as part of our Ancient Greece main lesson block.
The first project today is similar to one we did recently in which I walk you through constructing the 12 divisions of a circle. For this project I used Distress Inks by Tim Holtz in a range of colors from yellow to red to green. I used a resist medium to keep the watercolors from bleeding into other sections. I finished off the project with Mr. Huey’s Shimmer Spray in Shine. For the second project, I used my Silhouette Cameo to make an original design. I then cut out the pieces on kite paper and on adhesive backed cardstock to make templates. I placed the whole design on contact paper with I also cut on my Cameo. I did an alternative and arguably easier design by just layering twelve circles in rainbow color. Both look nice, but were really time consuming. If you didn’t have a Silhouette Cameo, you could use a cup to trace a circle. Cut a total of 13 and arrange 12 of them symmetrically around the first circle. Then remove the original circle and you’re left with a similar design. It looks great on kite paper or tissue paper so the light can shine through.