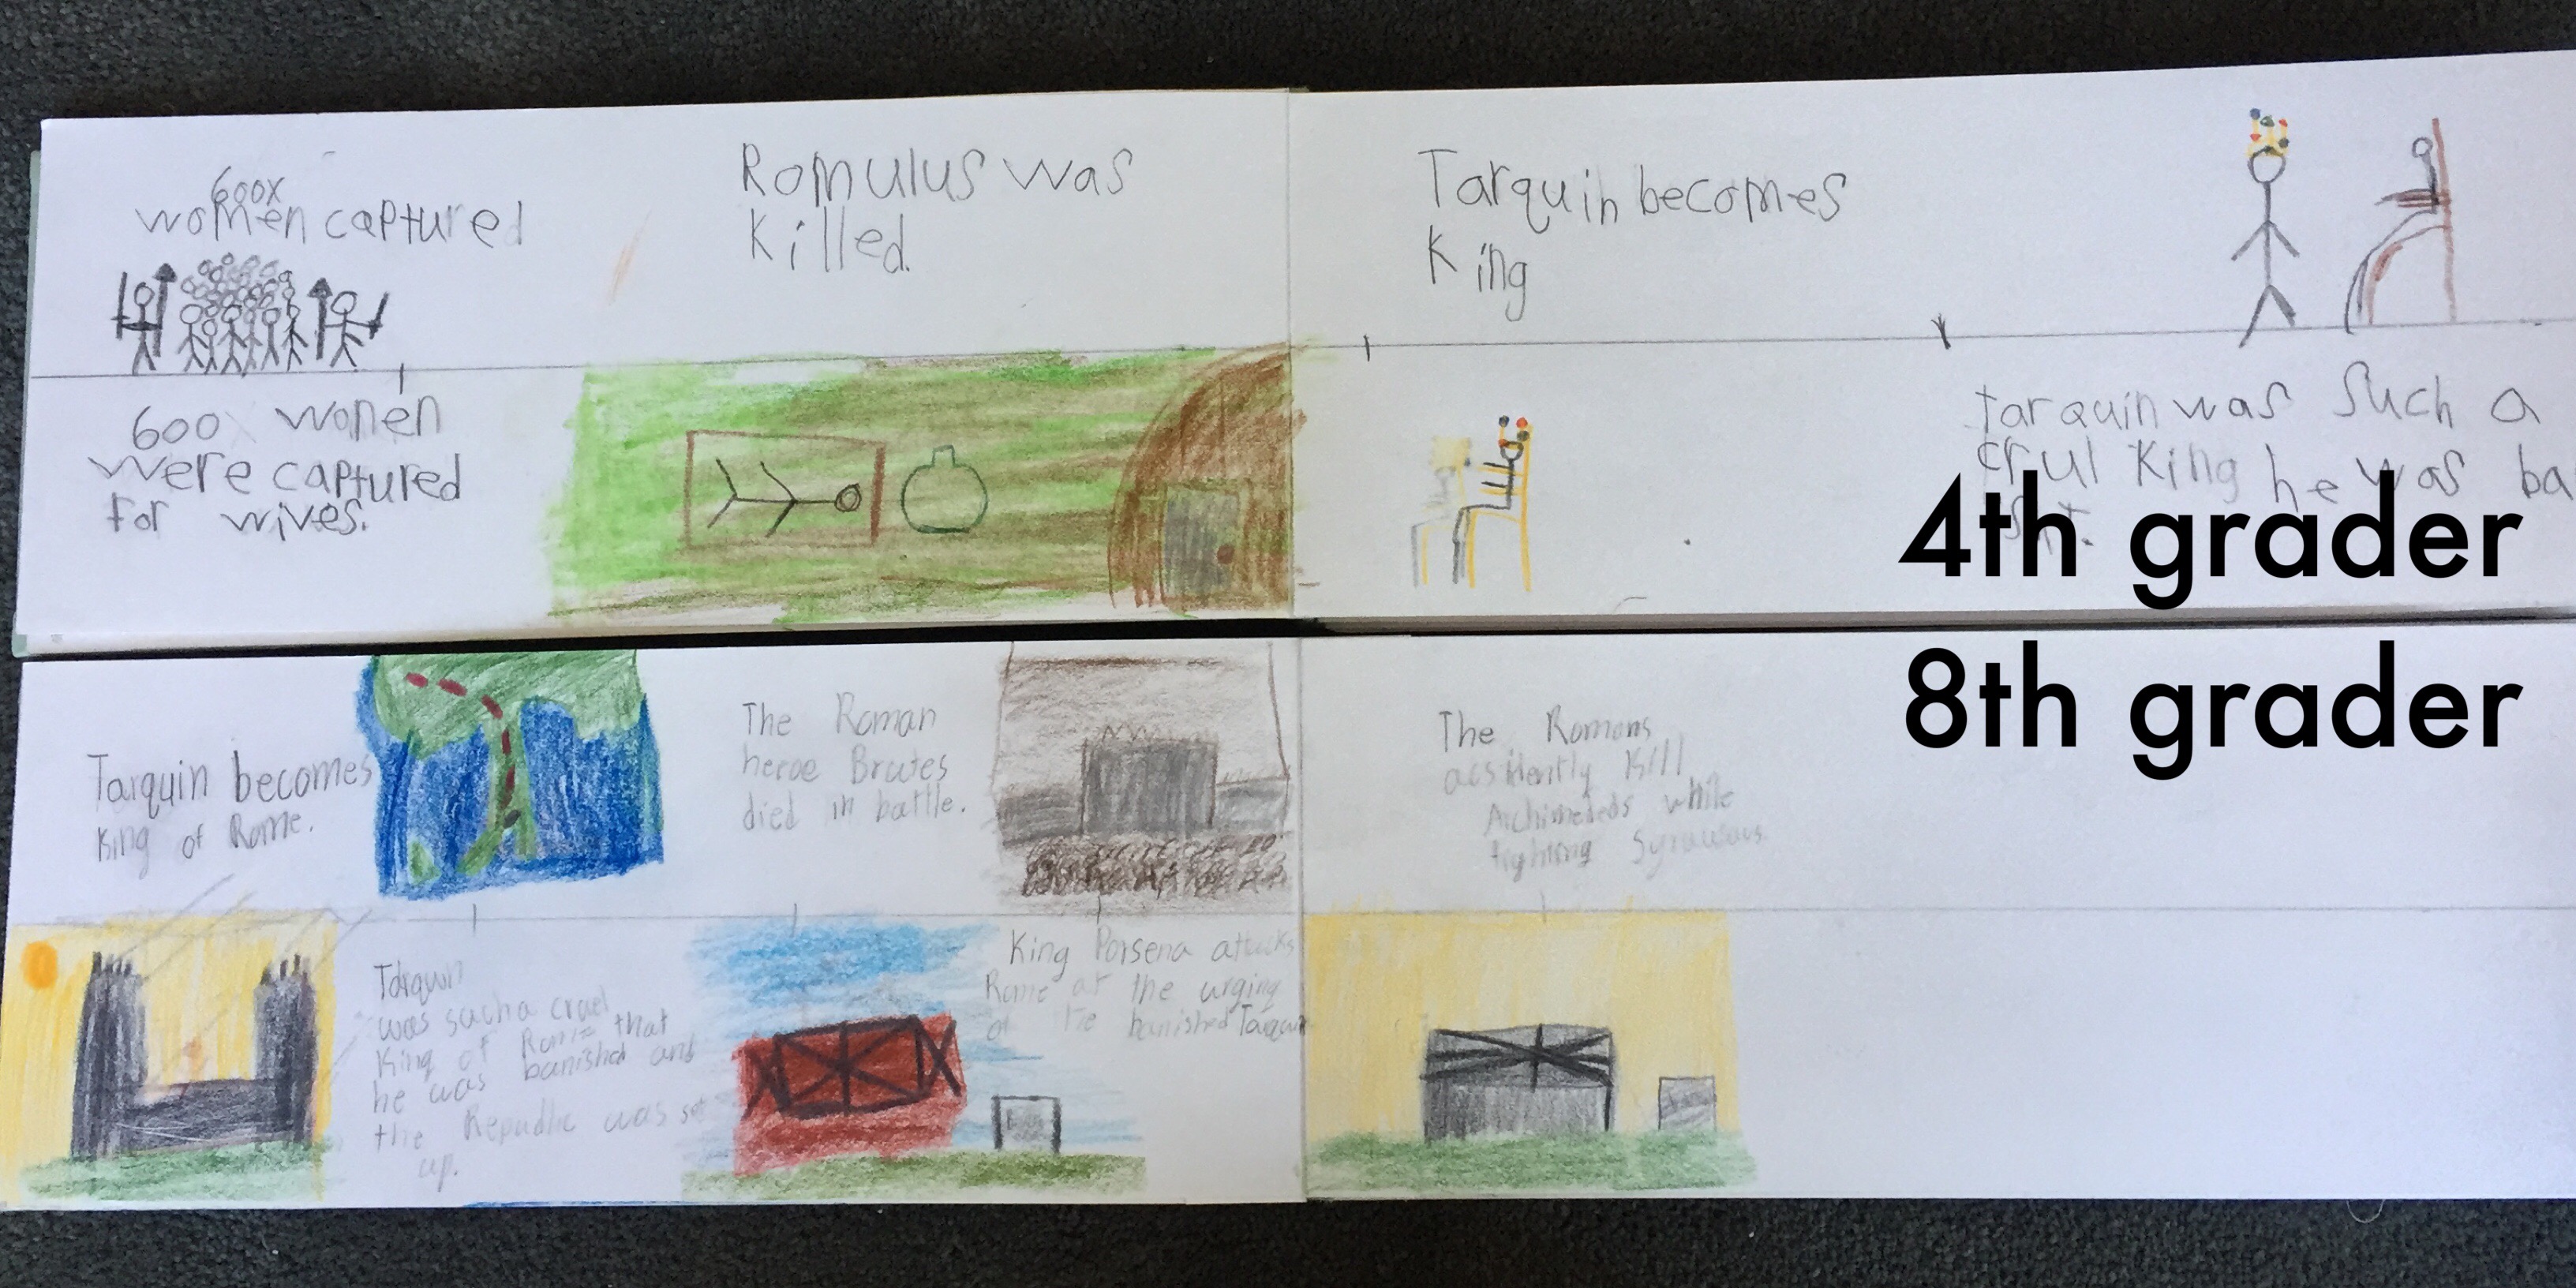
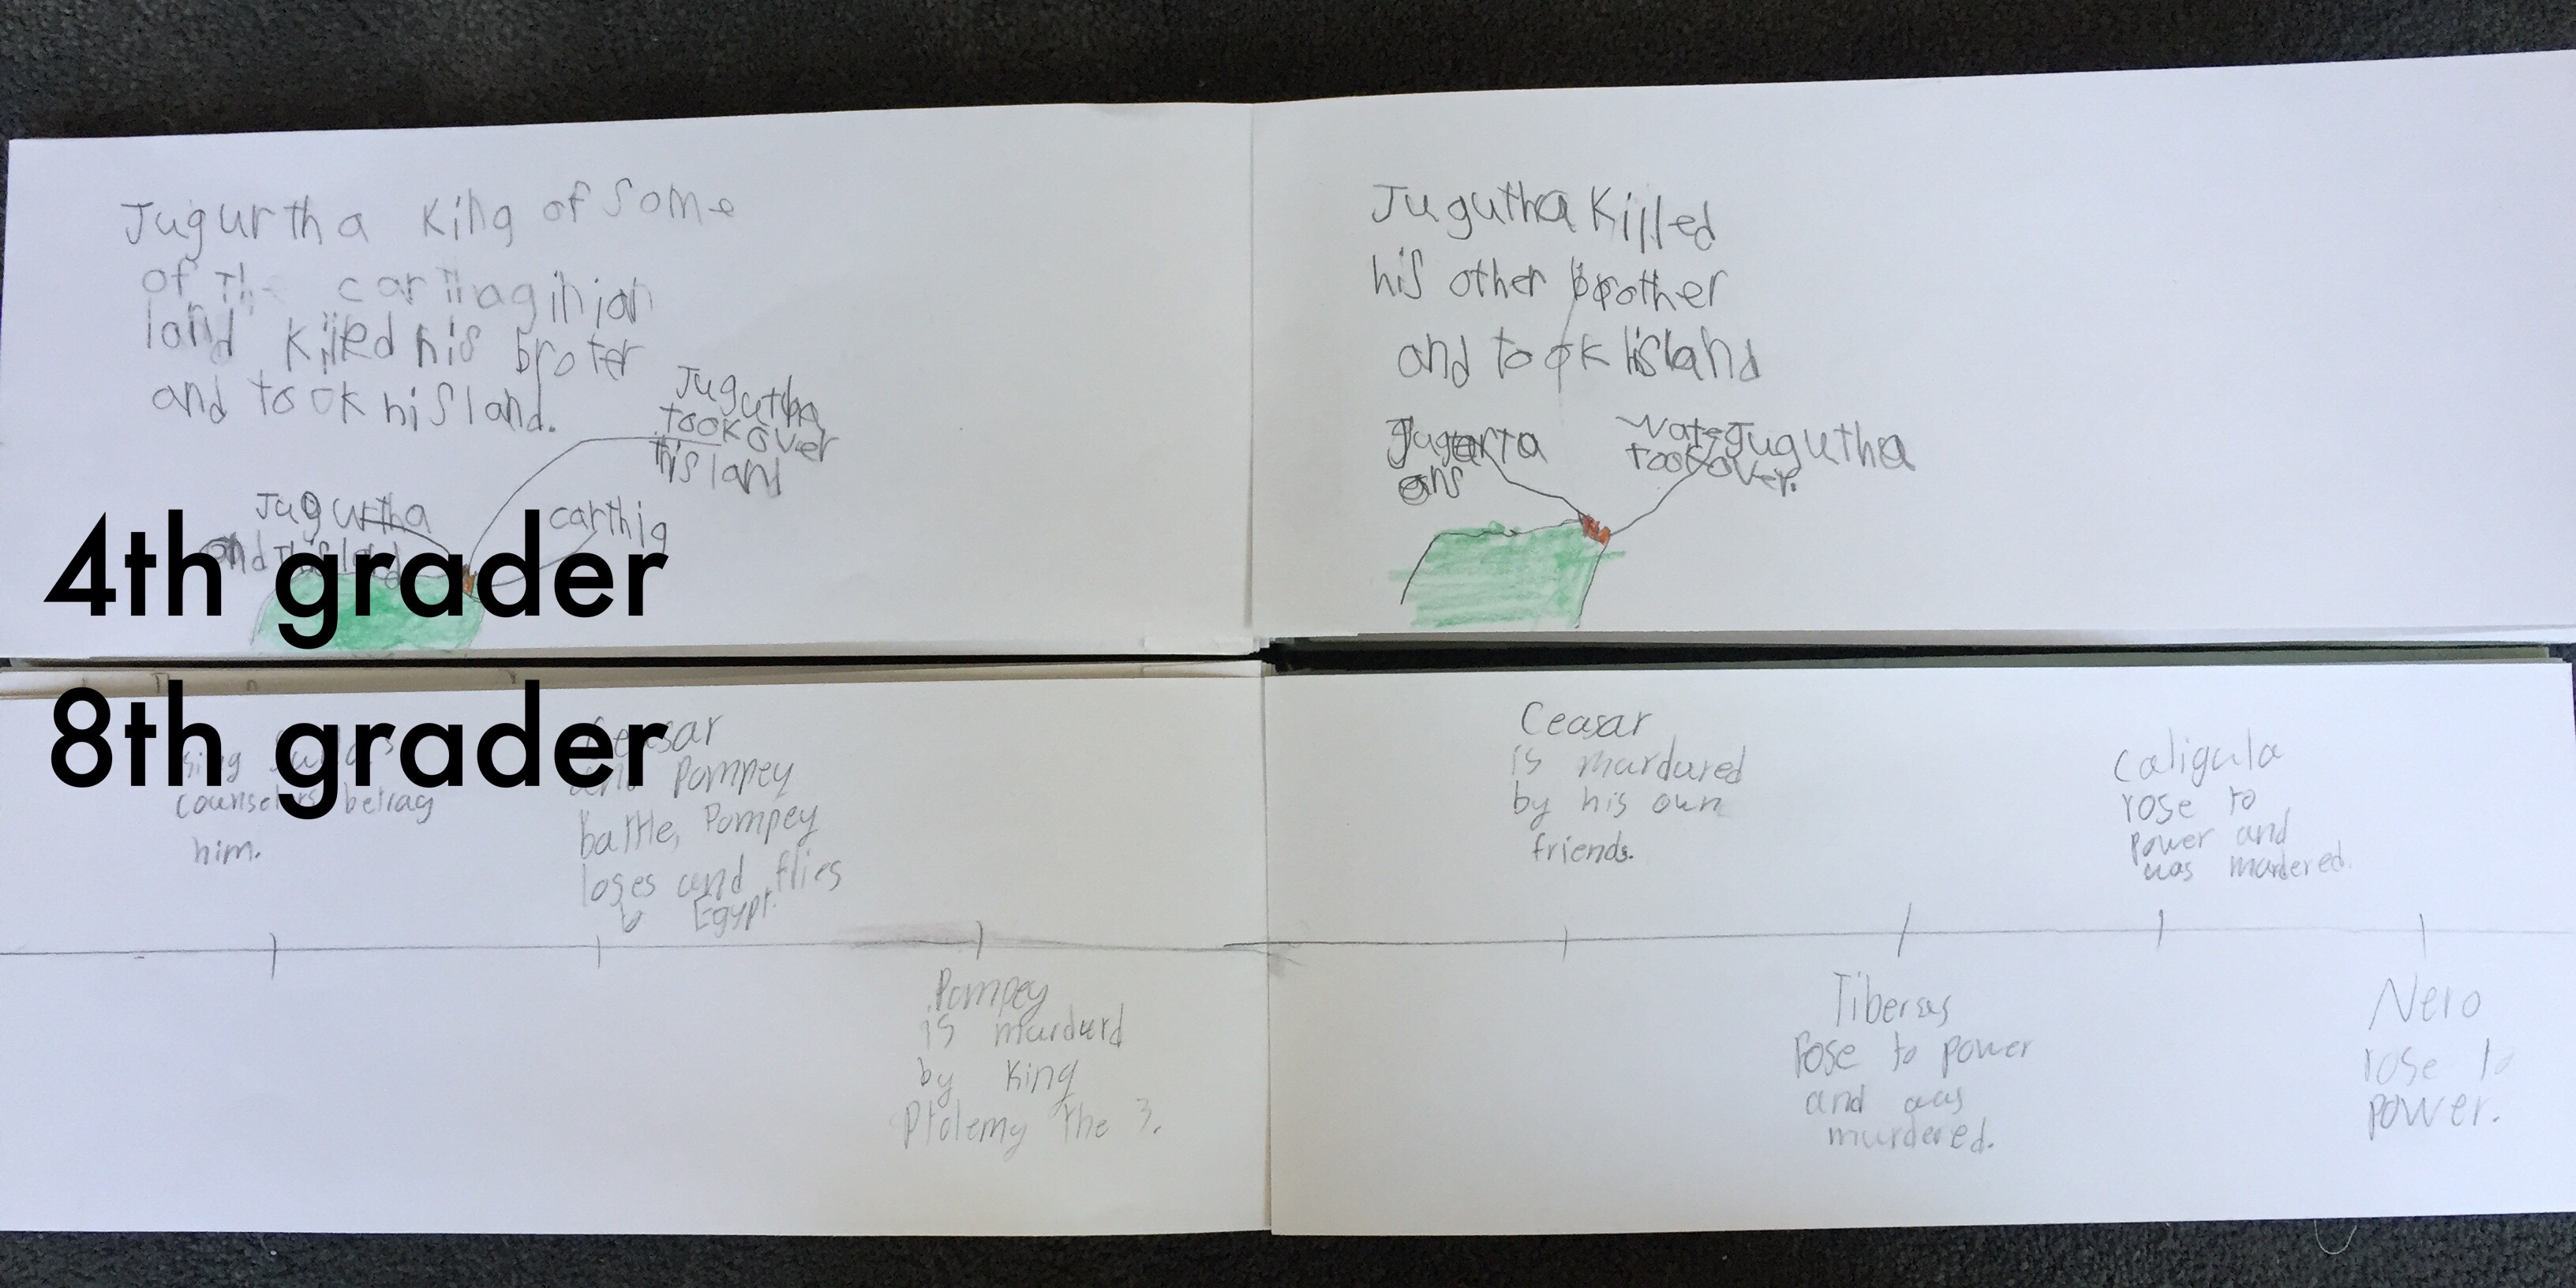
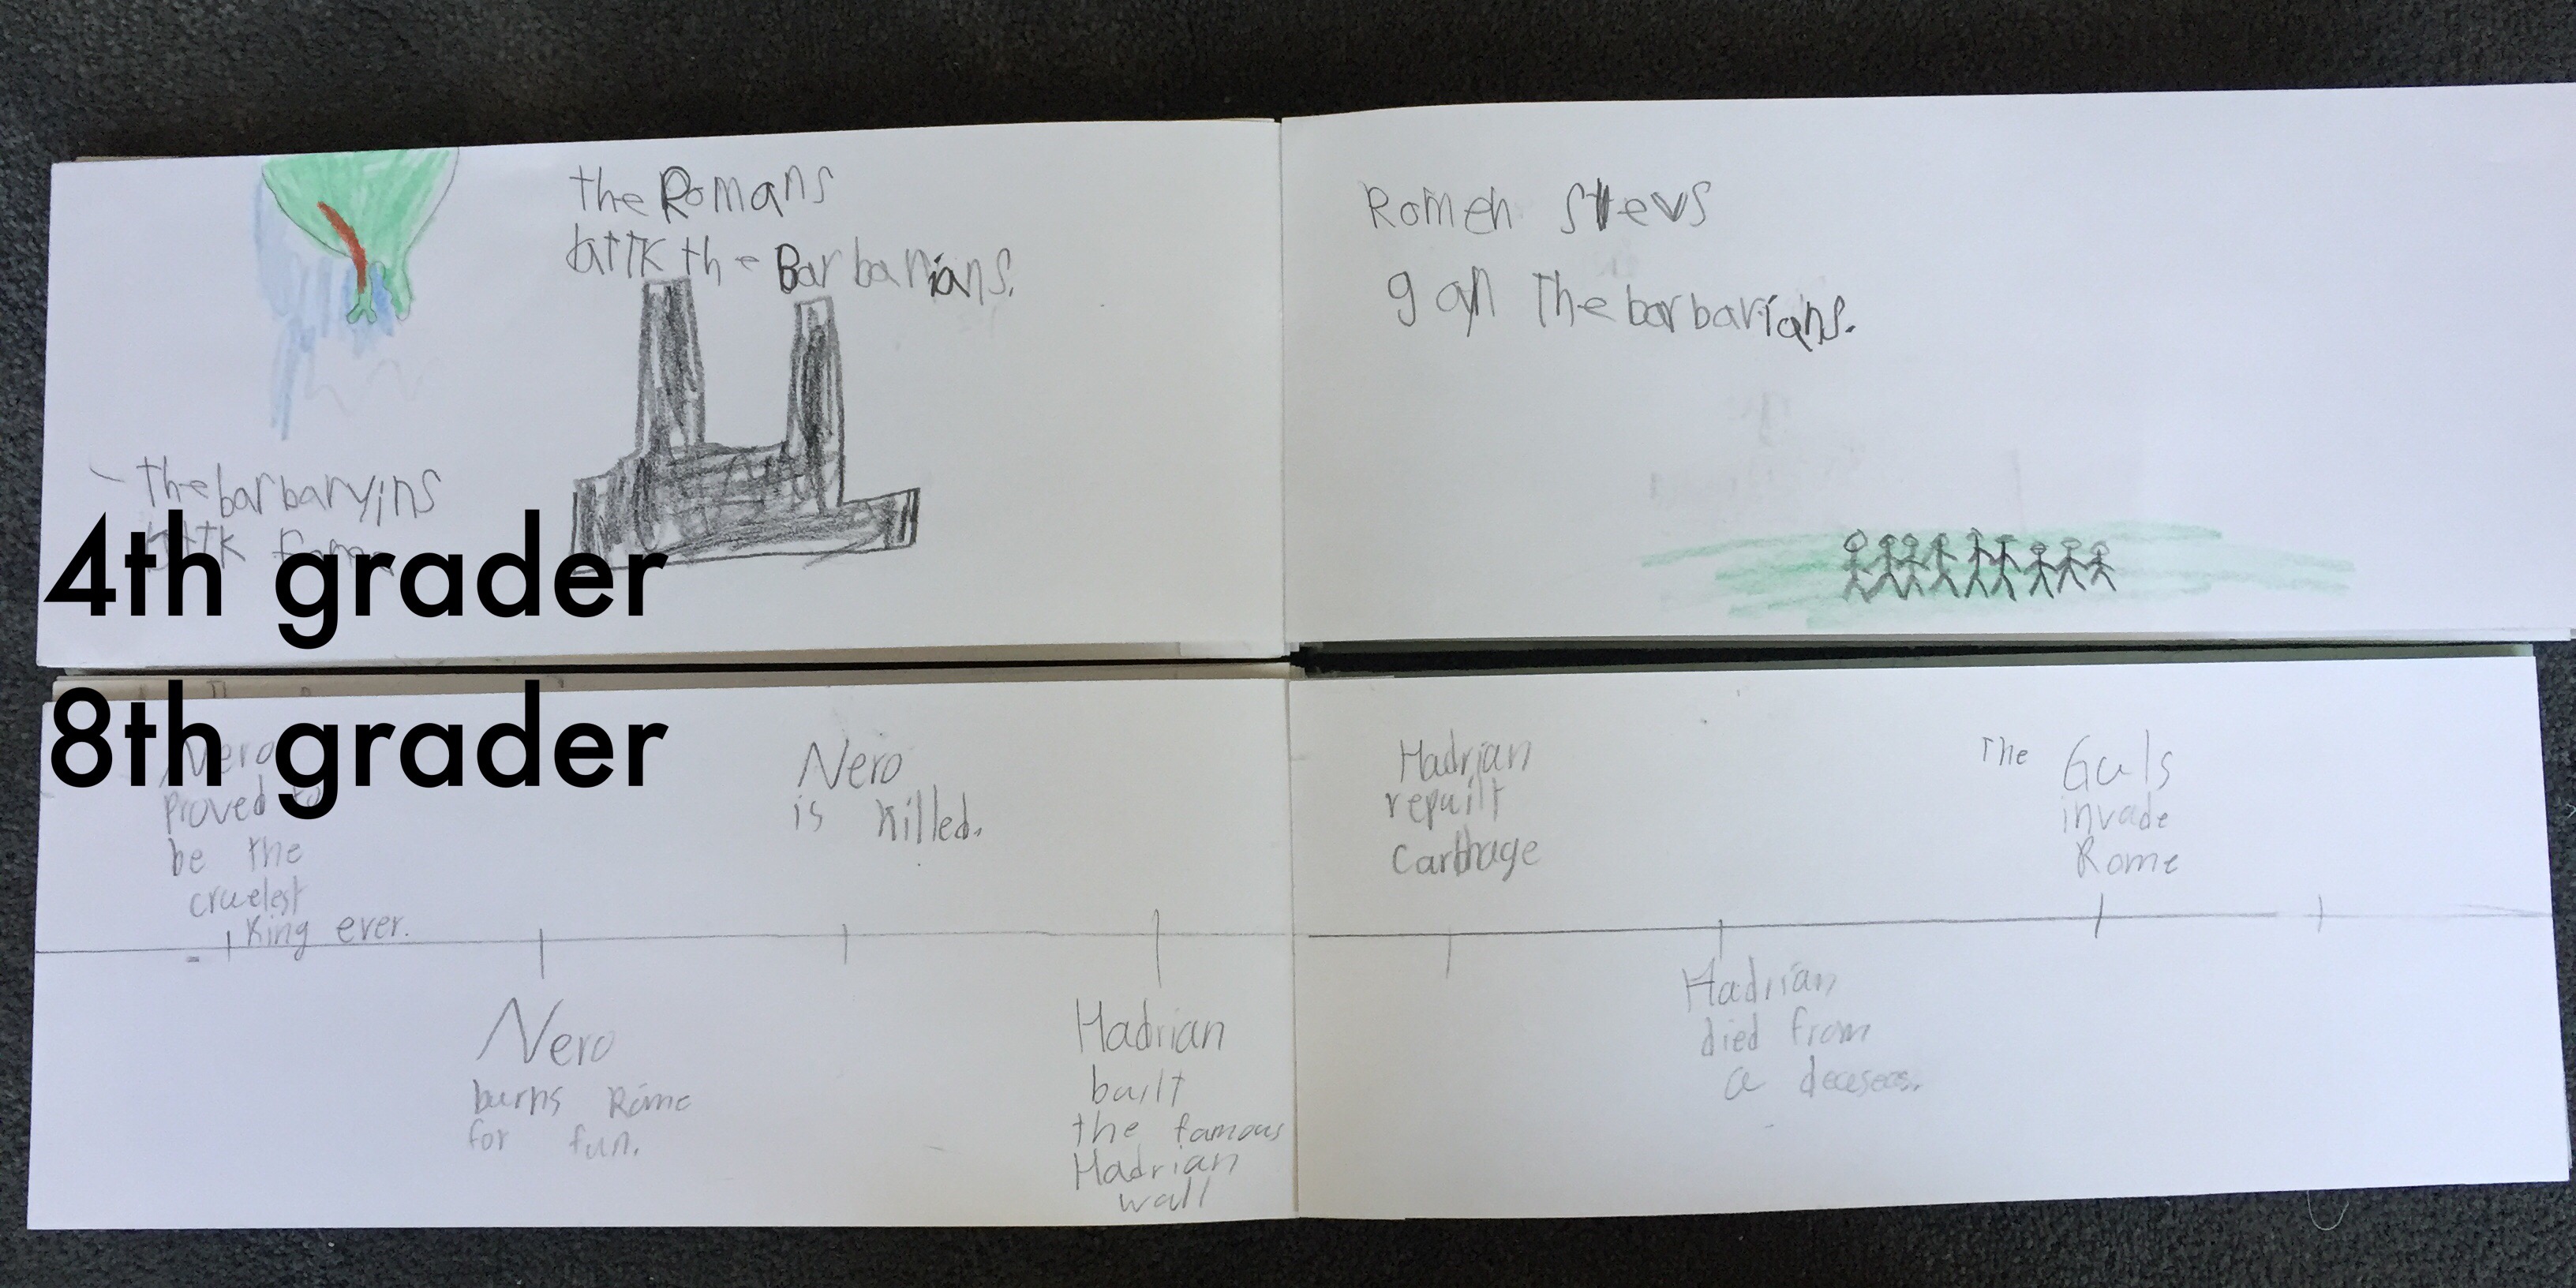
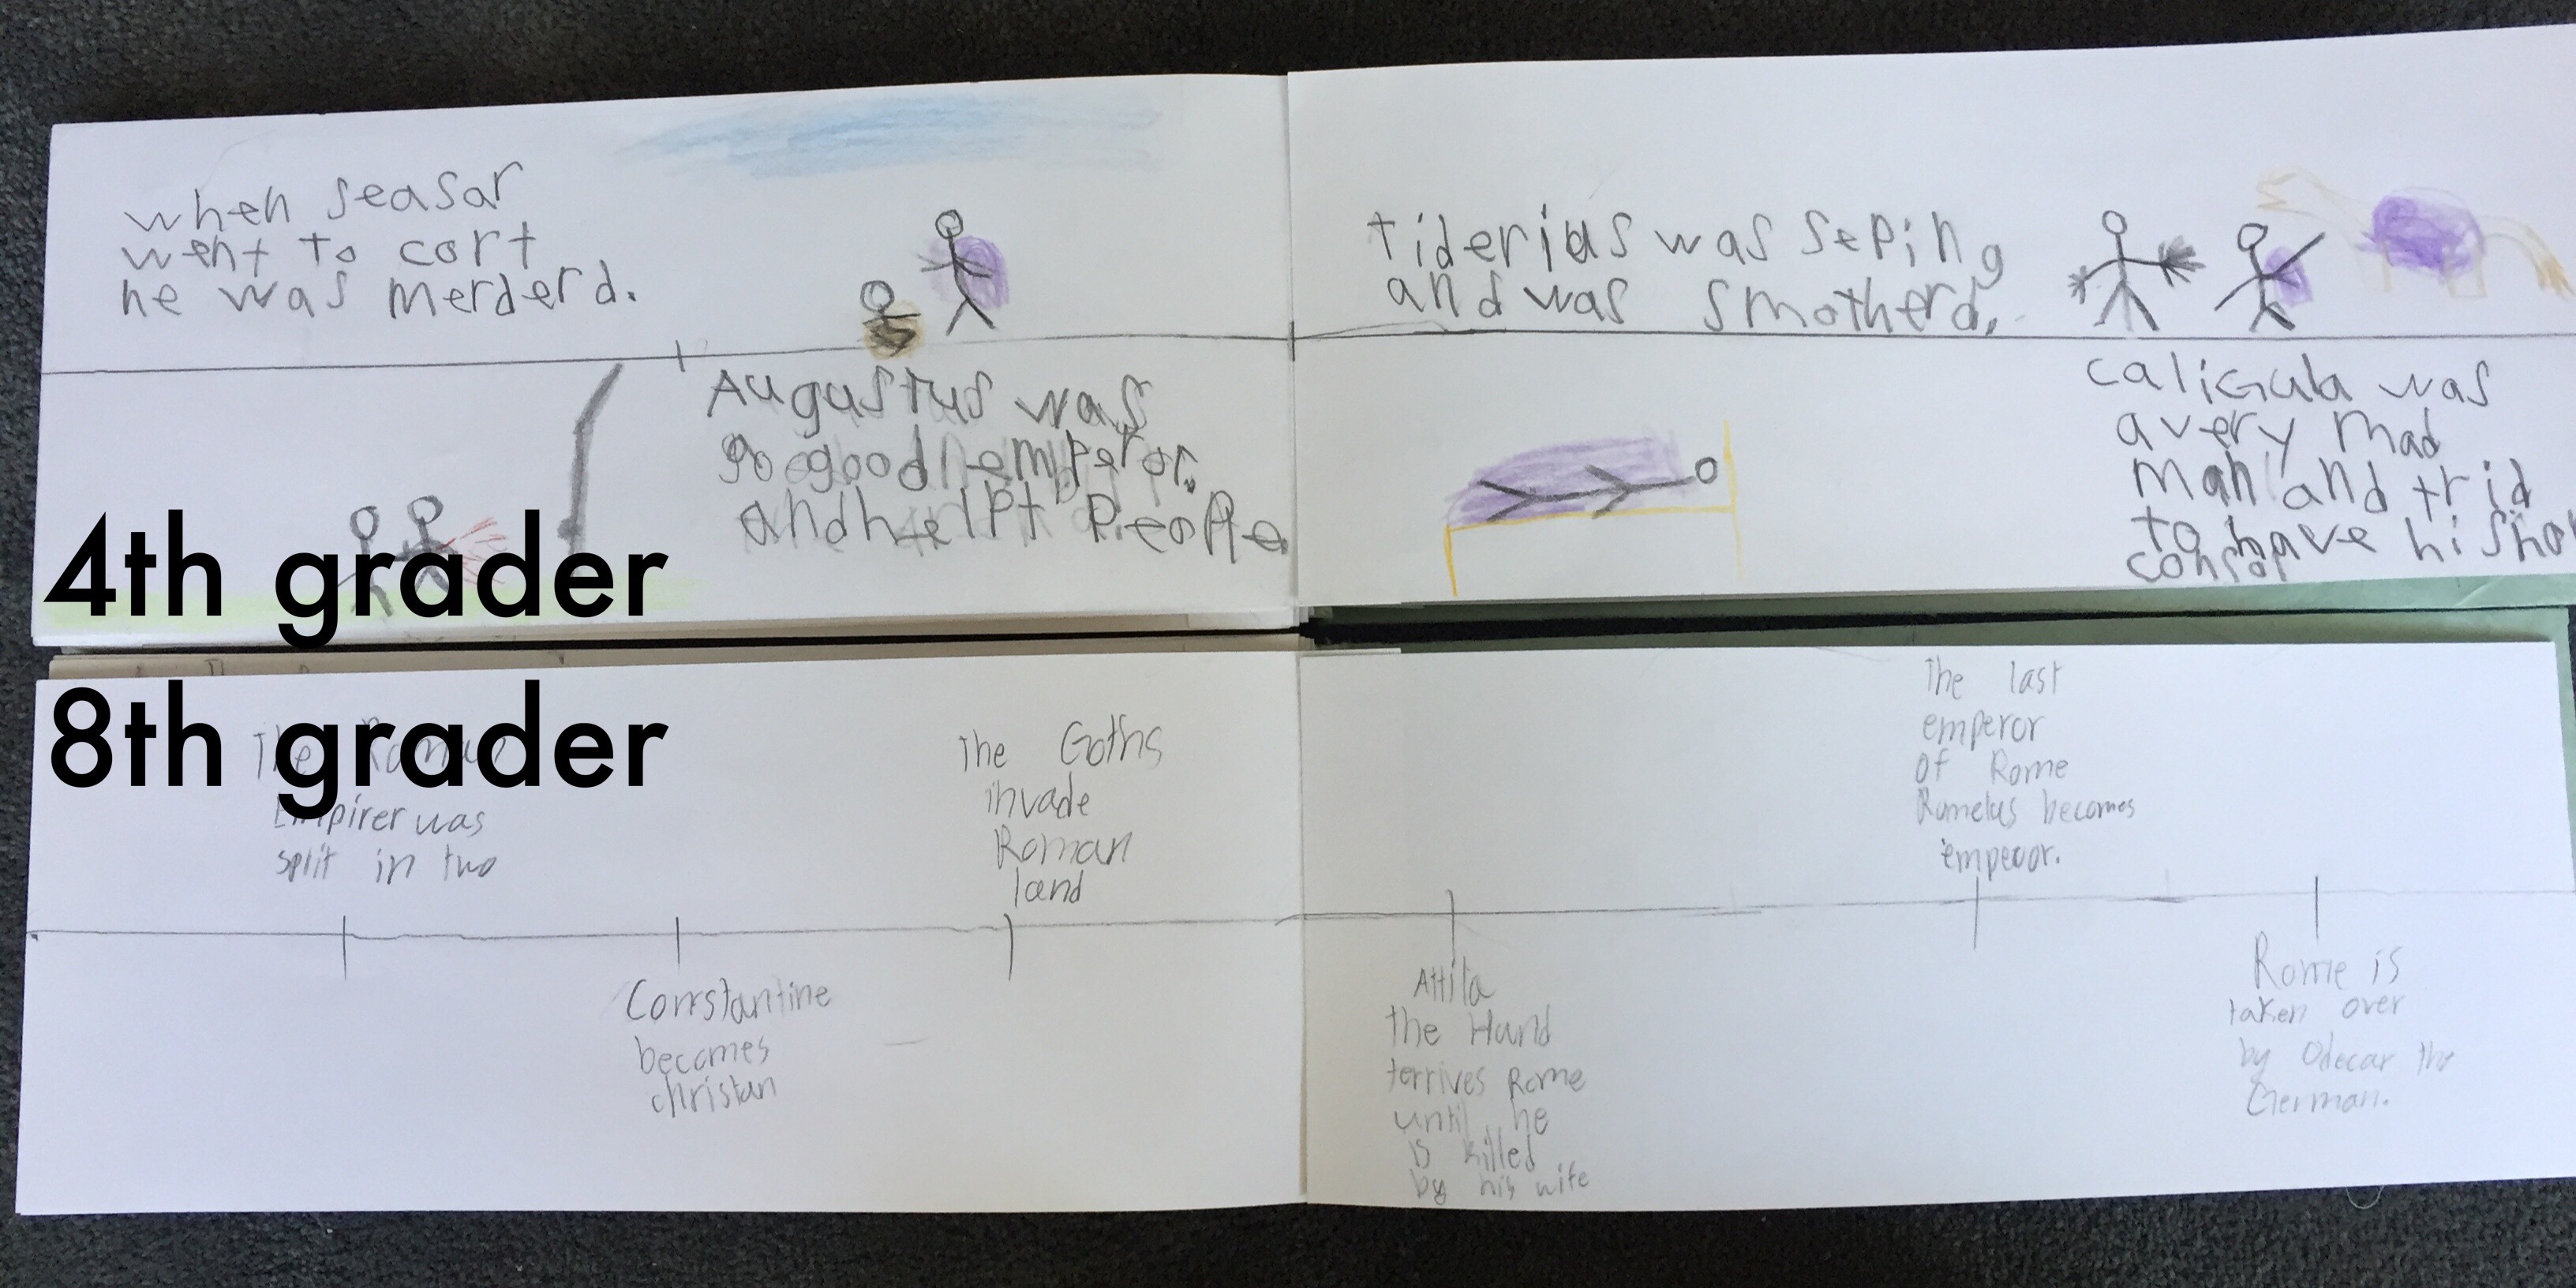
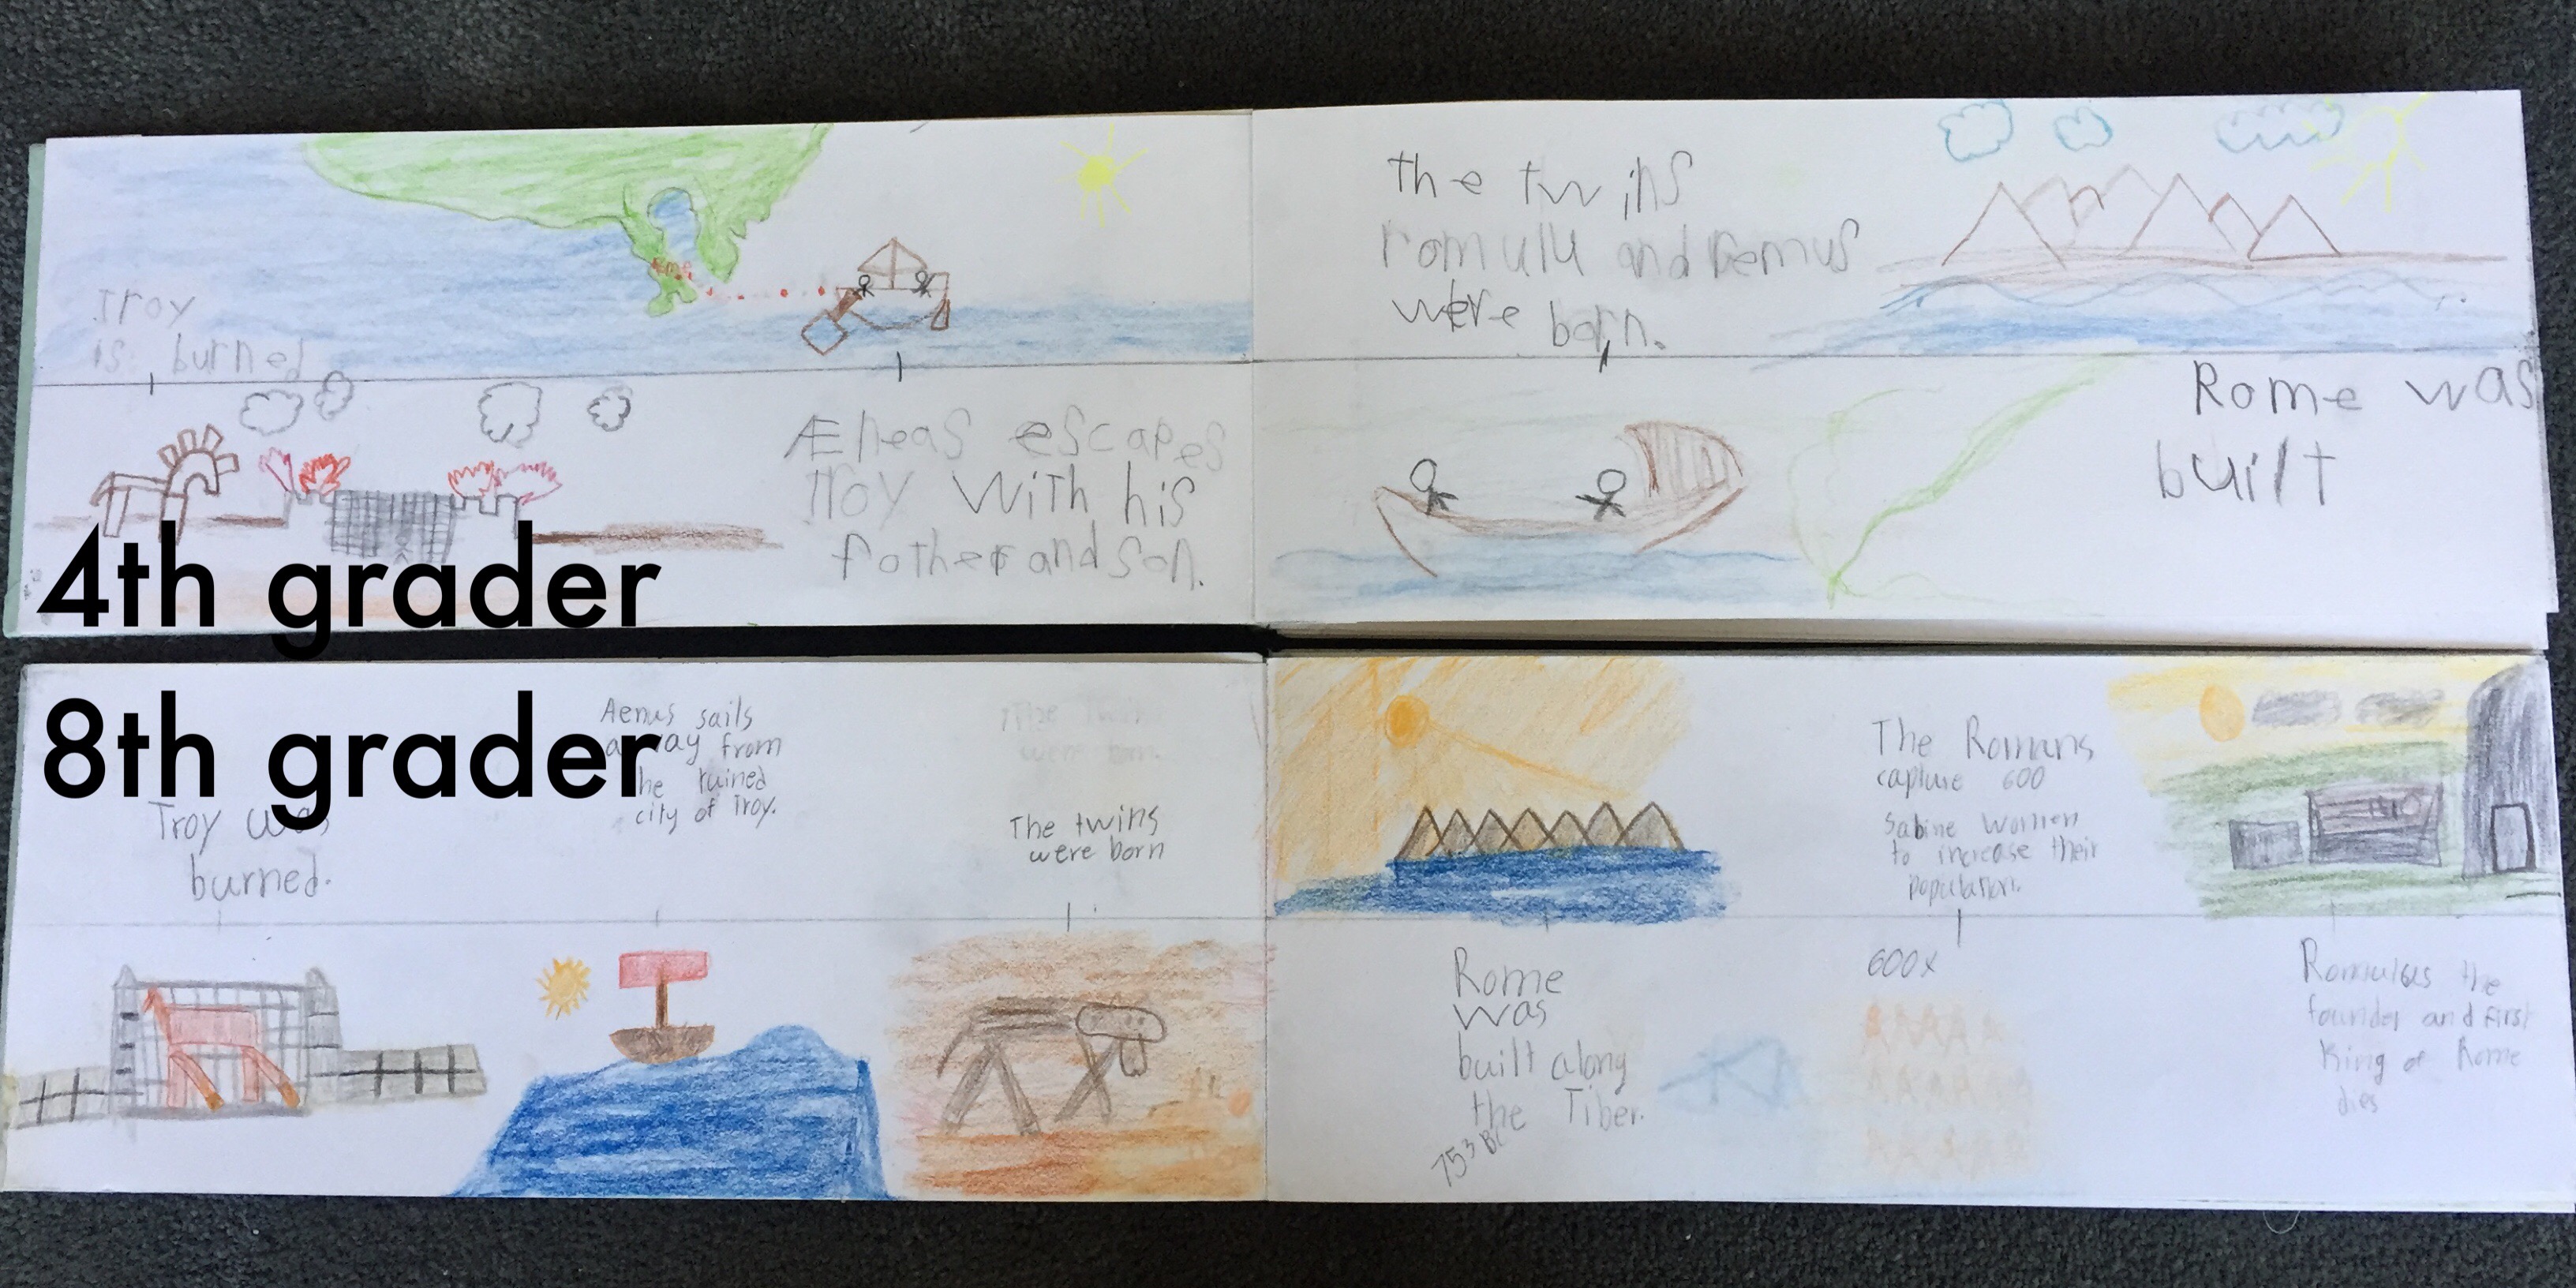
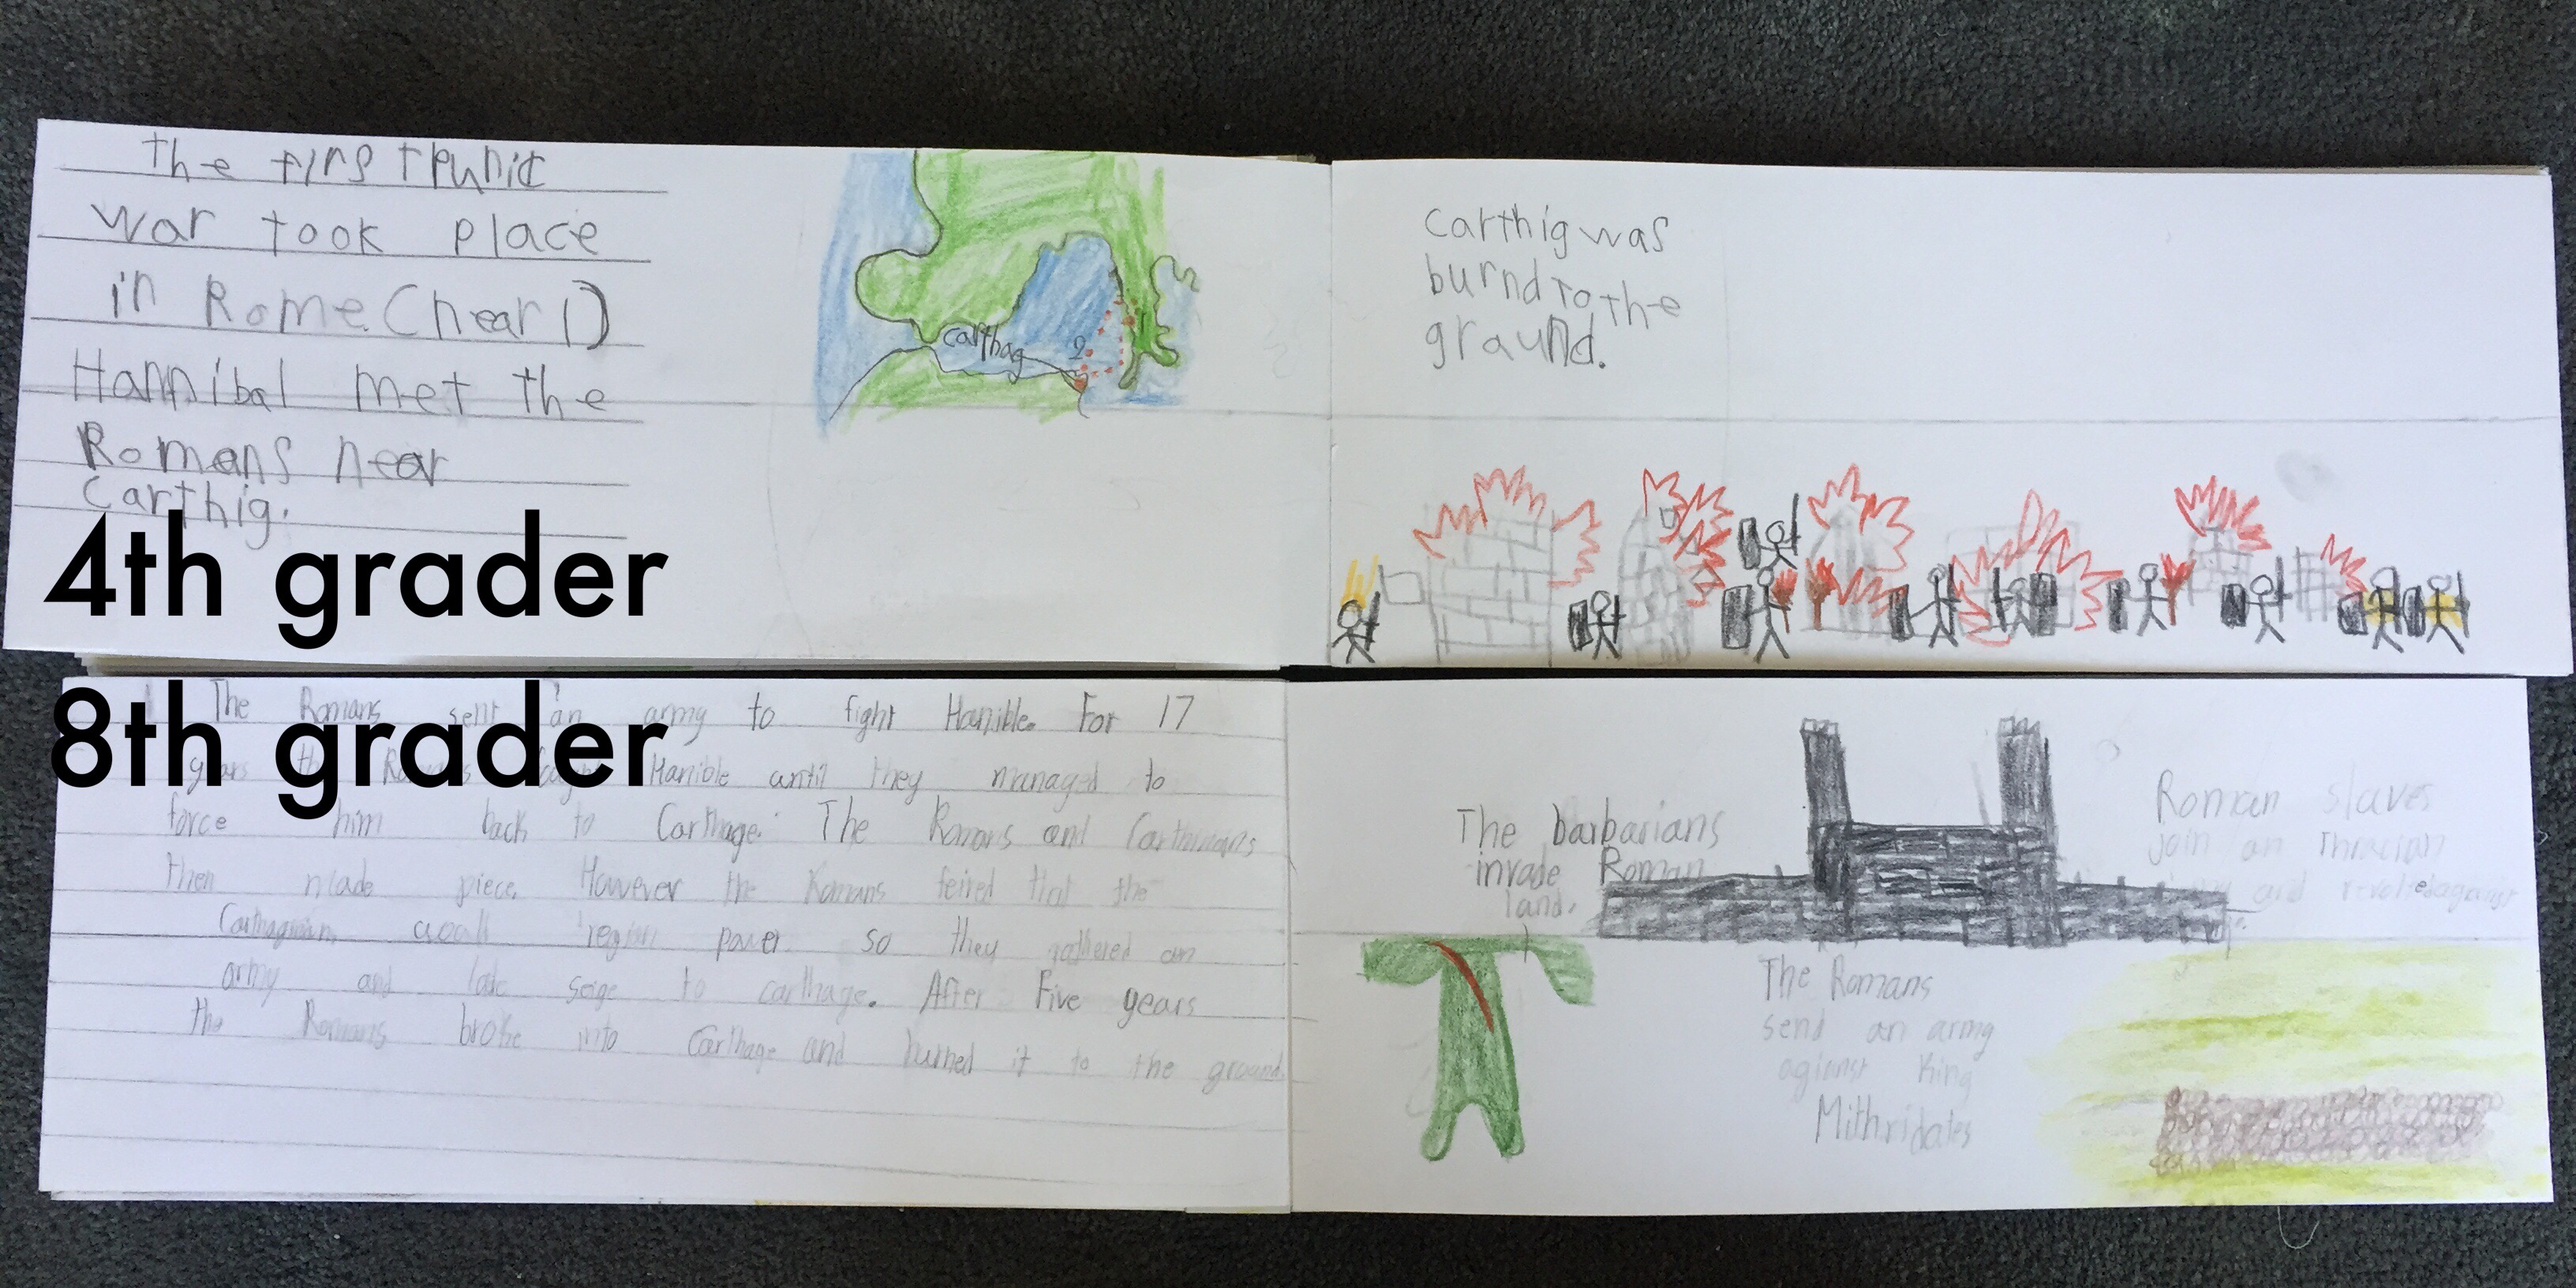
Learn how to make this beautiful and sturdy fold out timeline book. It can be as long as you need it, as you can continue to add pages to the timeline without adhering it to the back cover.
Most materials can be found at http://www.dickblick.com or local craft stores.
Materials used: Lokta paper (hand made paper from Nepal), drawing paper, chipboard (we used the back cover of a drawing paper pad), ruler, pencil, scissors, paper trimmer, X-Acto knife, spray adhesive, double-sided tape, and tape. Optional: Silhouette Cameo and Xyron sticker machine (or you can use letter stickers for title).
Duration 30-40 minutes
Level: adult (intermediate)
My kids love these kinds of projects. They love to look at the work they’ve done and flip through the pages. They feel really accomplished when they complete a project like this.
Enjoy!
Roman Meal video, click here.
This would be perfect for seerah! I always find it so difficult to keep things straight in my mind…nevermind keeping things in order while teaching the kids. A nice timeline like this would be really perfect to accompany the book, ‘When the Moon Split’. Thanks for sharing!
Hi sister. I love this timeline book you have created. My son has a timeline project and i have created a similiar book using ur idea. Could i please see puctures of the complete timeline book.