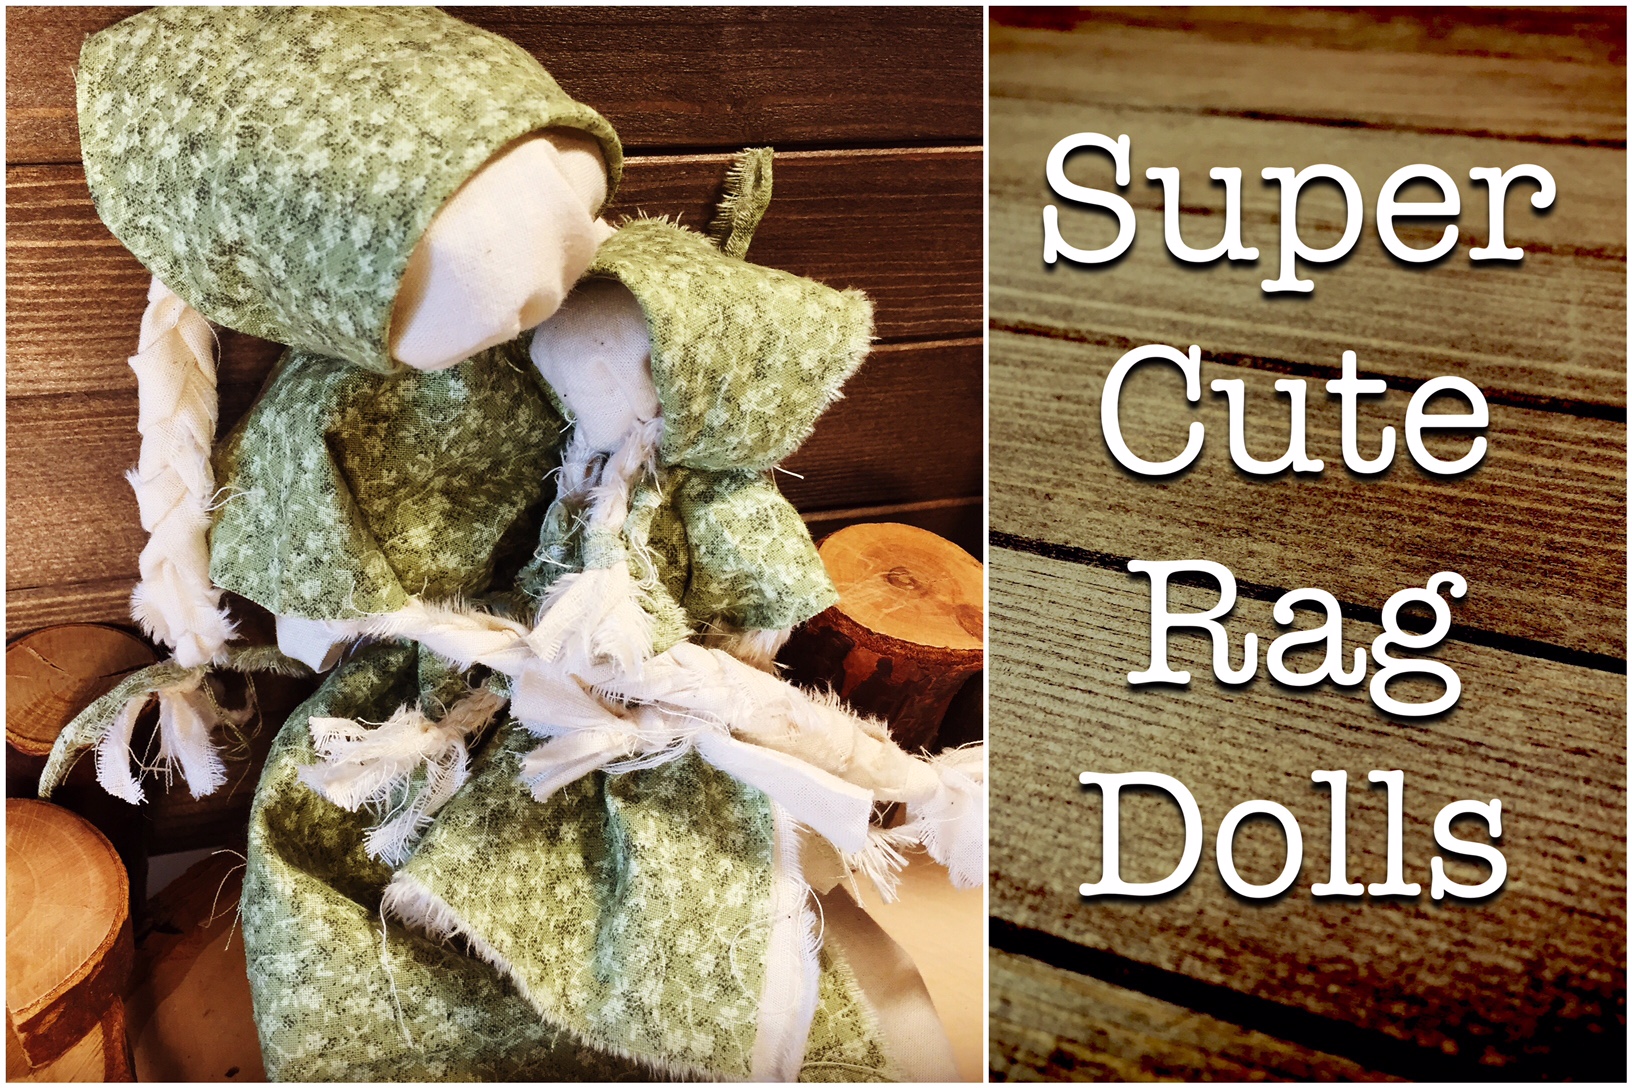
Having had boys for 12 years of my motherhood journey, I never had the need to make these adorable rag dolls. My friend, Megan, taught our kindergarten co-op how to make them, and my five year old daughter loves them! In the tutorial you can see how simple, easy and fast they are to make. I’d like to make a few suggestions now that my daughter has been playing with them non-stop:
- Double knot everything
- Sew the bonnet to the head (two stitches is sufficient)
- Sew the braids to the head (two stitches is sufficient)
- Sew a stitch into the ribbon that ties the braids off
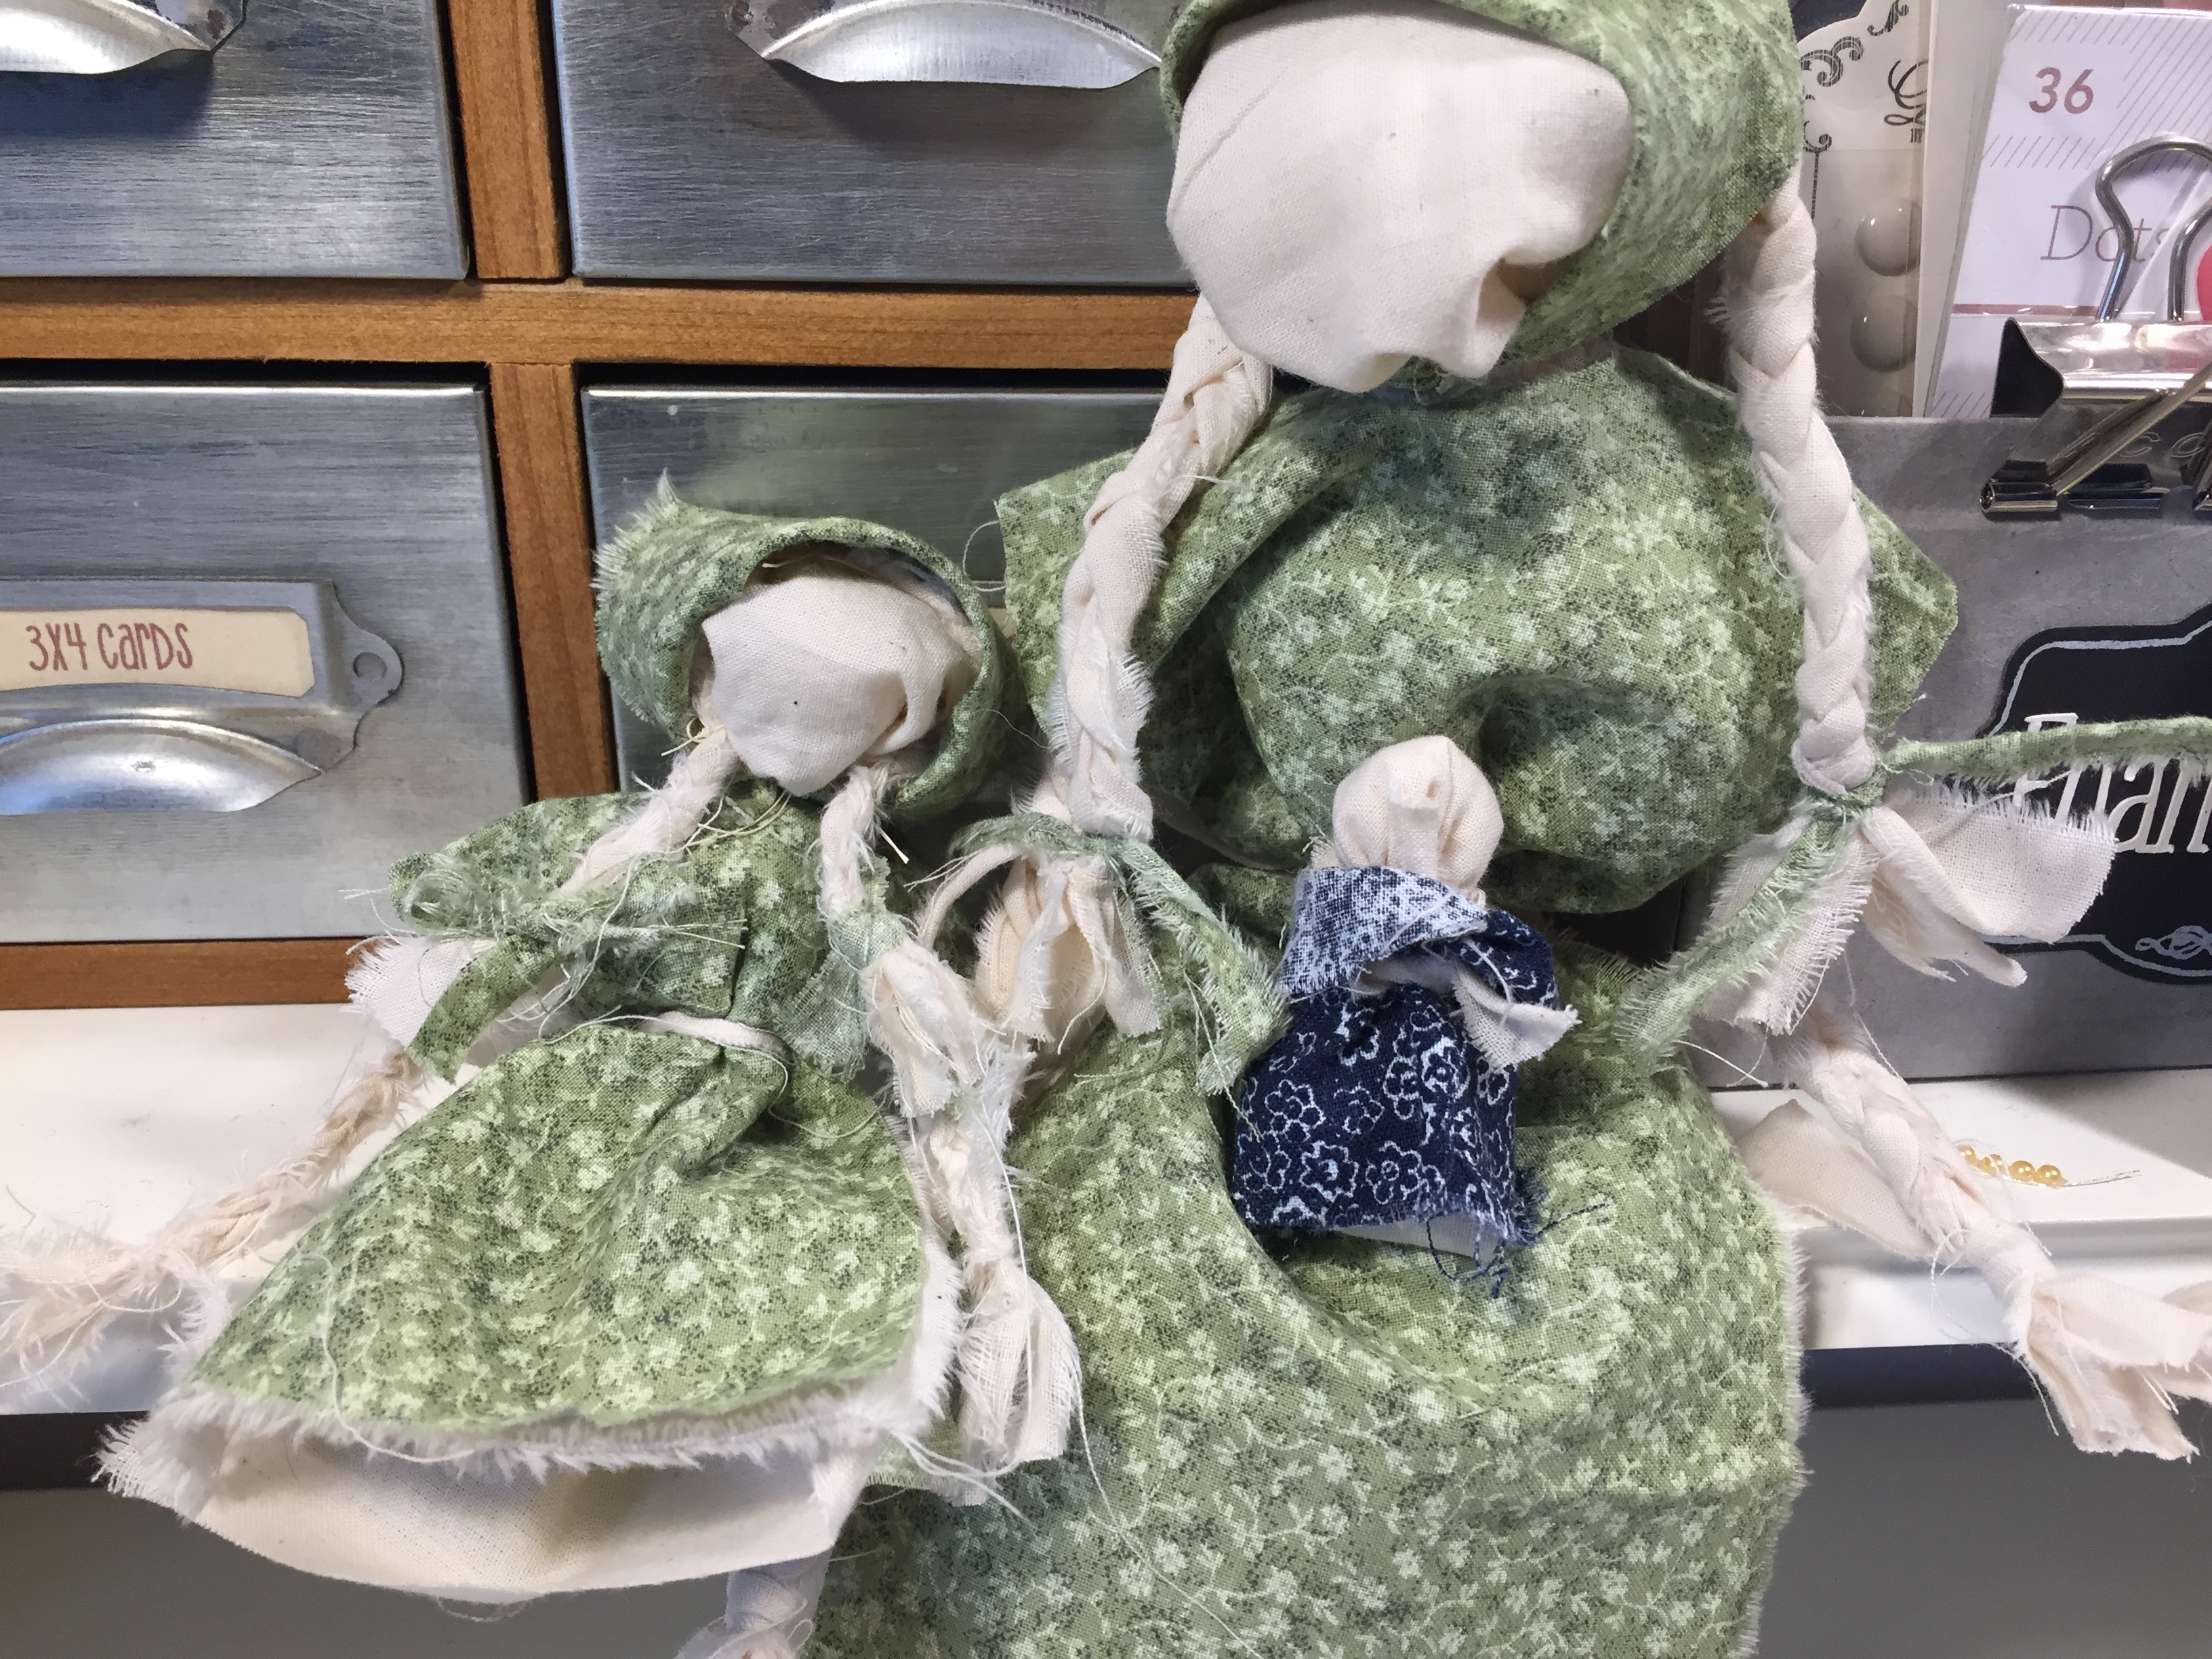
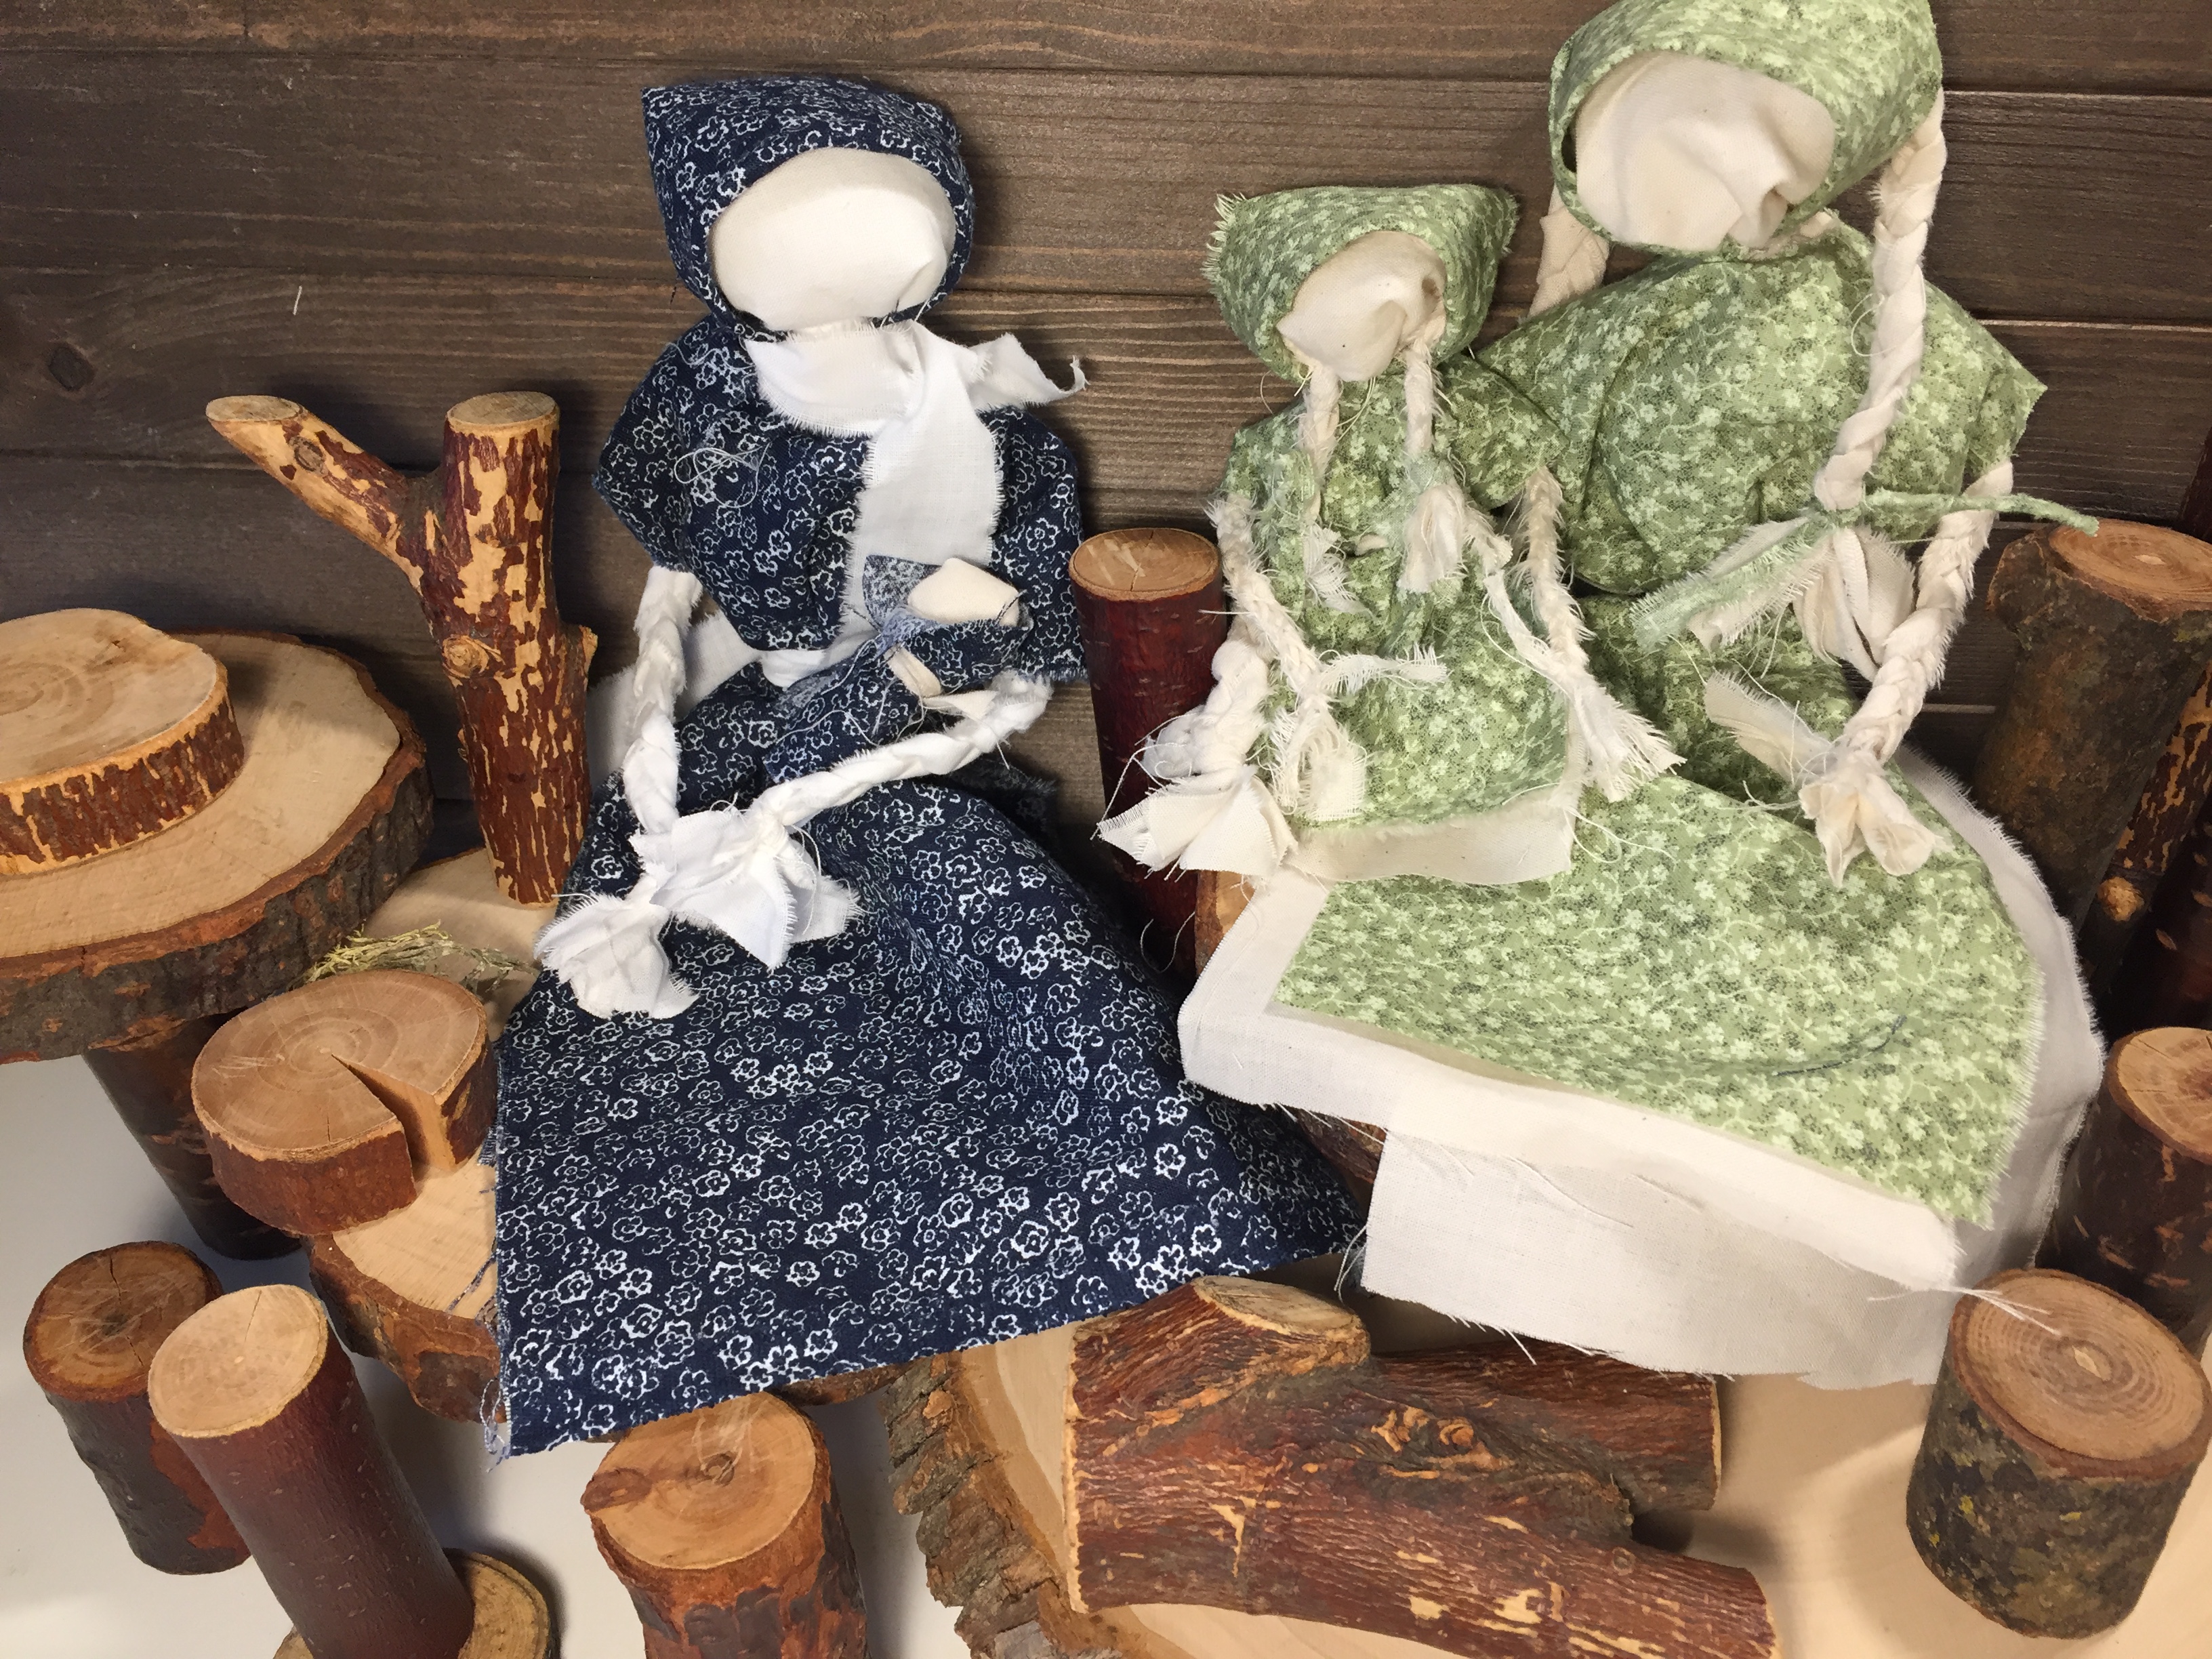
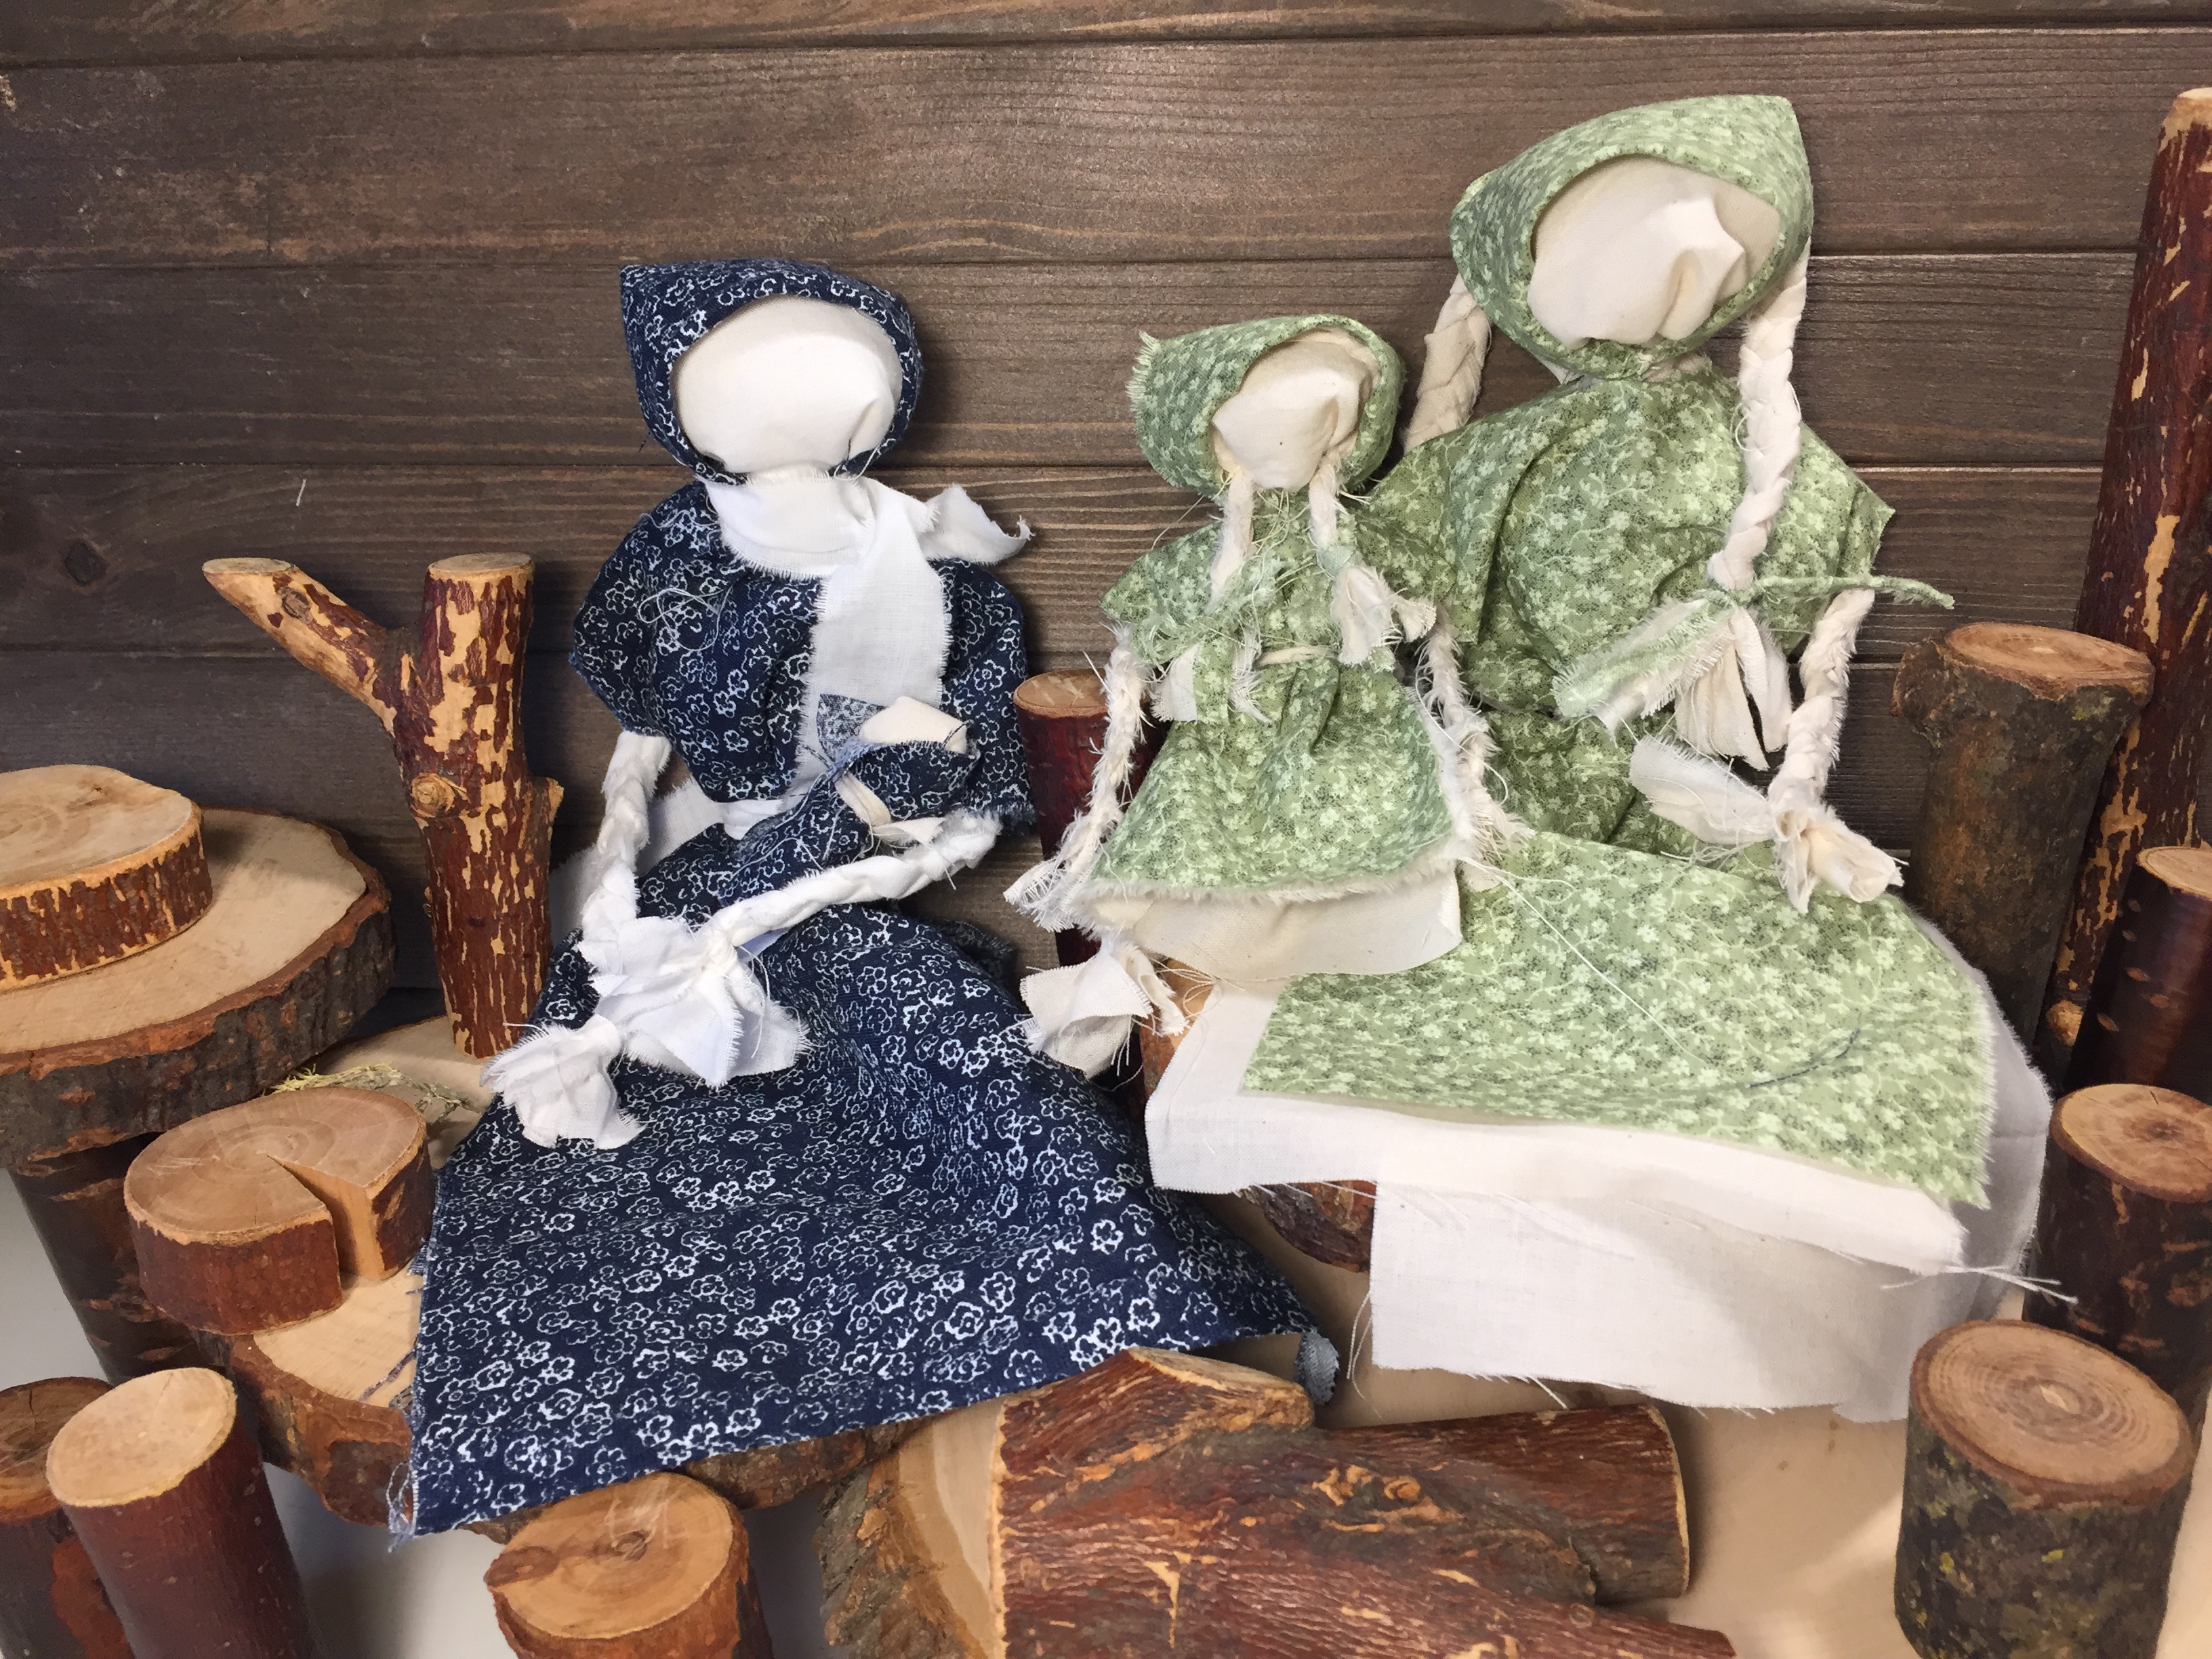
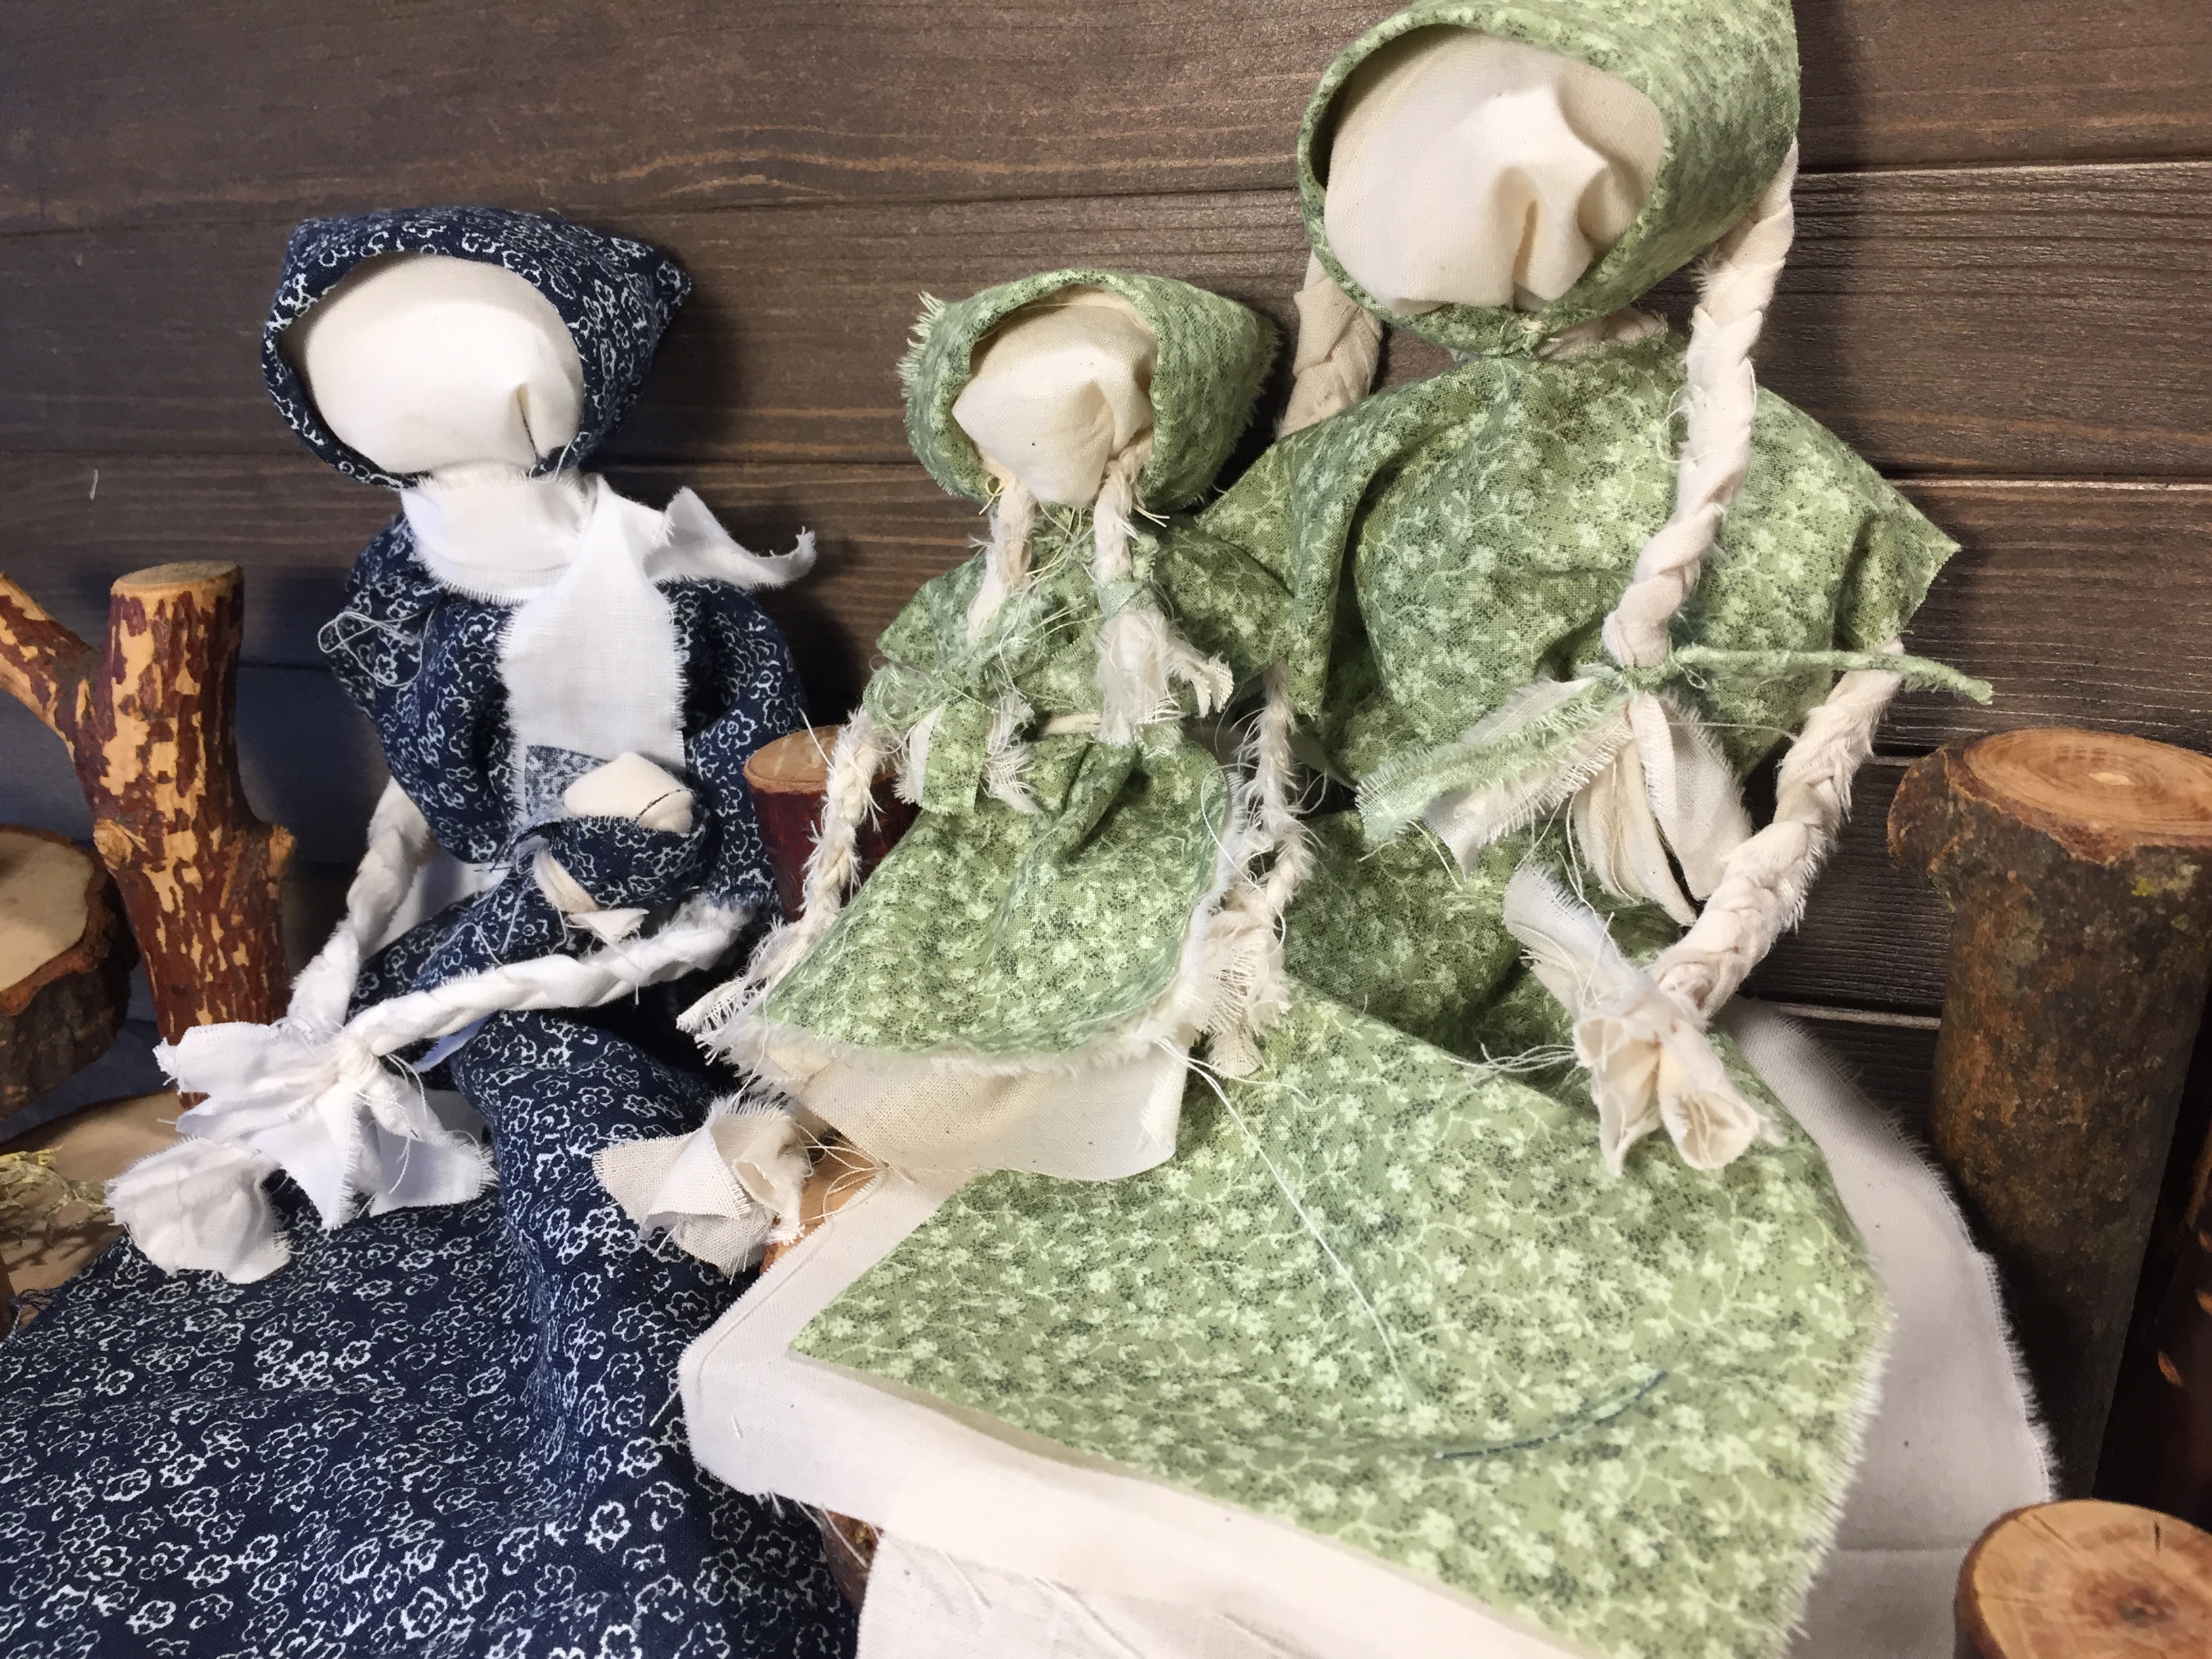
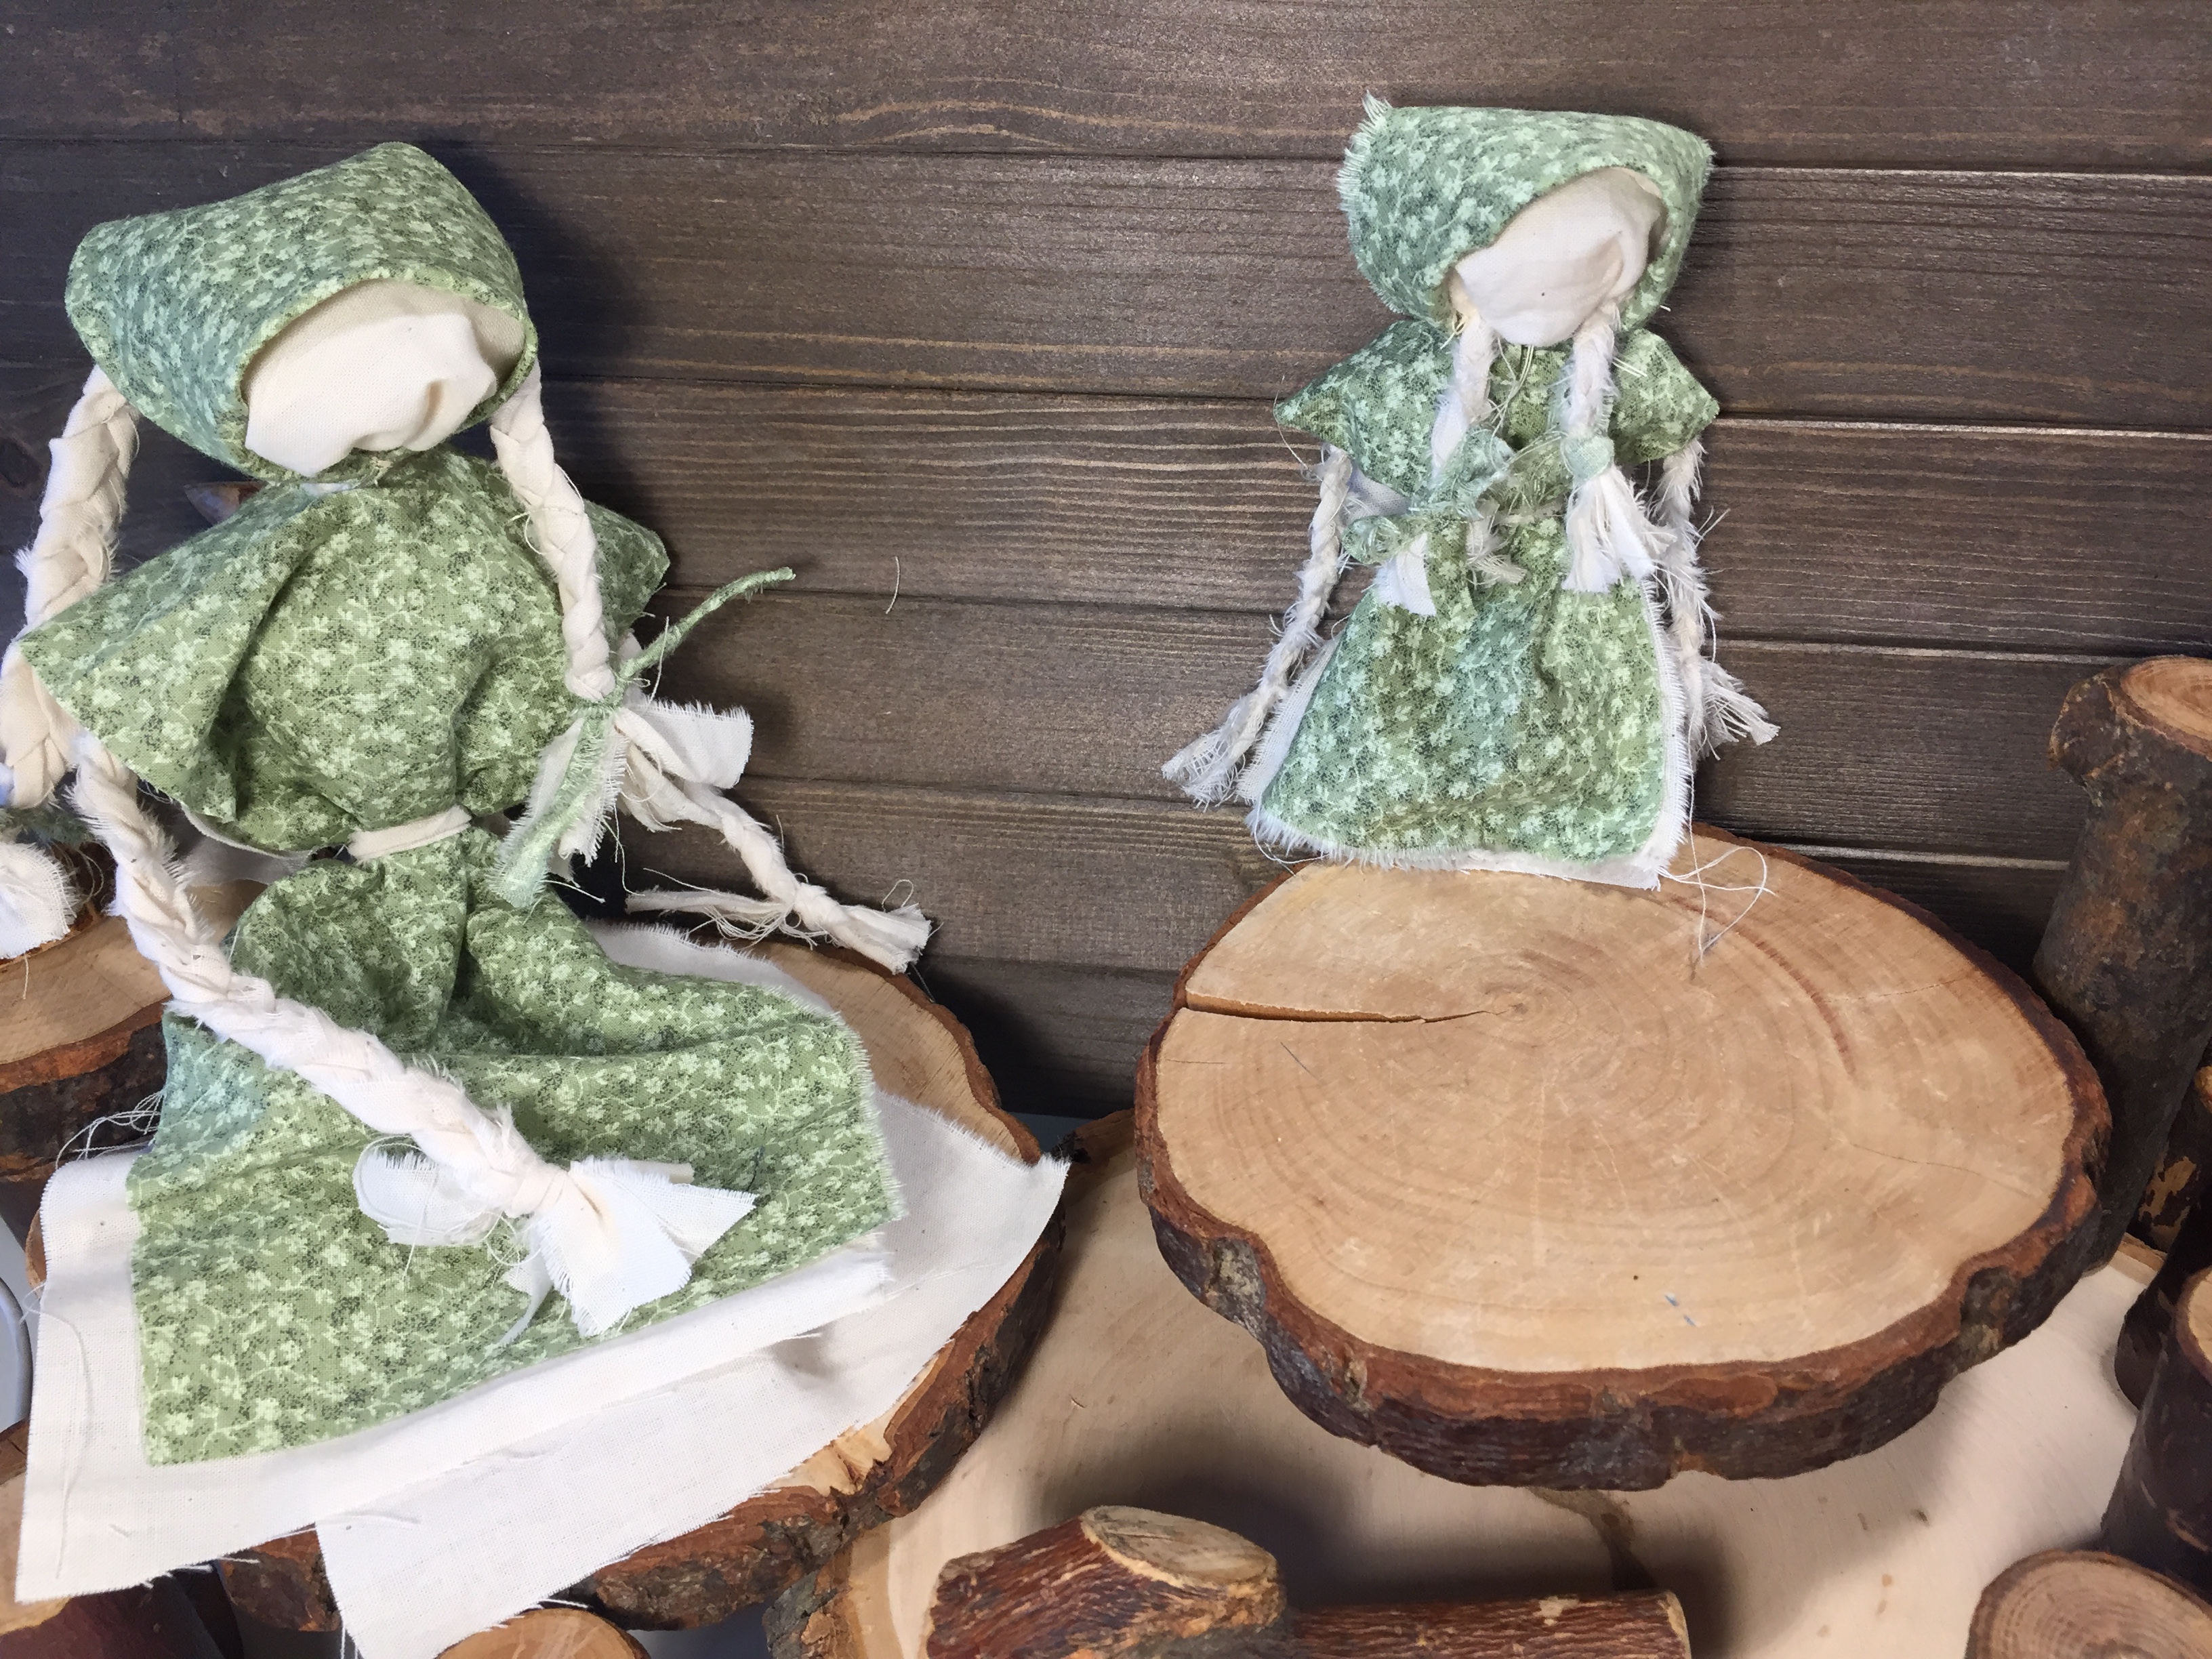
My daughter likes to pretend play a lot. At the root of her pretend play is family. She likes to group her toys into families, she even likes to group her washi tape into families! Yep, I actually buy her washi tape, even though I’m the scrapbooker! So when I had finished making her a rag doll, she was happy, when I finished making her a little girl, another mom and a baby, she was over the moon excited. She’s already put in requests for more! Like another baby for the first mom, a basket and another little girl, oh…and two dads to complete her little family unit. Hmmm…boy rag dolls…I’ll have to experiment.
Supplies:
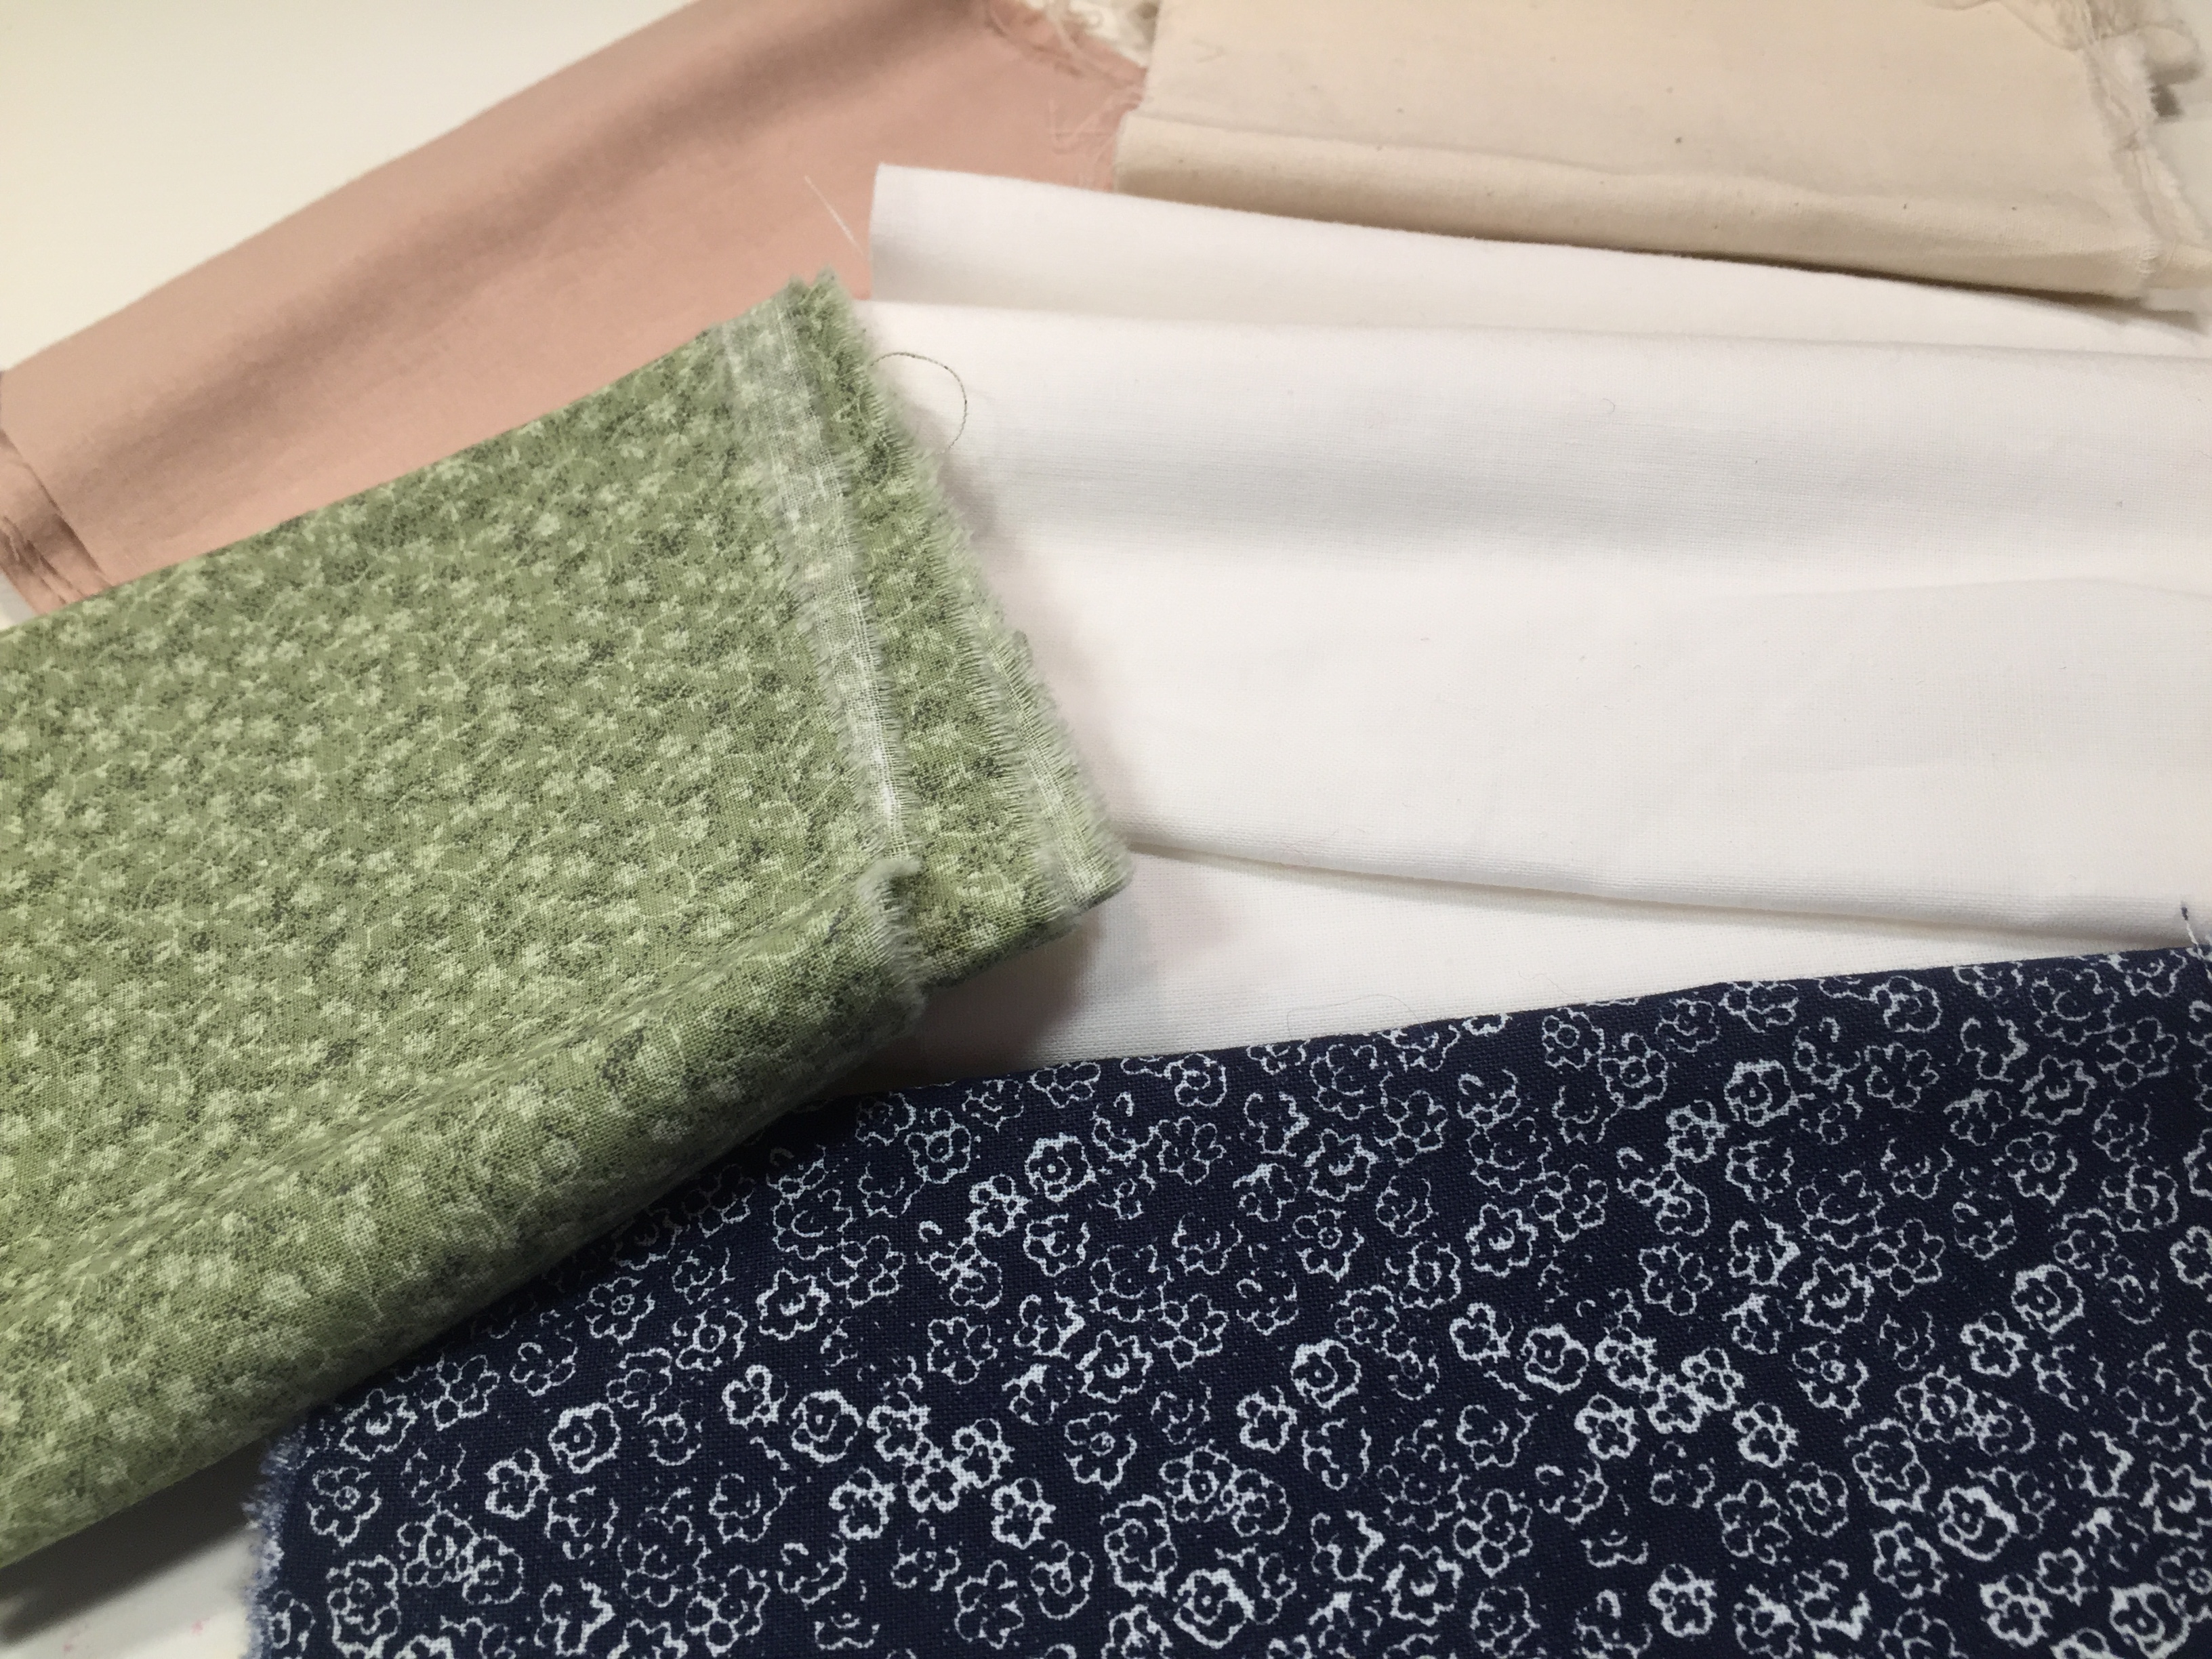
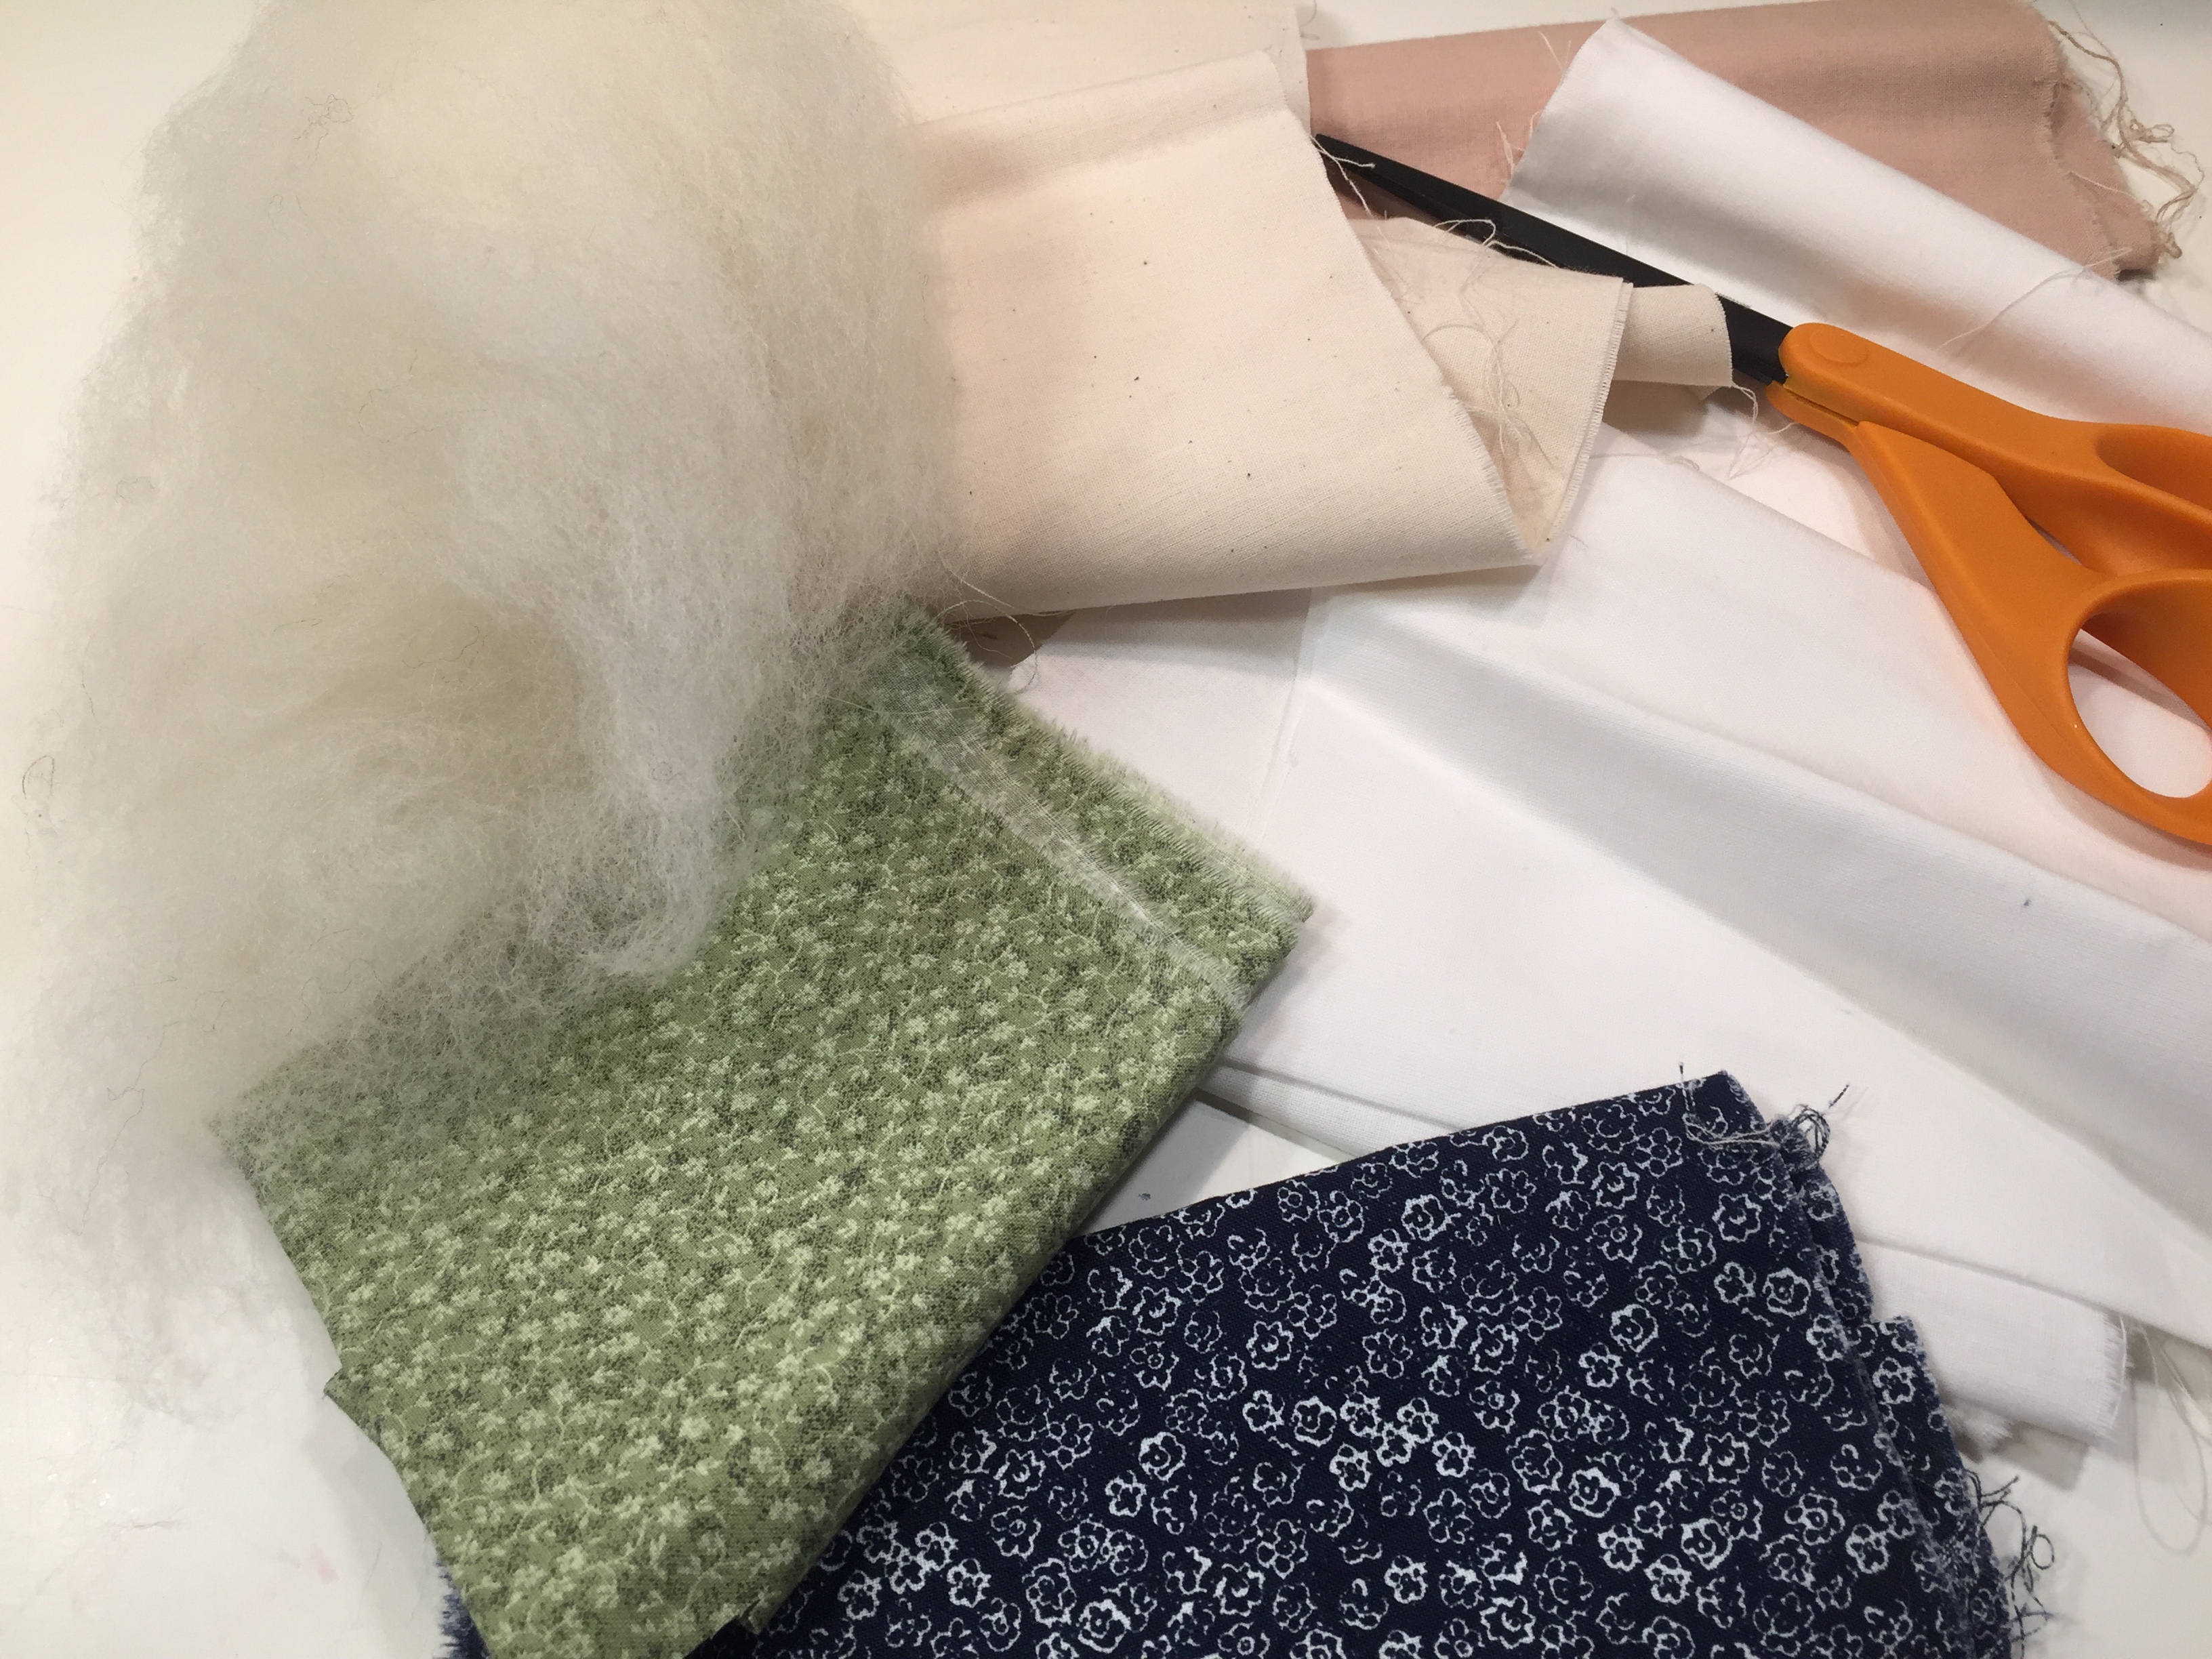
- 1/4 yard of muslin (you can choose from a variety of colors for different skin tones)
- 1/4 yard of calico fabric or any print fabric
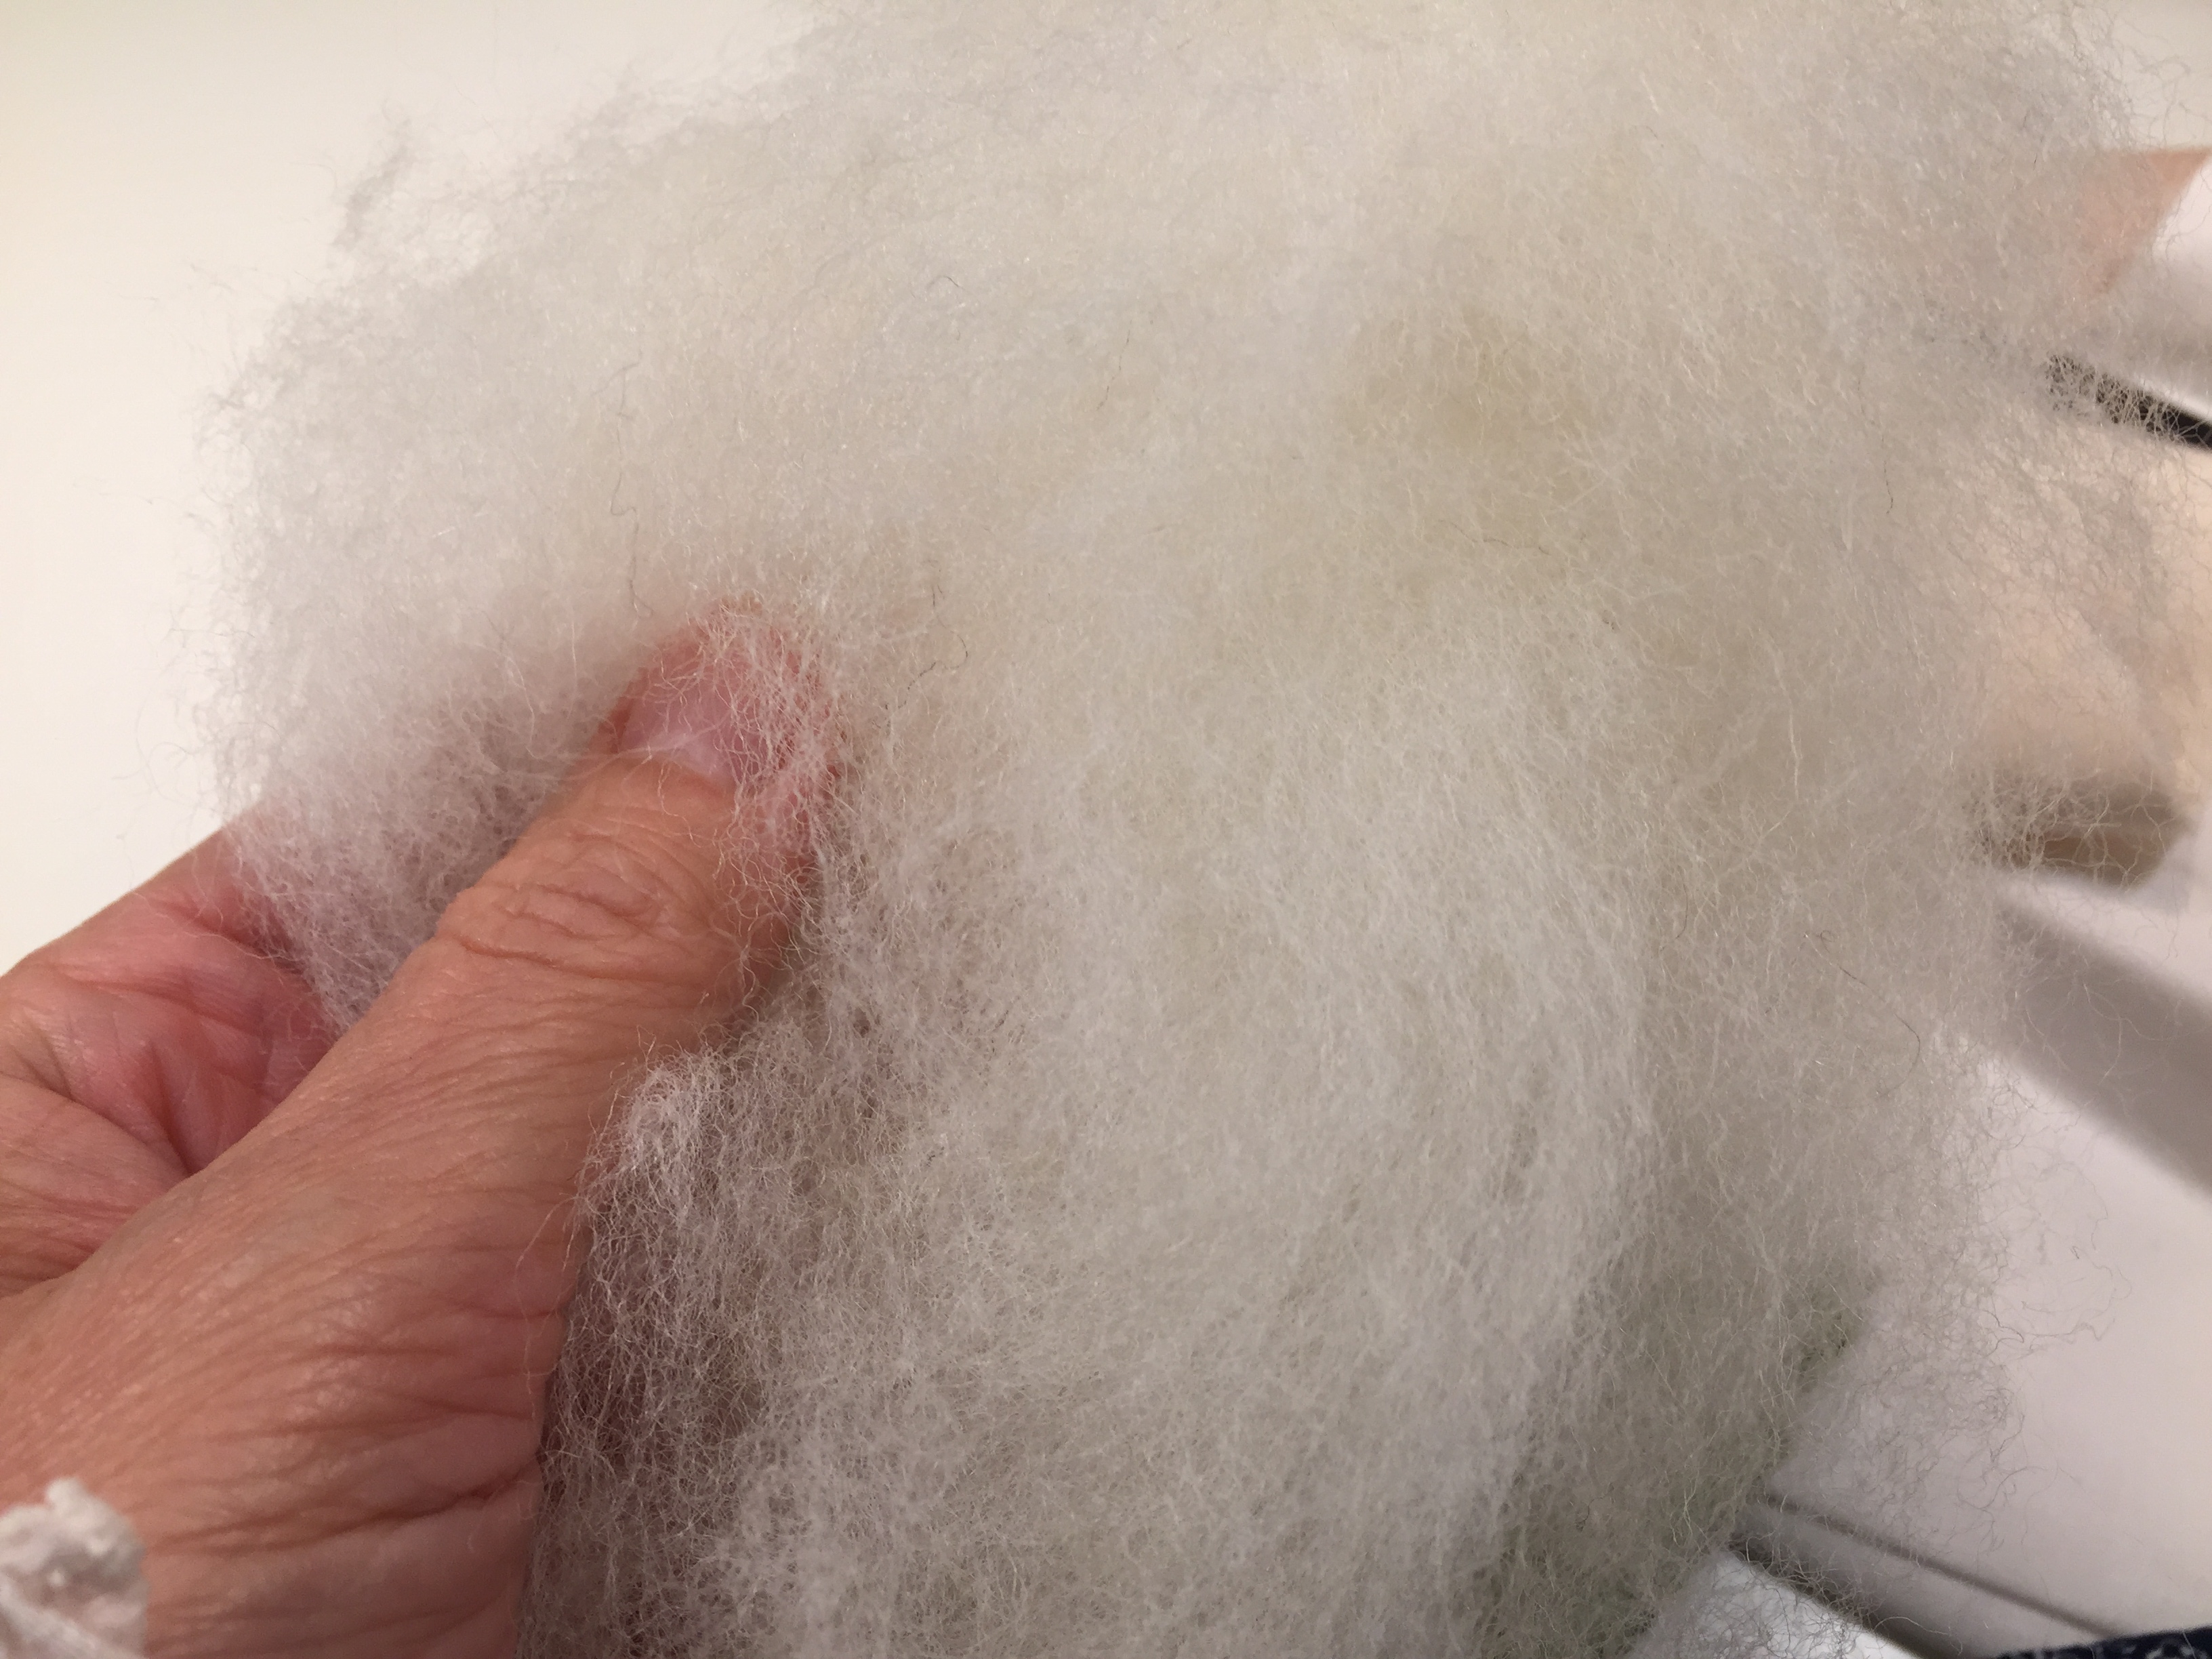
- wool or cotton balls
- scissors
- optional: needle and thread
Directions:
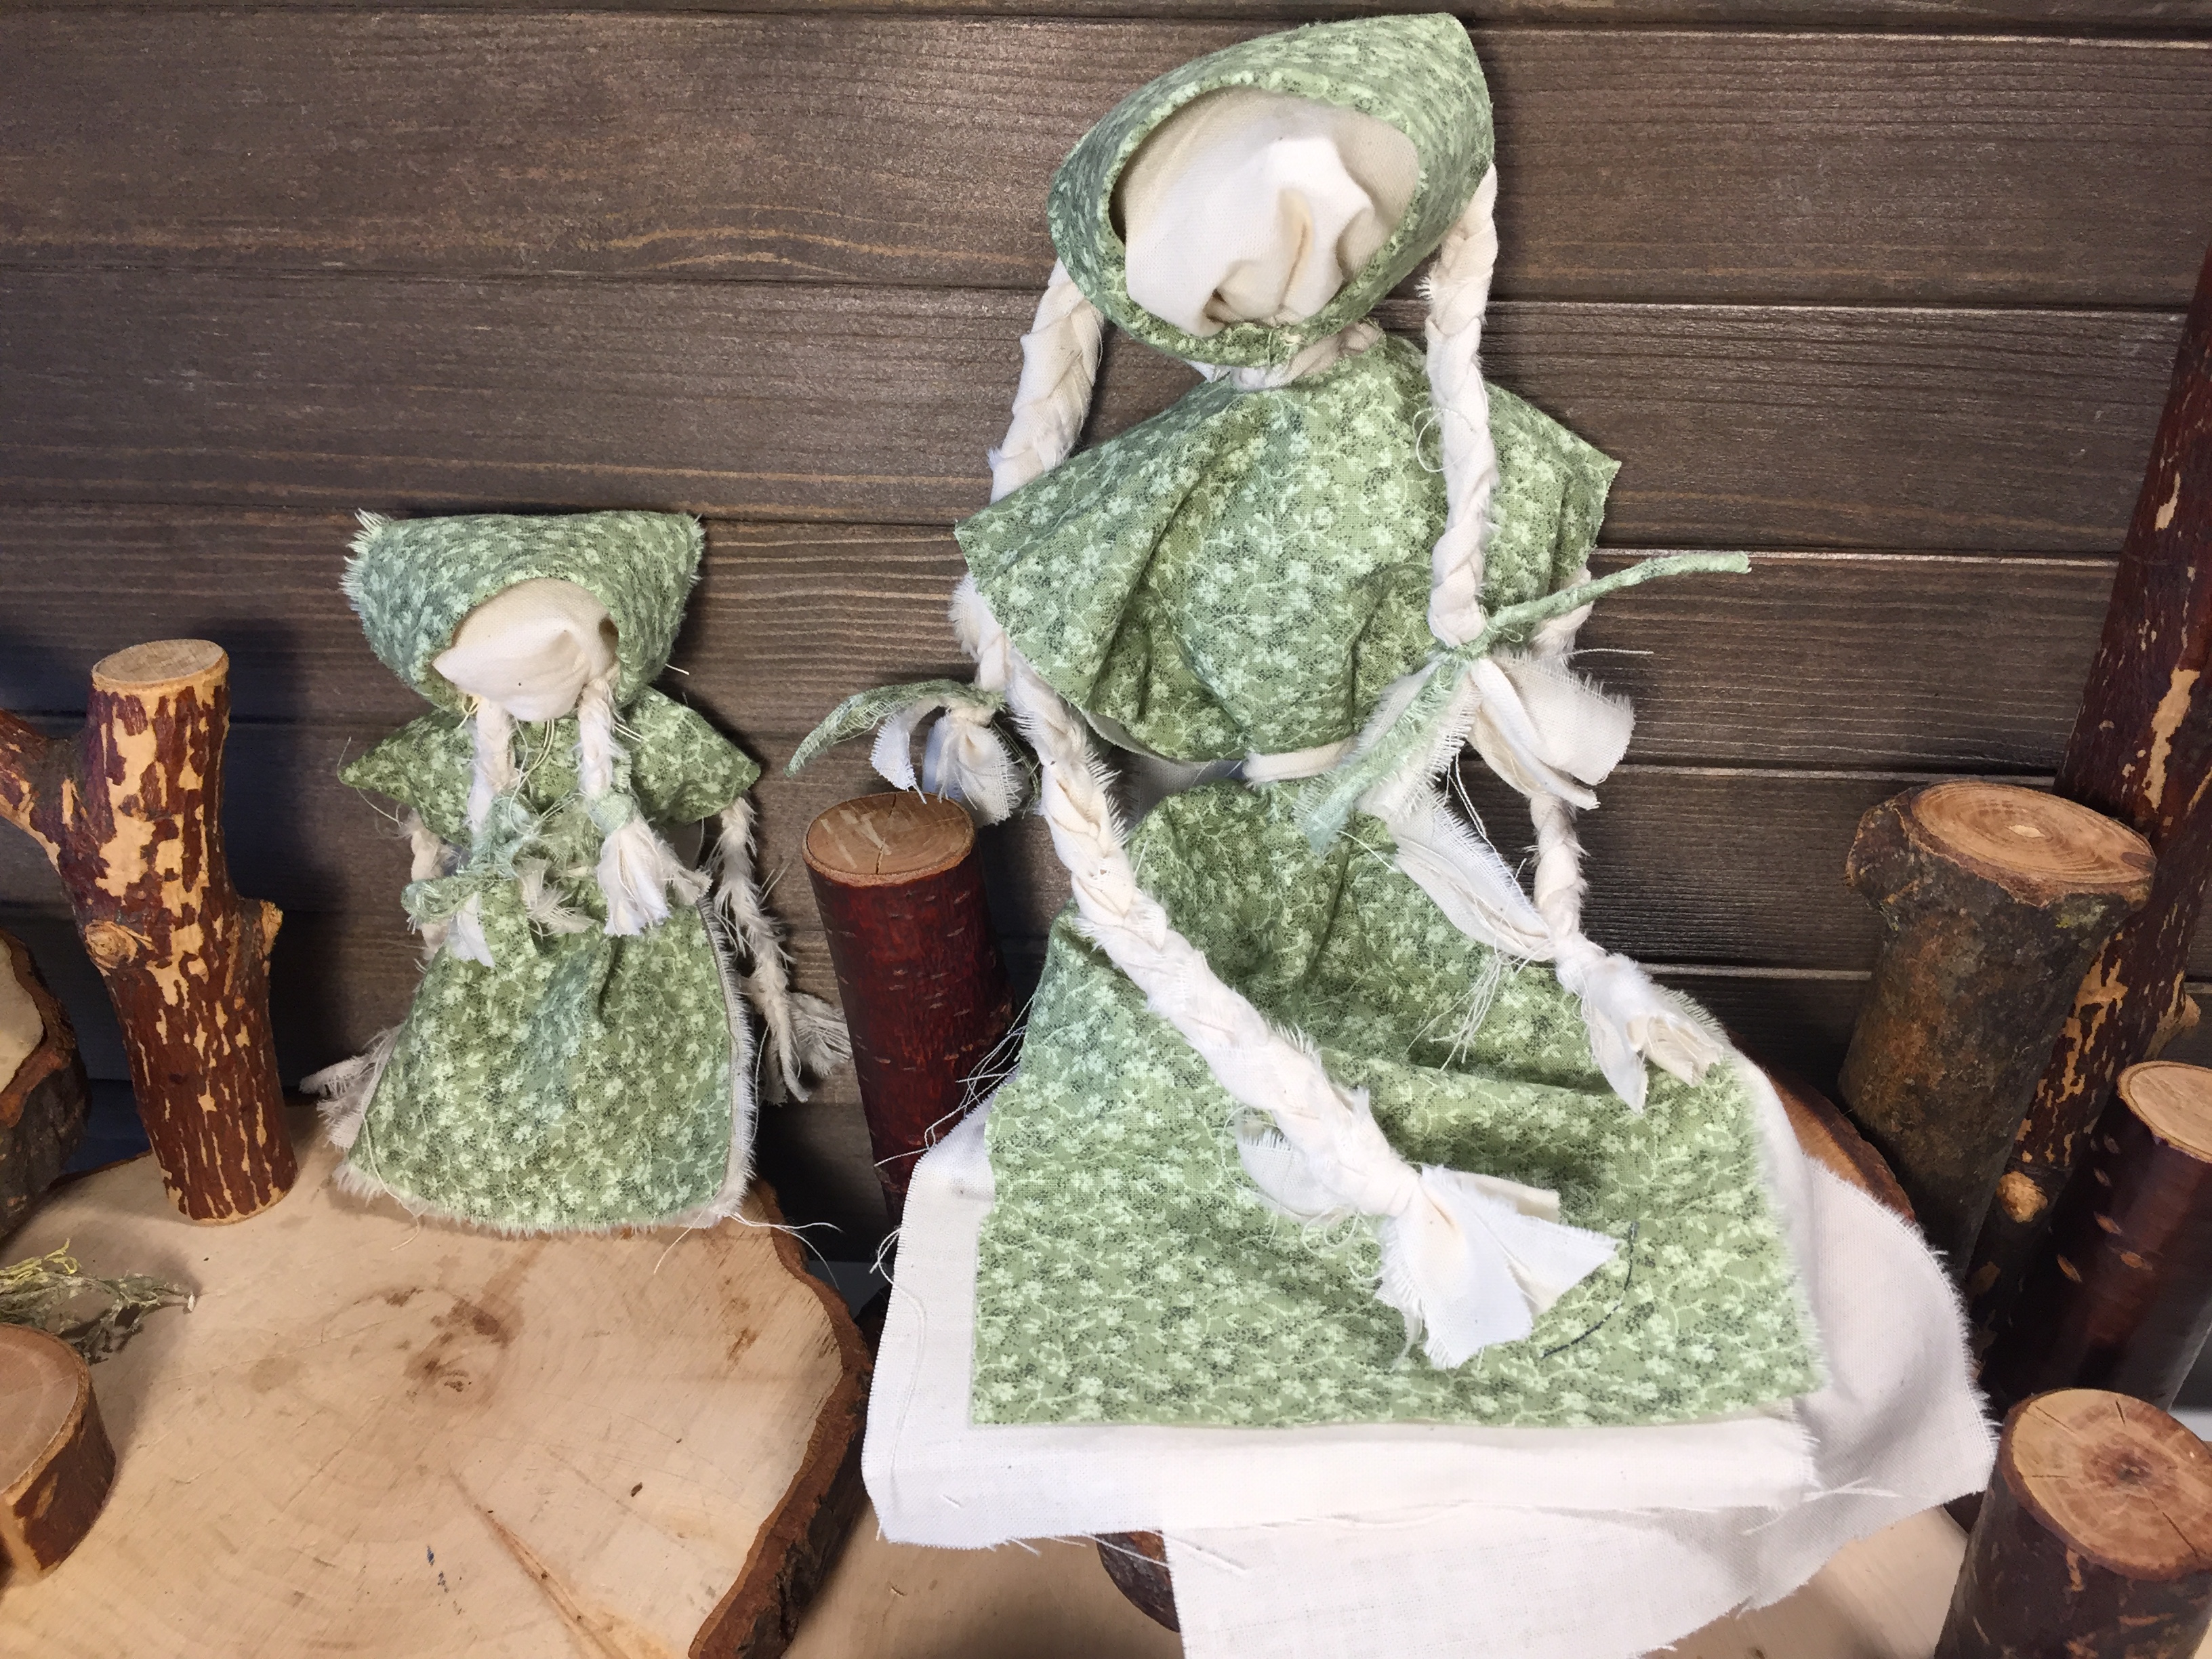
- Cut or rip a strip of muslin to 4″ by 24″
- Cut or rip 4 strips of muslin 1/2″ by about 20″
- Fold long strip of muslin (4″x24″) in half and stuff a little wool in the top for the head
- Tie off head with one strip of fabric (1/4″x20″) keep excess for the belt
- Braid arms and tie off each end with remnant strips of fabric
- Optional: make another set of braids for hair and tie off with printed fabric
- Tie arms to base of neck with the fabric used to tie off the head
- Cut or rip piece of calico or printed fabric about 4″ by 20″ for the dress
- Fold in half then in half again and cut a very small slip where the corners come together (the video will help with this)
- Wiggle head through the opening
- Fill the body with wool (optional)
- Belt the body with remnant piece of fabric and make a bow in the back
- Cut square of fabric about 3″ square and fold into a triangle
- Tie or sew the bonnet on the head (if you are adding braids, sew them in place before putting on the bonnet
- Hand to a little child and watch his or her face light up!
Did you enjoy this tutorial? If so, let me know below!
Boy Rag Doll Tutorial
If you’ve never made playthings for your kids, this might be the perfect place to start. It’s easy to make rag dolls, and what’s great about it is that you don’t need many supplies, and even old clothes would work perfectly for this project. We used muslin for the body of the doll, wool batting for the head and body and remnant fabric from a curtain that had been floating around in our pretend play dress-up basic for years. The result was a boy rag doll to complete the rag doll family. My five-year old daughter really likes to pretend play with families: mom, dad, baby and sometimes other members. Having made her several girl rag dolls (mom, baby and young child), she was thrilled to add a ‘dad’ to the mix. I can’t say I actually like the way he turned out, as I prefer the girl rag dolls much more, but she love it and what you already know (if you make playthings for your kids), is that children are so loving, innocent and accepting, that even your worst effort is applauded and loved by your child. So try this project whether you are a seasoned crafter or not; your children will love you all the more for it. And if you do try it, don’t forget to show me your project! Share with me on Instagram and don’t forget to tag your project with #pepperandpine.