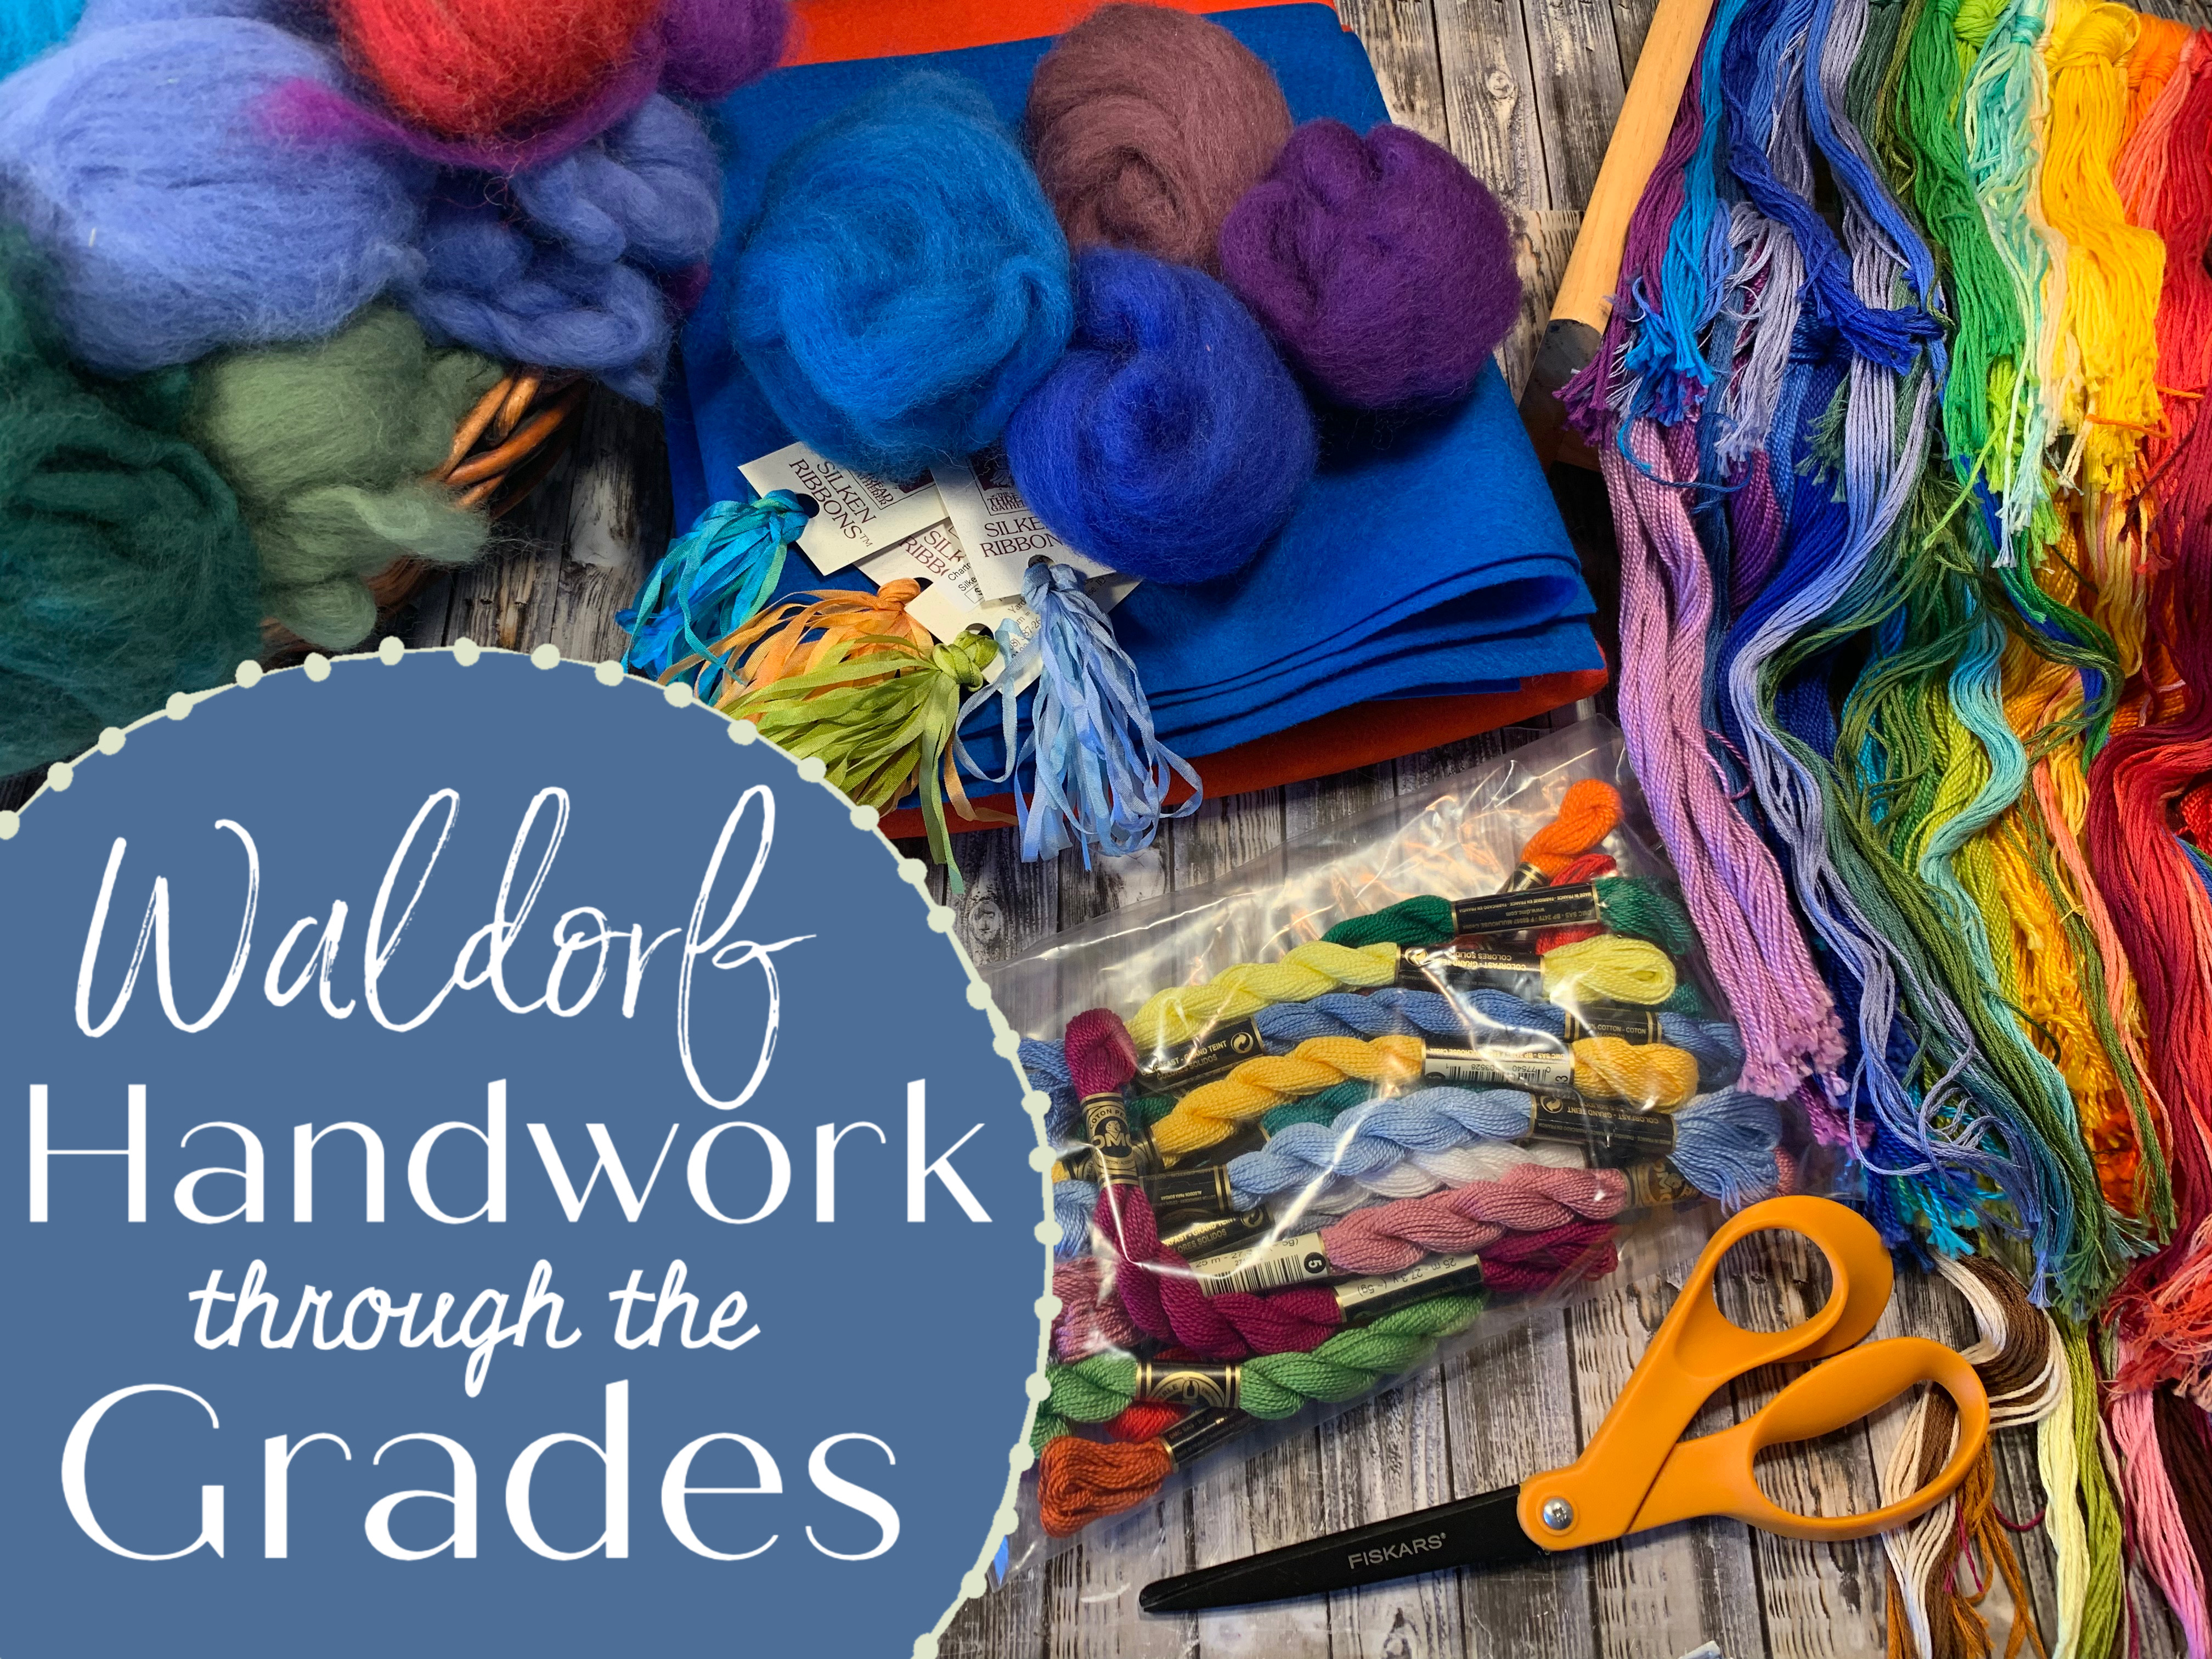
Handwork is a subject area in you’ll find in Waldorf schools. Just like you would find math or science in traditional school settings, handwork is a staple in a Waldorf setting as well as history, literature, mathematics and many more subjects. One difference is that handwork is not a daily lesson. Usually you’ll find that handwork lessons are 2-3 times a week, similar to eurythmy classes and other specialty classes.
Each grade in a Waldorf school will have lessons that promote and support the the development of the child. The handwork lessons do the same through hands on learning in the fiber arts. Knitting is one of the first skills learned by a grade 1 student. The criss cross motion and cross body movement when the knitting needles cross each other (right at heart level), helps promote healthy brain development. When the two sides of the brain community through cross body movement (also achieved in other areas of the curriculum), it strengthens the pathway between the two hemispheres and primes the brain for higher learning in middle school.
Each grade engages in handwork to support both what is being taught in the curriculum and the child’s development. Here’s a brief overview of the handwork you might expect through the grades.
Grade 1
In grade 1, when the students are about 7 years old, knitting is introduced. Knitting in grade 1 is taught with two needles and in a style that promotes cross body action. There are some knitting styles in which the yarn is held in one had and nevers crosses the body’s midline. You want to ensure that the midline is crossed and that proper handling of the knitting needles means the child won’t tire of knitting before the lesson is over and that the child enjoys the maximum benefit of knitting.
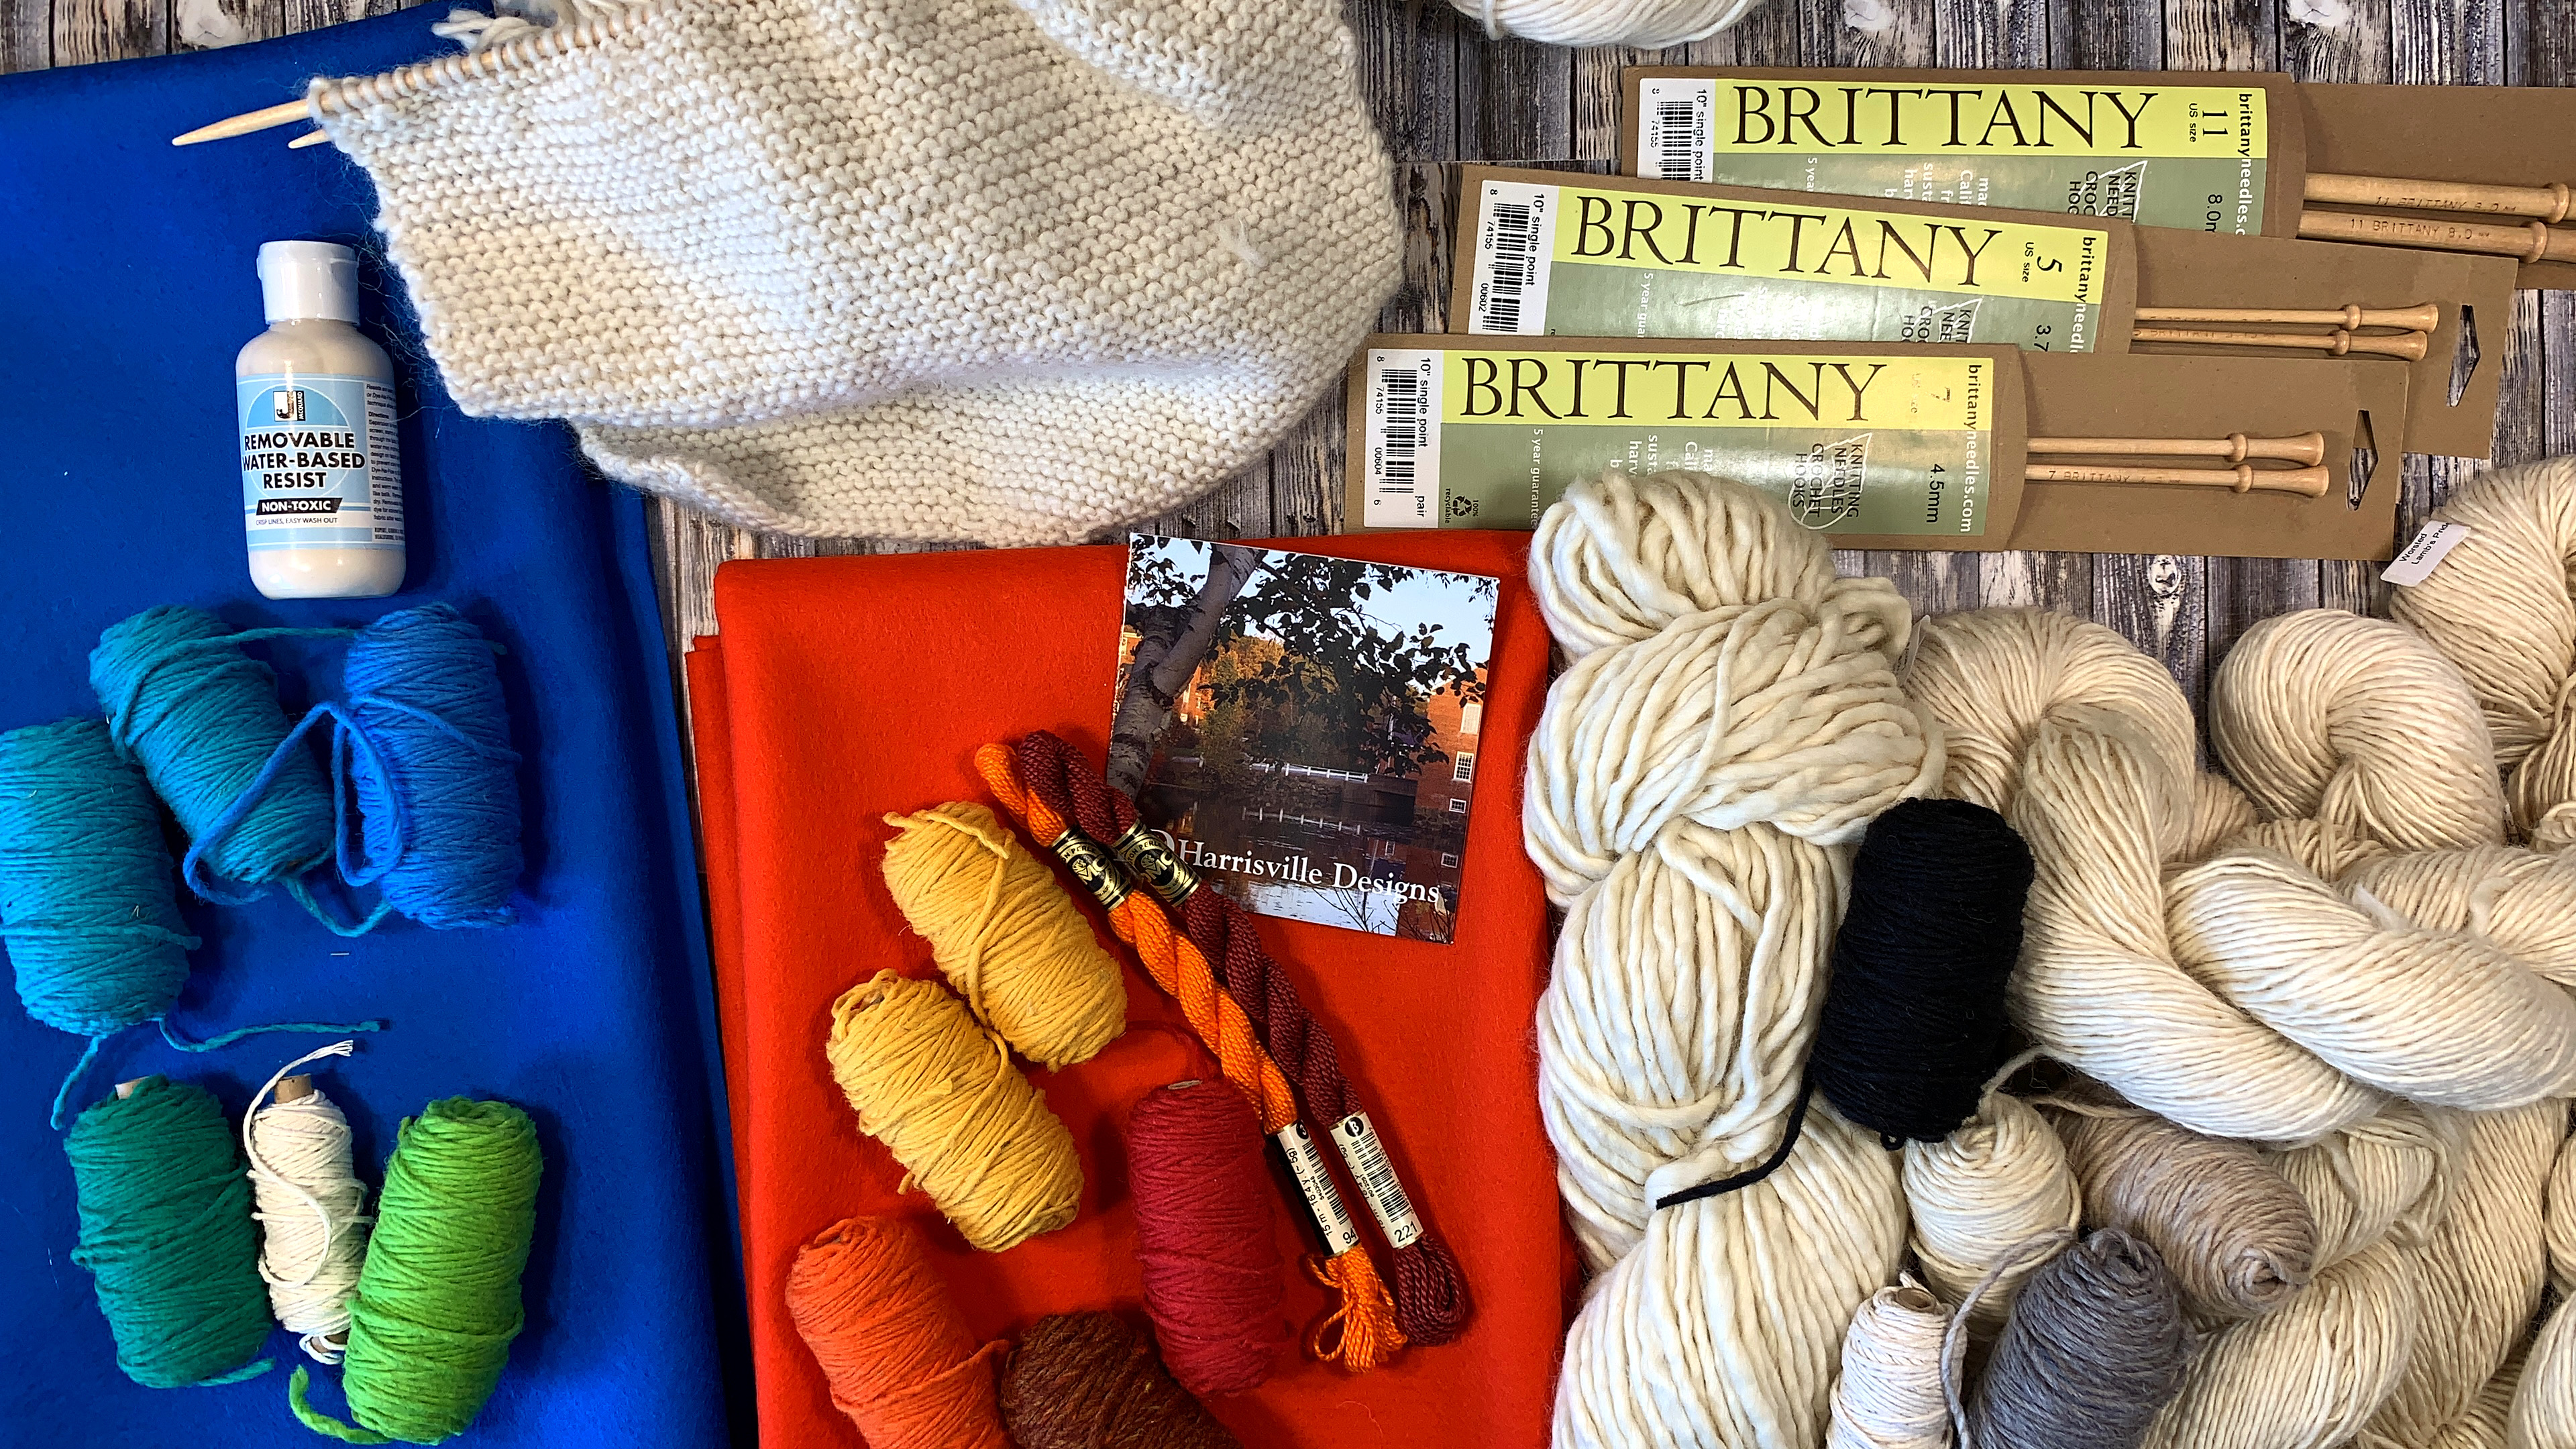
The materials for knitting as well as all handwork that will follow is as important as the skill being developed. Strive for using all natural materials, such a wood knitting needles and wool yarn. Wool is preferred in the younger years over cotton because wool comes from sheep and the life forces are stronger, and the wool’s temperature is warmer, especially to touch. Just as wood is warmer than metal and a preferred material in the younger ages, even though both are natural materials. Strong pure colors are preferred over muted colors which contain grey. Bulky yarn and size 10 needles are just right for this age. The students may start their handwork lessons by making their own needles from hardwood dowels and wooden beads for the end.
The first project a child will do in Grade 1 is to knit a square or rectangle. Once the project is complete, the child will turn the rectangle into an animal shape with the help of the teacher. Out of a two dimensional piece of knitting emerges a three dimensional animal that is stuffed with wool. The delight a child experiences when making this first project is seen in the joy that is expressed. Seeing the child light up is a gift for the teacher and parent.
Once the first project is complete, the child may knit a case of her recorder. Her personalized carrying case will be treasured for years. If there is time for another project, she may choose to knit a multicolored ball, a scarf or a hat (using just two needles, a hat with four needles comes in grade 5).
Pompom Project for First Grade or KG
I distinctly remember doing this project in first grade at my Waldorf school in France. I still have my project, too!! It was only years later that I knew it was called a pompom and there were many variations on this project. Today, I’m showing you the way I learned many years ago. You can reuse the template, but if you weave your pom pom really tightly, you may need to cut it out. I made my template out of heavy chipboard from the back of a paper pad. I’m using bulky weight wool yarn from A Child’s Dream in a beautiful multi color. Directions: Cut a circle 5″ in diameter. Cut out a circle 2″ in diameter from the center. Tie a piece of yarn about 2-3 yards long to the template and begin weaving around the circle. When the yarn runs out, tie on other piece. When you can’t fit another piece of yarn through the middle, carefully cut around the perimeter. Tie a string around the middle and remove the template. And voila! You’re done!
How To Make Your Own Knitting Needles
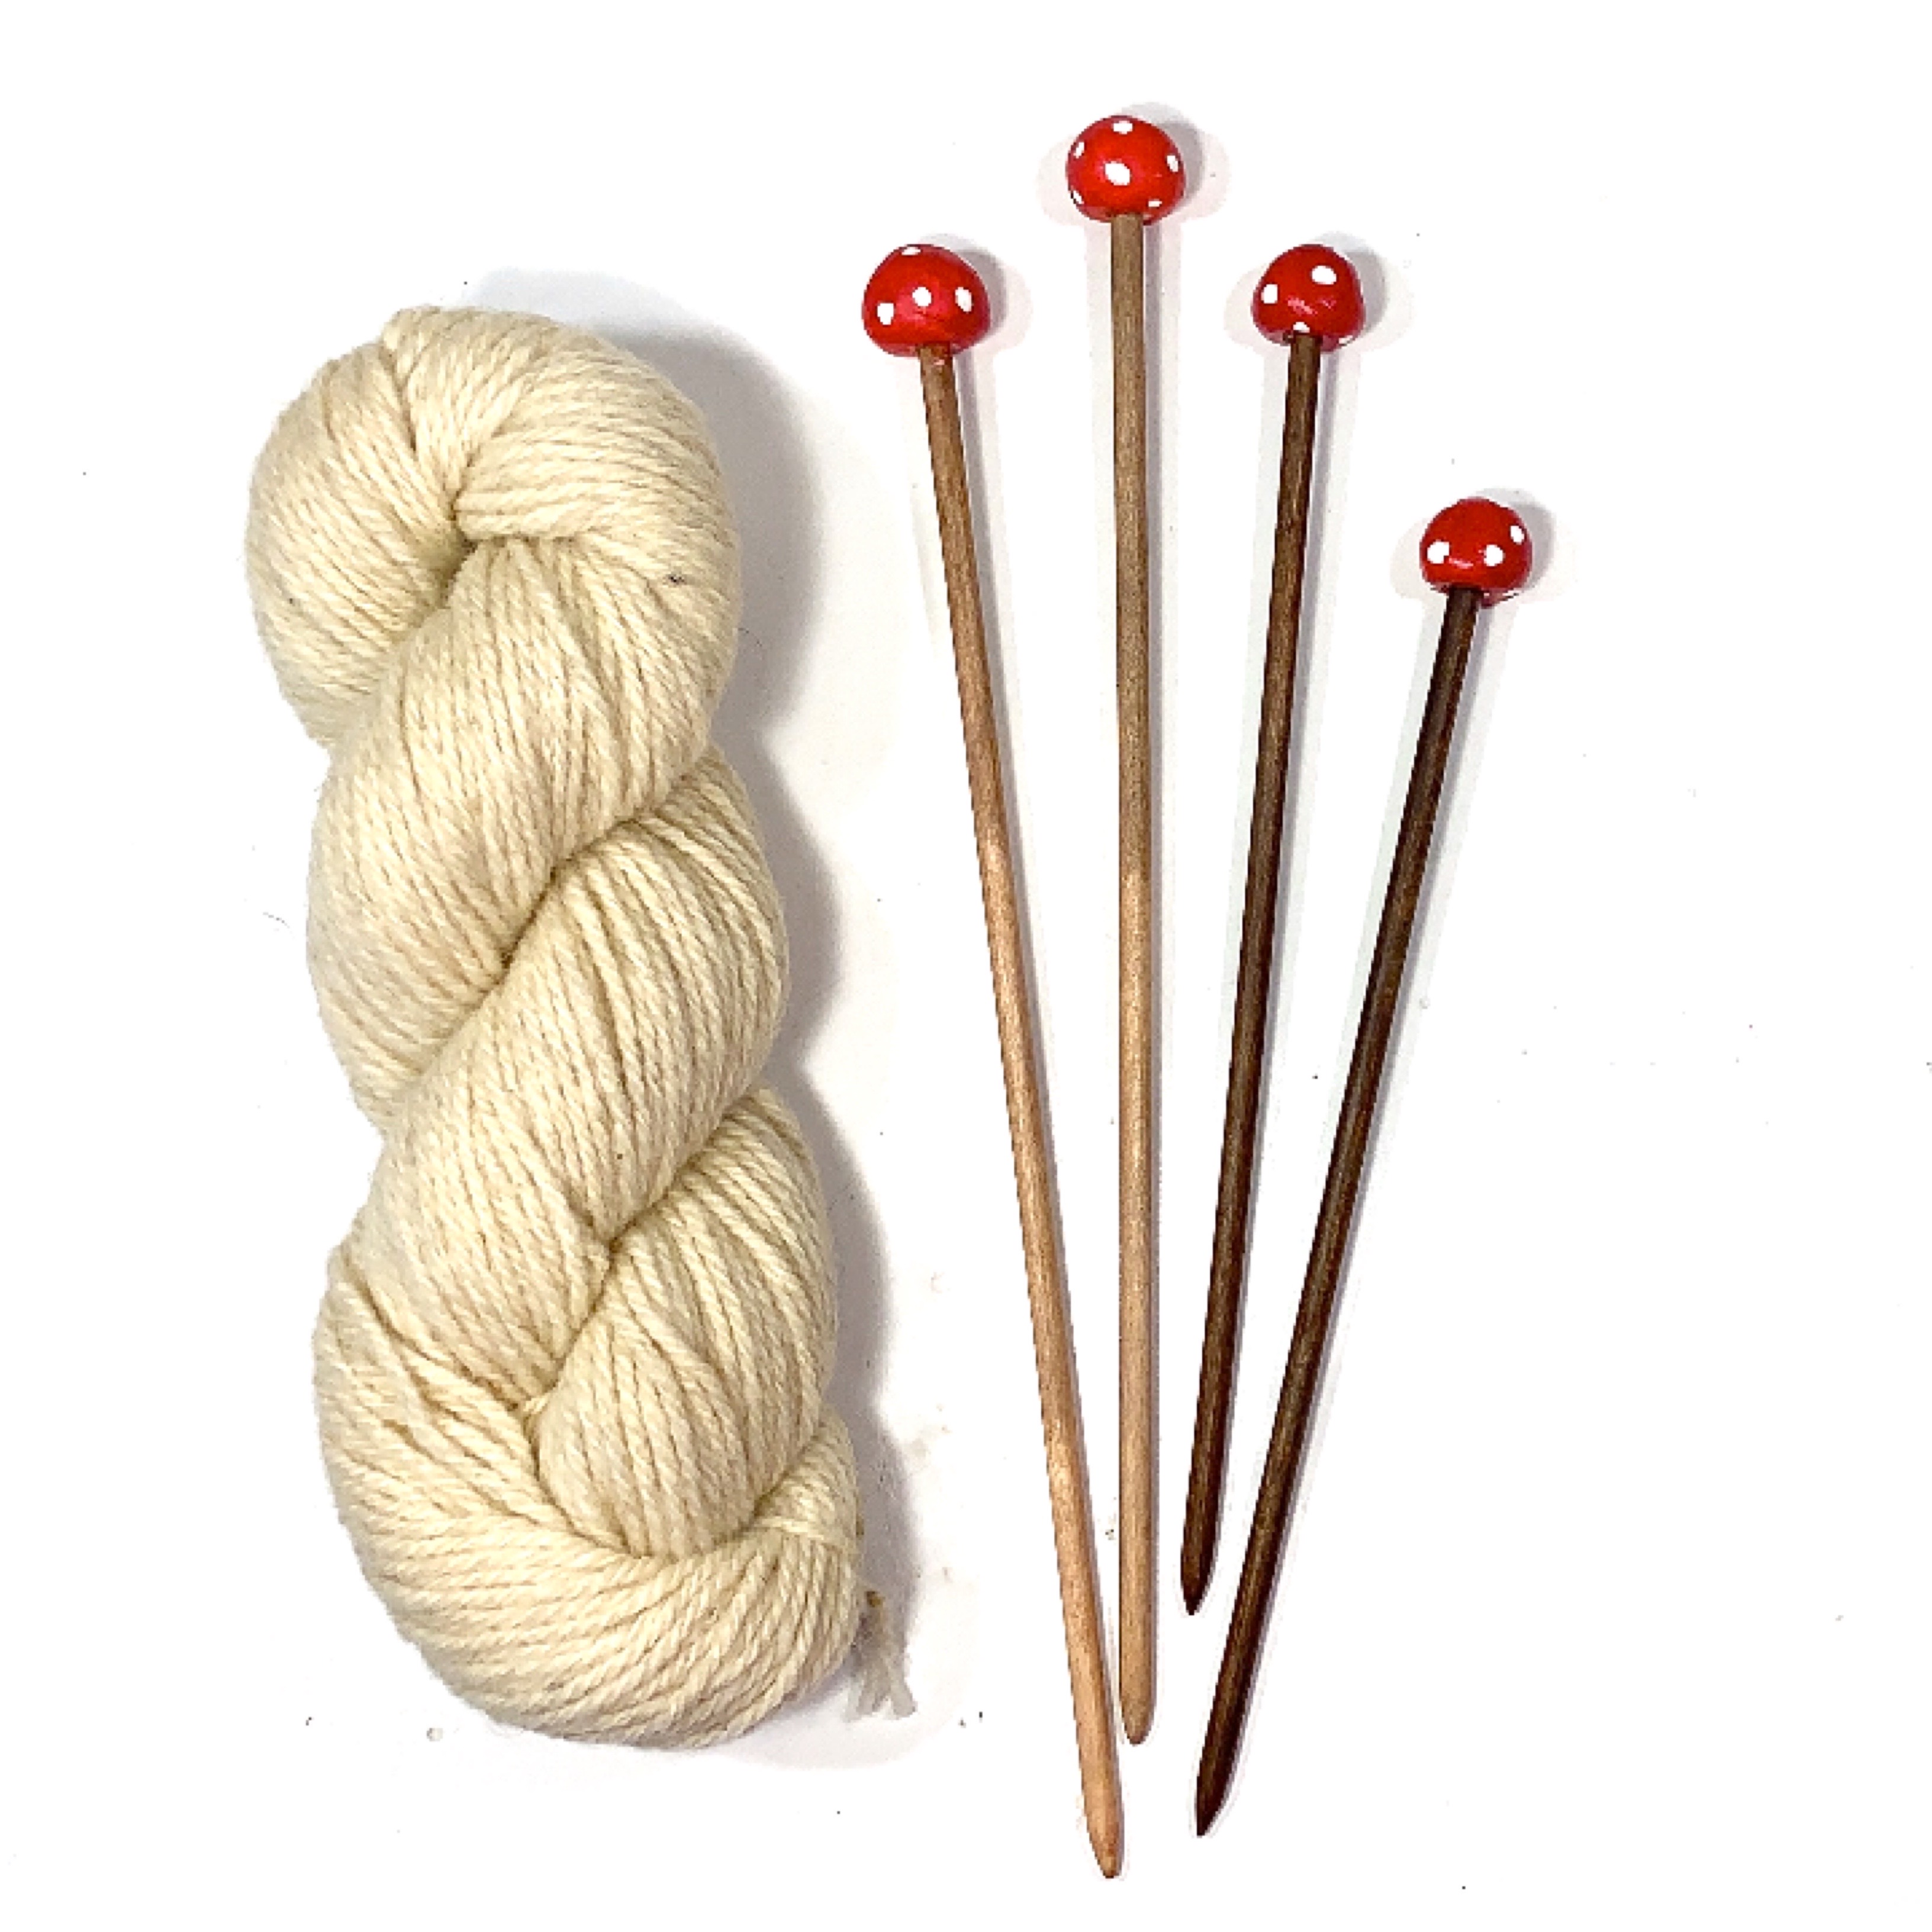
Did you know that making your own knitting needles isn’t that hard or complicated? With a few materials and a little time, you can create one of a kind needles that you will no doubt cherish and love using. These knitting needles are made using 1/4 inch hardwood, sanded down with two grits of sandpaper, stained with walnut stain, sanded down again, smoothed with beeswax and topped with a acrylic painted piece of oven baked clay to look like the top of a mushroom. I followed the manufacturer’s direction for baking the clay. I let it dry completely before painting them in two coats of red paint. When that was dry, I painted the white detail. Once everything was thoroughly dry, I added a bit of glue to the inside of the mushroom cap and adhered it to the dowel. They dried quickly and were ready to use soon after. My dowels were 12″ long. I’ve cut them down to 10″ as well. I think for a Grade 1 student, 9″ or 10″ is easier to work with. These are size 10 needles and work well for bulky weight yarn. A project similar to this is often found in Grade 1 Waldorf schools. I first learned how to make these needles from Melanie Hatch and Elizabeth Seward. Both are master Waldorf handwork teachers with decades of classroom experience.
How to Make Knitting Needles from Dowels
Did you know you can make your own knitting needles? And did you know it’s easy! And fun…well it was fun for me because I love making things and I think many children would not just have fun making these, but feel truly accomplished if they do. And then, they can begin to knit with the needles they just made! What a cherished project for young students.
This introductory handwork project is intended for grade 1 students, but if you are working with older students who didn’t get a chance to make their own needles, I think they would appreciate the task. I’m using hardwood birch 1/2” dowels that are 12” long. Both the dowels and beads (the end pieces) are accessible at A Child’s Dream, along with the book Jane and Jeremy learn to Knit which is a great resource for parents and teachers alike.
In this tutorial, I’ve shared three different ways to file down the tips of the dowels.
The easiest, fastest, and the one I recommend the least, is the sharpener method in which you use a sharpener to sharpen your dowels into a point.
Next, my favorite, is my taking your dowels outside and filling them down in a rough surface like rock or concrete. This takes longer, and it might even cramp your hand a little bit, but I do think it’s the most interactive for children and ultimately the most satisfying.
Lastly, if the weather isn’t good, you can file the dowels down indoors with 80 or 120 grit sandpaper.
Once you’ve gotten your desired point, you can use 220 grit sandpaper to smooth your tip. I prefer a tip that’s a bit more blunt for a beginner knitter, but typically a sharpener if you just the right angle though it’s too sharp. I like a tip that’s not as angled or sharp for grade 1 students then they can filing it down to a more pointy tip in grade 2.
You may use a 320 grit sandpaper to smooth the barrel of dowels. To finish off the dowels and beads, use a little wood oil or beeswax polish. Finally, use a drop of wood glue to adhere the beads to the dowel and let dry completely before using.
DIY Knitting Needles That Are Sure to Bring Joy to a Child…or Adult
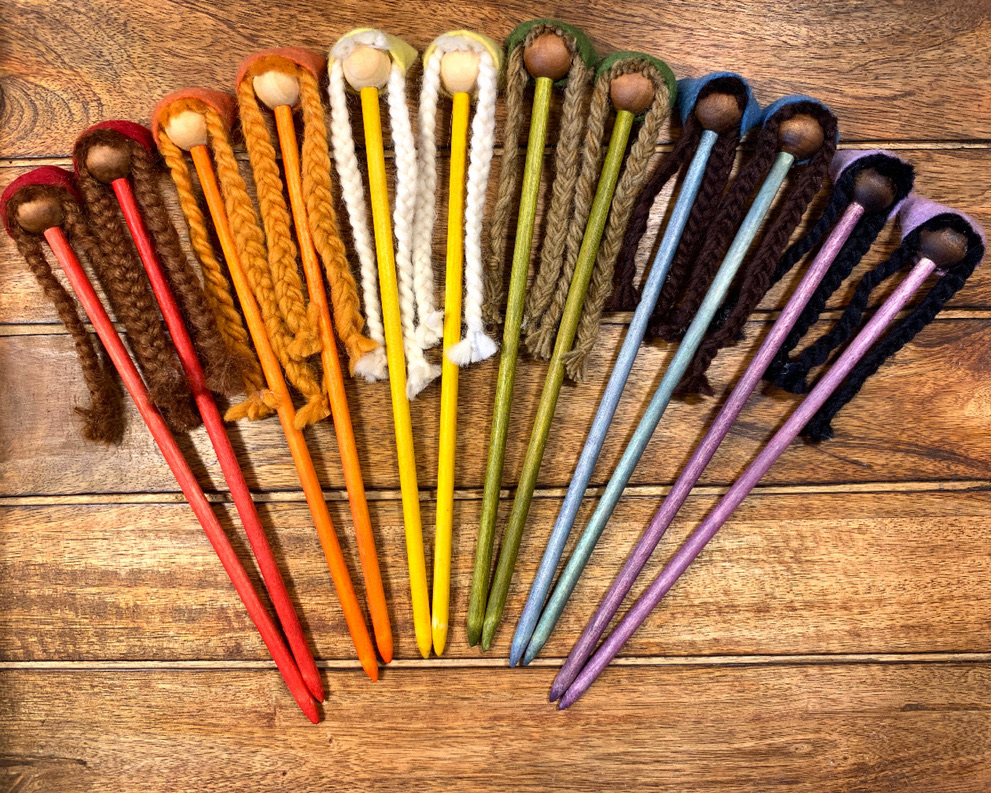
Did you know that making your own knitting needles isn’t that hard or complicated? With a few materials and a little time, you can create one of a kind needles that you will no doubt cherish and love using. These knitting needles are made using 1/4 inch hardwood, sanded down with two grits of sandpaper, stained with walnut stain, sanded down again, smoothed with beeswax and topped with a wood beads stained and decorated to look like little peg dolls. These are size 10 needles and work well for bulky weight yarn. A project similar to this is often found in Grade 1 Waldorf schools without all the extra fluff which takes plenty of time. Honestly, if you are not staining or painting the wood dowels, you can sand them down very quickly and of course the peg doll details took a long time compared to simply adding the wood bead on top. I had to drill my wood beads, but you can find them predilled. I first learned how to make these needles from Melanie Hatch and Elizabeth Seward. Both are master Waldorf handwork teachers with decades of classroom experience.
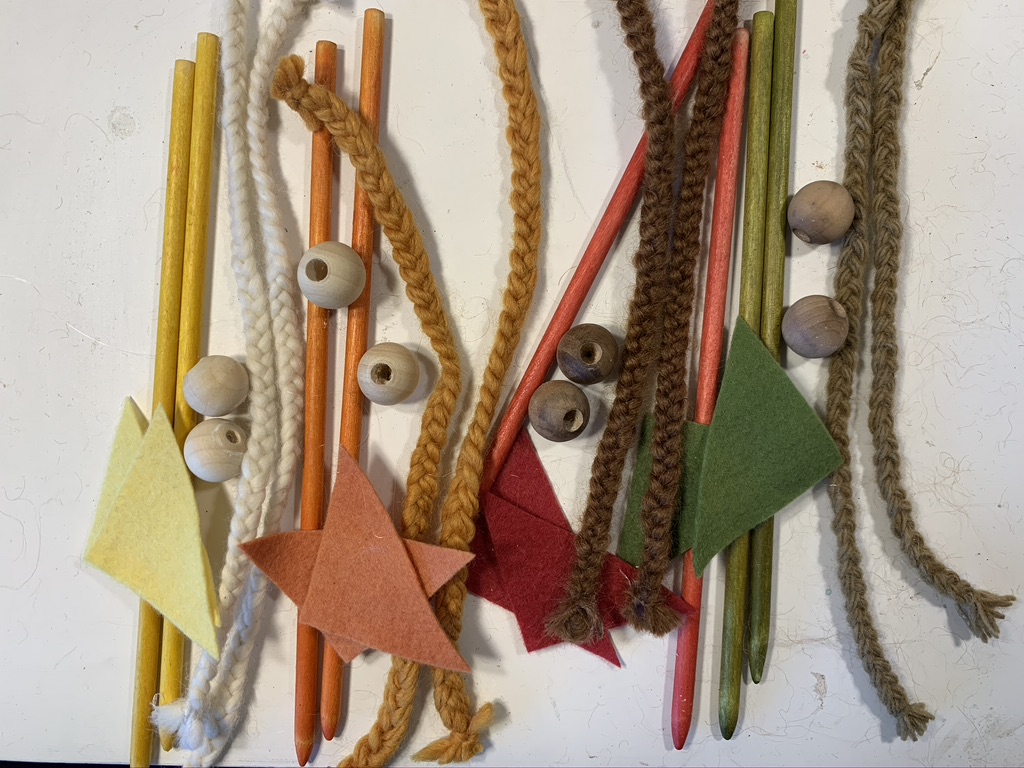
For this project you can use Holland felt in a rainbow of colors. I used the plant dyed felt this time and really like the soft color pallet, but feel the felt isn’t as strong as the Holland felt which is the felt I most often use. I used bulky, worsted and other yarns to make the hair. I tried to match the outfits and skin color. For skin tones, I used walnut stain, but stained them each for different times to achieve the look I was going for. For two sets, I left them plain. To achieve the stain, I used Tim Holtz Distress Inks. Some colors that might work for a similar project are Fired Brick, Crushed Olive, Dusty Concord, Mustard Seed, Spiced Marmalade, and Weathered Wood.
Knitted Bunny
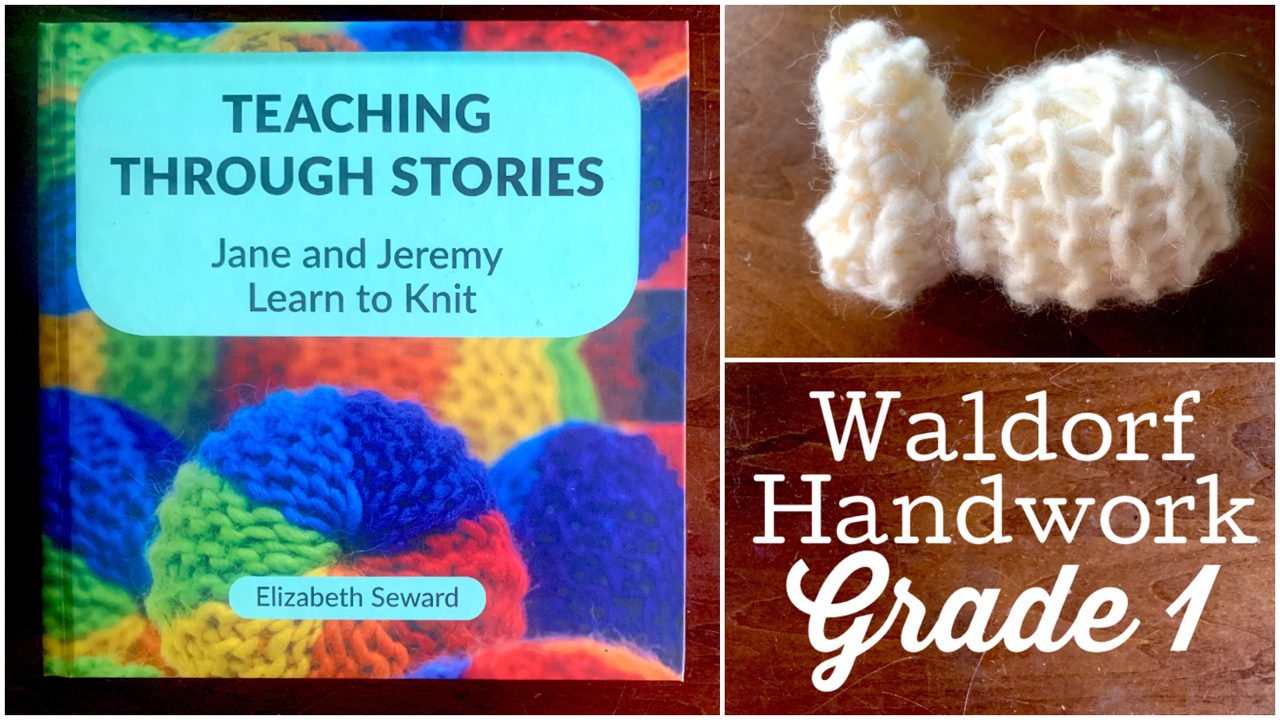
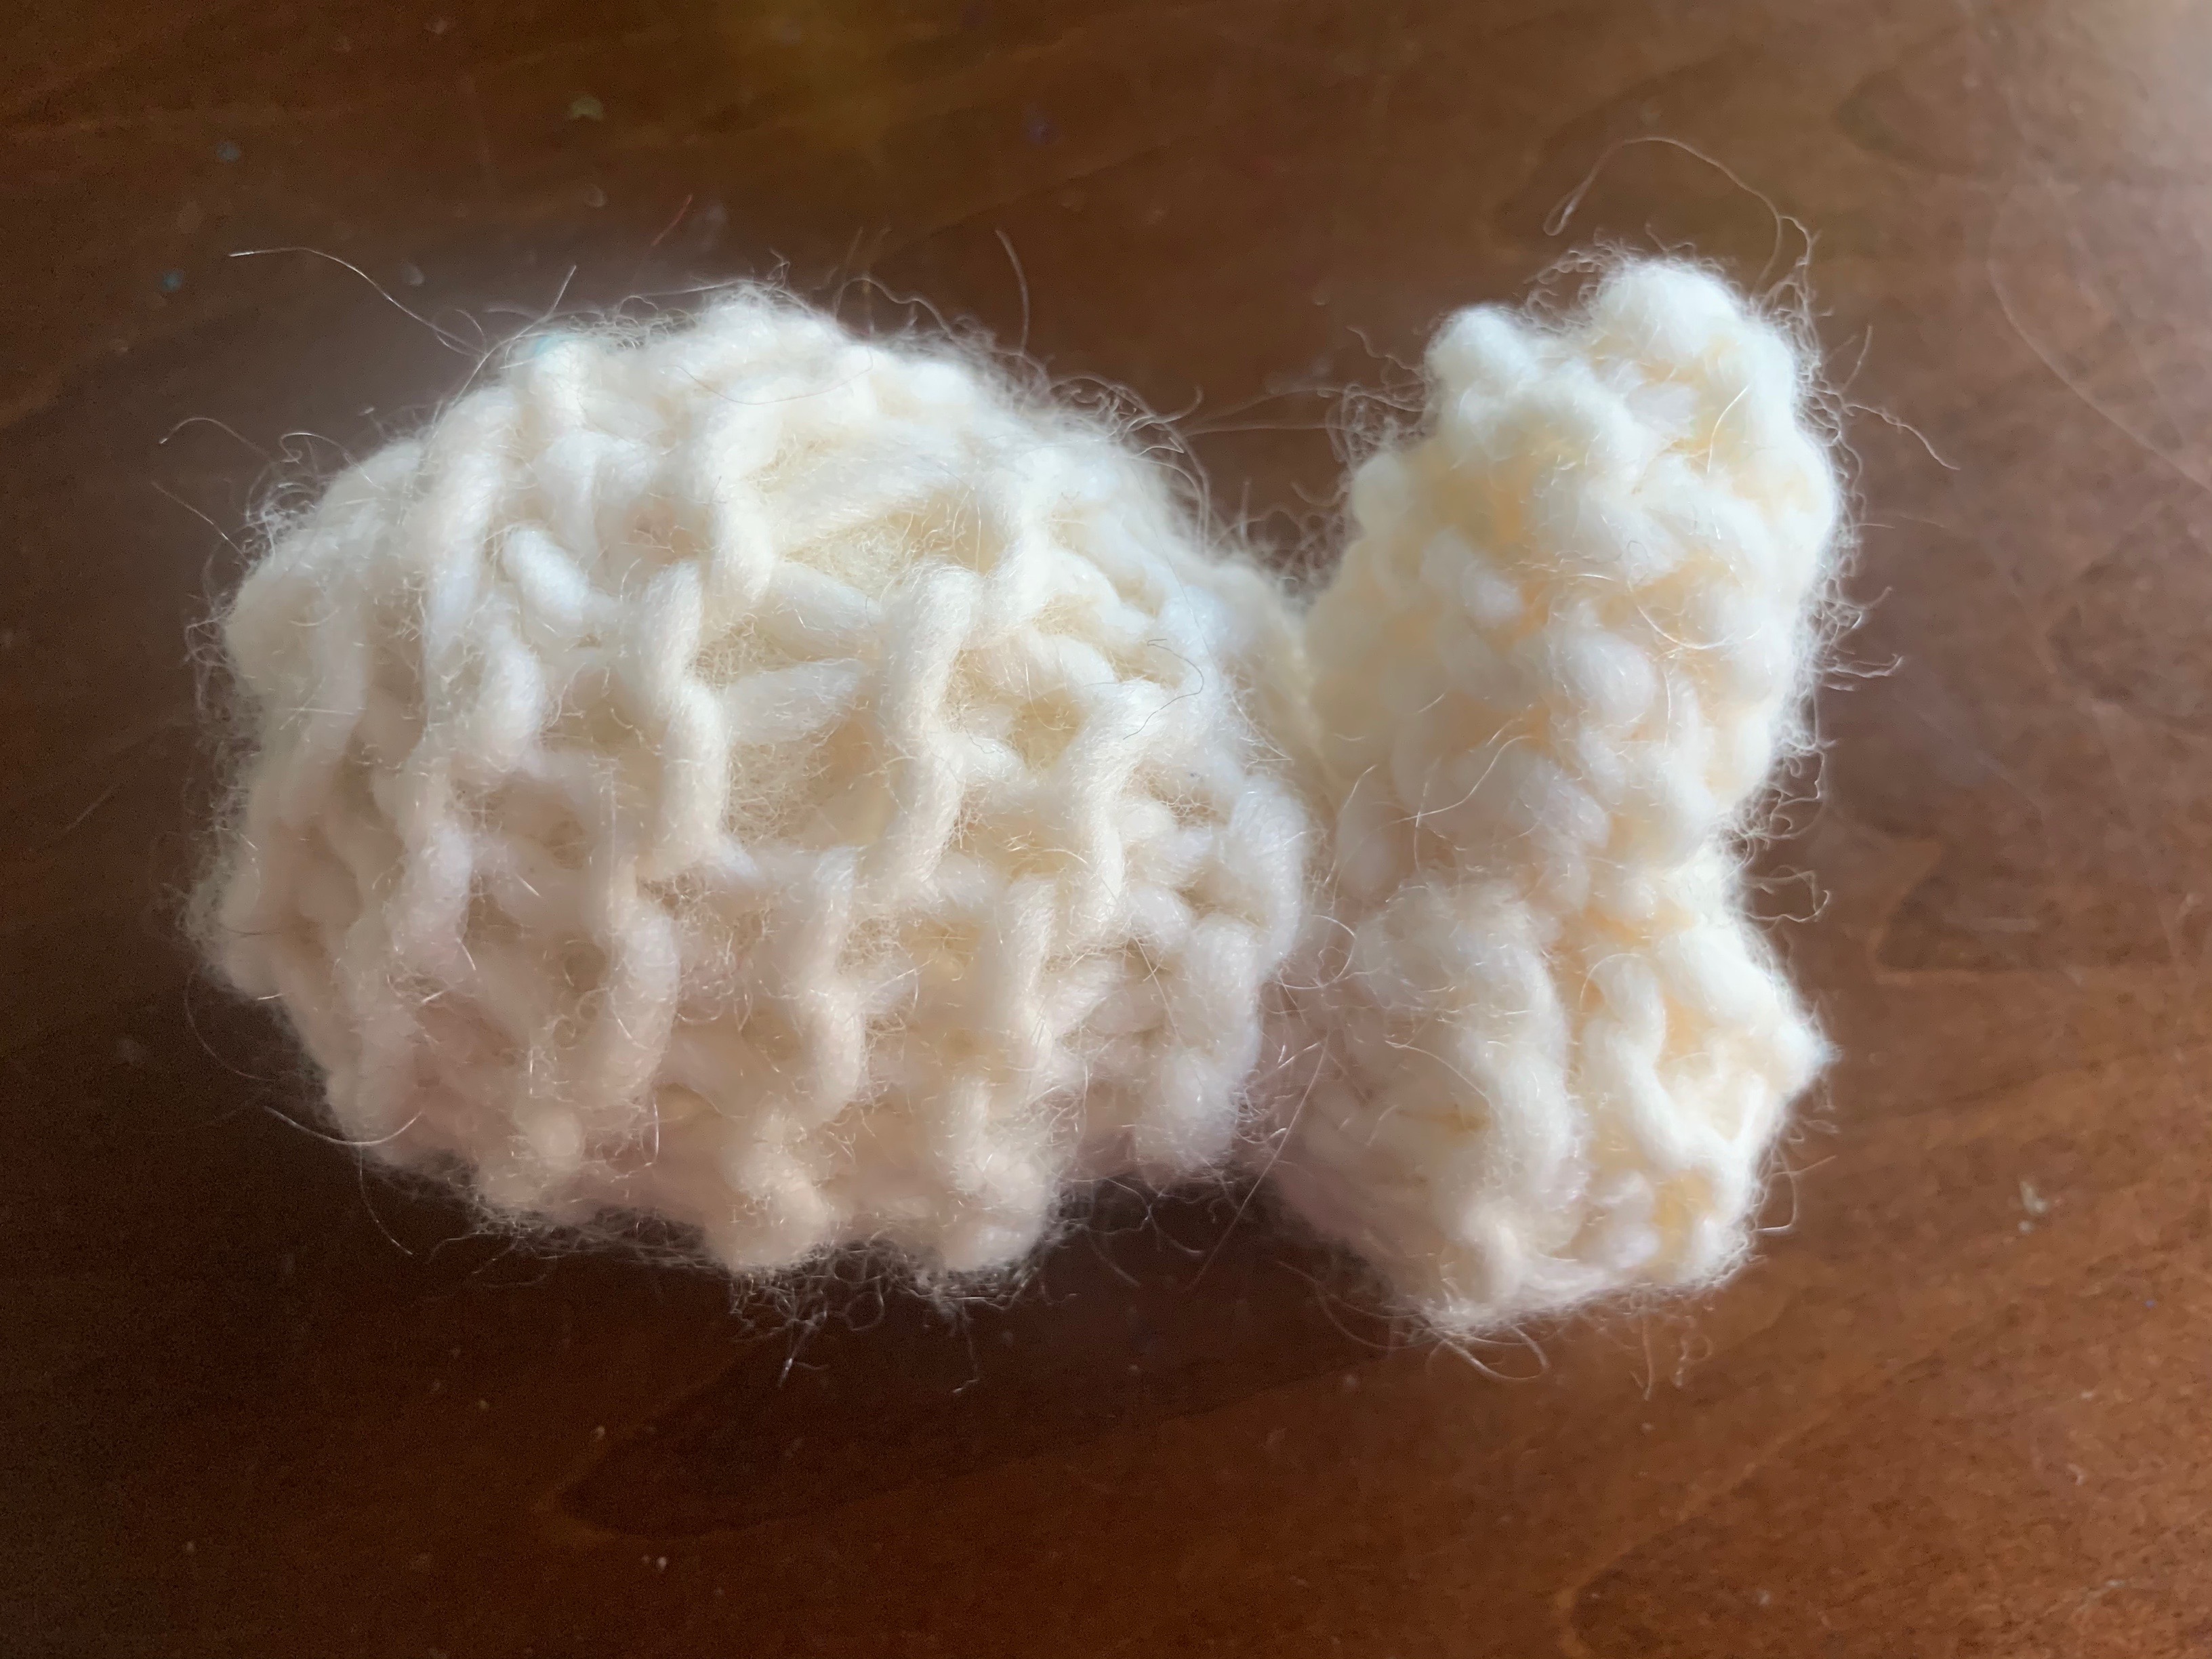
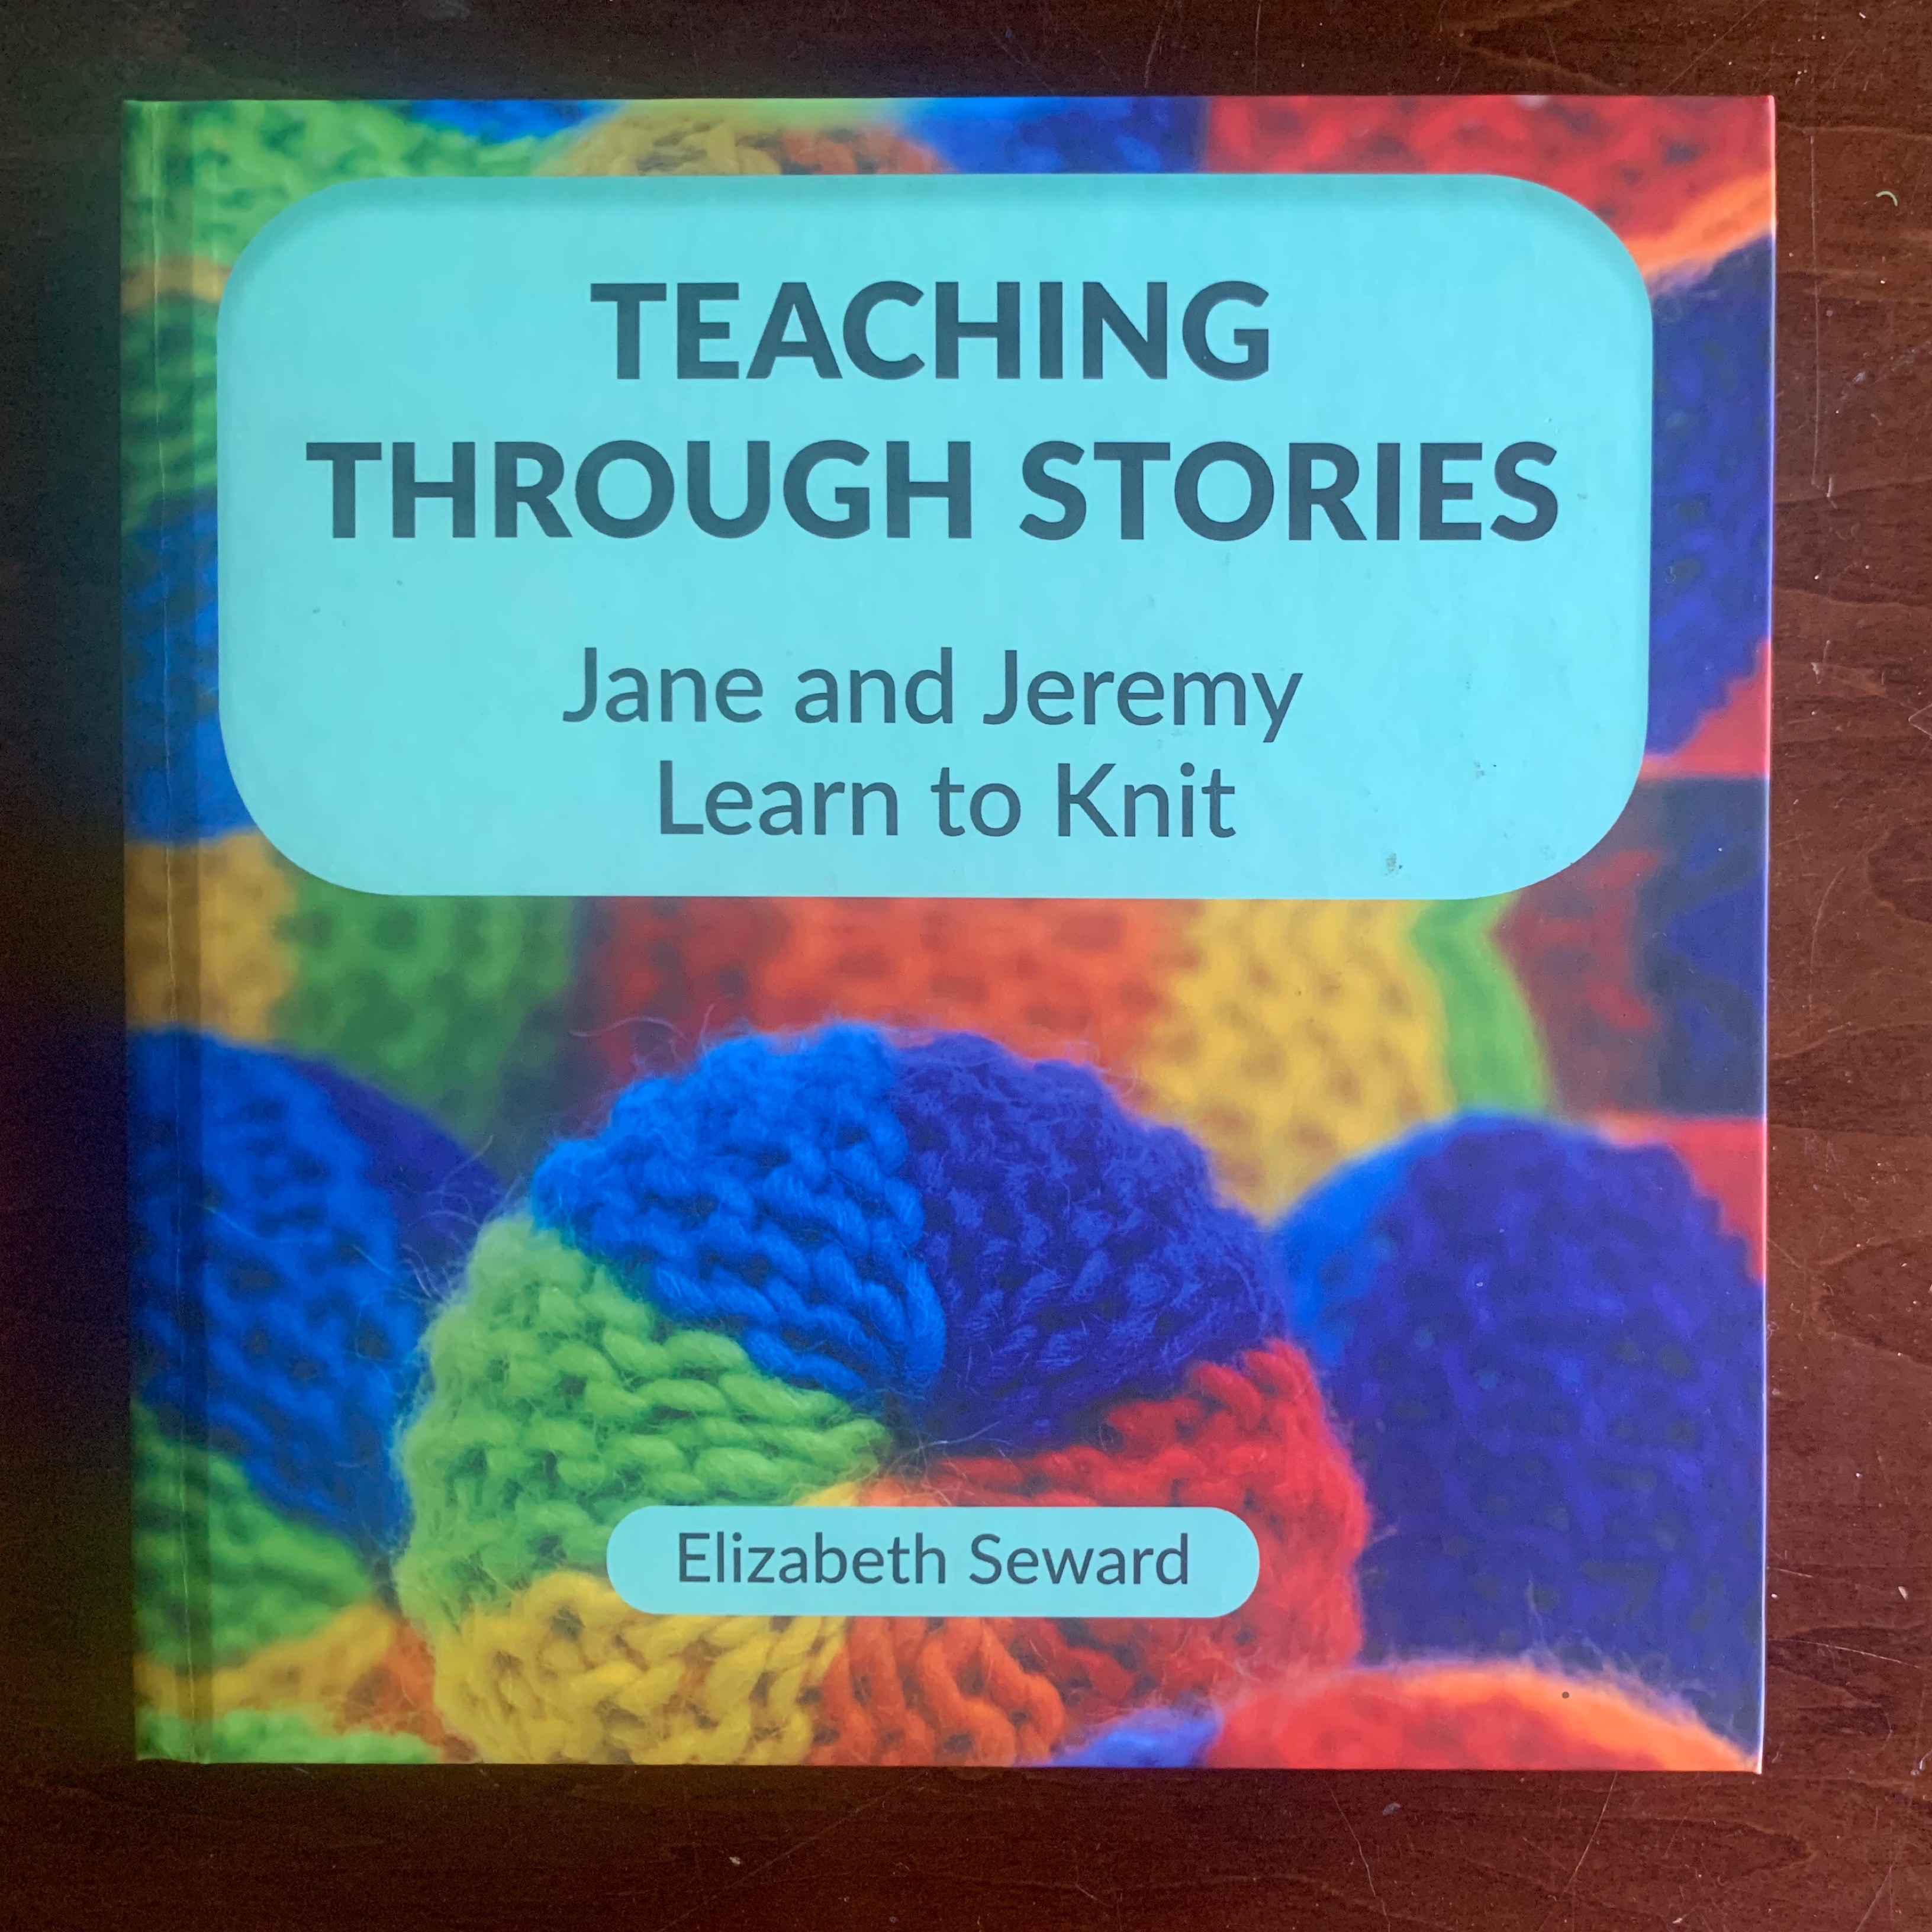
If you are new to Waldorf or new to knitting and handwork, the book Teaching Through Stories by Elizabeth Seward is just the right addition to your home library. This book walks you through the basics of knitting, offers stories to tell your children and students as you knit and has a collection of easy projects. What I like about today’s project is that it’s easy enough for a young child (my 8-year-old daughter knitted the white bunny) and satisfying enough for an older child (my 13-year-old knit the brown bunny). What’s so exciting to see is the transformation of a little square into a three dimensional little bunny with ears, a little head and a soft belly to fill with wool. The tail is added on afterwards.
This bunny project is a great first project because it’s easy, fast, and forgiving. It’s just right for a brand new knitter because you can take the practice piece of knitting and turn it into an adorable little animal for the child to cherish. Simple instructions are in the book for this project. In this tutorial, I show how my 13-year-old son knit this square and then turned it into a bunny. Because he’s been knitting for year, his piece was completed quickly, even with worsted weight yarn, with no knitting mistakes and he could do the assembly himself.
When my 8-year-old did this project, she needed constant supervision. When we (she worked alongside the author Elizabeth Seward!!!) didn’t watch her the whole time, she would make knitting mistakes then keep going. Once she got the hang of it, she wanted to sit on the couch and knit on her own. What ended up happening is that once a mistake was made in knitting, it’s really hard to recover from it unless you (the teacher) are an experienced knitter. Otherwise, you either live with the mistakes, or you unknit your project until you get to the mistake, correct it and move on. Some mistakes she made were prohibiting her from continuing knitting, and as I am not a skilled knitter, I would have had her bind off and start a new project. Elizabeth helped her unravel her knitting with her permission, by asking her first and explaining what she was going to do. Never do this without asking your child first, I’ve done that before to disastrous ends and caused my daughter to abandon knitting for a year. Once Elizabeth unraveled to the mistake, she fixed it and even knit a couple rows for my daughter so she wouldn’t feel so defeated at taking out so much of her work. Once my daughter knit a square, which towards the end felt like a laborious undertaking because after each row she asked if it was enough as she approached the end, it was time to bind off. I think Elizabeth helped her with that, as she reminds us that the point of the first project is to knit, not learn everything about knitting. The thing about working with a new knitter versus an older child who has been knitting for a while is that the young student needs constant supervision and a lot of help to complete the project. Once the piece was off the knitting needles, Elizabeth helped finish the bunny with my daughter stuffing it and helping with the tail. My girl was overjoyed at her project! She was simply thrilled at the work she did and the outcome.
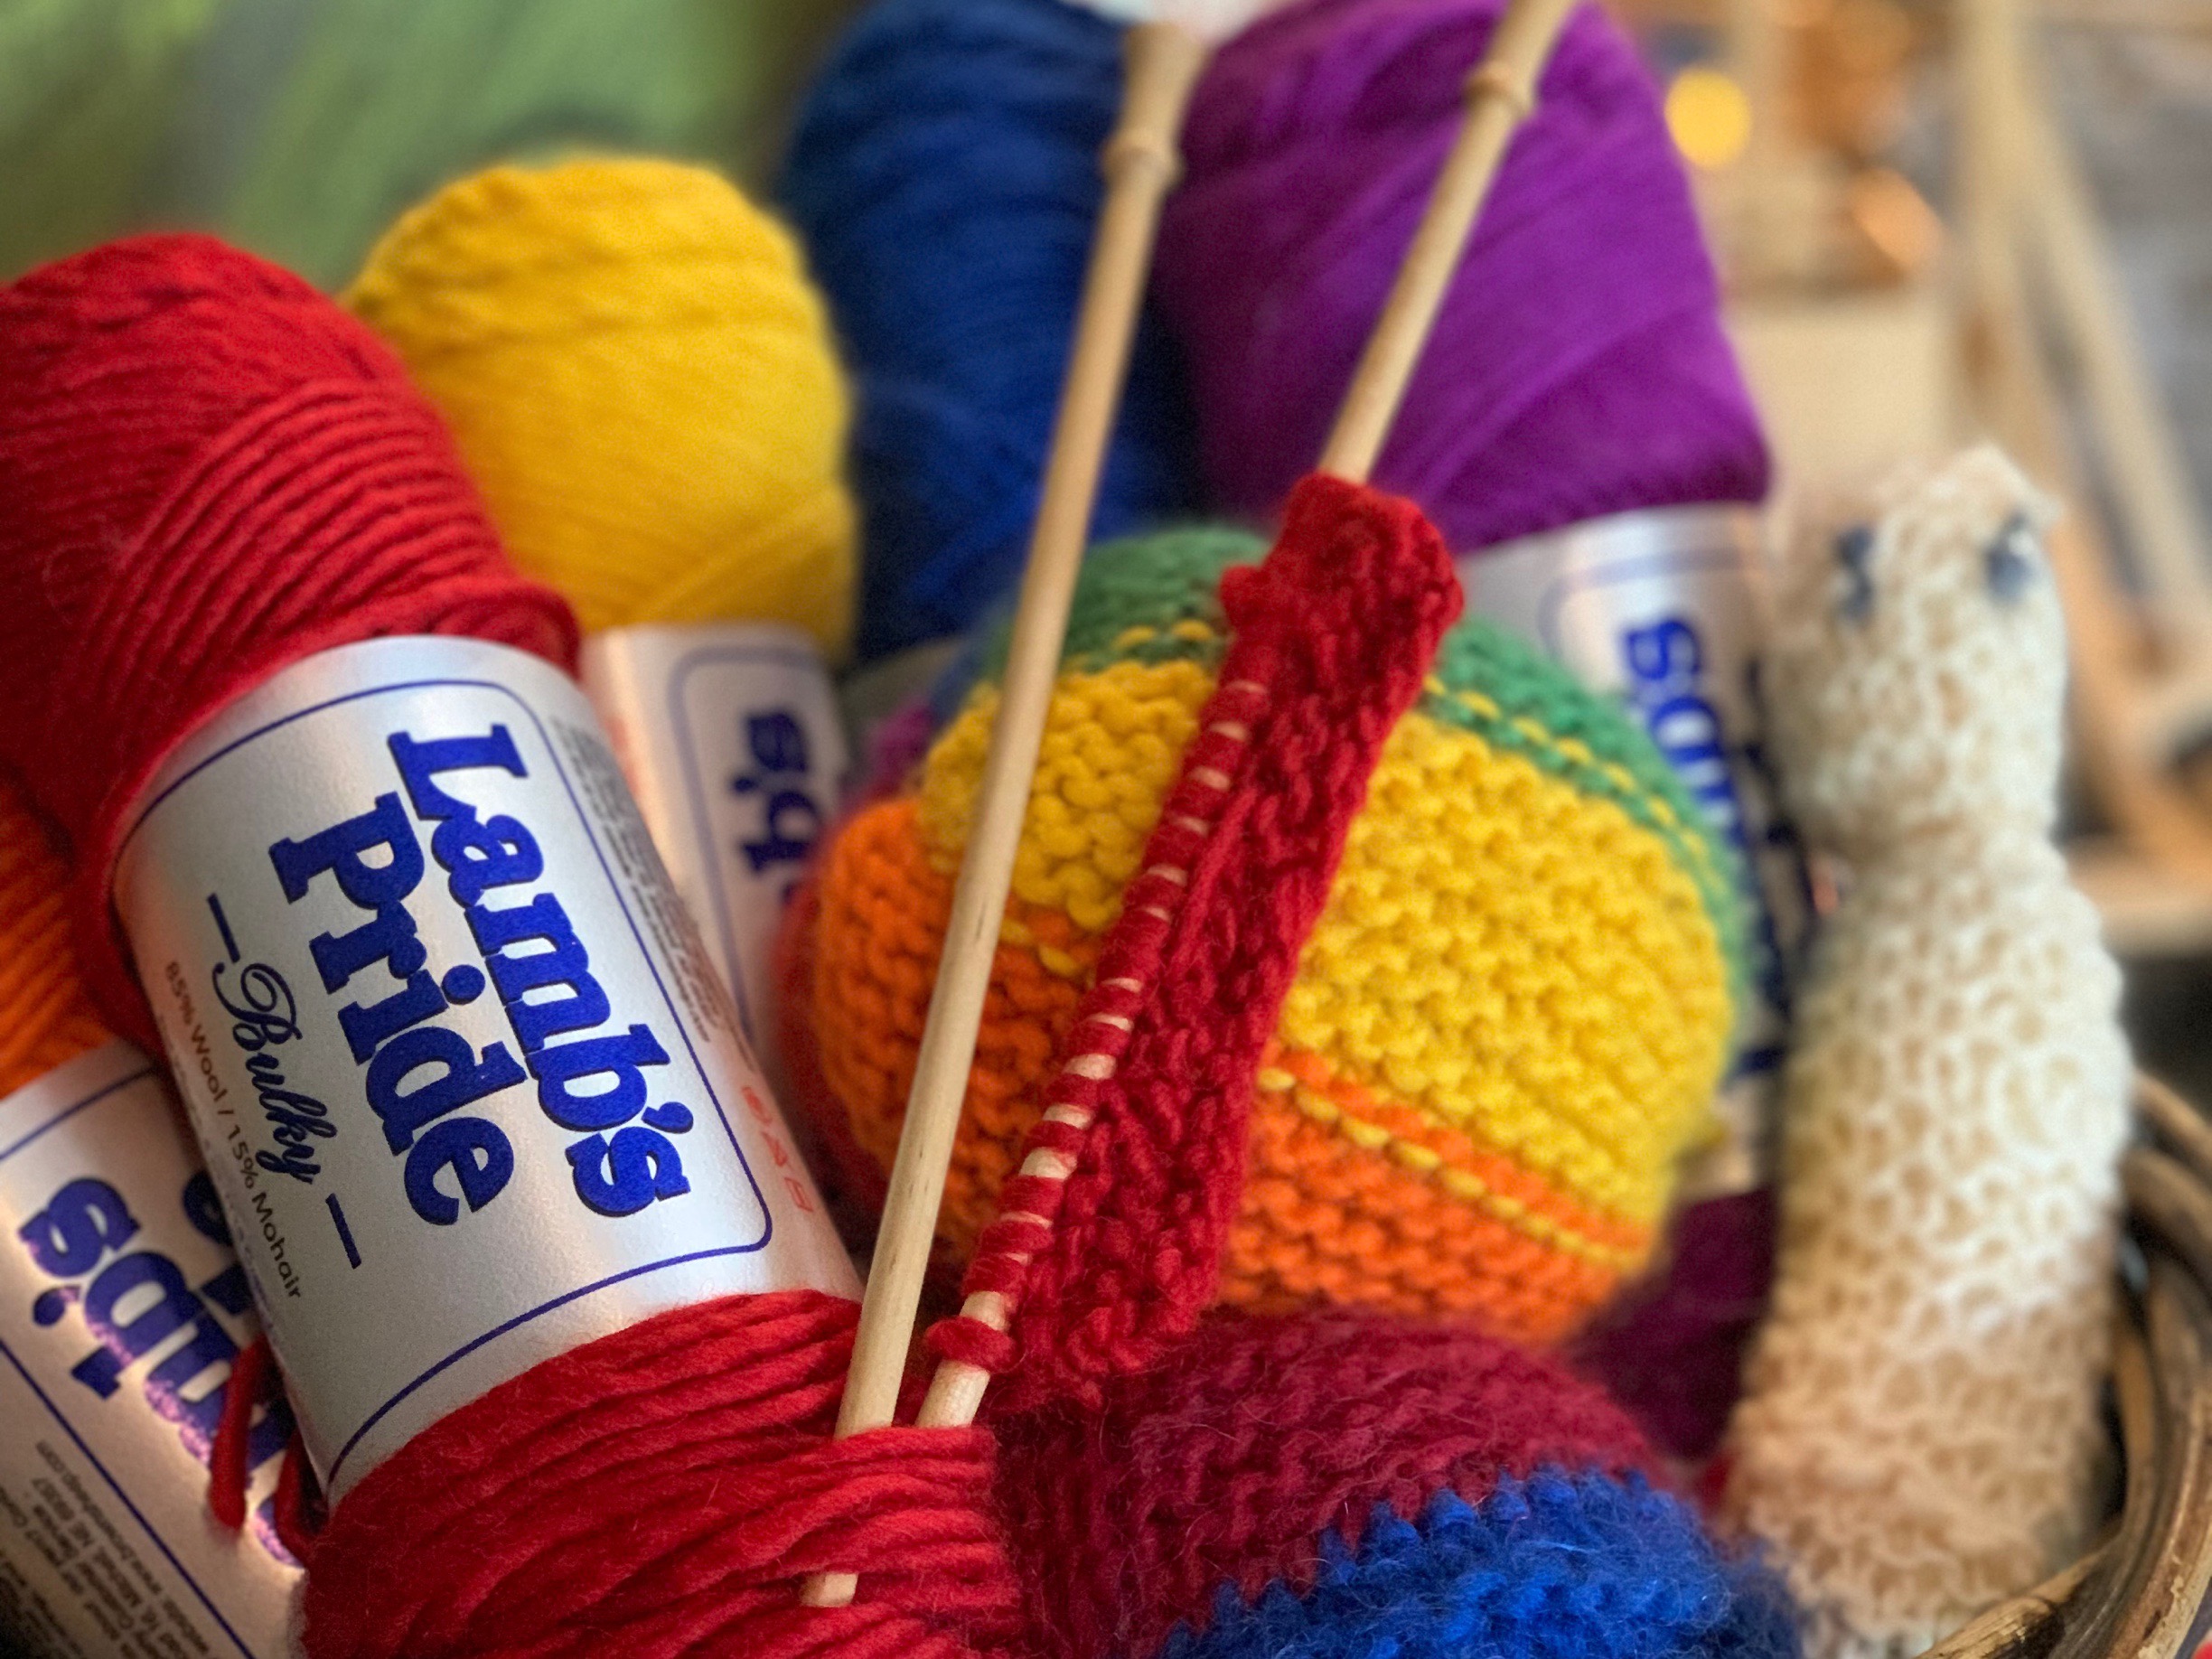
Now back to my son, he could complete this project with little help, and in fact, once he learned to do the bunny once, he could knit a dozen quickly with no help. I recommend using a lighter yarn for this project as the dark yarn made it hard to see and work with. When working with young students, use size 10 knitting needles and bulky weight yarn. I prefer Lamb’s Pride, those some teachers start with a plied yarn. What was also really great about our time with Elizabeth was that before knitting, she taught my daughter how to make knitting needles. Then she knit with those needles she had just made!
Pocket Dolly Tutorial
Have you seen the rainbow balls a grade 1 Waldorf students as one of their first handwork projects? Well this pocket dolly is as easy and makes a great first project. The original pocket dolly project can be found in Elizabeth Seward’s book. The project I’m doing is slightly different and may be considered even easier! In fact there are several variations on this project. In fact, with just a rectangle, you can unlock dozens of projects! Just the way you pinch, fold and shape with develop a unique project.
For this project, I’m using about 1 oz of bulky weight Lamb’s Pride wool yarn in bright yellow. I’m using about 1 oz of wool batting and a five inch square of brown cotton jersey knit. You’ll also need knitting needles, thread, a sewing needle, and a darning needle. Supplies can be found at A Child’s Dream.
Directions for Project
- Cast on 20 stitches Knit 40 rows (20 ridges)
- Fold and sew bottom and a bit more than half way up the front.
- Turn right side out and fill.
- Make “head” by sewing a running stitch in a circle on a piece of 5”x5” jersey knit.
- Make your circle as large as possible.
- Add wool to jersey and pull thread like a drawstring bag to make “head”.
- Add “head” to body and sew with yarn around the head so it’s snug in the body.
Knitted Pumpkin
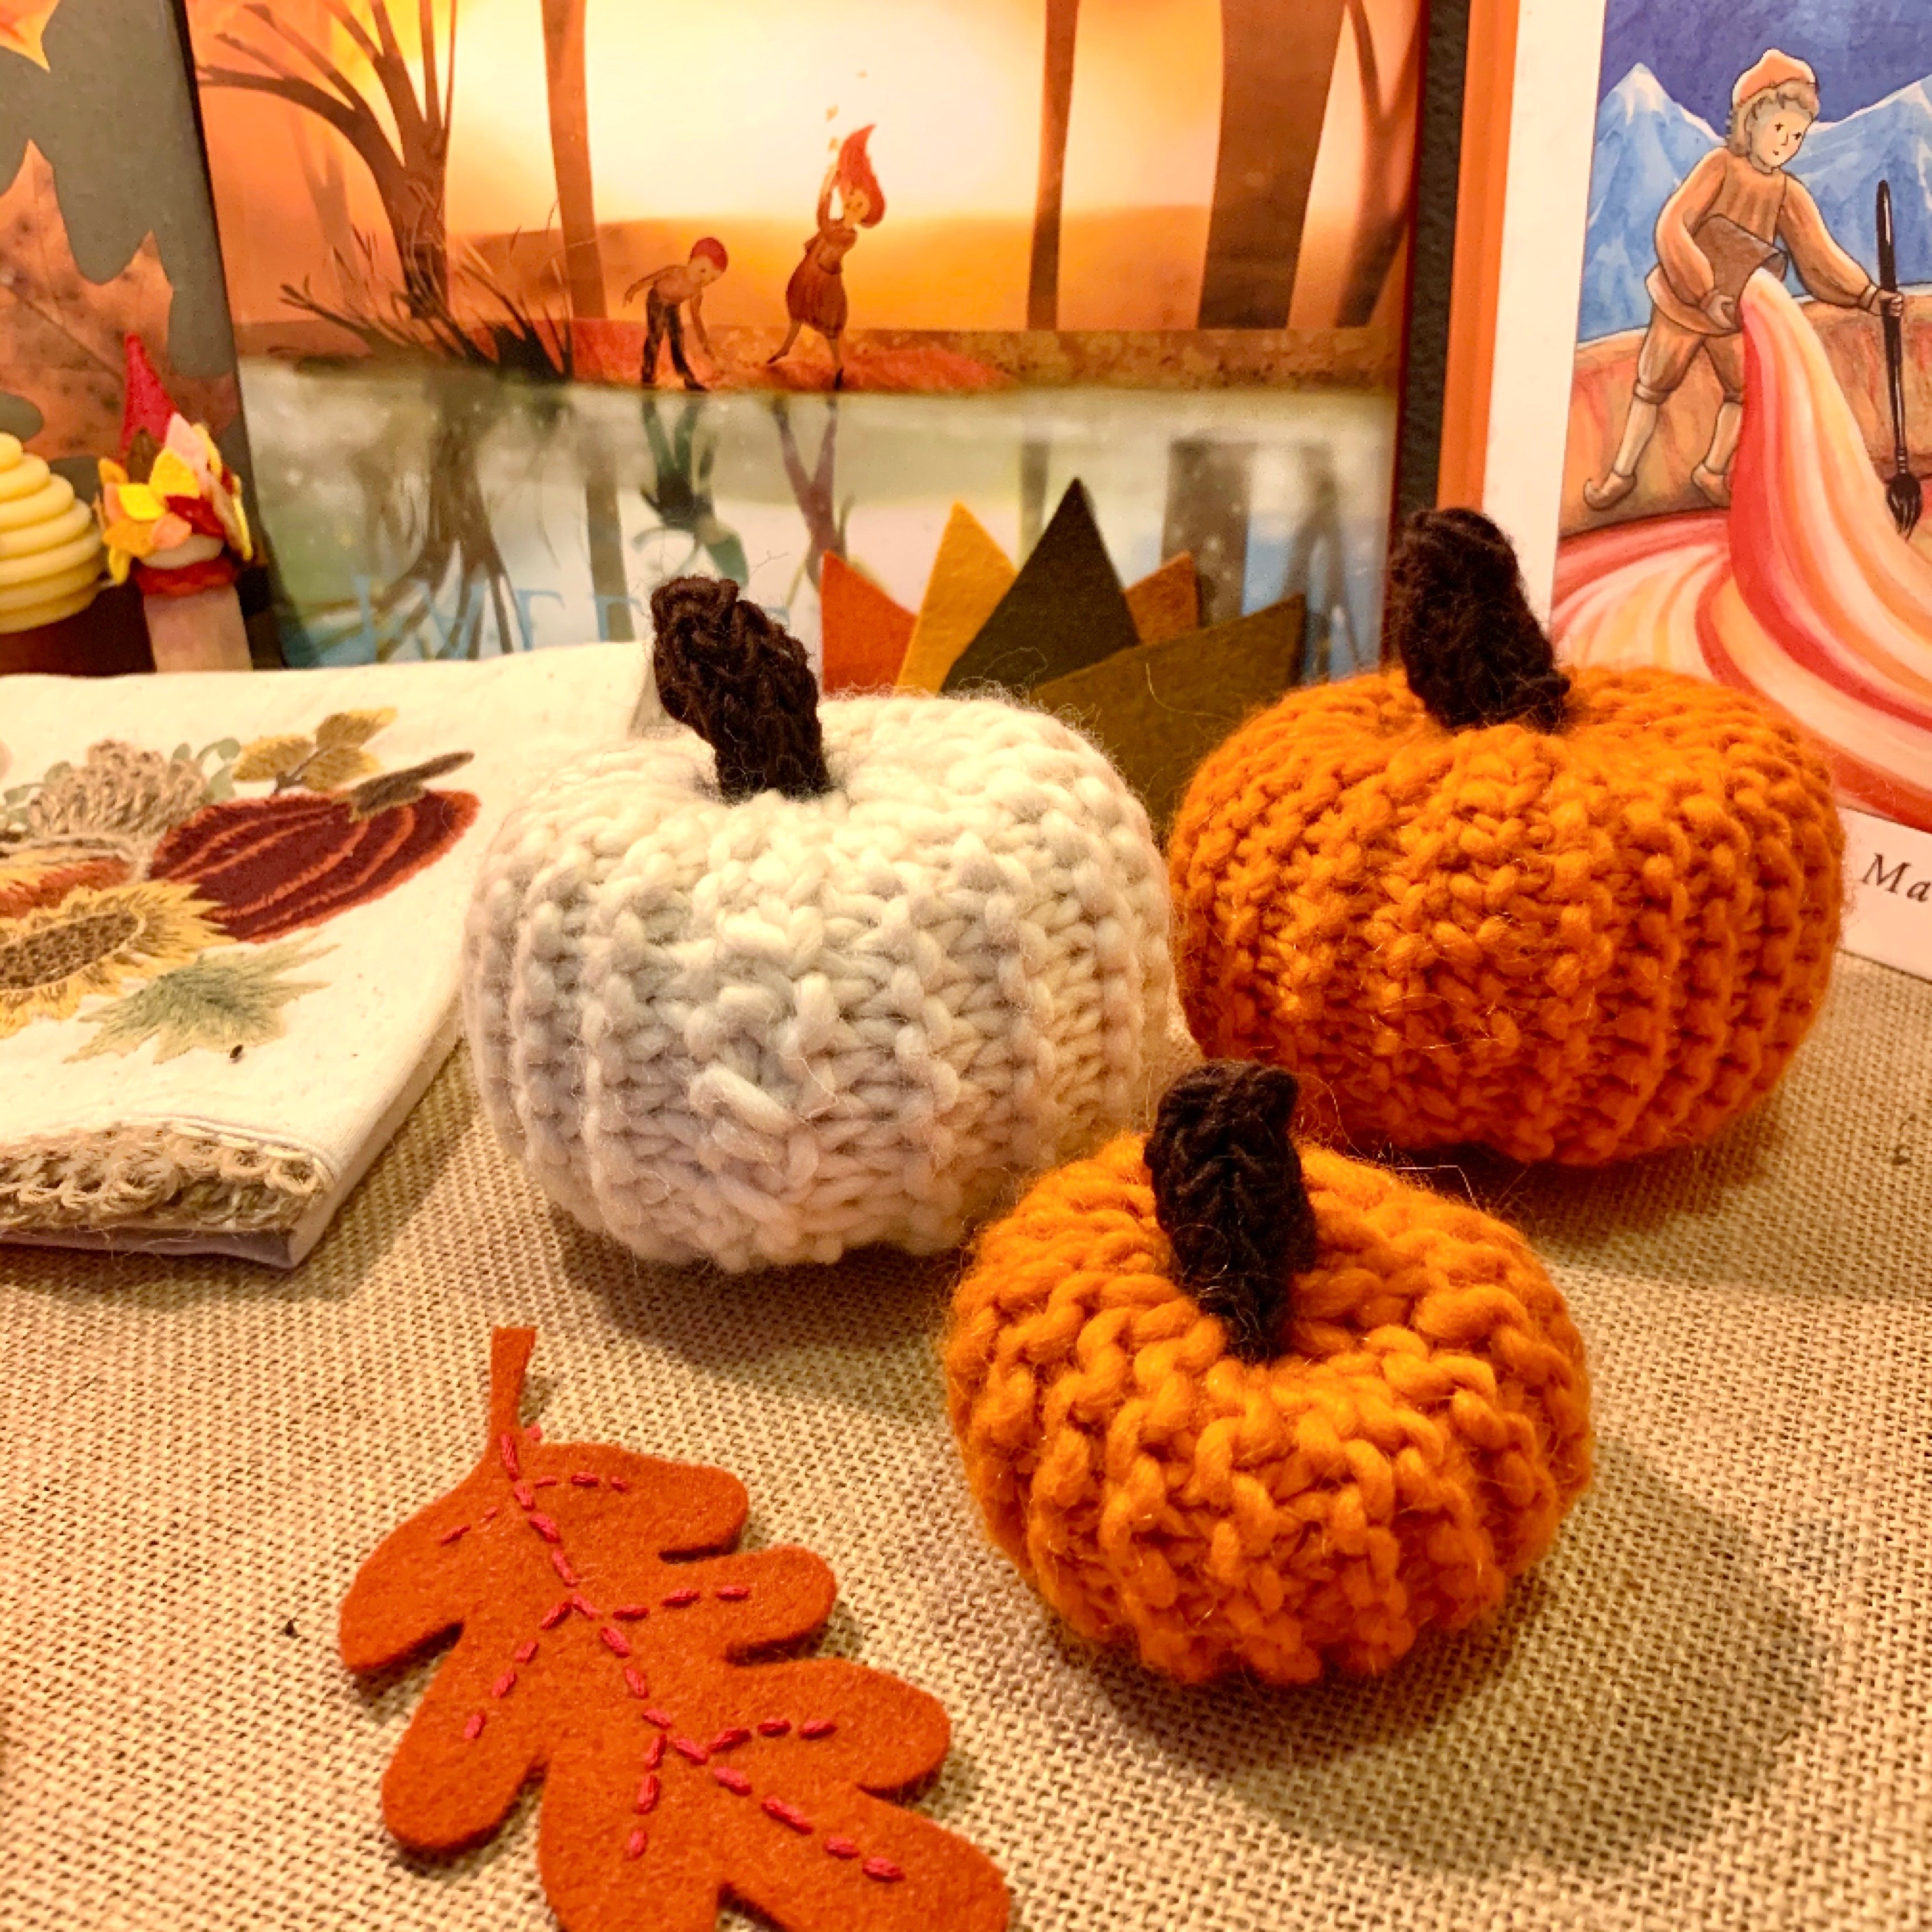
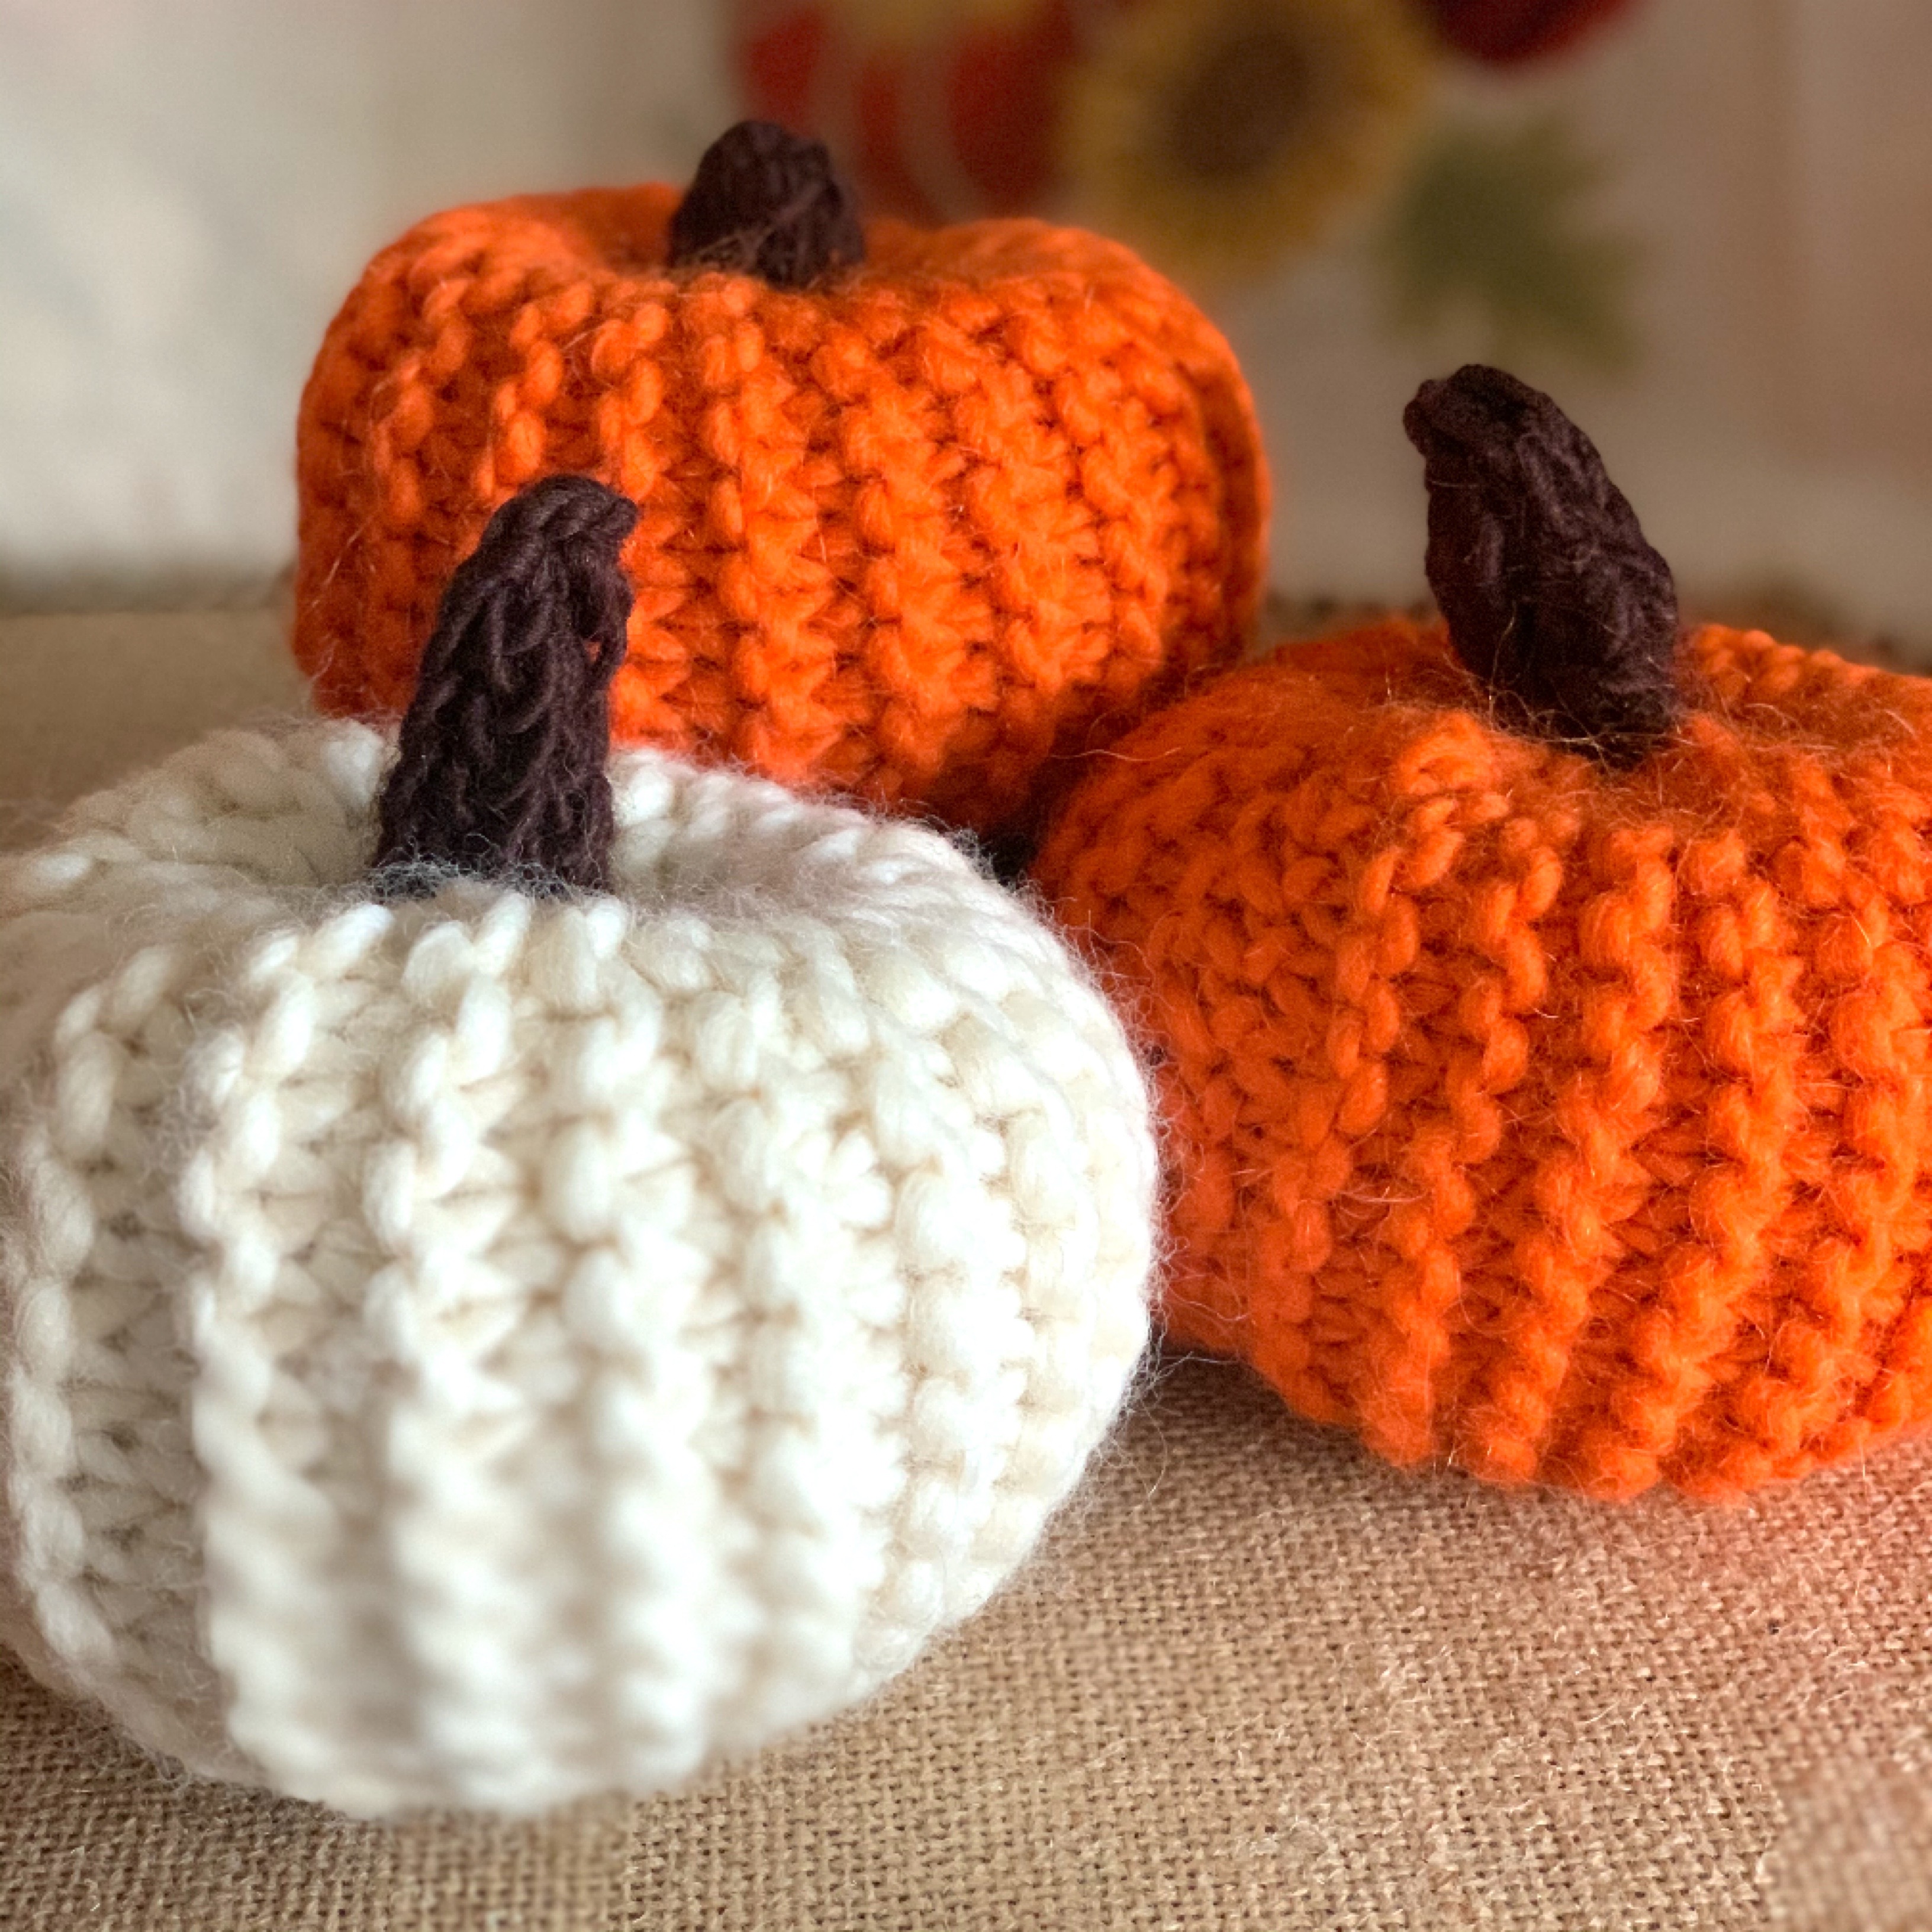
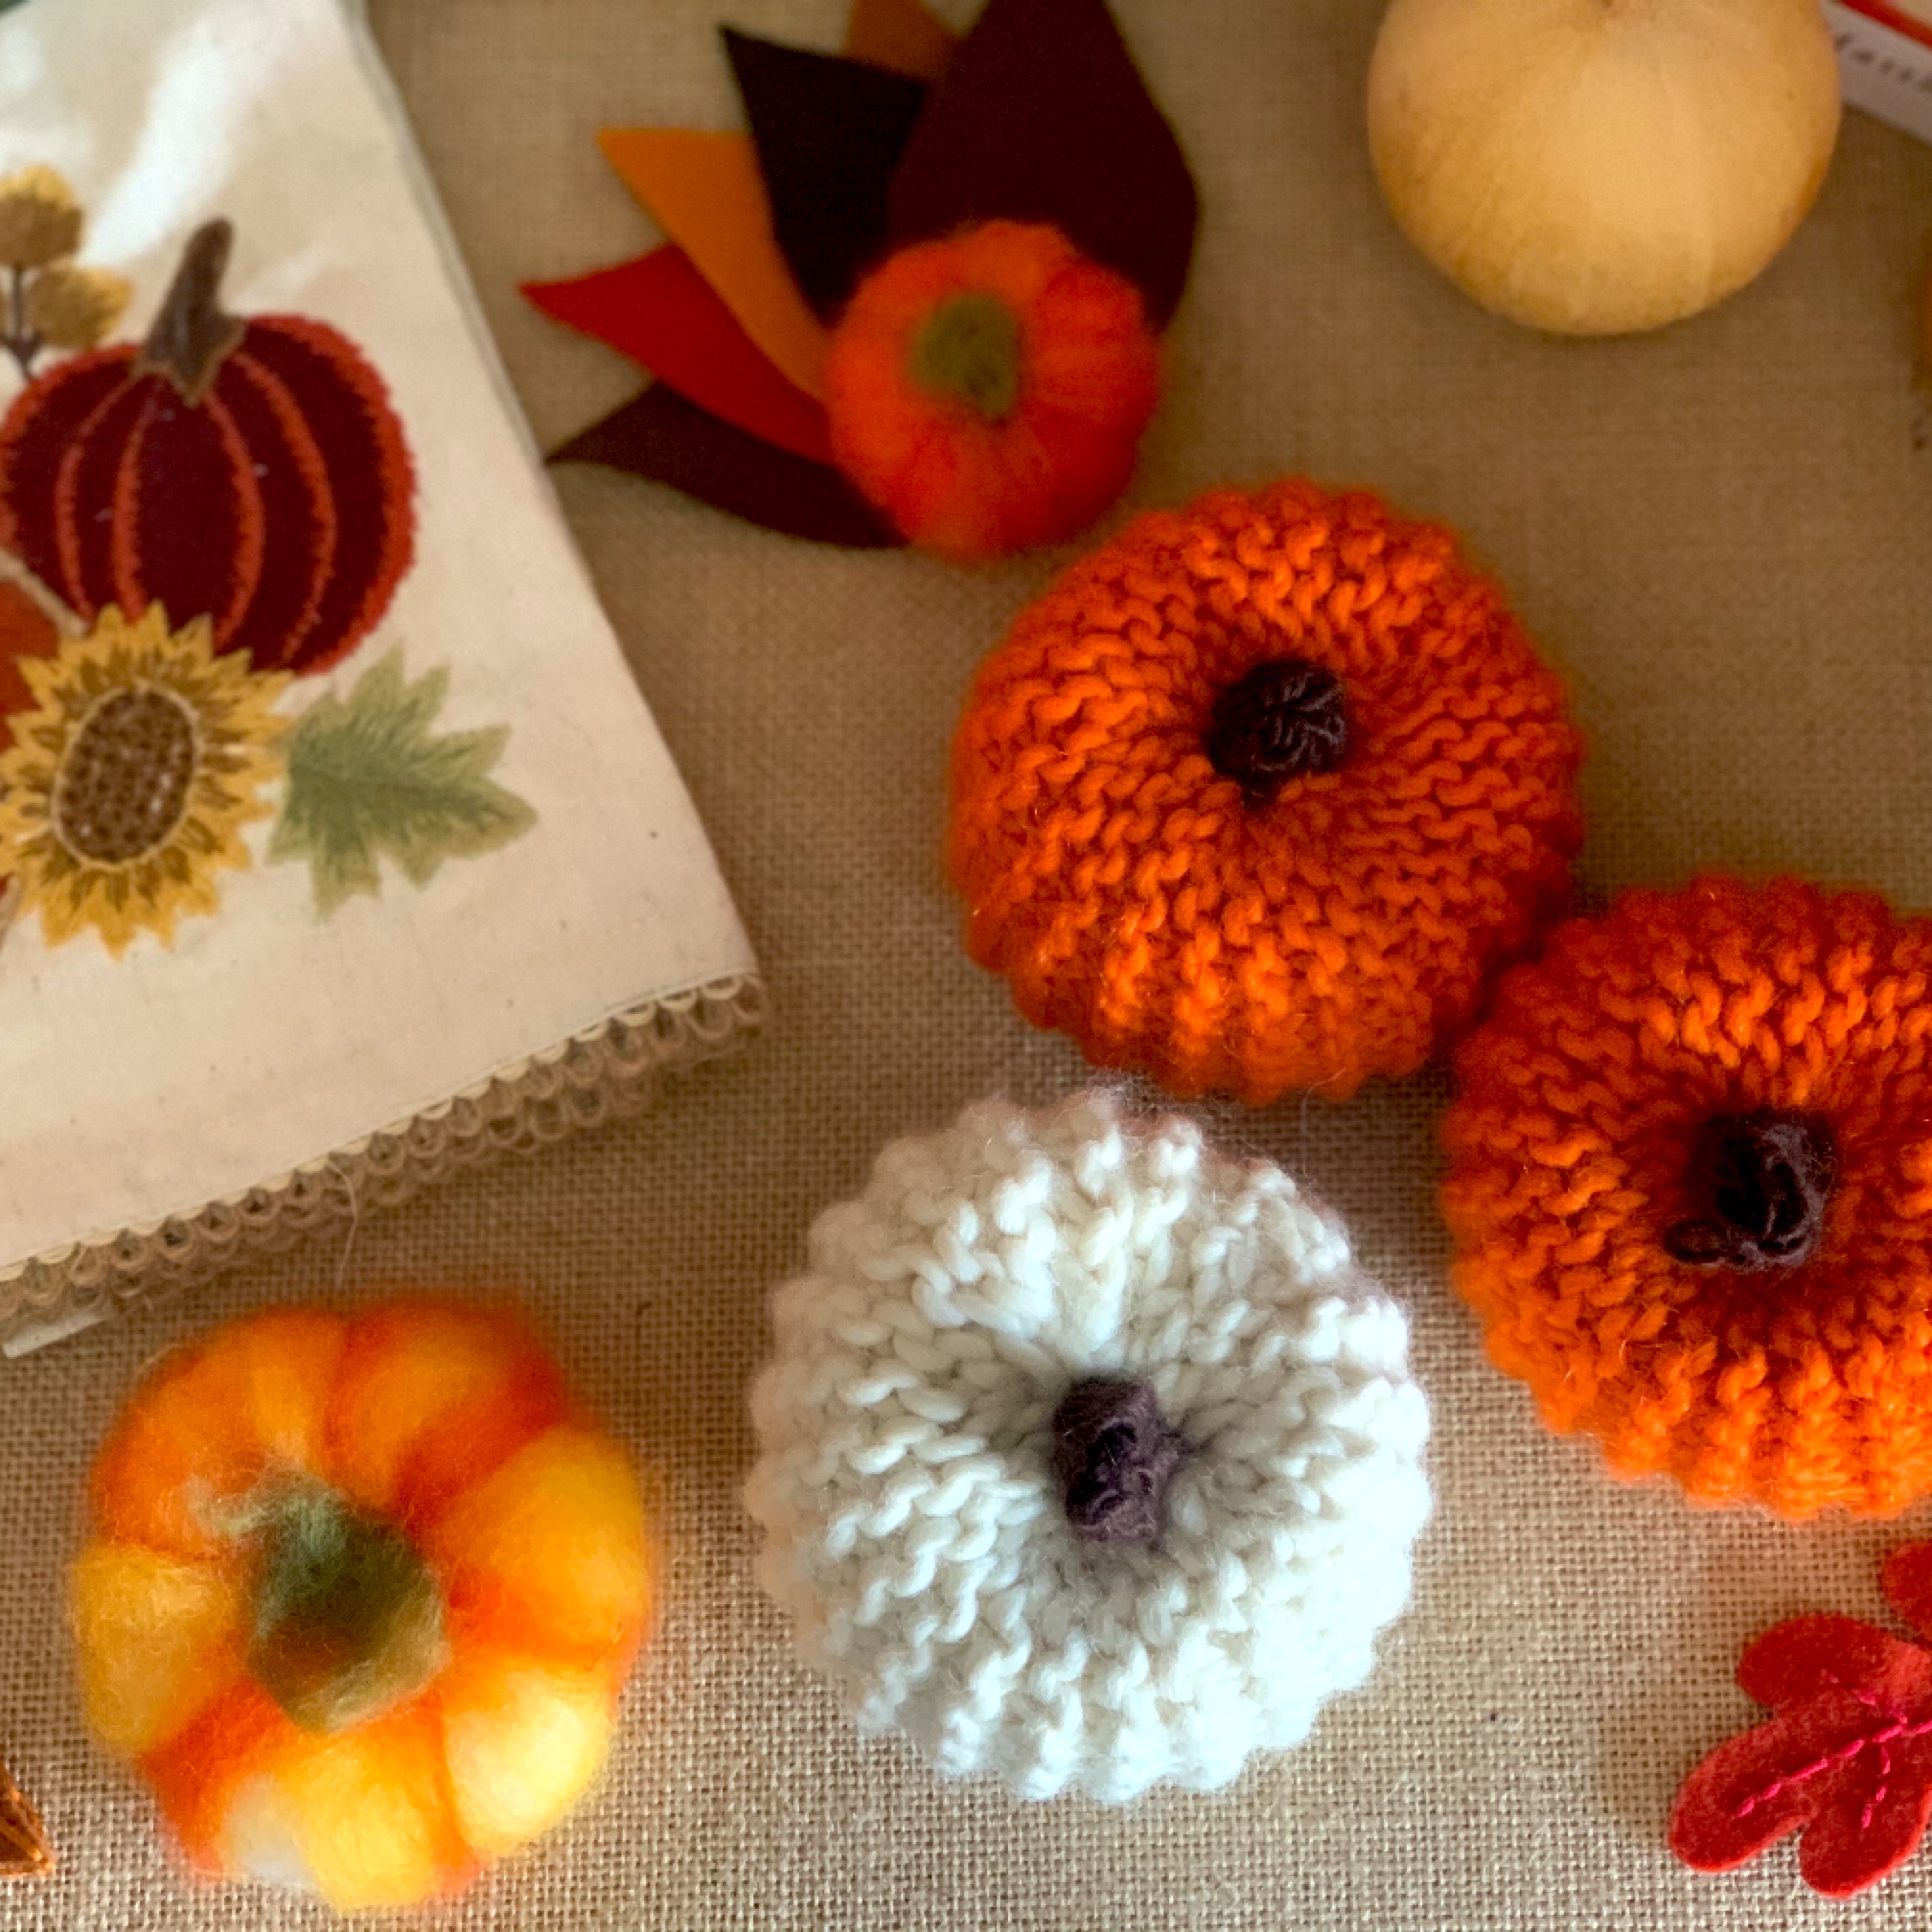
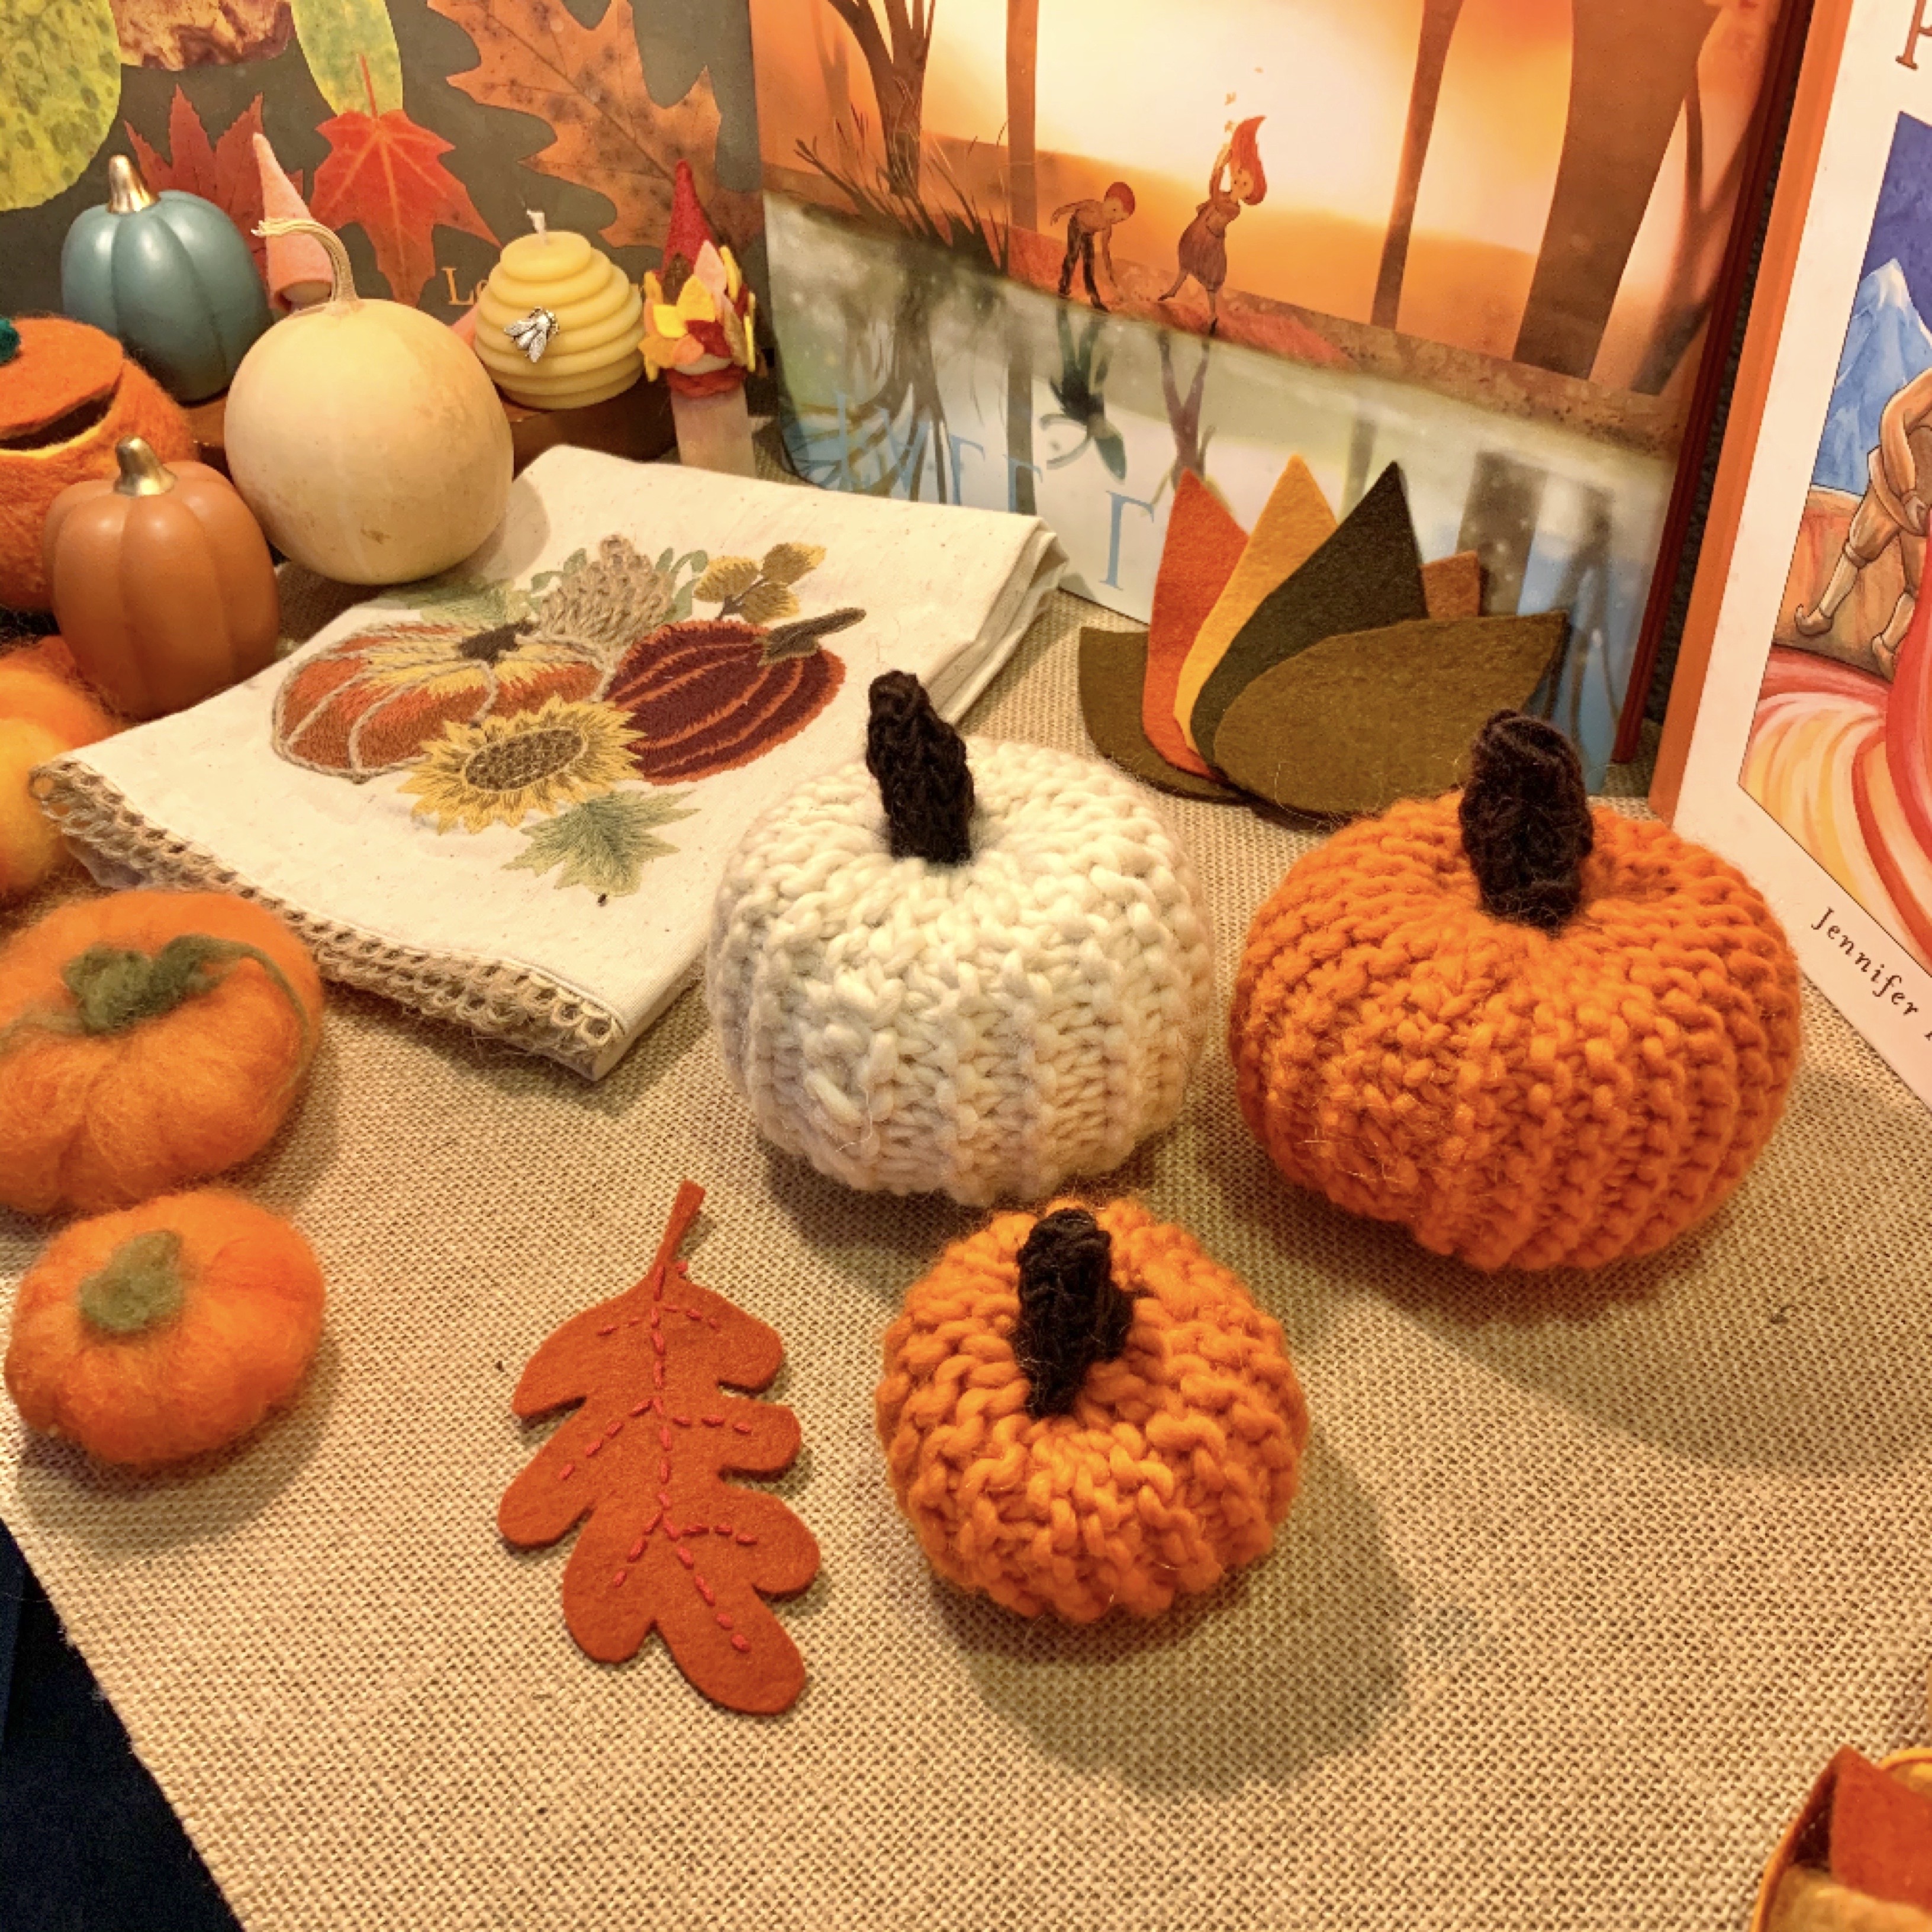
Every fall, we seem to add a new autumn inspired project to our repertoire, and this year we are knitting pumpkins! This is a super easy and very satisfying project that takes little time and other than the stem, doesn’t require many supplies. This tutorial is for beginners, but children and adults of all ages may enjoy this project.
Typically in grade 1 in a Waldorf school, students learn to knit. Often the first project is one that uses the practice piece a child knit and turns it into a simple animal. Once a student becomes more capable, the projects gently increase in difficulty. A super enjoyable project is one in which a student knits a rainbow ball. Like magic the colors are knit together one color after the other. Once the student has knit a long rectangle, it is sewn up the sides and cinched together on either end and just like that a flat rectangle turns into a three dimensional ball.
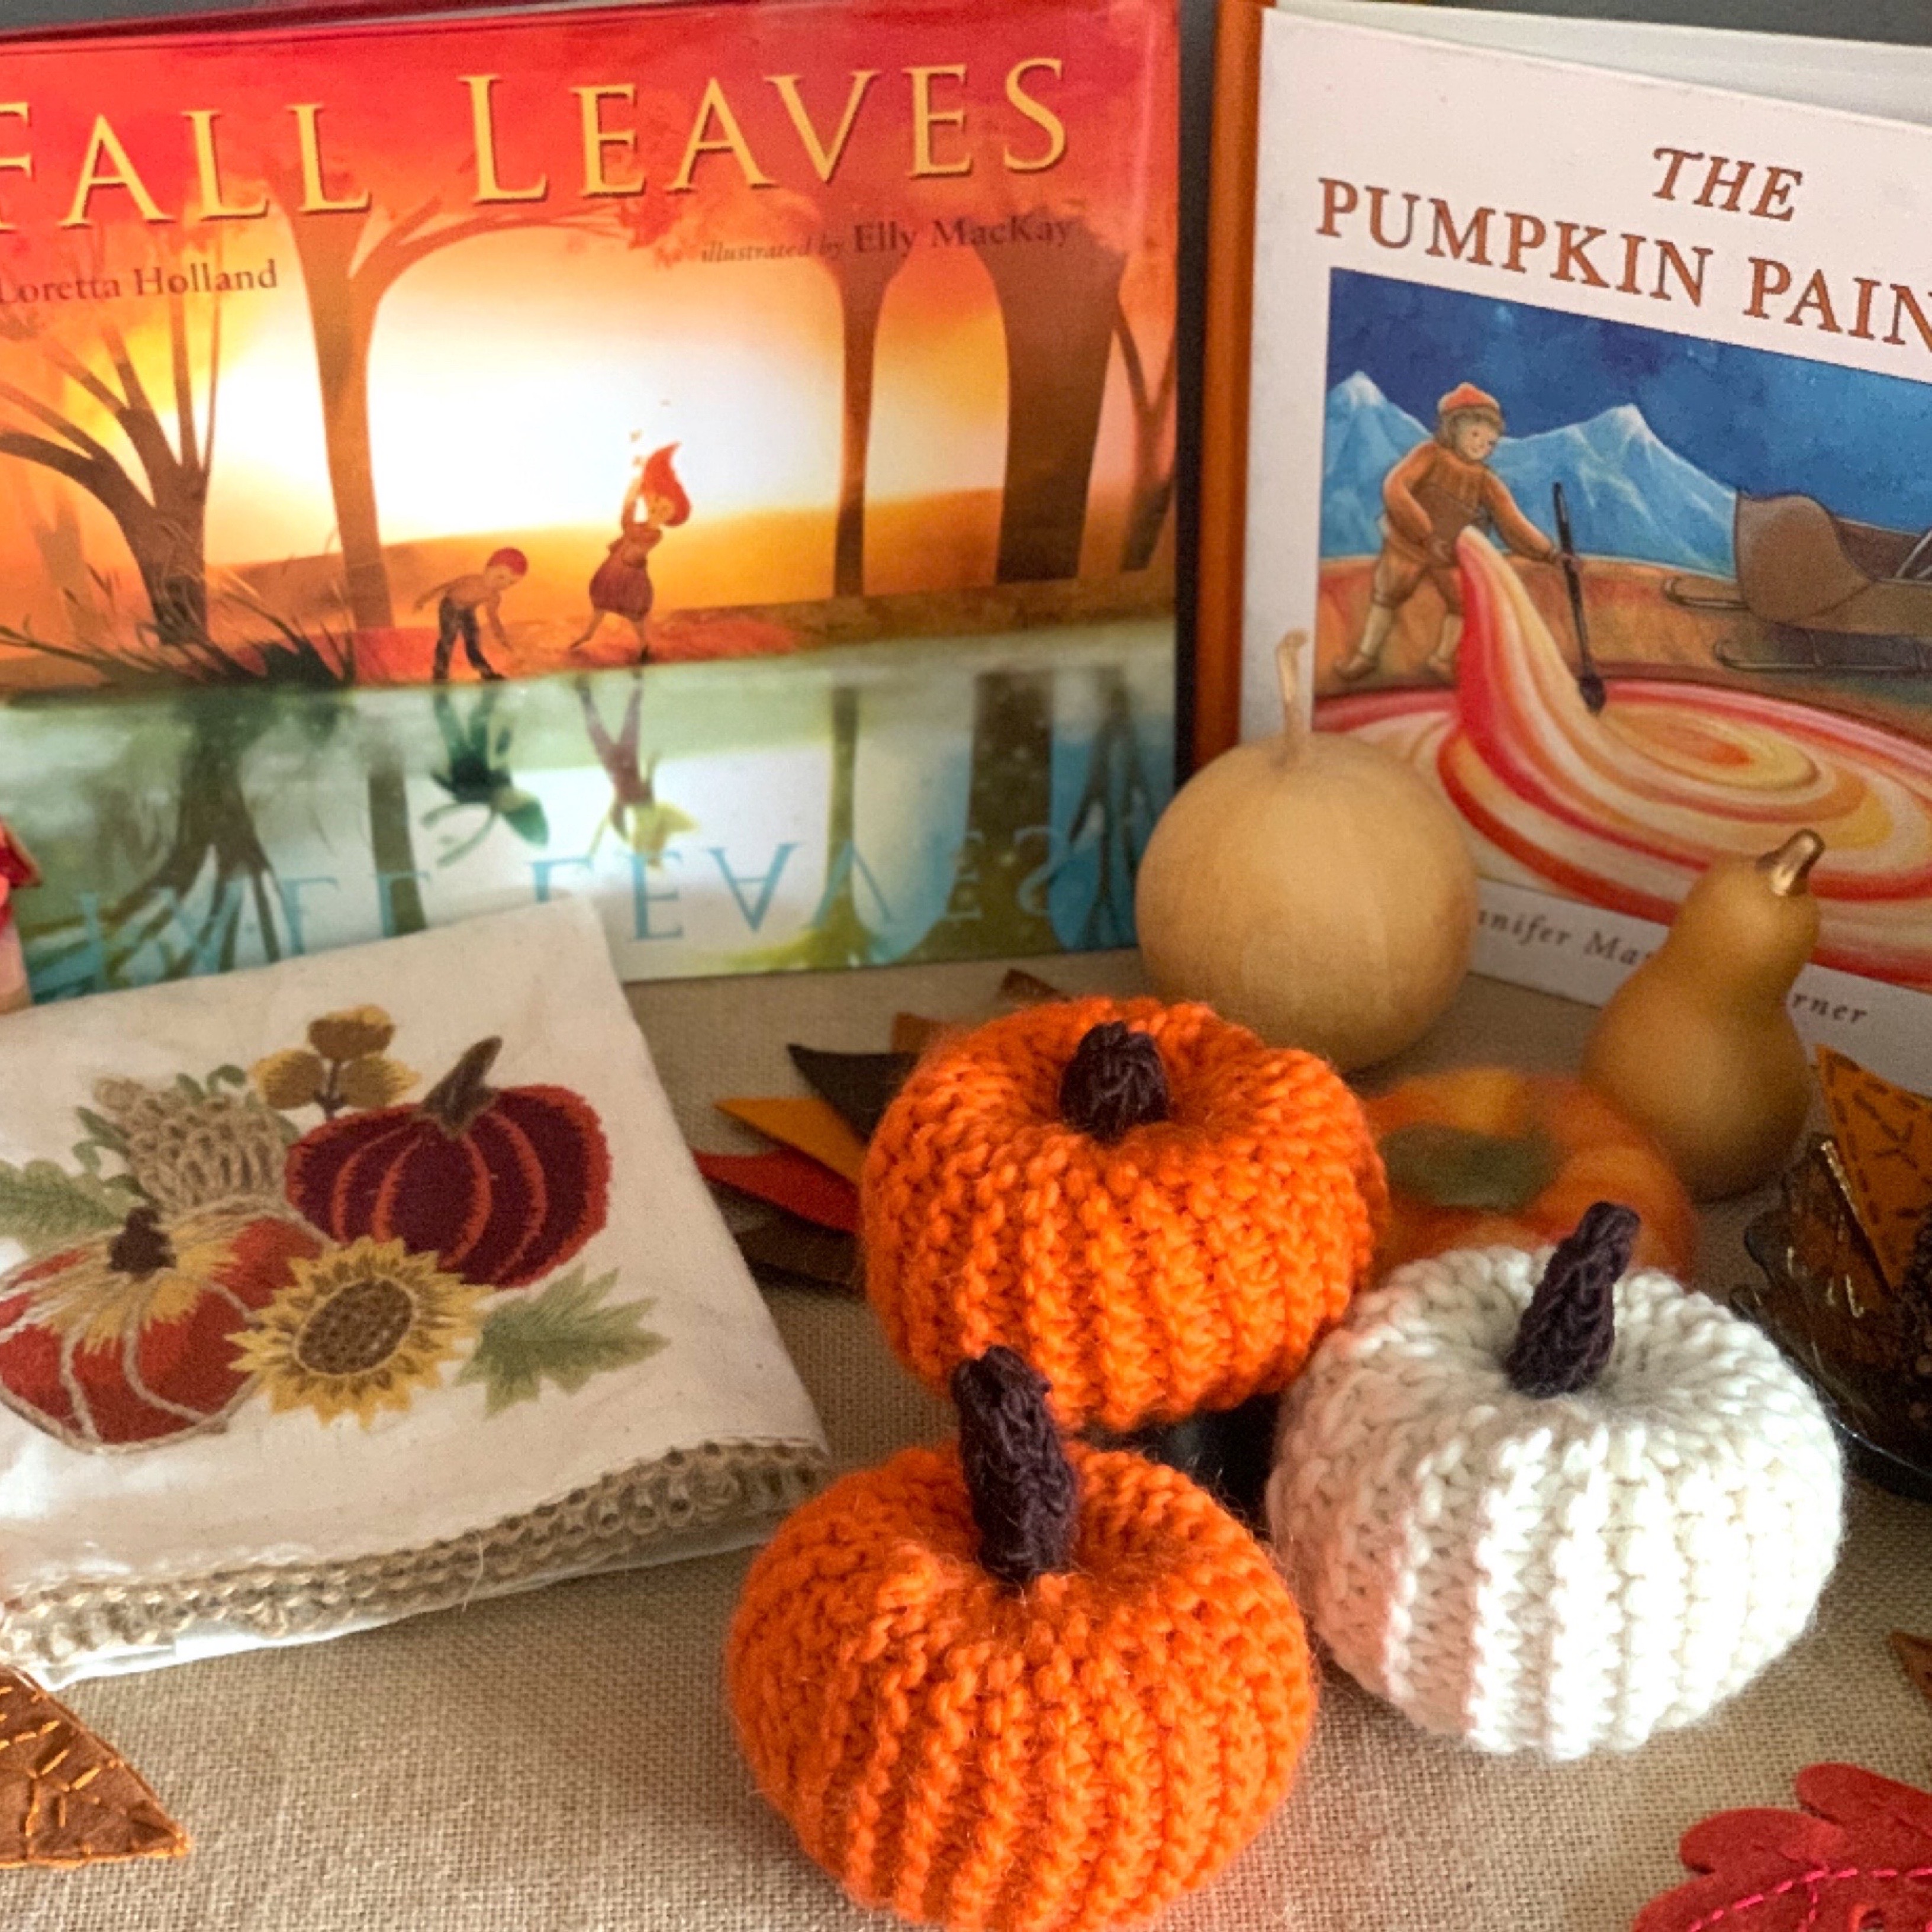
Taking the same concept to this project, we knit a rectangle that is twice as long as wide and sewed up the sides and cinched the top and bottom. The only difference is we added a stem of brown yarn using a knitting tower by Camden Rose. For the stem we used brown Lamb’s Pride worsted weight yarn. For our pumpkins we used cream and orange bulky weight Lamb’s Pride yarn and size 10 knitting needles. These knitting needles happen to be ones we made, but you can find knitting needles as well as all the supplies we used from A Child’s Dream. Check out our Autumn projects and activities tutorial playlist.

Knitted Octopus
How adorable is this little octopus?! What’s great about it, it that it’s super easy, easy enough for a brand new knitter. In fact, if you don’t know how knit, I walk you through the basics, from one novice knitter to another 😉 For this project, I’m using bulky weight Lamb’s Pride yarn in Cranberry Swirl. It’s gorgeous and you can find it at A Child’s Dream. I’m using size 10 needles. I’m using a large blunt needle for sewing the octopus together, wool batt for stuffing and black yarn for the eye.
Direction: Cast on 15 stitches knit 30 rows bind off Sew the top and side together to form a tube Fill the top 2/3 with wool batt or top Sew around the tube so you have a spherical head with a ‘collar’ Twizzle four pieces of yarn about 12-18 inches long (ply them together) Sew the twizzles to the collar Stitch eye and you’re done!
Grade 2
Grade 2 projects continue with knitting with two needles, but a new stitch is introduced: purling! Students learn to knit and purl to make ribbing. The big project of the year is a knitted doll! Crocheting is introduced as well in this grade and the next depending on the class.
A multicolored ball using six colors: red, orange, yellow, green, blue and purple in bright undiluted colors is a great grade 1 or grade 2 project. How exciting it is to see a long rectangle turn into a ball! Stuffed with wool and this plaything is wonderful for movement activities to support learning and becoming proficient in spelling and math.
In addition to crocheting, the skills in knitting are expanded upon. Purling is introduced and with that, ribbing is learned. After practicing with the multicolored ball, the student is ready to make a knitted doll! These are my favorite Waldorf dolls. I’m always so impressed that children aged about 8 years old are able to made these lovely dolls.
In grade 2, pot holders and mats may be crocheted as well.
Handwork in Waldorf schools matches the development just as the subjects do. Knitting is one of the first handwork skills that students learn in Grade 1. This tutorial for a knitted ball is very simple, but is best suited for a child (or adult) who is comfortable knitting.
Directions: Cast on 18-20 stitches (less if your yarn is bulky) Knit 12 rows in each color (we chose six colors in the rainbow). Bind off after the last color is knitted. Using a darning needle, sew the top closed and sew the side. Fill the ball with wool and stitch the bottom closed. We used bulky weight Lamb’s Pride yarn. We used size 10 knitting needles.
Grade 3
It’s truly beautiful how the handwork in Waldorf education is specifically chosen to help the child on his emotional, educational and spiritual development. The third grade student is going through the nine year change and to help give the child a sense of purpose and comfort during this transition, the curriculum aims to teach the practical arts and skills to the child in the form of shelter building, farming and clothing. The handwork for the third grade student will reflect the curriculum with projects ranging from knitted scarves and hats to stitched bags and tunics. Additionally, candle making, weaving and working with clay or beeswax is introduced. While some things will have already been familiar to the child like working with beeswax and making candles, the projects this year take on a practical purpose.
When I first saw the third grade Waldorf curriculum, I wasn’t interested in using it because there was so much content I didn’t intend to use. A few years later, I realized the wisdom behind why these particular main lesson blocks are chosen for the 9-year-old student. I’ll share those reflections in the video as well as give you an in-depth review of the Live Education! curriculum with tips of how to use it.
We’ve gone through this curriculum before so you can to see my children’s main lesson books. As we used our own resources for many of the main lesson blocks, you’ll see how we tailored this year’s curriculum to suit our religious needs and cultural background. You’ll need a number of supplies for the third year including the basics of main lesson books, additional resource books, crayons and color pencils, watercolors and watercolor paper as well as the materials for handwork projects. You can see the complete list of supplies for the third grade.
Handwork projects are quintessential to the Waldorf curriculum. When done right they complement the curriculum and enhance the student’s educational experience. Check out the ones we’ve done for third grade. While you don’t need any additional resource books for this year save a few for the lesson on Hebrew Myths and Culture, I do have a number of additional books that round out the 3rd grade curriculum. The bulk of them were used for the main lessons on Hebrew Myths and Culture. We used culturally relevant texts and religious books for those main lesson blocks. I share more resources that will come in handy for the parent/teacher, but they are by no means necessary to use the curriculum successfully.
This tutorial will show you how to weave using a template you can make from chipboard. You can weave this into a pouch or purse. Supplies needed for this project: Yarn, chipboard (for template), embroidery thread, yarn needle or shuttle, pencil and scissors. Most supplies can be found at local crafts stores or from A Child’s Dream. Level: easy Duration: under an hour Cost under $5 Check out the Circle weaving tutorial.
When doing a main lesson block, I look for a variety of books and projects for the children. For this unit, I set up our Harrisville Designs wooden loom for my 8-year-old daughter. Weaving is just right for a grade 3 student and it fit nicely with our American History unit that was primarily for my 12-year-old.
For this project, we just a sturdy child-sized loom. While this kit comes with all the supplies needed to weave a project, this happened to be a hand-me-down, so I collect our own supplies for this project. I used cotton string from Harrisville Designs to prepare the loom. Next I wove several rows for my daughter until the complicated pattern was set. We used bulky Lamb’s Pride yarn that we dyed using natural materials like tea, avocado pits and onion skins.
After the pattern was established, I showed my daughter how to go under and over with the wooden pick stick, then send the shutter through the open space created when the pick stick is turned on its side. The process was repeated until the project was complete. Some problems we ran into was making the middle too tight. As my daughter sent the shutter back and forth, the middle of her project got tighter and tighter. A way to remedy this is to have a long metal or wooden dowel run the length of the loom so that the yarn goes around the metal as well as the cotton warping.
DIY Loom to Make a Bag
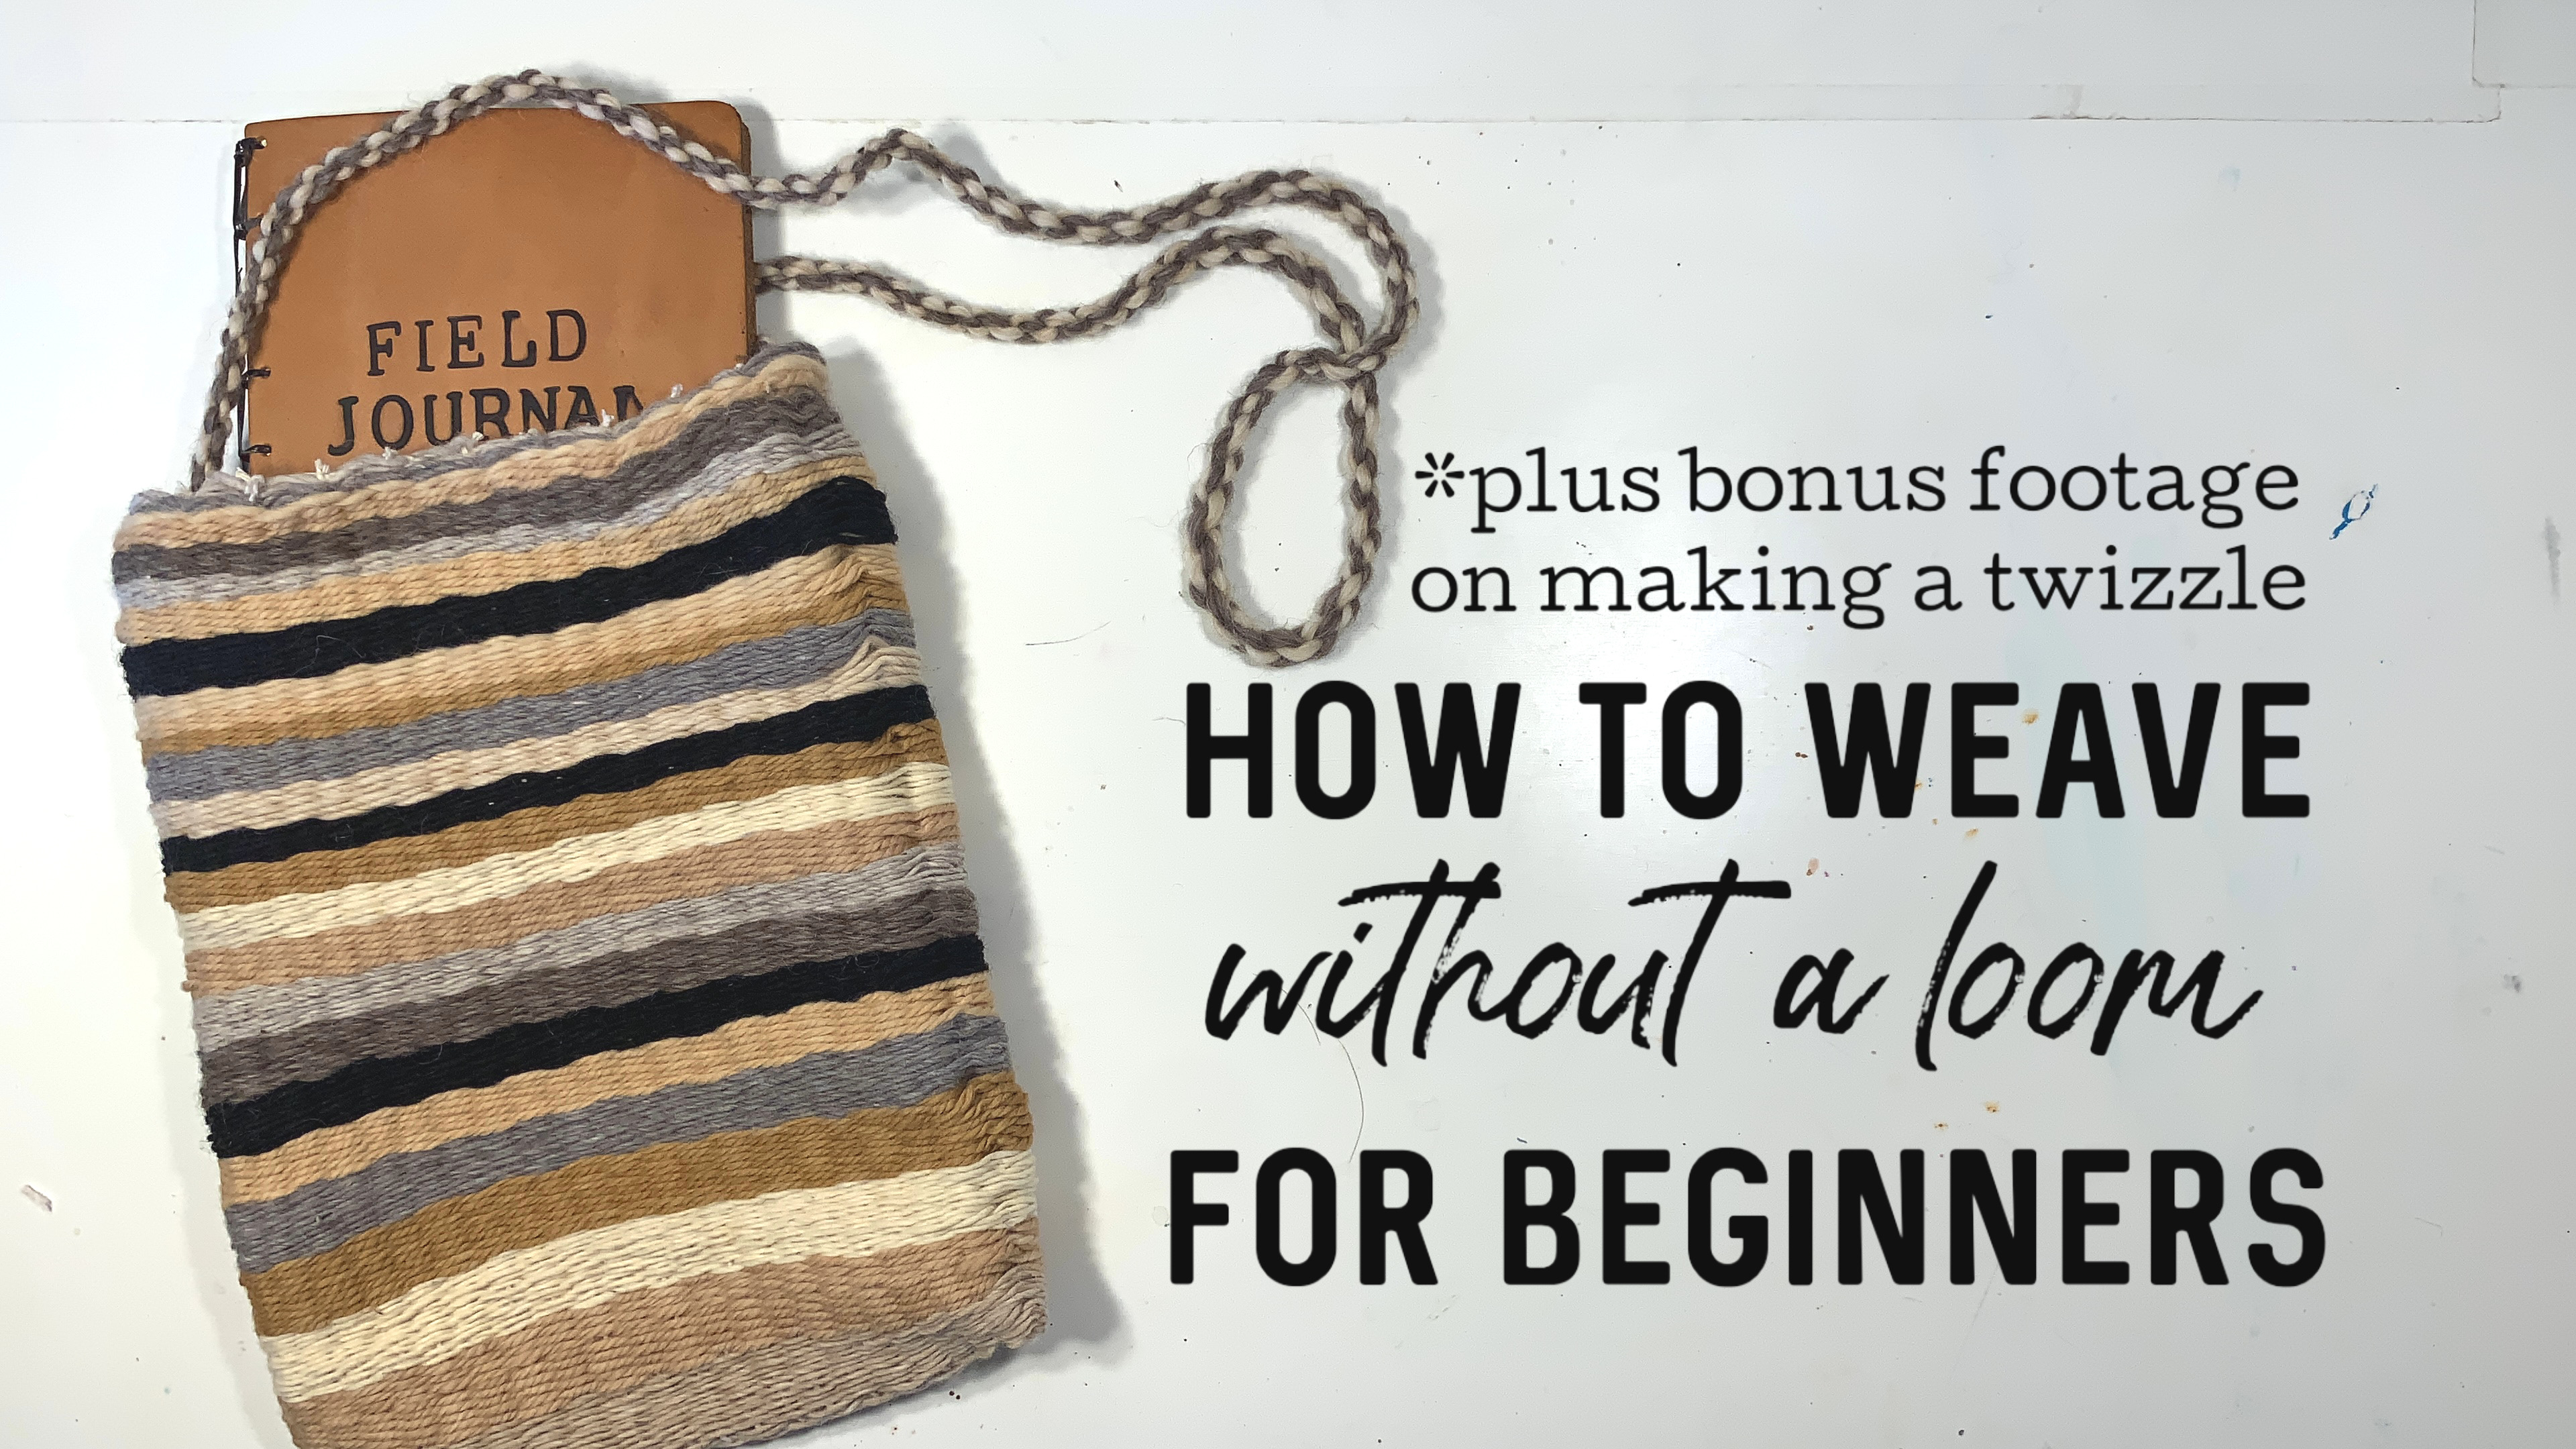
Weaving is one of those projects you need to dedicate yourself to. It takes time, perseverance and mindfulness. Weaving engages your mind and hands, and unlike knitting for instances, you can’t easily take your eyes off your project. Weaving in found in the Waldorf curriculum starting at grade 3. It complements the the block on shelter, farming and clothing. With a bit of effort, you can actually weave fabric and potentially make your own rudimentary clothes! In this project, however, we are weaving a bag. With a bit more effort, you can optimize your weaving time and create a bag rather than a solid piece of fabric.
For this project, we are making our own DIY loom out of heavy cardboard or chipboard. I’m using chipboard from the backing of a watercolor paper pad. It’s thick and difficult to bend which is just what we want. The piece I’m using is 9″x12″. Along the top and bottom (9 inch side), I’m marking 1/2 inch increments. You can make your increments smaller for a tighter weave or larger for a looser weave. One thing to make sure of though, is that your last increment is as close to the edge of the chipboard as possible. If not, trim the chipboard because otherwise in the end, you’ll end up with a large bit of unwoven yarn on either end of the project. It doesn’t affect the project, but it’ll be noticeable. If you look closely, you can see if in the correct project with teal colored bulky weight yarn. Make sure you have an odd number of increments/strings otherwise you won’t have the opportunity to go over/under in an alternating pattern to create a proper weave. Once your increments are set, it’s time to string up your loom. In this case, I made a mistake. I’ve shown you my mistake in the video and how I remedied the problem, but I also show you the correct way to do it. When weaving a bag, you want an opening! Do do this you need to string your loom so that the string goes around alternating tabs and comes down the same side before circling back up the other side in which you just string it up without wrapping it along the tab. This is very confusing at first! It took me a lot of practice and there are still times I do it wrong. Truthfully, there are a few ways to do this, and I’ve now done this about 4 different ways depending on the projects and sadly, one time, it was very wrong and this is the time you get to see! In the end, we found an alternative way to fix our mistake, and while it’s not perfect, it works.
I debated showing you the mistake, but in the end, with your suggestions, I showed the mistake in a way I hope isn’t confusing to the tutorial. I’m pleased with finding a solution to our problem even though it took so much time to fix. In the end, you can hardly tell and it salvaged weeks of work. Imagine starting over!!
We used yarn from Harrisville Designs as well as some home dyed yarn using natural materials like onions skins and tea. The yarn dyeing and weaving accompany our American History units by adding in Waldorf inspired handwork. I love having the opportunity to tailor our lessons to appeal to my child’s interests and still work within the Waldorf Education philosophy. We initially used some tools that came in the Harrisville Designs Loom Kit, but ultimately, this was completely DIY.
My 8-year-old daughter worked on the Harrisville Design loom to make her project, while my 13-year-old son worked on the DIY loom to make a bag using a ruler to separate the string and a popsicle stick as a shuttle. This project is fast at first and you can complete 90% of it fairly quickly. The last part is challenging because the space is so tight. I helped with that part using a knitting needle with a sharp point and a wide eye to fight the yarn. I also helped make the twizzle with my son (which is the handle) and sewed it in for him, though these are things he’s capable of doing at his age. He chose the pattern which was just an alternating of colors starting with wider bands at the bottom and tighter bands at the top. To keep in line with Waldorf philosophy, you’ll want to be mindful to use darker colors at the bottom and lighter at the top where it opens. Also if there is an embroidery design on top of the weaving, you’ll want to ensure that the bottom of the design is closed and the top open. In our case, I feel that the tighter bands would have been more appropriate at the bottom versus the top. Something to consider when you are embarking on your project!
Grade 4
Wet Felting
I admit when I bought this kit, I thought it was a needle felting pumpkin kit. But you can’t imagine my joy when, after a moment of confusion, I realized it was a wet felting kit! I haven’t done wet felting in years, and I’m excited to get back into it. This kit, by Rainbow River Designs, comes with everything you need to get 2-3 pumpkins, except a ball and warm soapy water. Don’t add too much soap, it foams up fast and gets very bubbly. You can find this kit at the Rainbow River Designs’ Etsy shop as well as A Child’s Dream.
Wet Felted Balls
Some handwork projects span several weeks or months and others can be done in a day. Making a felted ball falls somewhere in between depending on how you make it and for what purpose. In grade 4 Waldorf schools, you may find students making and embroidering felted balls. These gorgeous masterpieces take months to do, but the end result is breathtaking.
Today’s project is just on making a felted ball which still takes some time to make, but the majority of the project is complete in just one afternoon. I’m working with my 8-year-old daughter and 13-year-old son and when the felted balls are done, you’ll be able to see each of their skill sets and how much I helped them. We are not embroidering these balls right now. Either they will remain just as felted balls, or become heads for dolls, or eventually be embroidered. We initially did this project with the intention to use the balls for our mental and movement math activities, but found we prefer heavier objects like bean bags or racket balls. However, these balls are ideal for safe indoor movement math provided they are used appropriately.
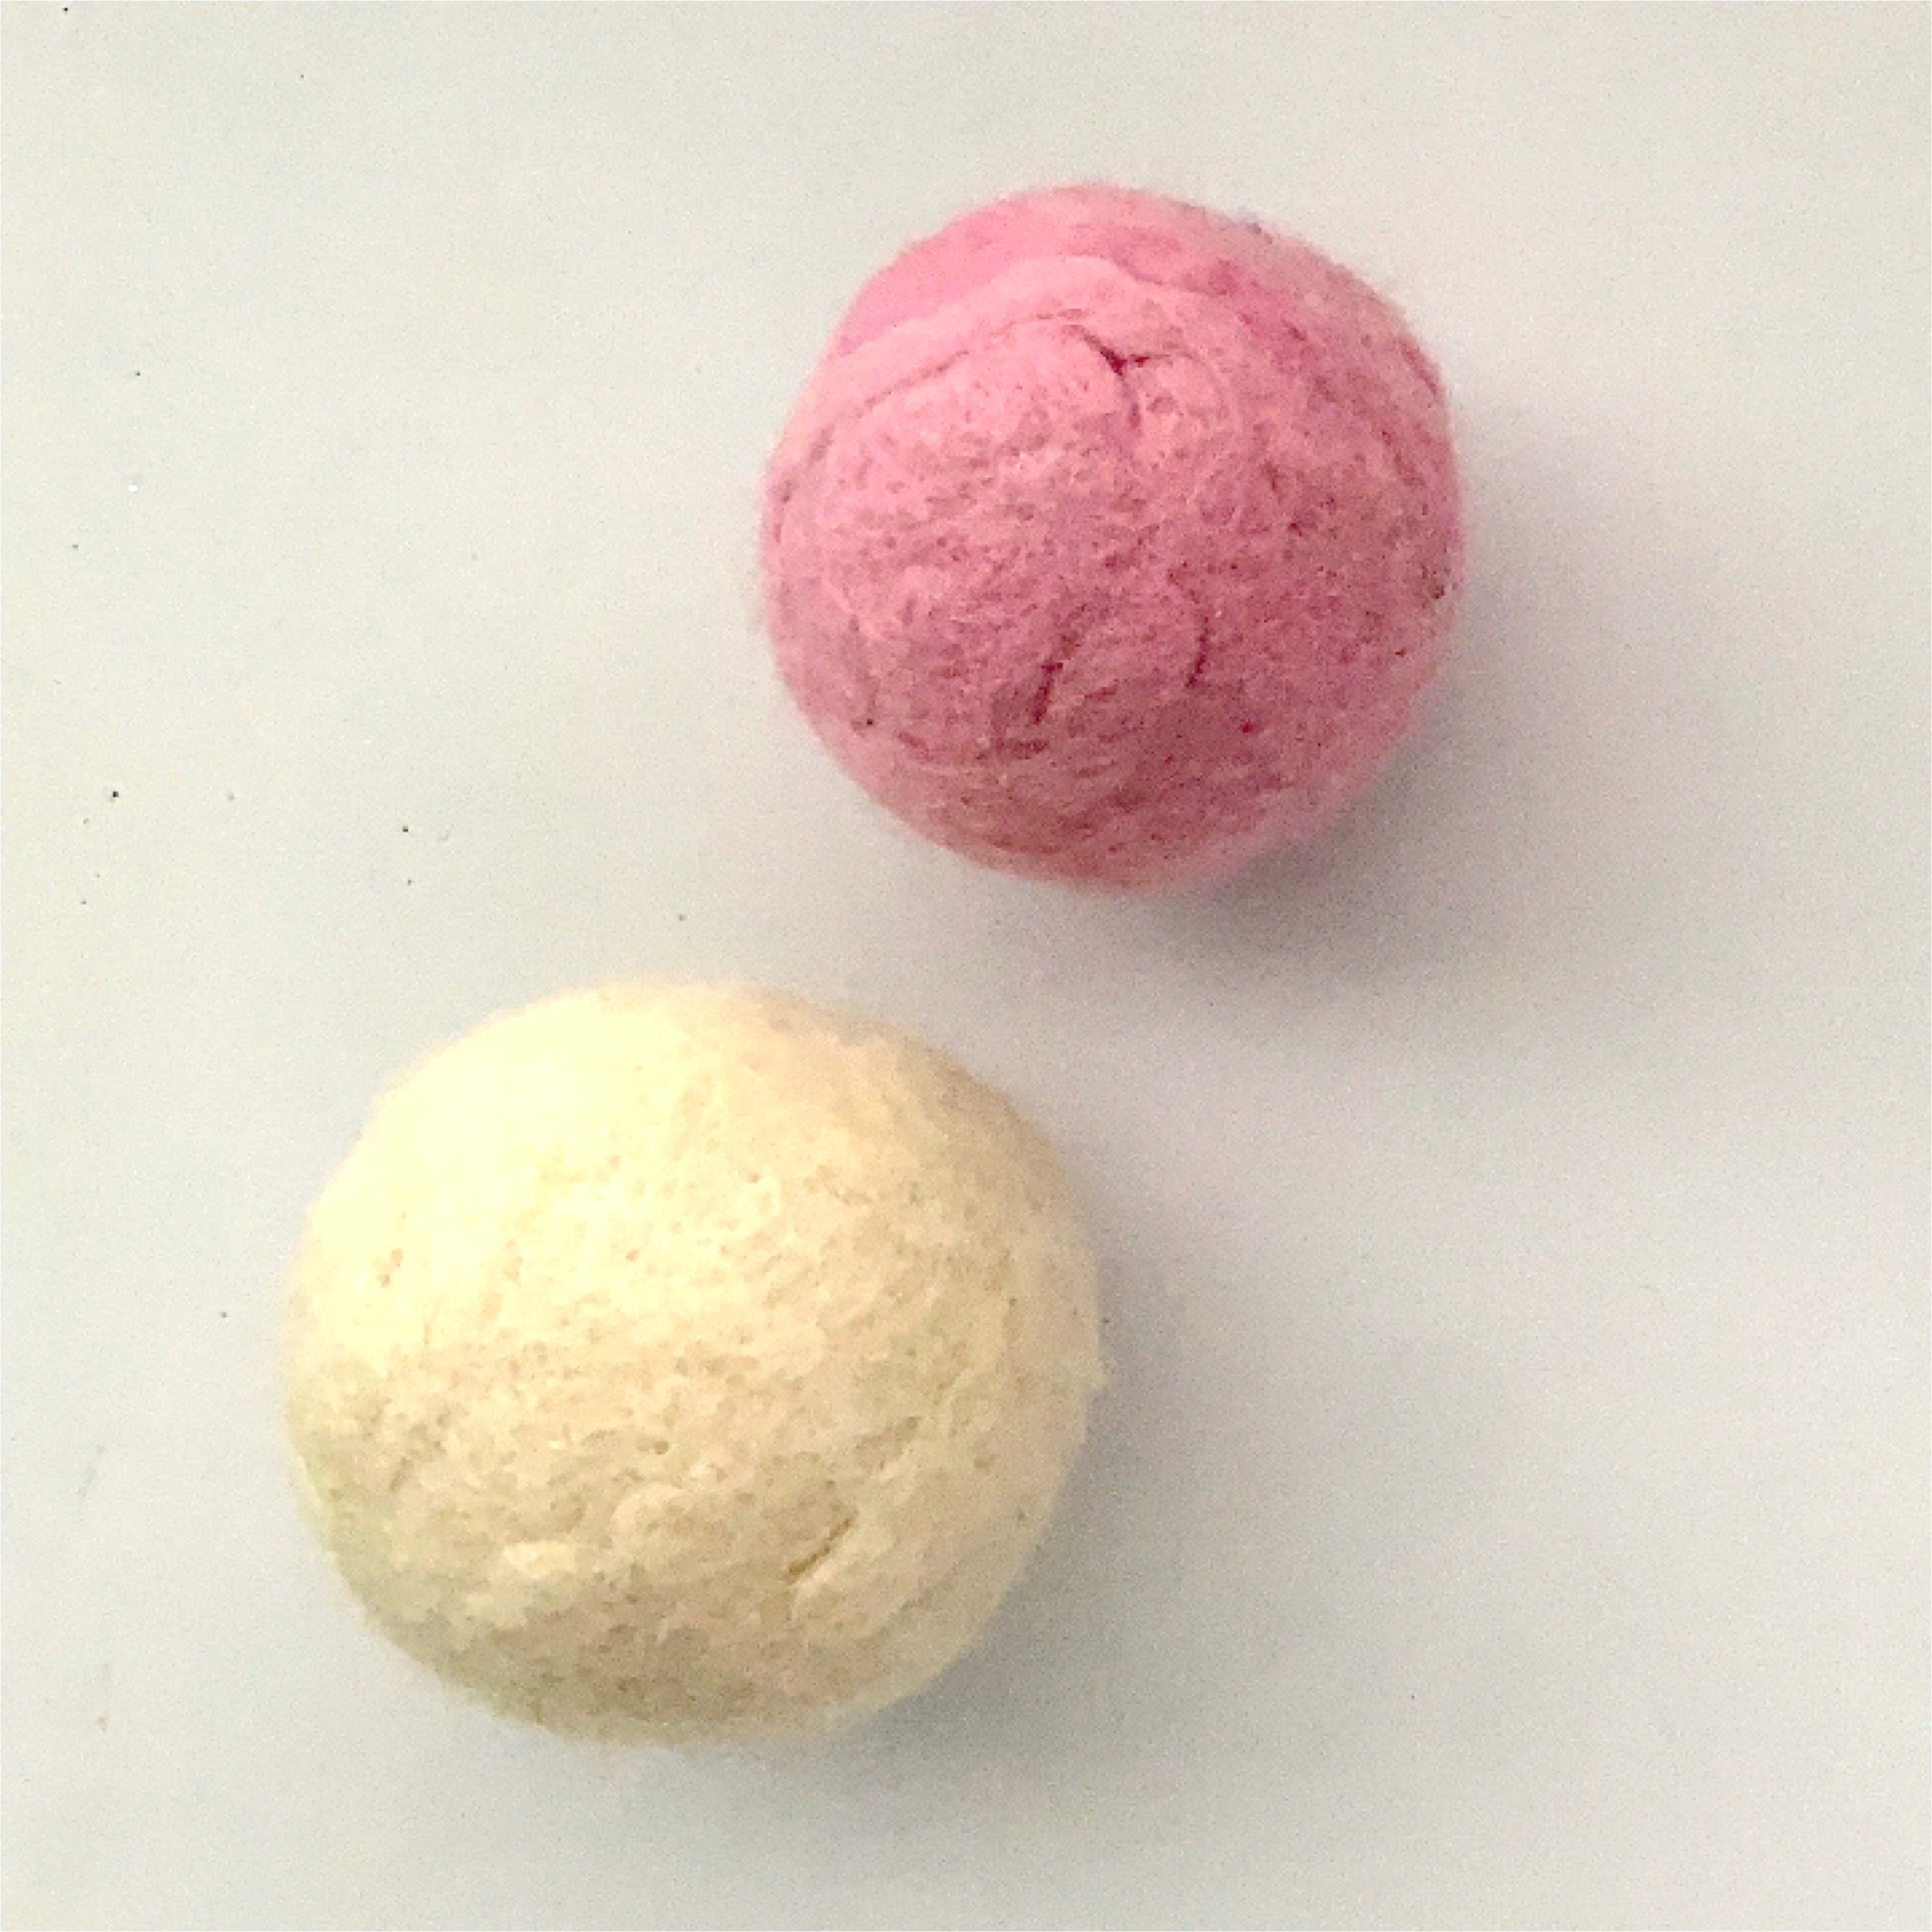
For this project, I used scraps of yarn from other projects to make up the core of the ball. Next, I covered the core with undyed wool. For my daughter, she wanted a pink ball so I covered hers with additional pink wool batt. The wool is from A Child’s Dream and we typically use it in our homeschool for various projects including felted animals for our nature main lesson blocks. You’ll only need a few supplies for this project, but you may consider working outside or in the kitchen, as it’s a project that gets messy fast. Aside from a small amount of wool, and something for the core, which can be more wool, but I liked having the opportunity to use up my scraps, you’ll need two bowls of water: one hot (but not too hot you can’t put your hands in) and one cold (cold water from the tap is fine). You’ll also need some dish soap. Have a towel on hand too!
The starting of this project takes a little skill, so I did quite a bit for my 8-year-old daughter who wouldn’t have this handwork project in a Waldorf setting at her age, but because we are homeschooling, a lot of our projects end up being done by multiple children in different grades. I formed the core for her and added the wool. I also dunked it in water and formed it until is was a sphere. Once I thought the shape would hold, I handed it over to her to finish. I made the core for my son and felt confident he could manage the rest, which he could. The felting part takes a long time. I’ve shown more the process than I normally would show for a tutorial because this is one project in which the children (and possible an adult), would think the project is done far sooner than when it’s actually done. Plan on about 15-25 minutes of felting by dunking the ball into hot water with a bit of soap and forming it in the palm of your hands and dunking it in the cold water and repeating over and over again until the ball is firm.
My daughter’s ball isn’t as firm as my son’s because she tired sooner than he did and she didn’t felt firmly. In the end, while you can tell the difference, I think they are both just fine. The funnest part is bouncing the balls in a bathtub! You can pop them in the dryer to dry, and you can leave them there as dryer balls, or you can set them in a dry place and let them air dry. It took ours a full week to be completely dry all the way through, but they will be dry to the touch within a few days.
Stitching
Welcome autumn with this simple, yet beautiful handwork project that’s great for children about eight years and up. All you need is felt and embroidery thread. You also need a needle and a pair of scissors. I’ve made a pattern (with the help of the original sample made by Melanie Hatch, a master Waldorf handwork teacher) that you can download for free here. The felt and embroidery floss at A Child’s Dream. https://achildsdream.com/dmc-facial-embroidery-floss-9-pack/ https://achildsdream.com/holland-wool-felt-collection-autumn-tapestry/
Grade 5
Knitting
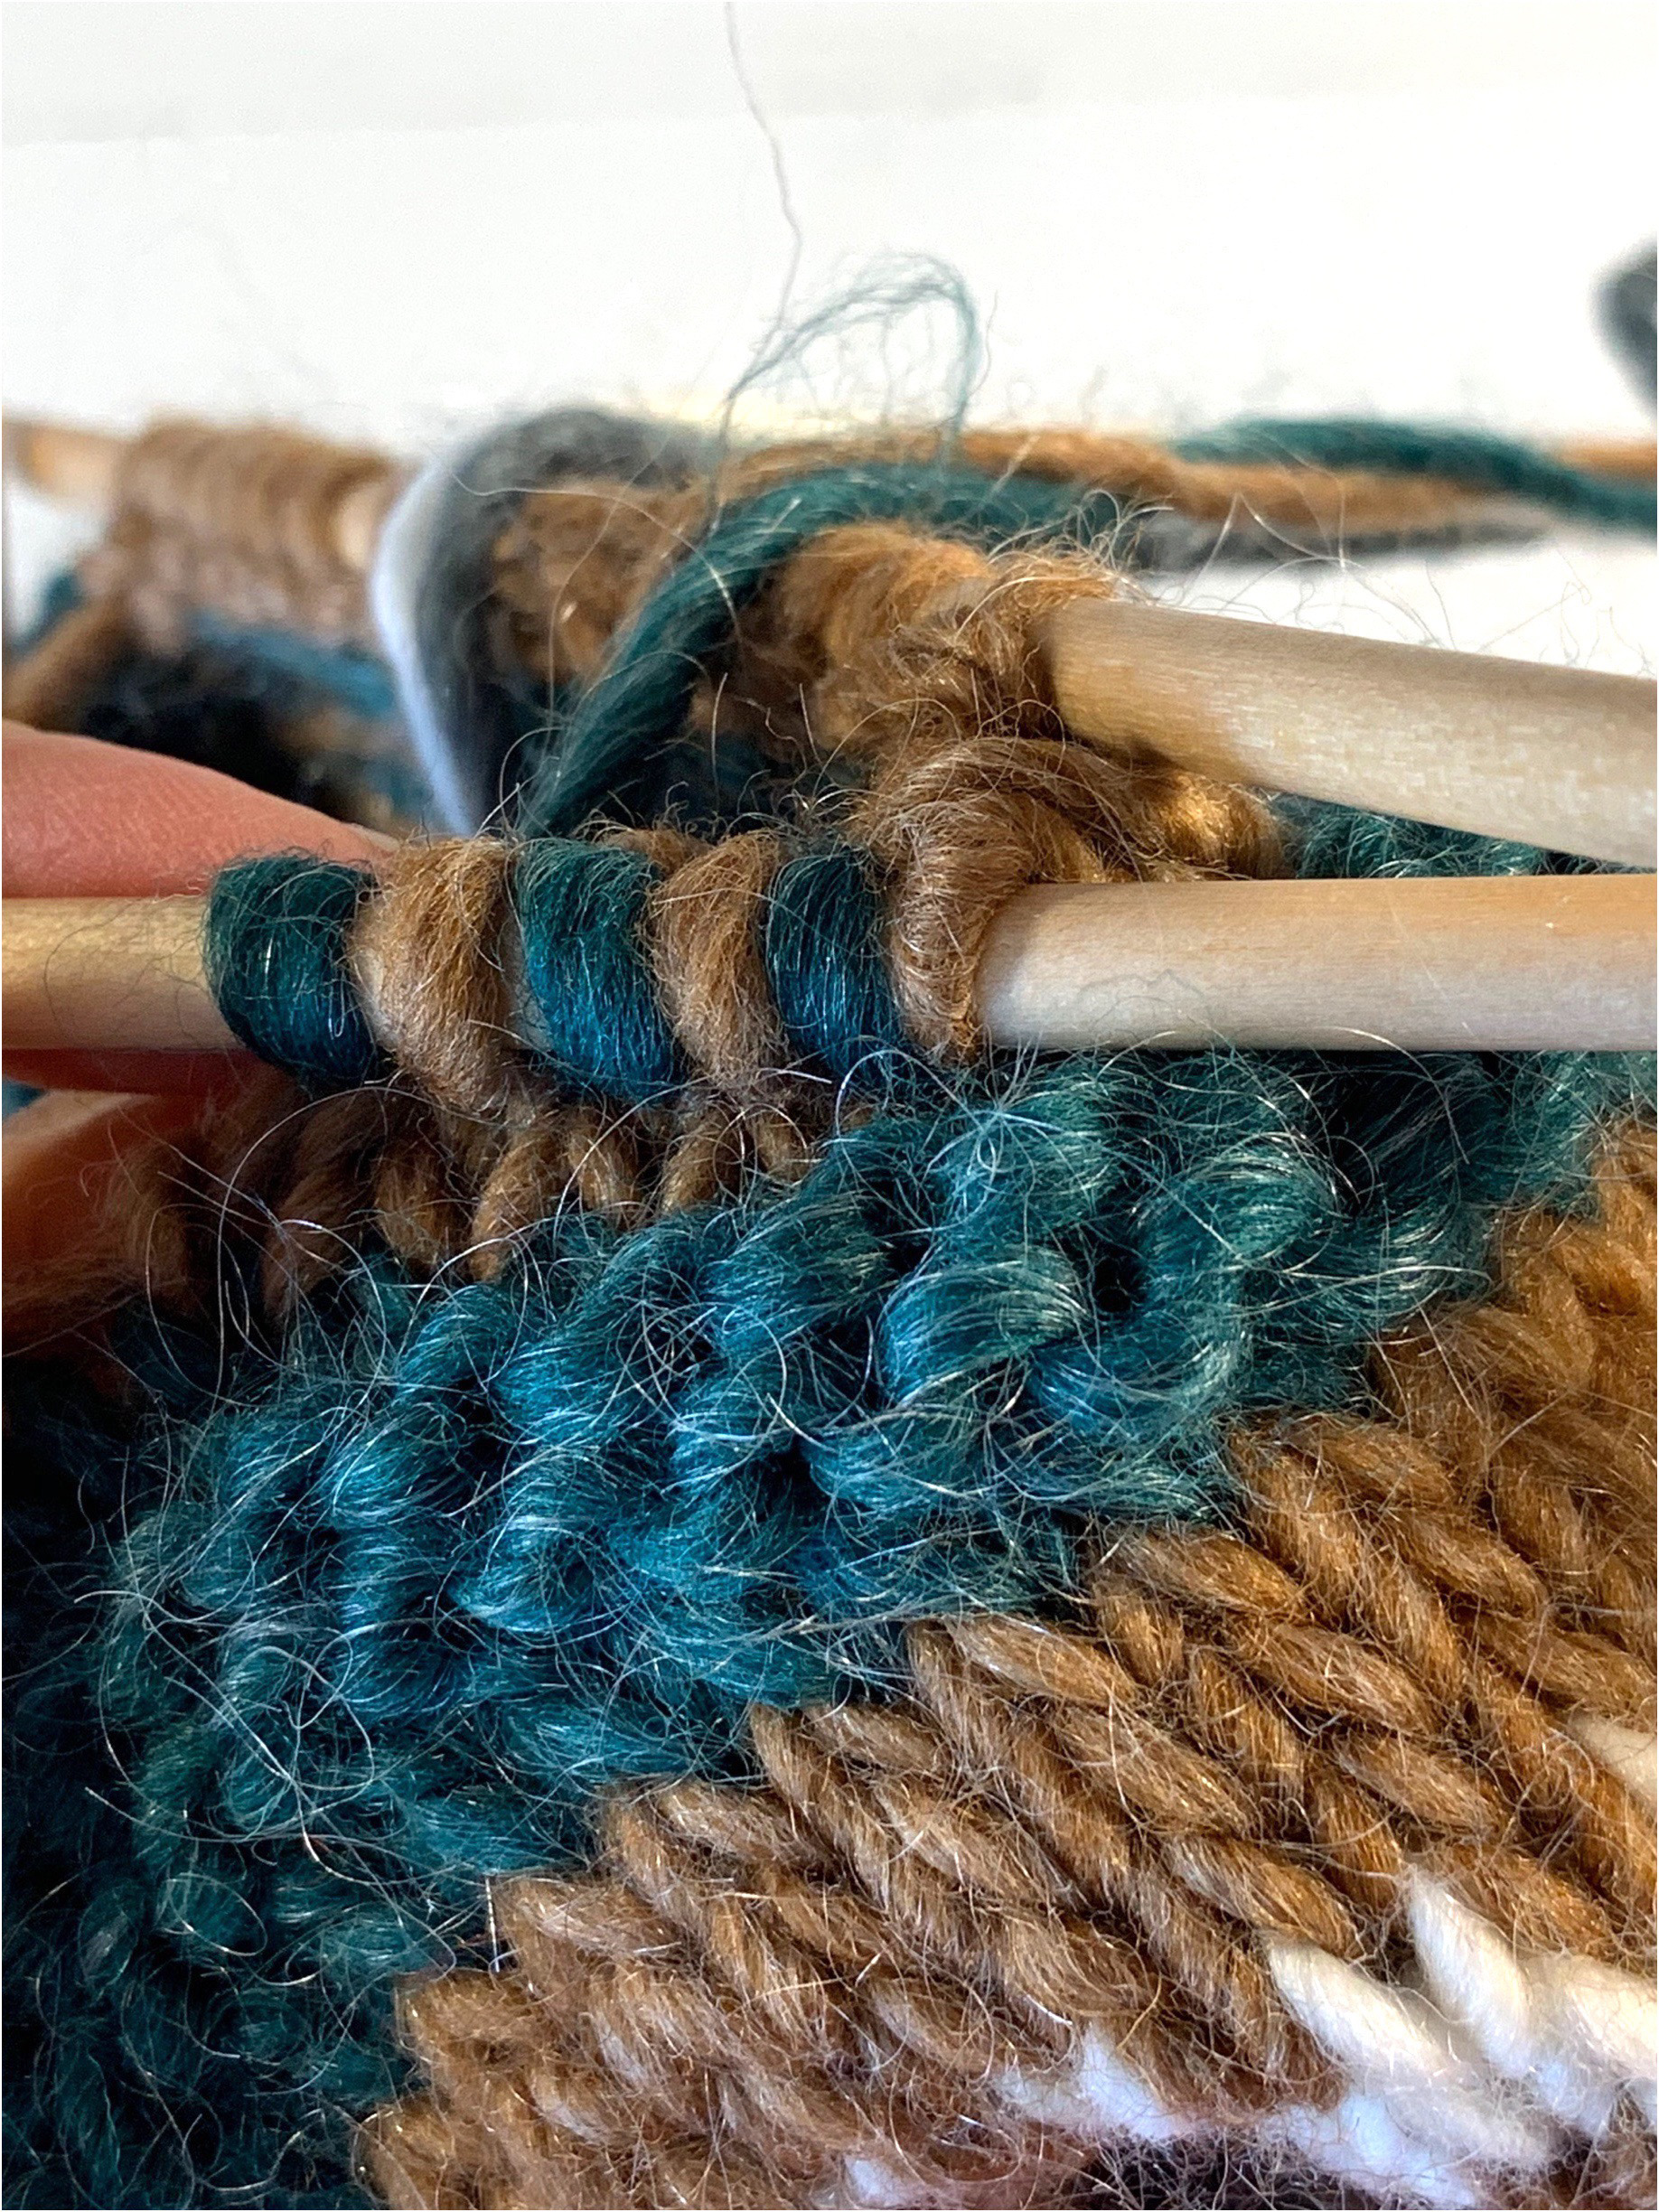
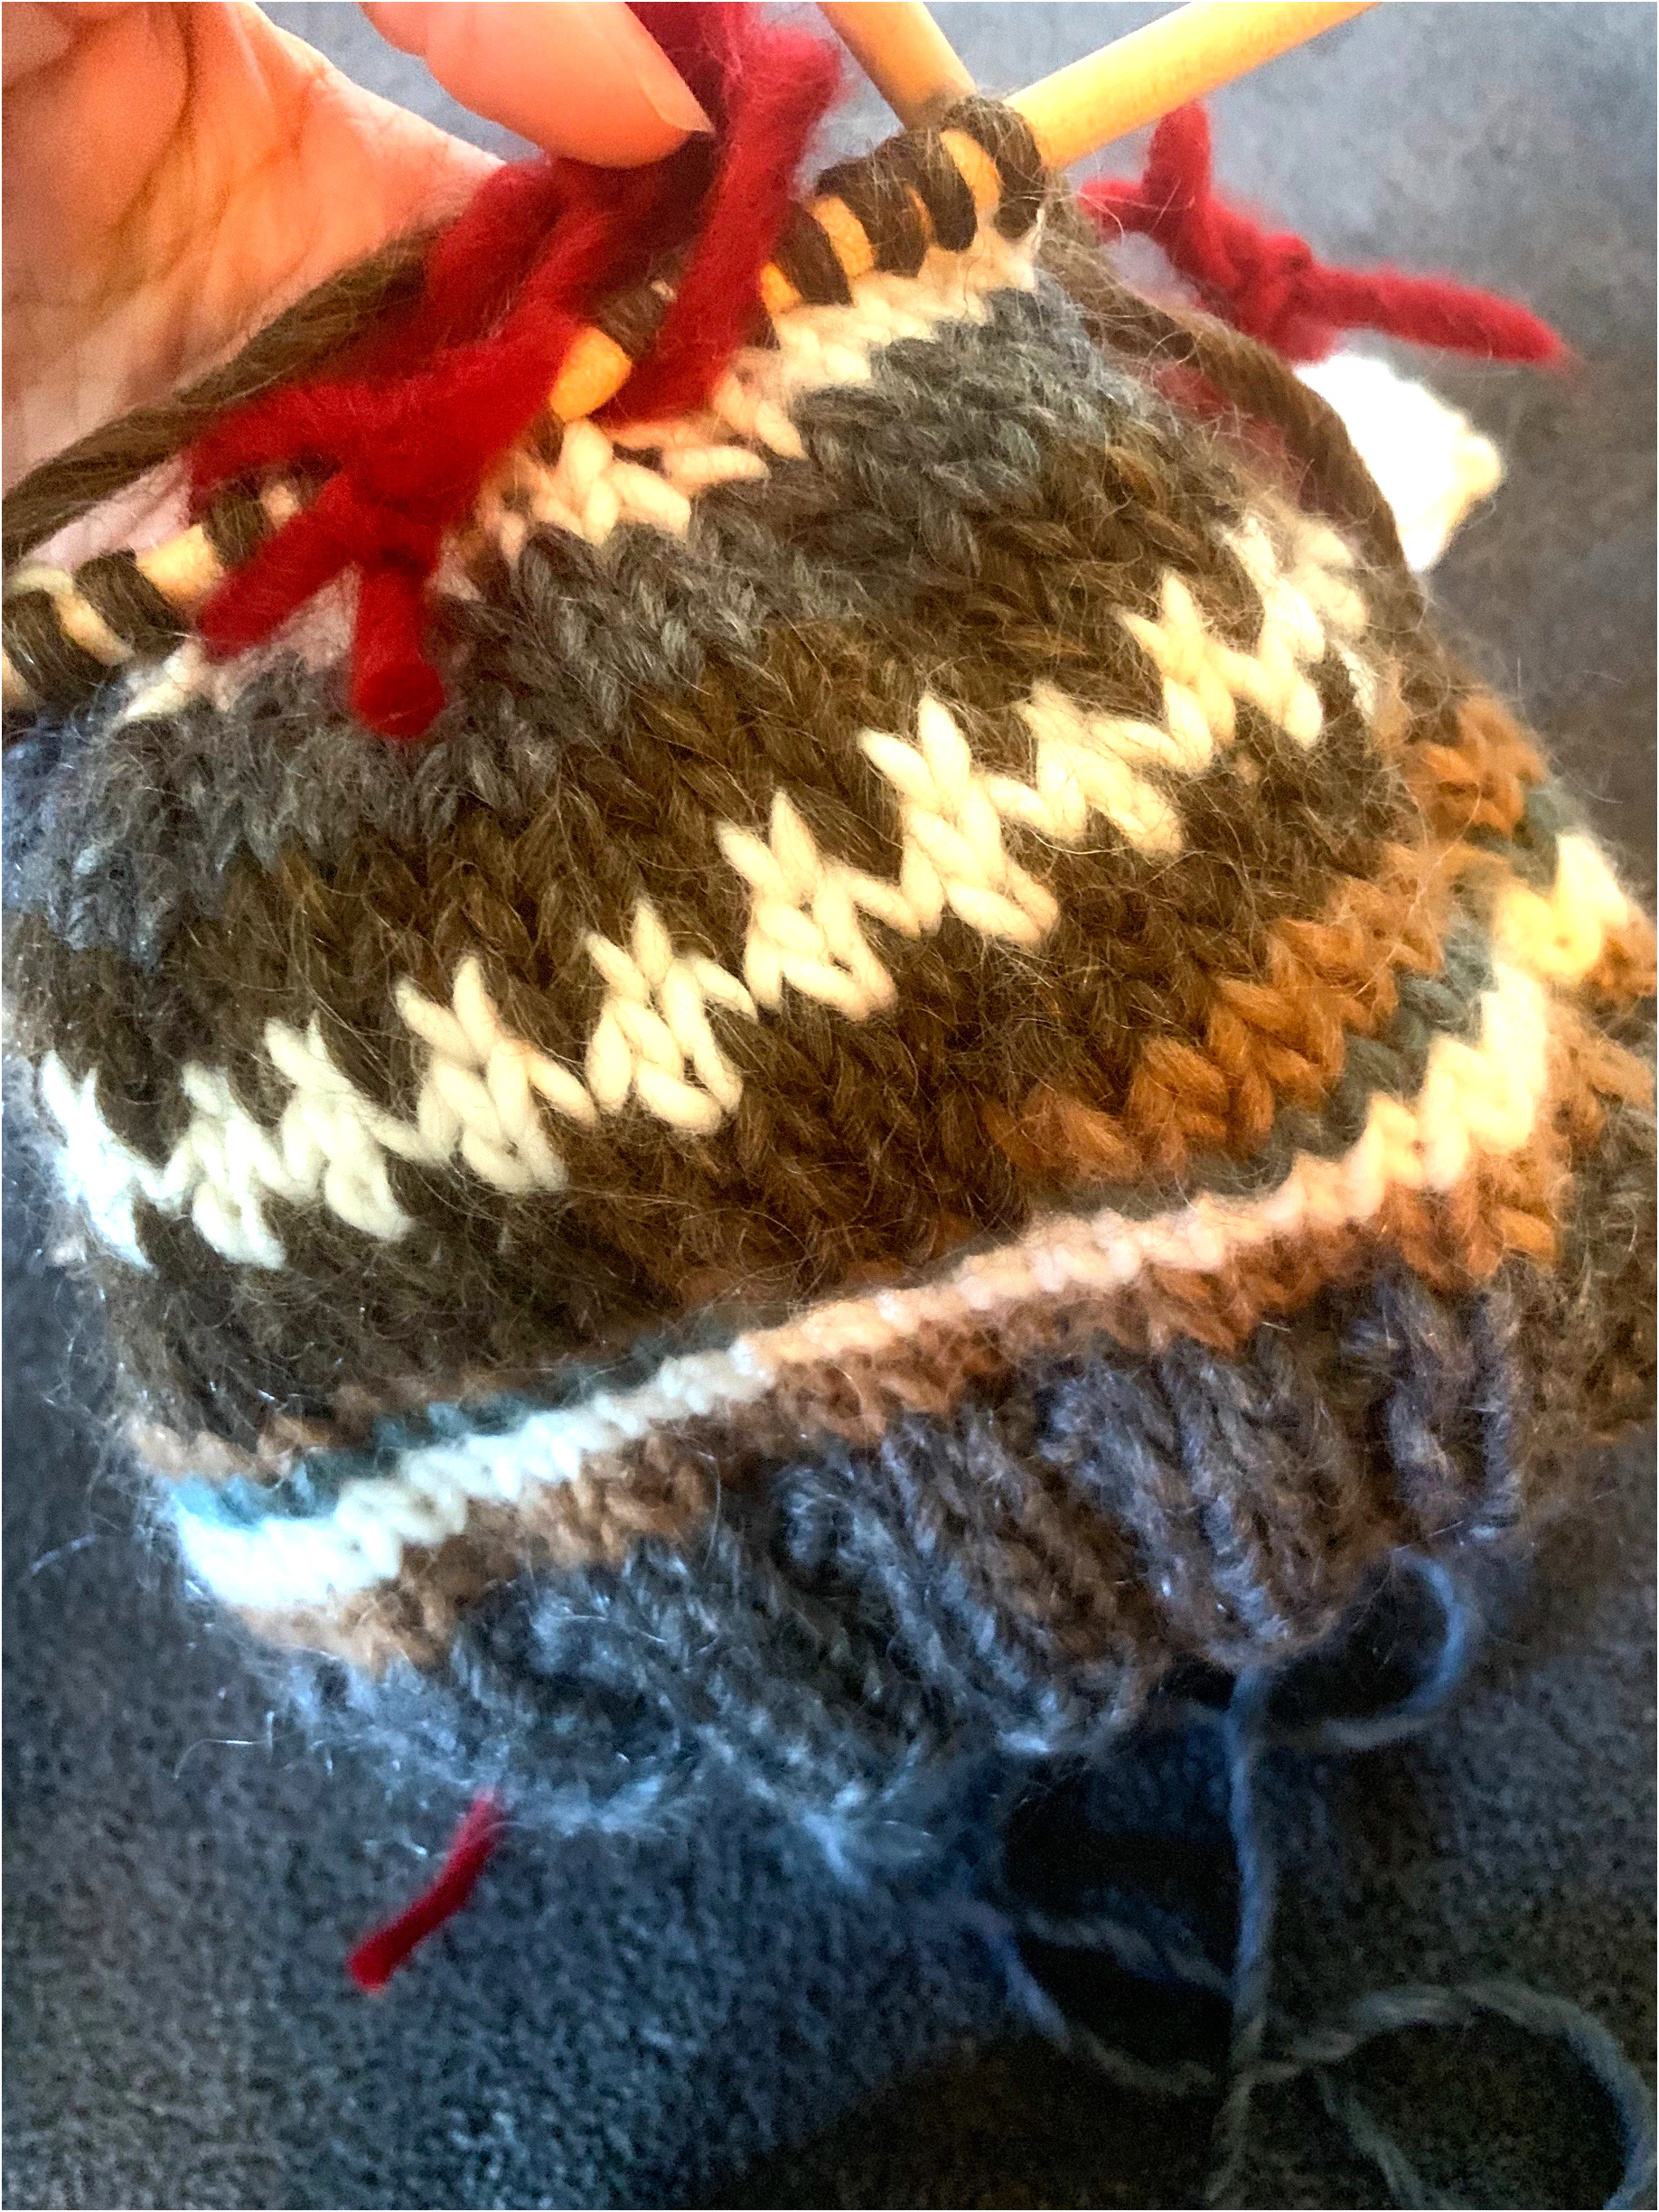
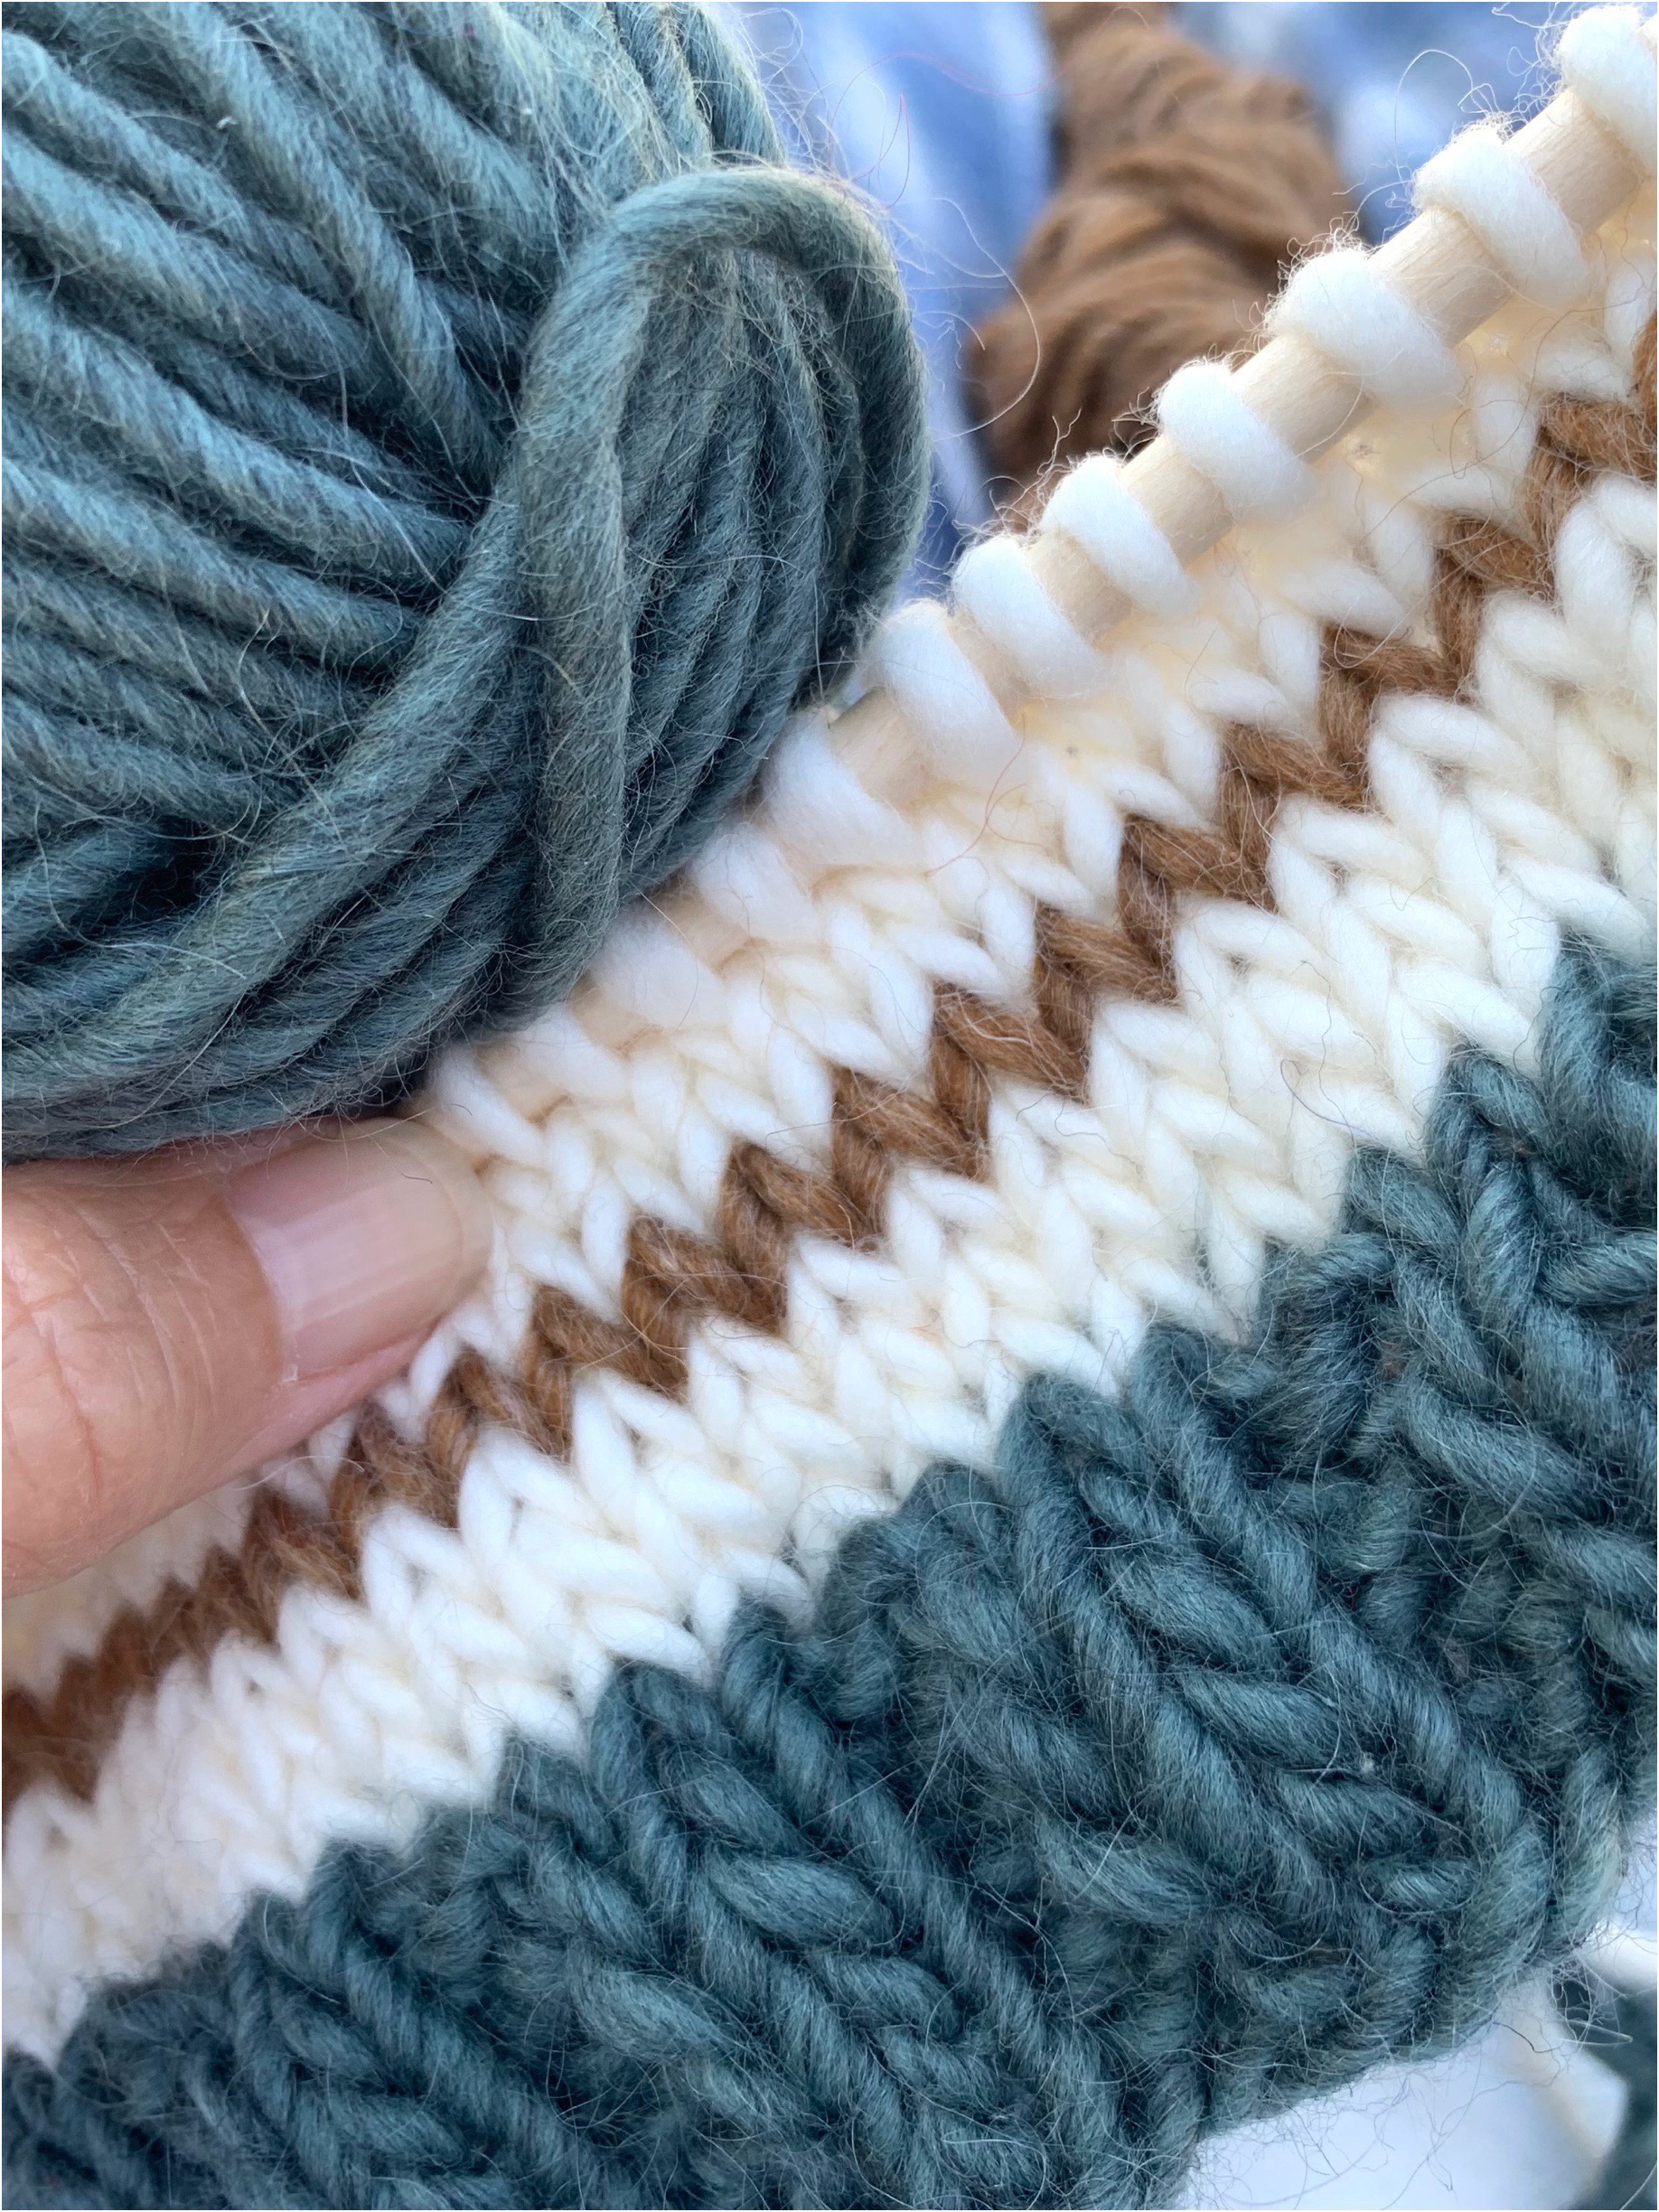
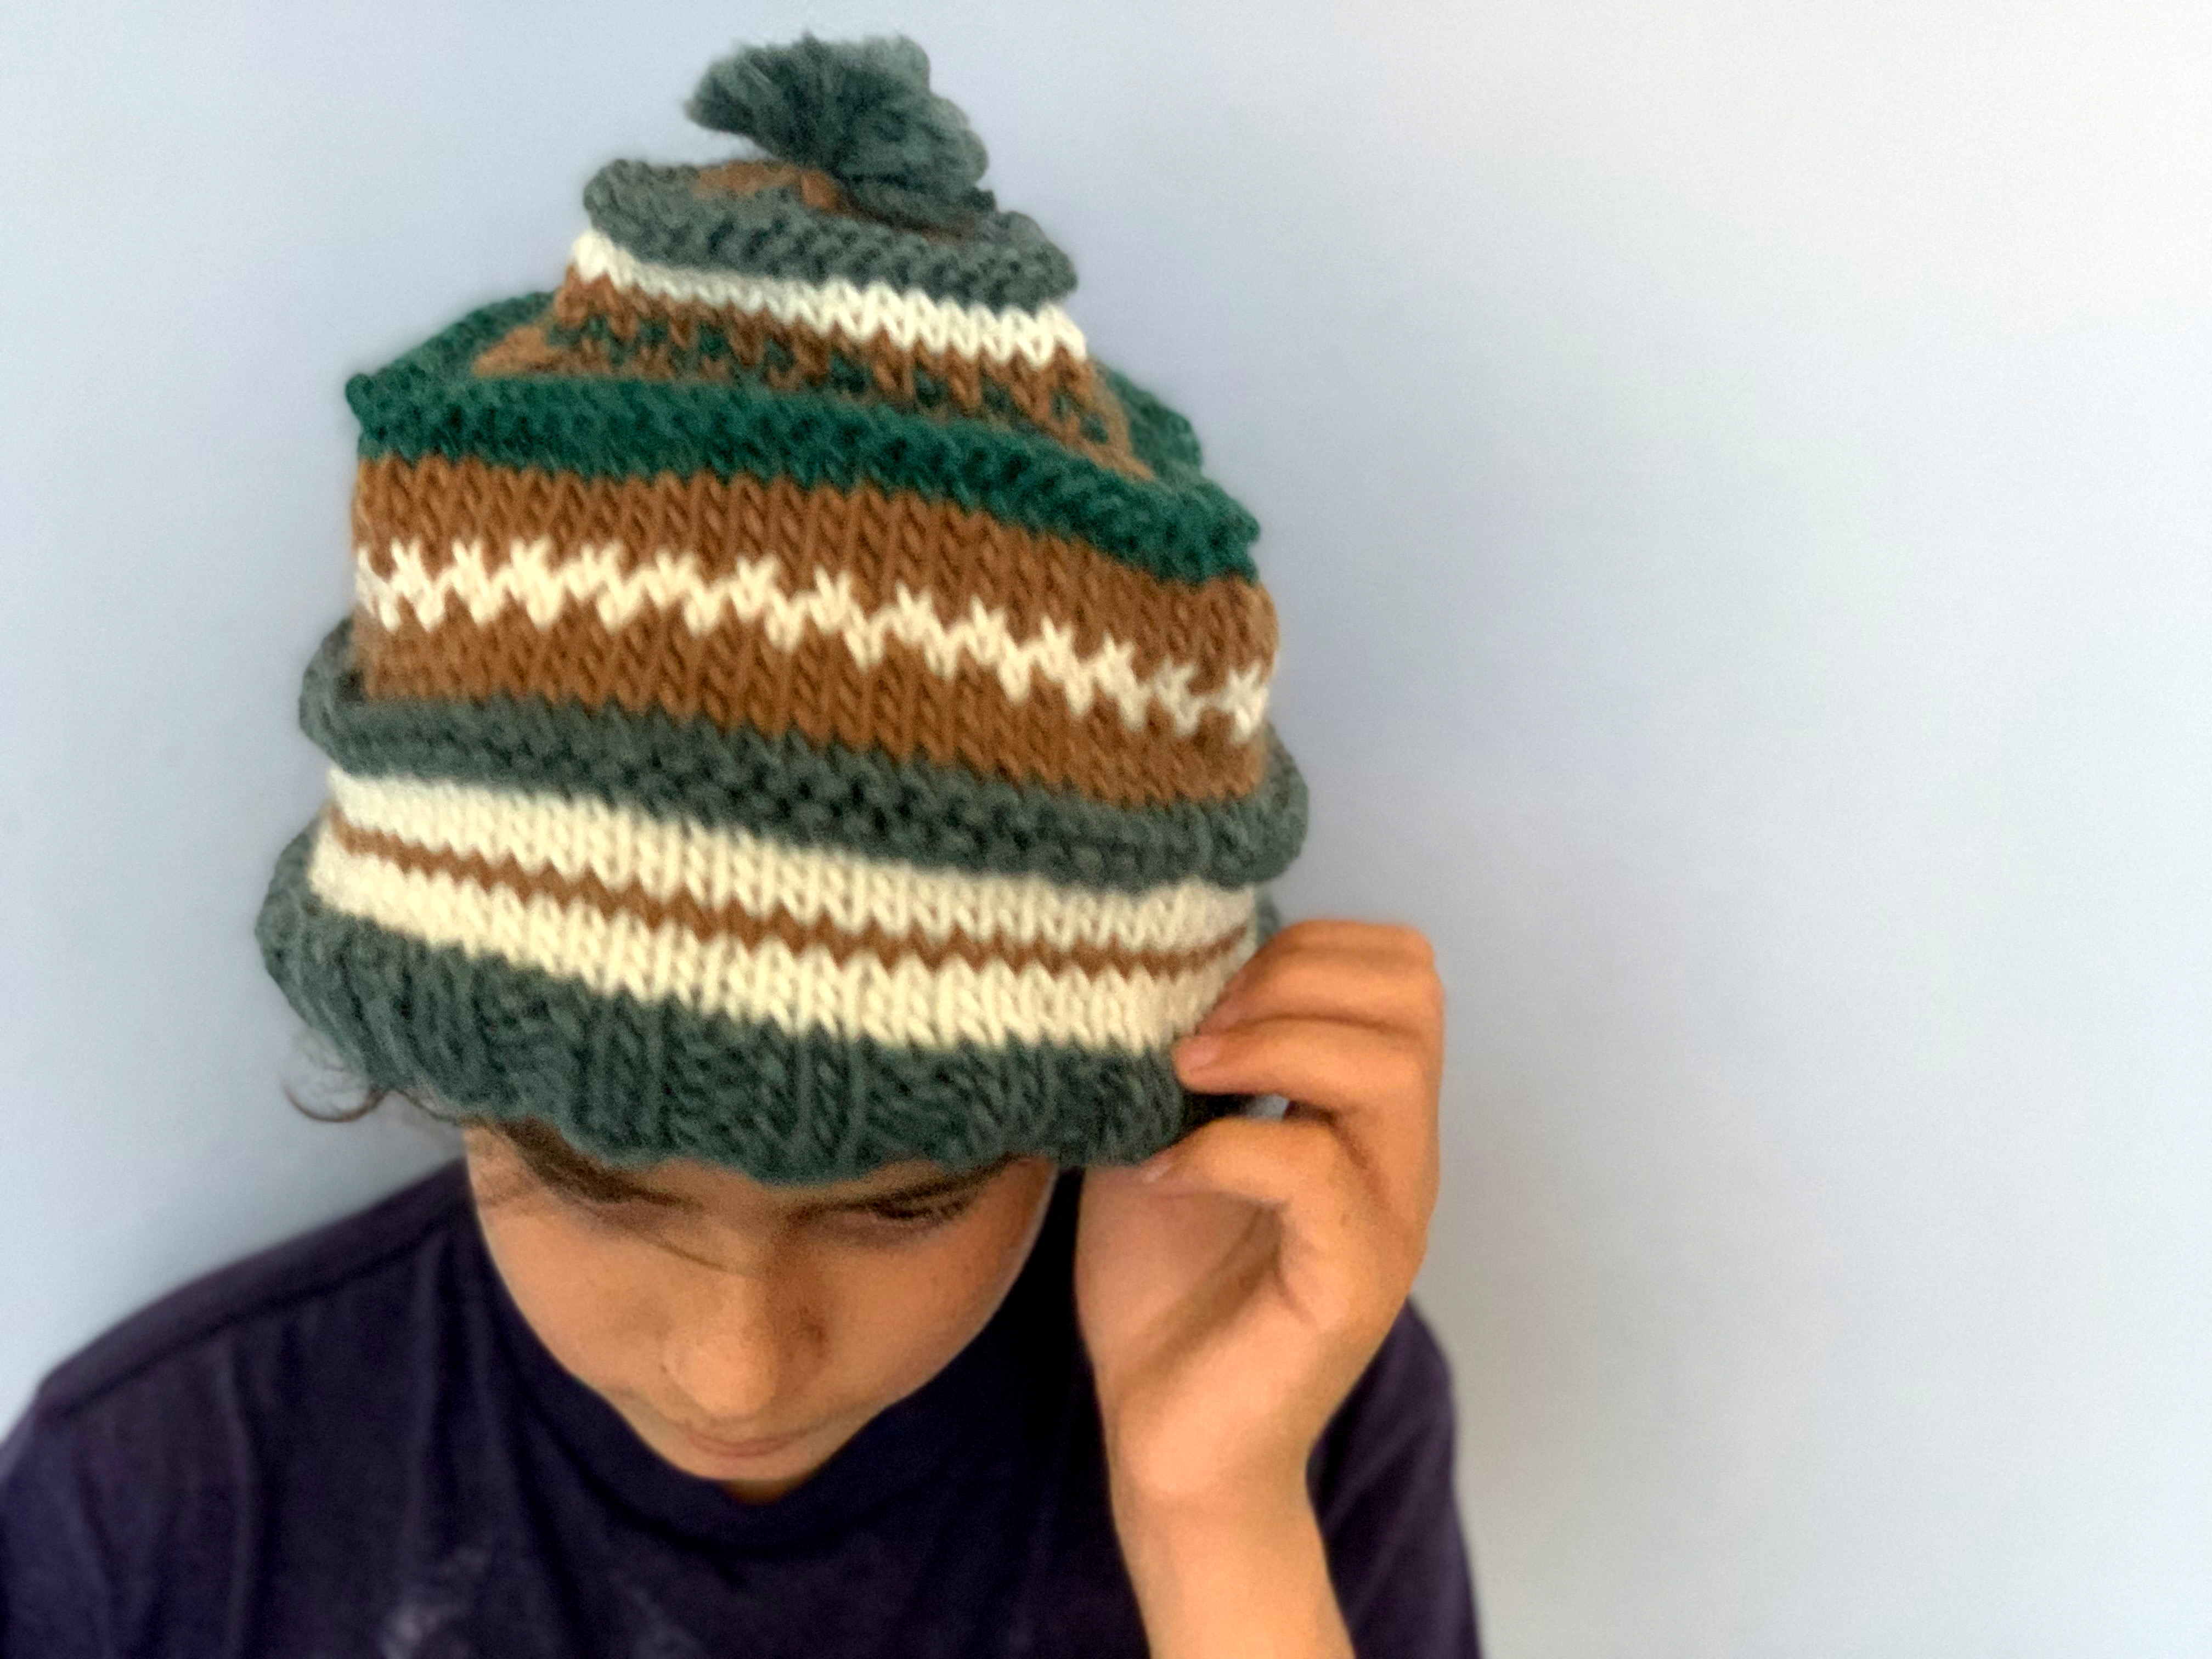
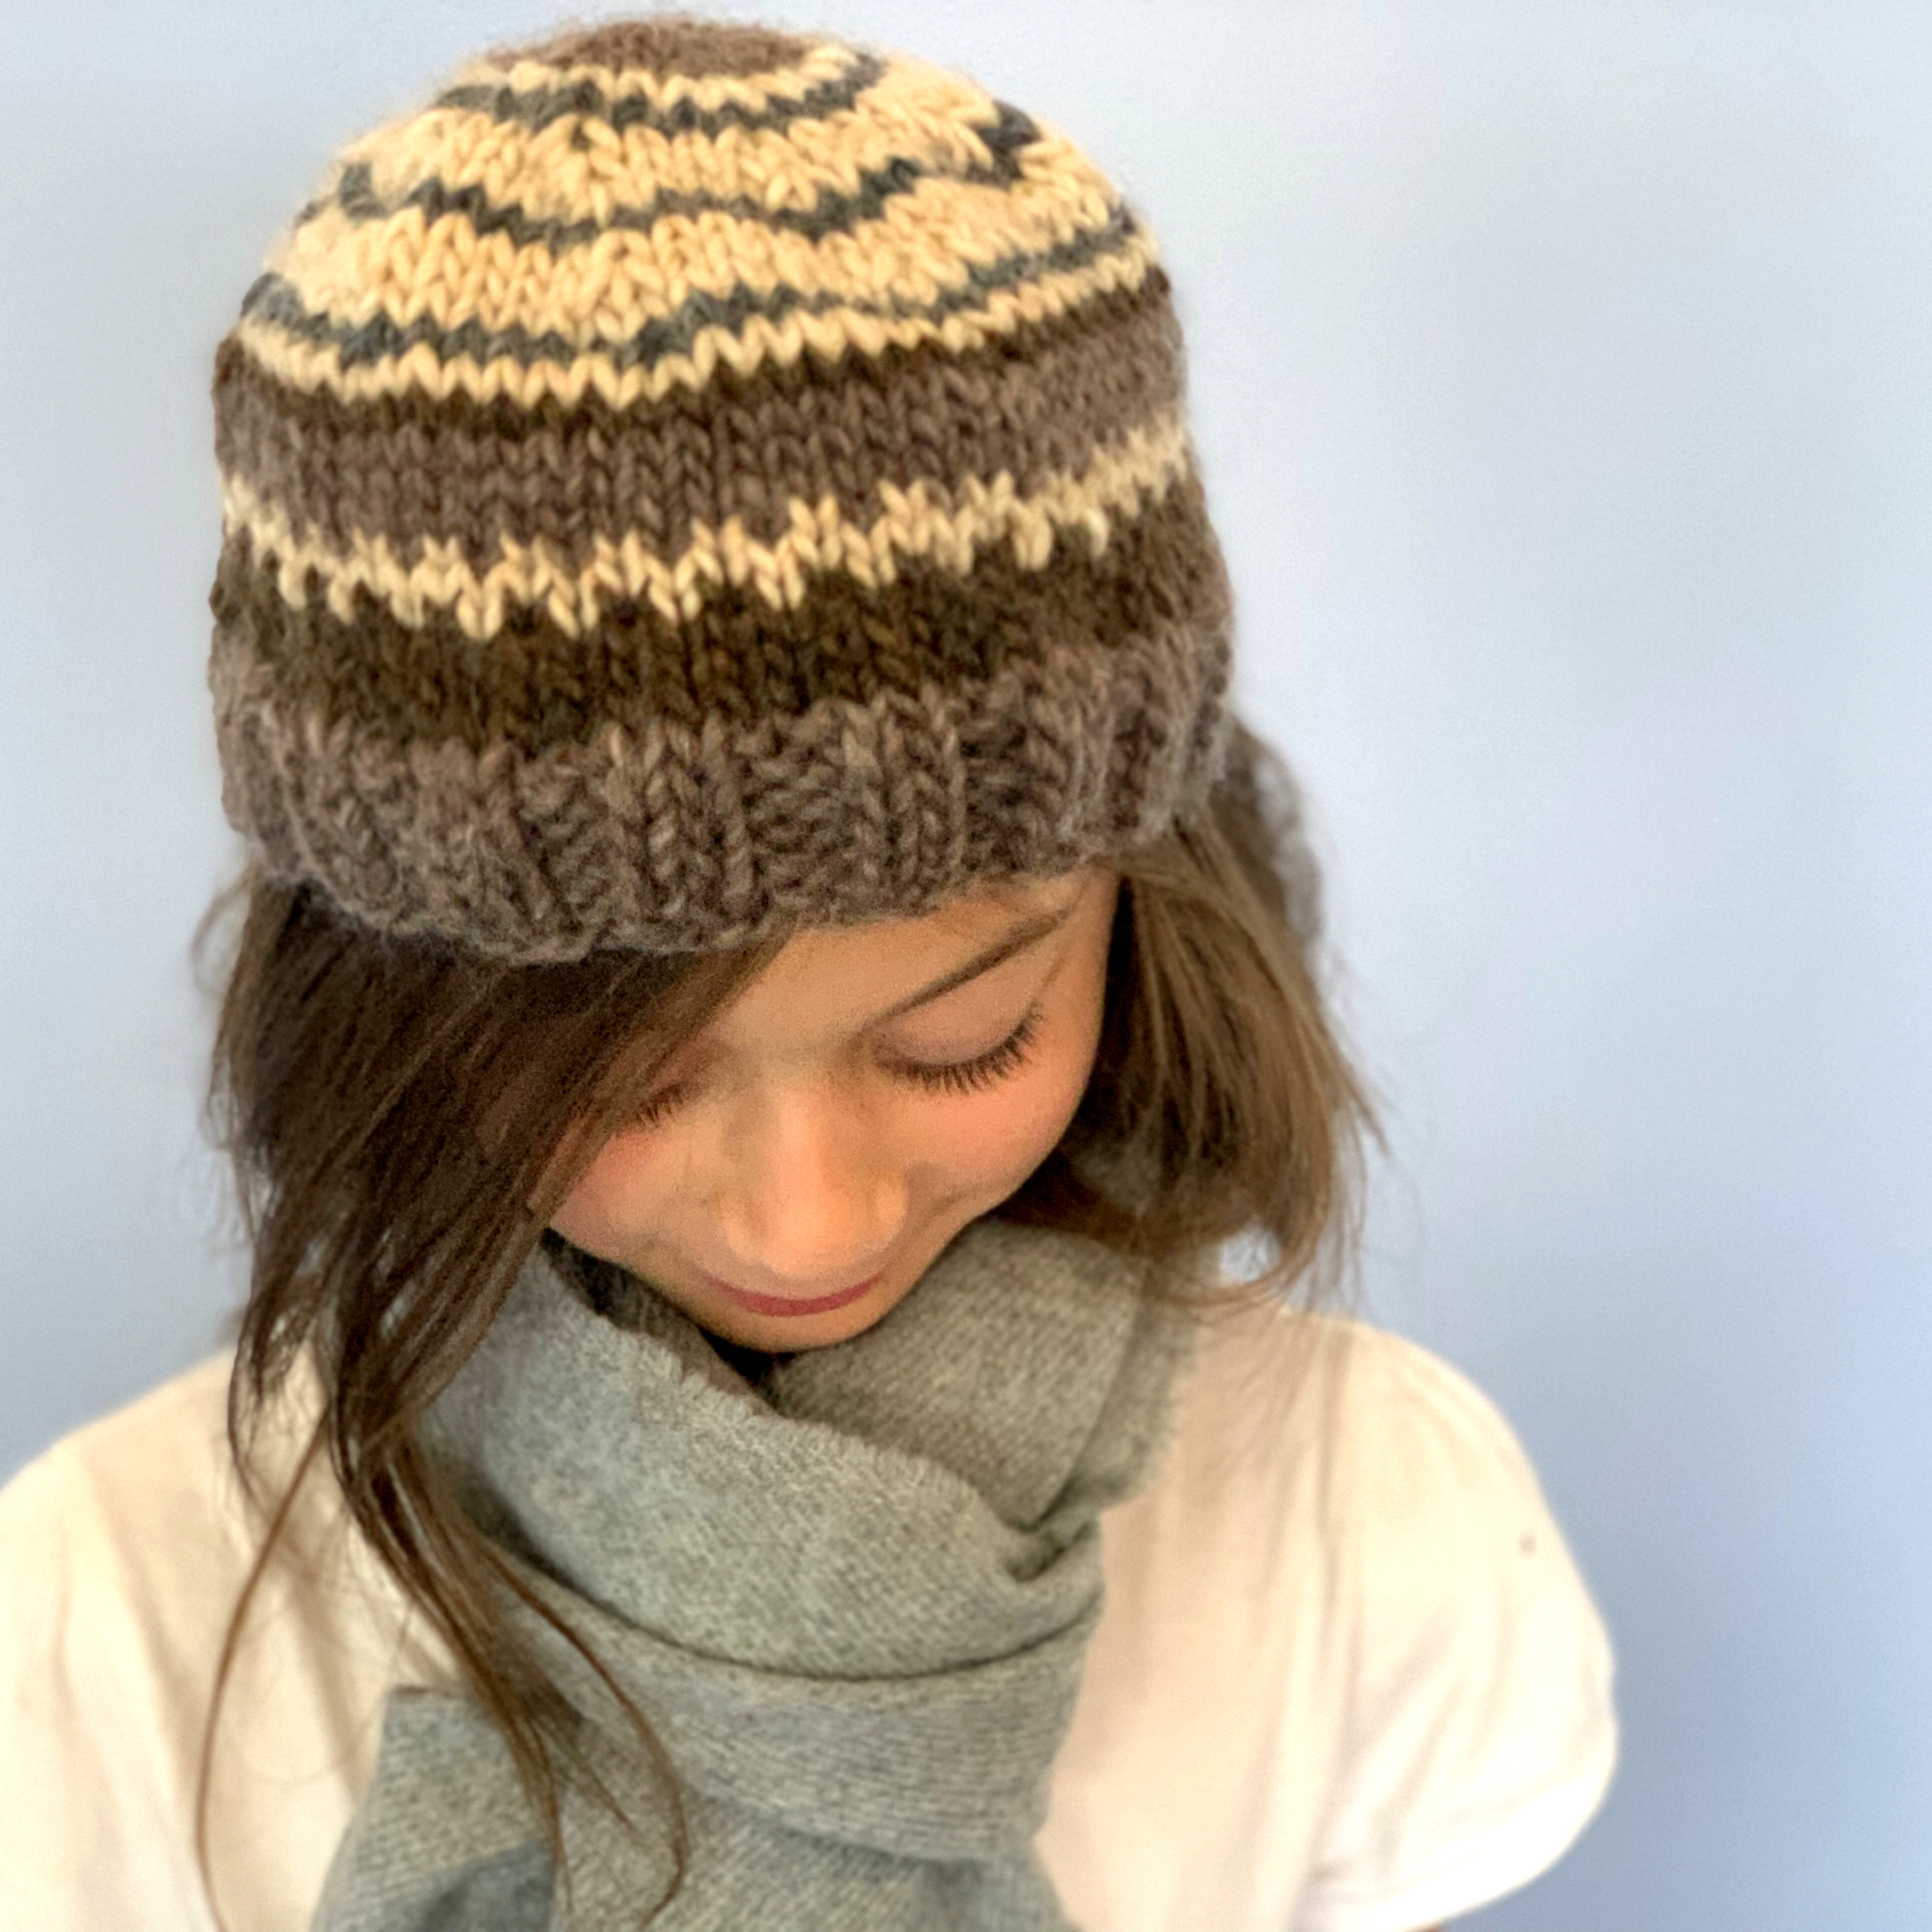
Handwork in Waldorf schools supports the development of the child and complements the curriculum. In grade 5, students begin working with 5 knitting needles to knit in the round. They work on hats and socks and may even complete the set with gloves and a scarf. To begin the year, students are likely to make their own knitting needles using hardwood dowels as they did in grade 1. This time around, they make the needles double pointed. They sand them down using progressively finer sandpaper. For this project, I used handmade knitting needles I made during the Handwork Conference. You can find more information about the conference by visiting Waldorf Handwork.
We used bulky weight yarn by Lamb’s Pride in various neutrals. You can find Lamb’s Pride at many online vendors, but I frequent A Child’s Dream for most of our Waldorf needs. The following pattern is for a child’s sized hat, but you can cast on the same number of stitches for a teen or adult sized hat as well, but you’ll need to knit a couple more inches before decreasing. Cast on 24 stitches onto three needles. Knit 2 purl 2 for several rounds until you have about an inch of ribbing. Knit a total of about 4-5 inches before decreasing your stitches. You can choose any color and any design. Our design was based on the yarns we had, I alternated colors and when I ran low on them, I only knit a couple rows of them. The only other pattern I used for this hat was to alternate colors for one row, then knit a solid color (one of the alternating colors), then knit the third row with alternating colors again. When you are ready to decrease your stitches, add three markers (tie a contrasting piece of yarn to the needle) to each needle, one after every 8 stitches. Then knit two together after each marker, and then continue knitting normally until you get to the next marker. Slip the marker onto the needle and then knit two together. Once you’ve completed that round, knit two rows normally. Continue to knit this way until you have 6 stitches left on each needle. Then bind off and sew the top together with yarn. For this project, I learned three new skills: purling, knitting in the round (with 4 needles), and making a design with the yarn by strategically alternating colors.
How to Knit a Scarf
This was one easy but lengthy project! It did get a bit tedious, but it worked well with all the reading we did with our Alaska and Arctic unit. While I read, my 14-year-old son knit and sometimes, we would switch. I did cast on and bind off for him, though he is capable of doing that one his own and actually retaught his older 22-year-old brother when he made a scarf recently. I also added fringe to the end.
We used Lamb’s Pride Bulky Yarn. I cast on 15 stitches but I think 12 would have been better. I used the whole skein and that made about 45 inches. I would have preferred 60 inches. I added a 5″ fringe on each end which I think looks very nice and helps make the scarf longer.
The scarf took about 8 hours to complete and it was a group project between my son and myself. I used Blue Willow for the scarf and Smokey Sage for the fringe. I used size 10 knitting needles from A Child’s Dream and purchased the yarn by Webs Yarn.


Knitted Beanie Hats for Peg Dolls and Finger Puppets
In this slow tutorial, I walk you through the basics of knitting so you can knit a hat or beanie for a peg doll. I have three patterns to share with you inspired by the pattern in the book Making Peg Dolls by Margaret Bloom on the Martinmas peg doll tutorial. We have gotten so much inspiration from this book. It’s beautifully laid out with step by step instructions and simple patterns. Even if you are just getting into peg dolls and knitting, you’ll find this hat tutorial is easy enough for new knitters and it’s so satisfying to complete. I usually use hot glue to adhere the hat to our peg dolls, but you can keep them loose as well. For this tutorial I used my size 7 needles with highland sport weight yarn using one of the three patterns. When knitting with sports weight, the suggested needle size is 5. For worsted weight, you can use a size 7 needle. There is some flexibility as to the size needle you use for the weight of yarn. The way you knit will also affect the finished project. If you are a tight knitter, the hats will be smaller. If you are a loose knitter the hats will be bigger. If you use a worsted weight over a sports or sock weight, your hat will be bigger. If you use the larger of the three patterns (17 stitch cast on), your hat will be bigger. There are also several sizes of peg dolls and finger puppets. The mama/female peg doll has a small head, so use the smaller of the patterns with sock weight yarn to make a hat that will fit. If you are making hats for the finger puppet, use the larger pattern and a worsted weight yarn. The male/unisex peg doll is in the middle. Use a small pattern for a beanie, or the large pattern and worsted weight yarn for a hat that covers more of the head. I encourage you to make a few as the type of yarn, needle size, pattern and way you knit will all affect the final size of the hat.
Small pattern suitable for all yarns. This will make a small hat with sock/highland sport weight yarn and slightly larger hat when using worsted weight yarn:
- Cast on 15 stitches
- Knit 2 rows
- Knit 2 together, knit 1 for whole row
- Knit a row (you should be down to 10 stitches)
- Knit 1, knit 2 together
- Knit a row (you should be down to 7 stitches)
- Knit 1, knit 2 together
- Knit a row (you should be down to 5 stitches)
- Kit 2 together, knit 1, knit 2 together
- Now you should be down to 3 stitches
- Bind off fold triangle and sew it together with a sewing knitting needle.
Medium pattern (slightly larger than the smaller pattern)
- Cast on 17 stitches
- Knit two rows
- Knit 2 together, knit 1
- Knit 1 row
- [Repeat: knit 2 together, knit 1 knit 1 row] Until you have 3 stitches left
- Bind off and sew hat together
Large pattern Same as medium or small, but add 1 additional knit row between each decreasing row.
If using sock weight, double all knit rows (so that’s 4 rows in the beginning and 2 rows between each decreasing row) For pointier hat: Follow small pattern, but when you get to 7 stitches add knit rows between each decreasing row.


Grade 6
Making Hand-Stitched Animals
In grade 6 Waldorf schools, students often make hand-stitched animals. They design their own patterns, turn the fabric inside out and stuff them. There are very intentional pentagonal reasons behind this.
In the Waldorf pedagogy, at around the age of 11 to 13 years, children are undergoing a major developmental shift. They are moving from the dreaming and massive consciousness of early childhood towards the more grounded reality based thinking. They are beginning to develop critical thinking, independent judgment, and self-awareness. At around the age of puberty shift becomes apparent. Leading up to puberty, children began to experience this change in their thinking, and in their self awareness.
Starting at around grade 6, the development of the will and inner strength can be experienced through handwork by sewing a hand-stitched animal, especially in making the pattern themselves. This demands careful planning, precision, patience and follow through. All these qualities work on the “will” forces or the capacity to take an idea and steadily carry it through to completion. Sewing helps bridge the thinking and doing which is an important integration at this stage of development.
Hand-stitching helps strengthen fine motor skills and dexterity. While children, starting in grade one will have been honing their skills in handwork and increasing their fine motor skills and dexterity, hand stitching involves more precision than students have previously needed when doing handwork. In the younger years, children have focused on gross motor skills through their play, gradually increasing their fine motor skills through handwork and handwriting. Now the middle school student will be fine tuning fine motor skills through hand-stitching their own animal from their own pattern. They are designing, turning the fabric (which can be tricky), and neatly stuffing the form. This all exercises delicate controlled hand movements, which are neurologically connected to cognitive development, especially skills like organization, spatial reasoning, and logical sequencing.
By grade 6, students are capable of greater artistic individuality, they’re able to express their artistic choices through color and design, thereby awakening an aesthetic sensibility that has been developed to creative endeavors as far. Design their own animal pattern encourages creativity, but within the real world constraints of foreign proportion and function. Prior to this, creativity, may have been limited to color and design. In creating a pattern based on the form of an animal, students in grade 6 it’s considered not only how it will look, but how it will be constructed. This exercise is not just artistic thinking, but also practical problems solving skills.
Turning stitched fabric inside out is a symbolic moment as well. It represents transformation. This is an important theme for the 12-year-olds who are beginning their own transformation from childhood to adolescence.
Though students up to this age have worked diligently on their handwork projects, which has cultivated a sense of responsibility, perseverance, and follow through, the handwork projects, and practical art projects that begin in middle school call upon the students will force in a new way the expose the capacity of a student to not only learn a new skill, but develop a practice of problem-solving that will carry them through the next phase of their learning.
Stitching for Beginners | Sea Star Pattern
This is a very easy beginner’s stitching project. You can free hand a sea star or download a pattern for this project. I used Holland felt in 100% wool in the color Tea Rose. Cut two sea star shapes. Line them up so they are the same. Use embroidery thread in a the color of your choice to stitch the edges using a blanket stitch. You can separate the embroidery thread for it to be thinner. After stitching one arm you can beginning filling it with filler. I used wool, but you could use anything from fill from an old pillow to cotton balls. Alternatively, you could add some details to one side of the sea star before stitching it together. I found this to be quite time consuming and had my kids skip this step. My 11-year-old son opted to do it anyway, but only did some bumpy stitching around the center.
How to Make a Stitched Seahorse | How to Make Your Own Pattern
Try your hand at pattern making! For simple silhouettes, this project is great for beginners and as an intro to making your own projects. Watch as I work my way through this project while giving you tips. See how I fix little mistakes and make alterations on the spot. The results are darling in the end, so I know you can achieve success, too!
For this project, I hand sketched a silhouette of a seahorse. I referred to images online for help and made some changes to make it easier. I gave my pattern a rough cut and then pinned it to my felt and cut both pieces of felt and the pattern at the same time. It actually worked really well! And it ensured that the patterns were exactly the same. Next, I stitched using embroidery floss (I separated three of the six strands out) all around the perimeter using a loop stitch. I filled with wool batt as I stitched. I finished off with two black eyes and the project was complete!
Check out how I store my floss for ideas on how you can store your fibers. The materials I used for this project are the following: Embroidery needle, Embroidery floss in color 352, Holland wool felt in Salmon, and Wool batt stuffing. Wool/rayon felt blend vendors: Over The River Felt and ThreadFollower for felt and intermediate kits.
Hand-Stitched Dinosaur
The second I saw this kit by ThreadFollower at A Child’s Dream, I knew my kids would love it. I purchased the Brontosaurus Kit (featured here today) and the Bunny Kit (featured on A Child’s Dream channel). The kit is fantastic! It comes with everything you need to make a super adorable stuffed animal. You can squeeze two projects out of the kit with just one spare piece of green felt which I had on hand.
I made one dinosaur for my daughter and as a sample for my 10-year-old son. I also made a lot of mistakes! But now I know, and hopefully this video tutorial will help you avoid the mistakes I made.
The kit comes with a pattern you cut out, high quality embroidery thread, a needle, three pieces of wool felt and wool batting. It’s all packaged in a beautiful box with color print of final project as well as detailed directions.
The brontosaurus kit is a Level 2 kit intended for ages 10 and up and up and up 😉
This project took me almost 2 hours whereas my son’s took about an hour. Though his is less precise, it turned out just as nice and most importantly, he loves it! As I write this, my 6-year-old daughter and 10-year-old son are playing with their stuffed dinosaurs.
I made a number of mistakes with this projects, and some of them I caught in time to explain what to do in the video and others I didn’t! For instance, when sewing the legs together, knot the thread on the outside of the felt, not the inside as I showed in the video because you will be turning that piece out and the knot will end up showing on the outside.
How to Hand Stitch a Rabbit
These adorable kits by ThreadFollower can be found at A Child’s Dream. They come complete with everything you need to sew a charming little rabbit. Materials are high quality and plentiful and the directions are easy to follow. These kits are perfect for beginners and advanced sewers alike.
How to Make a Mouse
Did you know that you can draw and animal, make a pattern, cut your fabric and stitch your animal in less than 2 hours?!
Stitching animals based on patterns the students make on their own is a grade 6 handwork project you’ll find in many Waldorf schools. While you can teach the student to make their own patterns, I have also done the same work with a kit that comes with all the materials and pattern to make a small animal.
In the past we’ve made a bunny and a dinosaur. And while those projects were great for my child, working through the pattern making process was amazing! While the pattern for a mouse is simple, the pattern we later made for a dolphin and camel had its challenges.
When making an animal, there are three main steps: draw your animal, draw a silhouette of your animal, draw your pattern. Once you get that far, the rest is hard work and time consuming, but the main parts are complete and once you have your pattern, you can use it over and over again.
When drawing the silhouette of your animal, you want to draw it without any details, or if you do have details, you want those drawn separately and sewn onto your animal. For instance, if you want to make a fox with a big bushy tail, you’ll want to make a separate pattern for the tail. You will remove ears and even paws if the animal is small like a rodent. Once you have your silhouette, you’ll want to make it big enough so that you still retain the over shape of the animal even as you lose width to sewing.
Once the silhouette looks good, you’ll want to add a dashed or dotted line 1/4 inch around your pattern. This is where you will cut your pattern. I recommend you label your pattern with the animal it’s for and any additional info. When I was sharing my camel pattern with classmates, I added my name and date as well.
Now, you have to work on the gusset. The gusset is what makes your animal three dimensional. In some cases you may use the animal pattern to fashion the gusset out of it. In the case of the mouse, we want our gusset to be as long as the pattern, but how wide it is will depend on how big we want our final result to be.
Once your pattern is complete, it’s time to cut it out and pin it to your fabric to cut out. I’ve been using wool felt for many years for this kind of project and for other handwork projects, but recently I was exposed to boiled wool during a Waldorf practical arts training. In the training, Mona Lewis, author of Nature’s Paintbox, provided boiled wool for this project. She explained why it was a good fabric for making animals and while I wasn’t keen to use it at first, I absolutely love it now. Boiled wool is so easy to use, it’s forgiving, stretchy and durable. I wasn’t a fan of the texture, but actually I think it’s wonderful for stitched animals.
Grade 7
Materials for Waldorf Doll Making
Doll making is found in several grades in a Waldorf school. Starting in kindergarten, simple dolls will be played with and often even made by the teacher for the students. With a simple square cloth and a bit of wool and string, you can make a rudimentary doll by stuffing a bit of wool into the center of the cloth. Pinch it closed with some string and there you have a very simple doll. Add string to make arms and a body. Less is more when children are young so their imagination may be exercised. Faceless dolls are common through the younger years for then the expressions and emotions are brought to life by the child.
Storing Embroidery Thread
Nothing knots faster than embroidery thread, charger cables, and hair. And while I can’t help you with hair and charger cables, I think I found a great solution with embroidery thread. I learned this technique years ago at the Live-Education Waldorf homeschool conference when master handwork teacher, Melanie Hatch, pulled out the most beautiful assortment of embroidery thread on a dowel stand. For years I wanted to make my own but didn’t. Instead, I wove my embroidery floss onto a dowel and hung it in my school room. It worked well, but it was time for an update, both in storage and in type of floss, so after a recent A Child’s Dream homeschool haul which included embroidery floss, I decided to upgrade my storage.
I was at a Goodwill in Santa Cruz when I saw this plate display and thought it would be the perfect solution to my embroidery floss needs. Not only can I hang this on the wall, the wooden display holder stands upright on the table without tipping over making it easy for me to take the embroidery floss to wherever I am working on a project.
Yarn
New yarn means new projects, and before I got to filming this haul, we already got started on our new projects. We are busy knitting away during these cooler months with longer nights and cozy days. This yarn haul is two hauls in one. Everything in the circular basket was from a recent haul and everything in the square basket is from a haul several months ago. All of it is from Webs. Primarily, I’m replenishing our supply of Lamb’s Pride yarn in bulky and worsted weight, but I’m exploring new colors. I’m also trying out some new yarn from CloudBorn. I got CloudBorn Bulky, worsted and Highland Sport. I’m finding their yarn very soft, and I love the color range. I also love the Highland Sport because the lighter yarn is working well for our mini hats projects for our peg dolls and finger puppets. This yarn is plied and this is a departure from our unplied yarn that I’m used to. We’ve already gotten started on our projects, and I love the yarn!! All of it. It’s all so beautiful and easy to work with. Stay tuned for new handwork projects, but in the meantime, enjoy all the handwork project tutorials we’ve done over the years.


Thank you posting that. I always have a hard time finding out what would be the best handwork to do with my kids.. It is super helpful this post.
I was wondering if you have any plans to have some Fall Themed Activity, just like you did for Winter ( I am getting this one pretty soon). Thank you! You have no idea how much you help me. I am homeschooling because of you. Somehow you show that ” it can be done”.
Thank you for this article. I found this very helpful for me as I will handle handwork 1-10 for this school year. I want to seek help from you, if you have pattern for a knitted socks and/or beanie using 4 sticks. Hope you can help me. Thank you.
Thank you~ I have a tutorial on making a beanie, but I don’t have a pattern. Sorry!
Hello Clarissa, I hope your handwork has gone well and continues to improve. We have made a beanie and the pattern details are included in the video.
Hi Hana, thank you. Looking forward to see and watch the video. I am happy that I was able to properly teach the students how to make a beanie using 4 sticks knitting. It was difficult for others but a few were able to do it the right way.