Colonial America | Unit Study
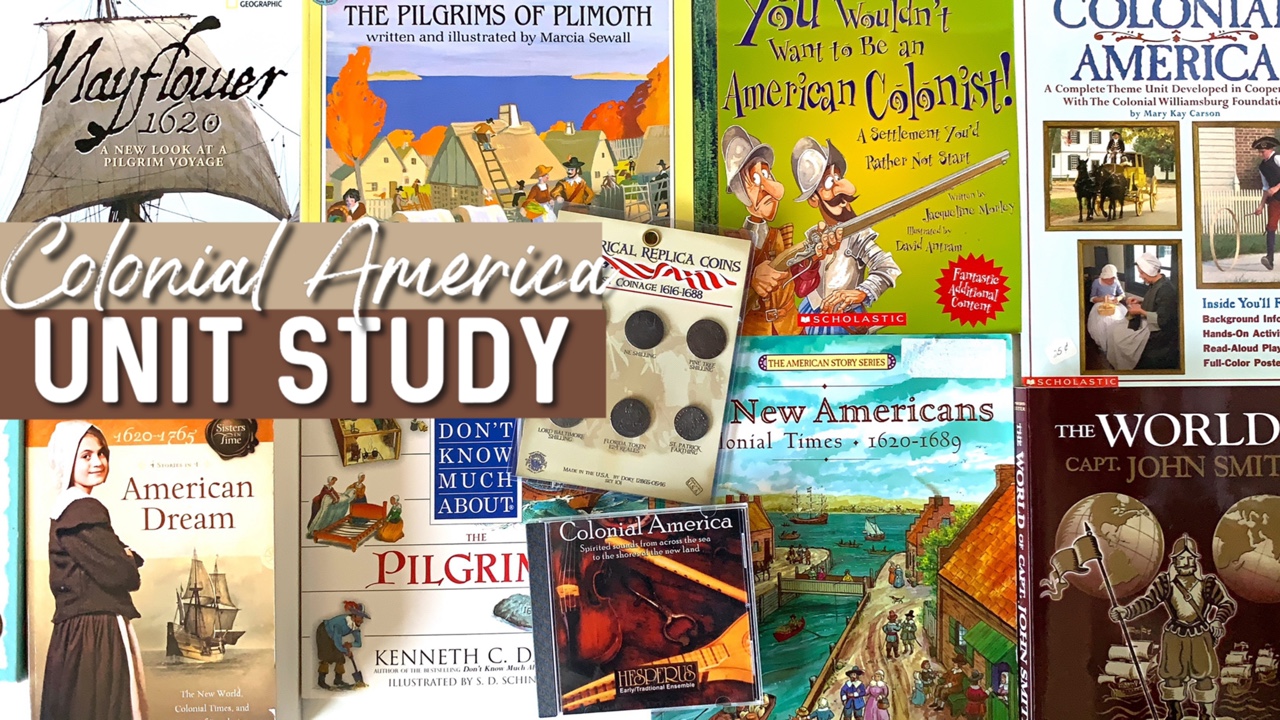
Unlike our typical history units, this Colonial America History Block was fairy short in comparison lasting 1-2 weeks. I gathered together resources we already had from the last time we did this unit a few years ago. We didn’t purchase any new material for this unit, but there ended up being a couple additions we didn’t have the first time. We also omitted a few resources for the sake of time, and even then, we didn’t get through everything we had.
One book we ended up not doing at all this time around was The World of Captain John Smith. I thought this would be the perfect book for my 13-year-old son as assigned reading as I liked it so much the first time around. But alas, he didn’t get into it as much as I hoped and instead he read the Life and Times of Myles Standish.
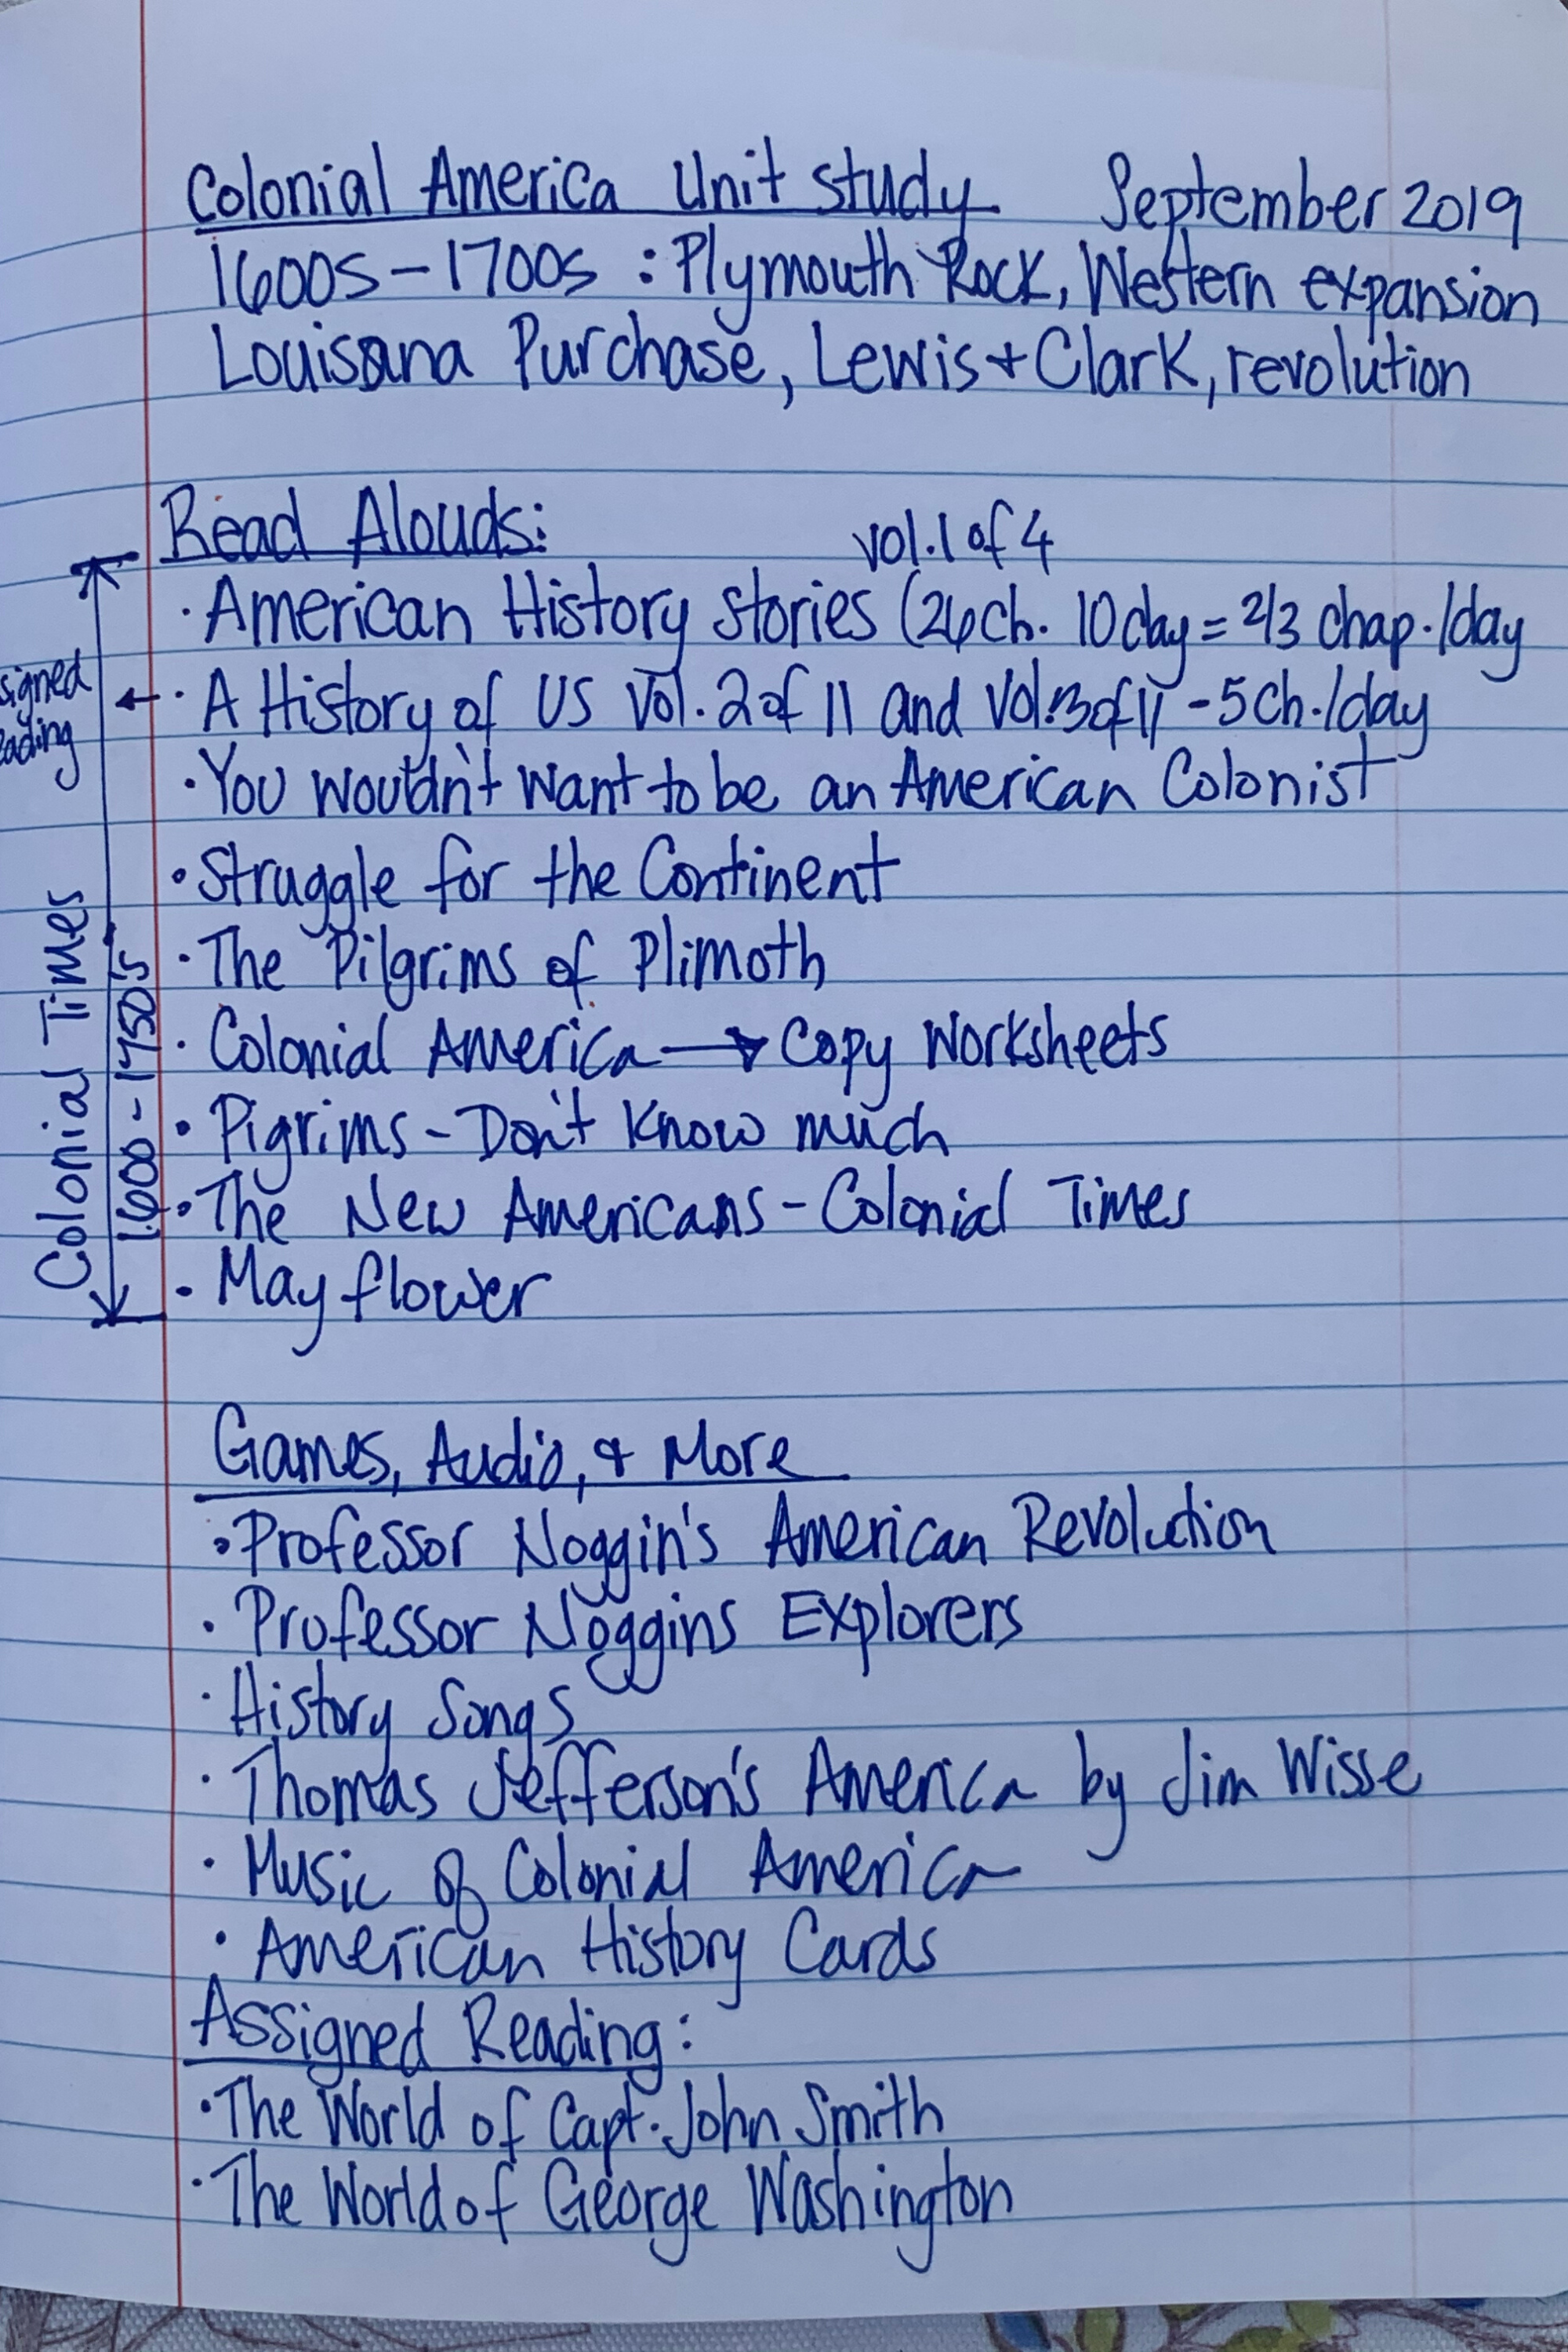
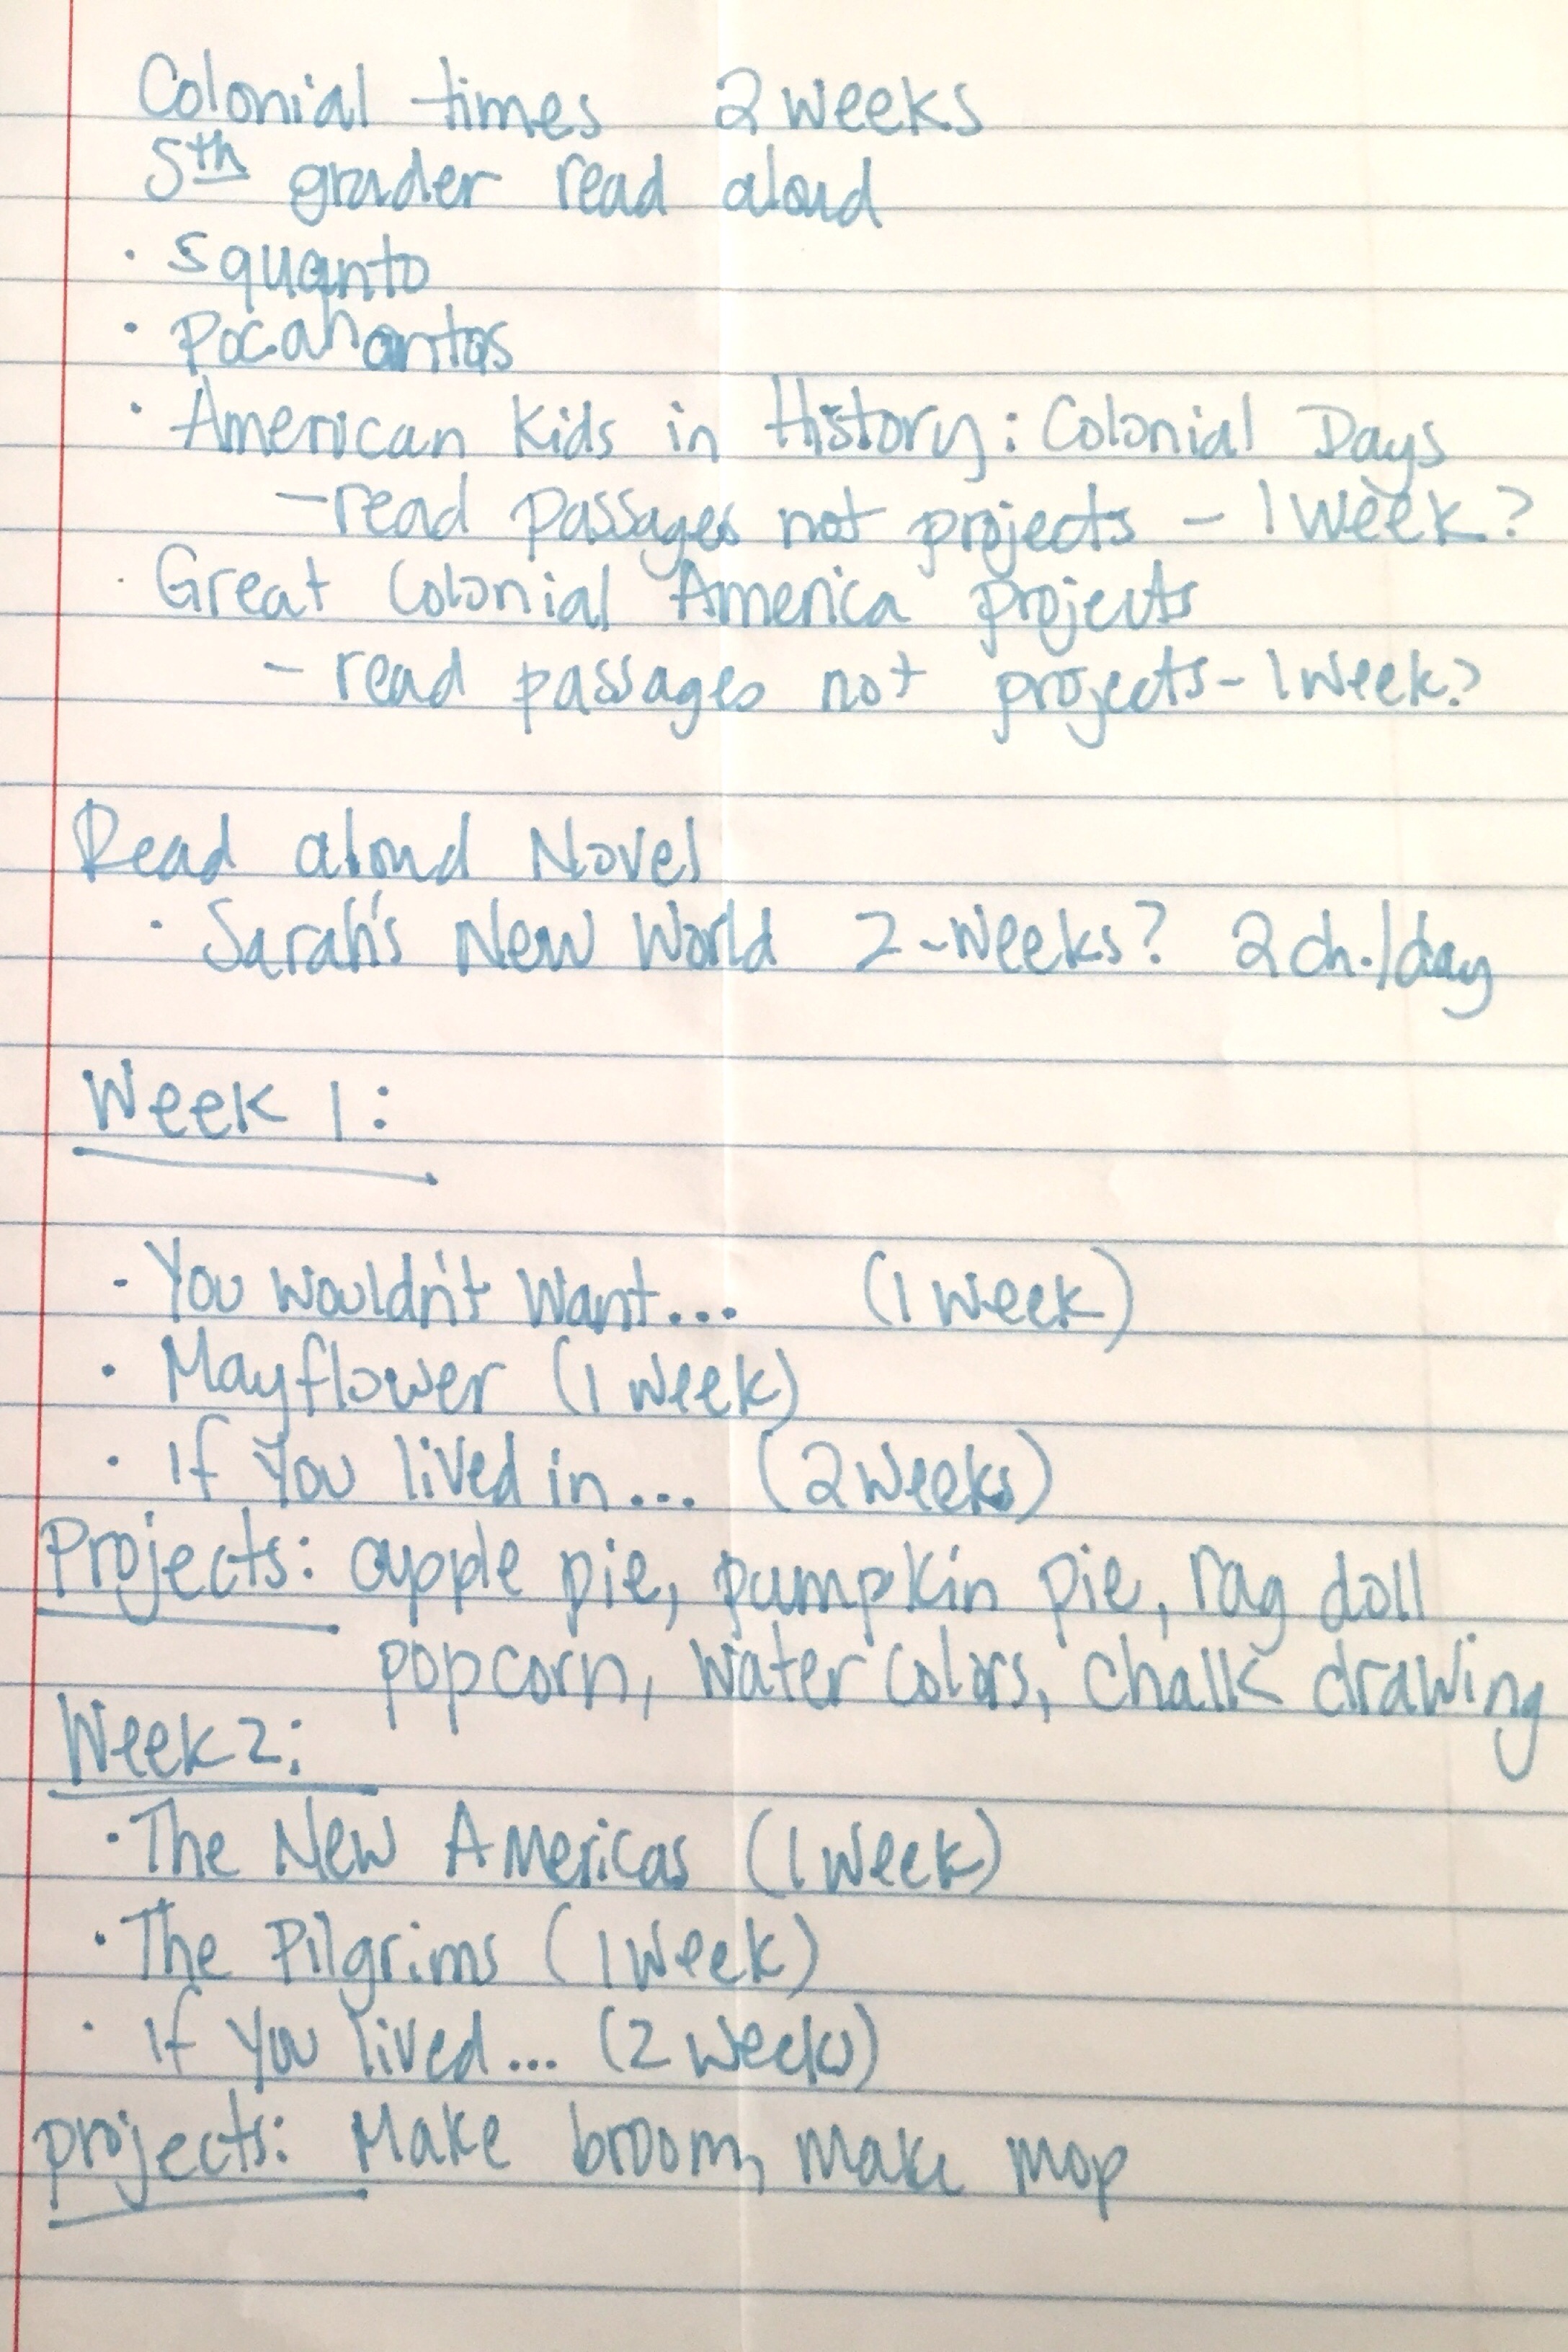
For our lesson plans, I basically wrote a list of the materials I hoped we’d get through. I didn’t schedule time or days for this, but did restrict the length of the unit to just one week and in reality it took almost two weeks. We worked daily on the our main lesson block reading and doing projects for about 2 hours each day on average.
Our main project for this unit was the weaving project that both my 8-year-old daughter and 13-year-old completed, though it took them until the end of all the history units to finish it. Following this unit, we did a unit on the Lewis and Clark Expedition and the American Revolutionary War. Fall 2019
Amazon affiliate links used on this page.
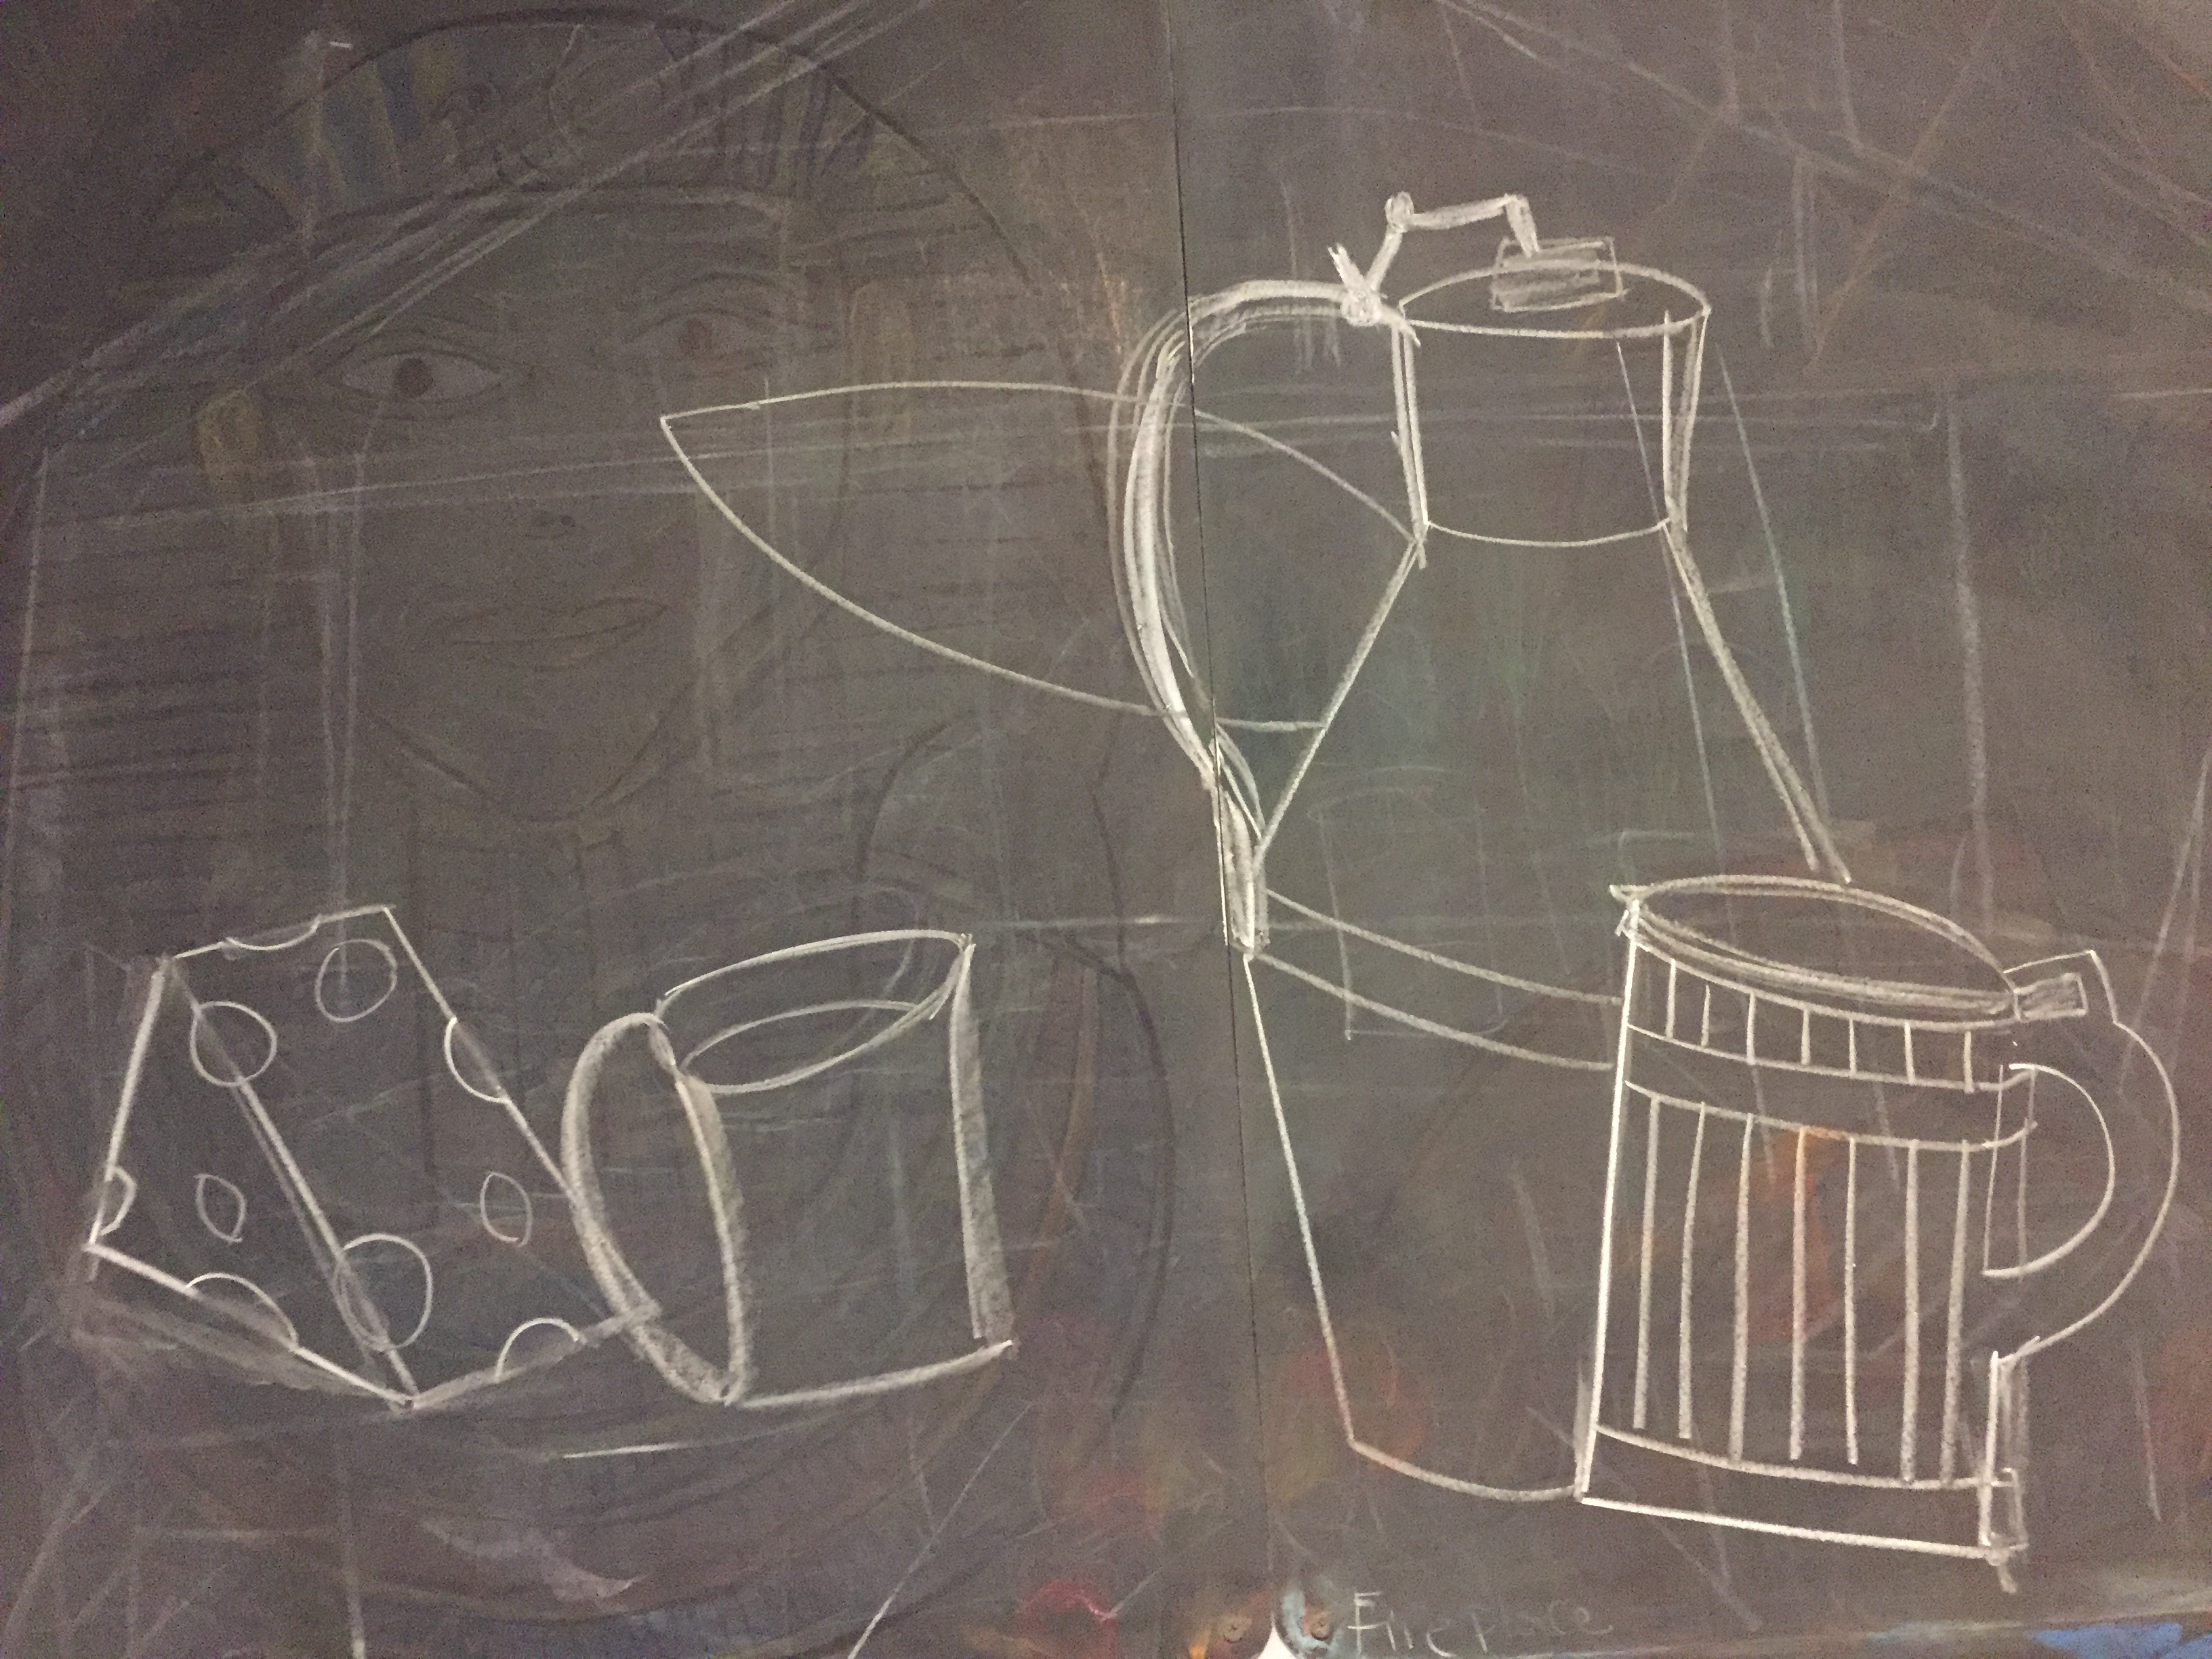
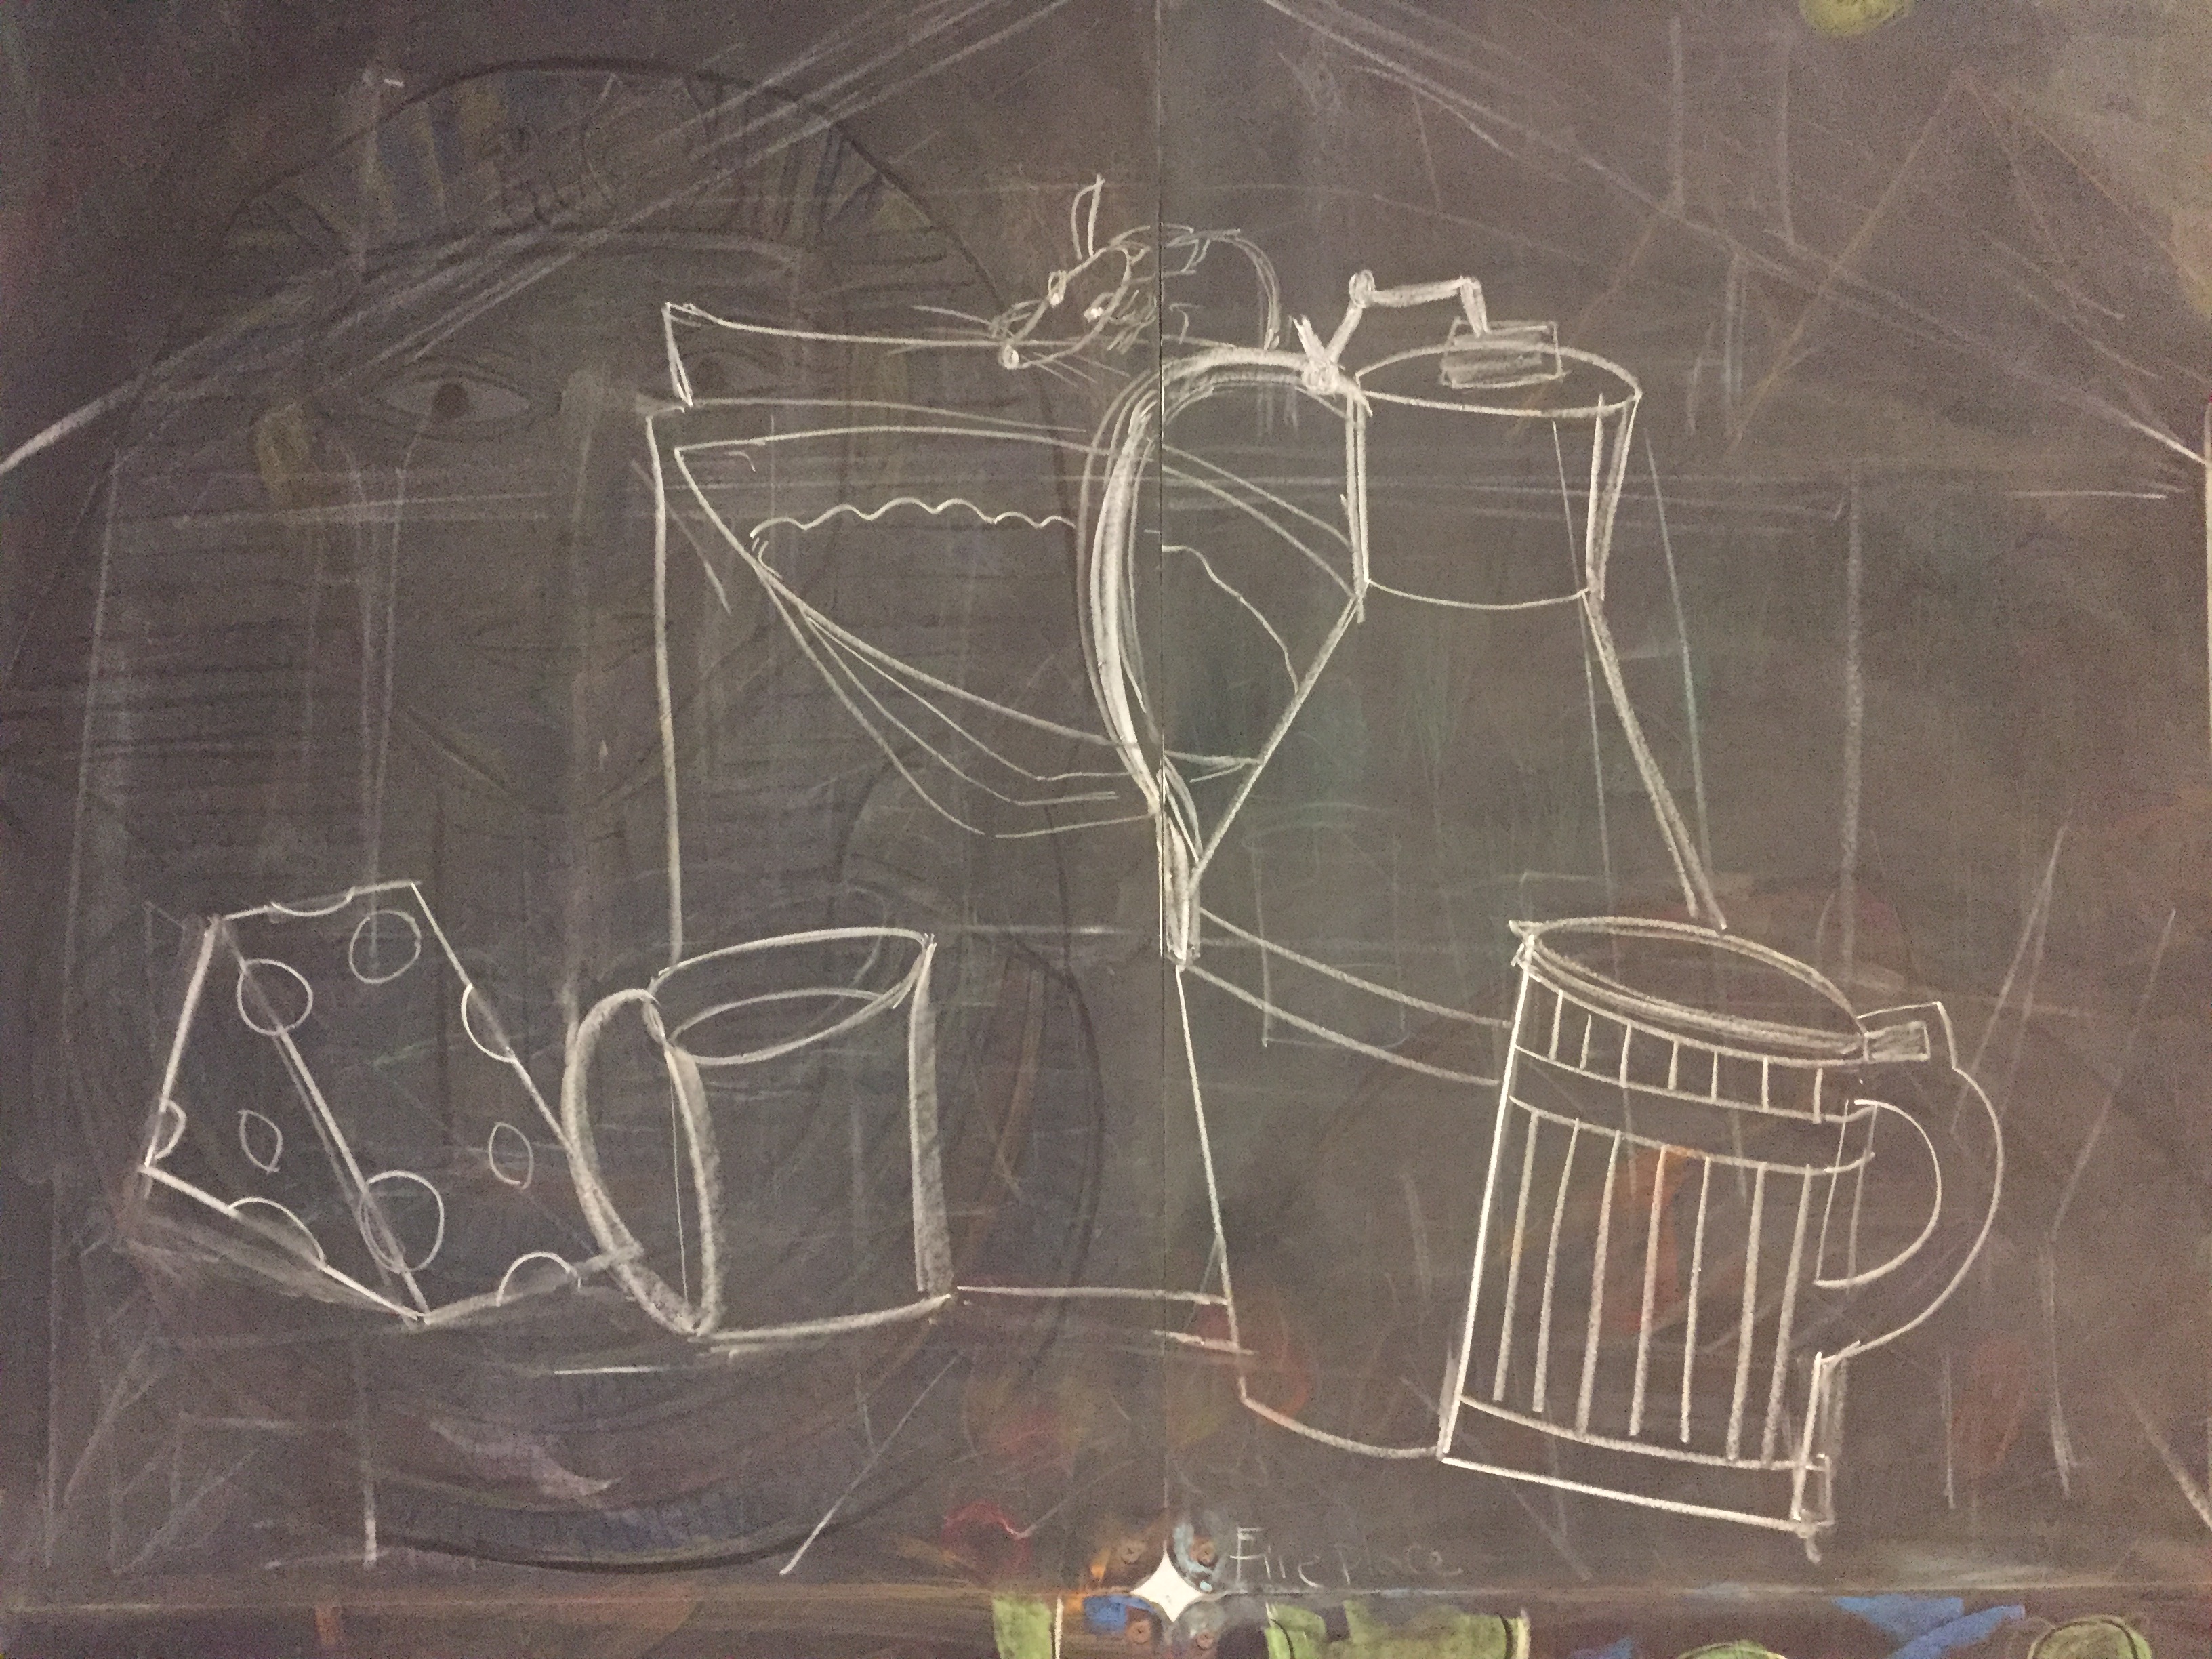
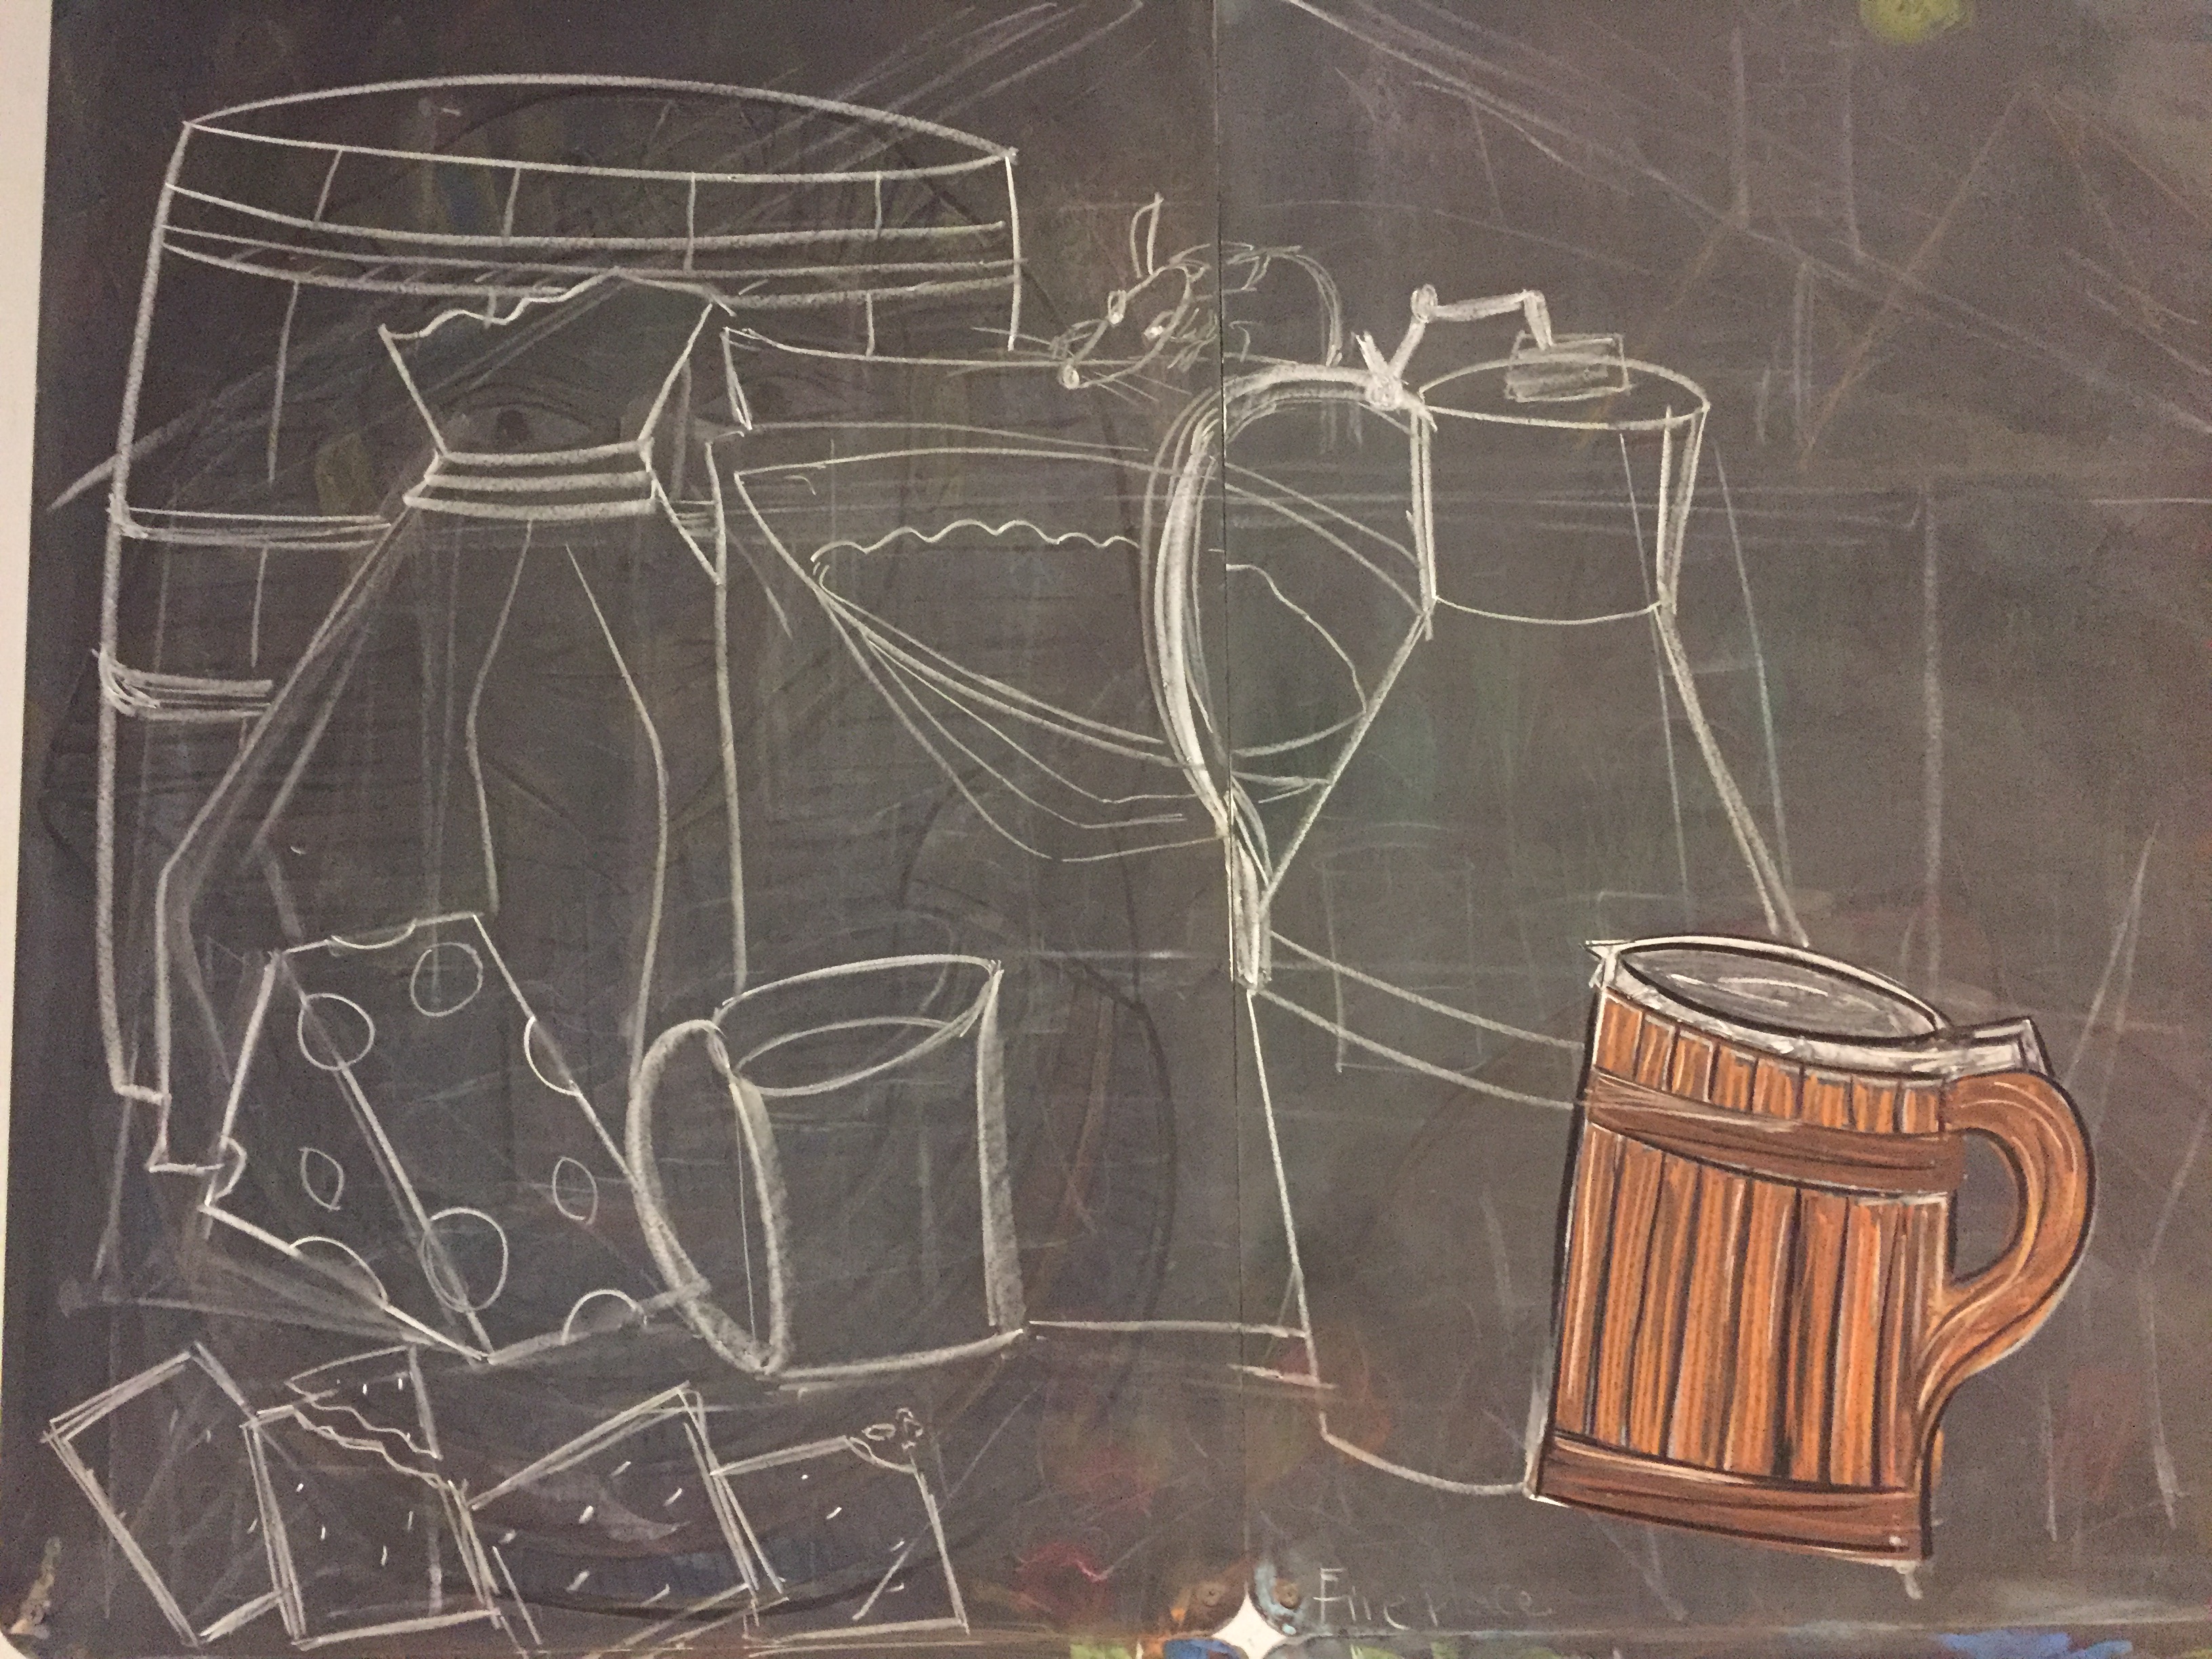
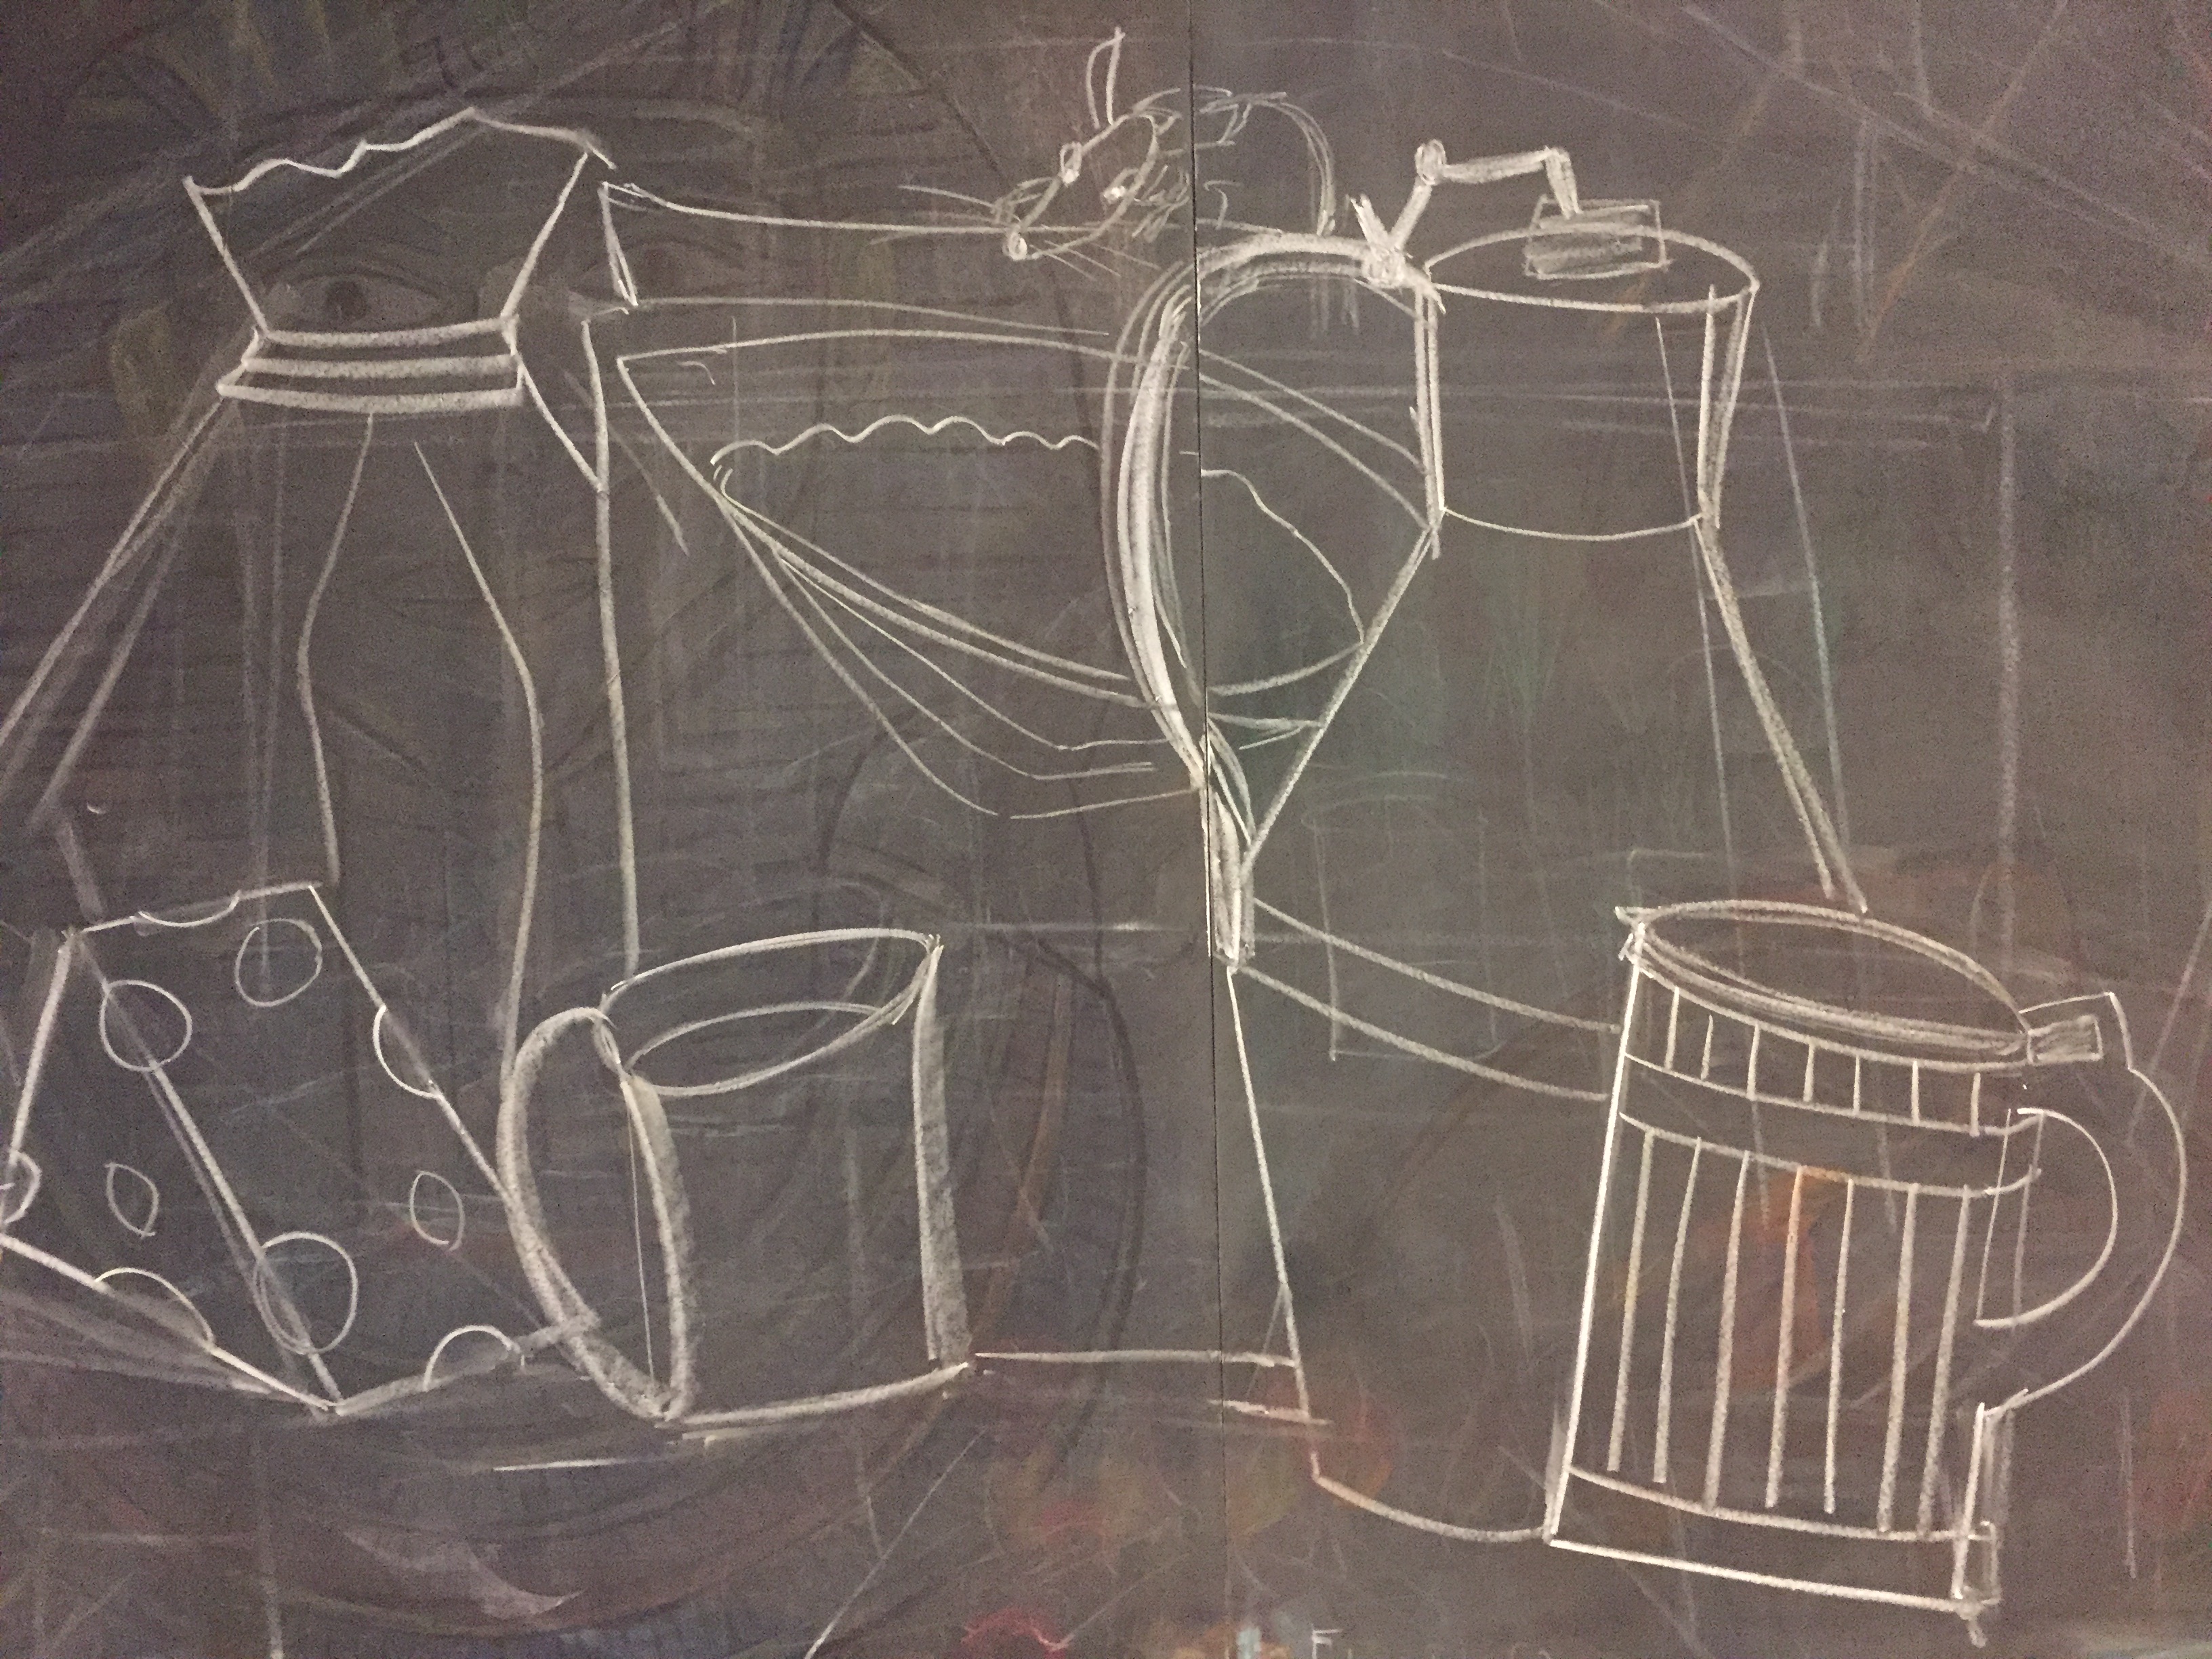
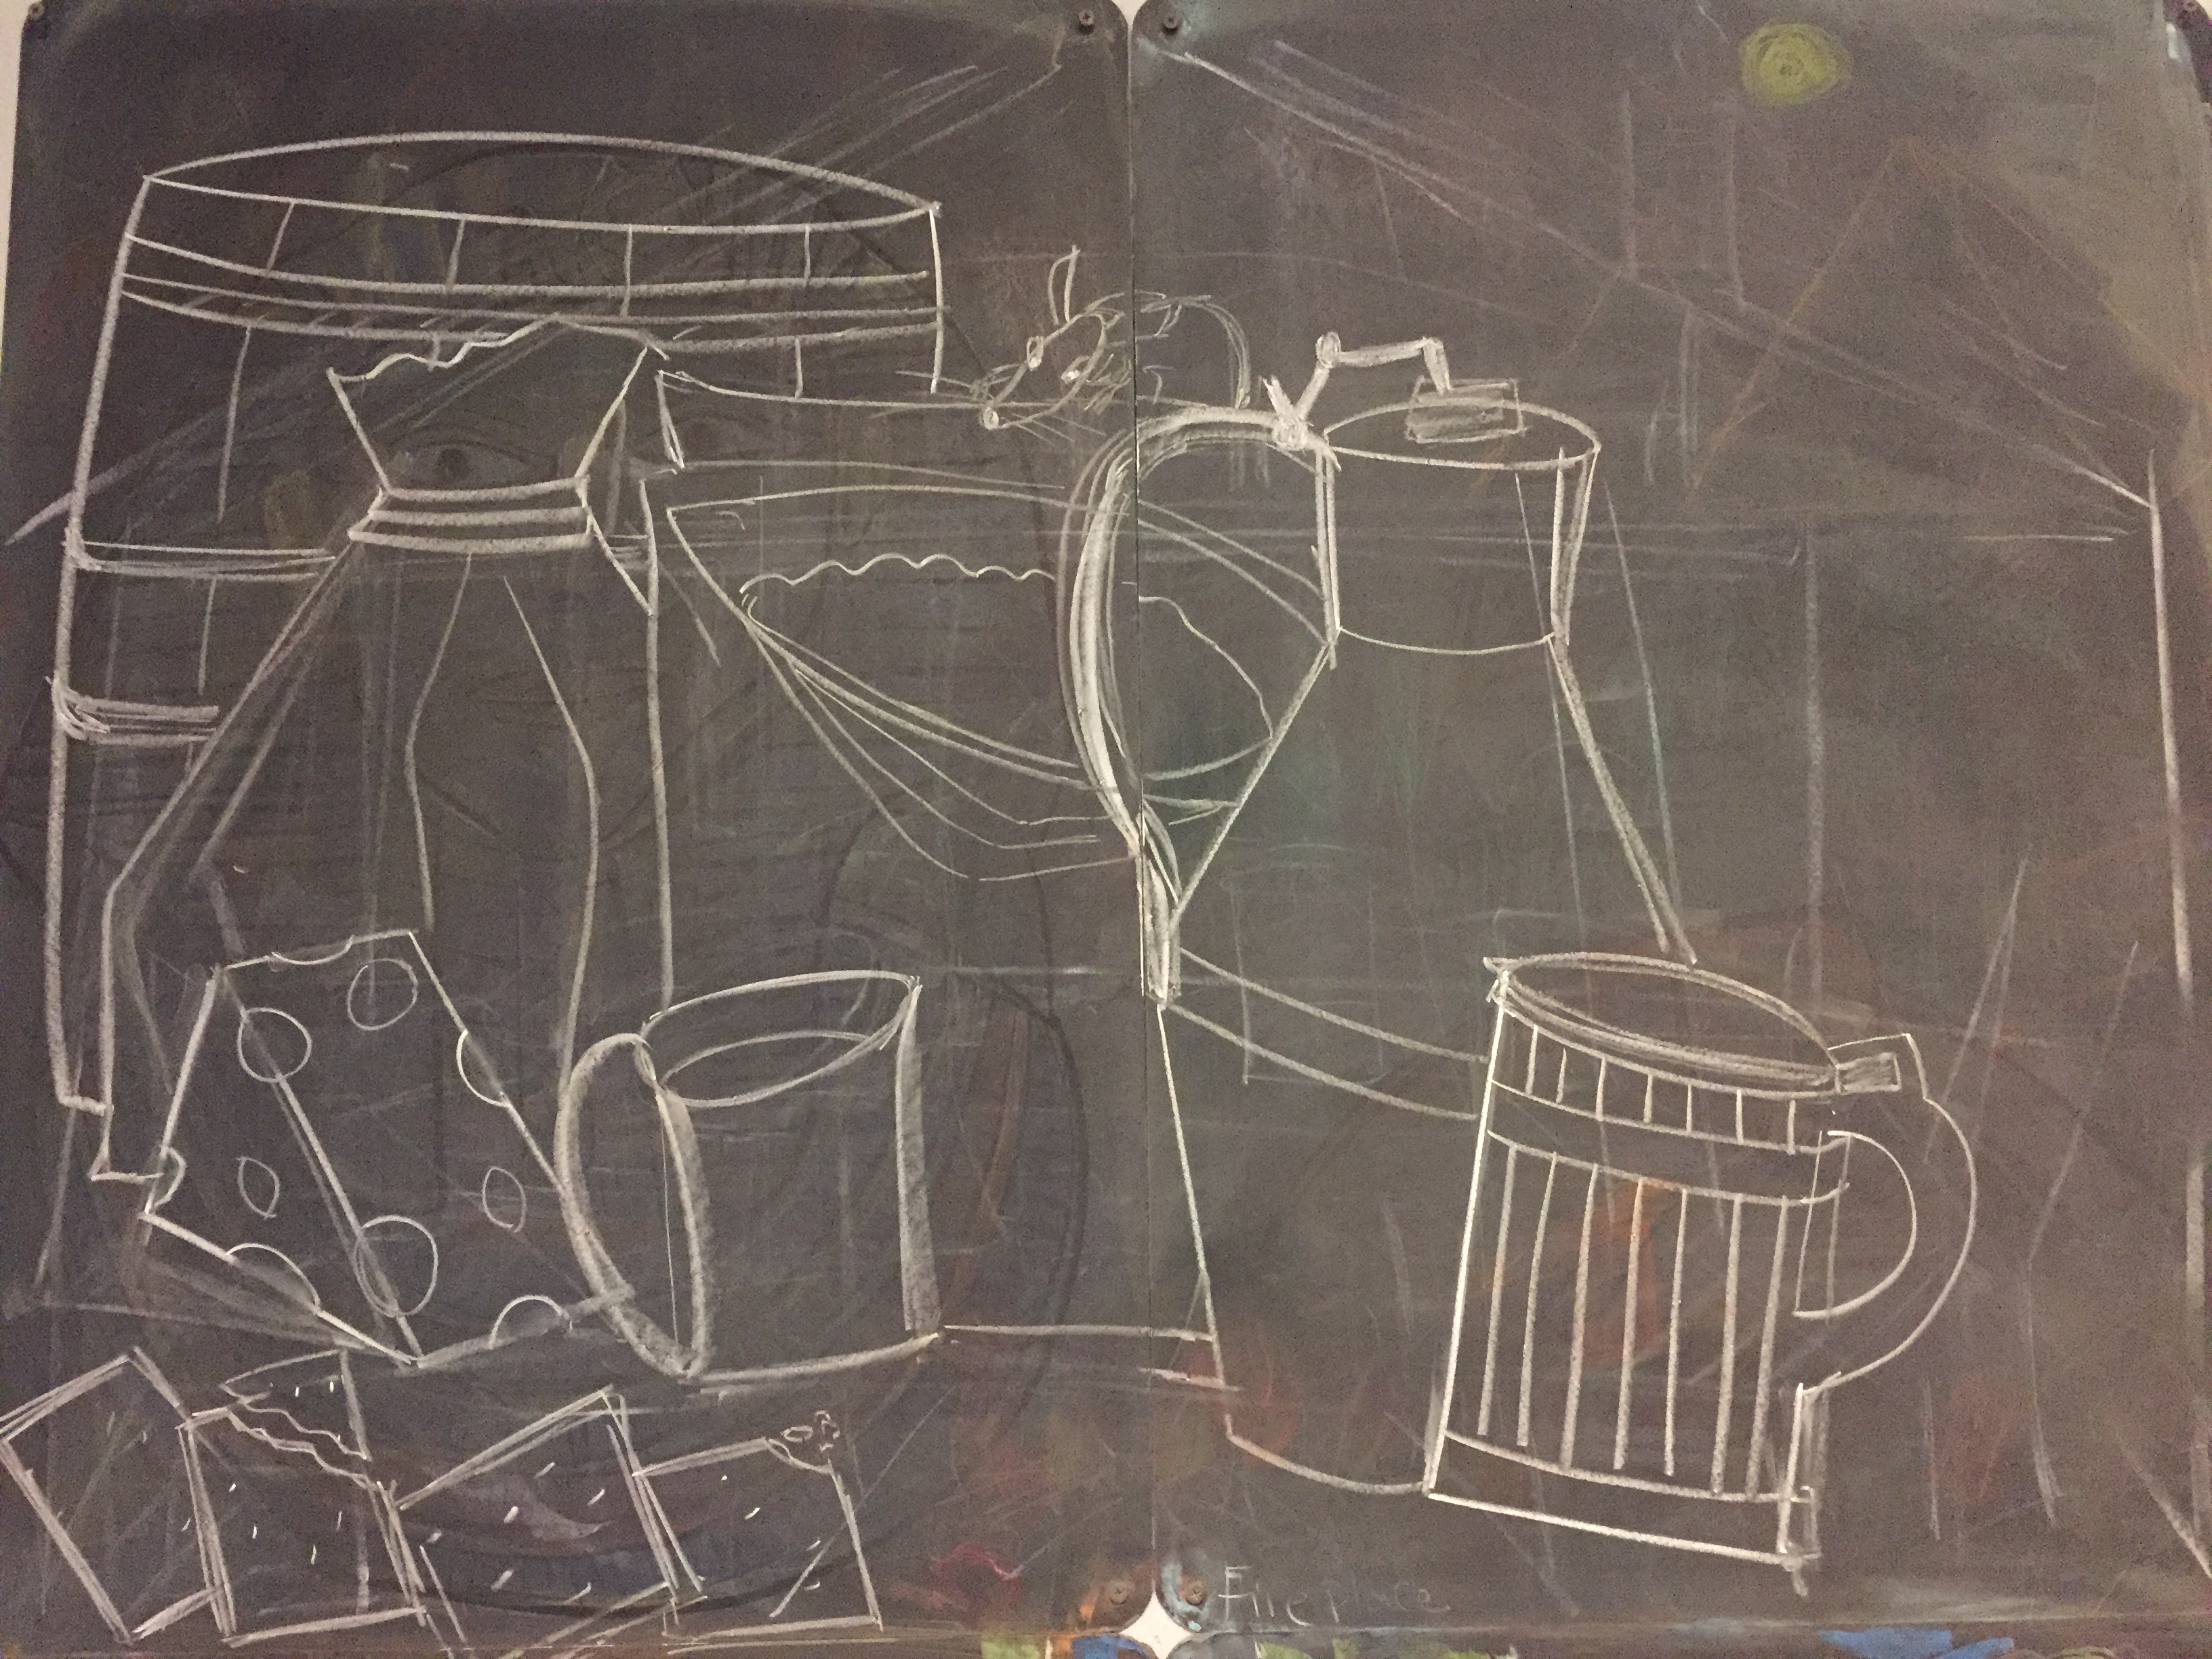
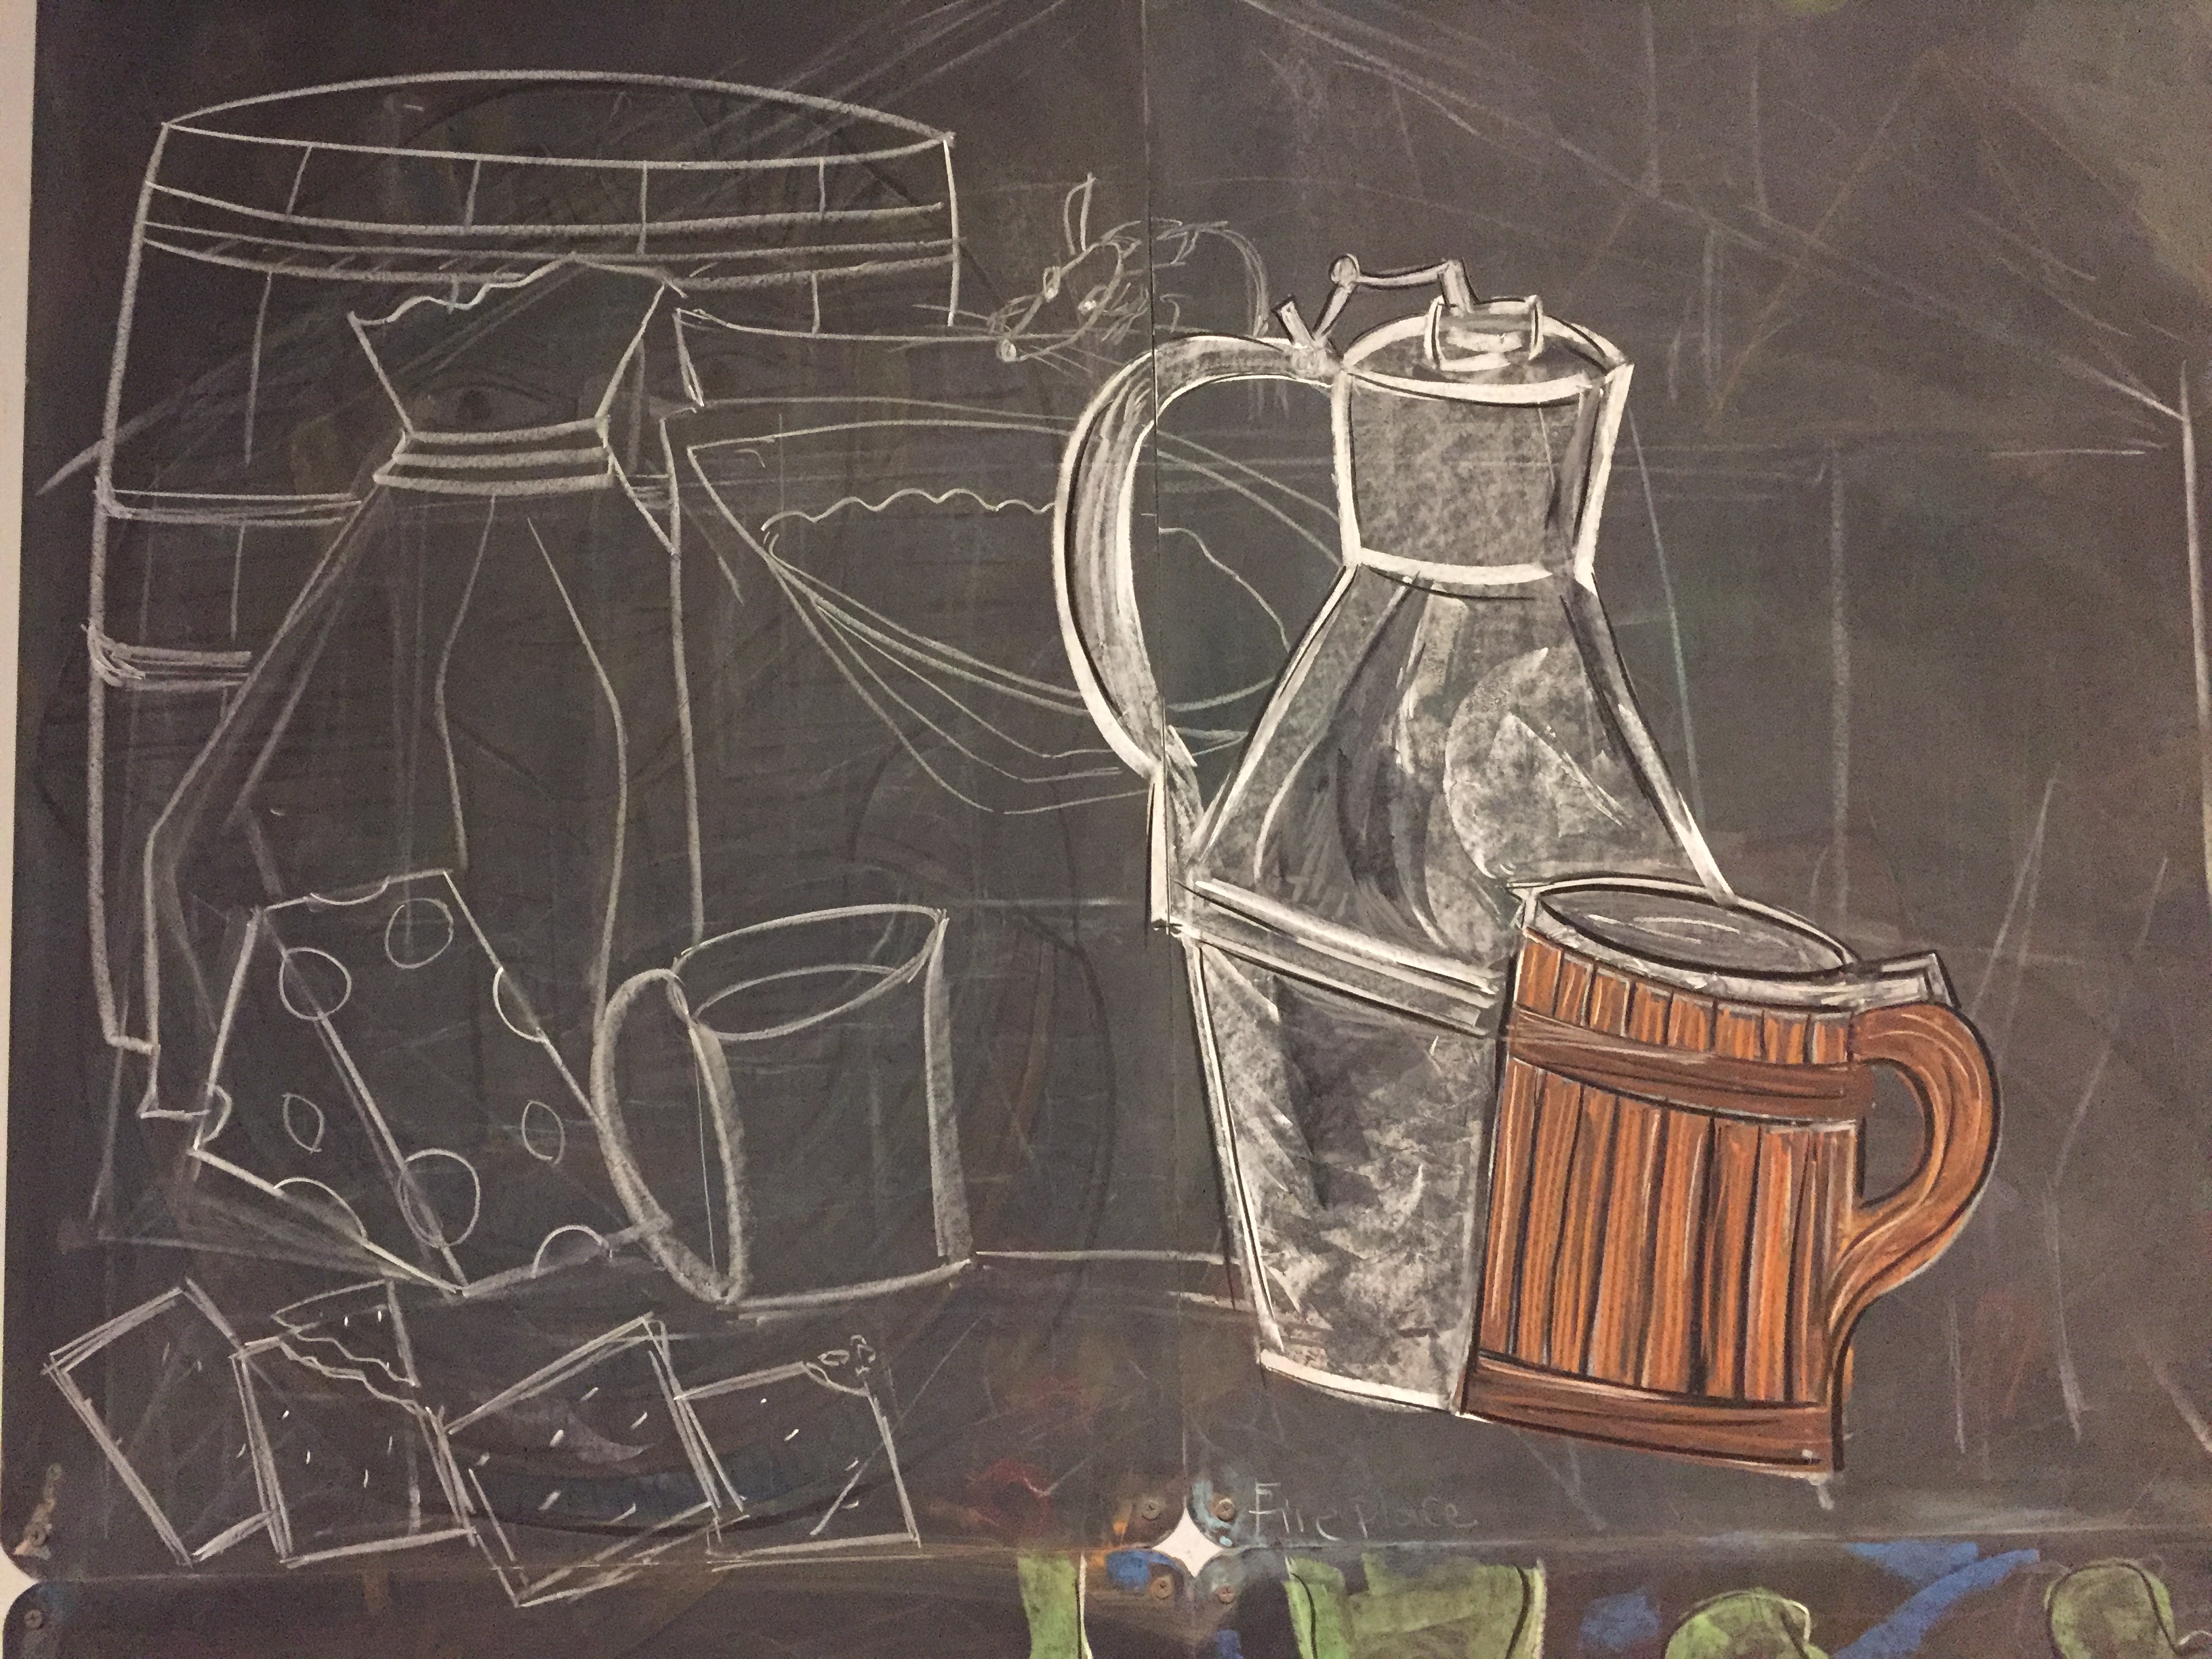
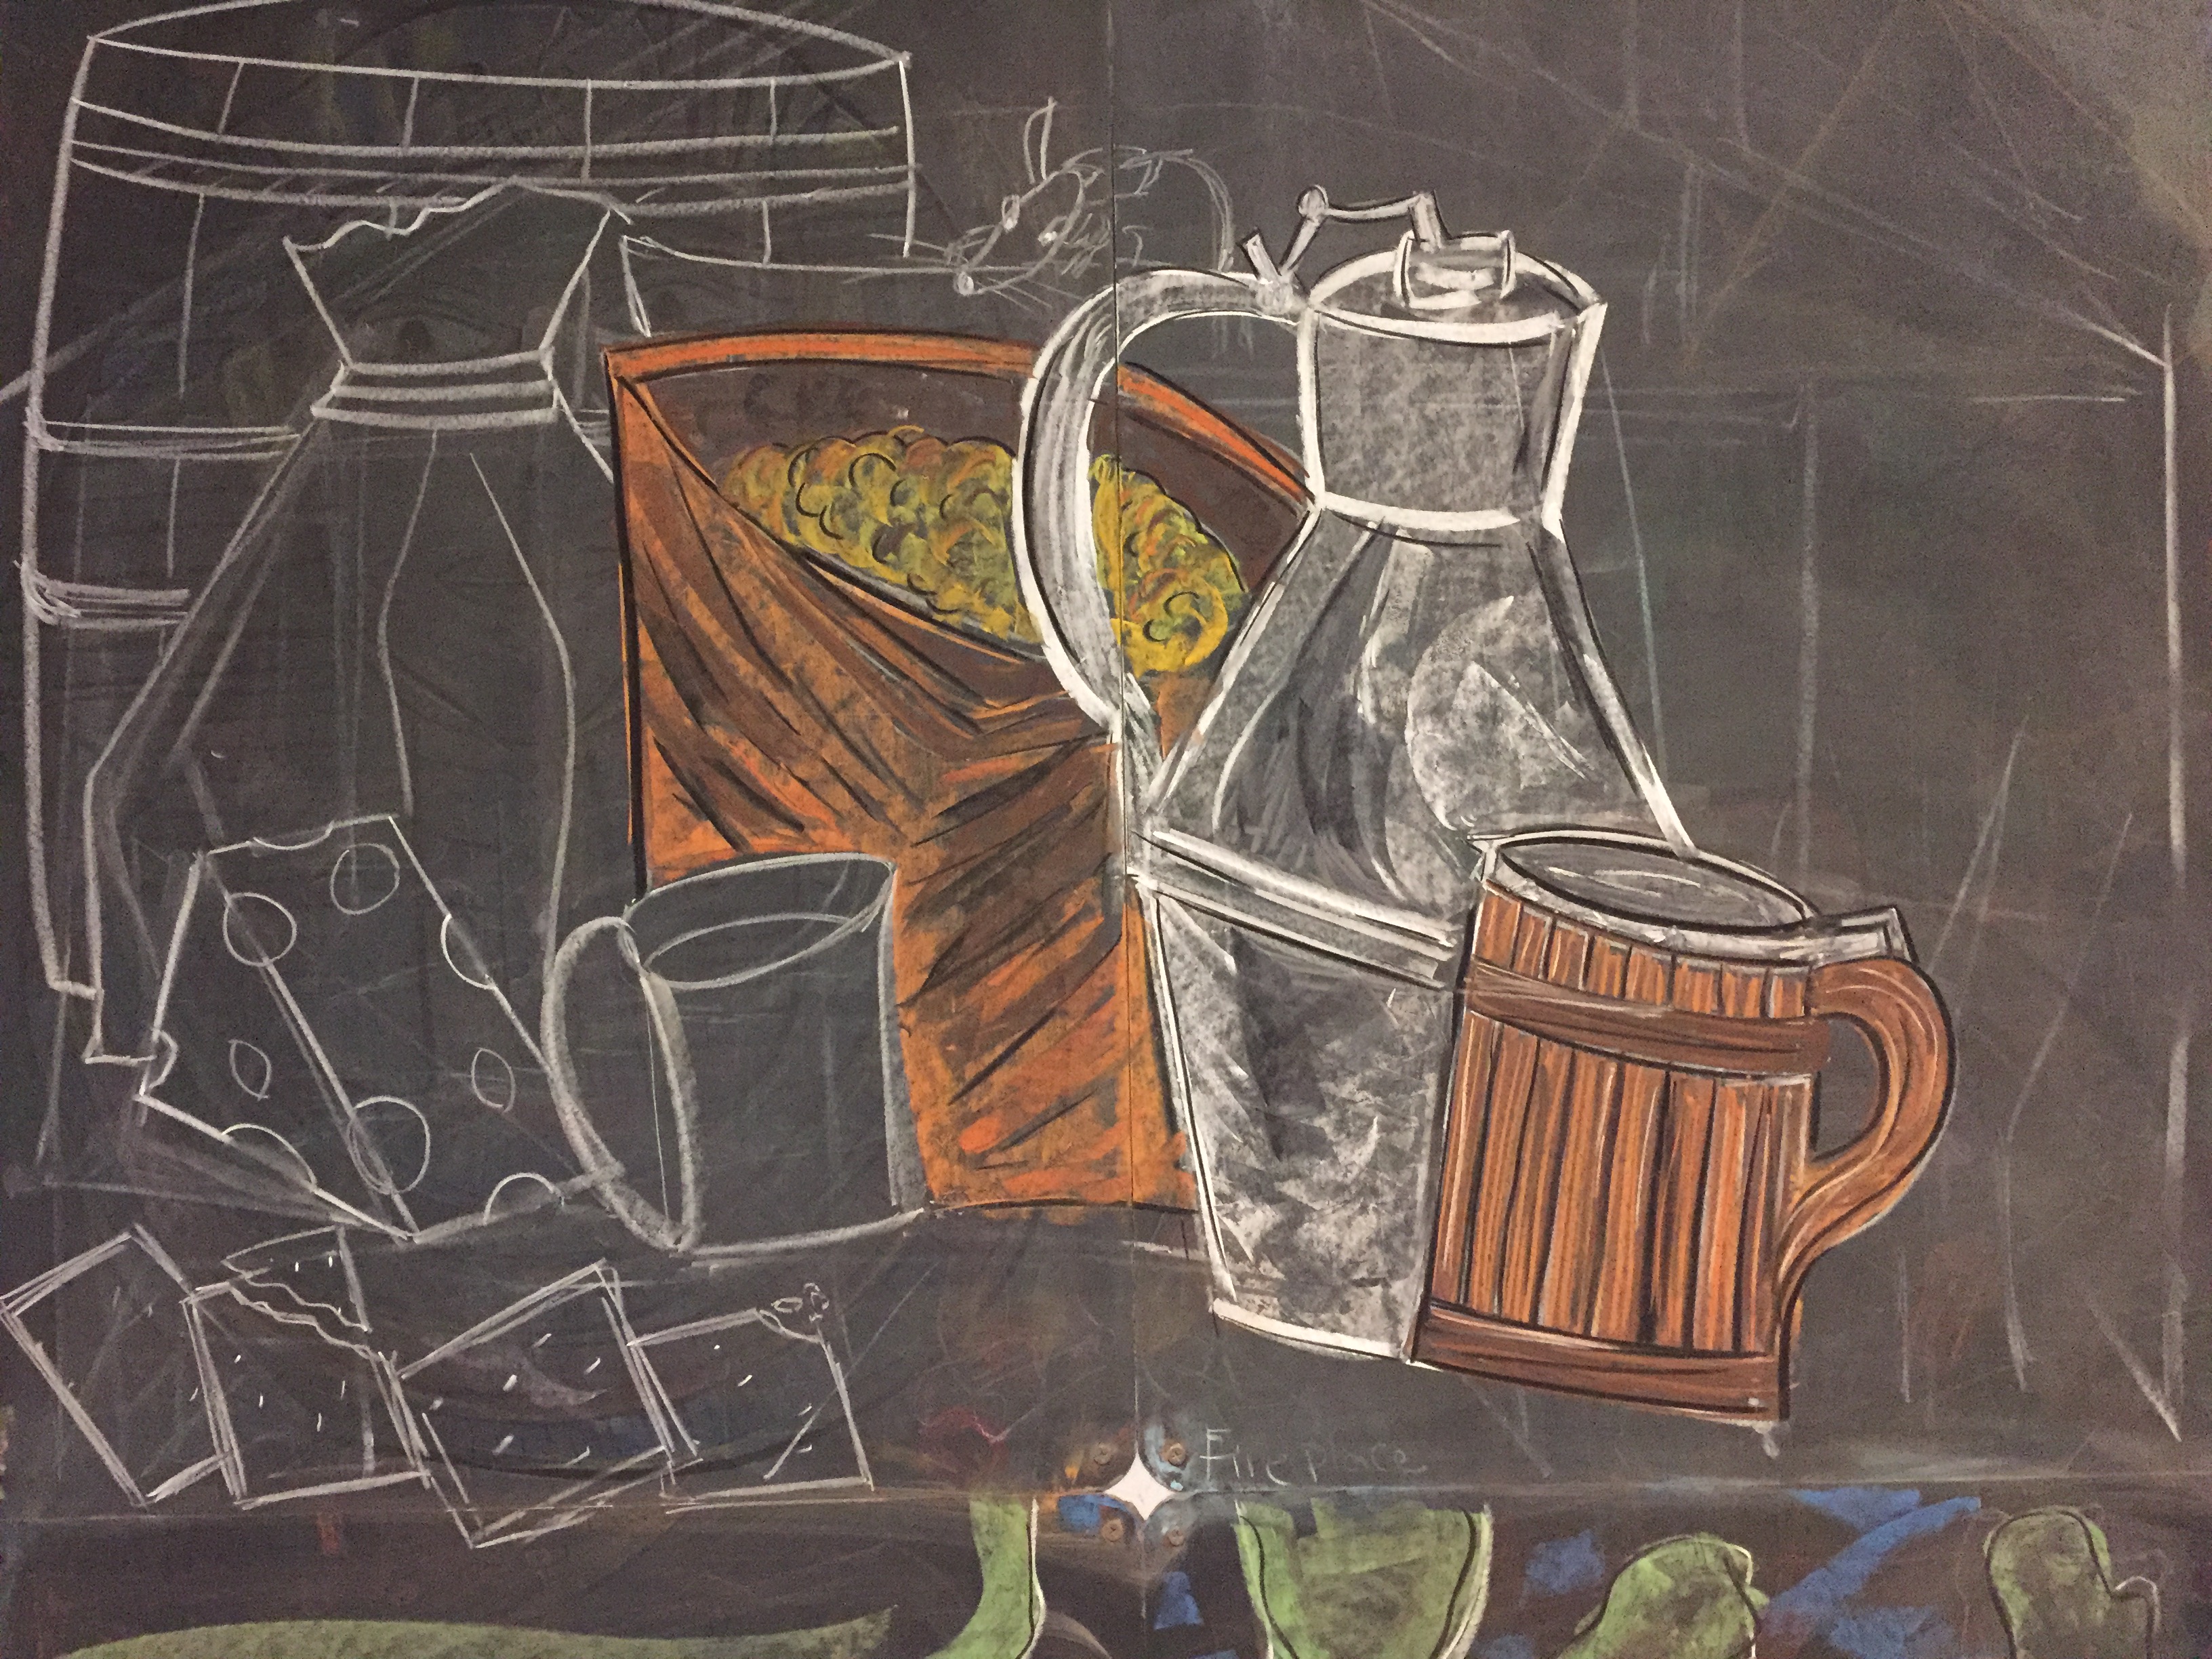
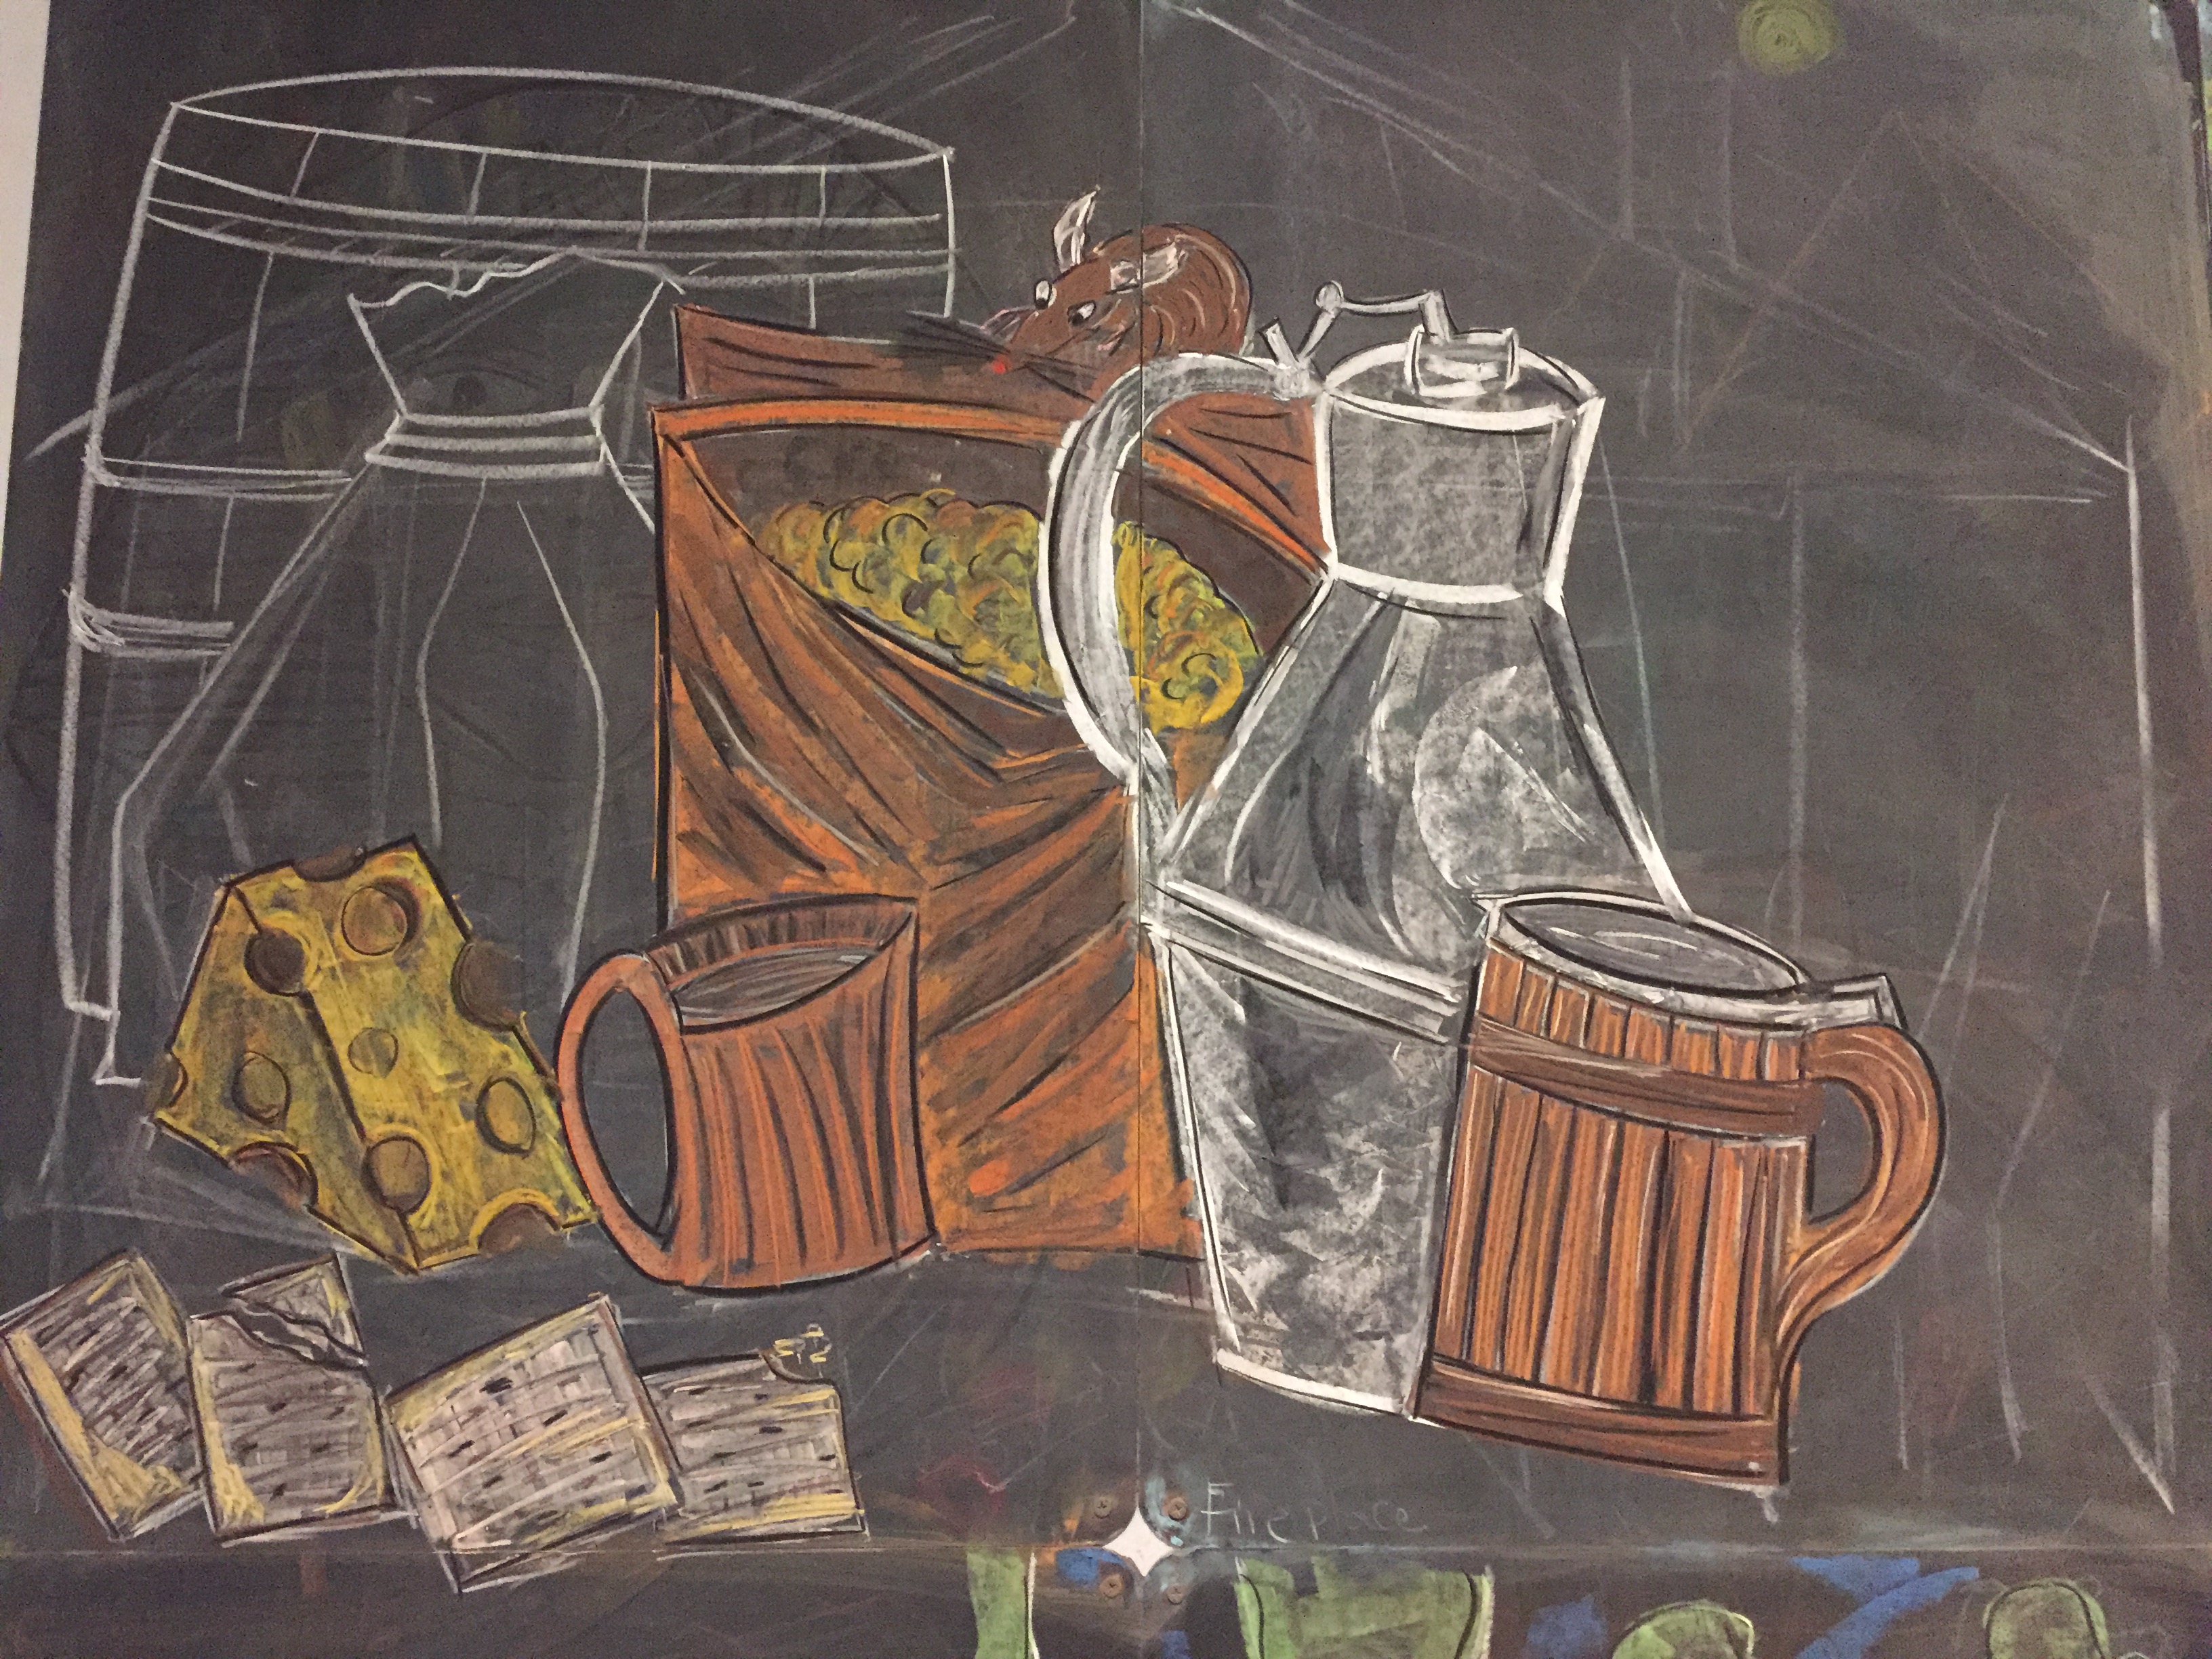
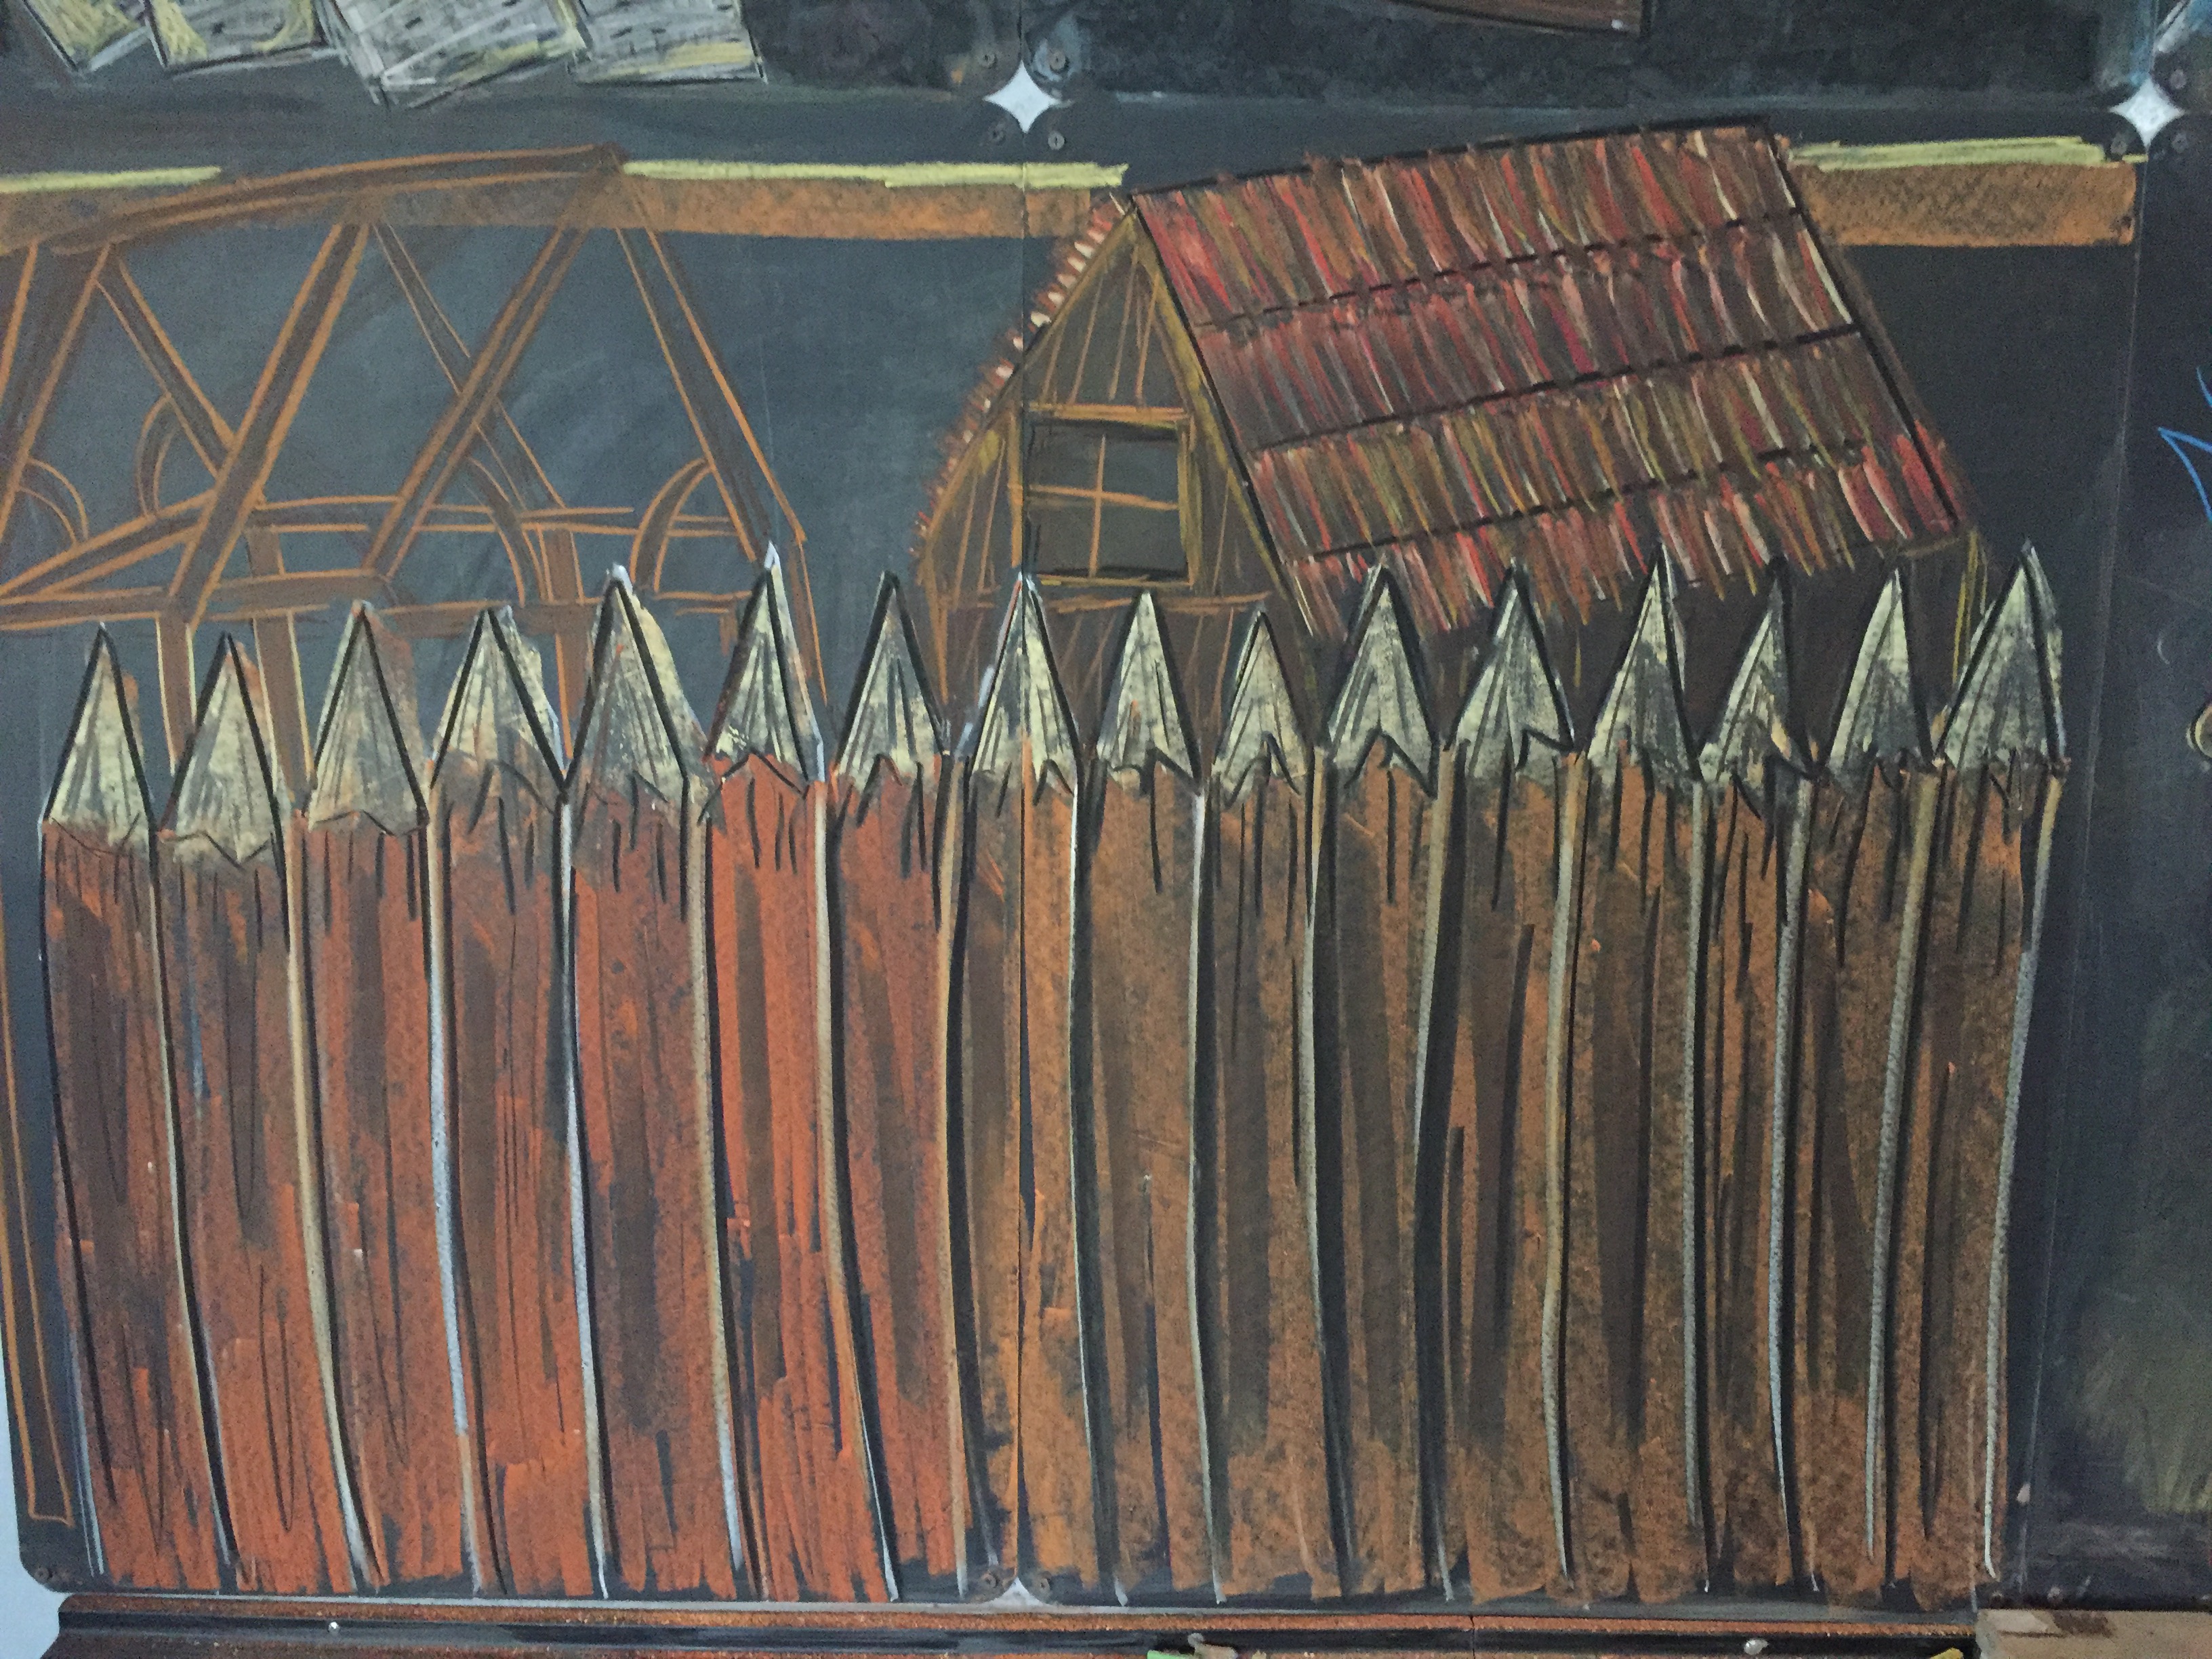
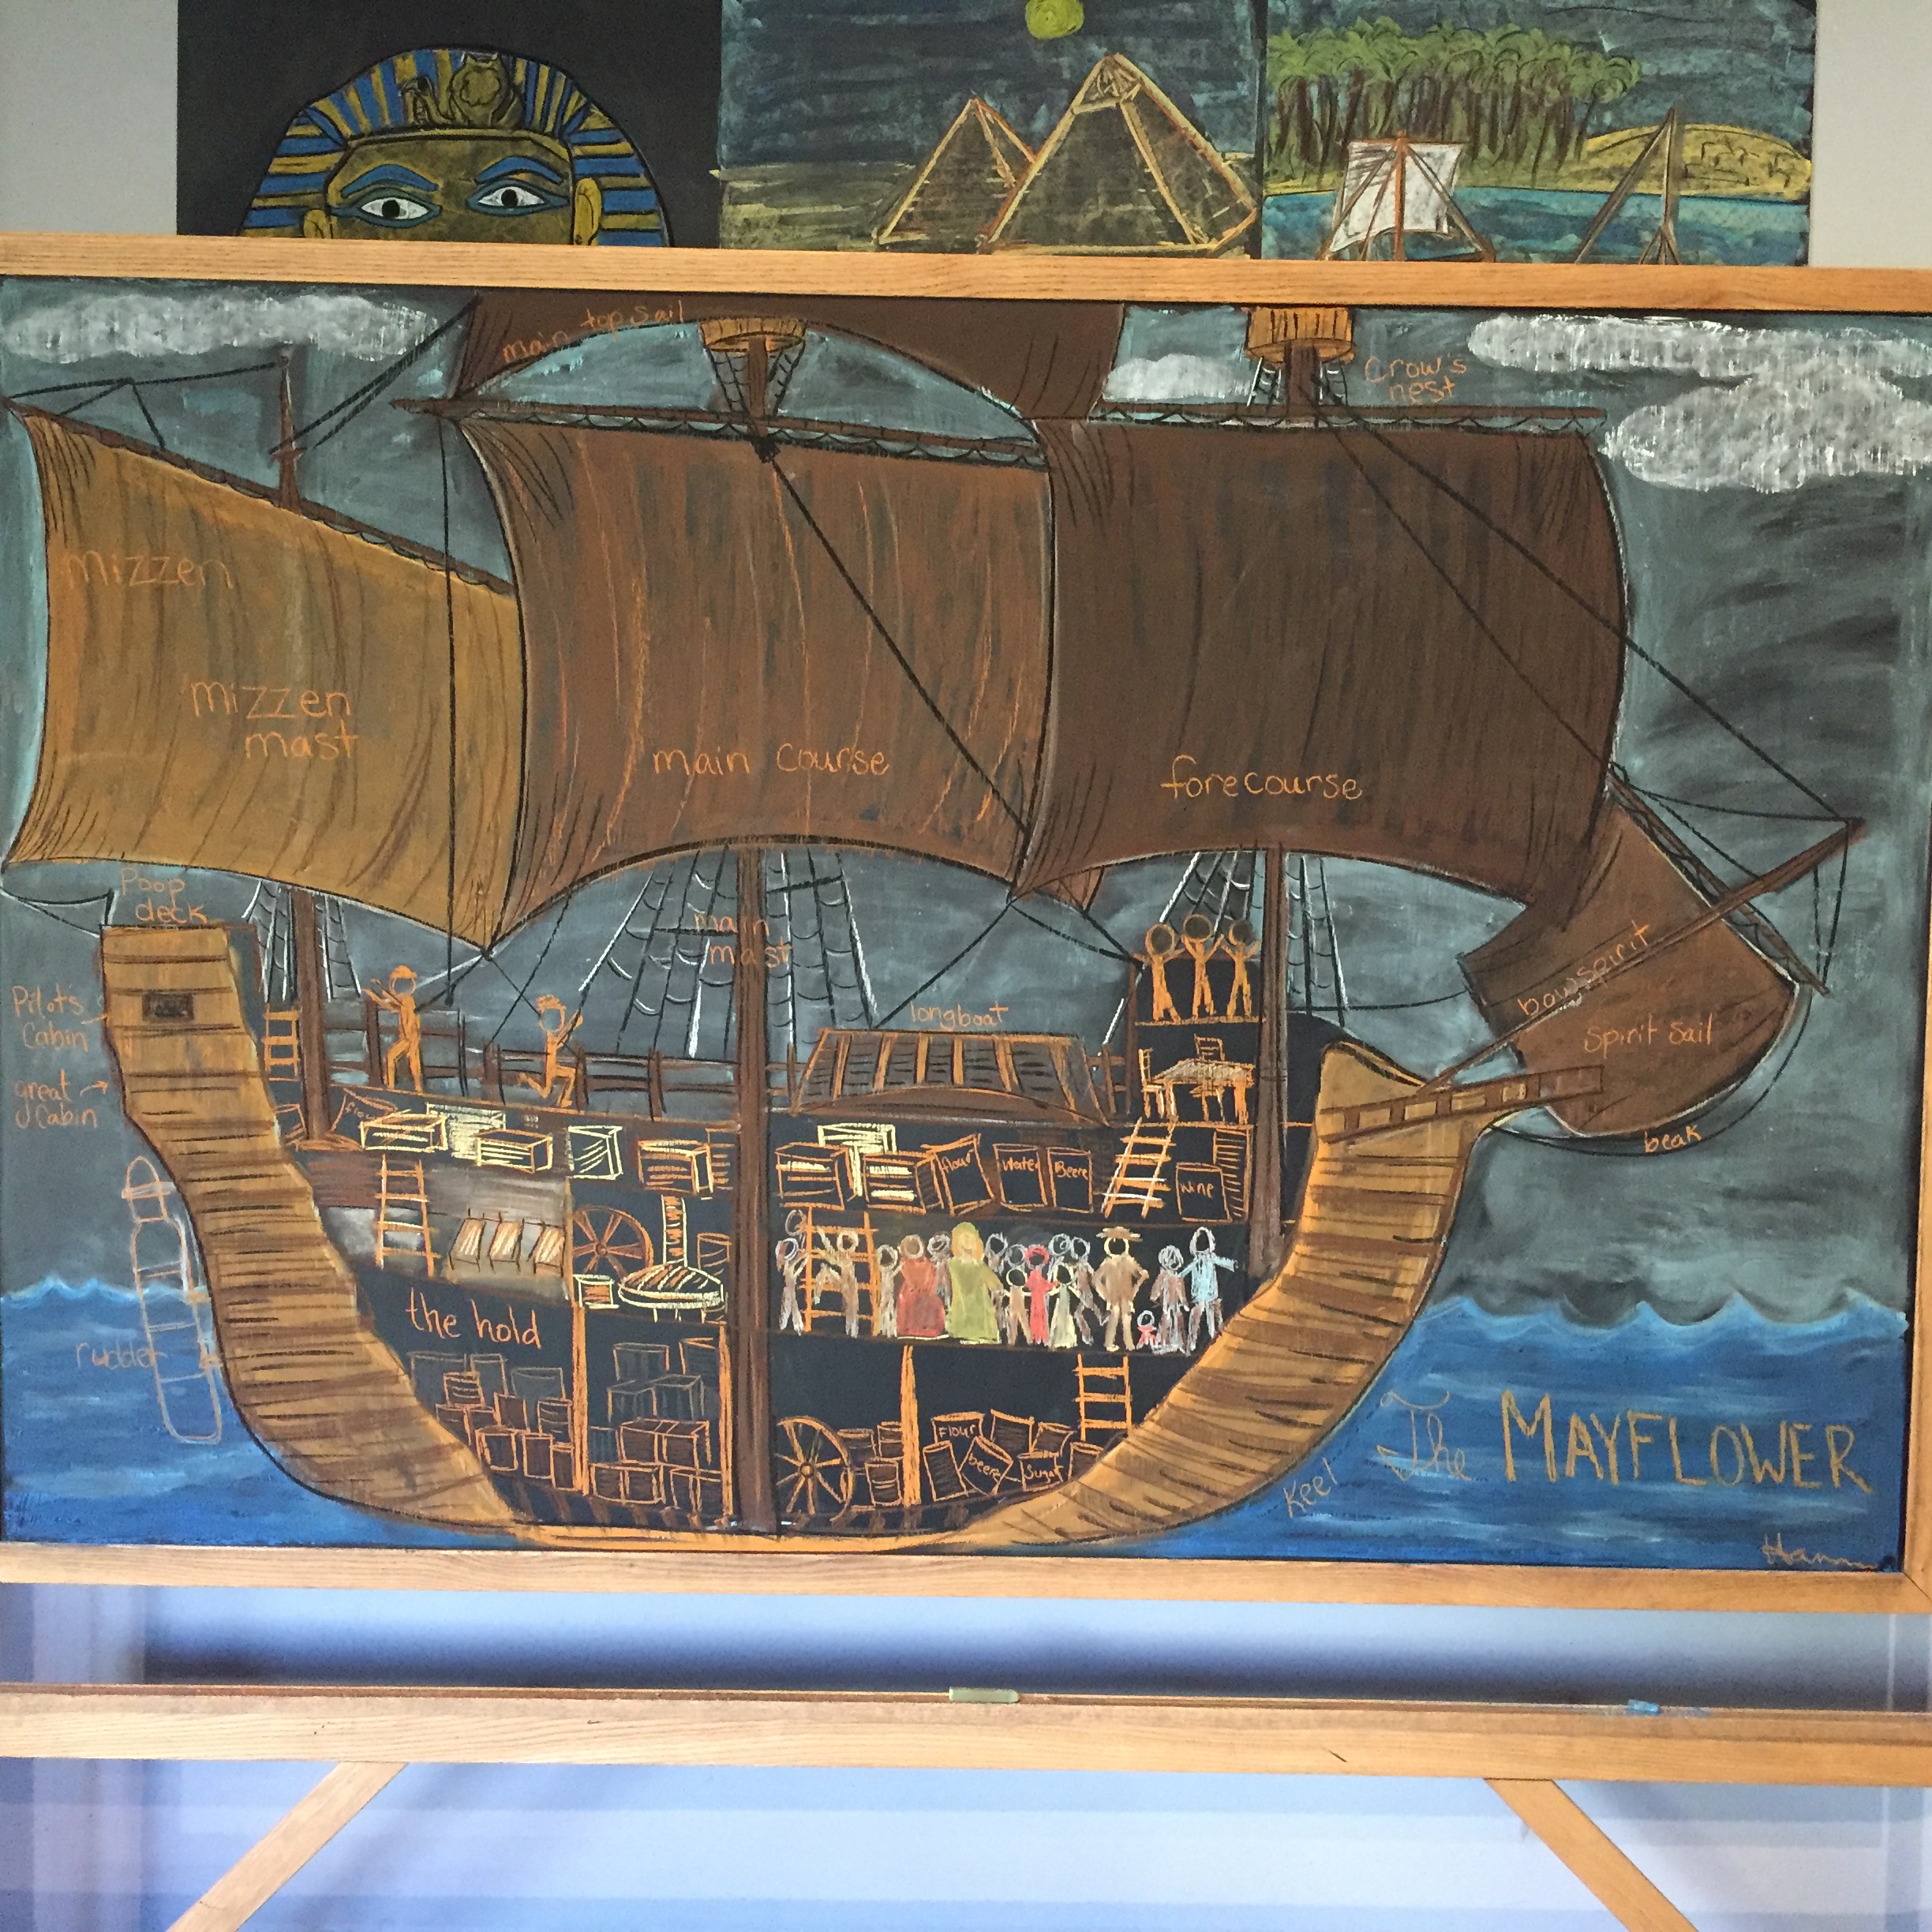
Chalk Drawing of the Mayflower
This is the second time in just three years that I’m drawing the Mayflower for our American History unit for the time period 1600-1750’s. For this chalk drawing, I’m using Sargent Art square chalk pastels. I’m drawing on our mobile chalkboard which I’ve since mounted on the wall. It’s by the company Ghent, and we have had it for years. So many years in fact that over time, my chalk pastels stopped working well on this chalkboard. Over time, the slate becomes smooth and nothing stuck except white chalk. Finally one year, I painted over it with chalkboard paint. It improved it but also left other challenges. I had used a brush, so you could see and feel brush strokes. I wish I had used a spray. My chalkboard is 4’x6′ and I’ve mounted it on the wall over two 1×5 Ikea Kallax bookcases which house many of our books. Chalk drawing inspiration came from the book Miles Standish by Cheryl Harness.


How To Weave On A Loom
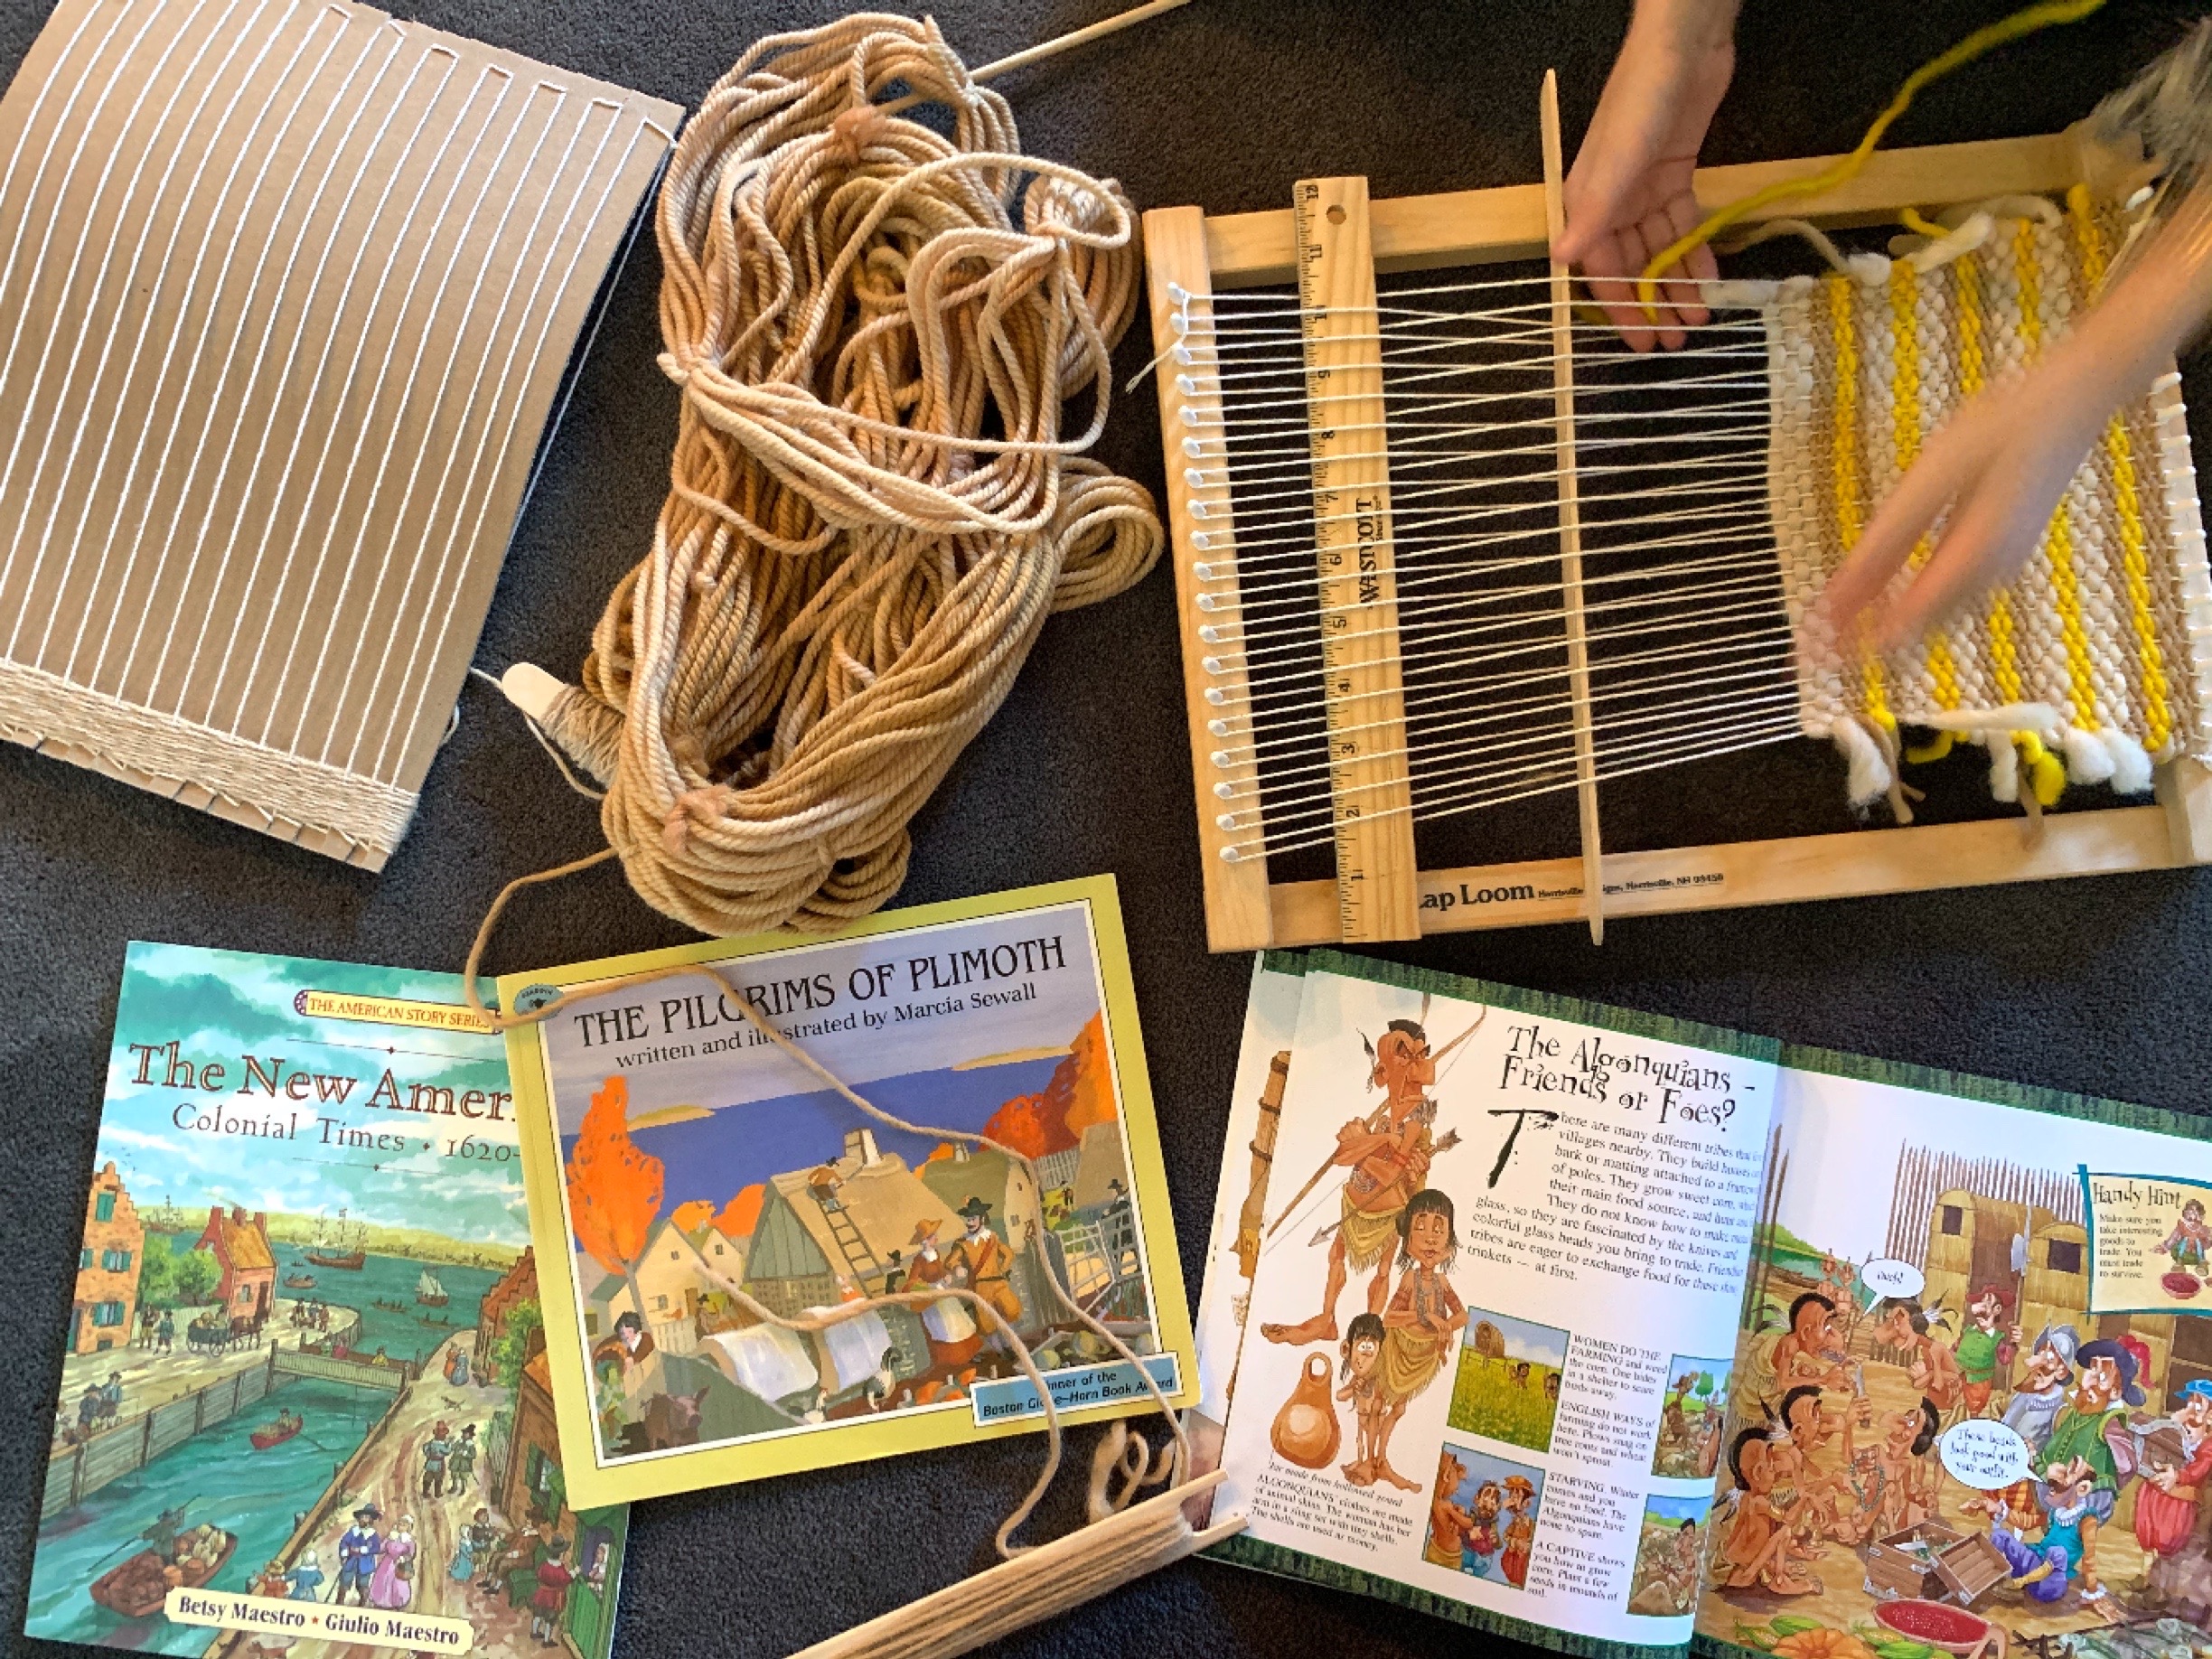
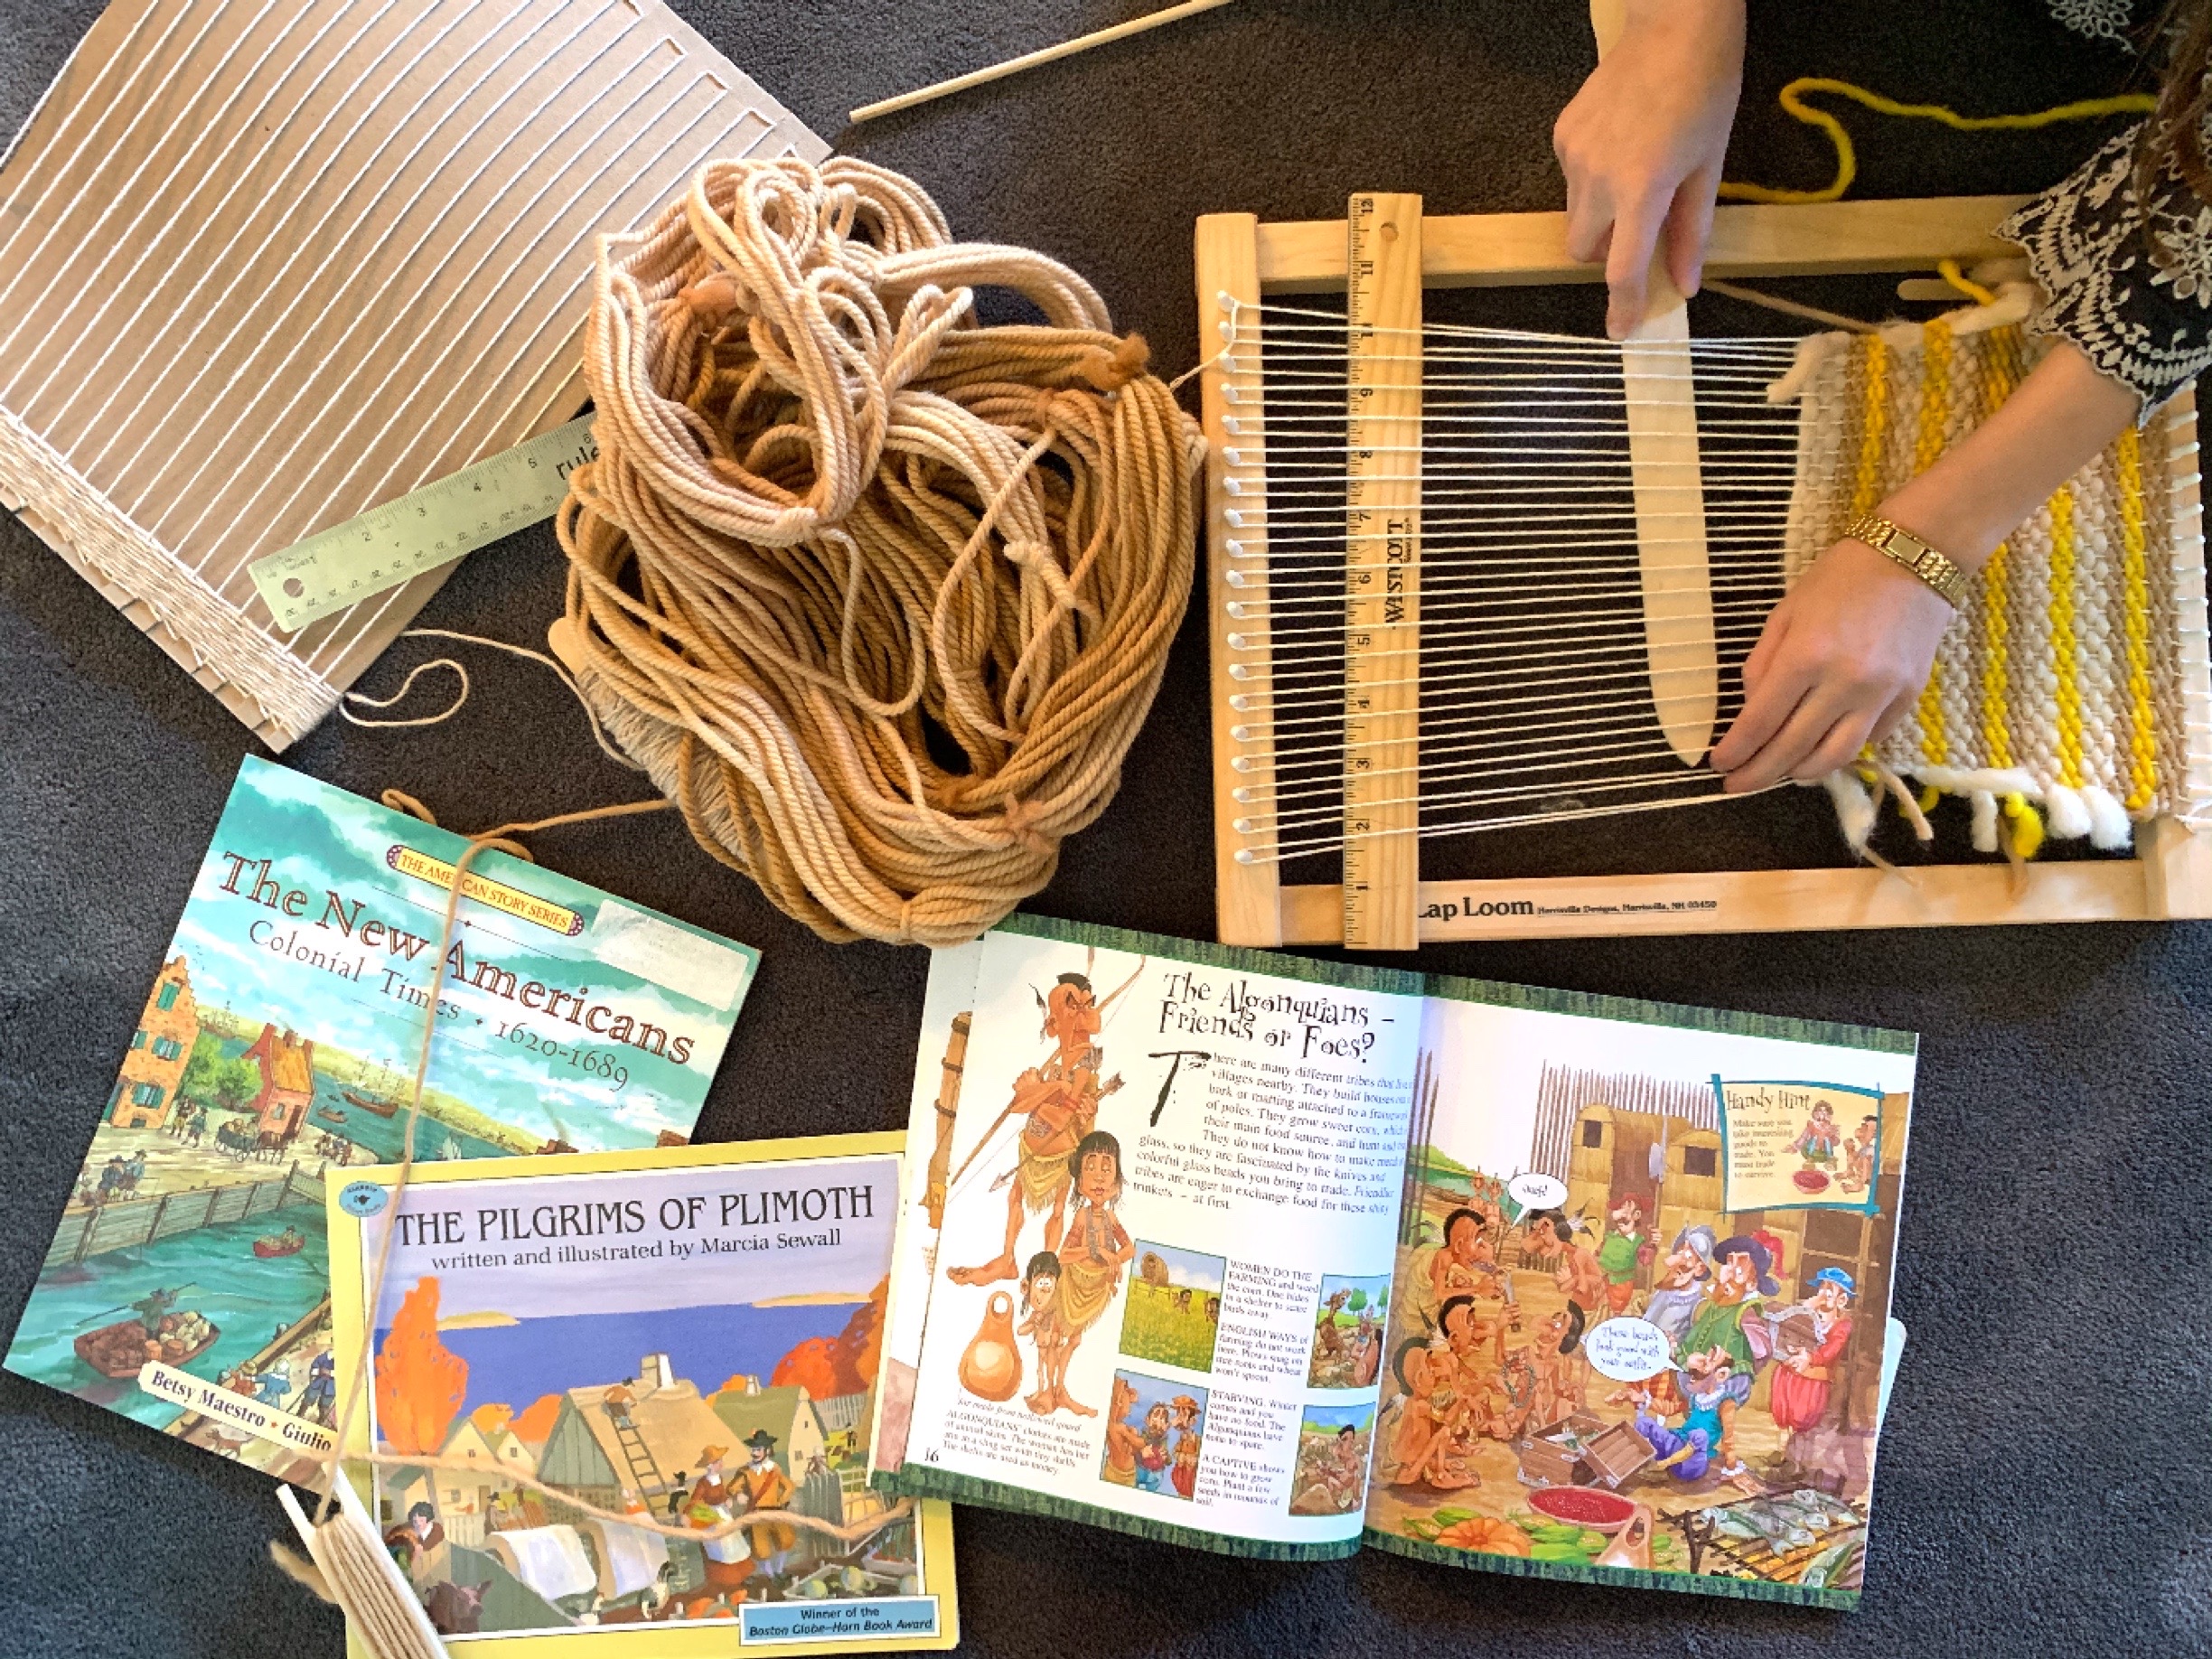
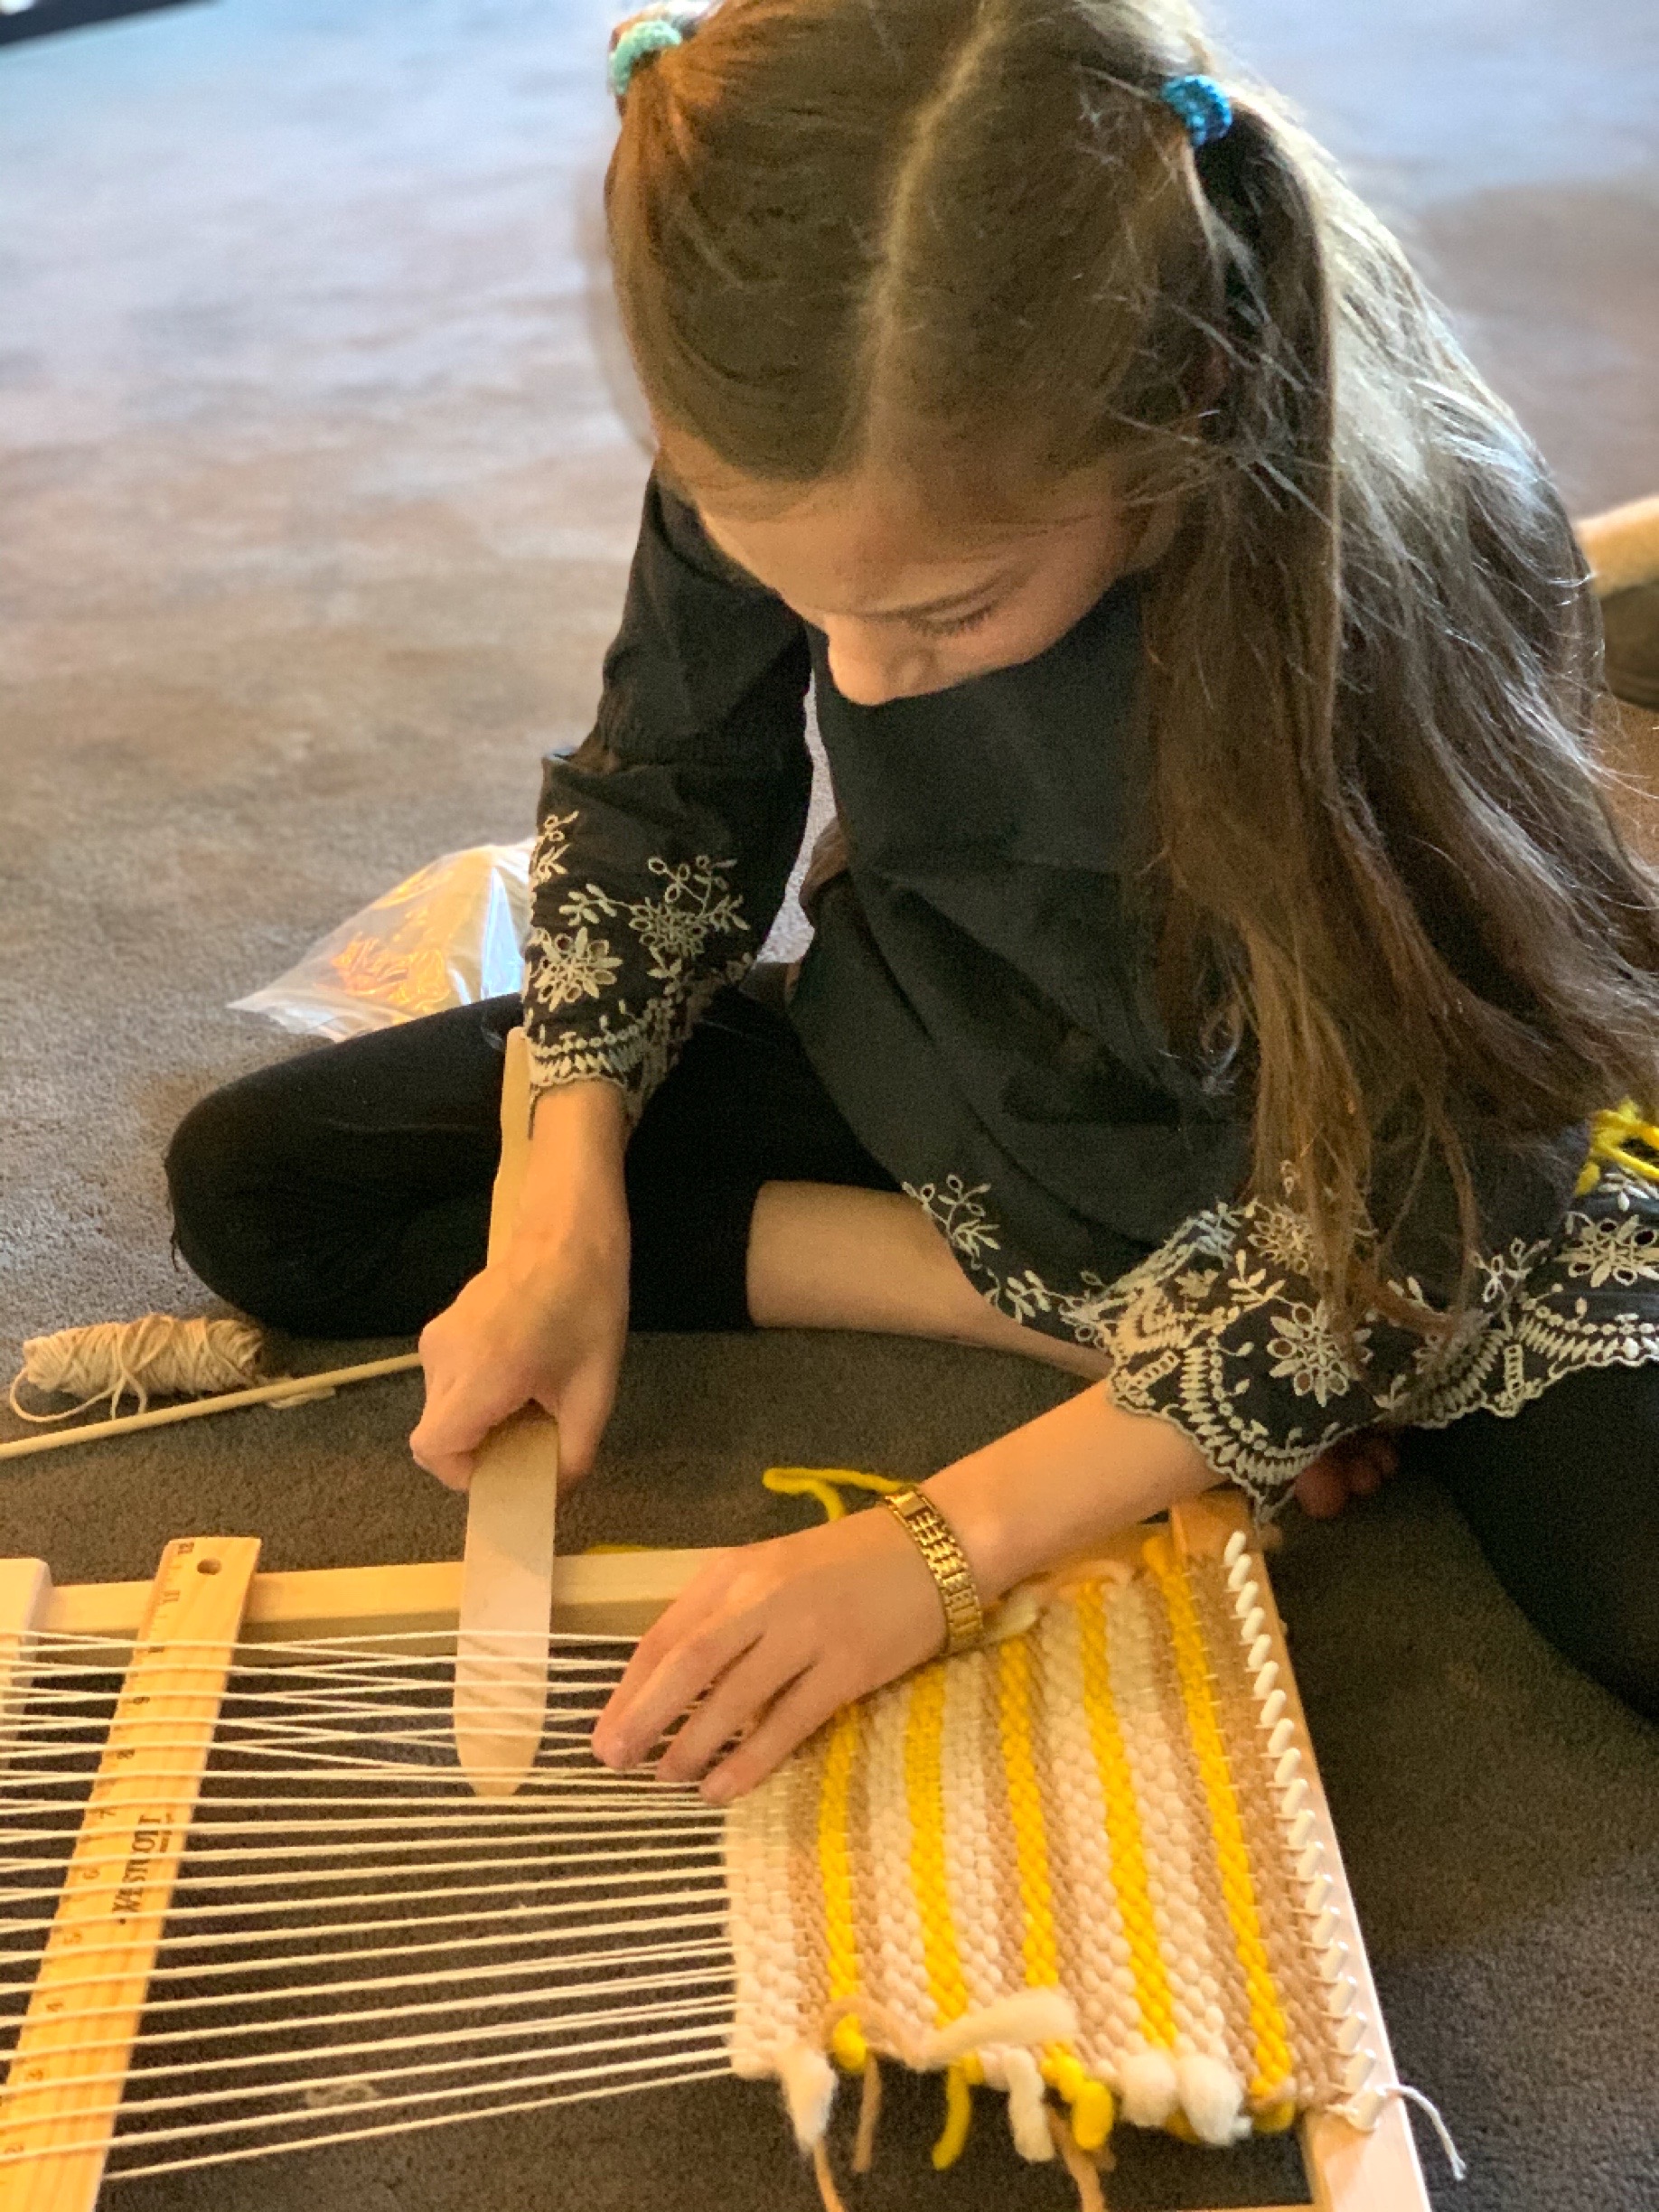
When doing a main lesson block, I look for a variety of books and projects for the children. For this unit, I set up our Harrisville Designs wooden loom for my 8-year-old daughter. Weaving is just right for a grade 3 student and it fit nicely with our American History unit that was primarily for my 12-year-old.
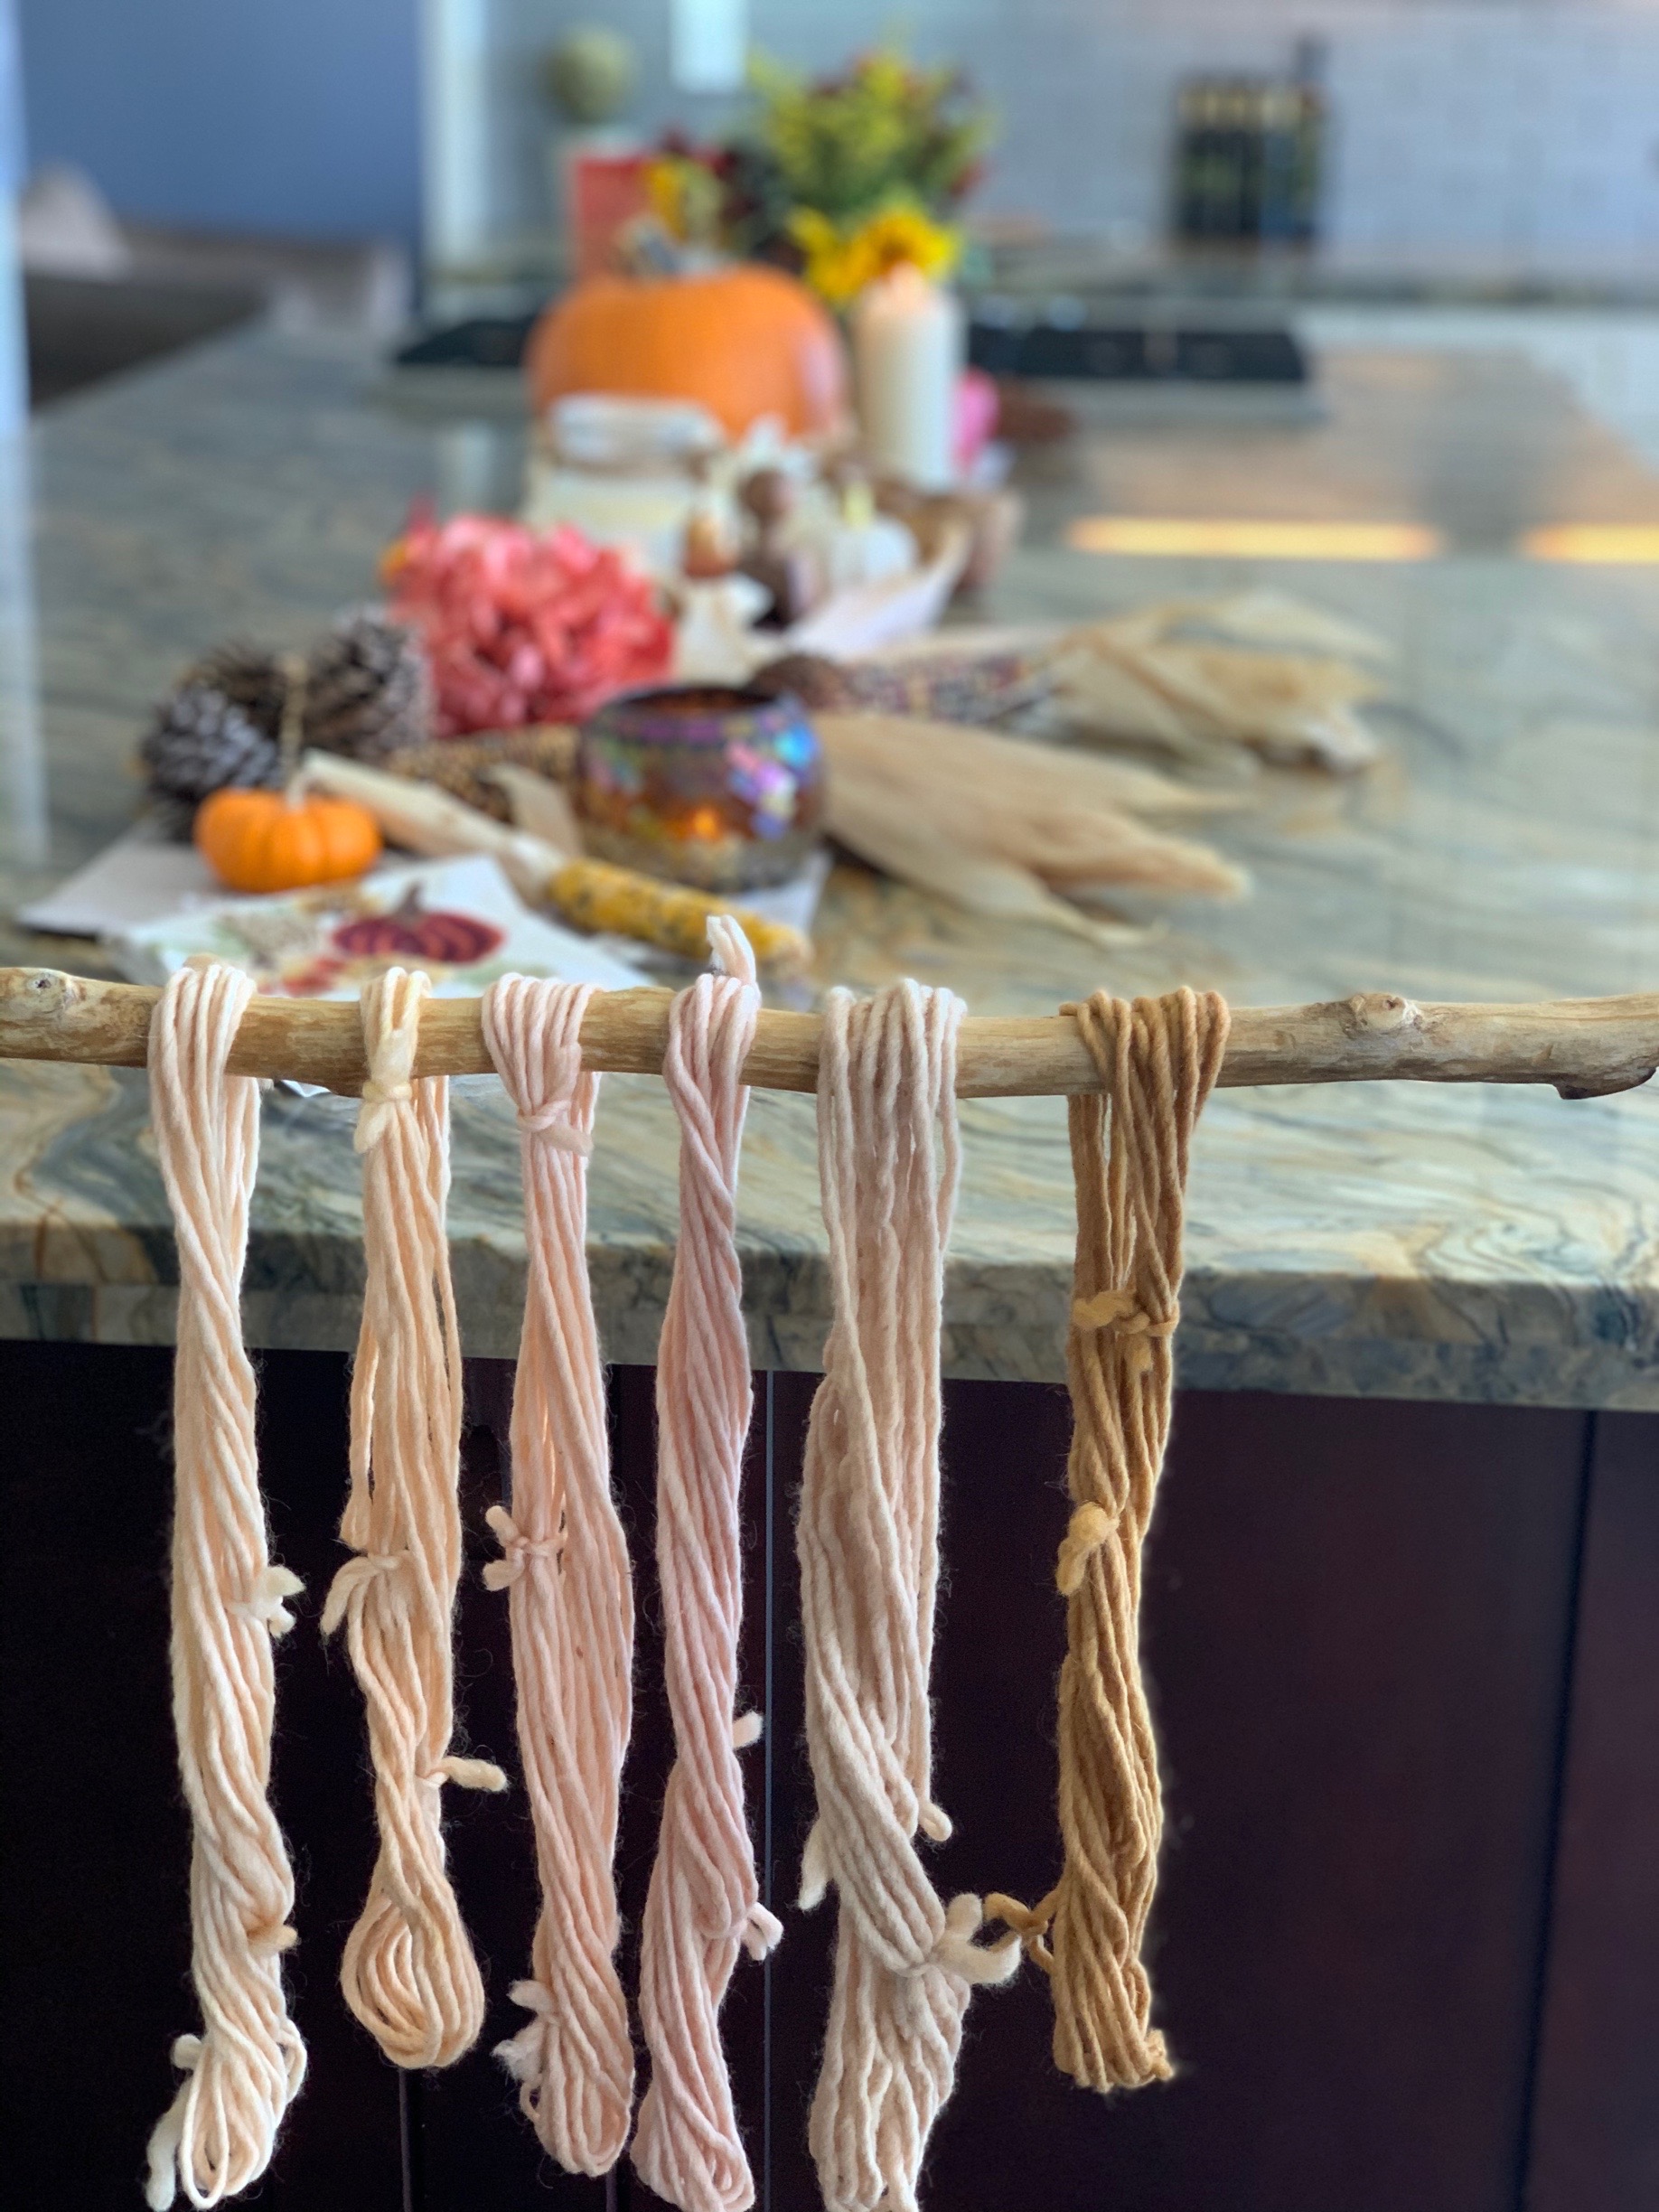
For this project, we just a sturdy child-sized loom. While this kit comes with all the supplies needed to weave a project, this happened to be a hand-me-down, so I collect our own supplies for this project. I used cotton string from Harrisville Designs to prepare the loom. Next I wove several rows for my daughter until the complicated pattern was set. We used bulky Lamb’s Pride yarn that we dyed using natural materials like tea, avocado pits and onion skins.
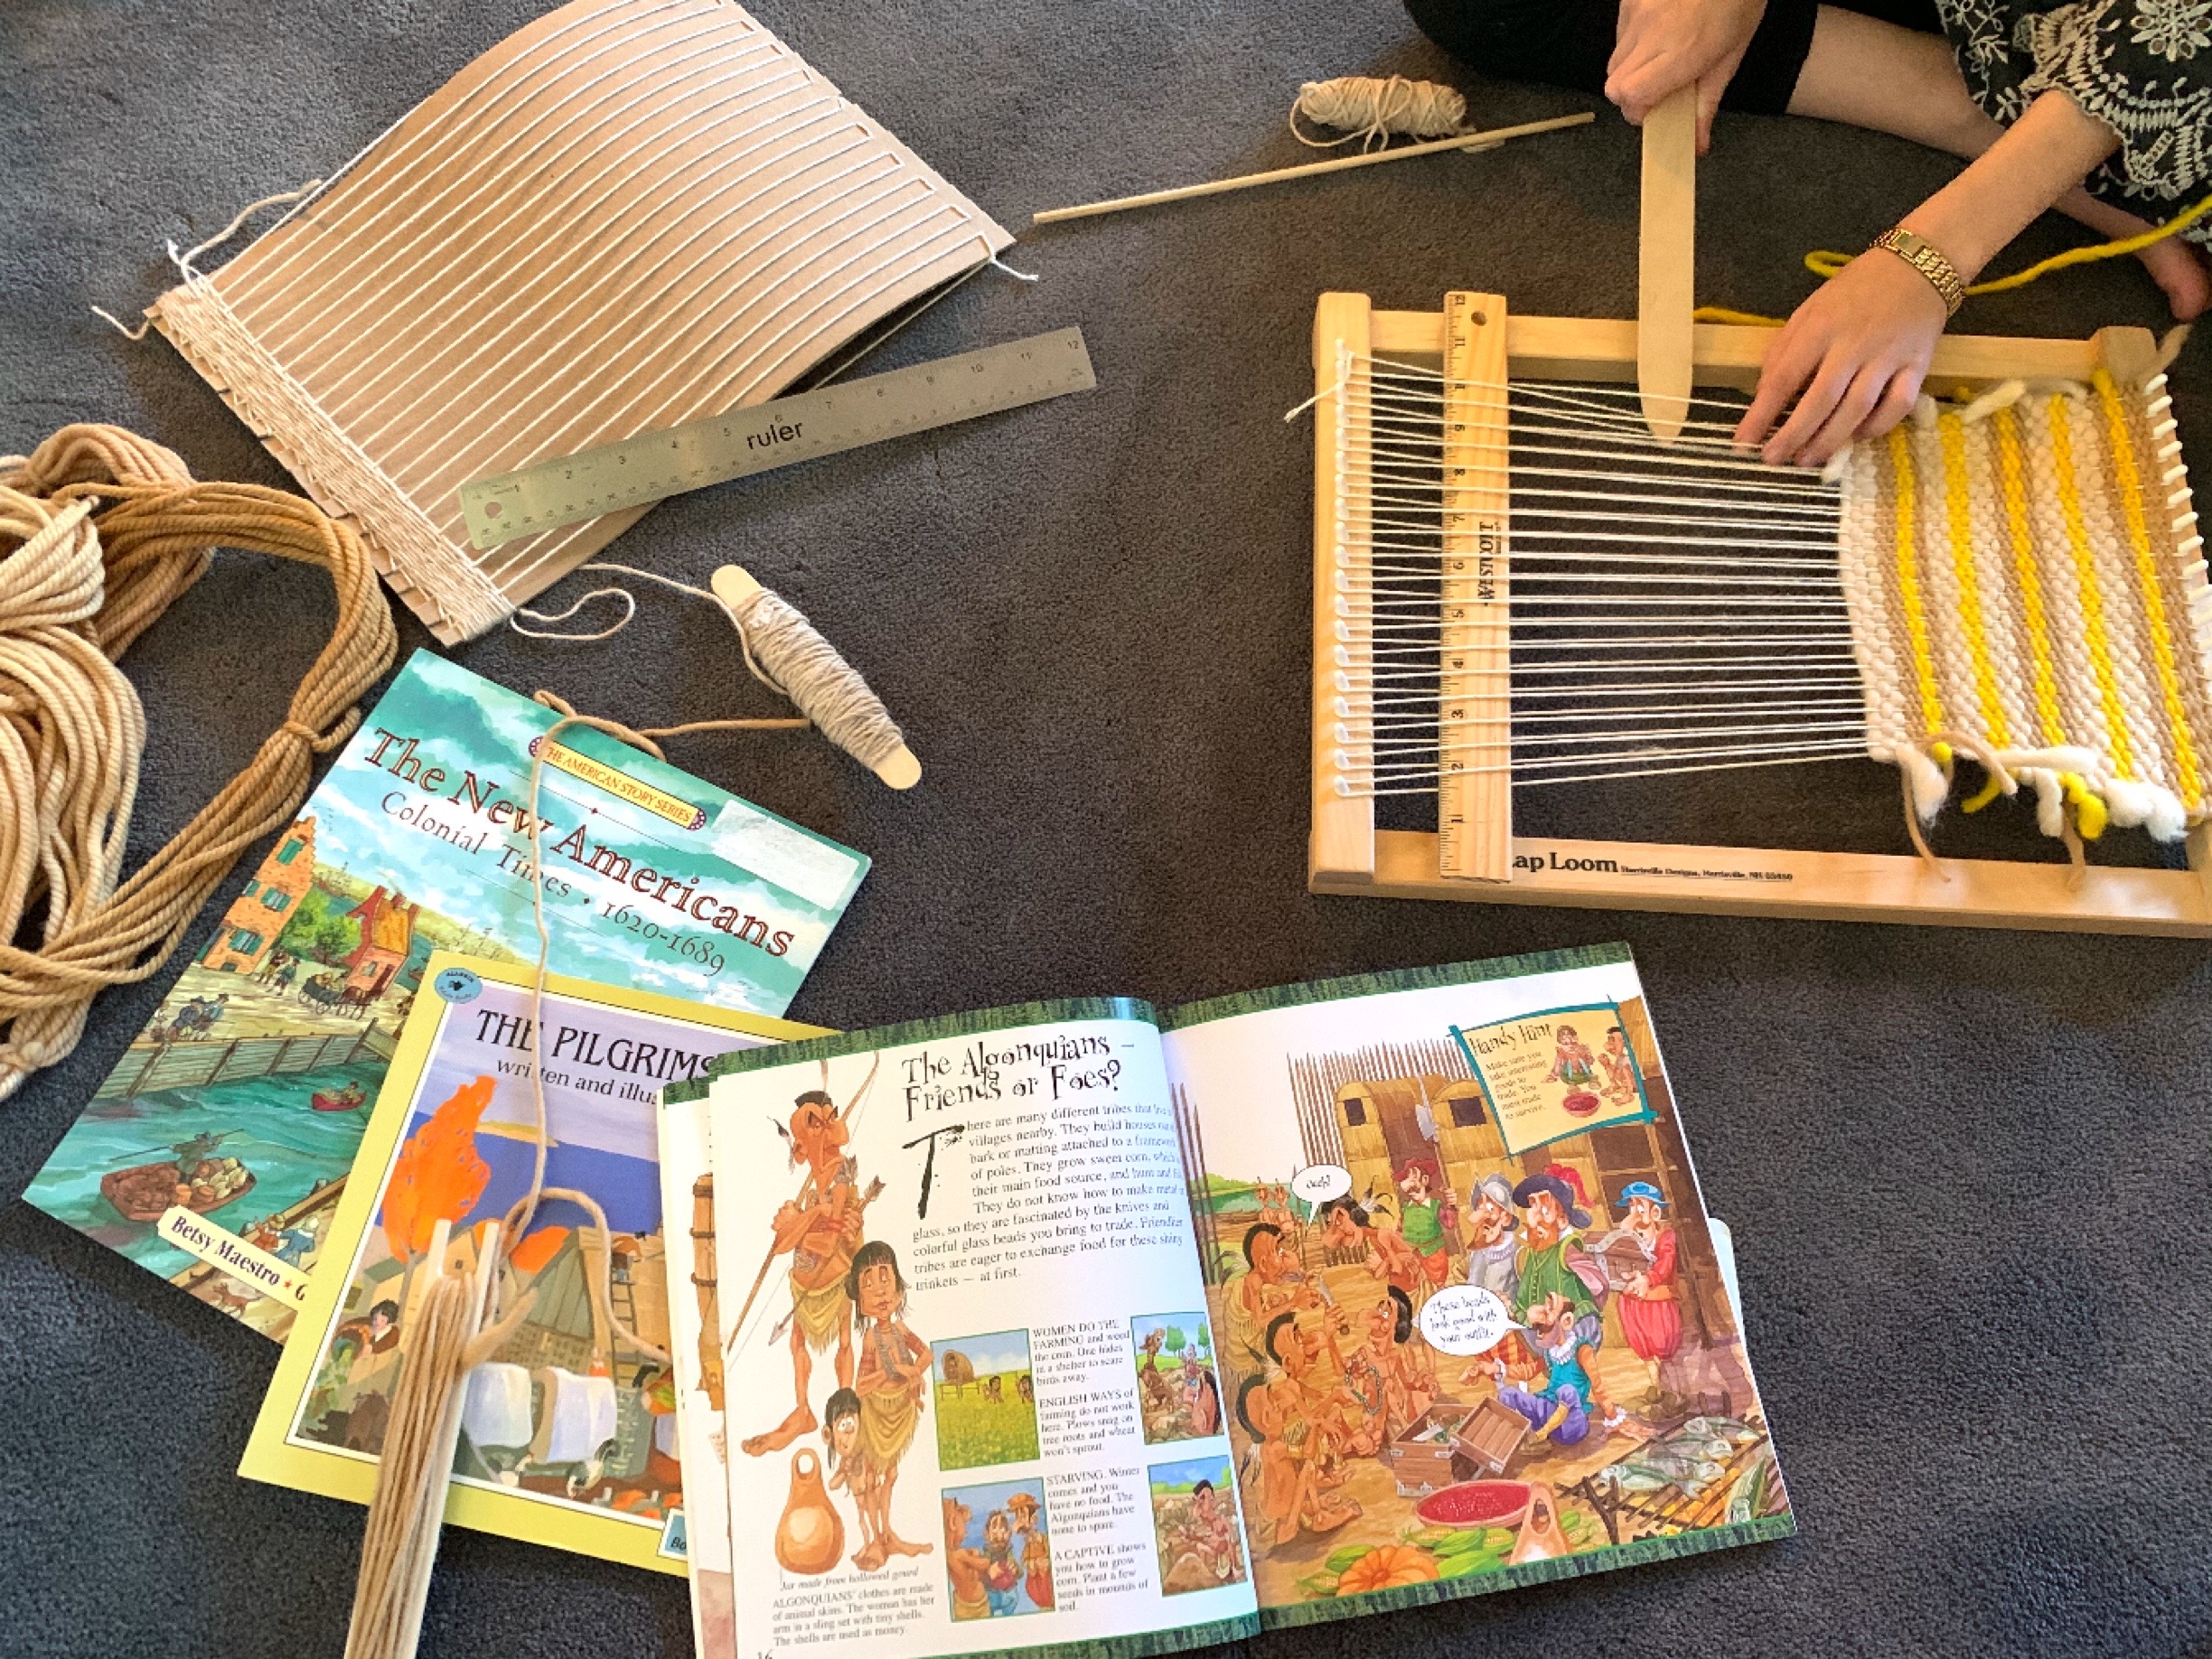
After the pattern was established, I showed my daughter how to go under and over with the wooden pick stick, then send the shutter through the open space created when the pick stick is turned on its side. The process was repeated until the project was complete.


Some problems we ran into was making the middle too tight. As my daughter sent the shutter back and forth, the middle of her project got tighter and tighter. A way to remedy this is to have a long metal or wooden dowel run the length of the loom so that the yarn goes around the metal as well as the cotton warping.
Colonial America Unit Study Review
This rounds out a short unit on American history time period 1600-1700’s. For this unit, we used living books as our curriculum. We supplemented with projects and activities I made myself or that were inspired by the books we read. For the unit, I wrote out what I wanted us to cover in a list form. I limited time rather than content. We did this unit for about 2 weeks and covered what we could in that time. While I thought our feast was well planned and delicious, we did run into some unforeseen problems. My daughter was upset and my son was not interested. My nephew joined us and he seemed to have a good time. I wrote about it in an Instagram post that you can read on in the blog post that accompanies this video. The new projects for this unit include a lot of handwork. We did two weaving projects and two knitting projects. Both children did weaving on a loom. My daughter’s was a Harrisville Design loom and for my son we made a DIY loom. We ran into some problems with that loom, but in the end he has a nice sized bag. We also knit hats and socks! Tutorial videos will be included in this playlist as well as in a handwork playlist.


Curriculum Haul | Colonial America
We are kicking off our American History units with the Colonial times. We did an introduction to American History with a small unit on Columbus, but this is our first official unit of a series of units that will span several months.
Now that all our materials have arrived, I can work on separating them into smaller units. Once they are all sorted ( we got a lot of material!!), I can begin lesson planning.
The first step in lesson planning for me is figuring out how long each book, project or kit is going to take to complete. I use full back sticky Post-Its to help me in this part of the process. I adhere a Post-It on the back of the book or kit and I write whatever information can help in the lesson planning process. For instance, I write long long the book will take to complete and how many chapters I have to read each day to complete the book. If we aren’t going to read a book cover to cover, I write what pages or sections we’ll cover. If my children are going to read the book, I mark who will read it and how long it will take to complete. If it’s a project book, I mark the projects we plan to do with Post-It flags, as well as mark what supplies I’ll need to find or buy for the projects. I keep all these materials, books, etc. in a bin. Right now they are stored in our school room’s closet, but we are fast running our of space. I’ve used some additional storage right outside our school room, and again this year, I’ll need to shuffle some things so I can keep these new units accessible throughout the year. I especially like open bins for storing our unit studies.
Once the general lesson planning is completed, I can more onto the detailed day to day lesson plans and figure out how long I want to spend on a unit. I usually make up our weekly lesson plans on Sunday. I sometimes plan a whole unit (6 weeks or so) at a time and that’s very helpful, too.
See the complete list of American History Haul videos. You can get the complete list of materials we are using for all our American History Units by click here or visiting my Teachers Pay Teachers page.
How To Do A Unit Study | Colonial America
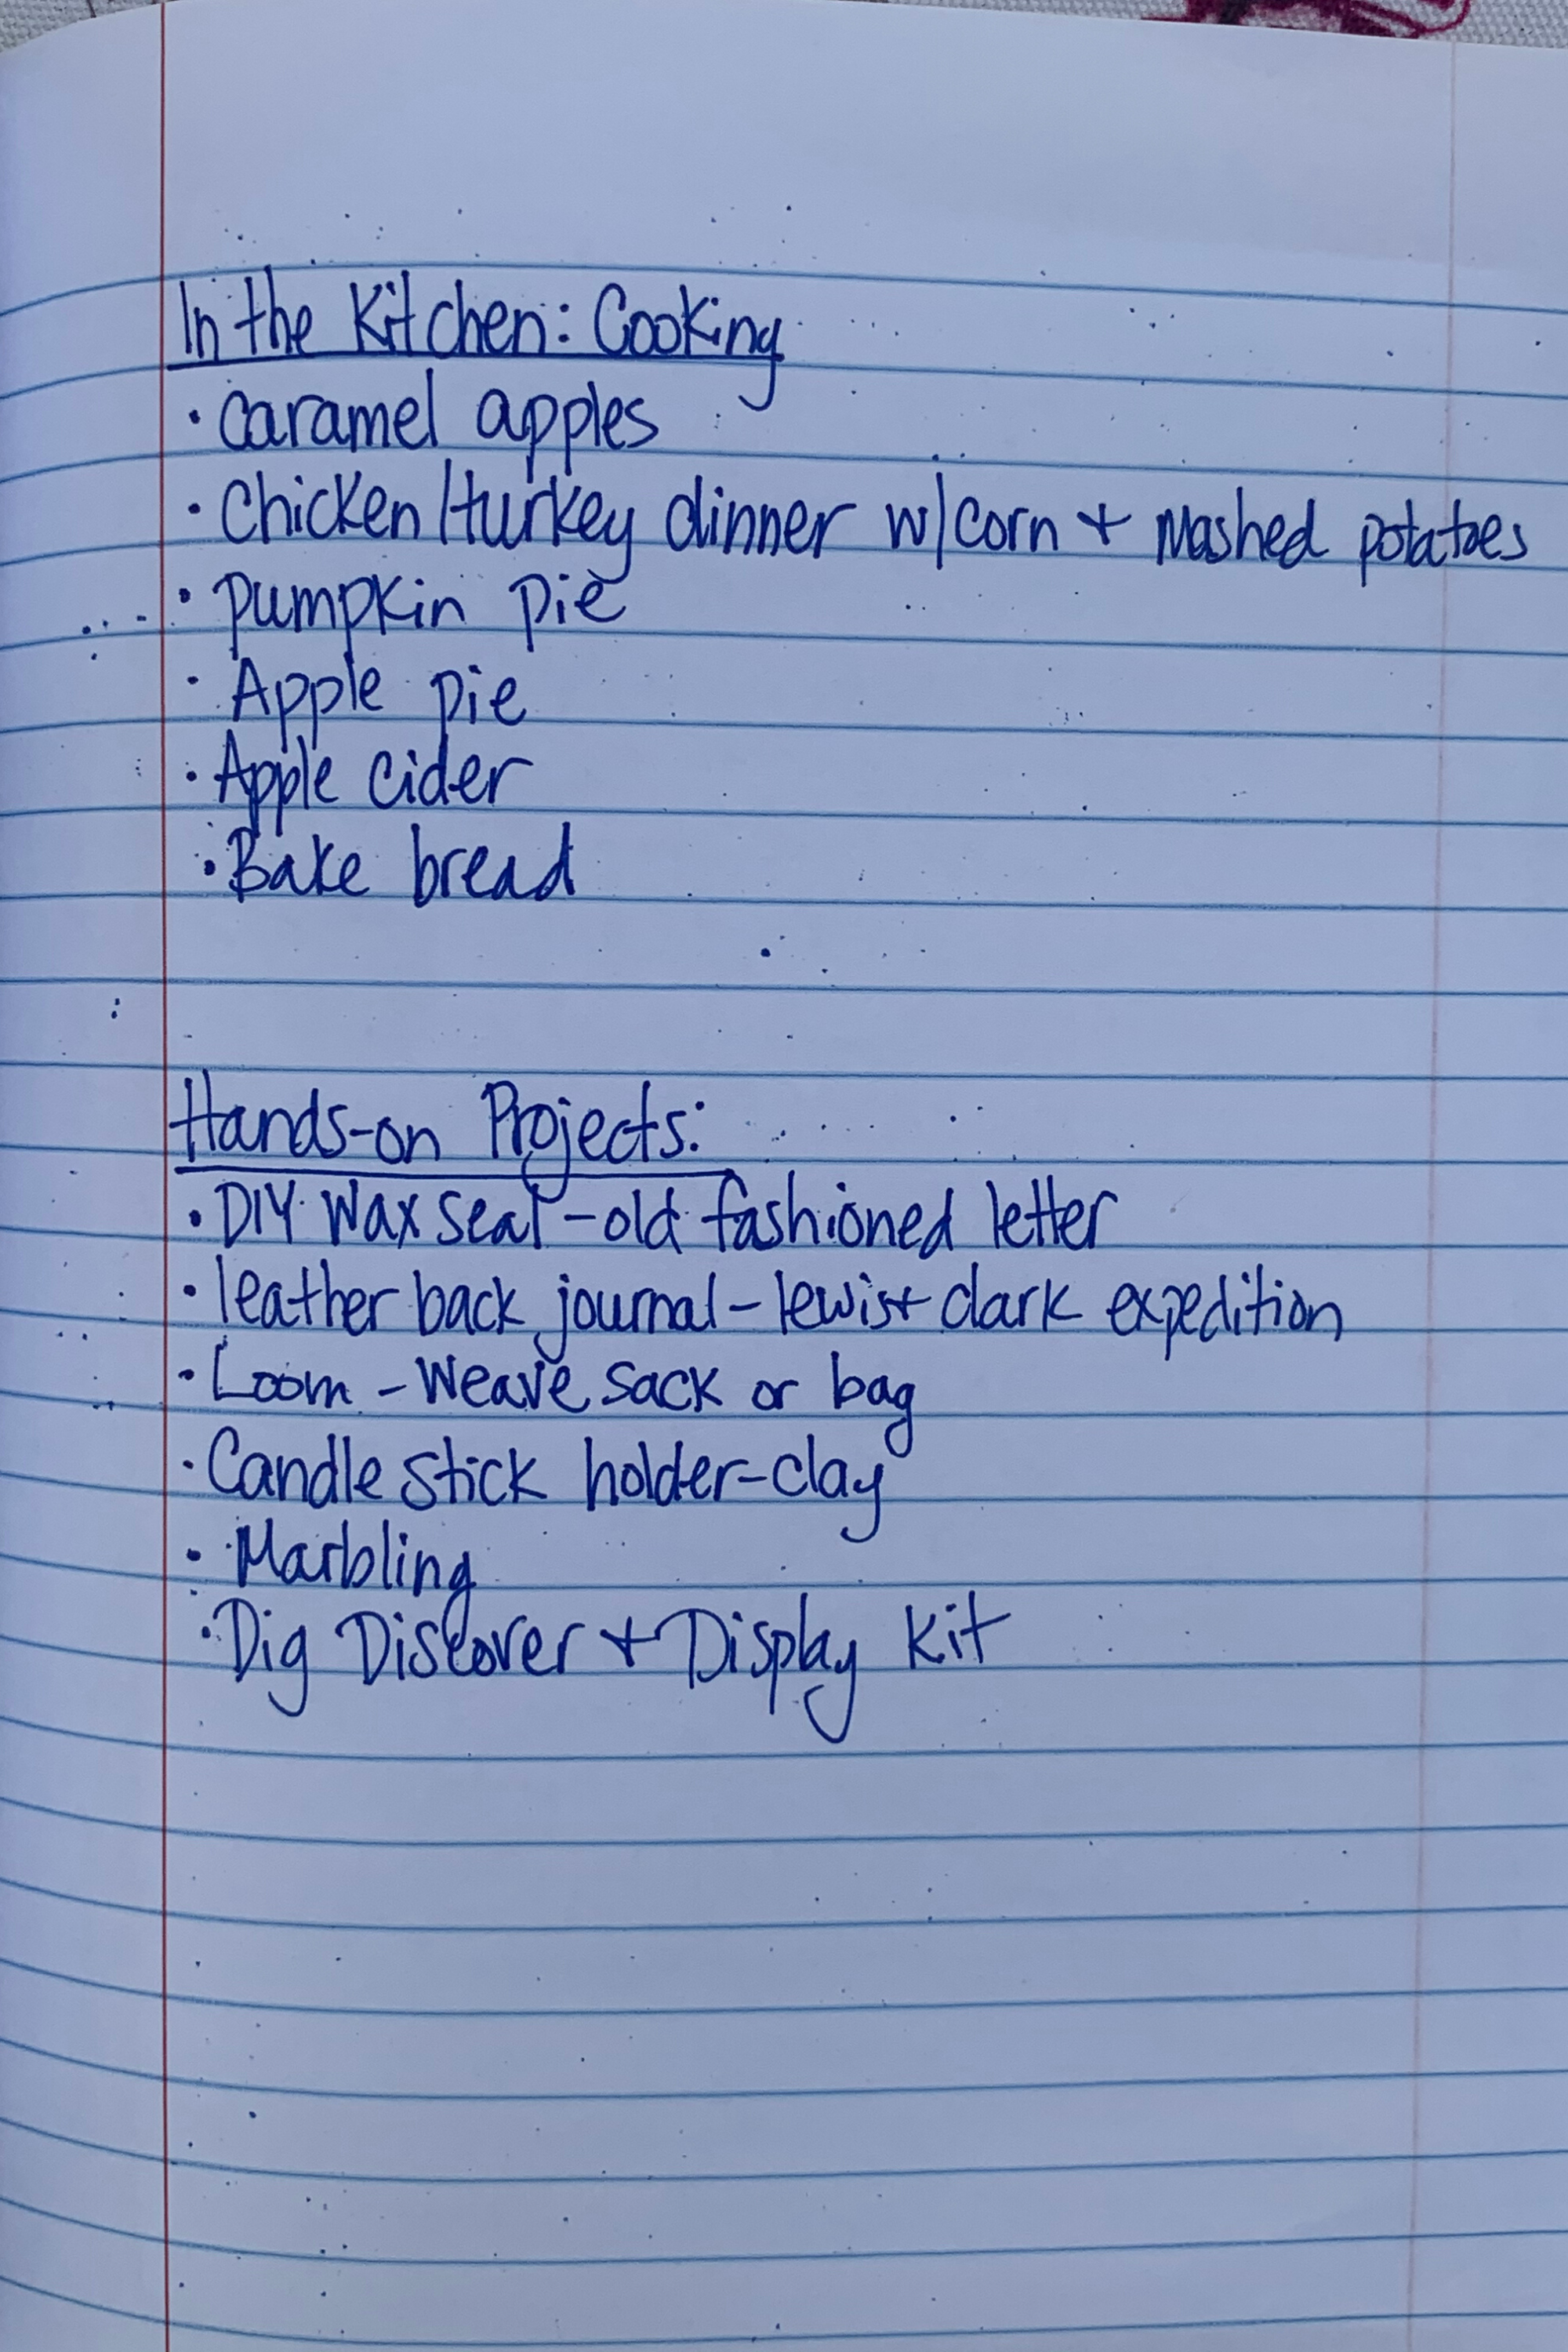
We officially kicked off our American History units with a unit on the Colonial Times. We have a mix of historical fiction, historical books, pictures books and activity books. We have a number of hands-on projects planned as well as a number of recipes to try.
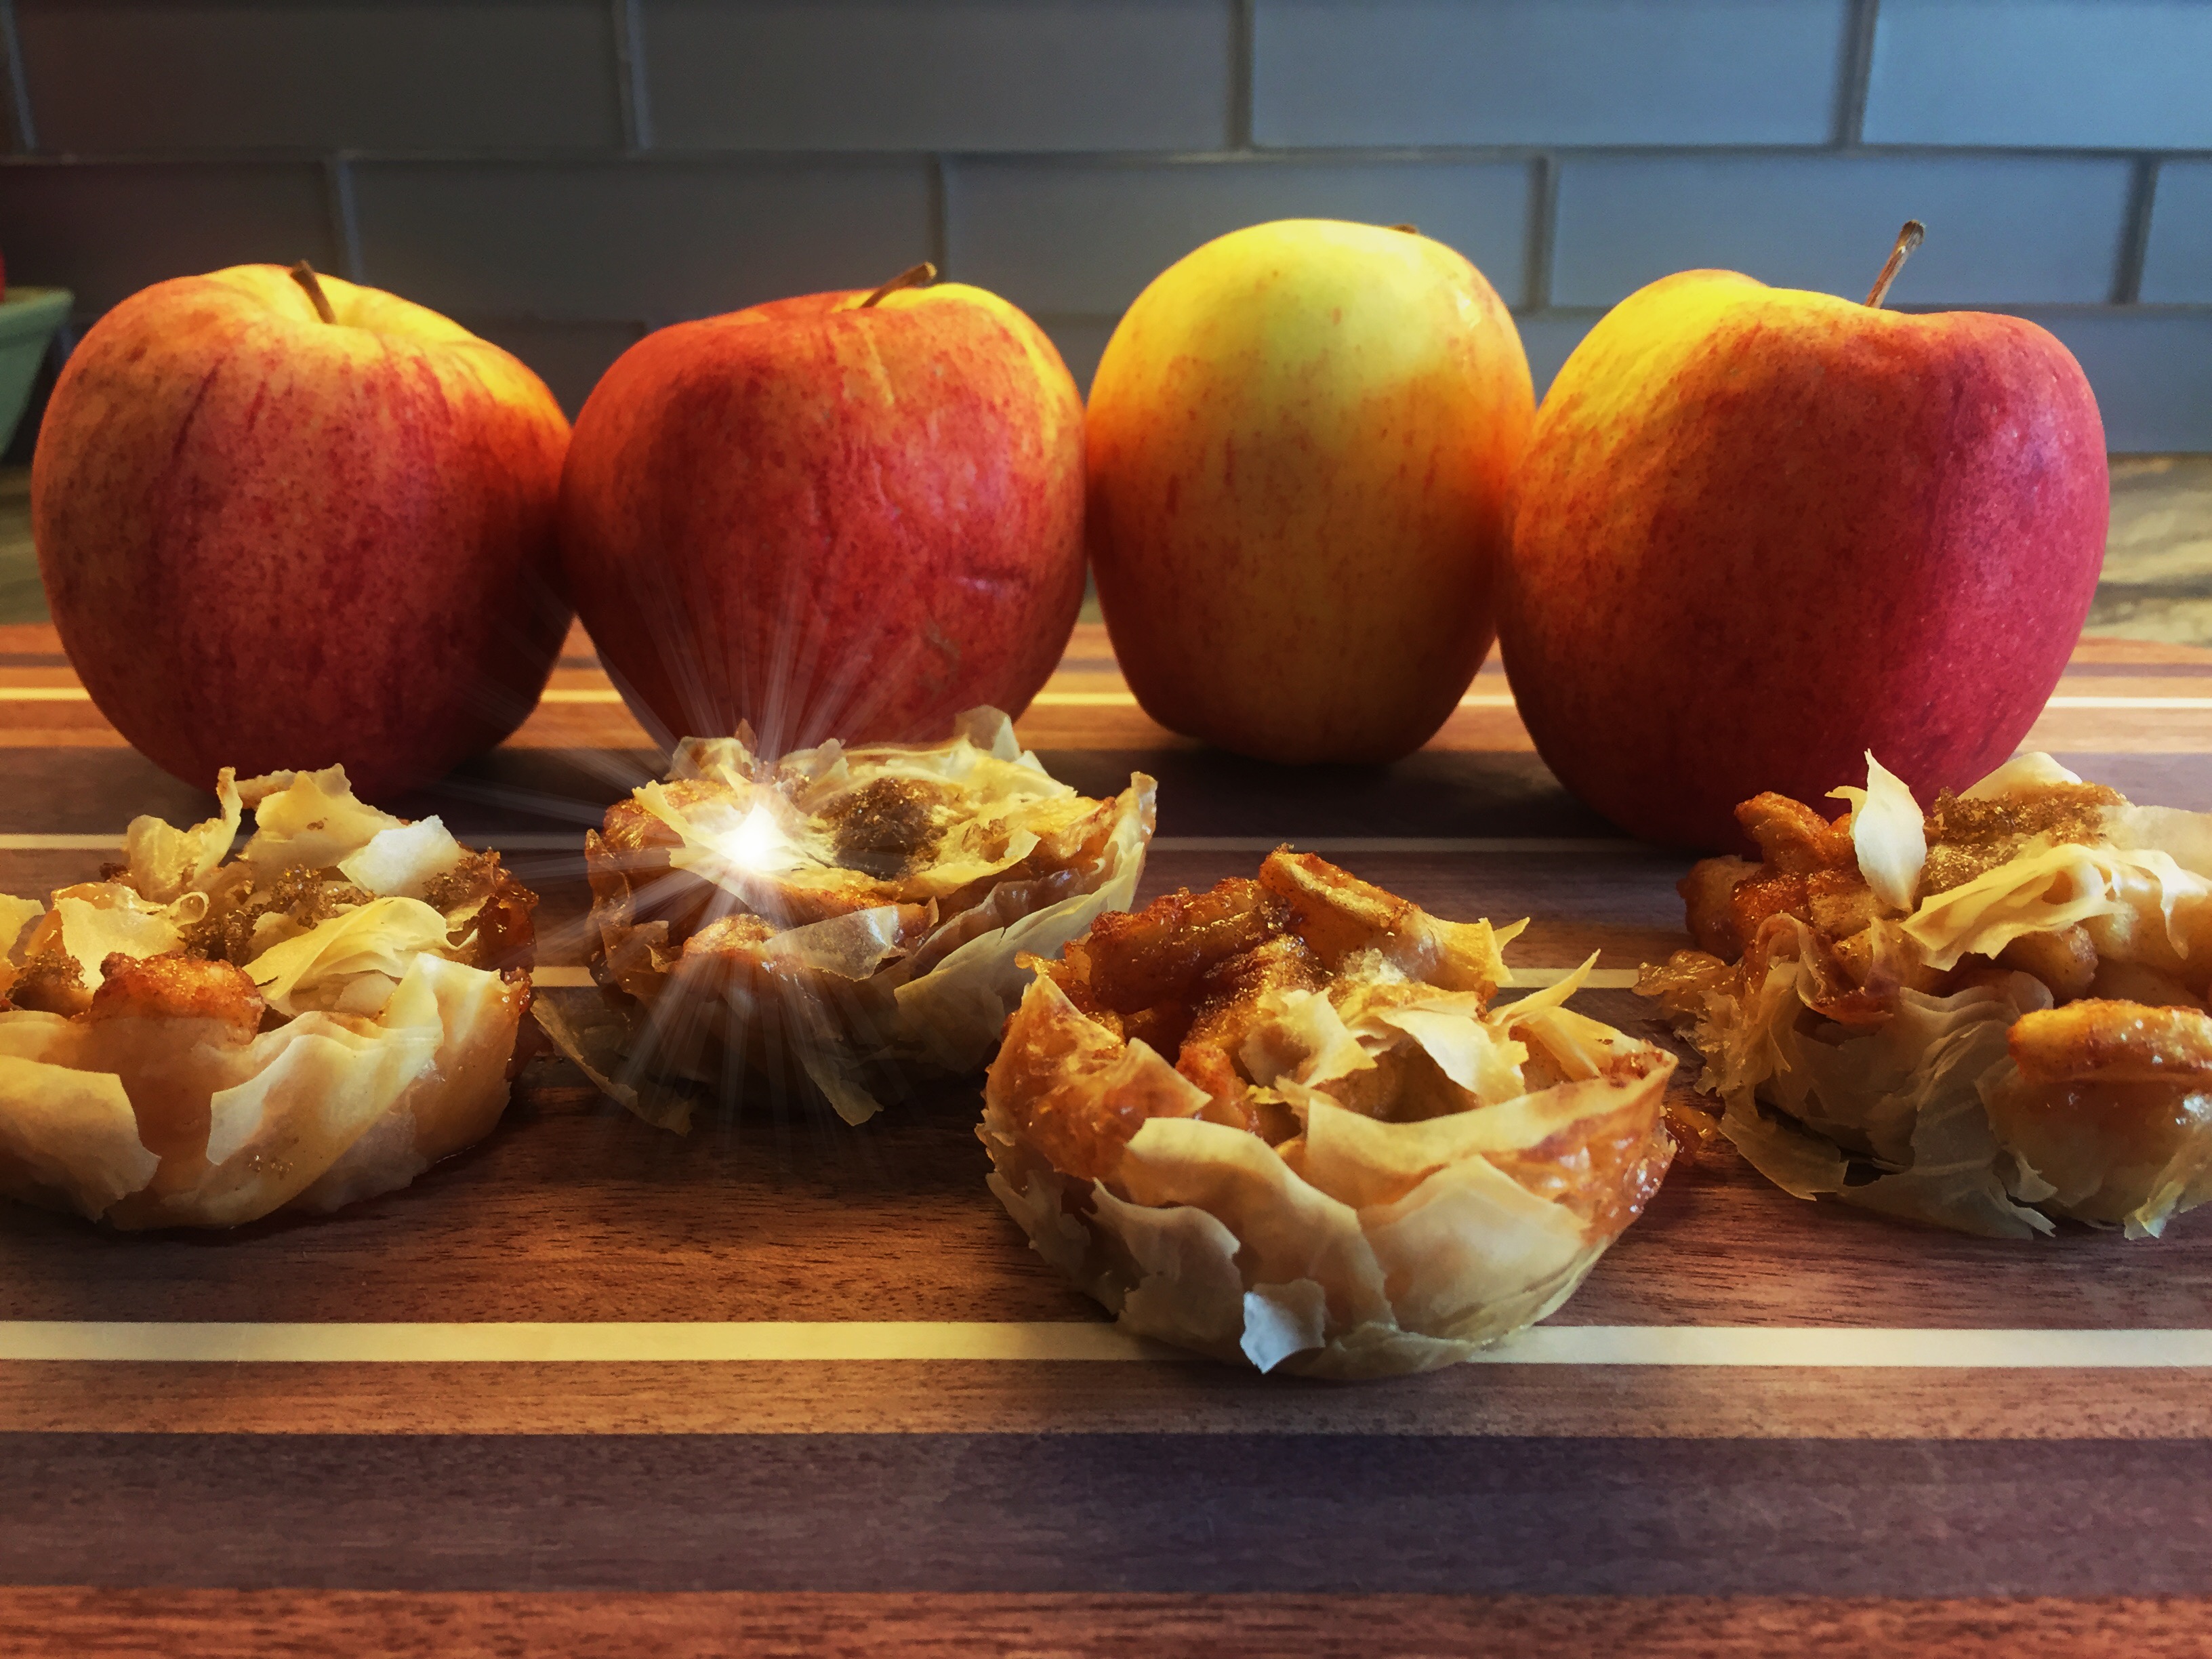
It may seem more like a cooking unit because we had a number of recipes we added to the unit: Vegetable soup in a pumpkin, pumpkin pie, pumpkin seeds, apple pie and popcorn to name a few.
Our hands-on project will span multiple units like knitting, weaving, sewing and crocheting, but we’ll be making a broom and mop (child sized) as part of this unit. Building a model of the Mayflower would have been so neat! But you can see the Mayflower 2 on the east coast and get a good look around 🙂
Here’s my sophisticated lesson plan 😉 I can tell you now that this unit takes three weeks (not the two I proposed). I also forgot to mention a book we are using for this unit: The World of Capt. John Smith. Which is a fantastic book so far! Amazingly written in a captivating narrative. You almost feel as though your right there.
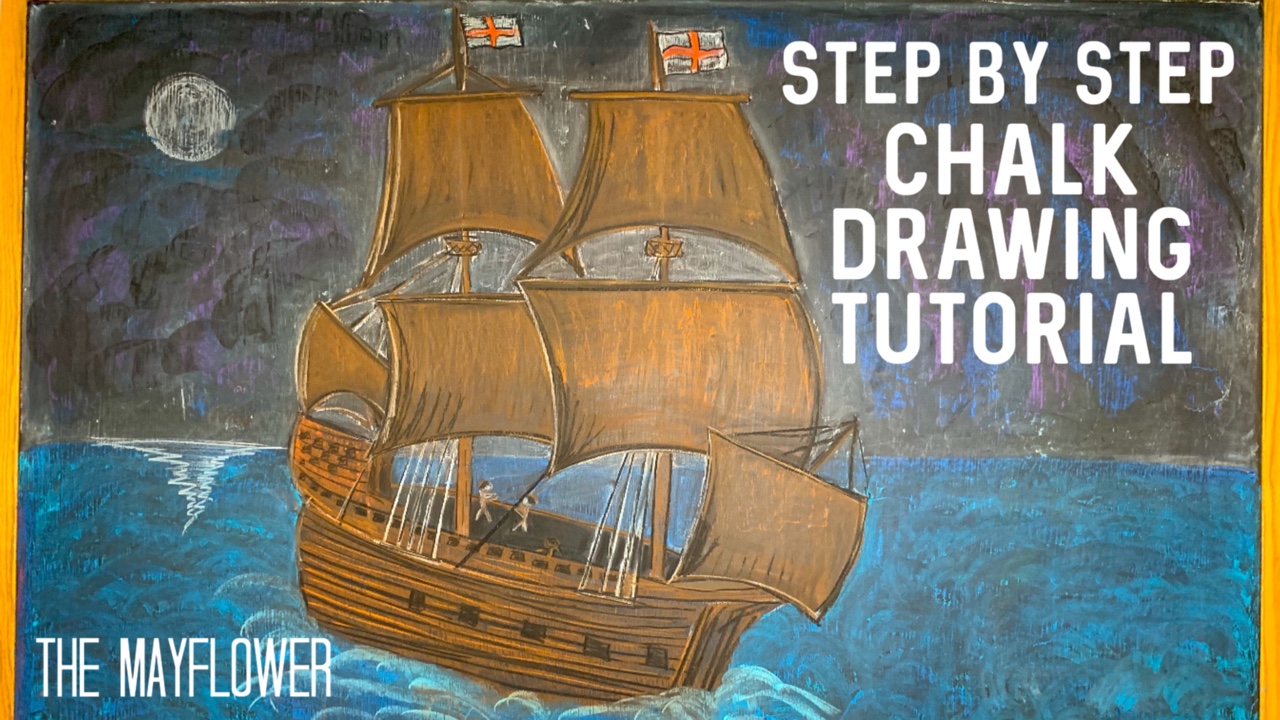
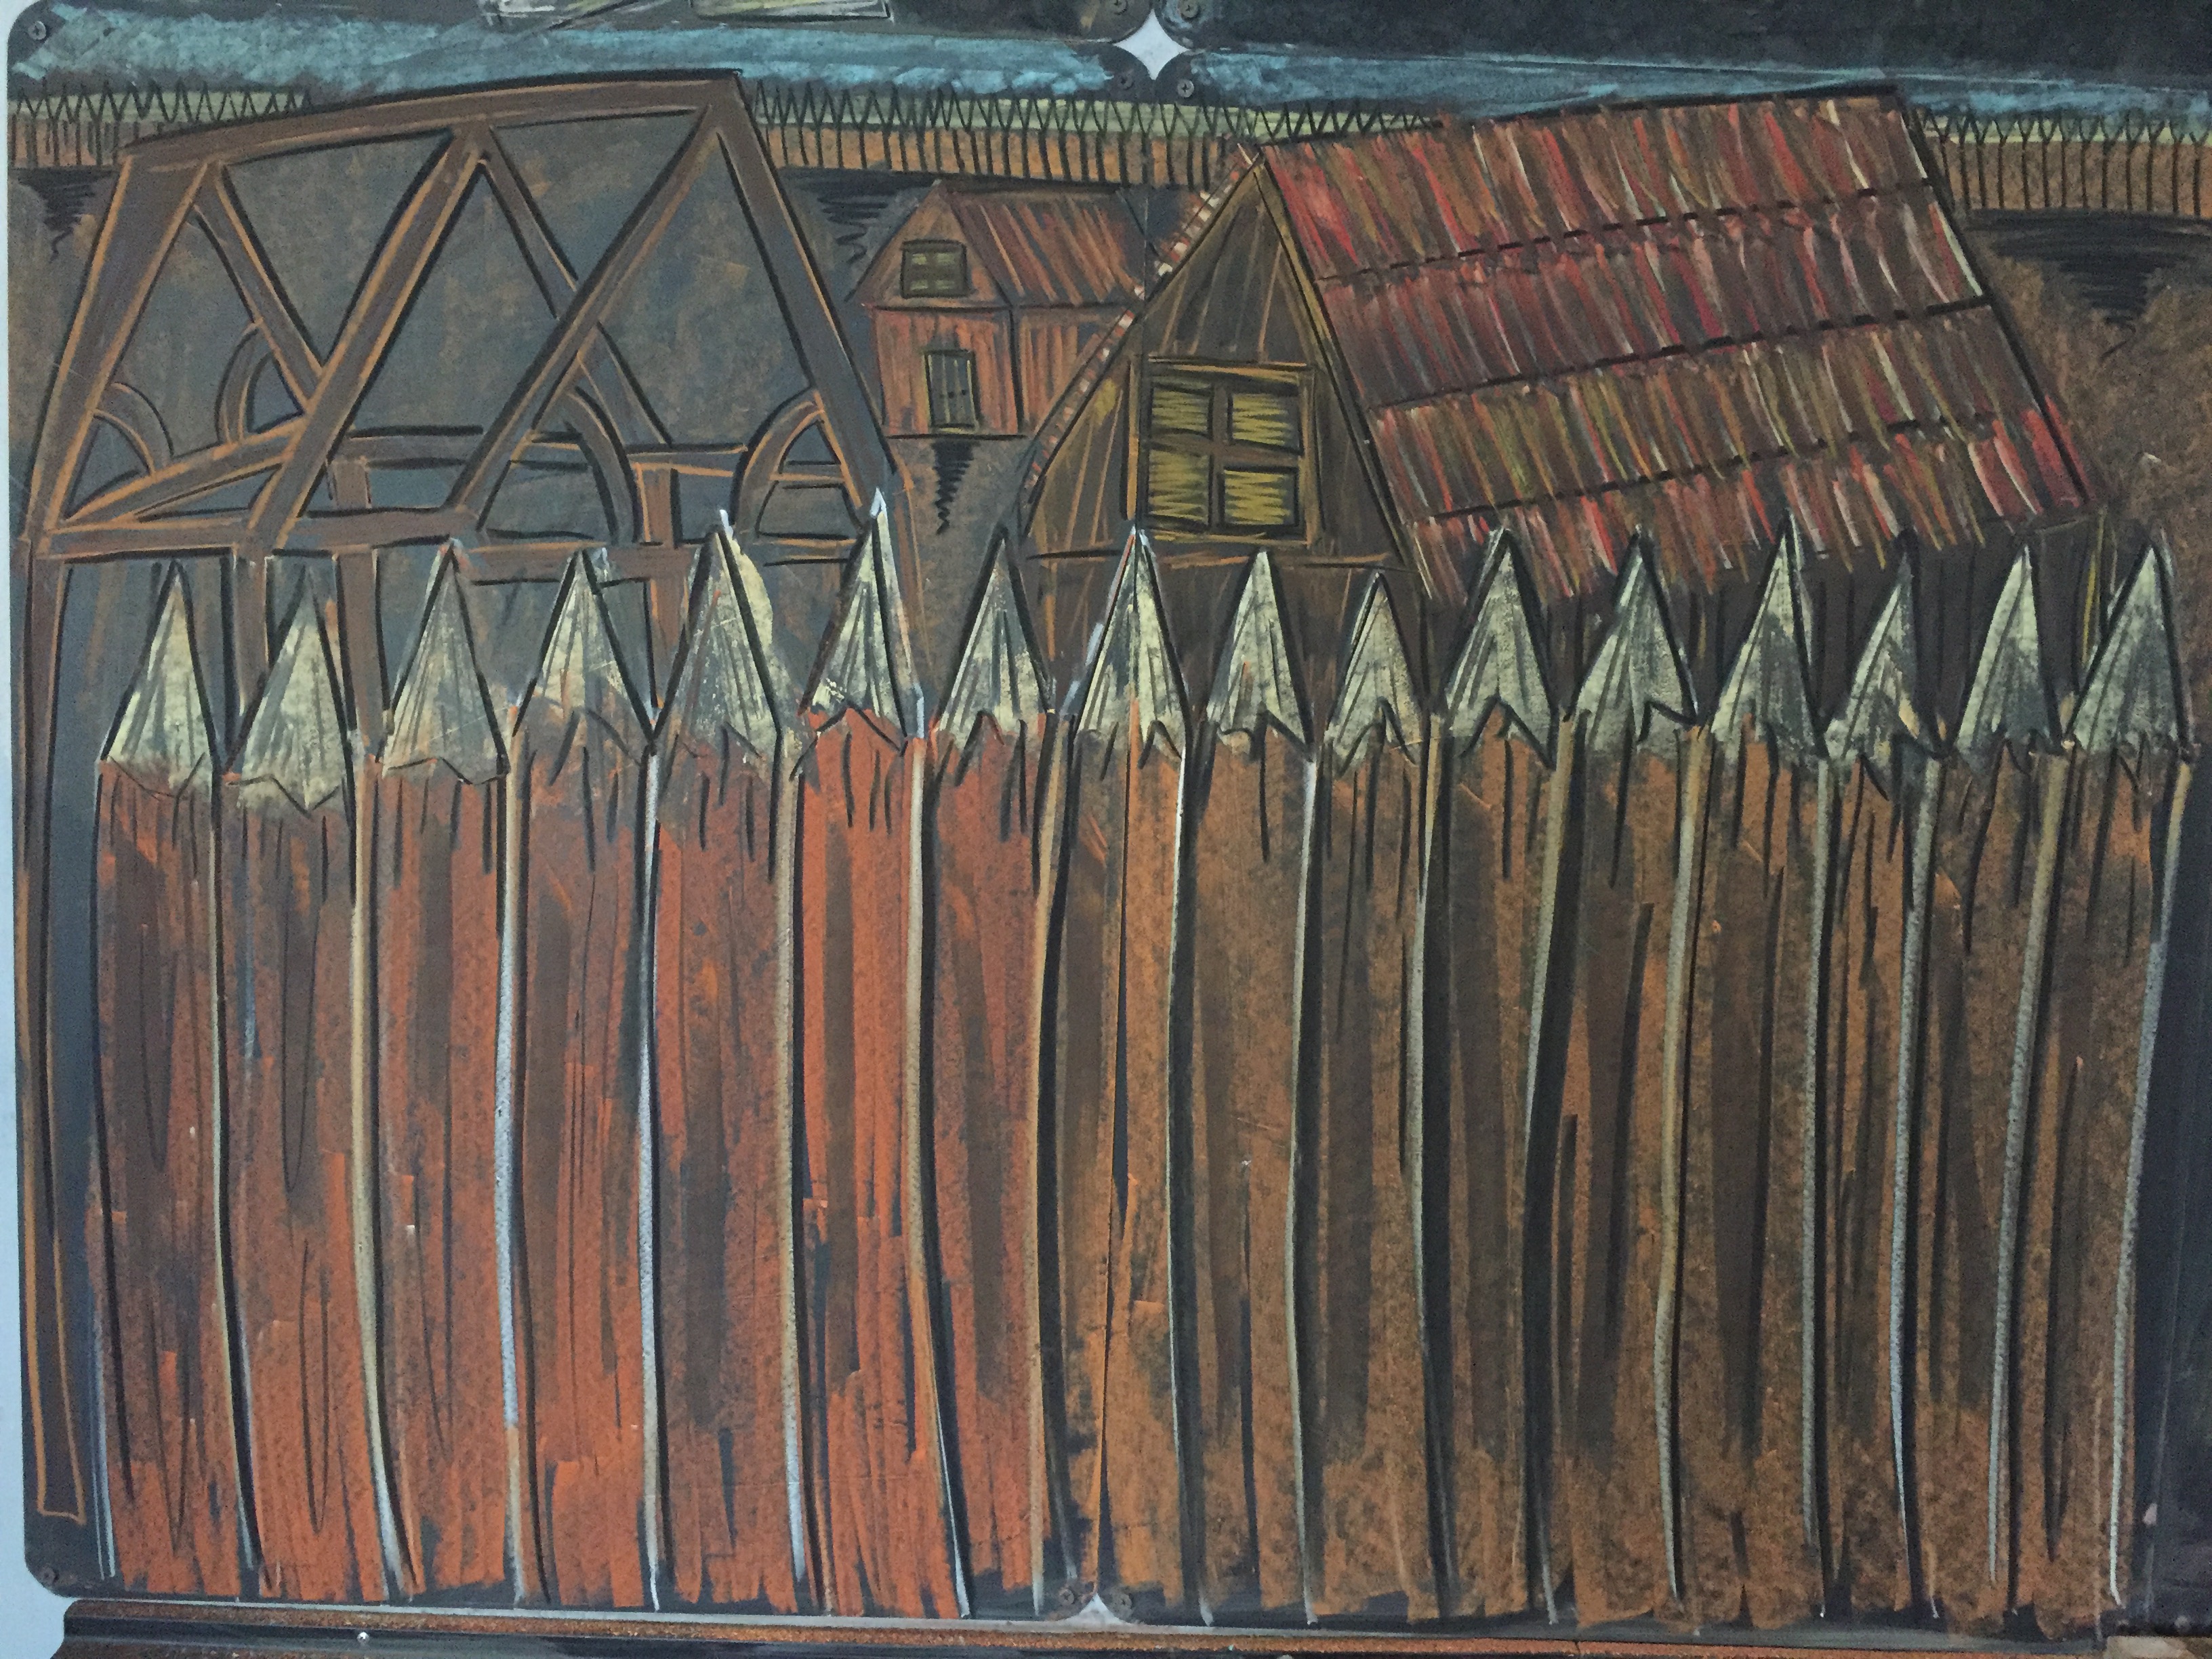
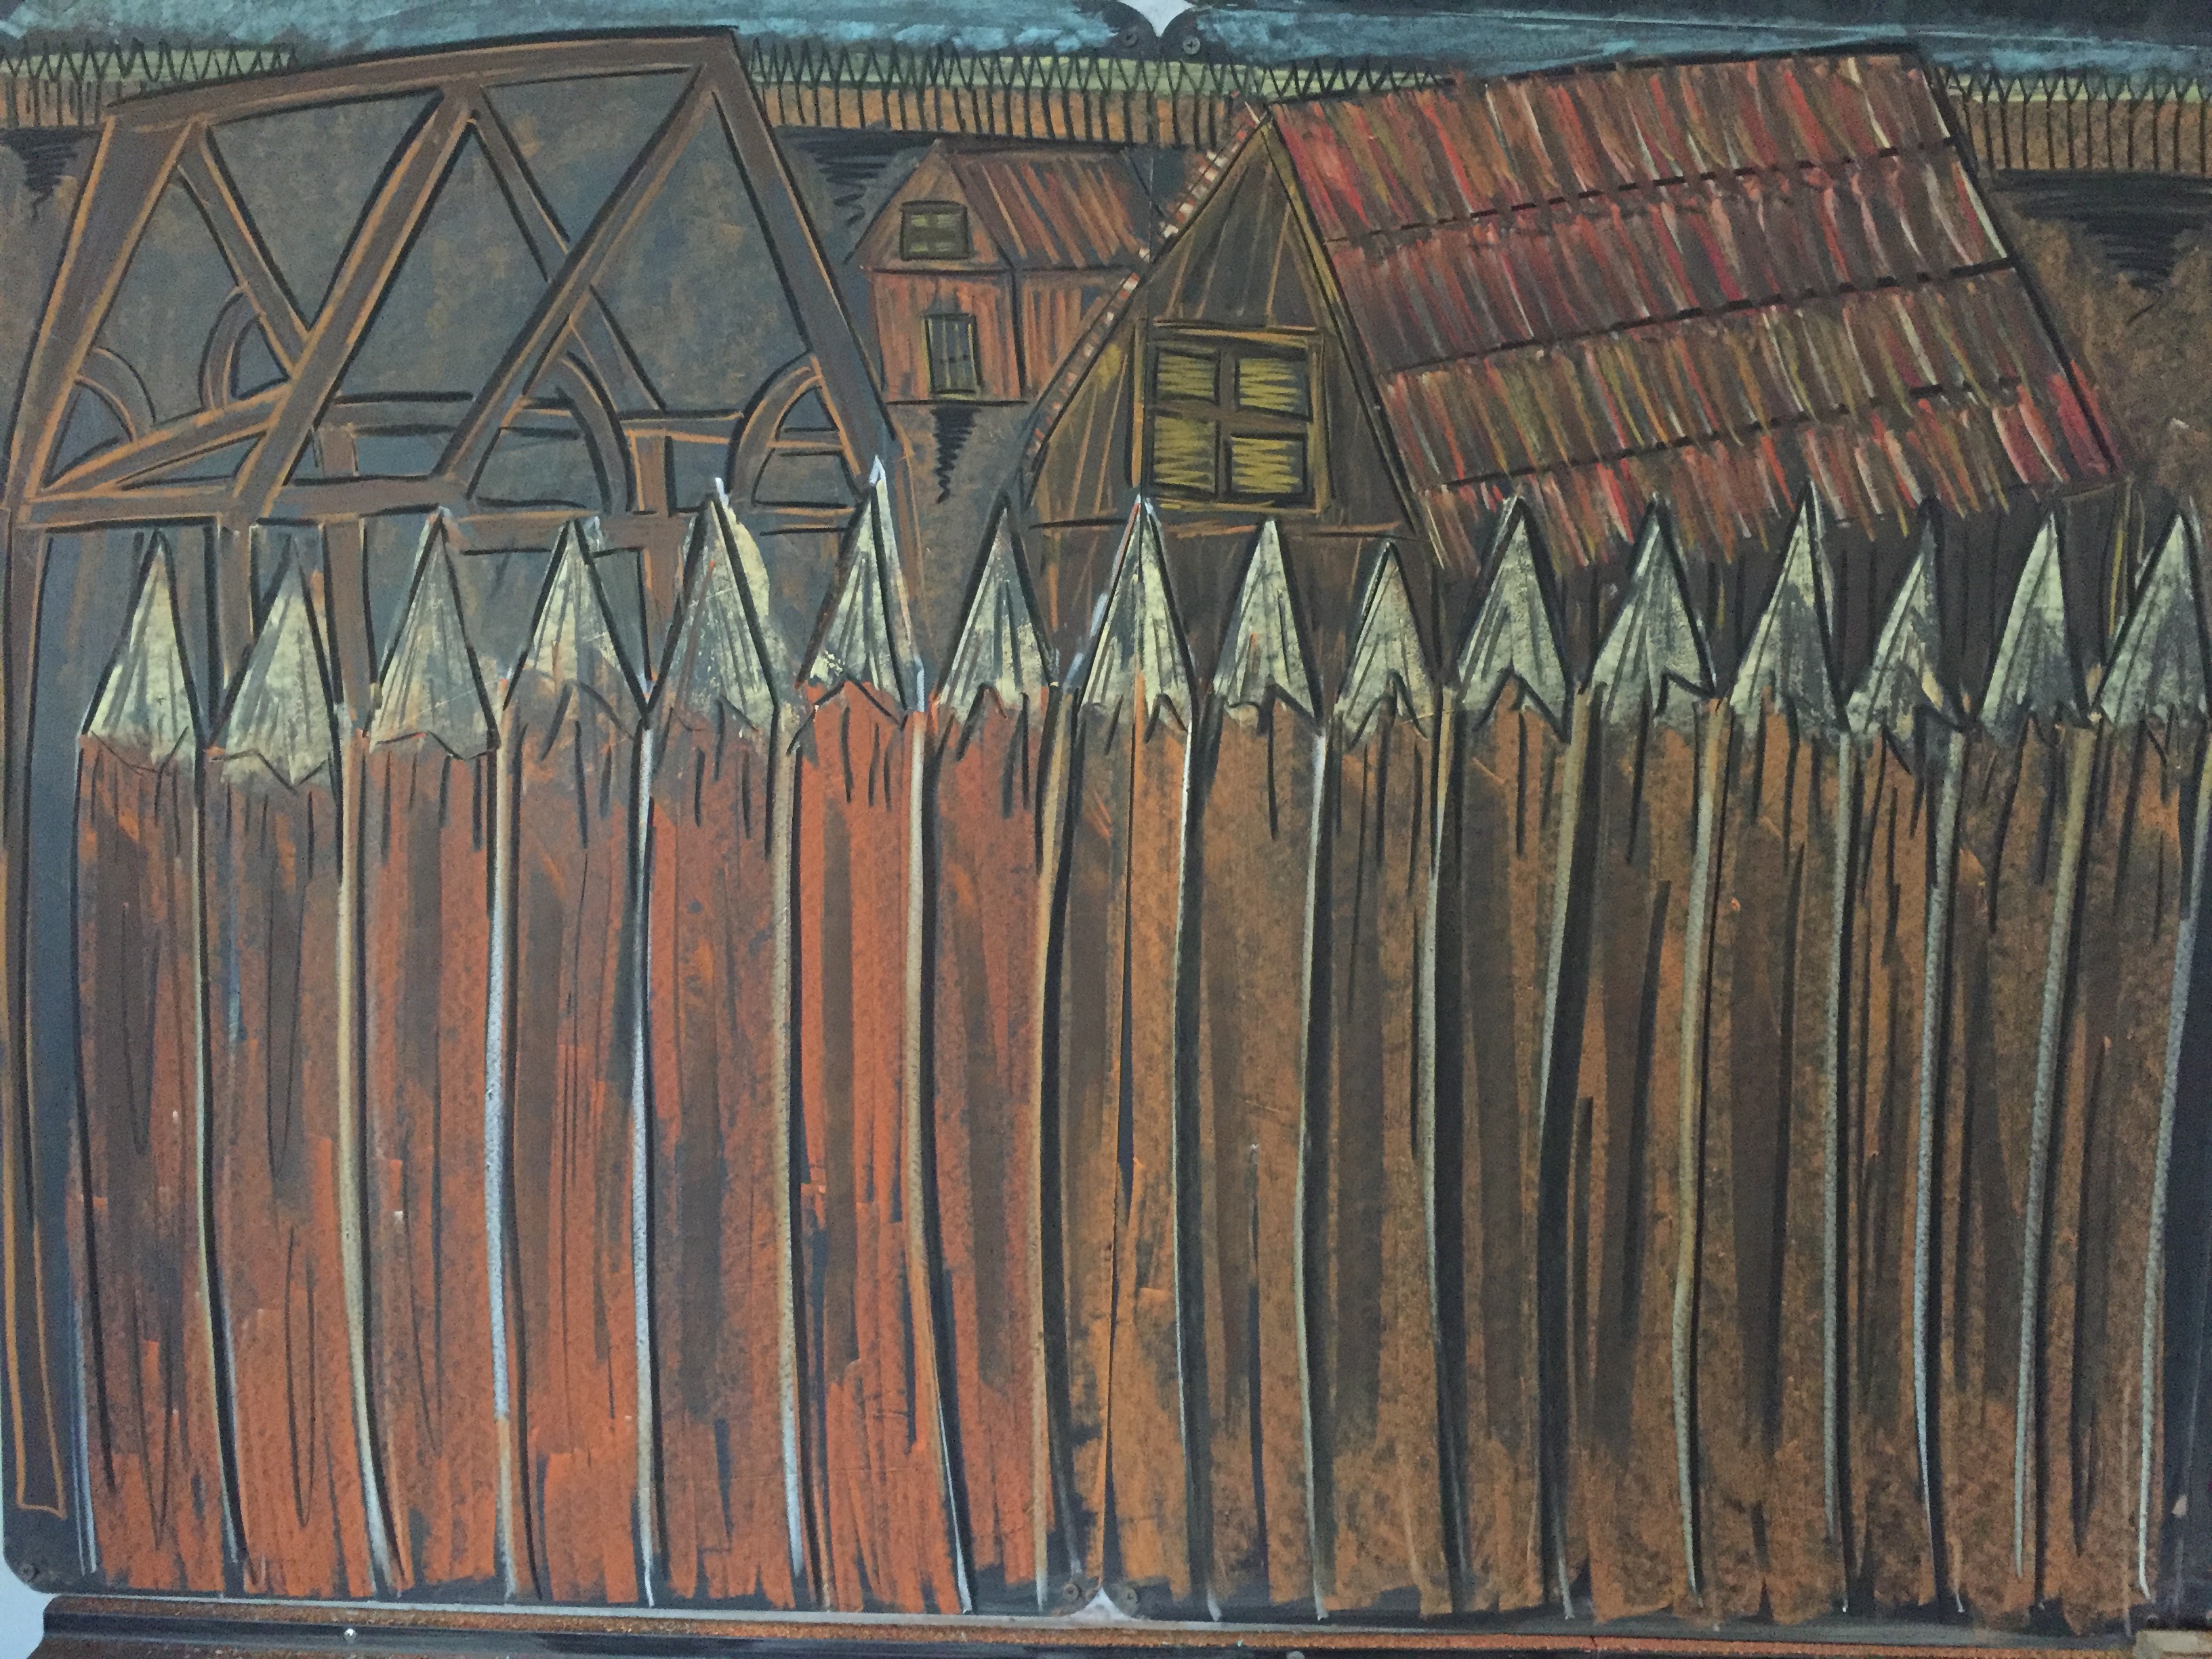
Chalk Drawing Tutorial | Mayflower
This is our first chalk drawing after painting our slate chalk board with chalkboard paint. After many frustrating chalk drawings, I finally decided it couldn’t be any worse. Well, I’m really pleased with the results and really pleased with our first chalk drawing of this unit.
This drawing was made using Sargent Art Chalk Pastels. It took one hour to complete and I used the book The Adventurous Life of Myles Standish by Cheryl Harness as inspiration.
You can see all our videos for our Colonial Times unit study.
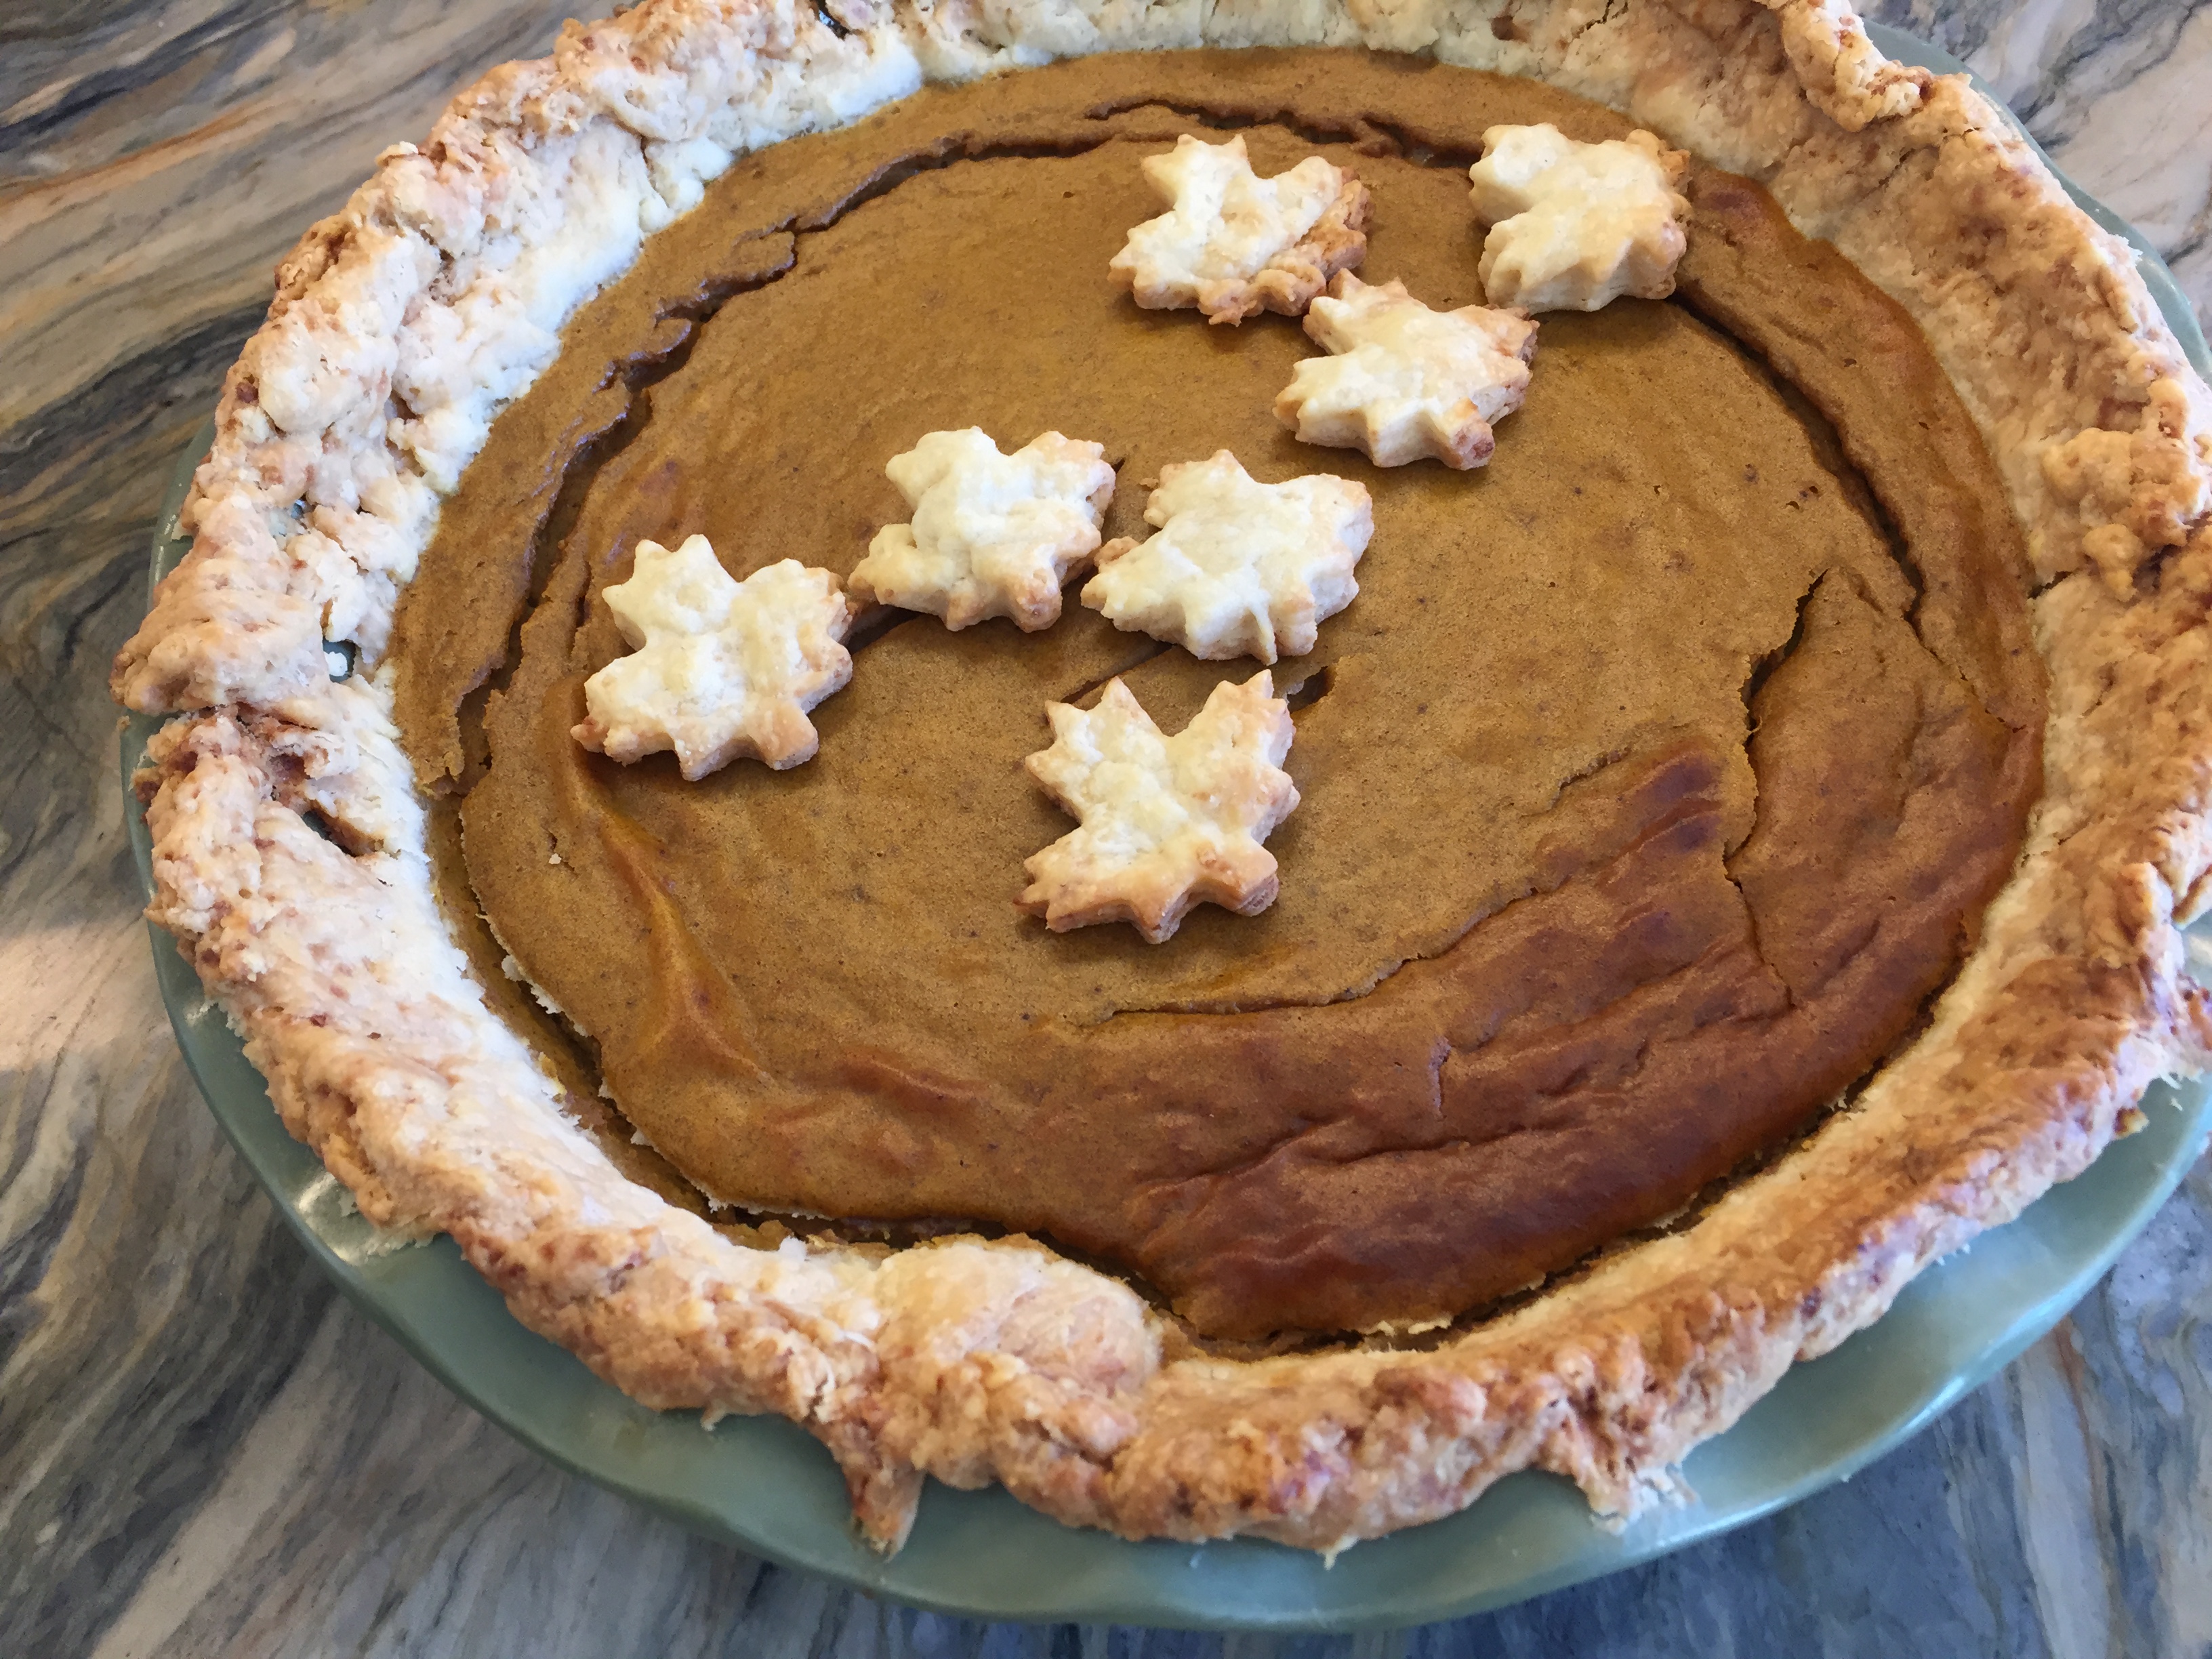
How To Make Old Fashioned Pumpkin
It is timely that our unit study on the Colonial Times, the voyage of the Mayflower and the first Thanksgiving nestled perfectly with this time of year. Reservations about the actual events aside, this pumpkin pie was delicious, easy and ties in well with our unit study.
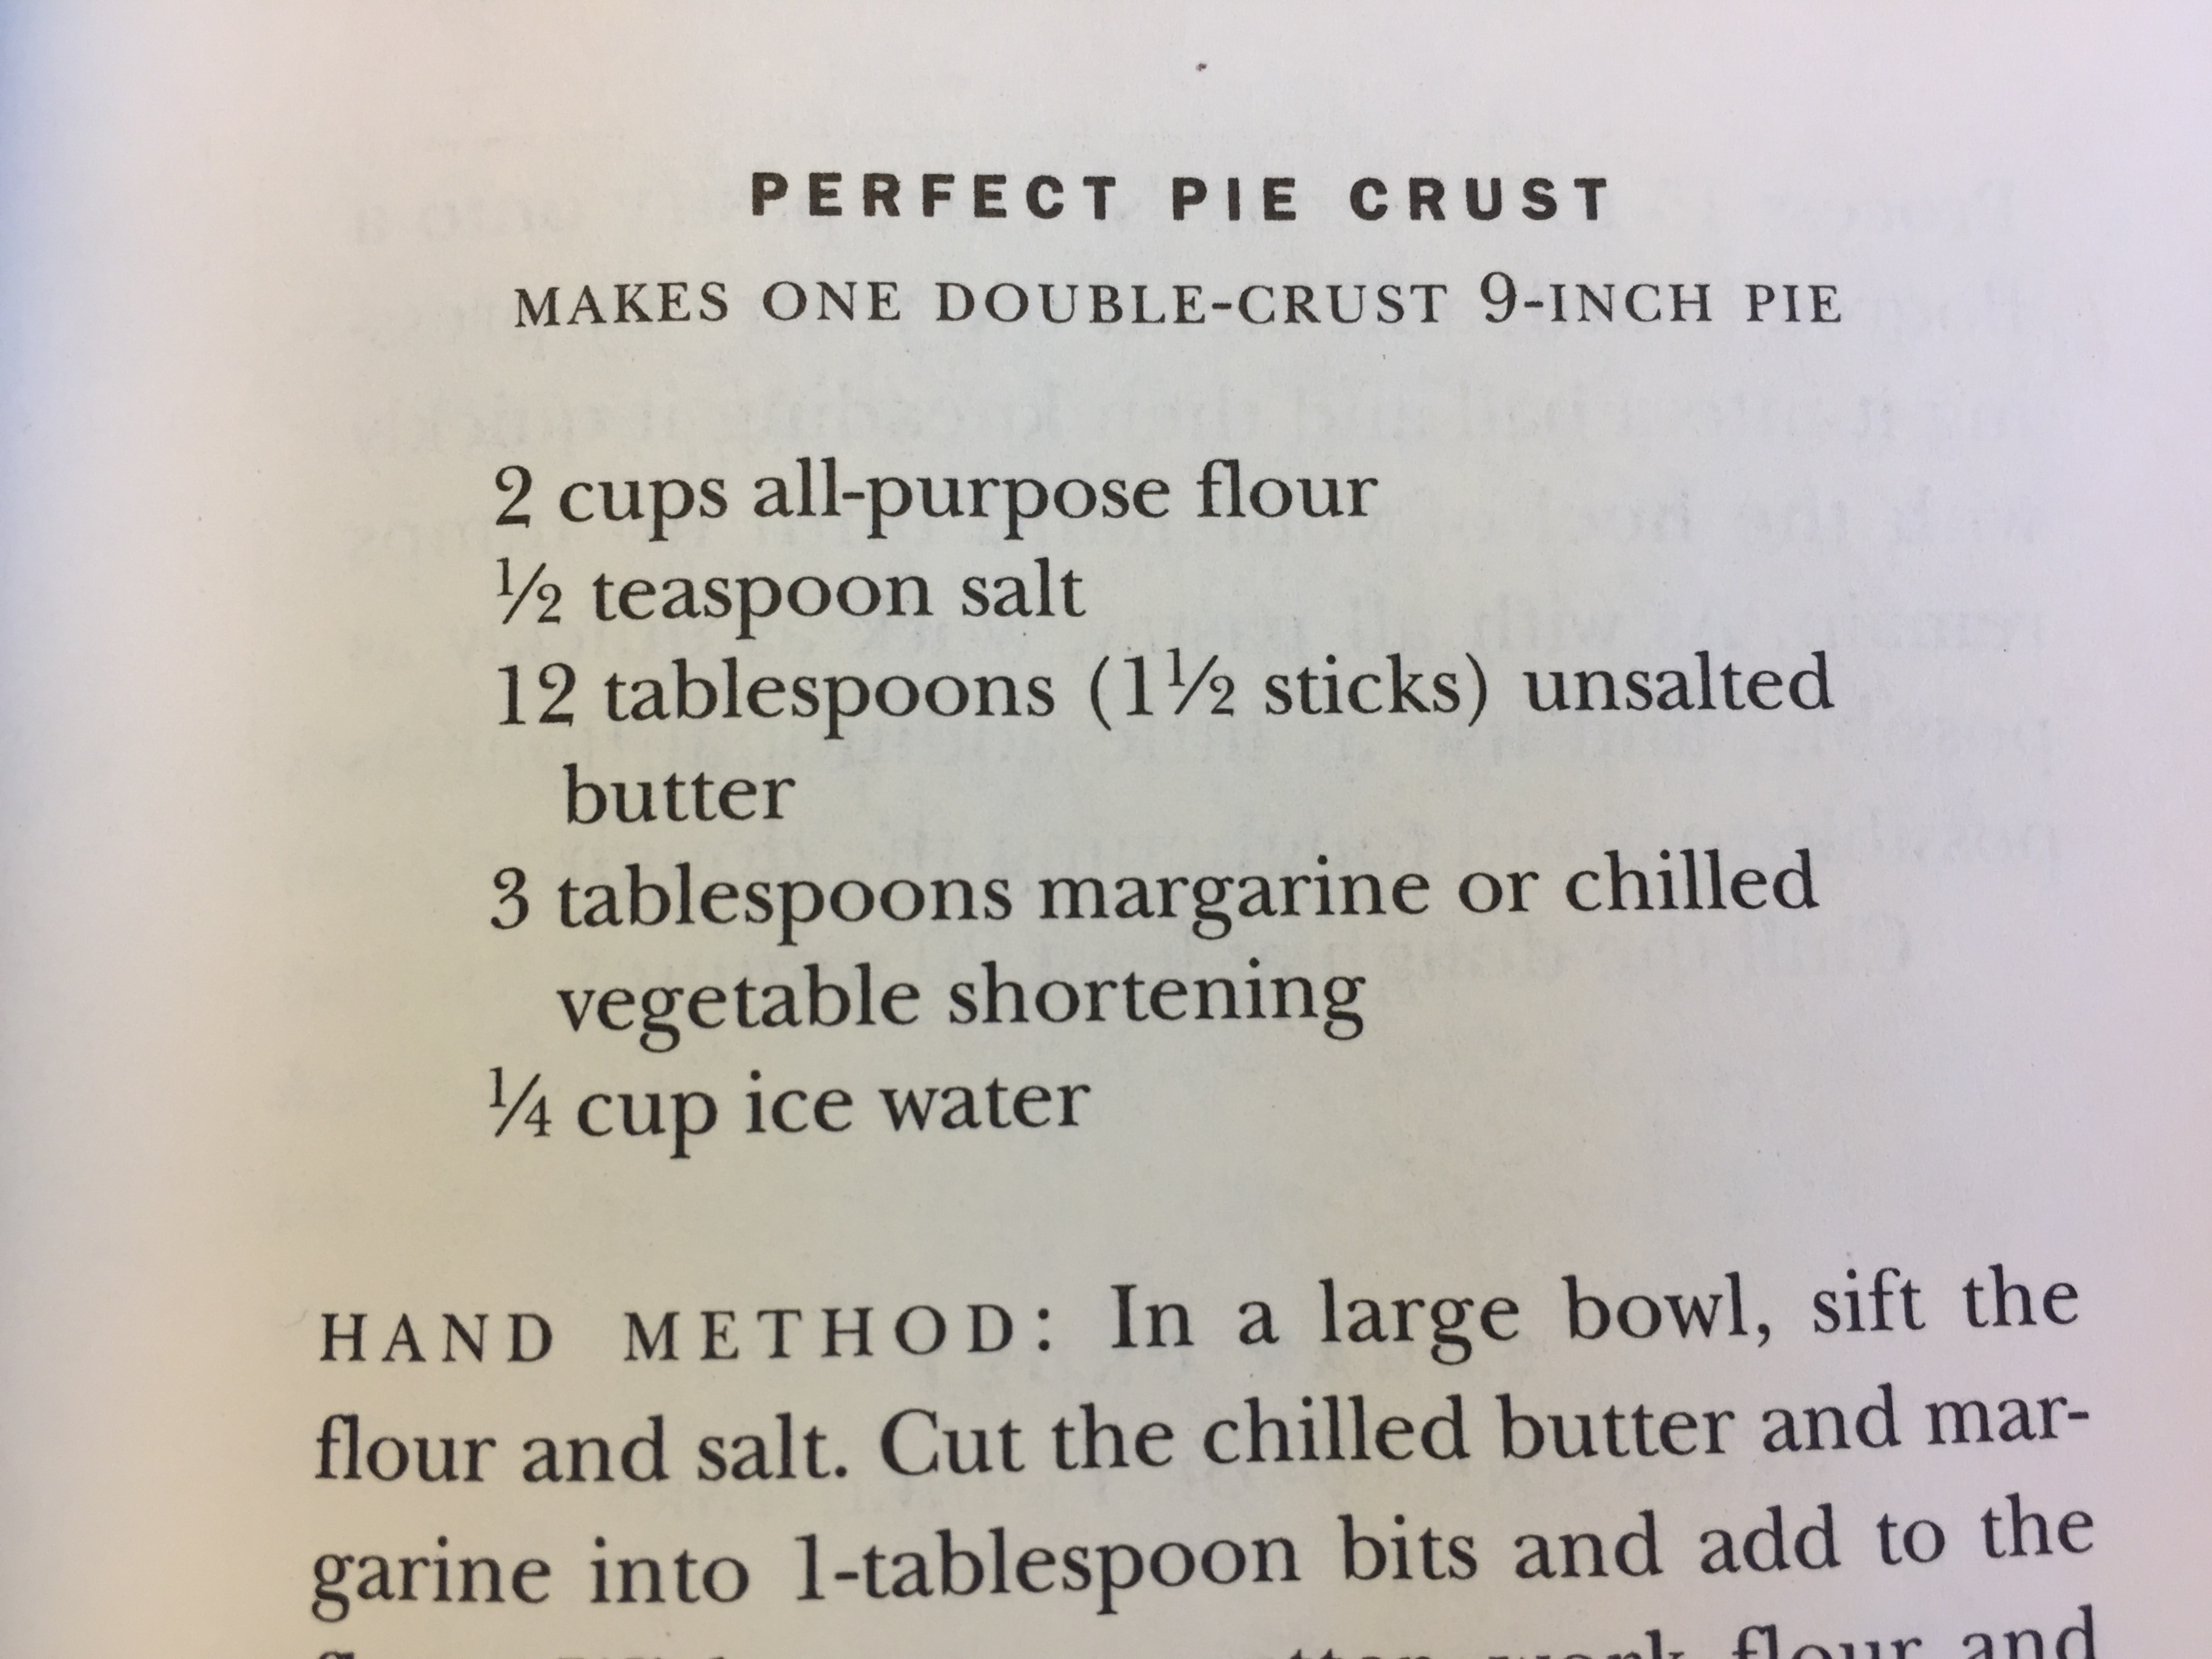
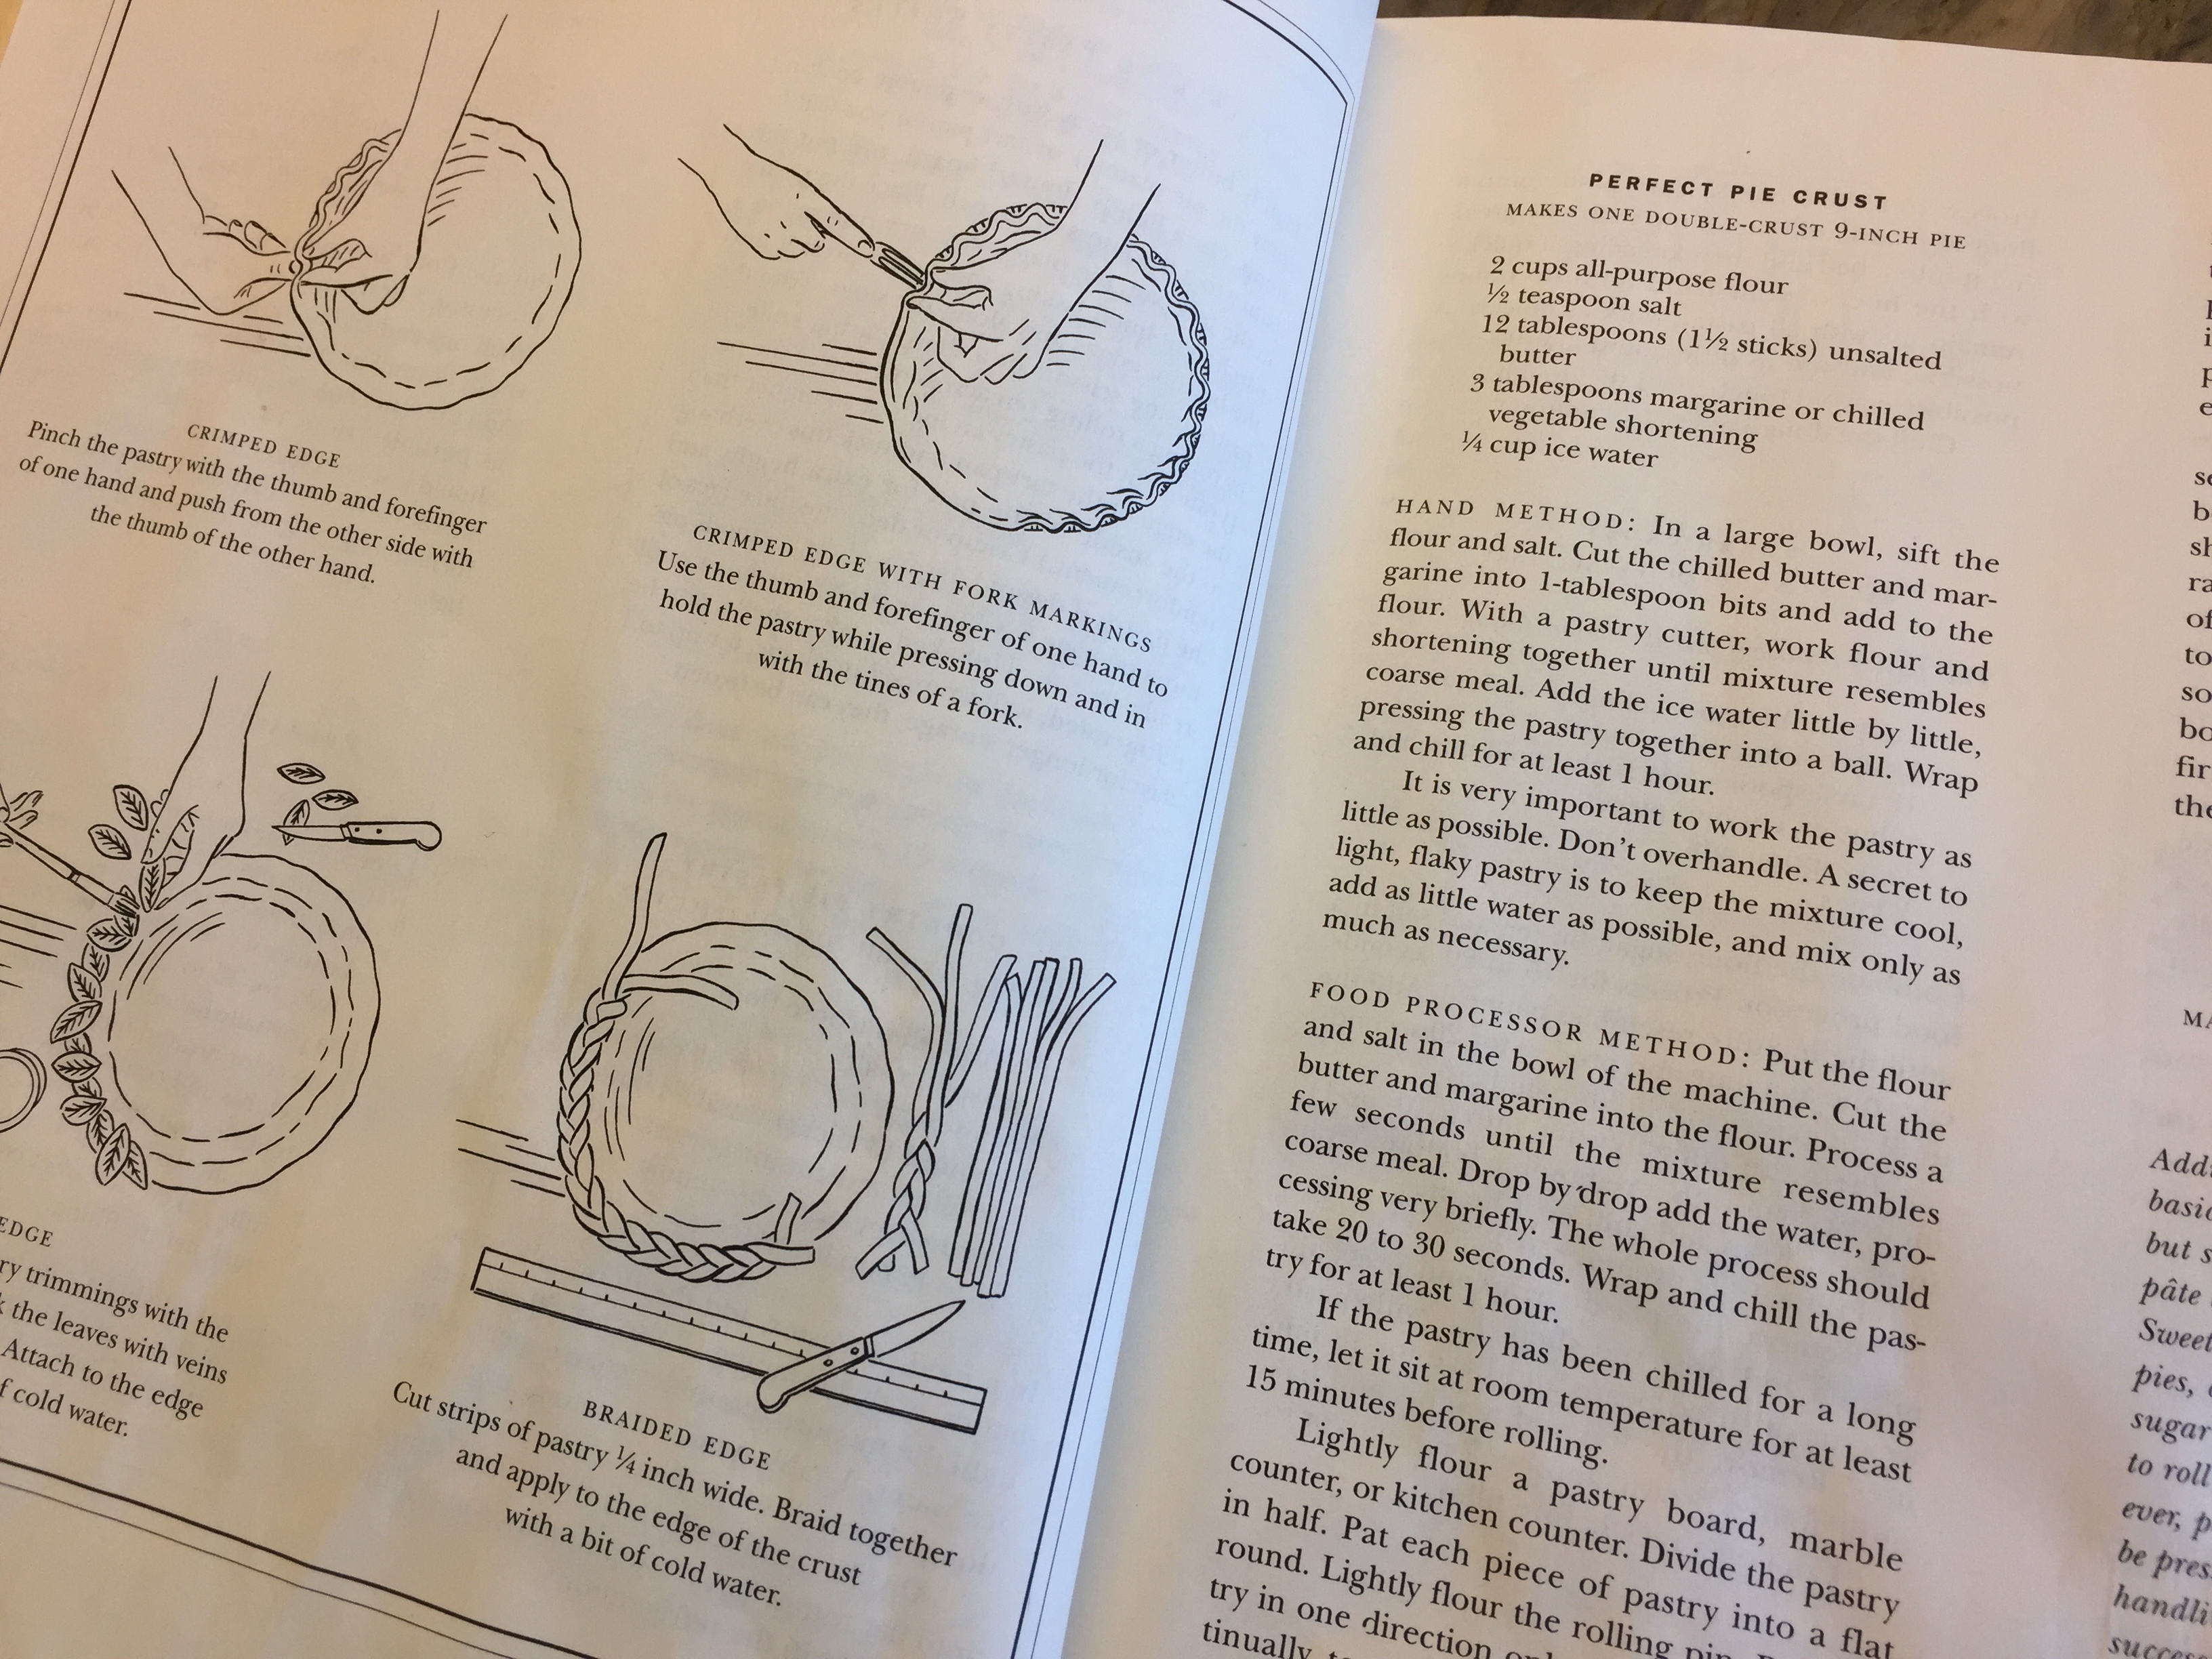
I can’t believe I this is my first year making pumpkin pie…it’s so good! I got this recipe from my Martha Stewart cookbook edited by Roy Finamore 1995. The “Perfect Pie Crust” is on page 7 and the Brown Sugar Pumpkin Pie is on page 490.
The ingredients for the Pie Crust:
2 cups flour
1.5 sticks of butter
1/4 tsp. salt
up to 1/4 cup of iced water
Directions:
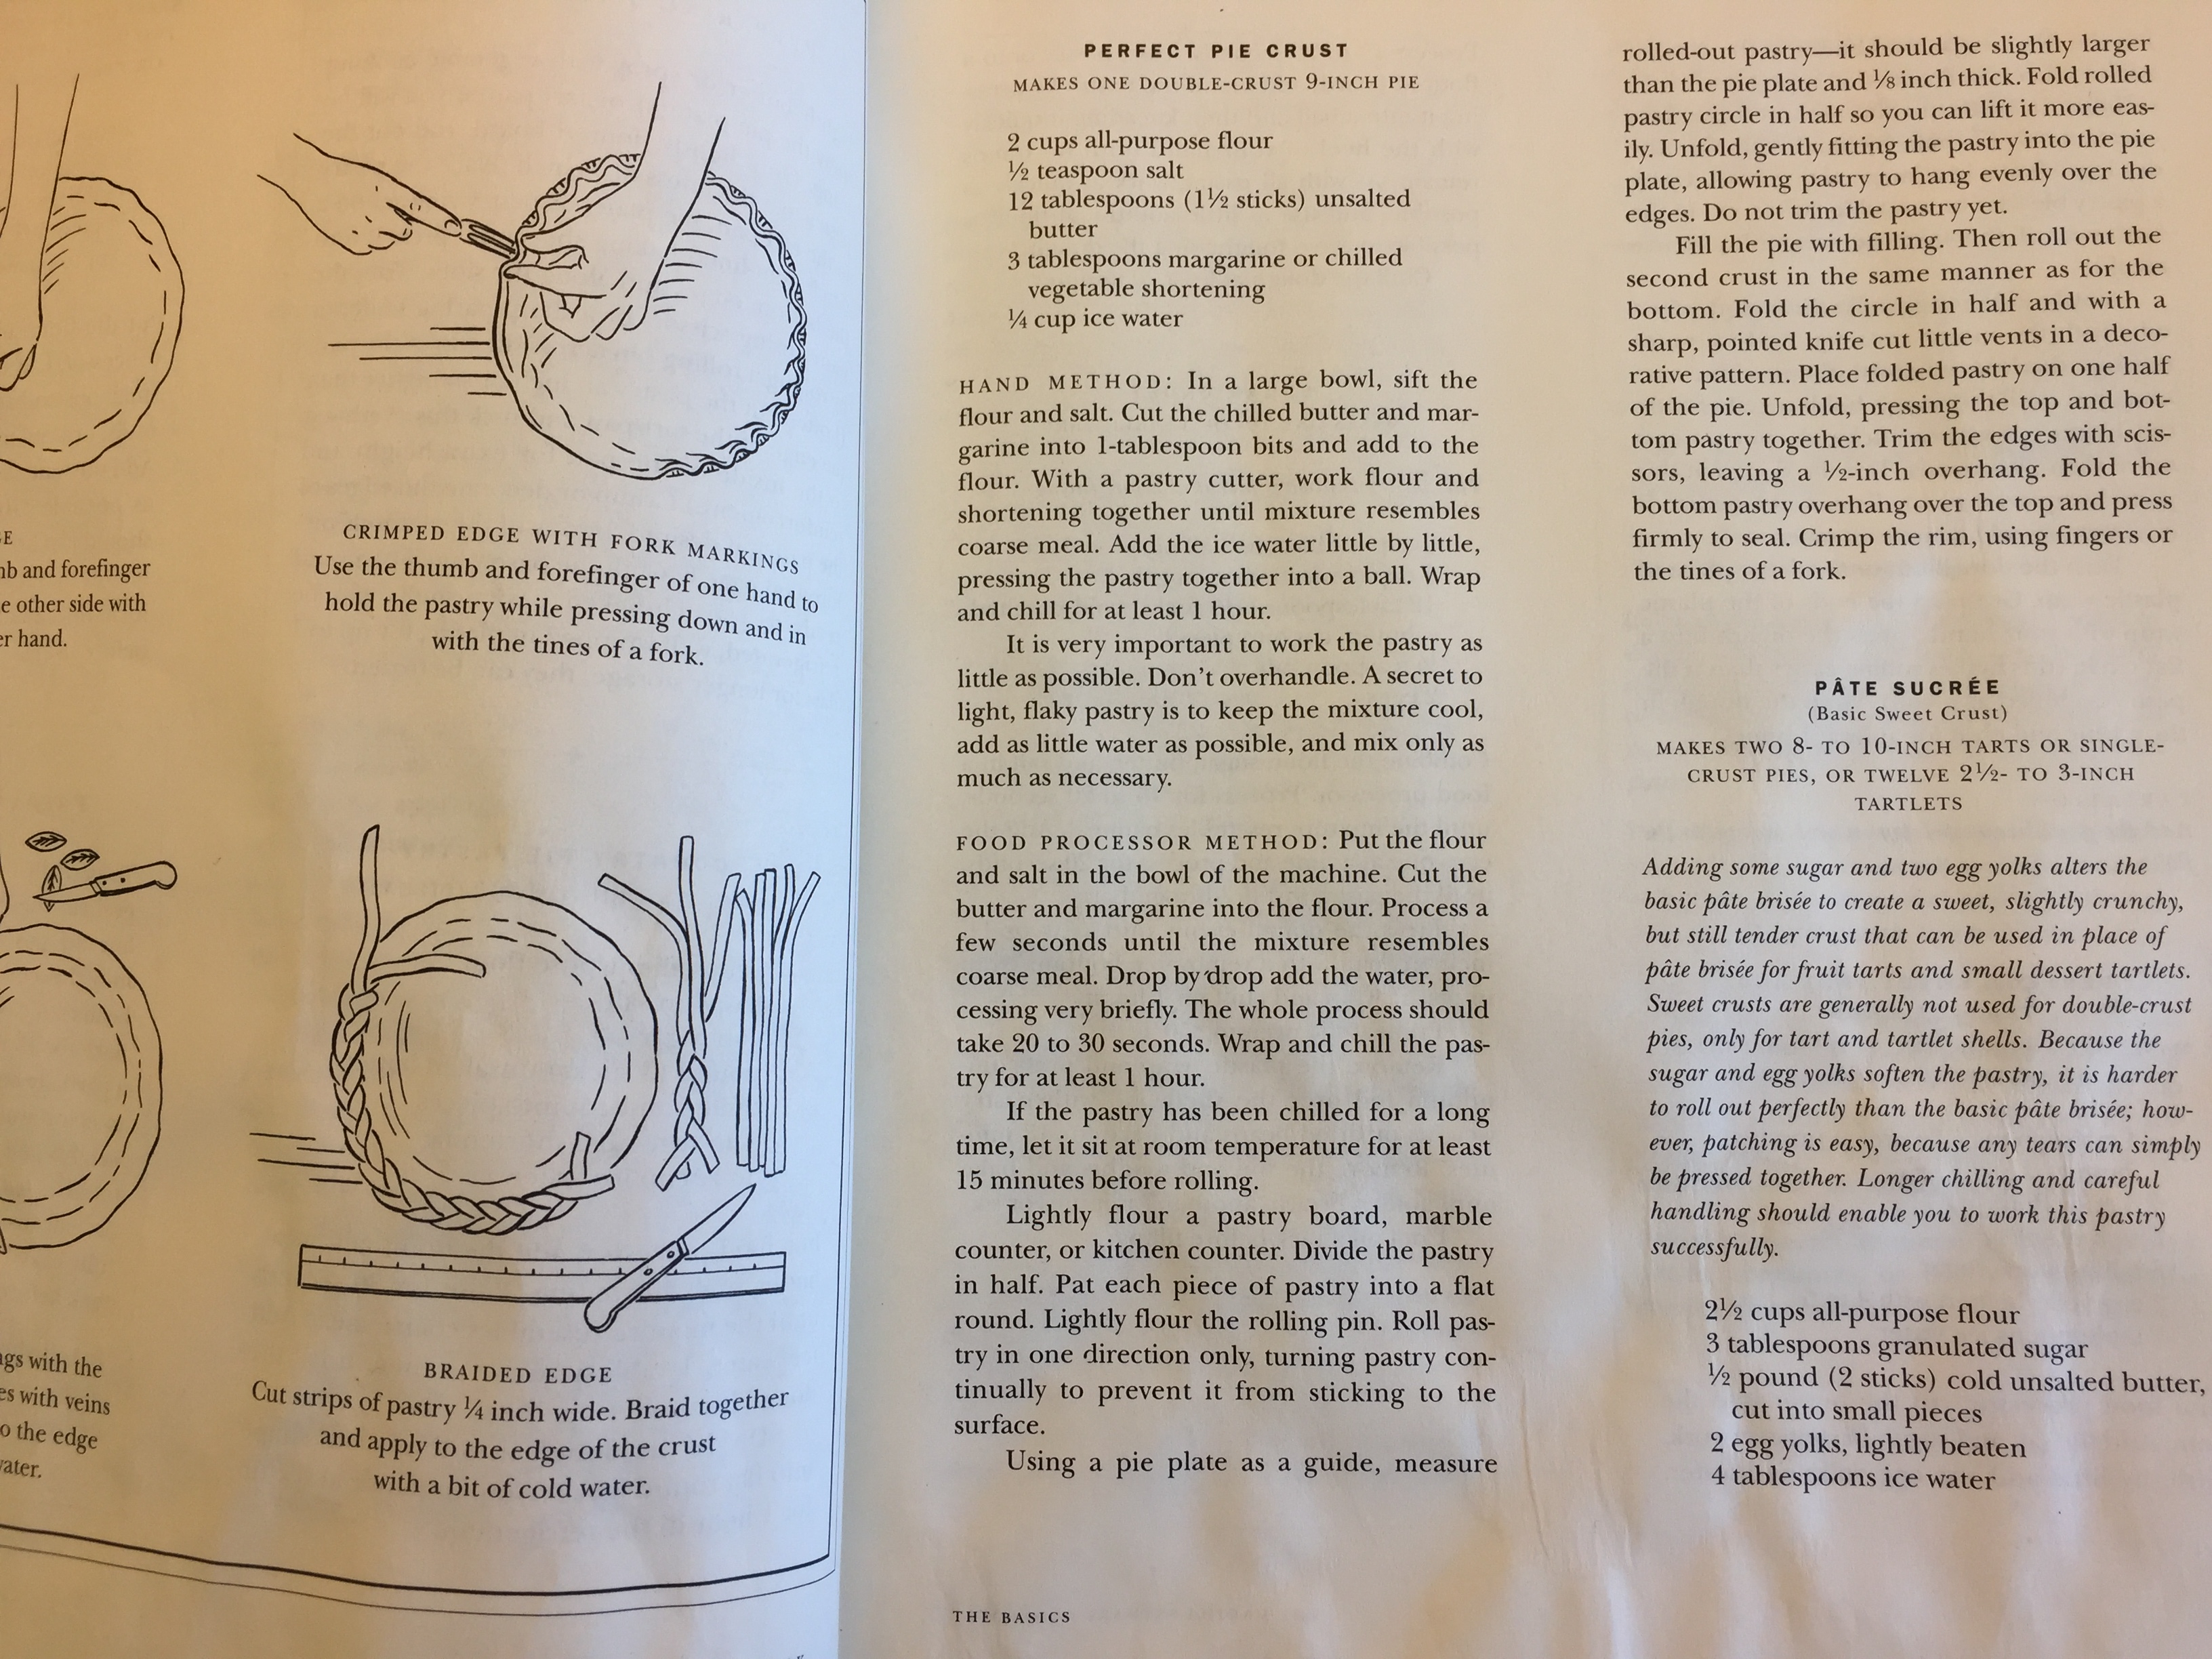
Cut in butter into sifted flour. Use a pastry tool if needed, but don’t over incorporate or heat the butter. At salt if your butter is unsalted. I added a little bit of brown sugar. Add a bit of iced water to help mix the remaining flour into the mixture.
Roll out pie crust large enough for the pie tin. I found it easier to do this between two sheets of wax paper. You may need to chill the dough. Set the pie crust in the pie pan and put it in the fridge while you make your filling.
The ingredients for Pumpkin Pie:
1 can pumpkin puree (15 oz)
3 eggs
1/2 cup heavy cream
1/2 cup brown sugar
1/2 teaspoon ground allspice
1/2 teaspoon ground cinnamon
1/2 teaspoon ground ginger
(or 1.5 teaspoons pumpkin pie spice mix)
1/2 teaspoon salt
Direction:
Mix all ingredients together until well incorporated. Fill pie and bake at 425 degrees Fahrenheit for 15 minutes, then drop the temp to 375 and bake for about 30 minutes until a knife cuts clean.
How To Lesson Plan | Homeschooling
Join me as I share the resources we are using for our Discovering the Americas unit study. I share how I chose books, decide which books to read aloud versus which books I’ll assign to my child, and lesson plan this unit study. This homeschool unit study will take a few weeks to complete, but the book by Foster will no doubt take longer to read unless I cherry pick the chapters the specifically cover the years we are studying.
Most of the books we got from Rainbow Resource.
Check out our Colonial Times unit study playlist.
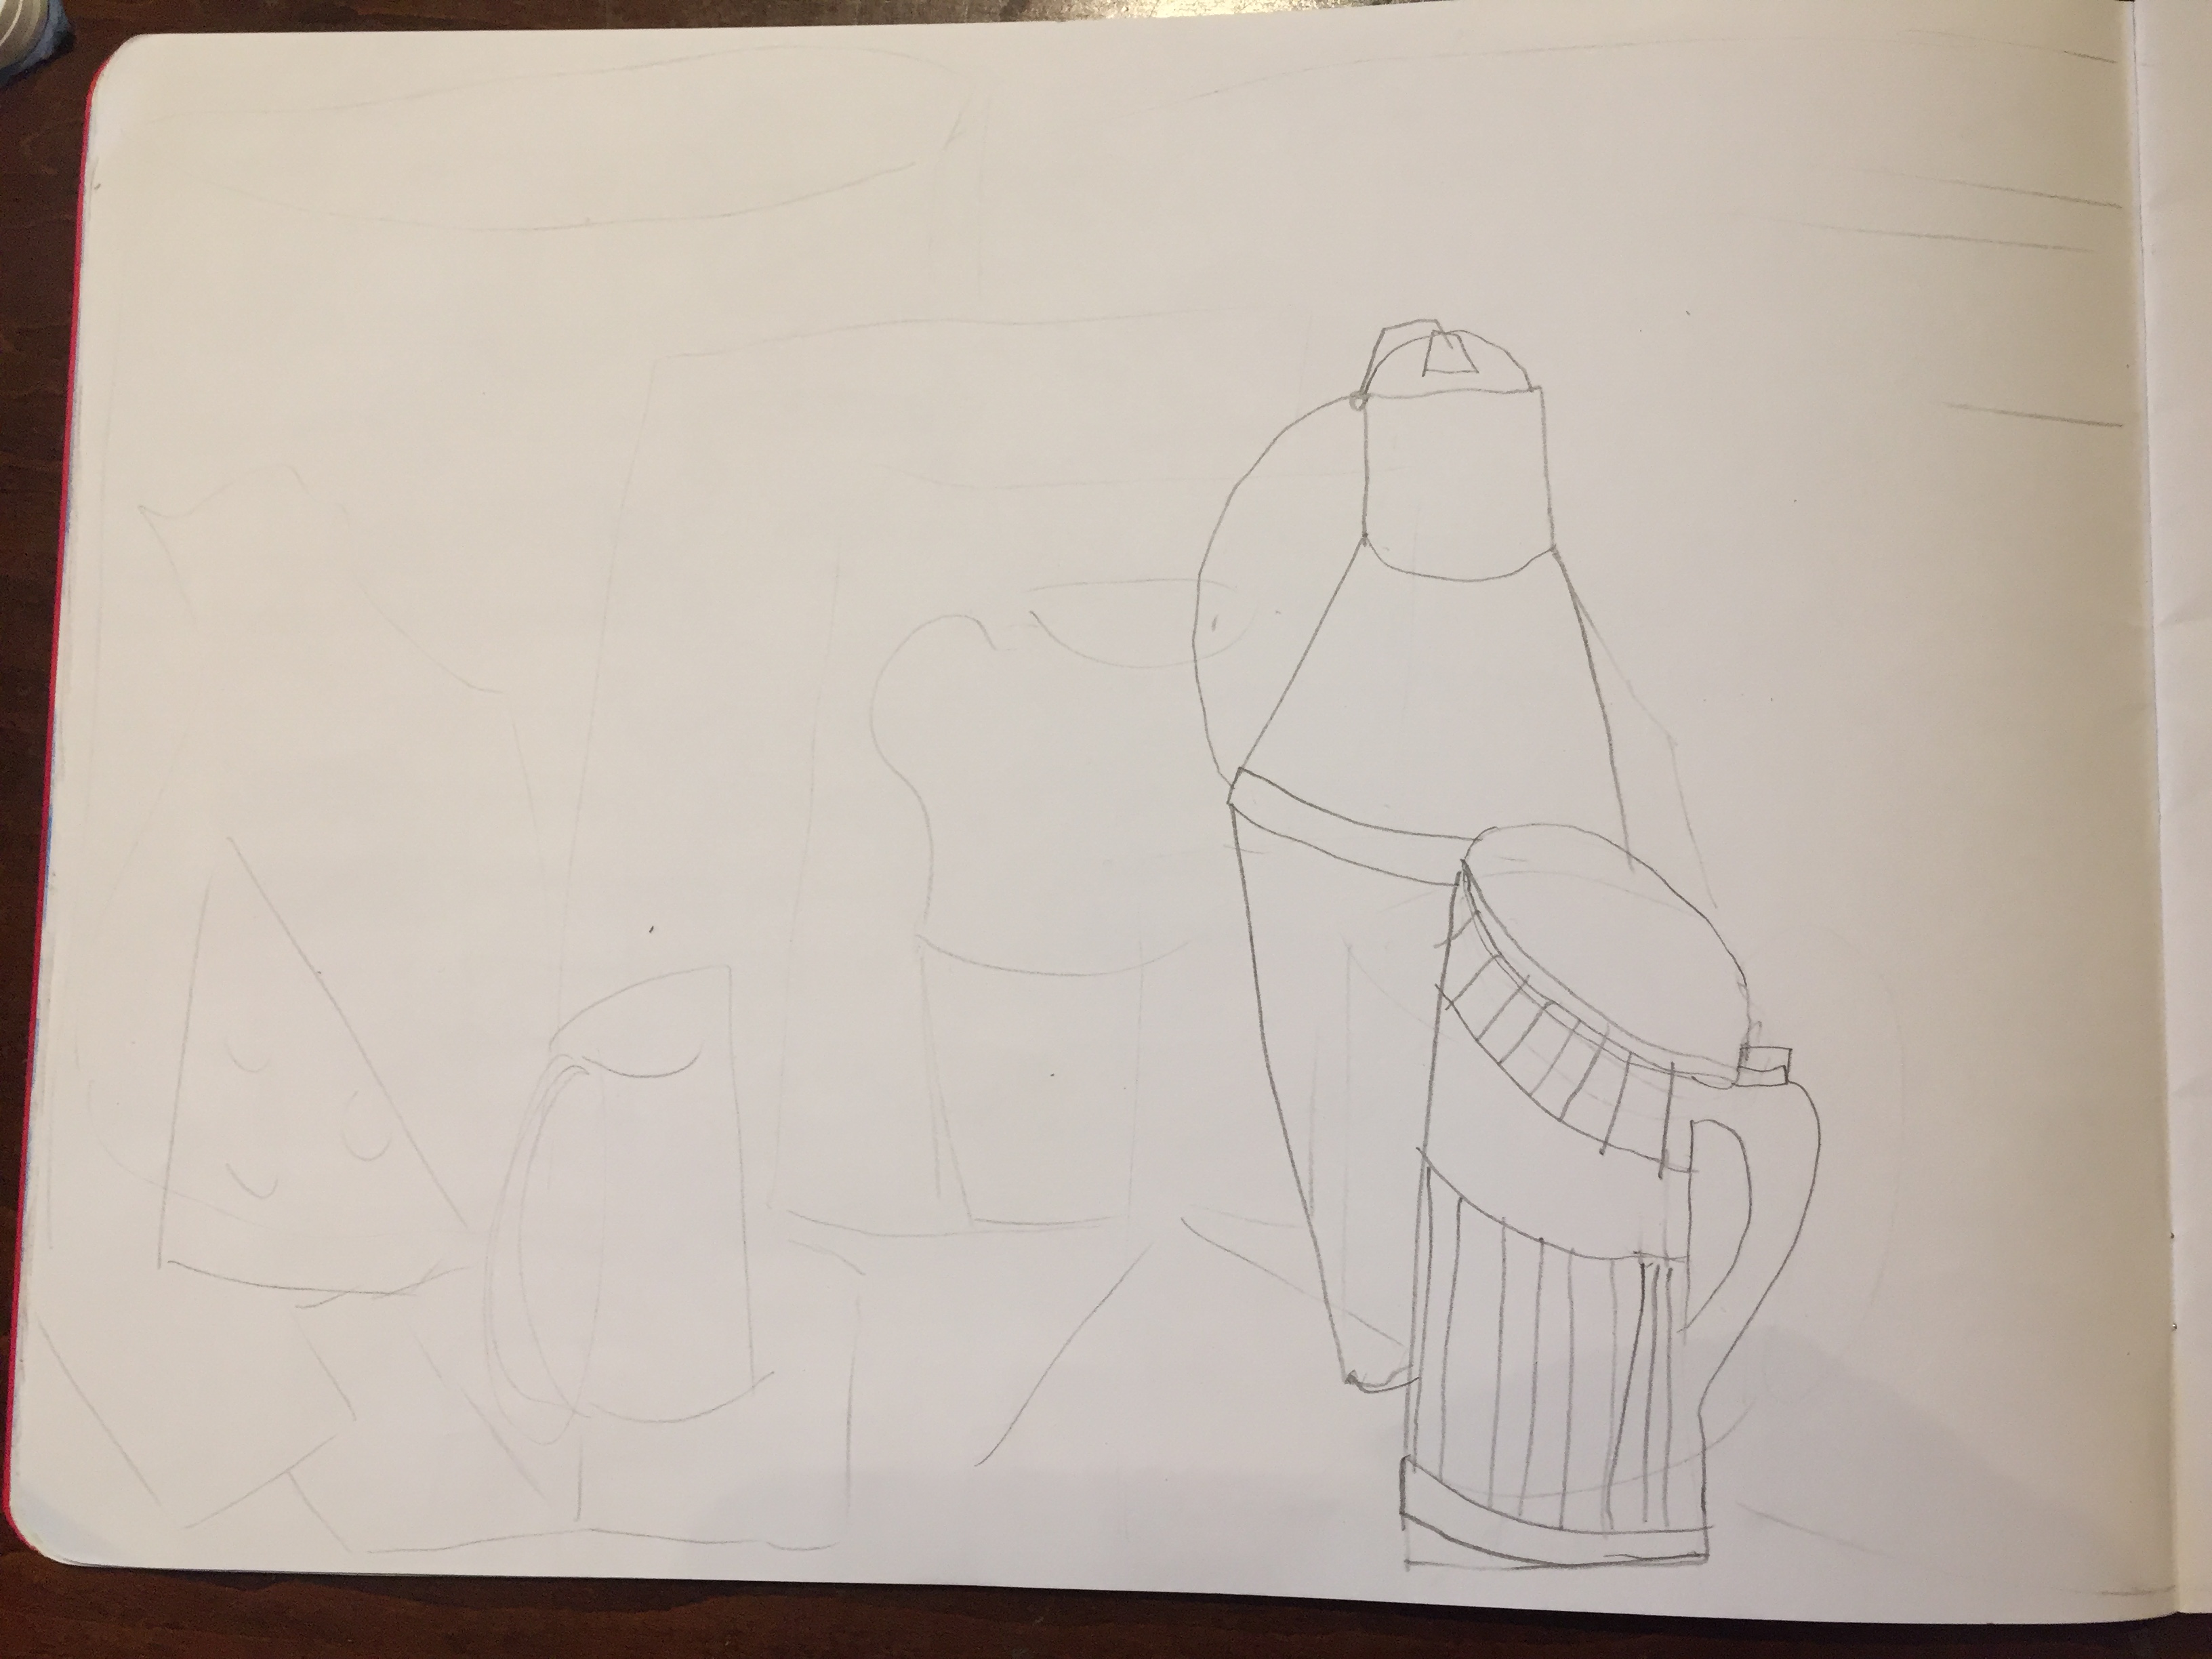
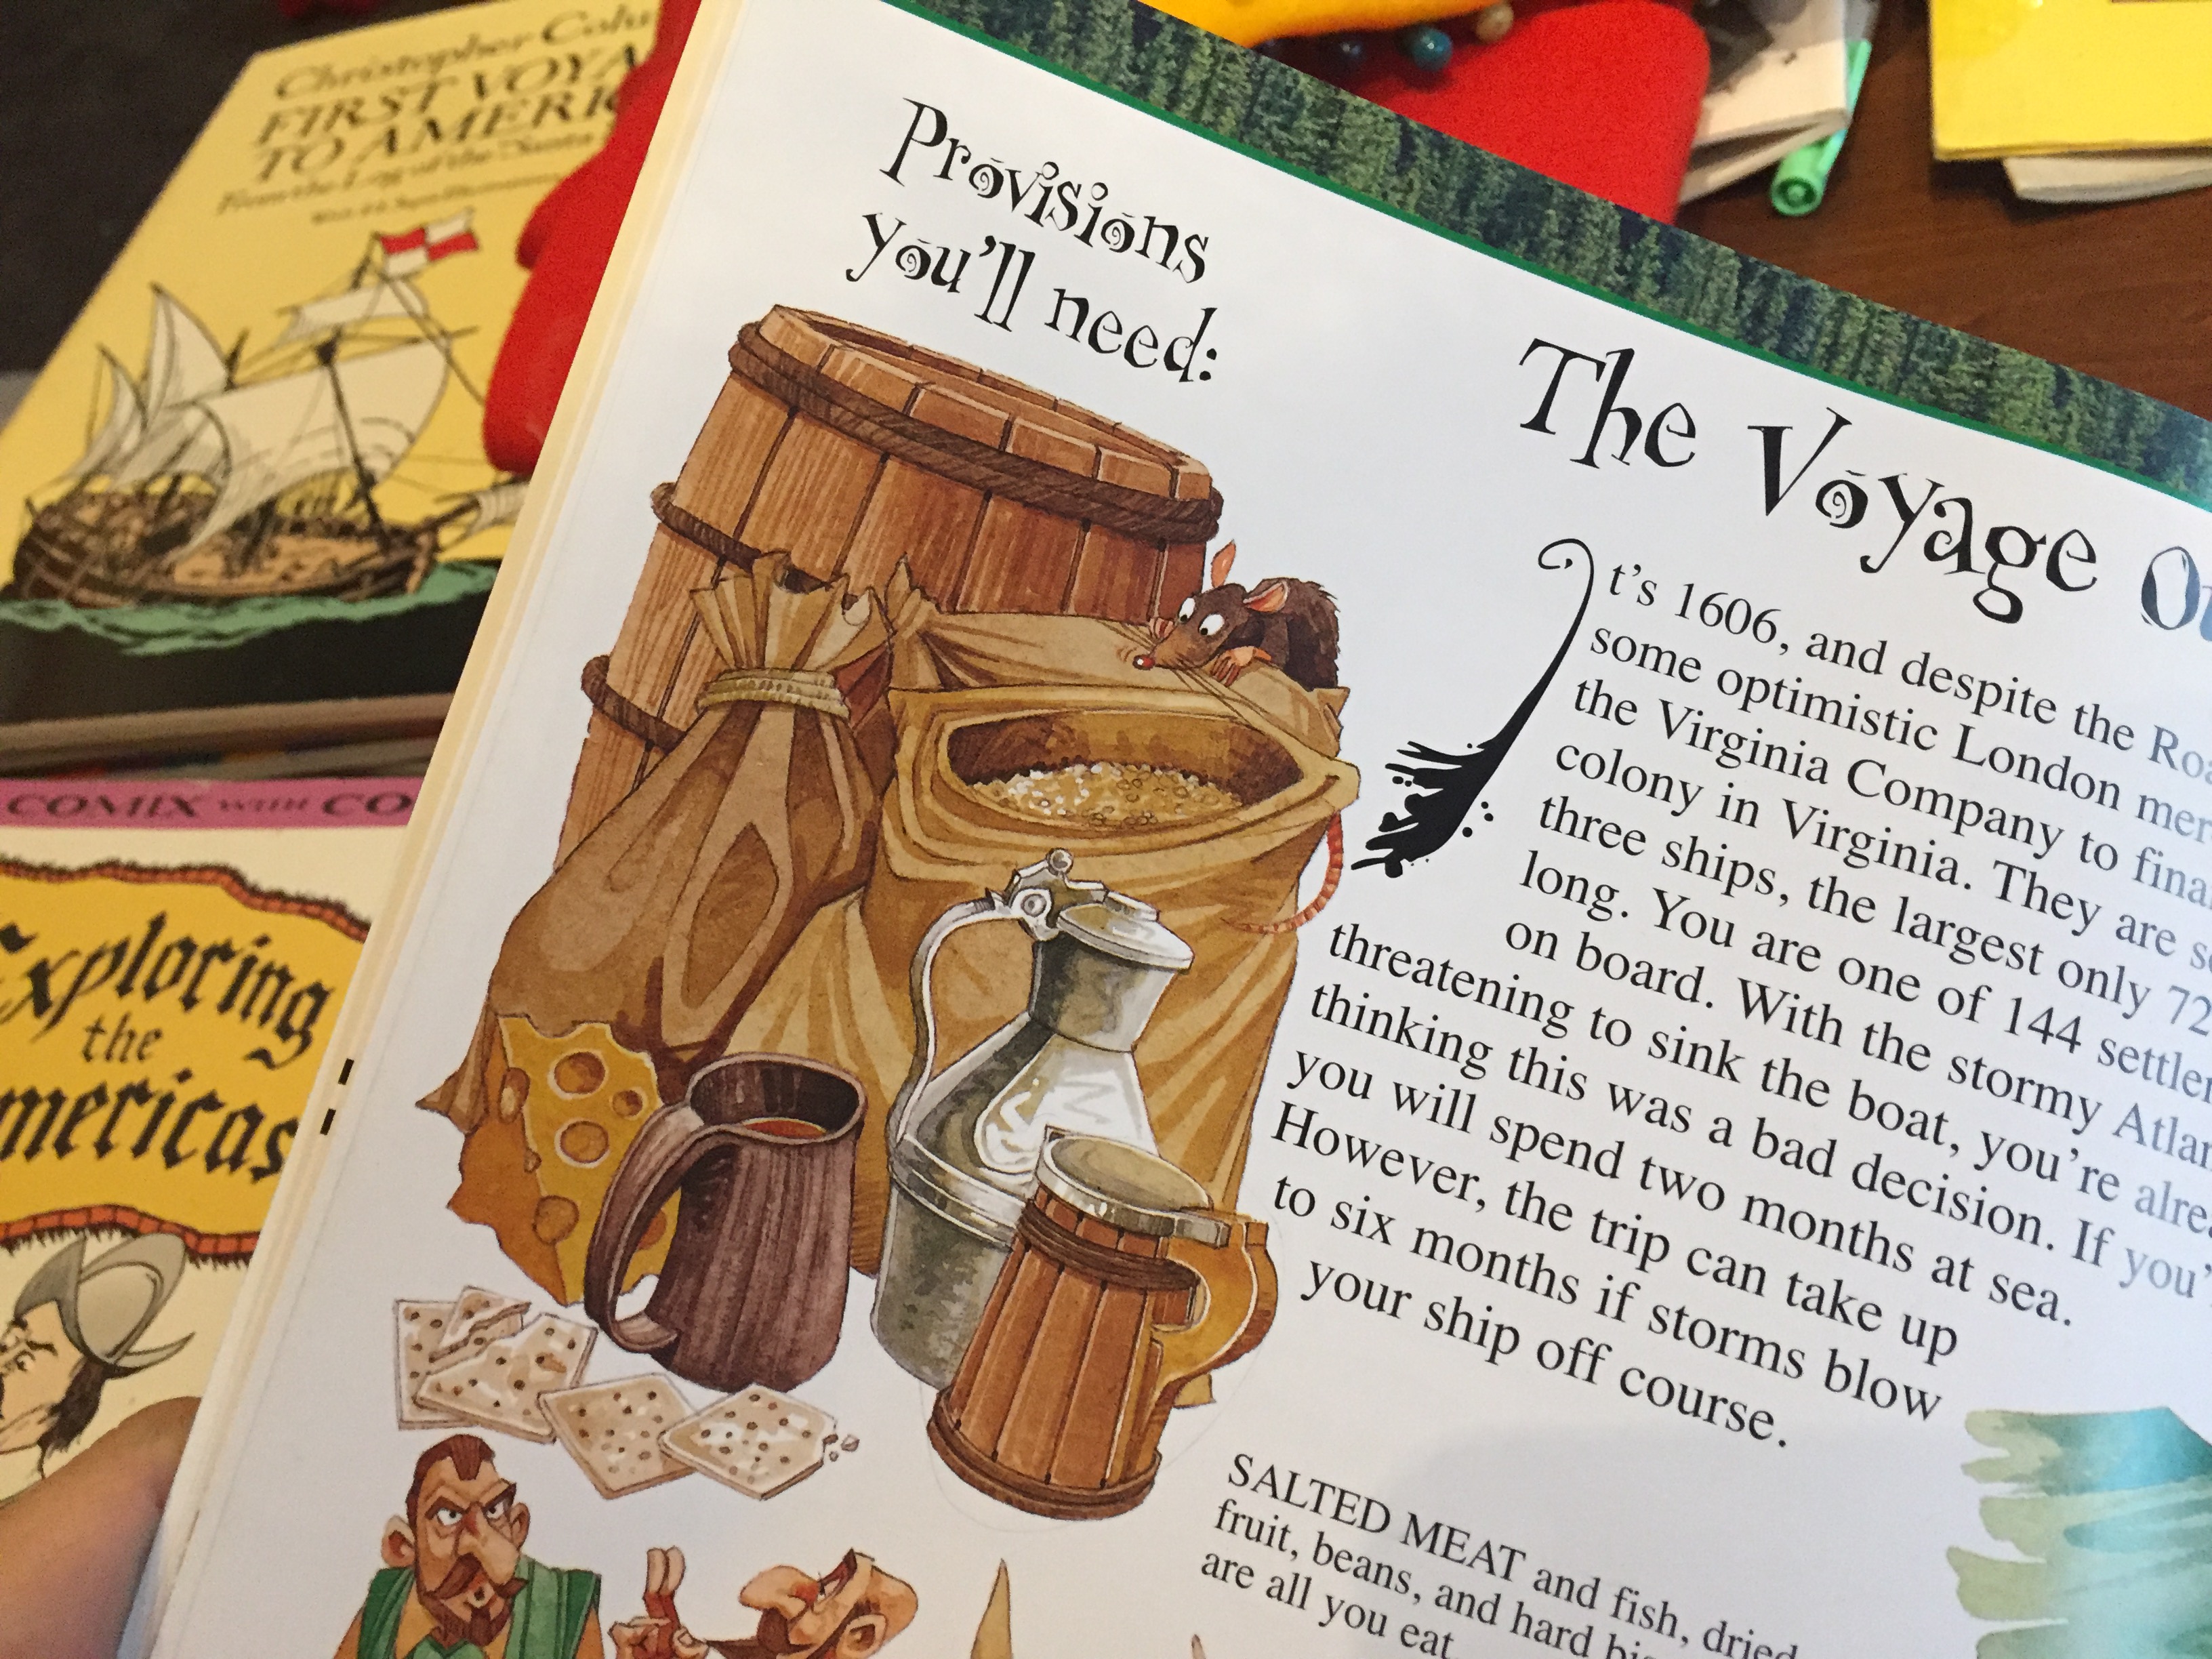
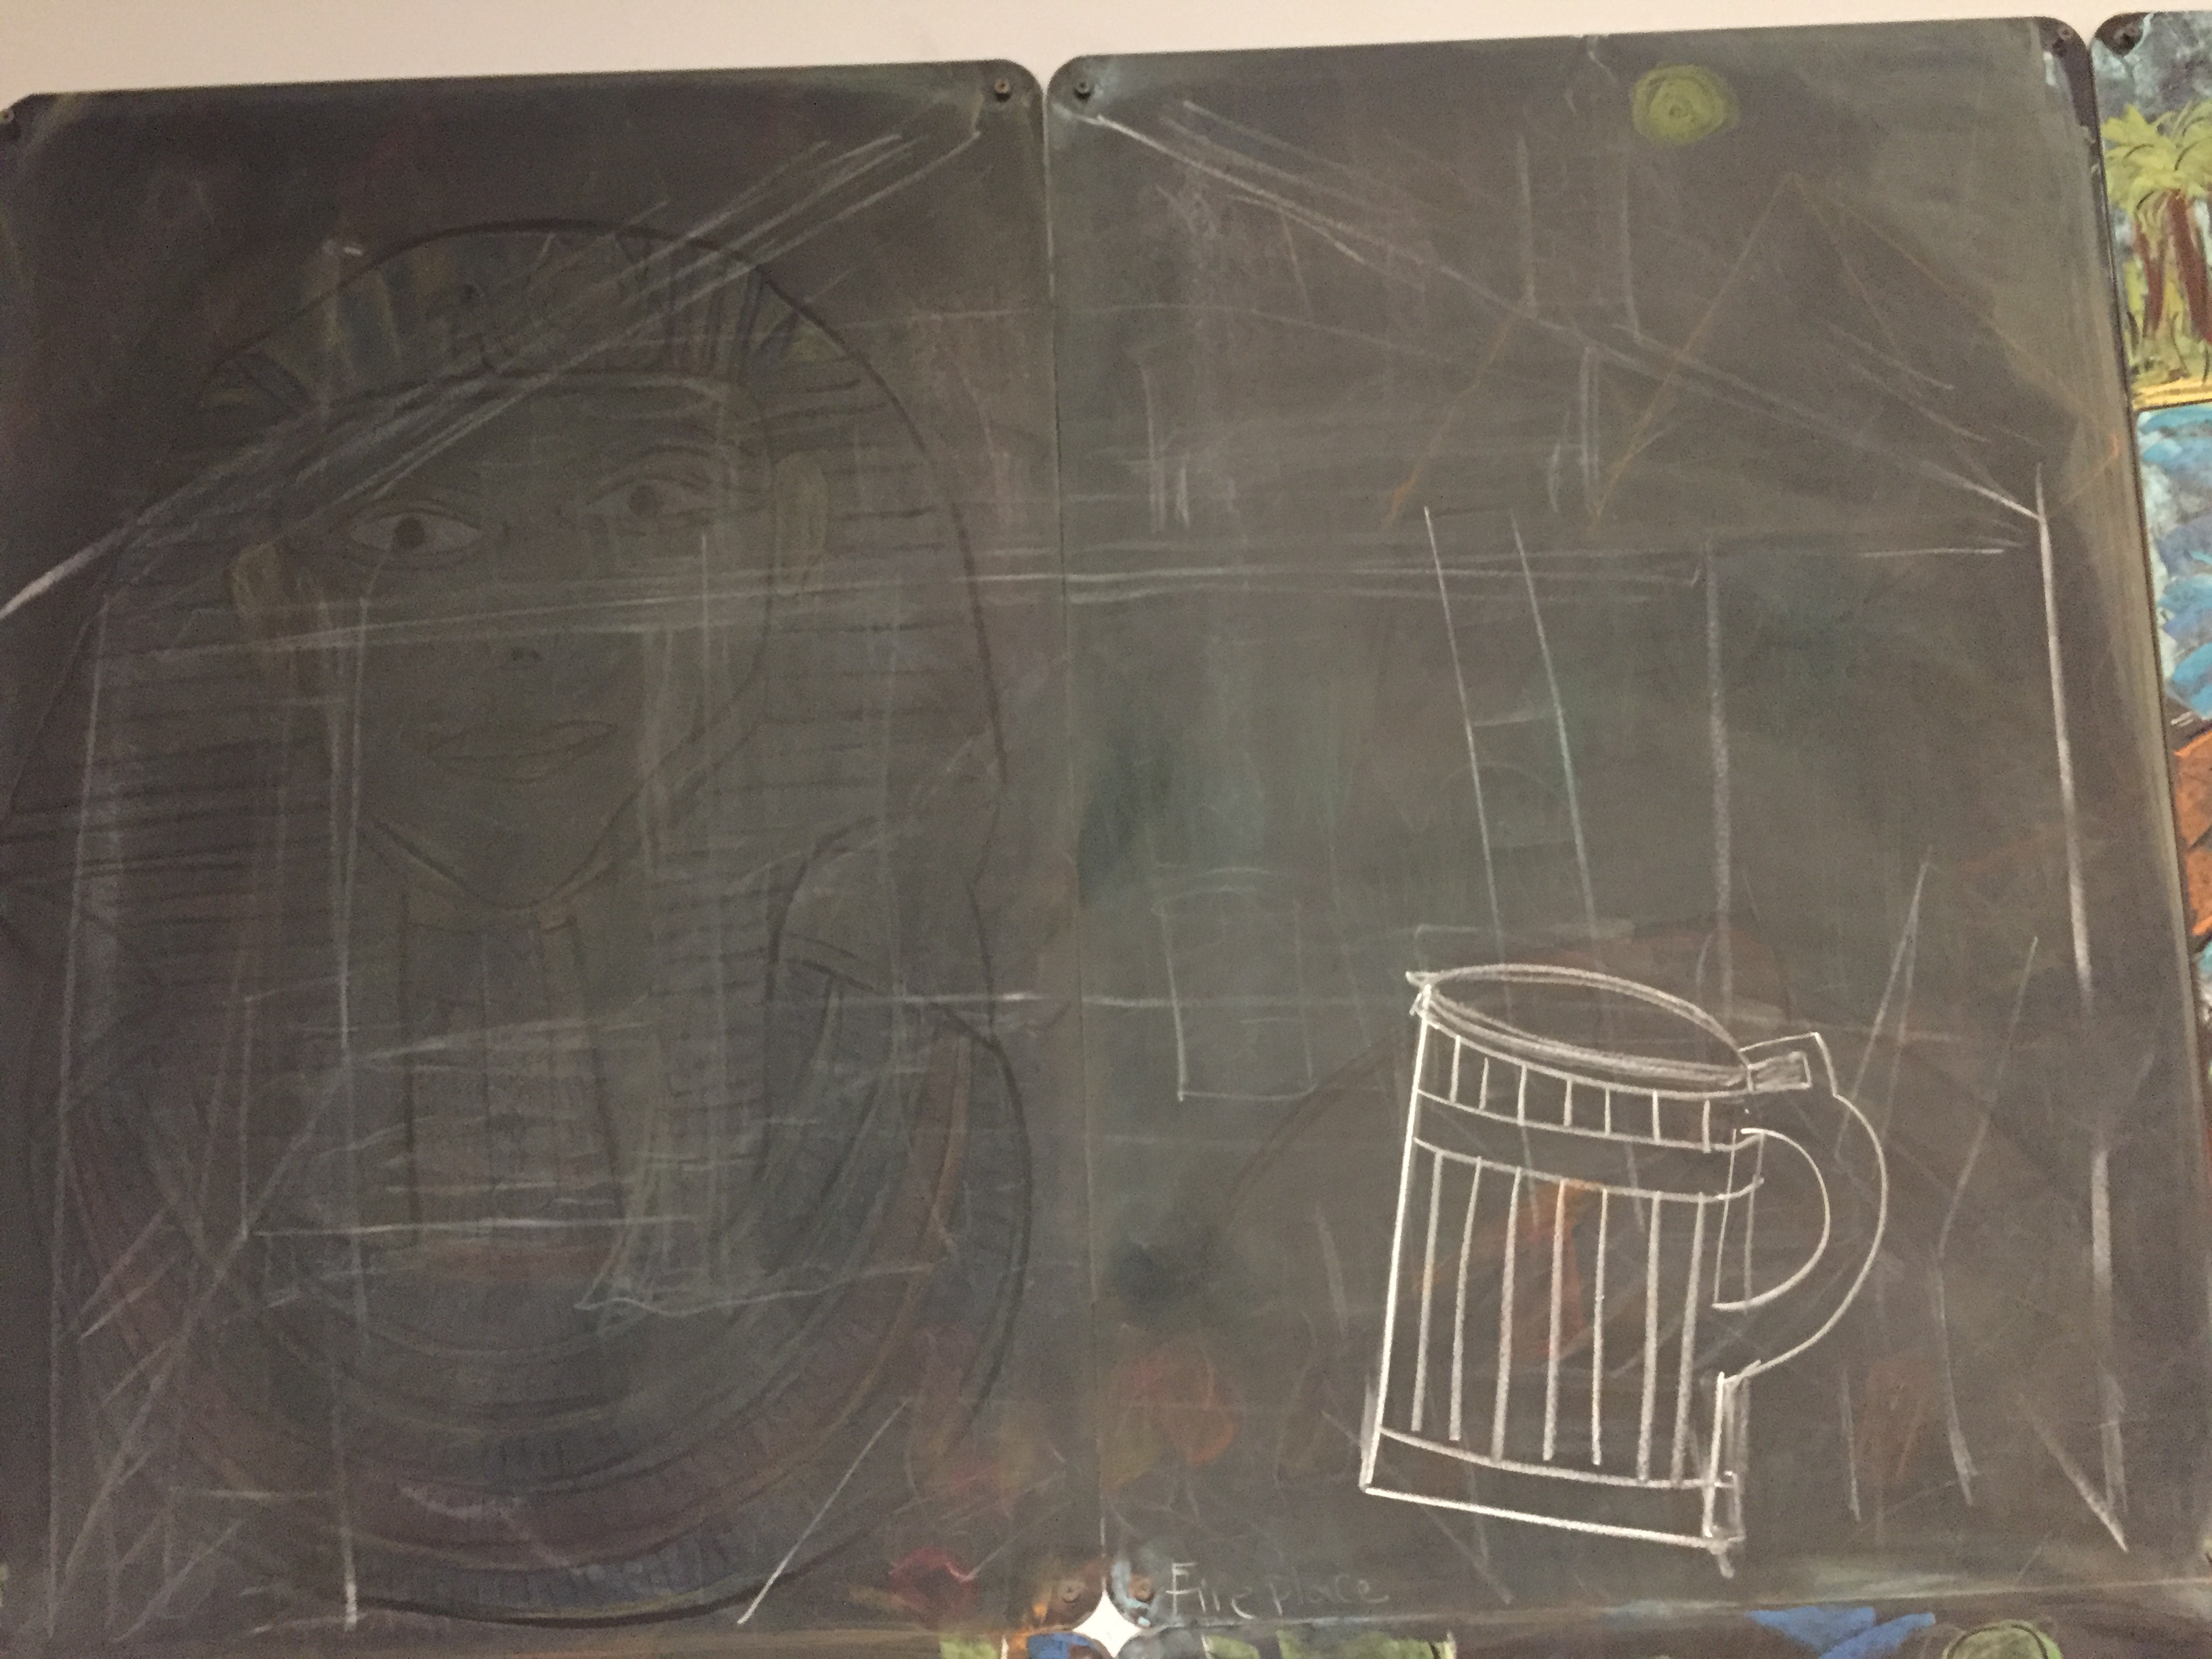
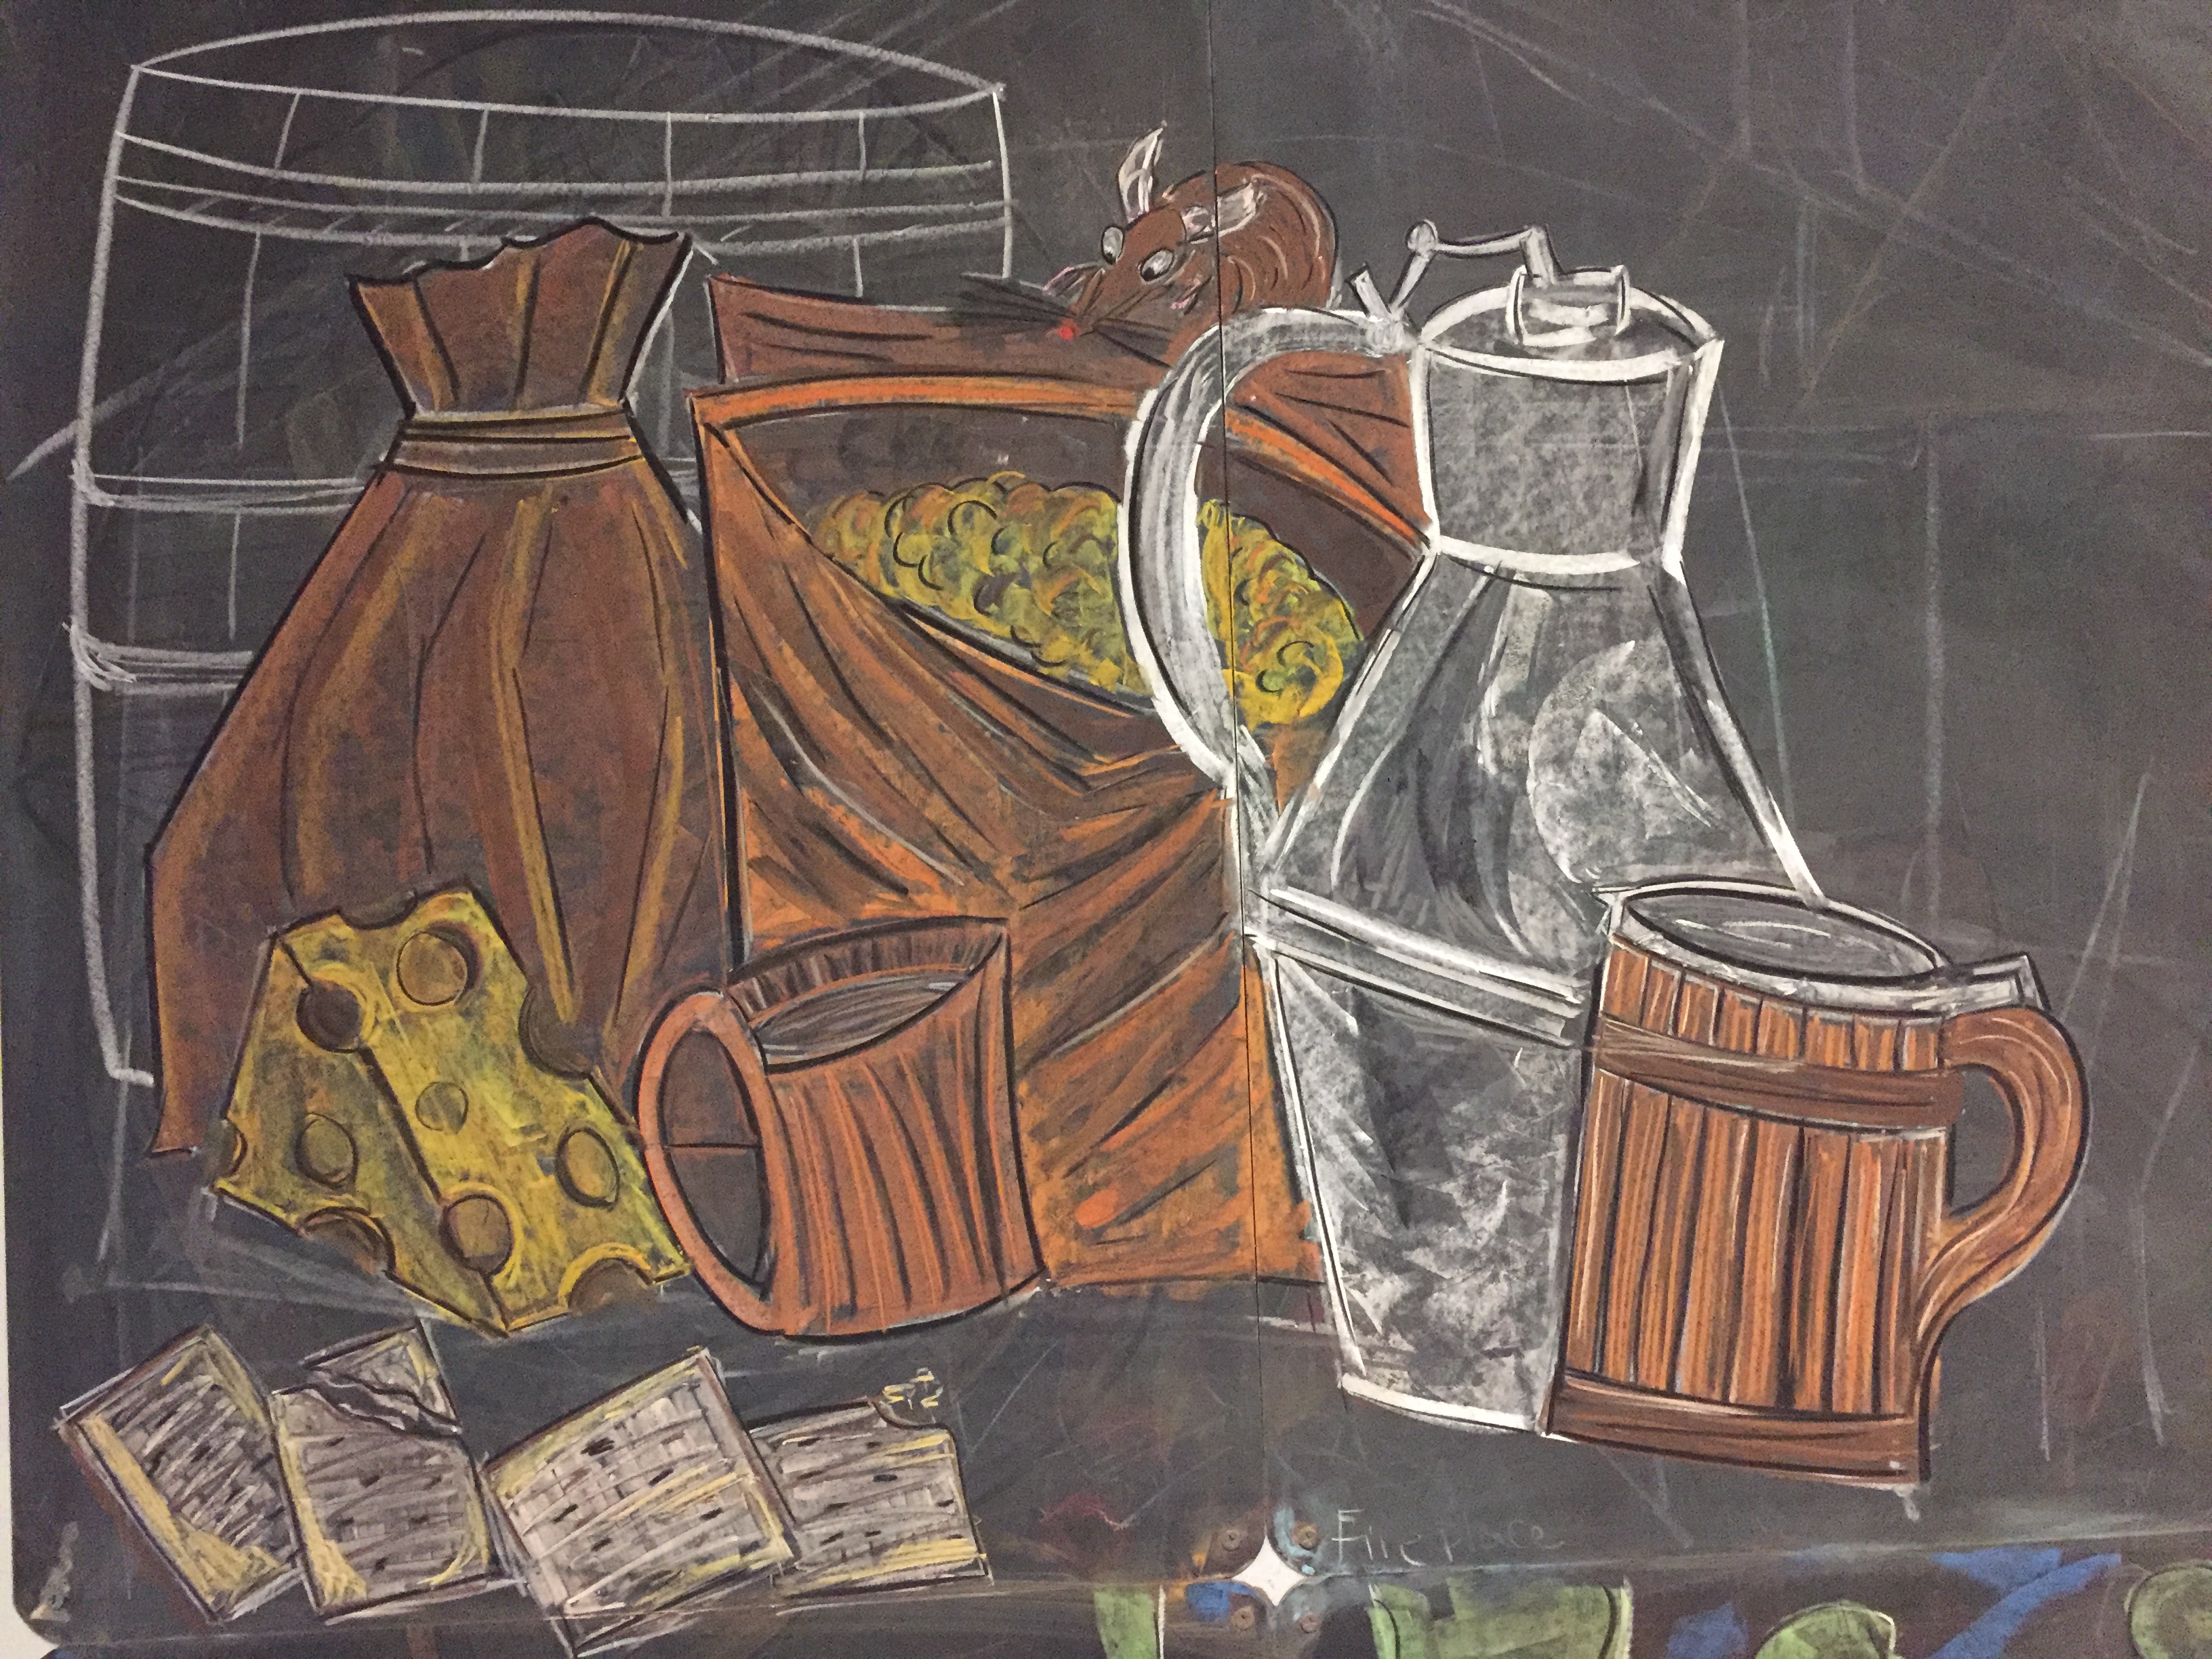
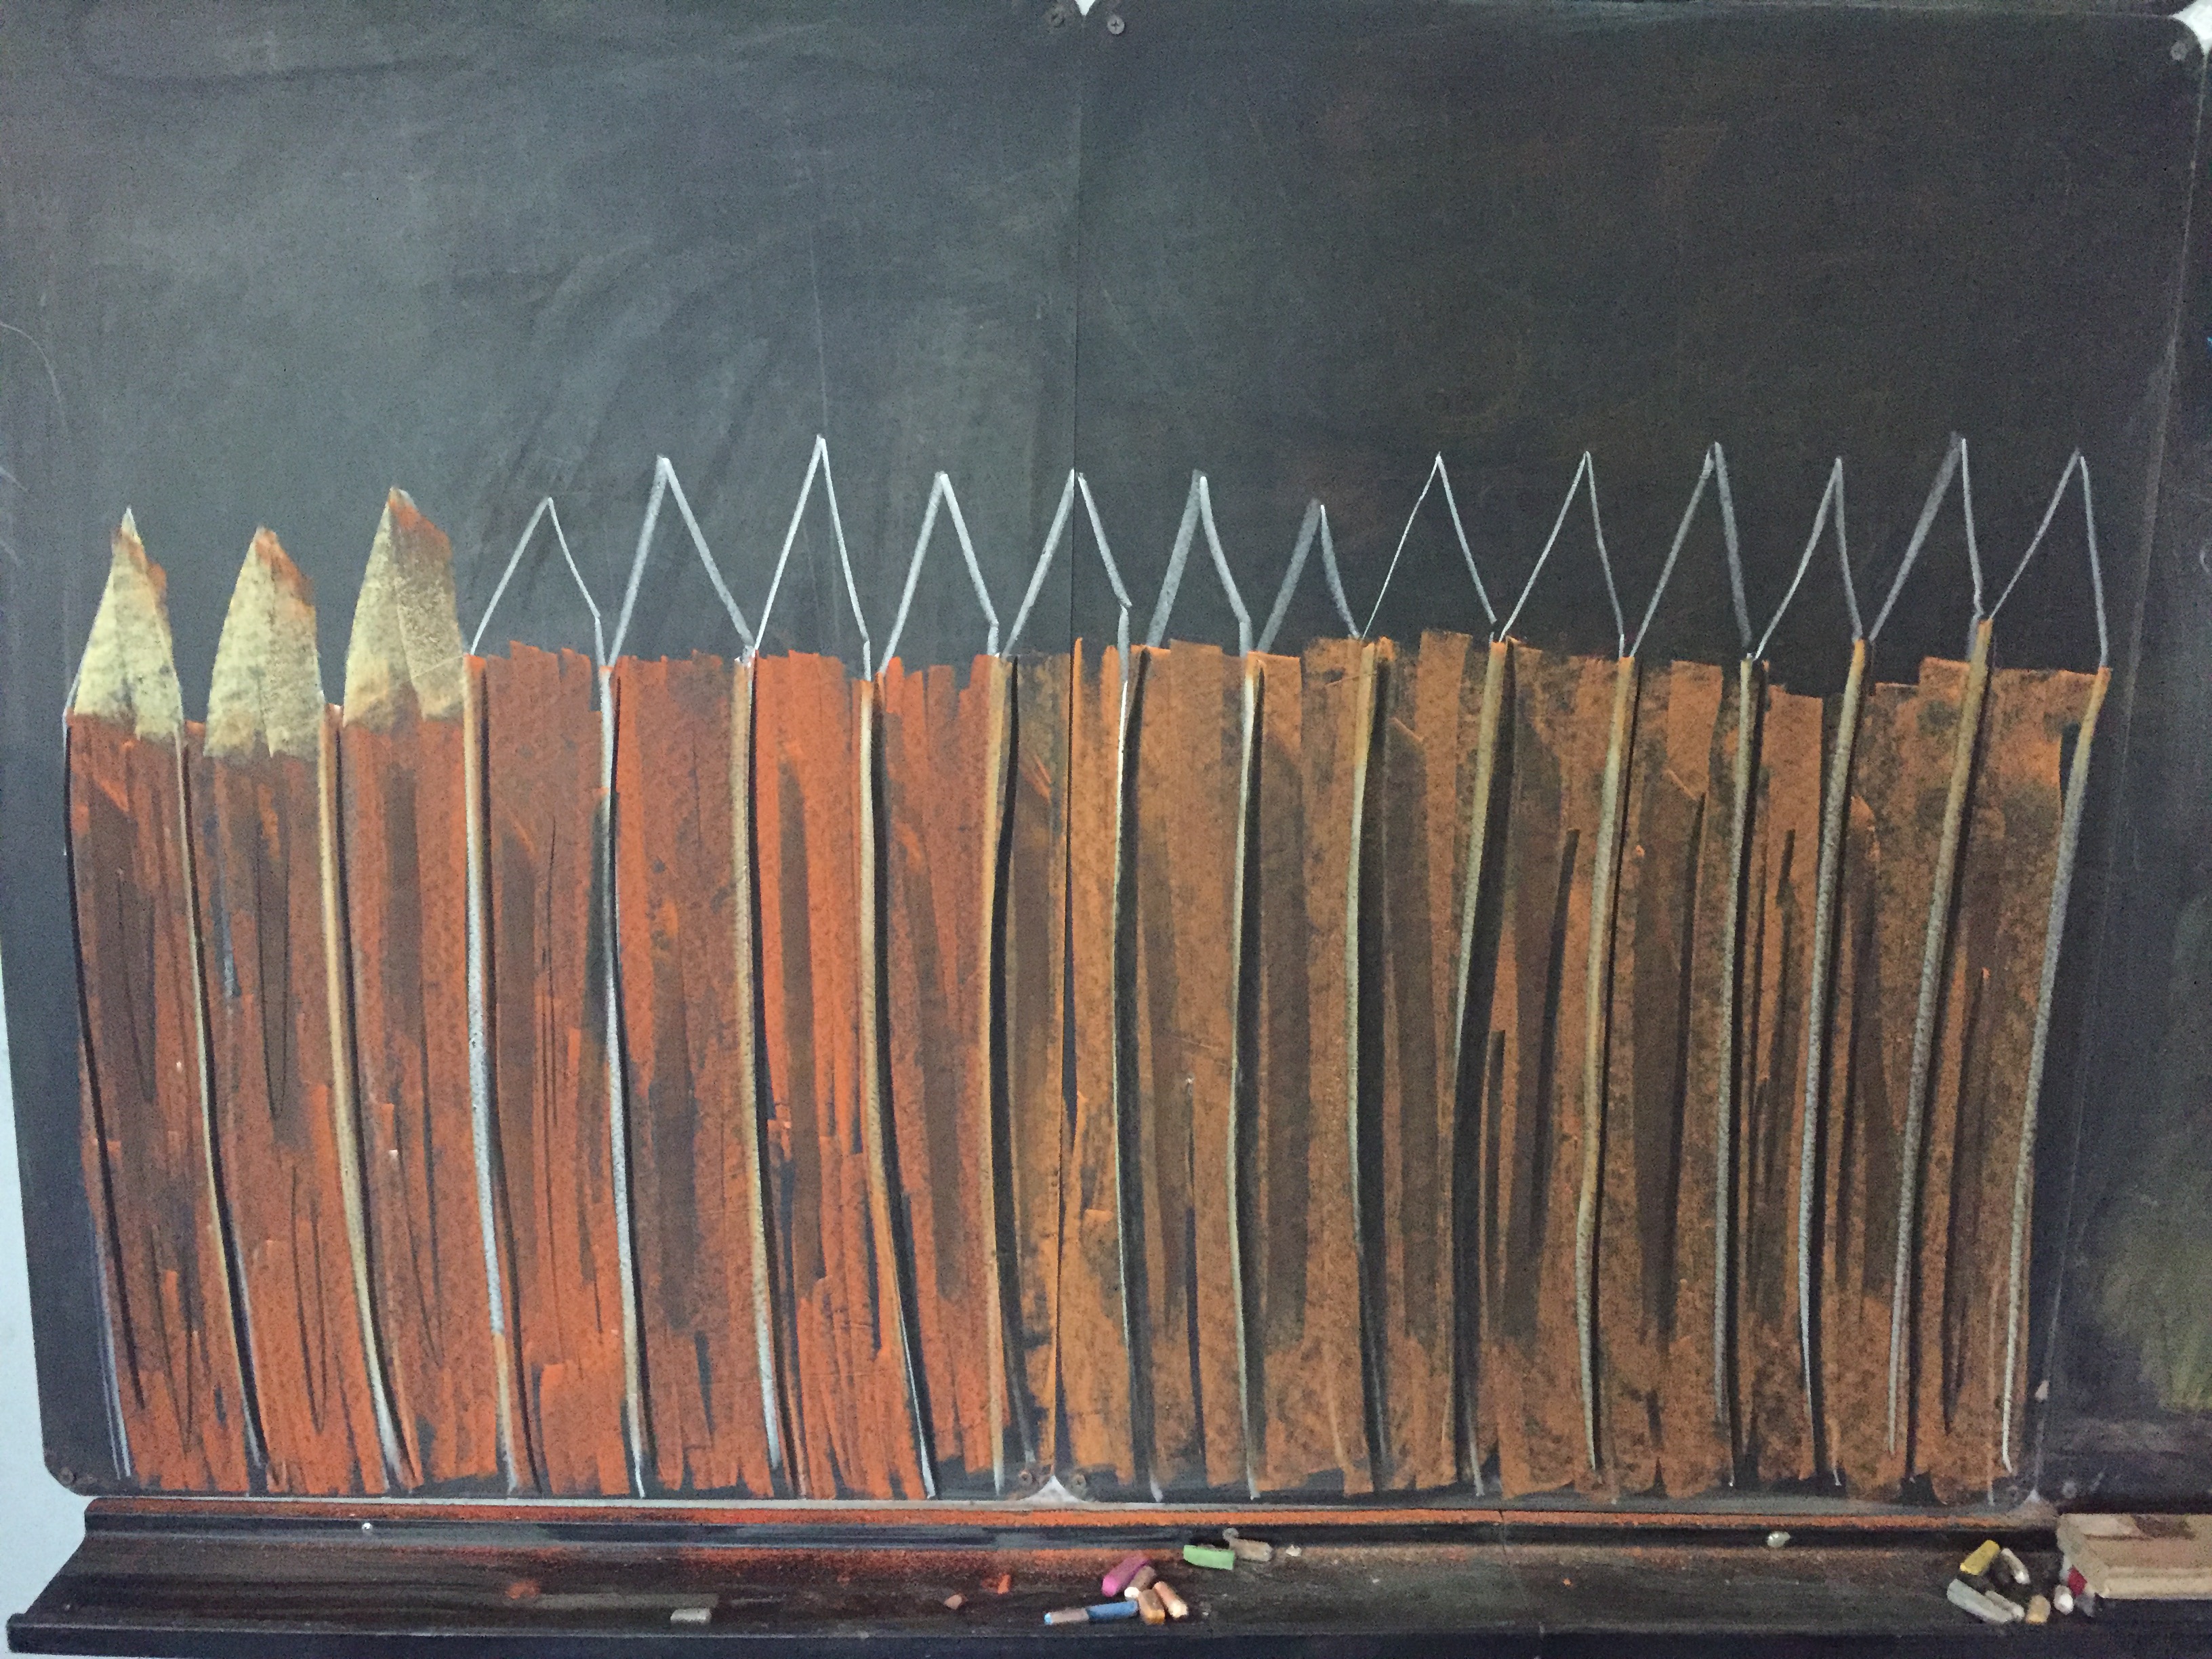
Step by Step Chalk Drawing
Today we are working on a chalk drawing inspired by the book “You Wouldn’t Want To Be An American Colonist” by Jacqueline Morley and illustrated by David Antram and published by Scholastic.
I’m using chalk pastels by Sargent Art on mounted chalk boards from Waldorf Supplies.
My 5th grader’s work:
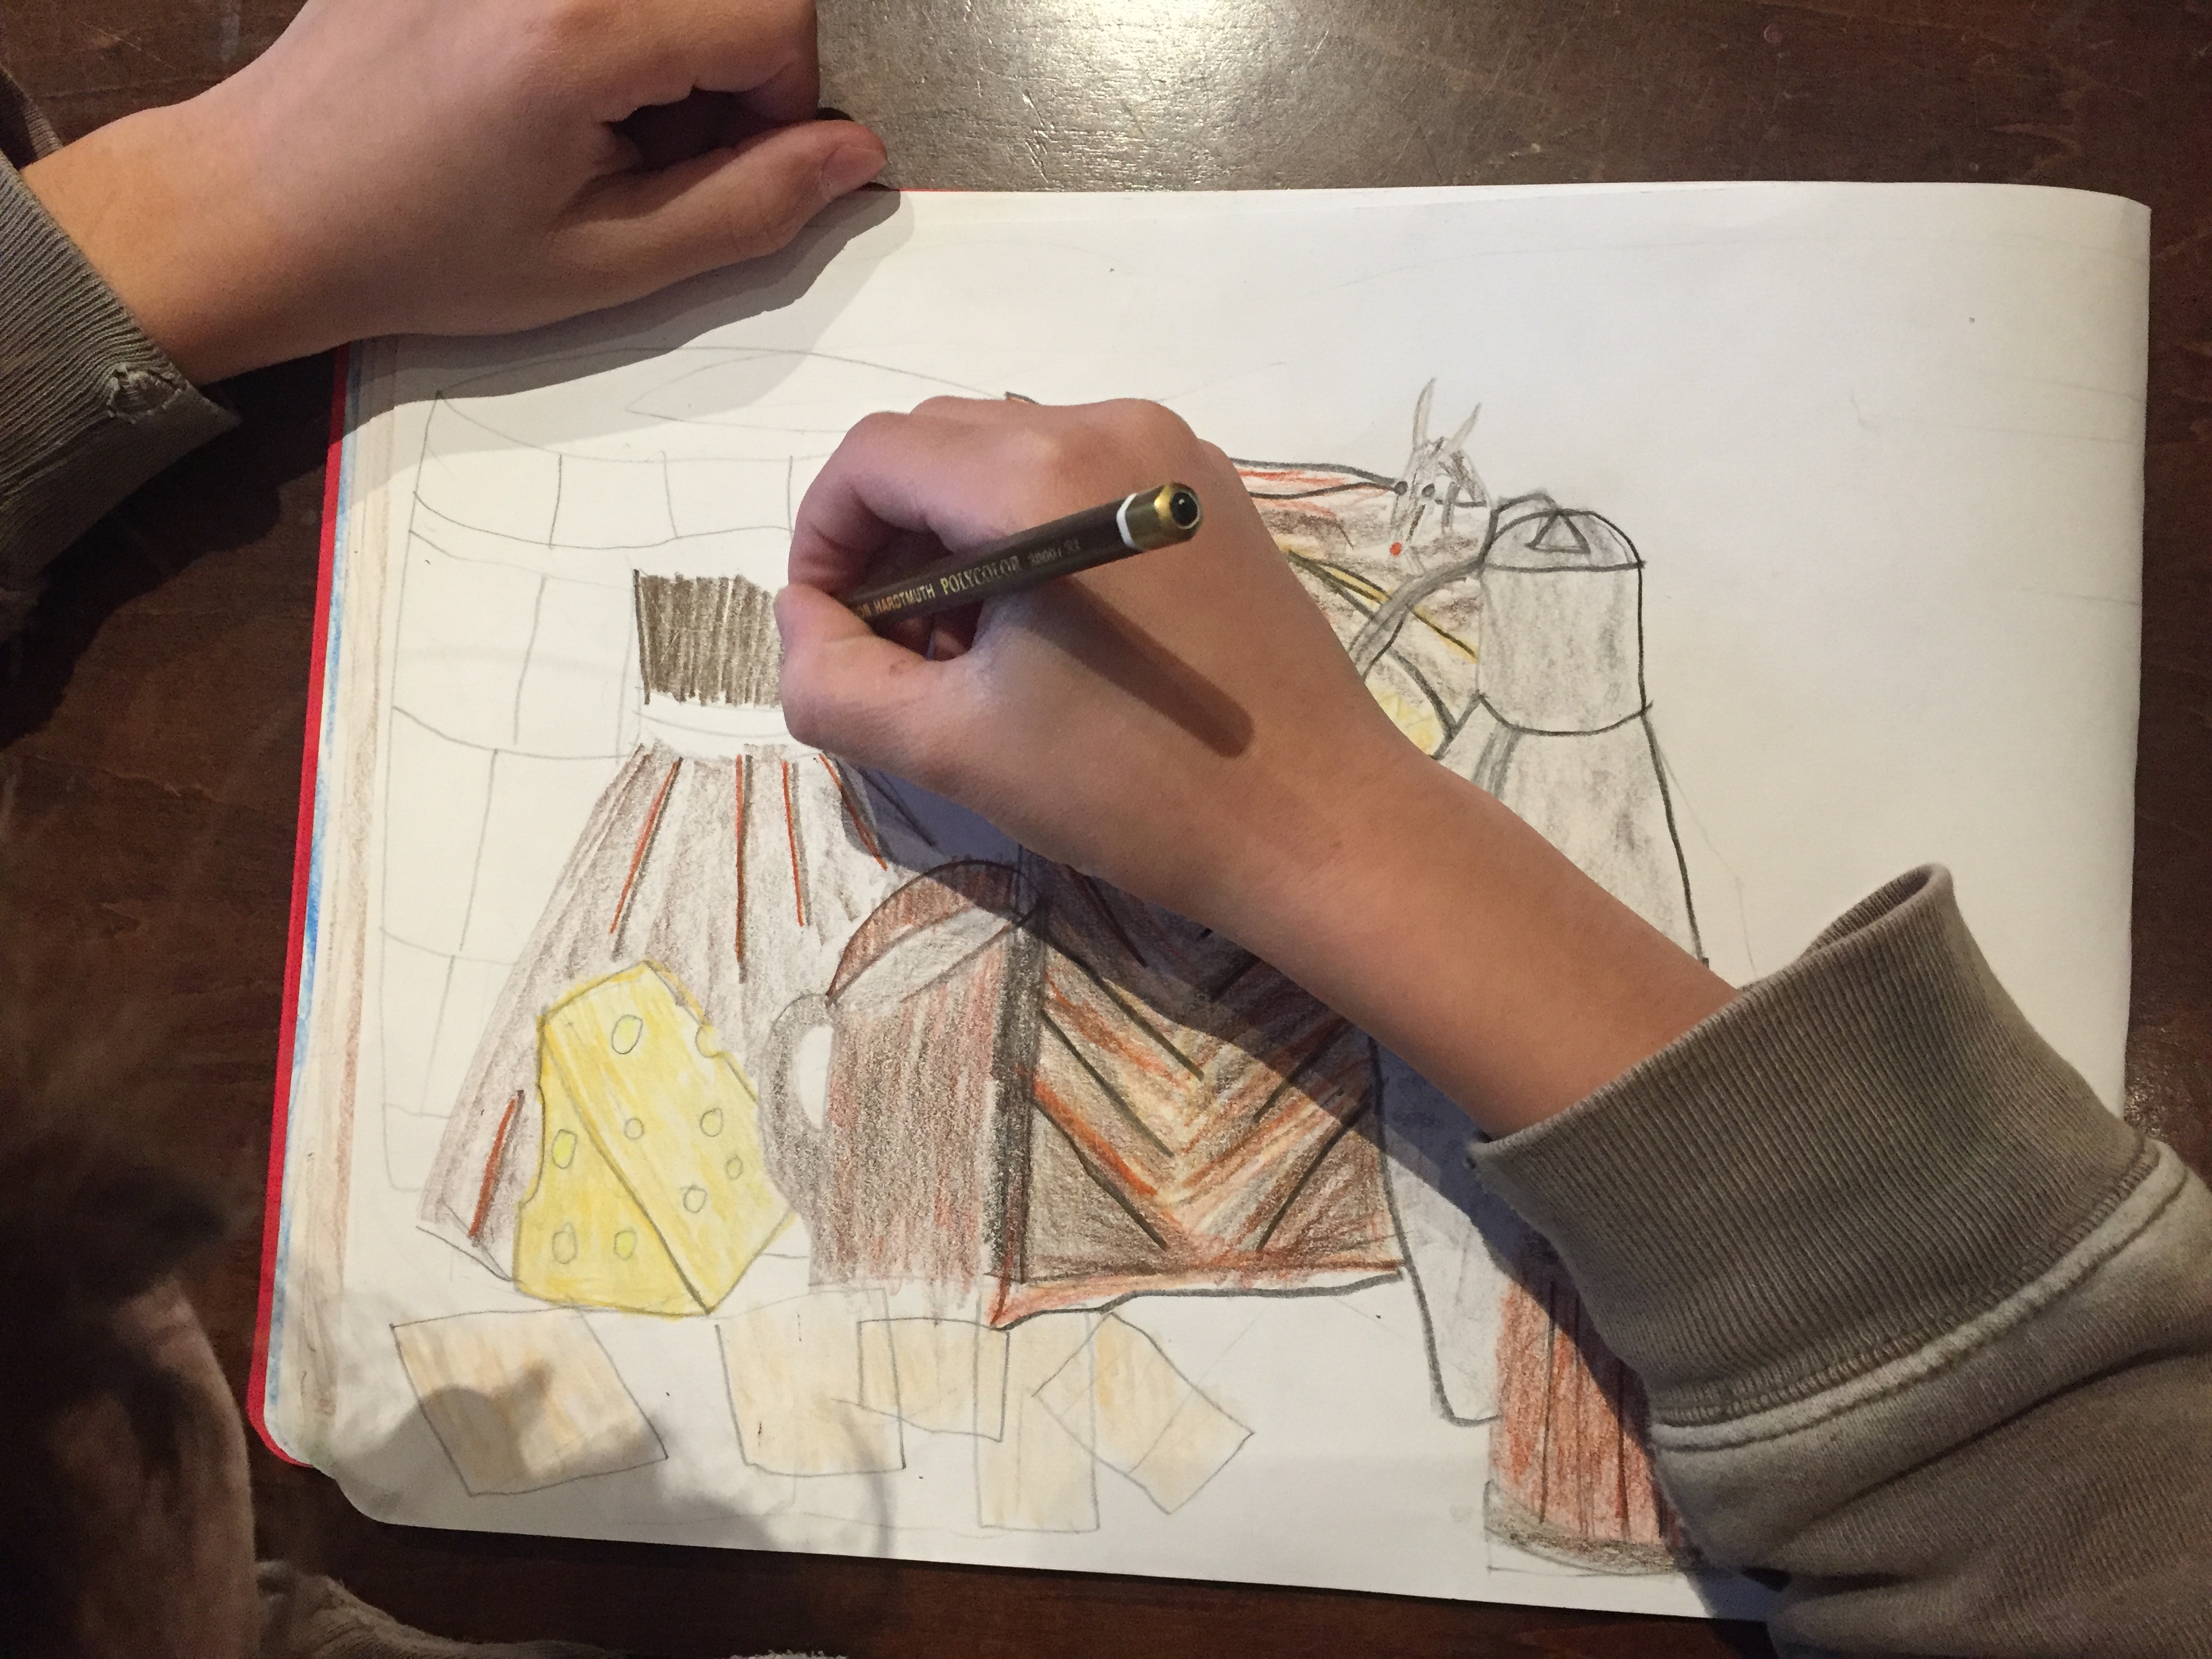
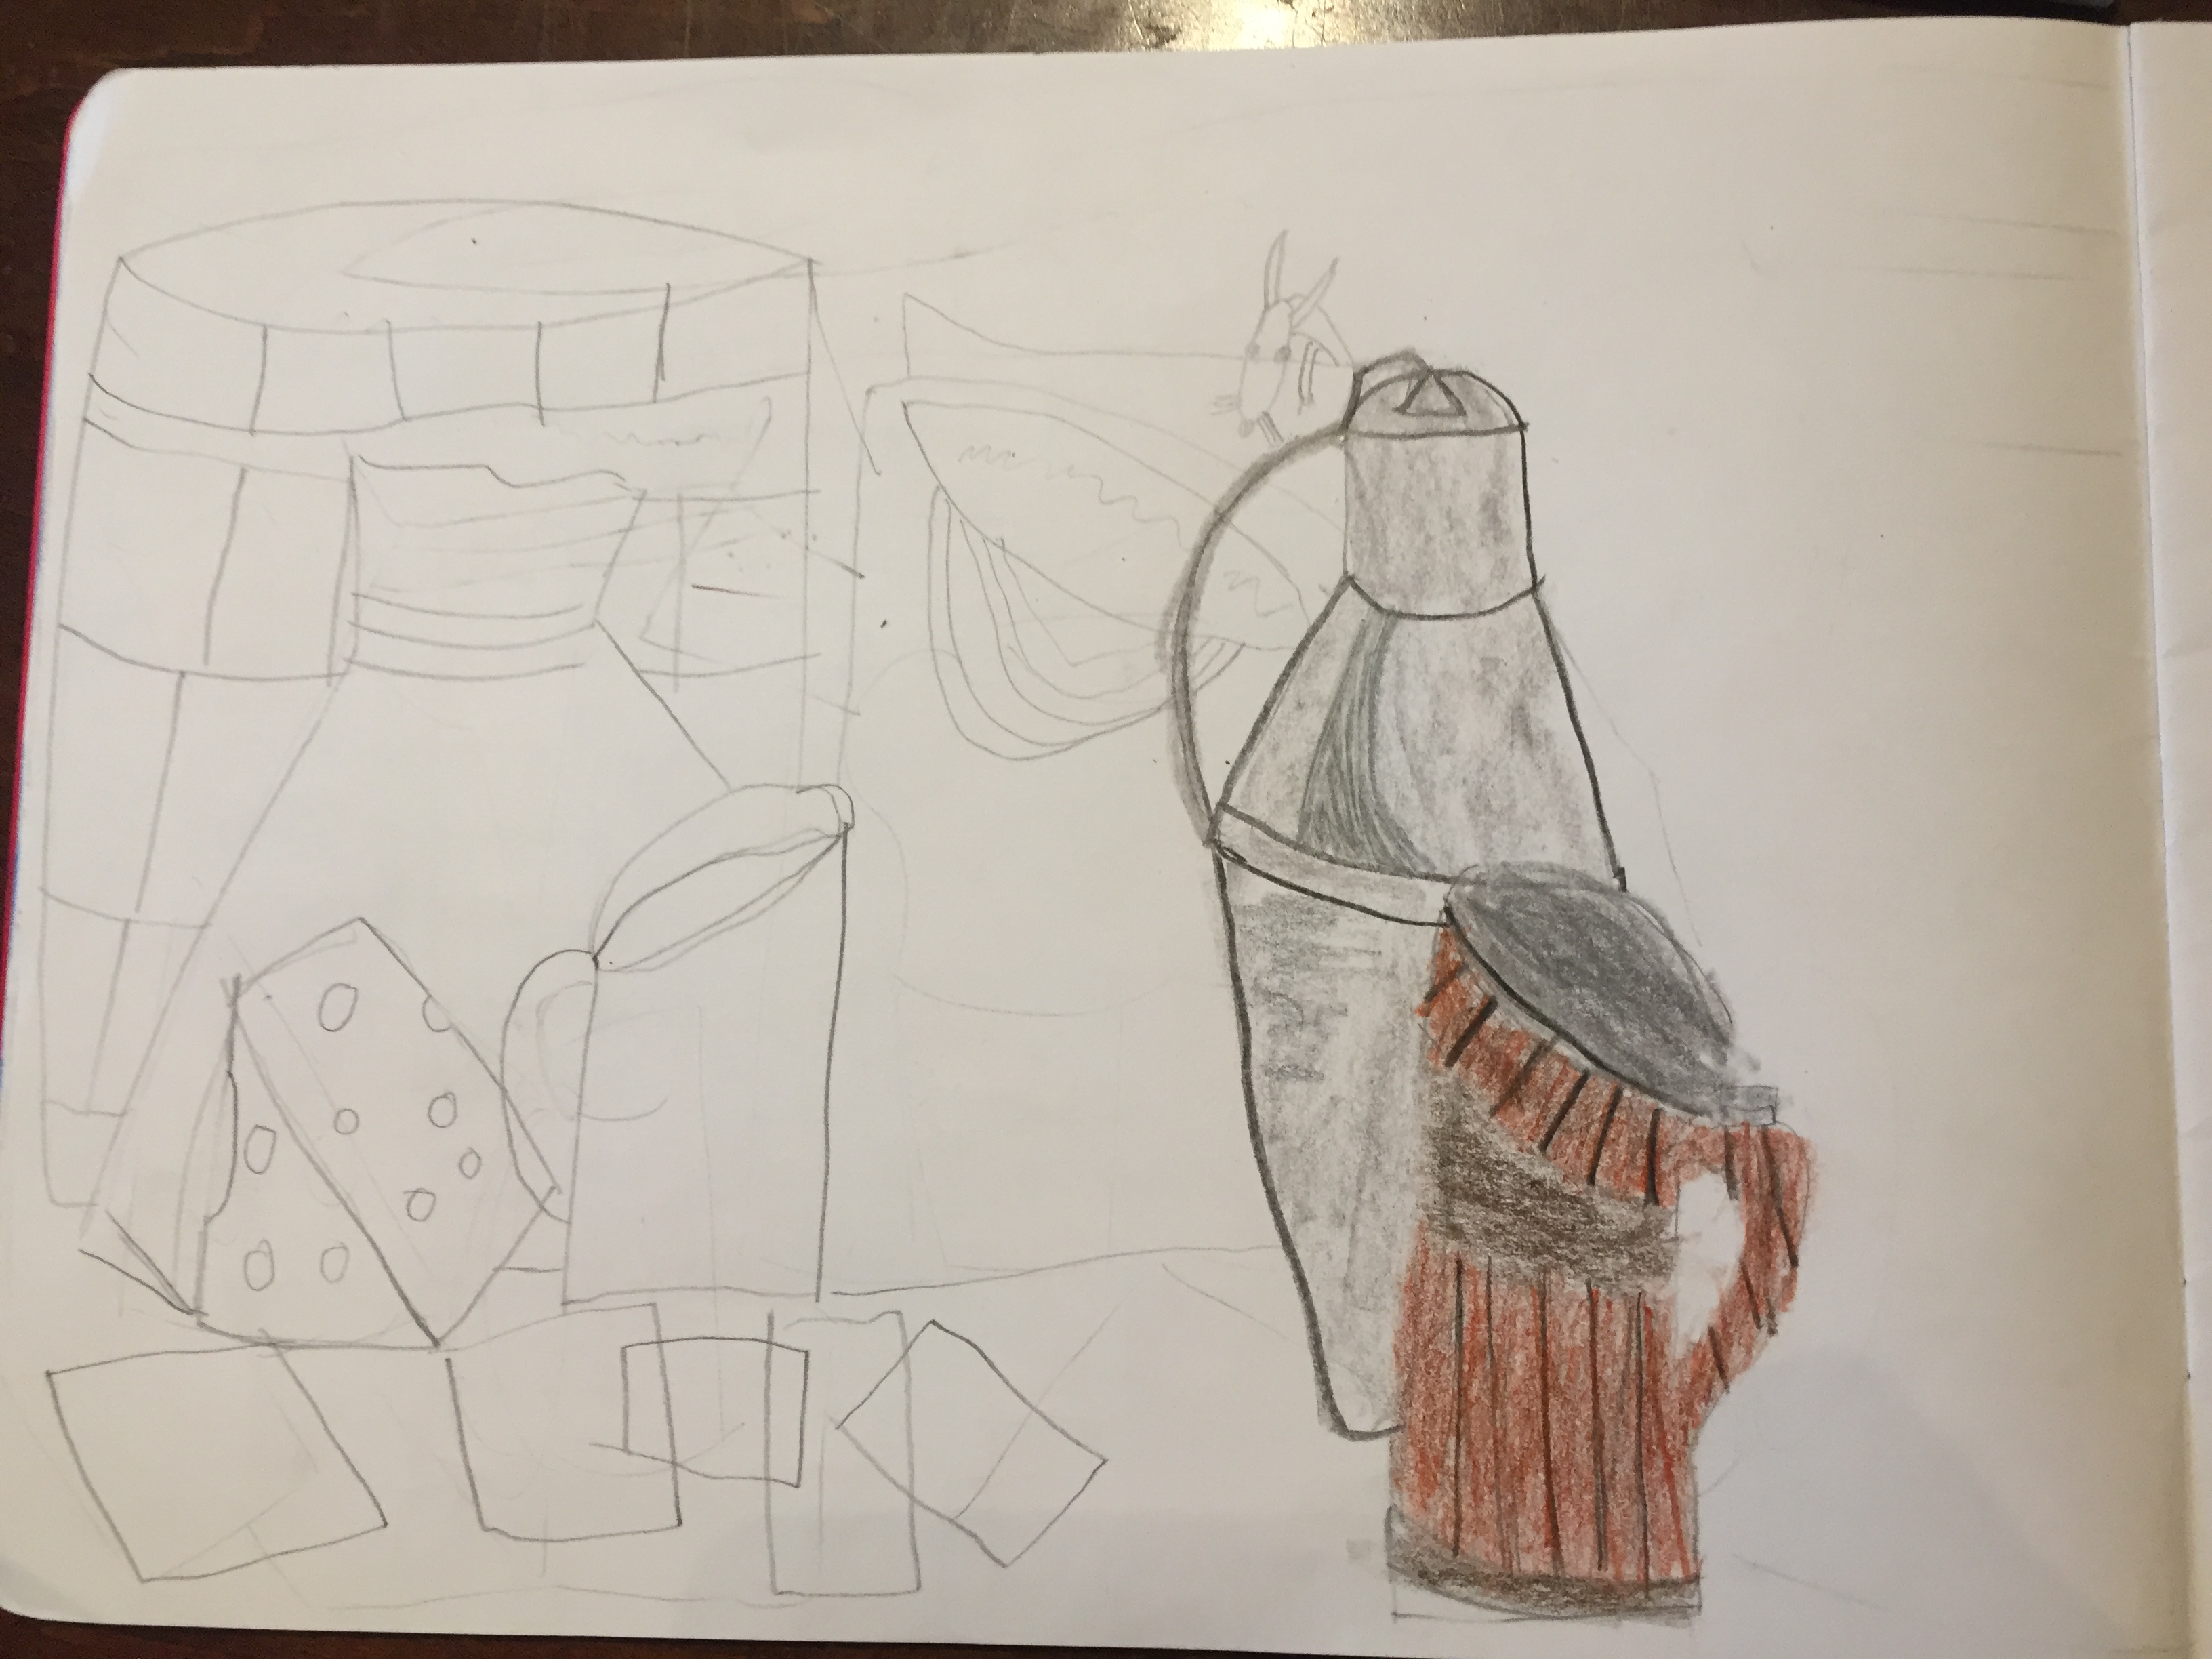


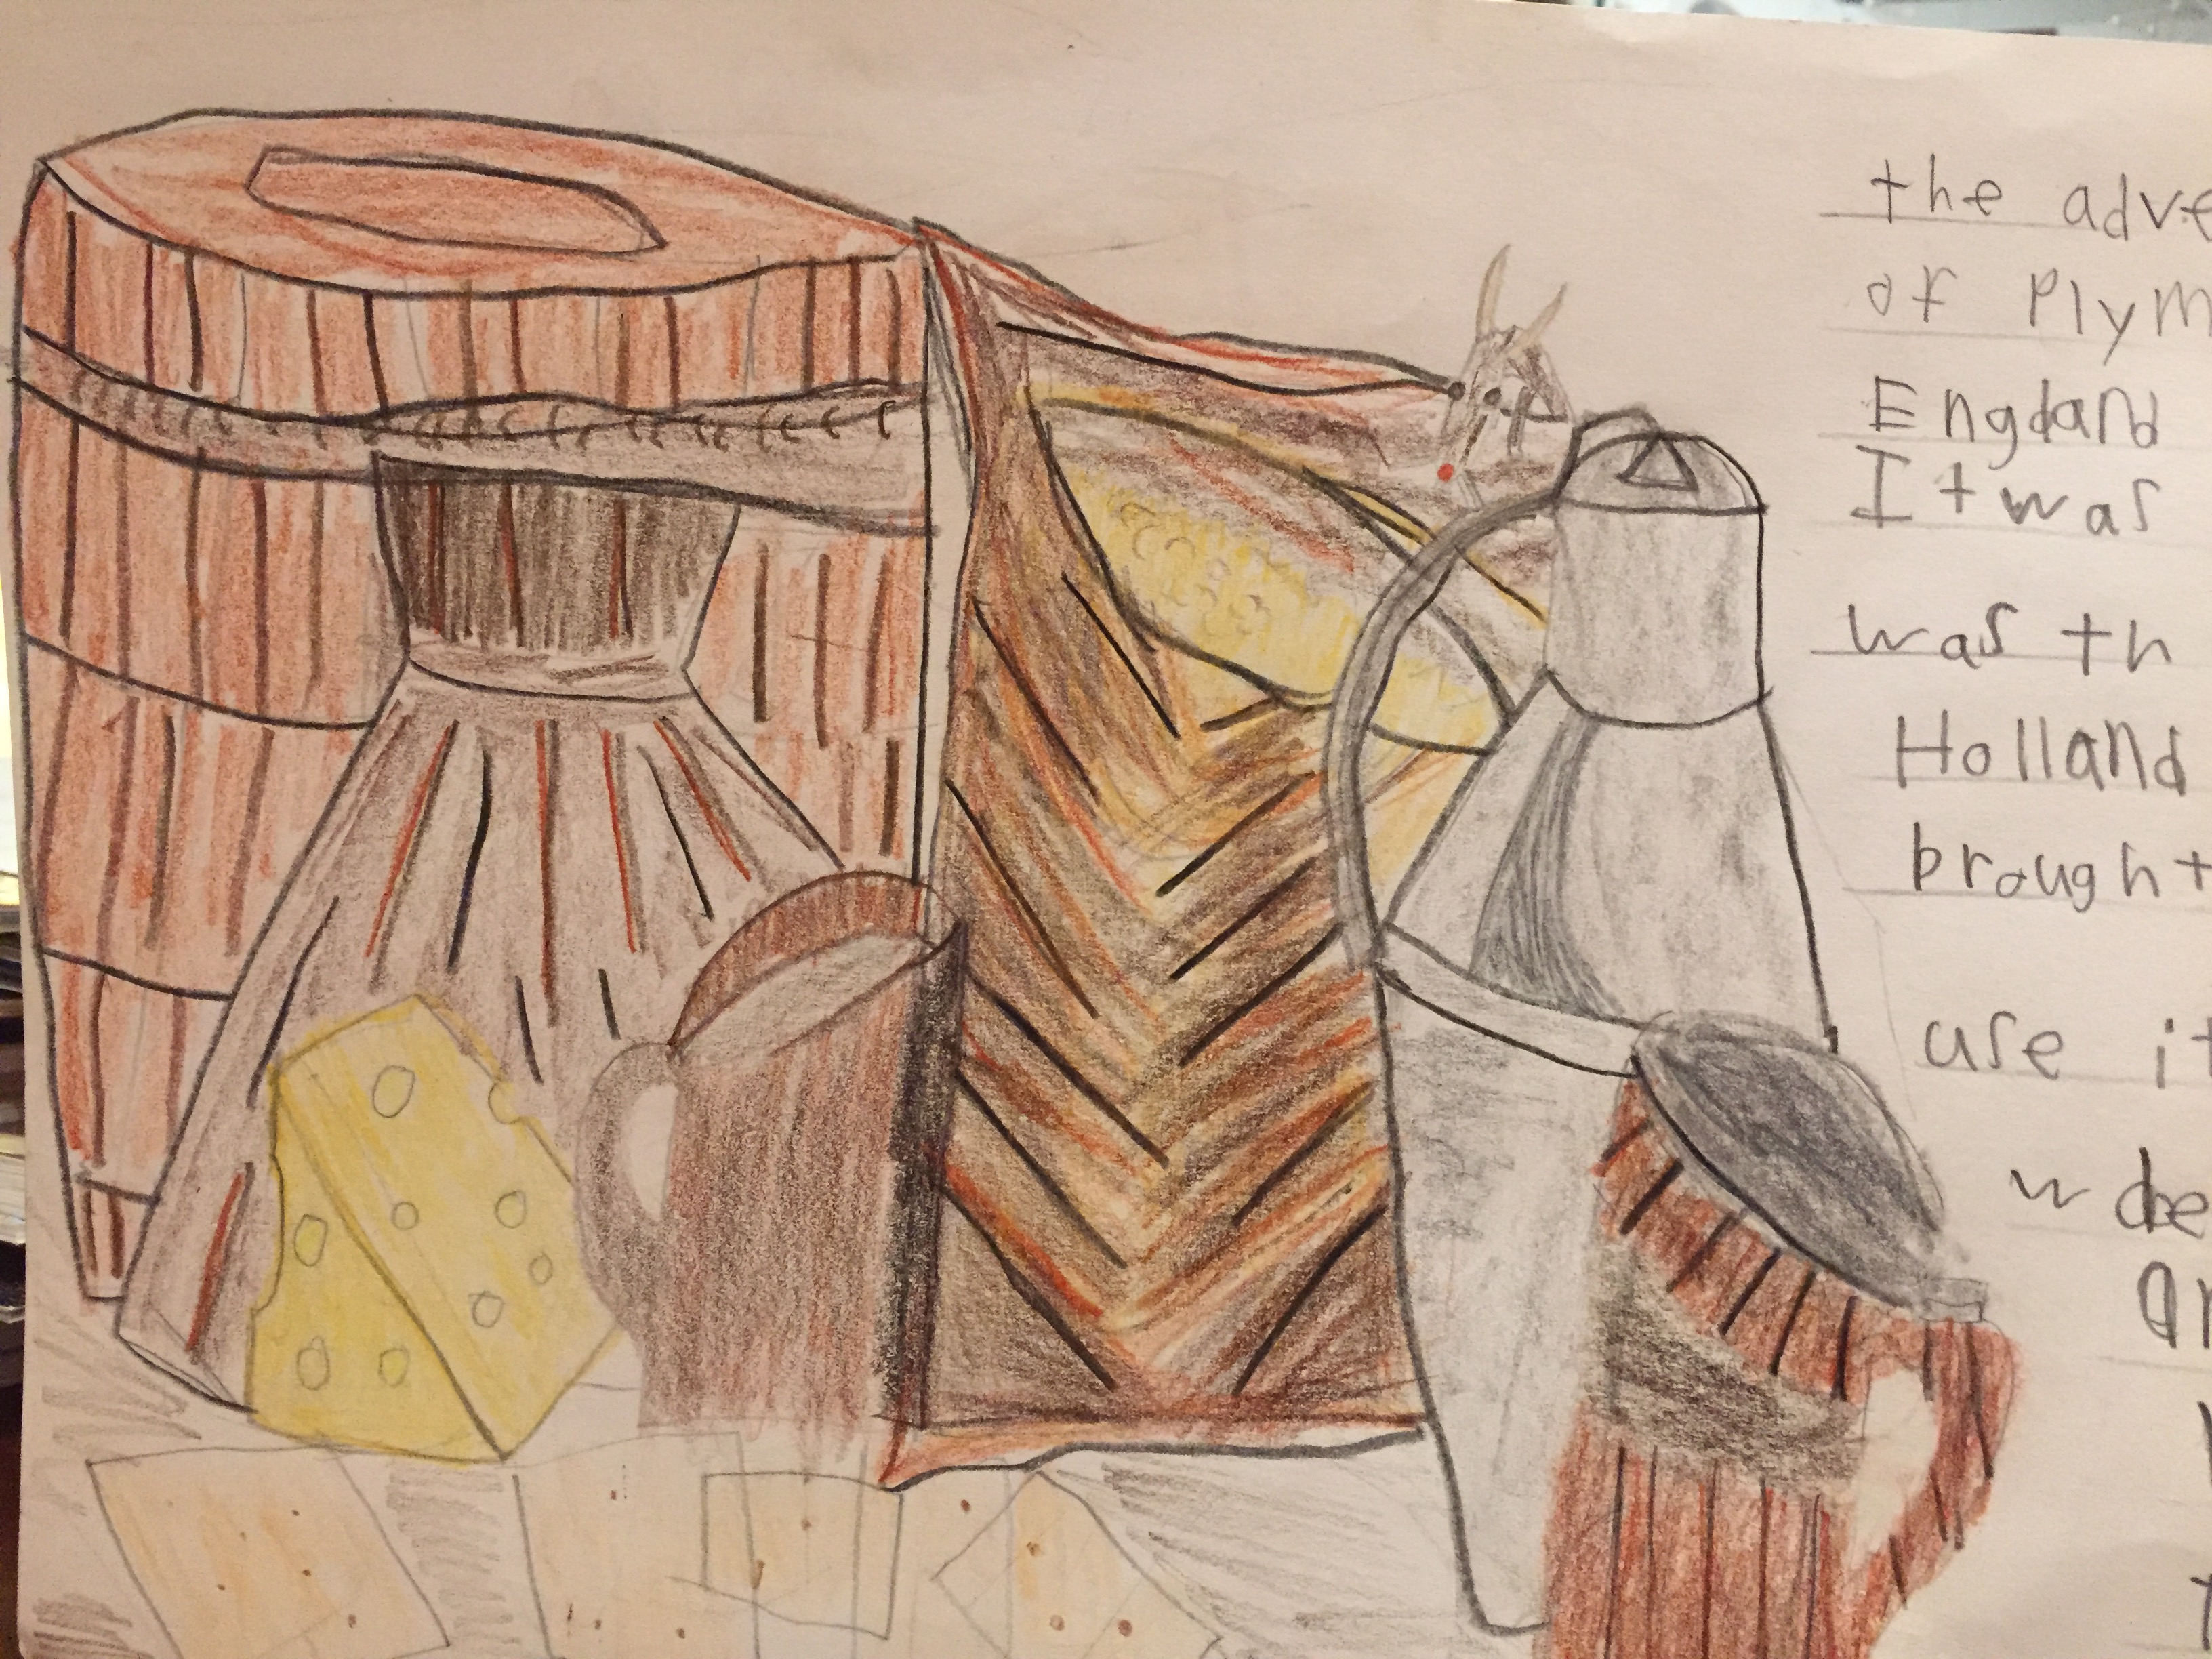
The chalk drawing:
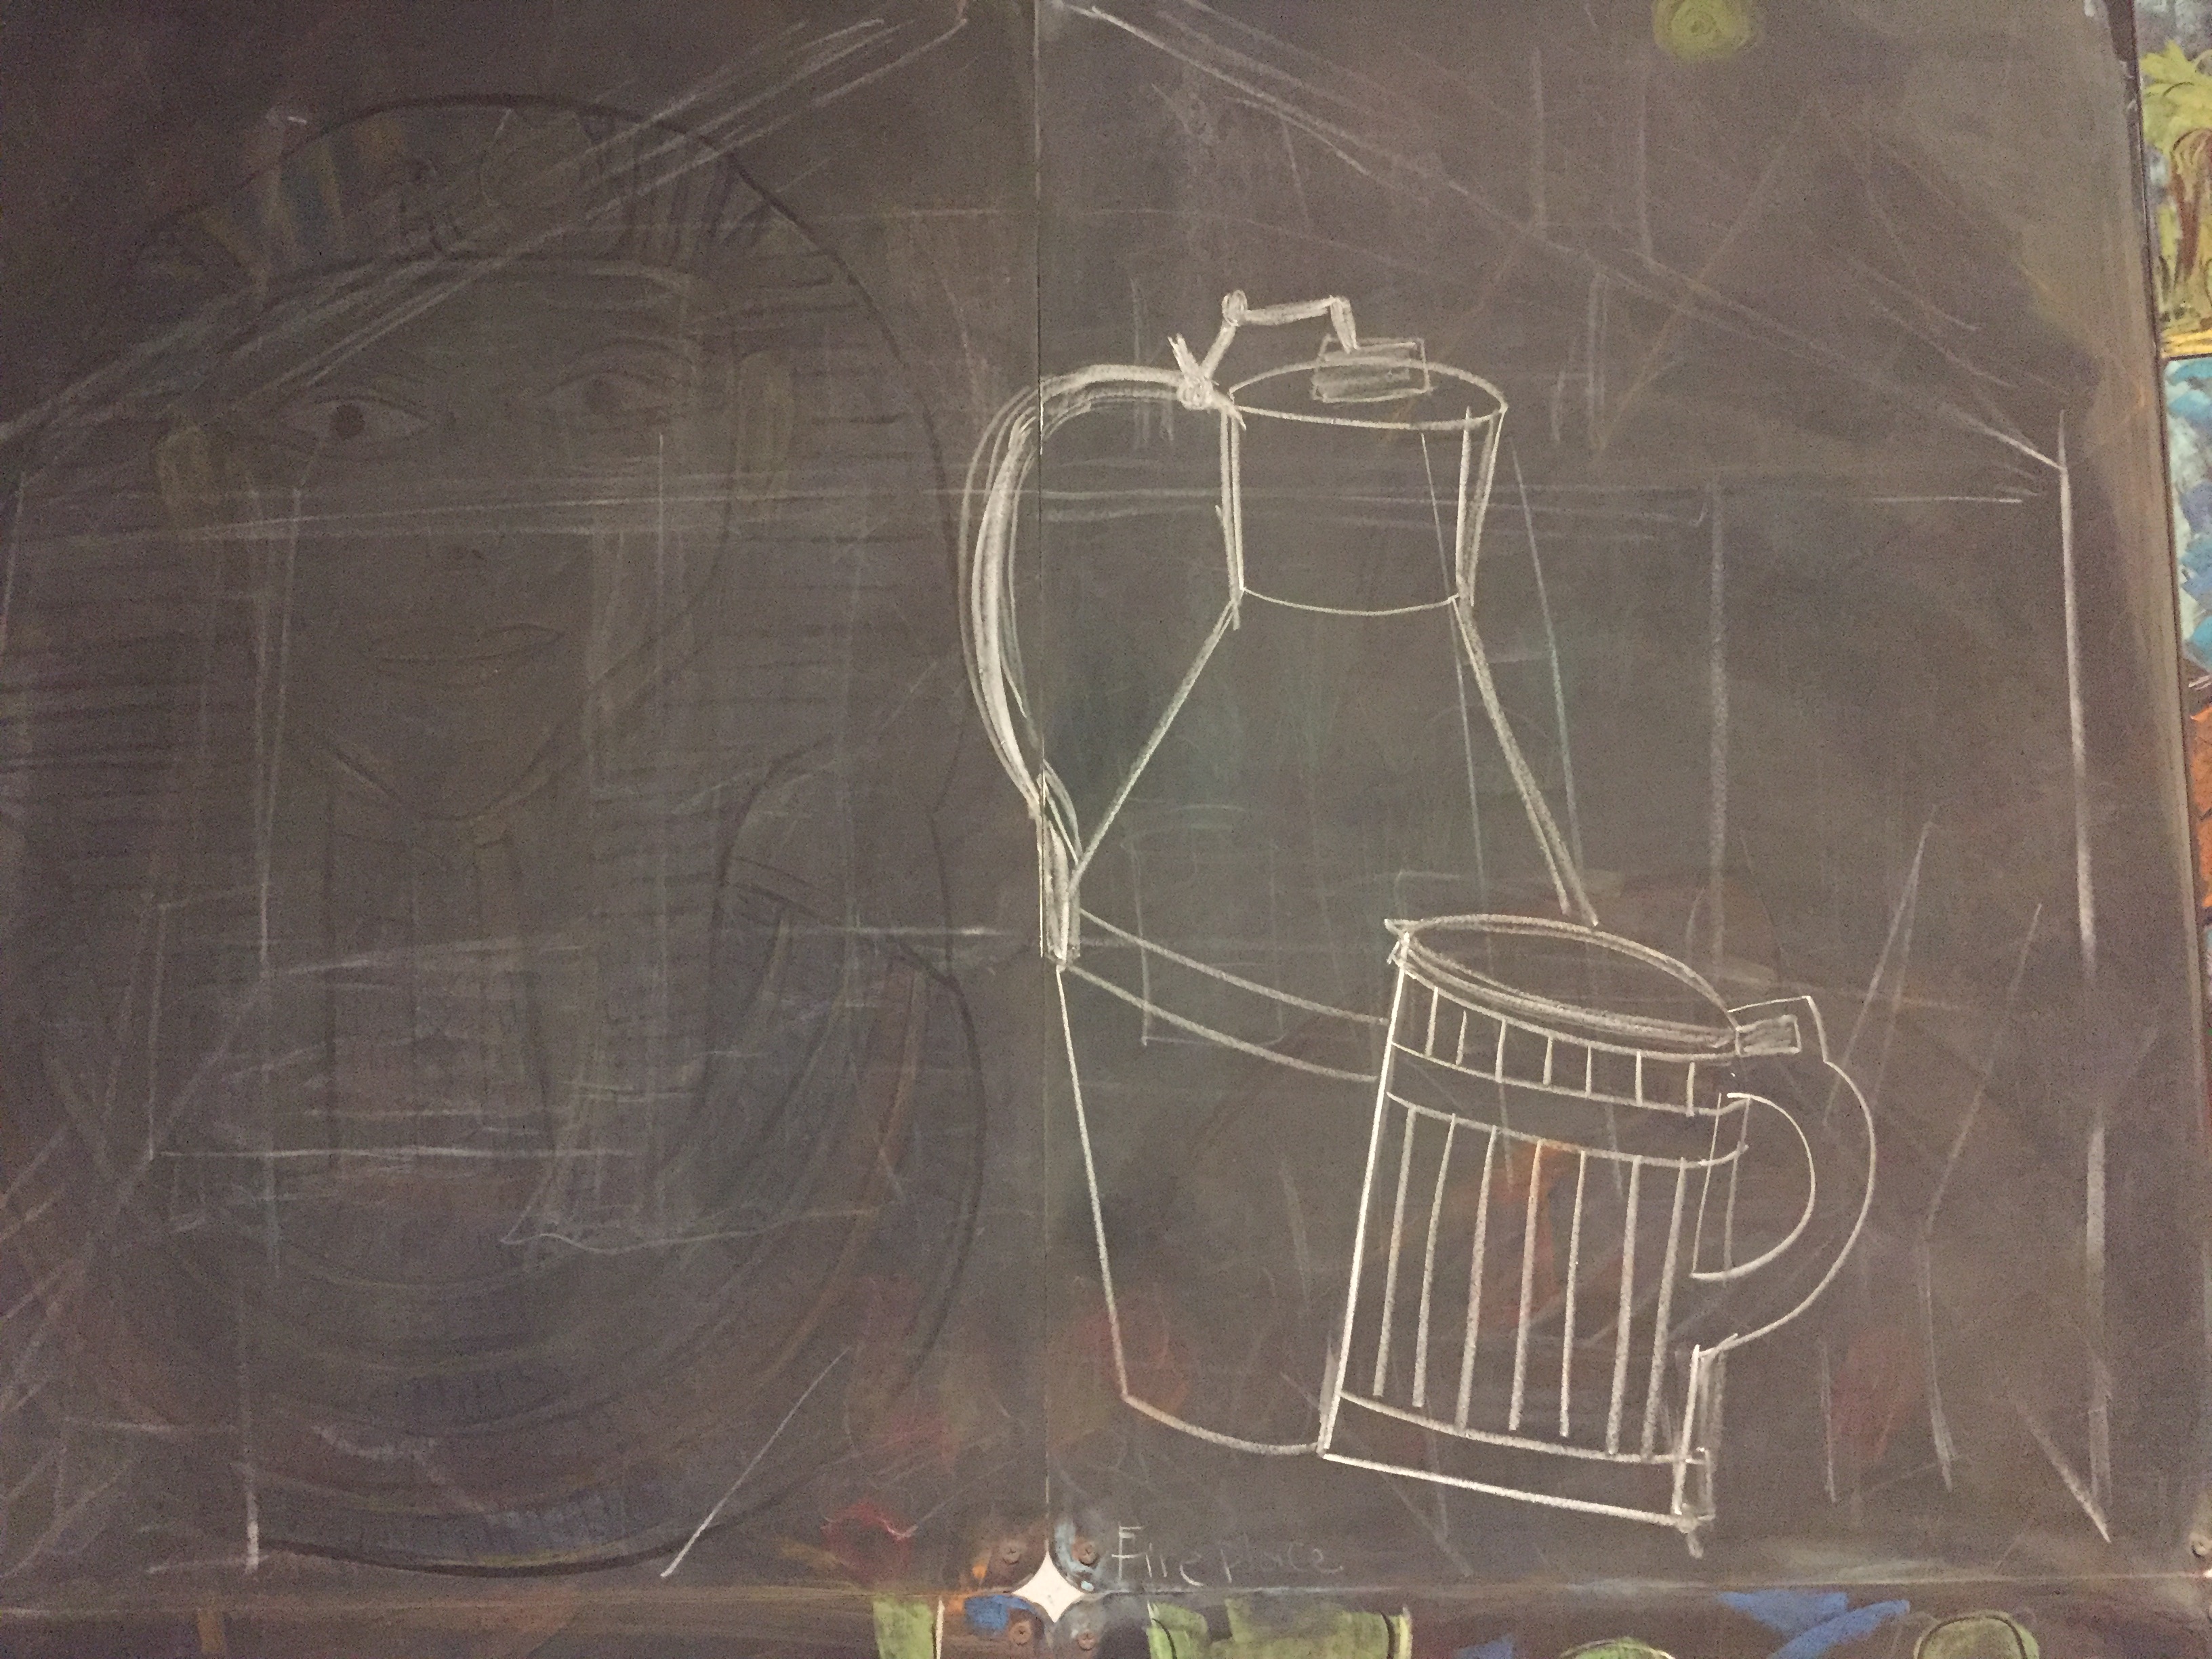
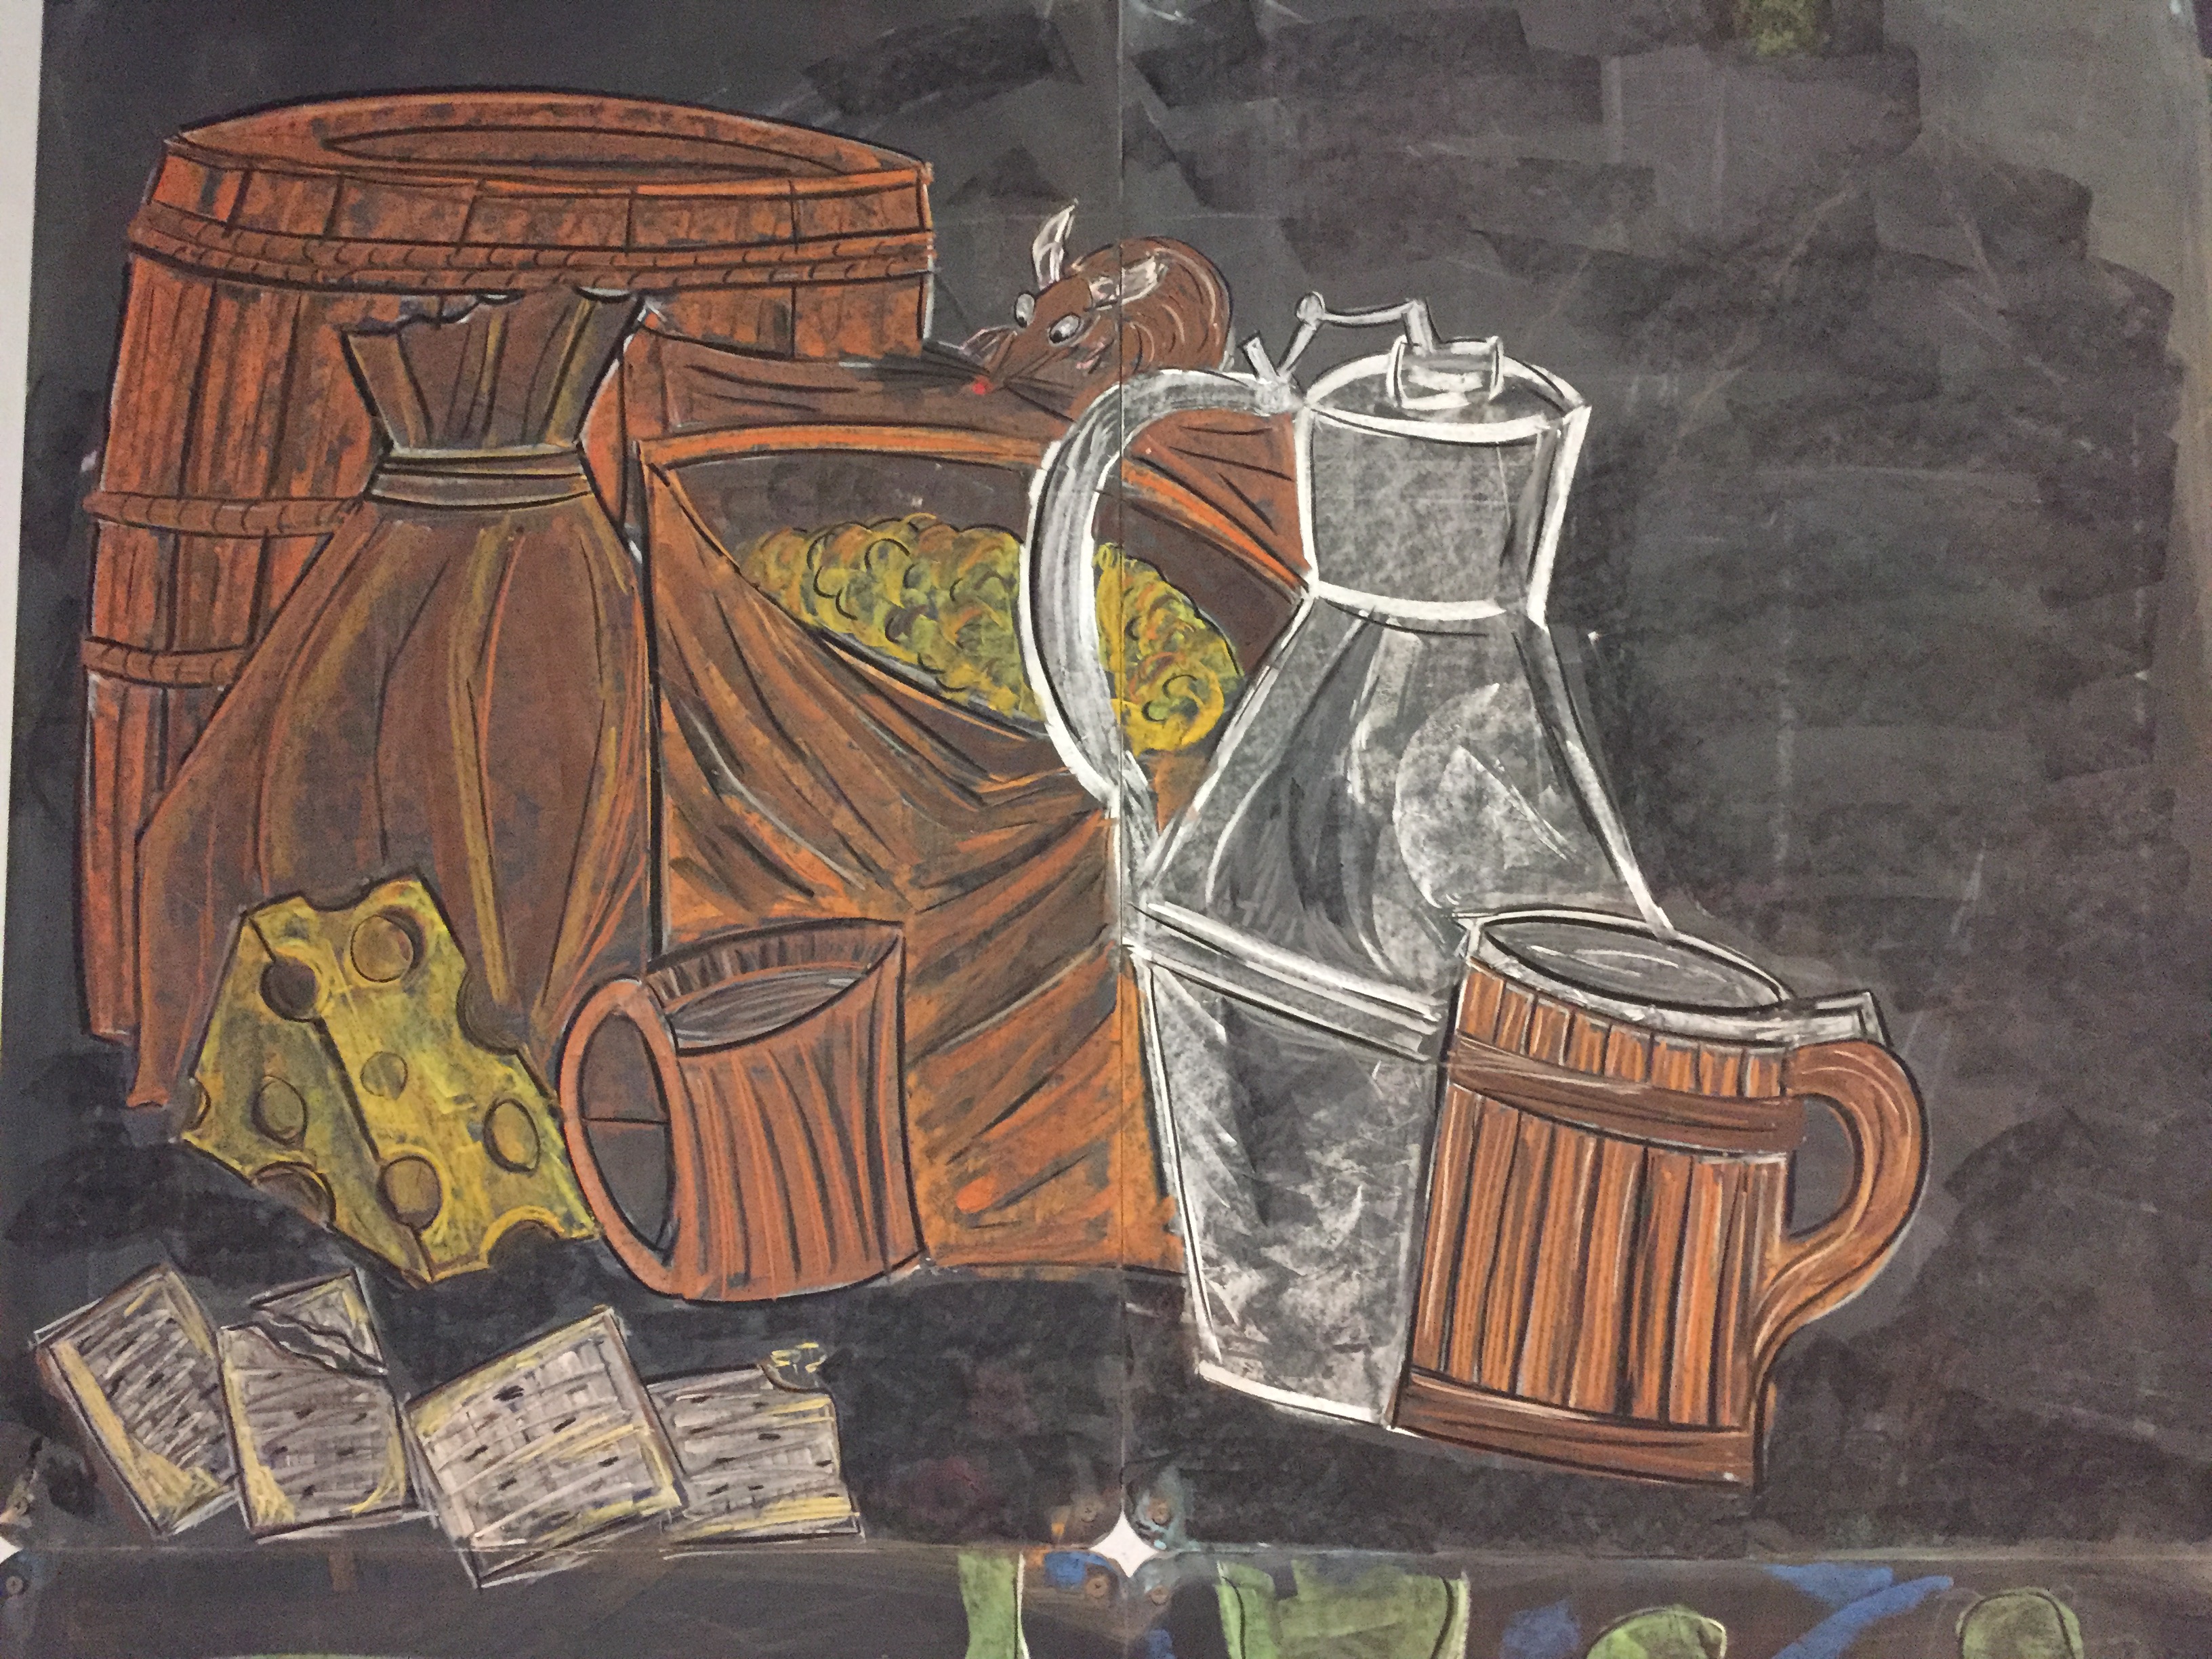
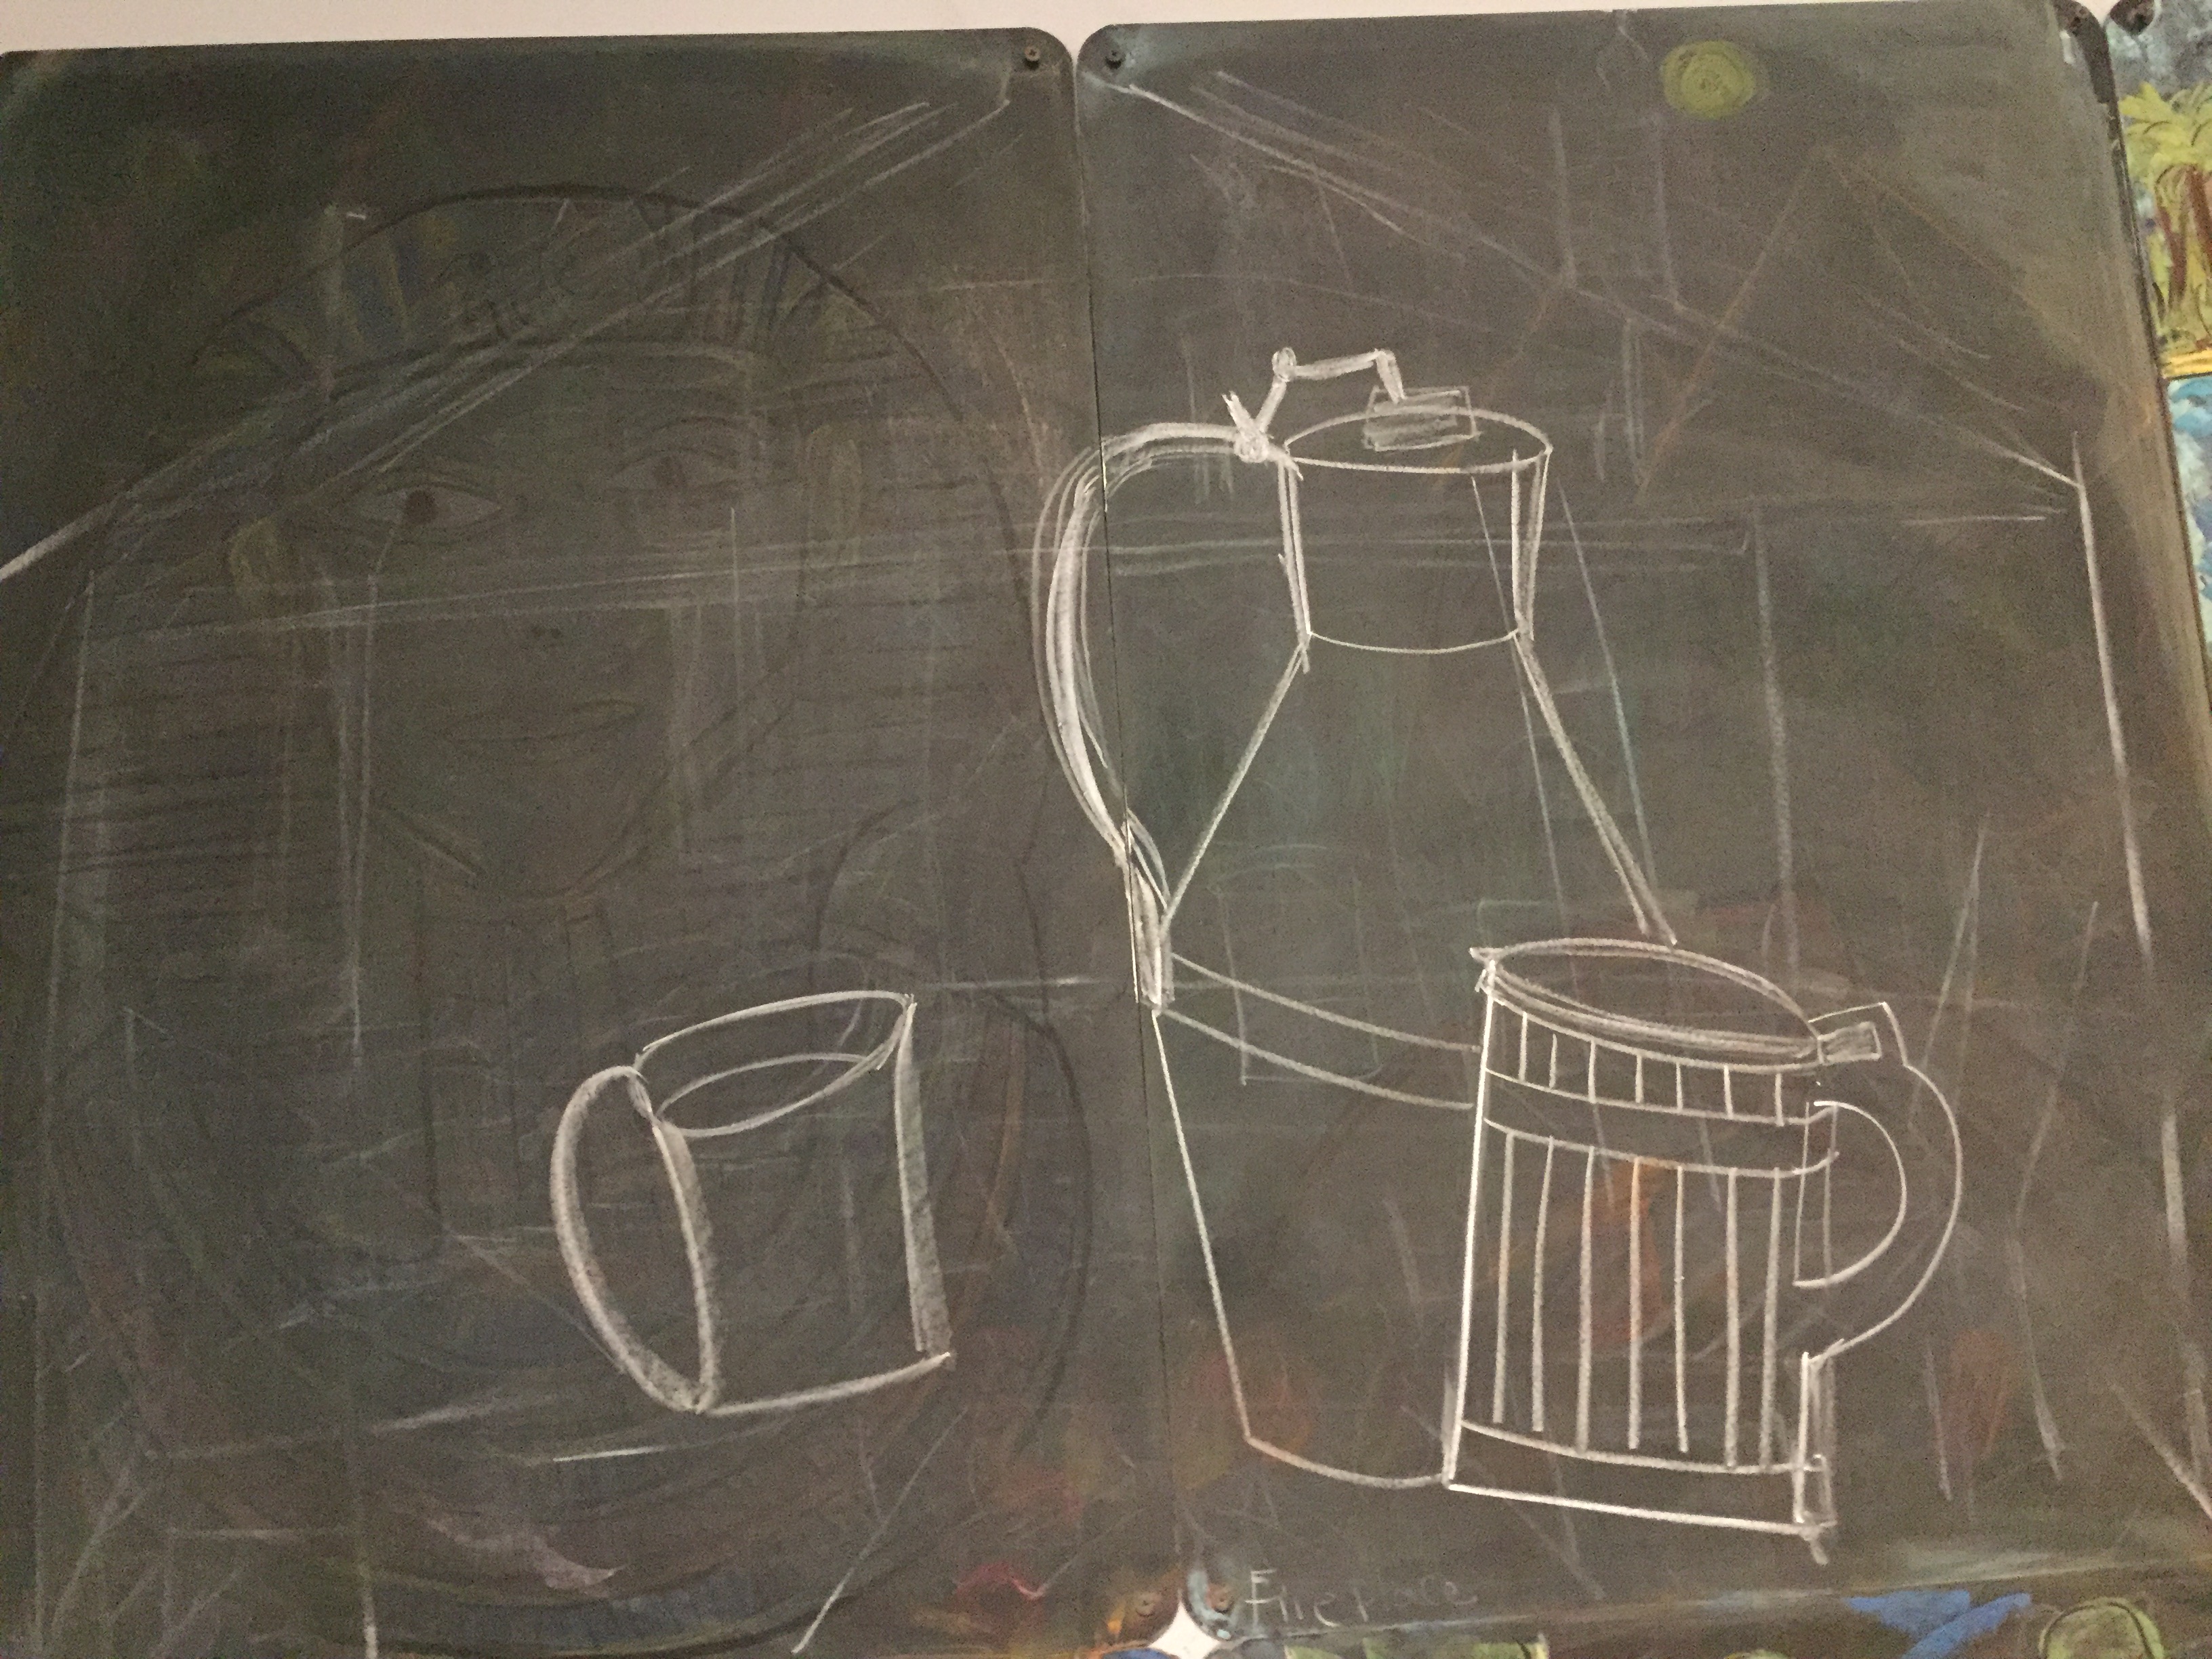
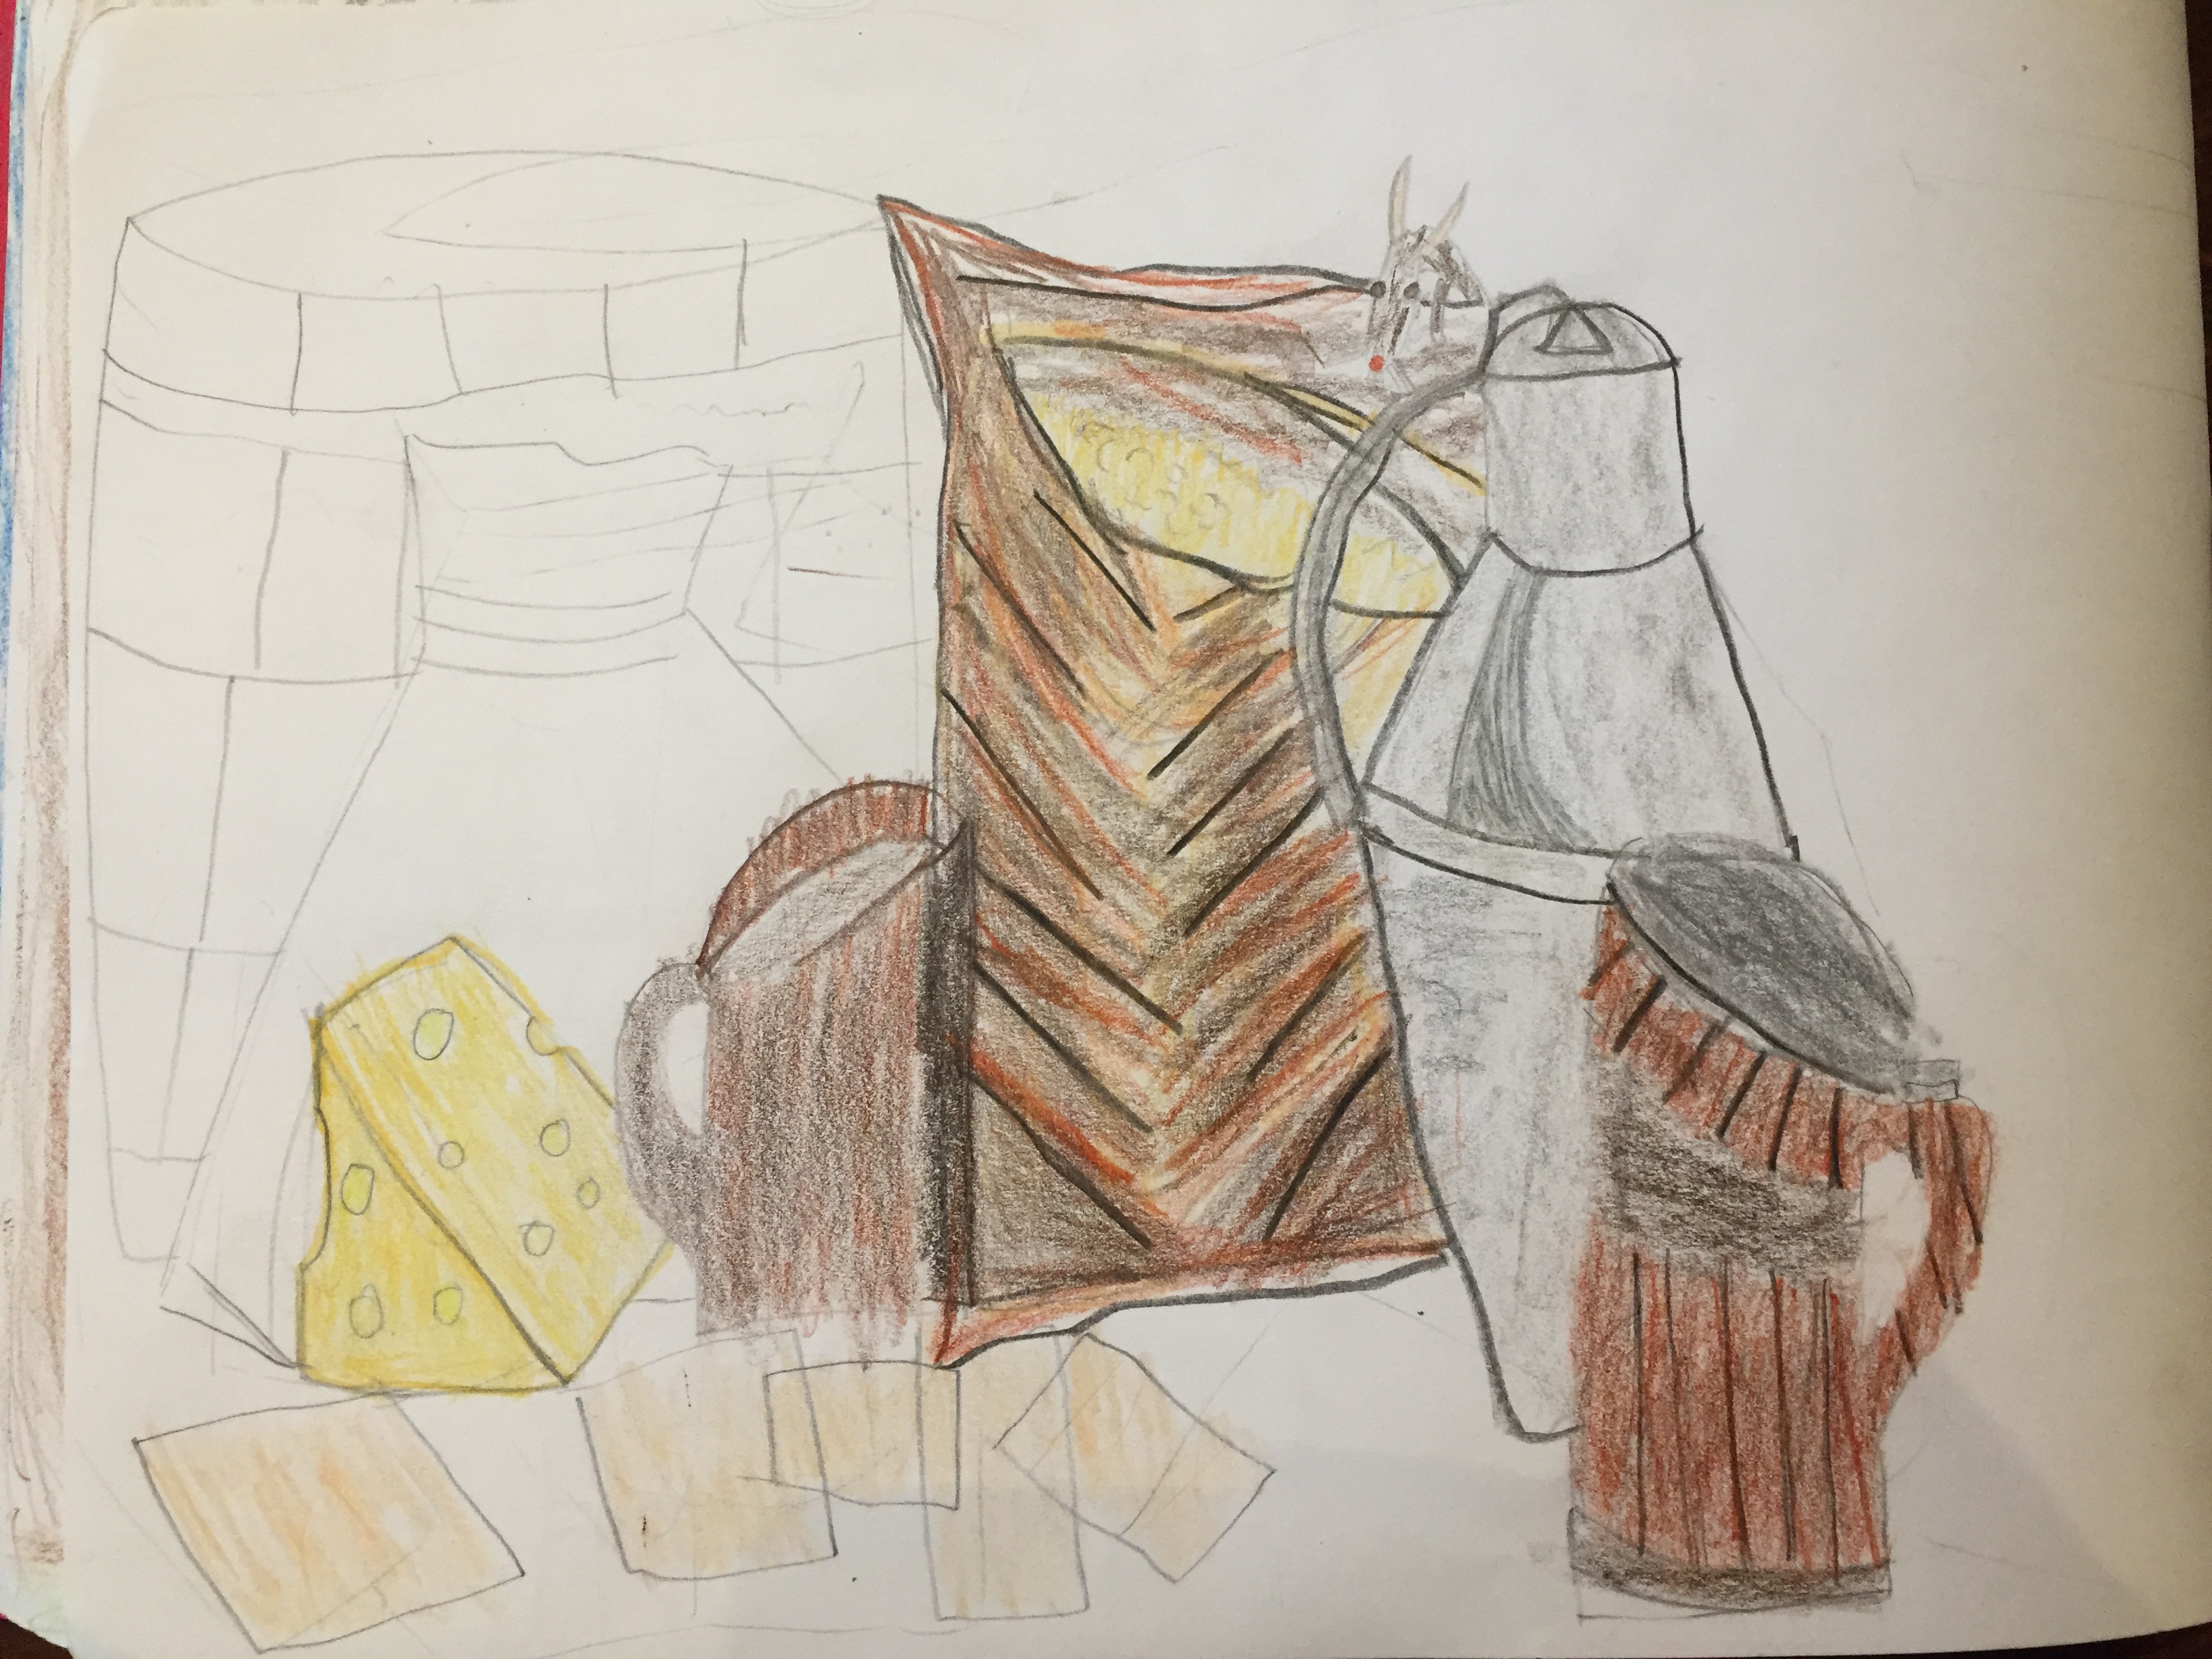
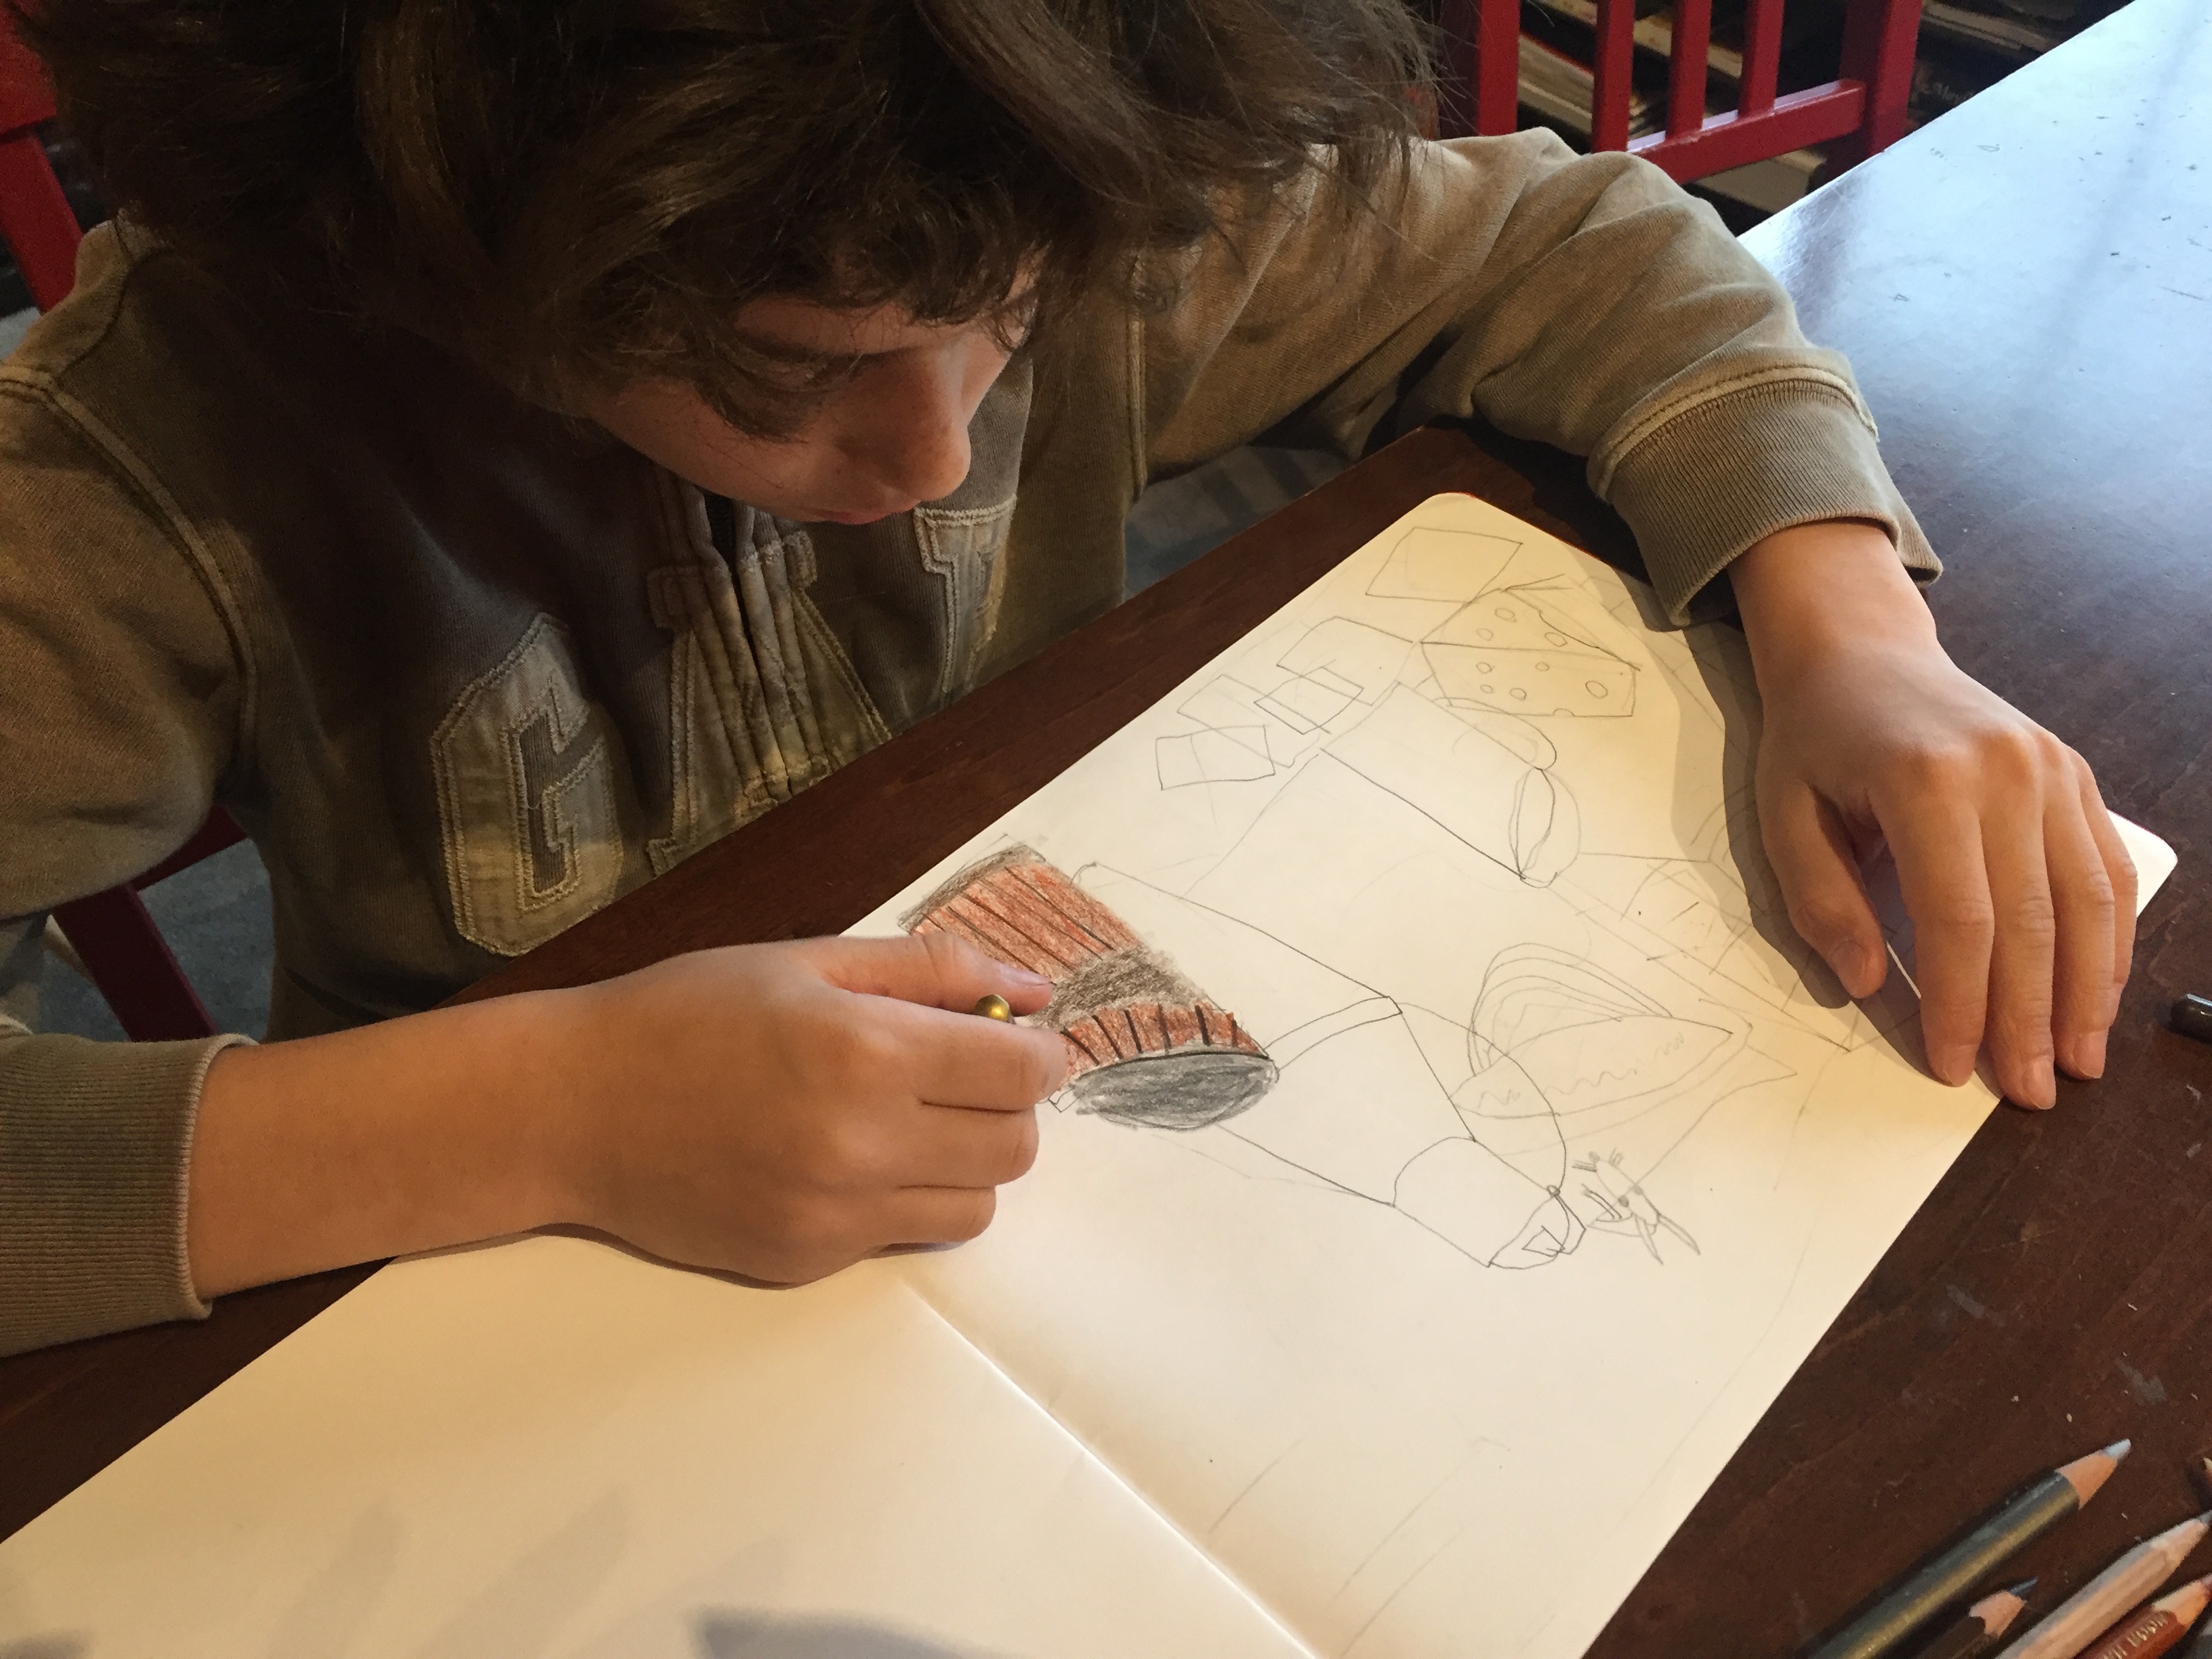
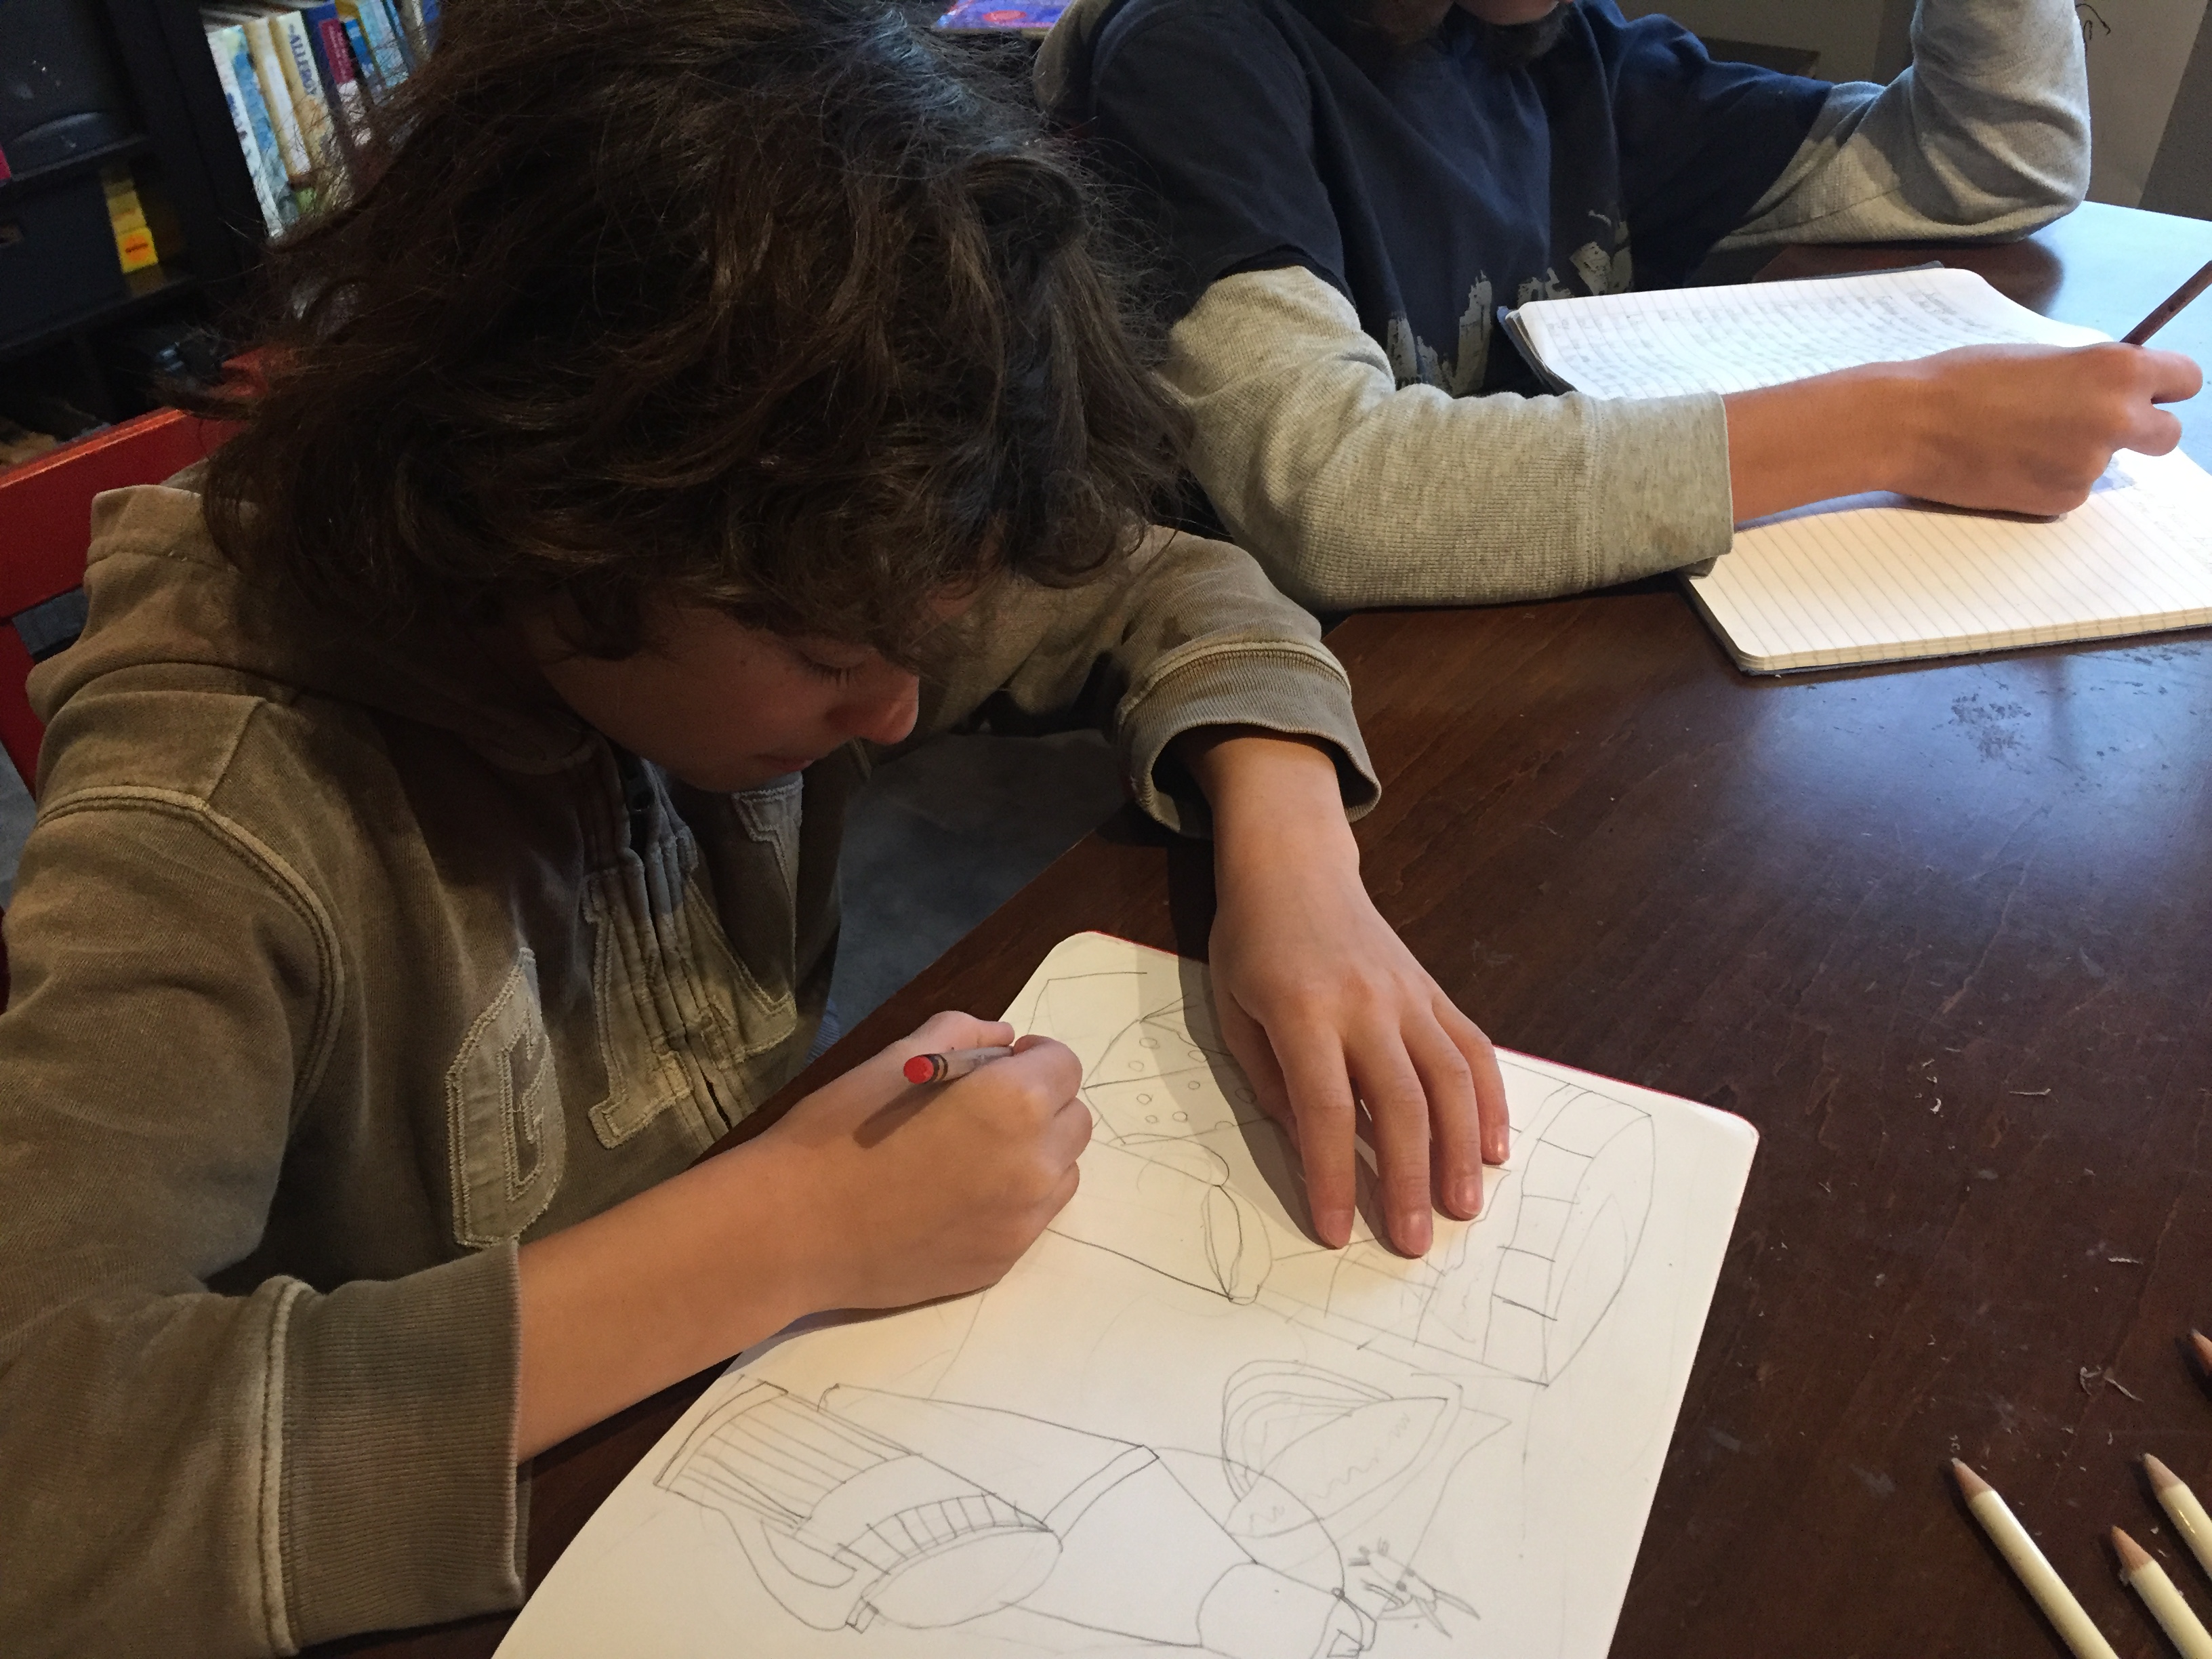
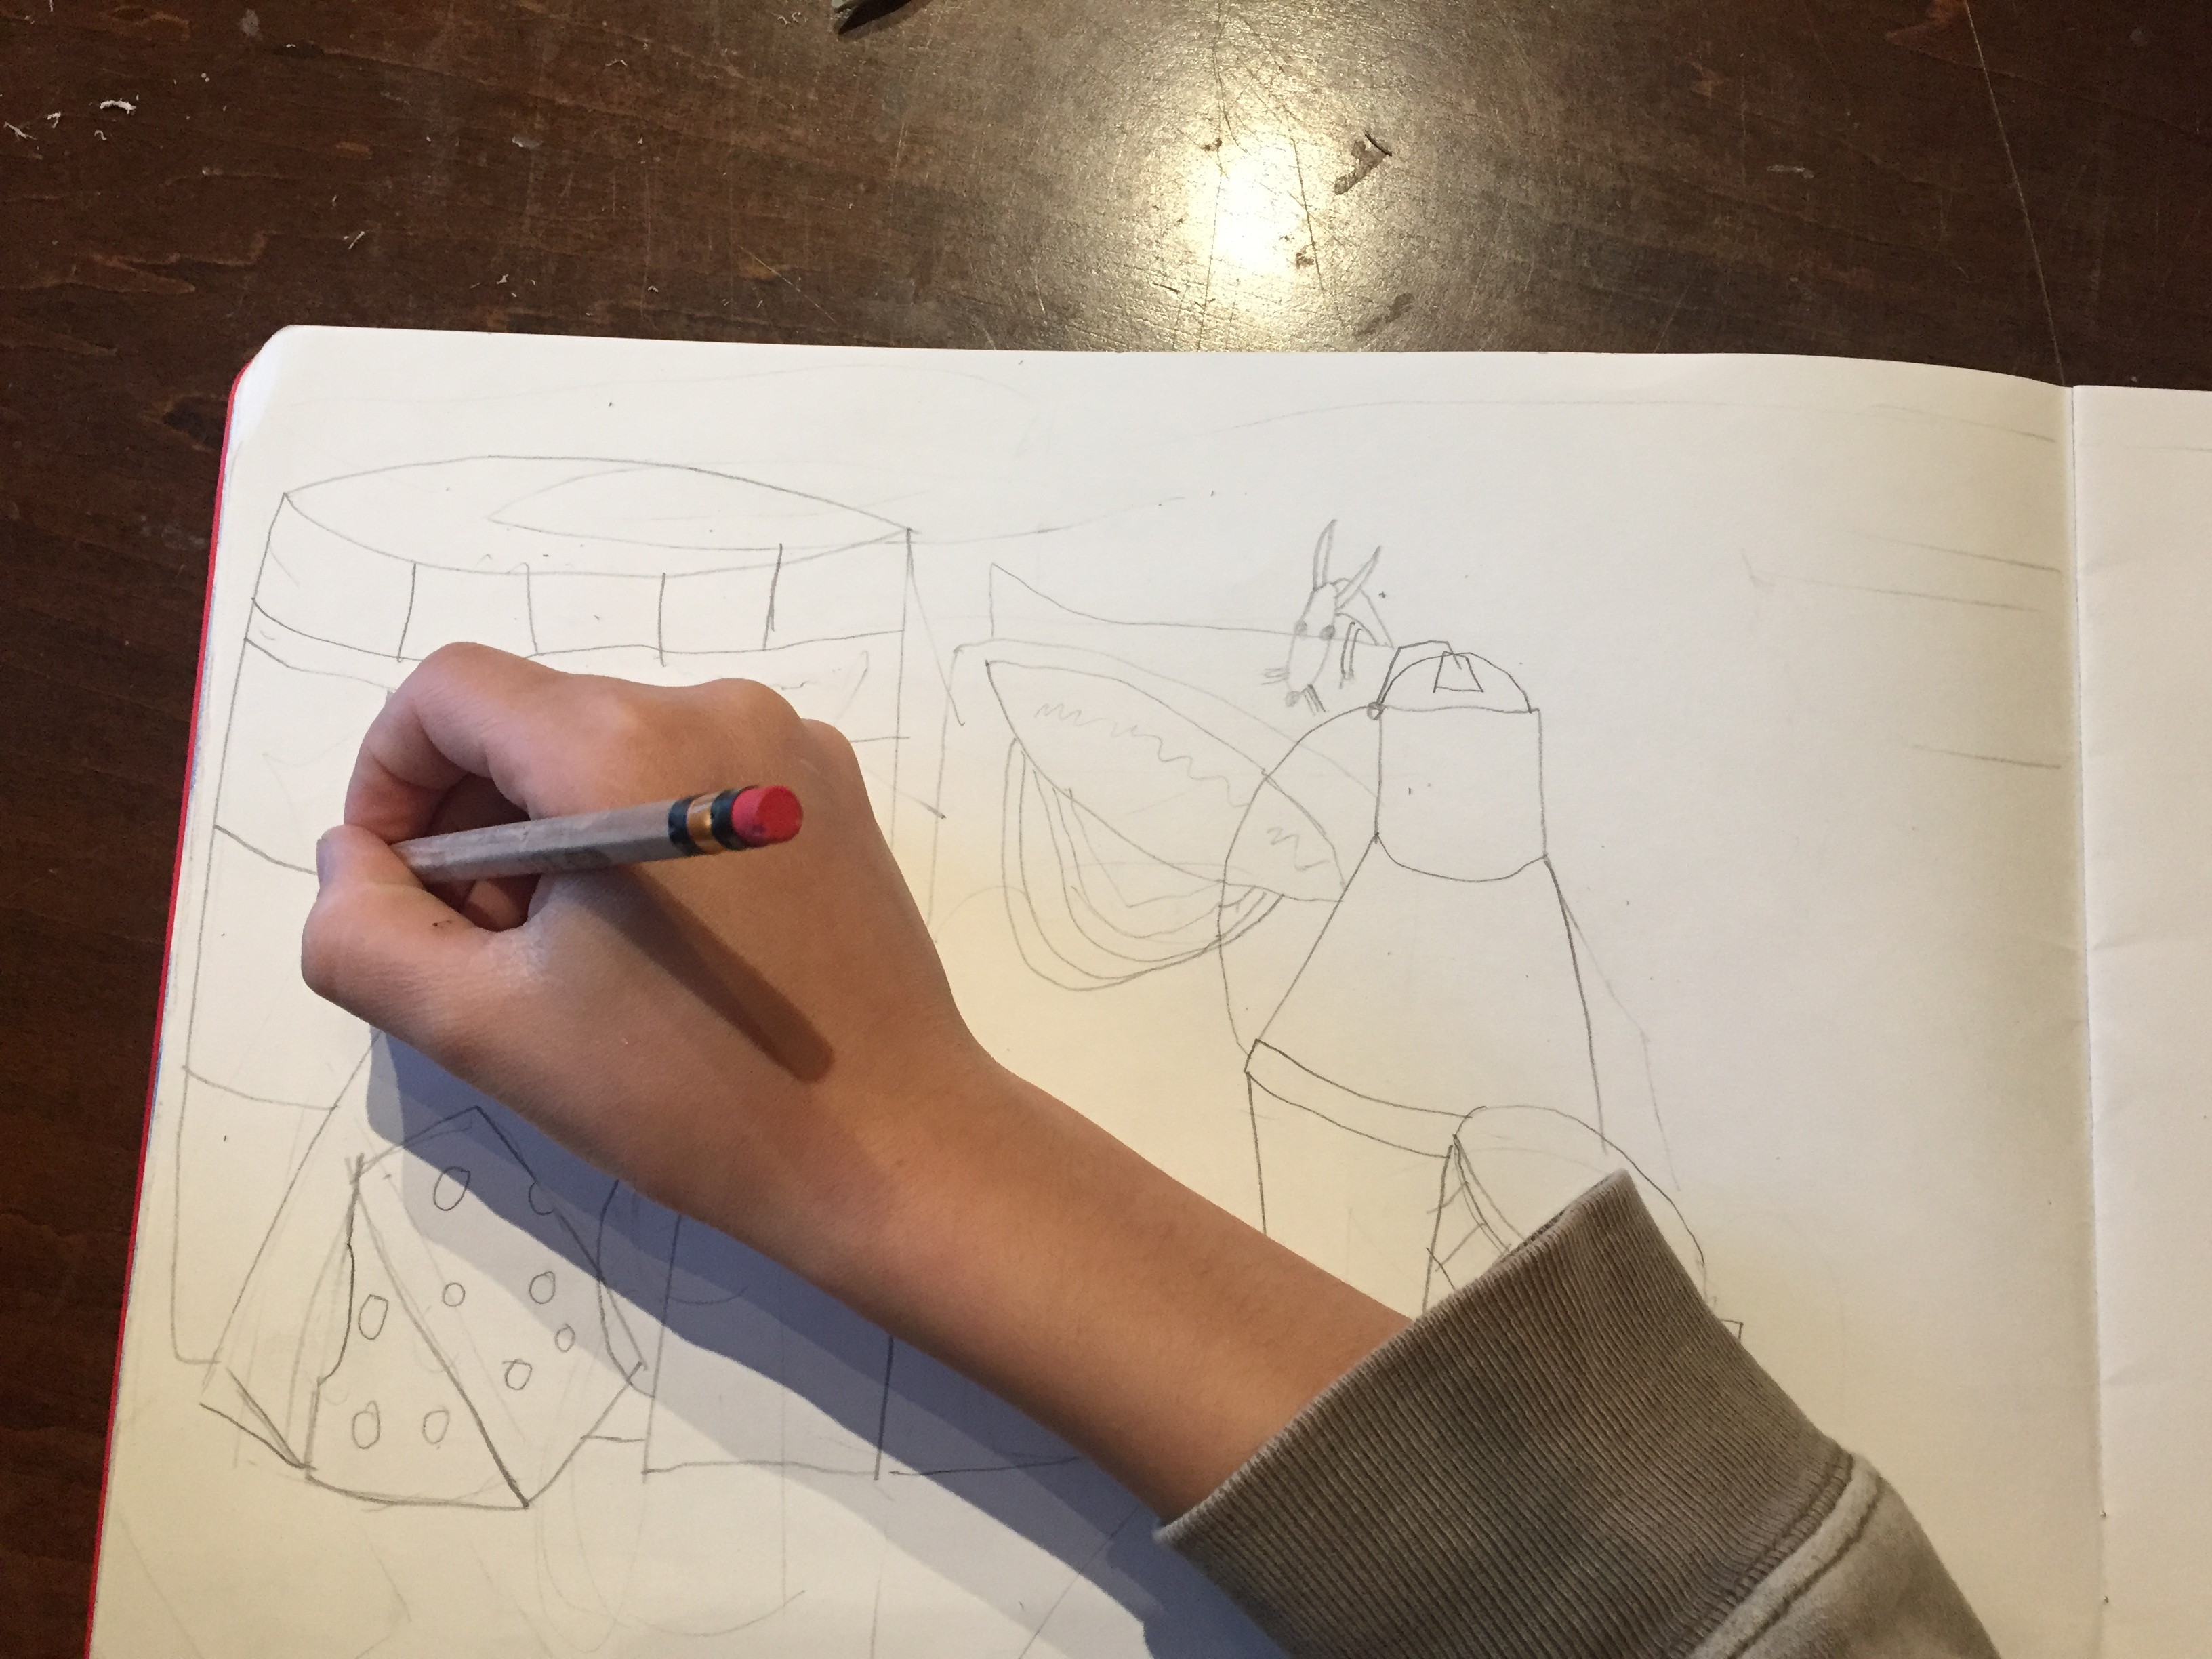
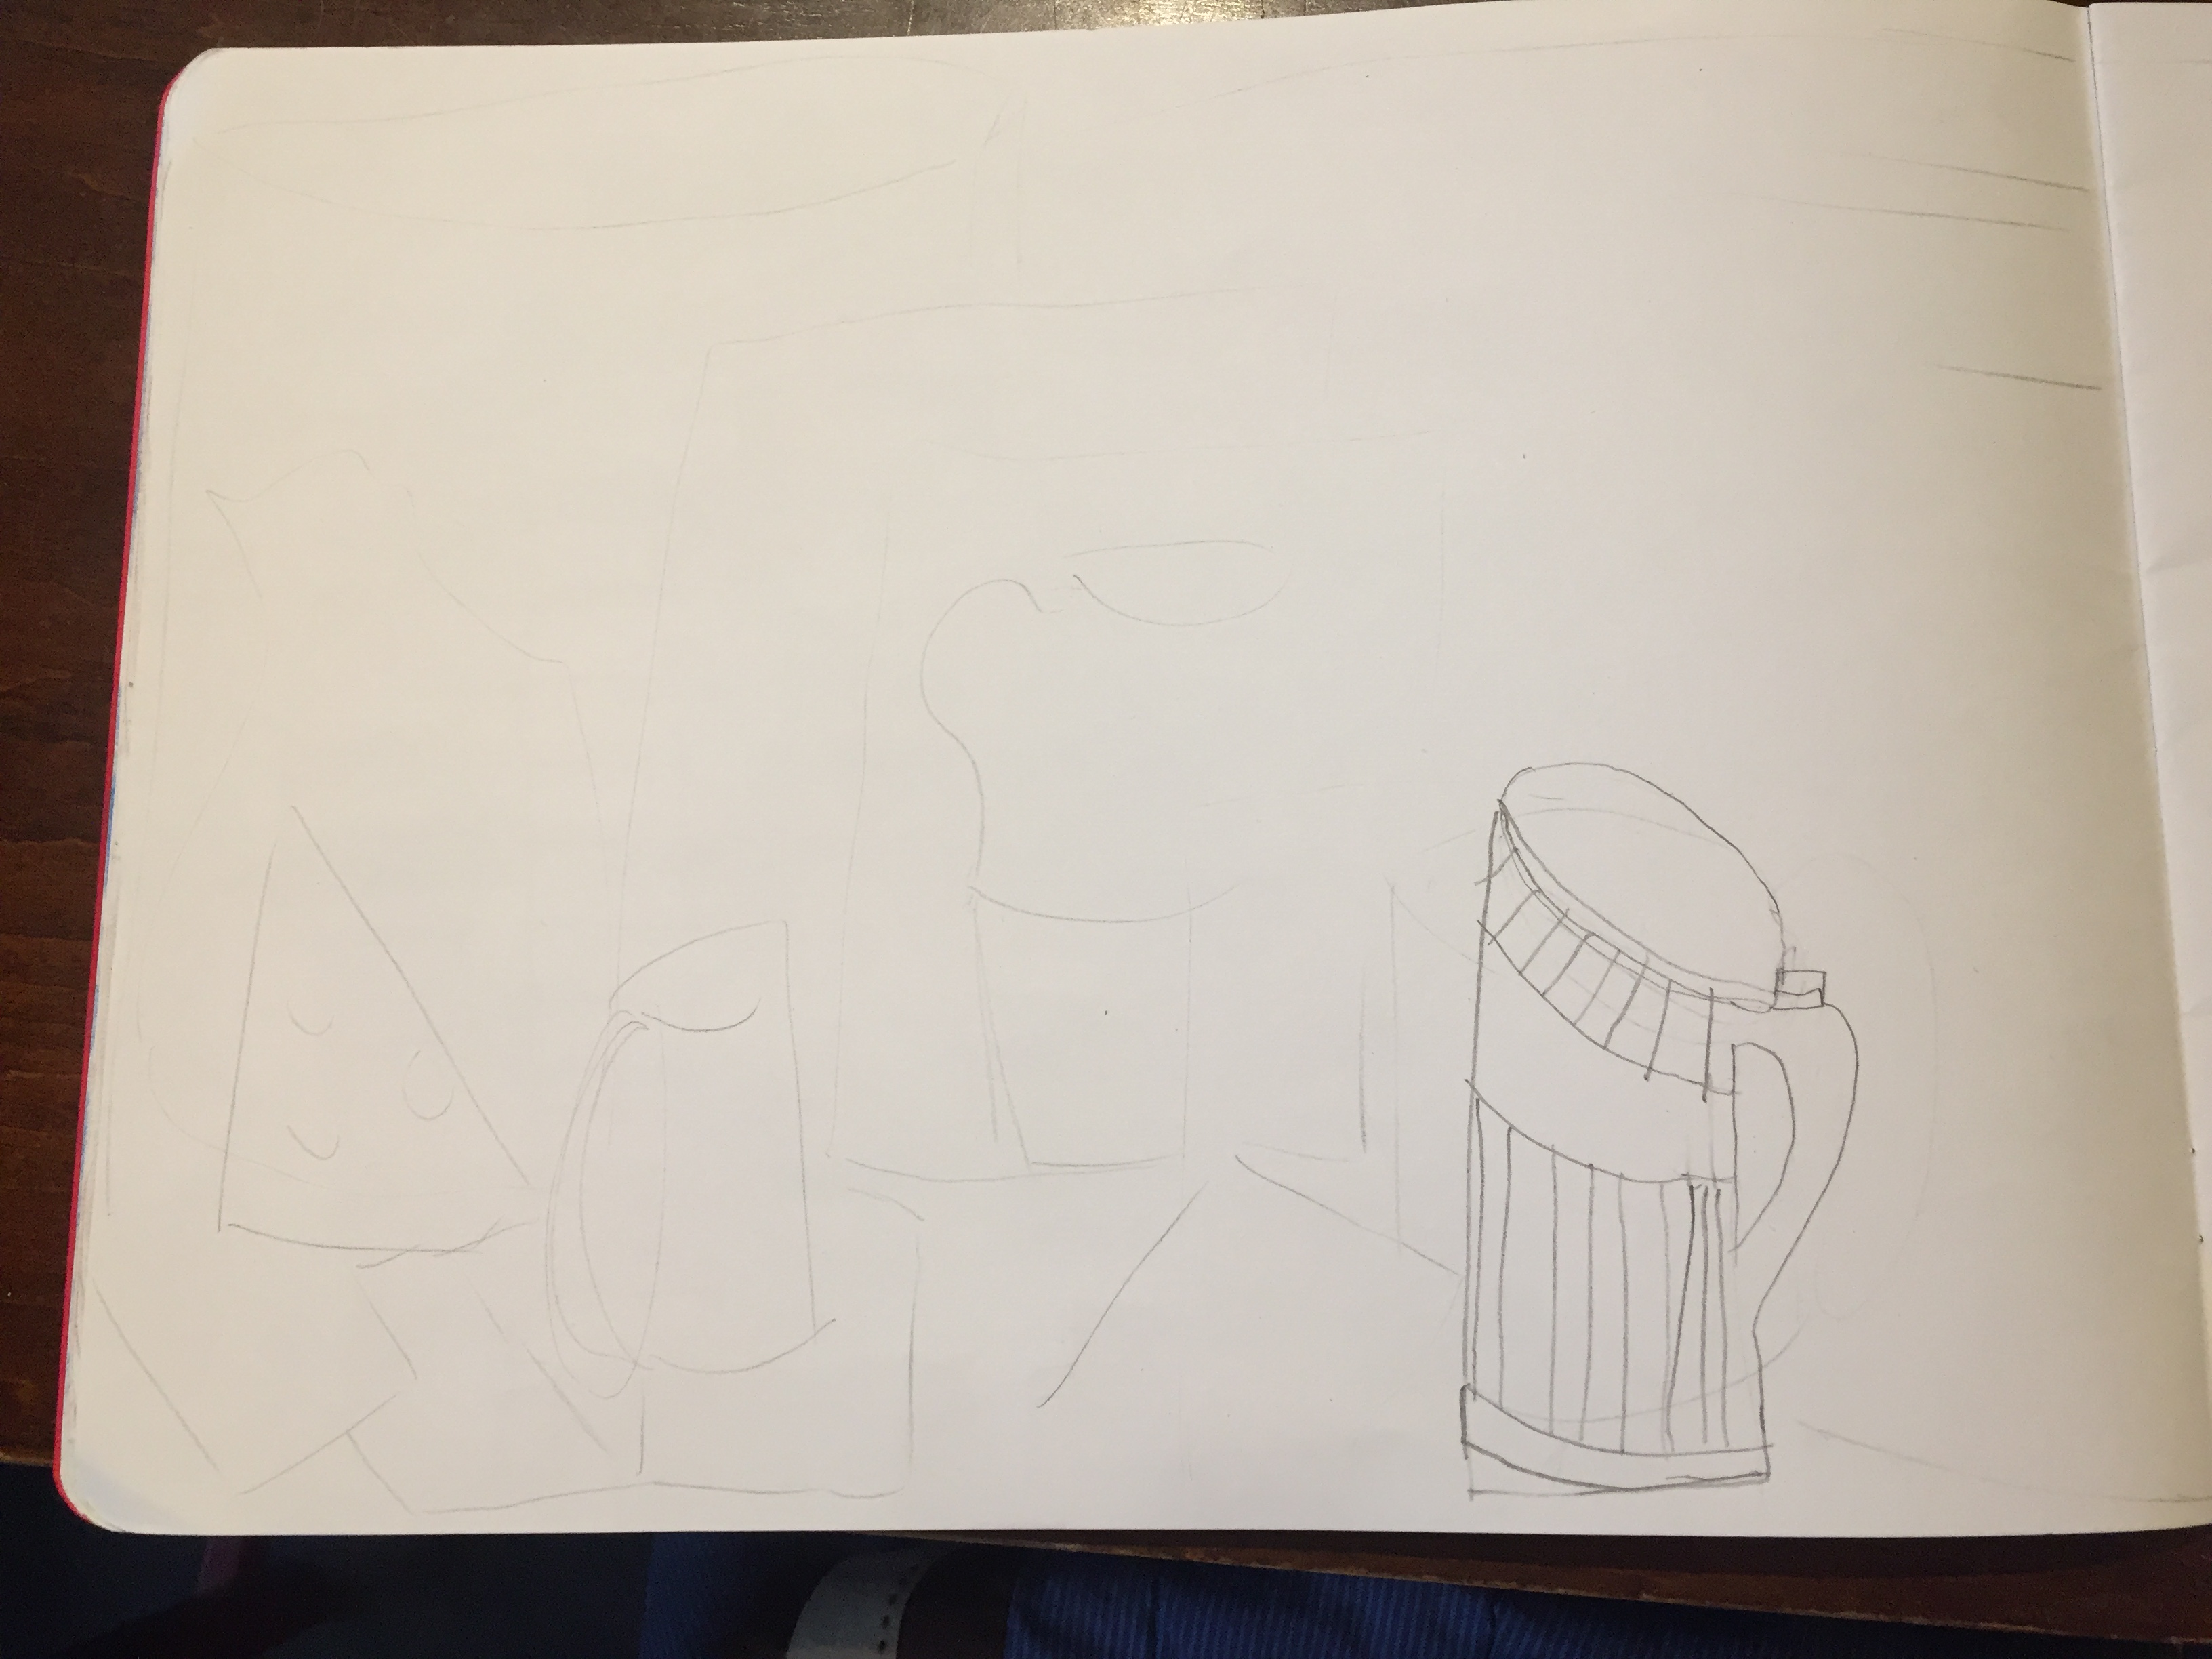
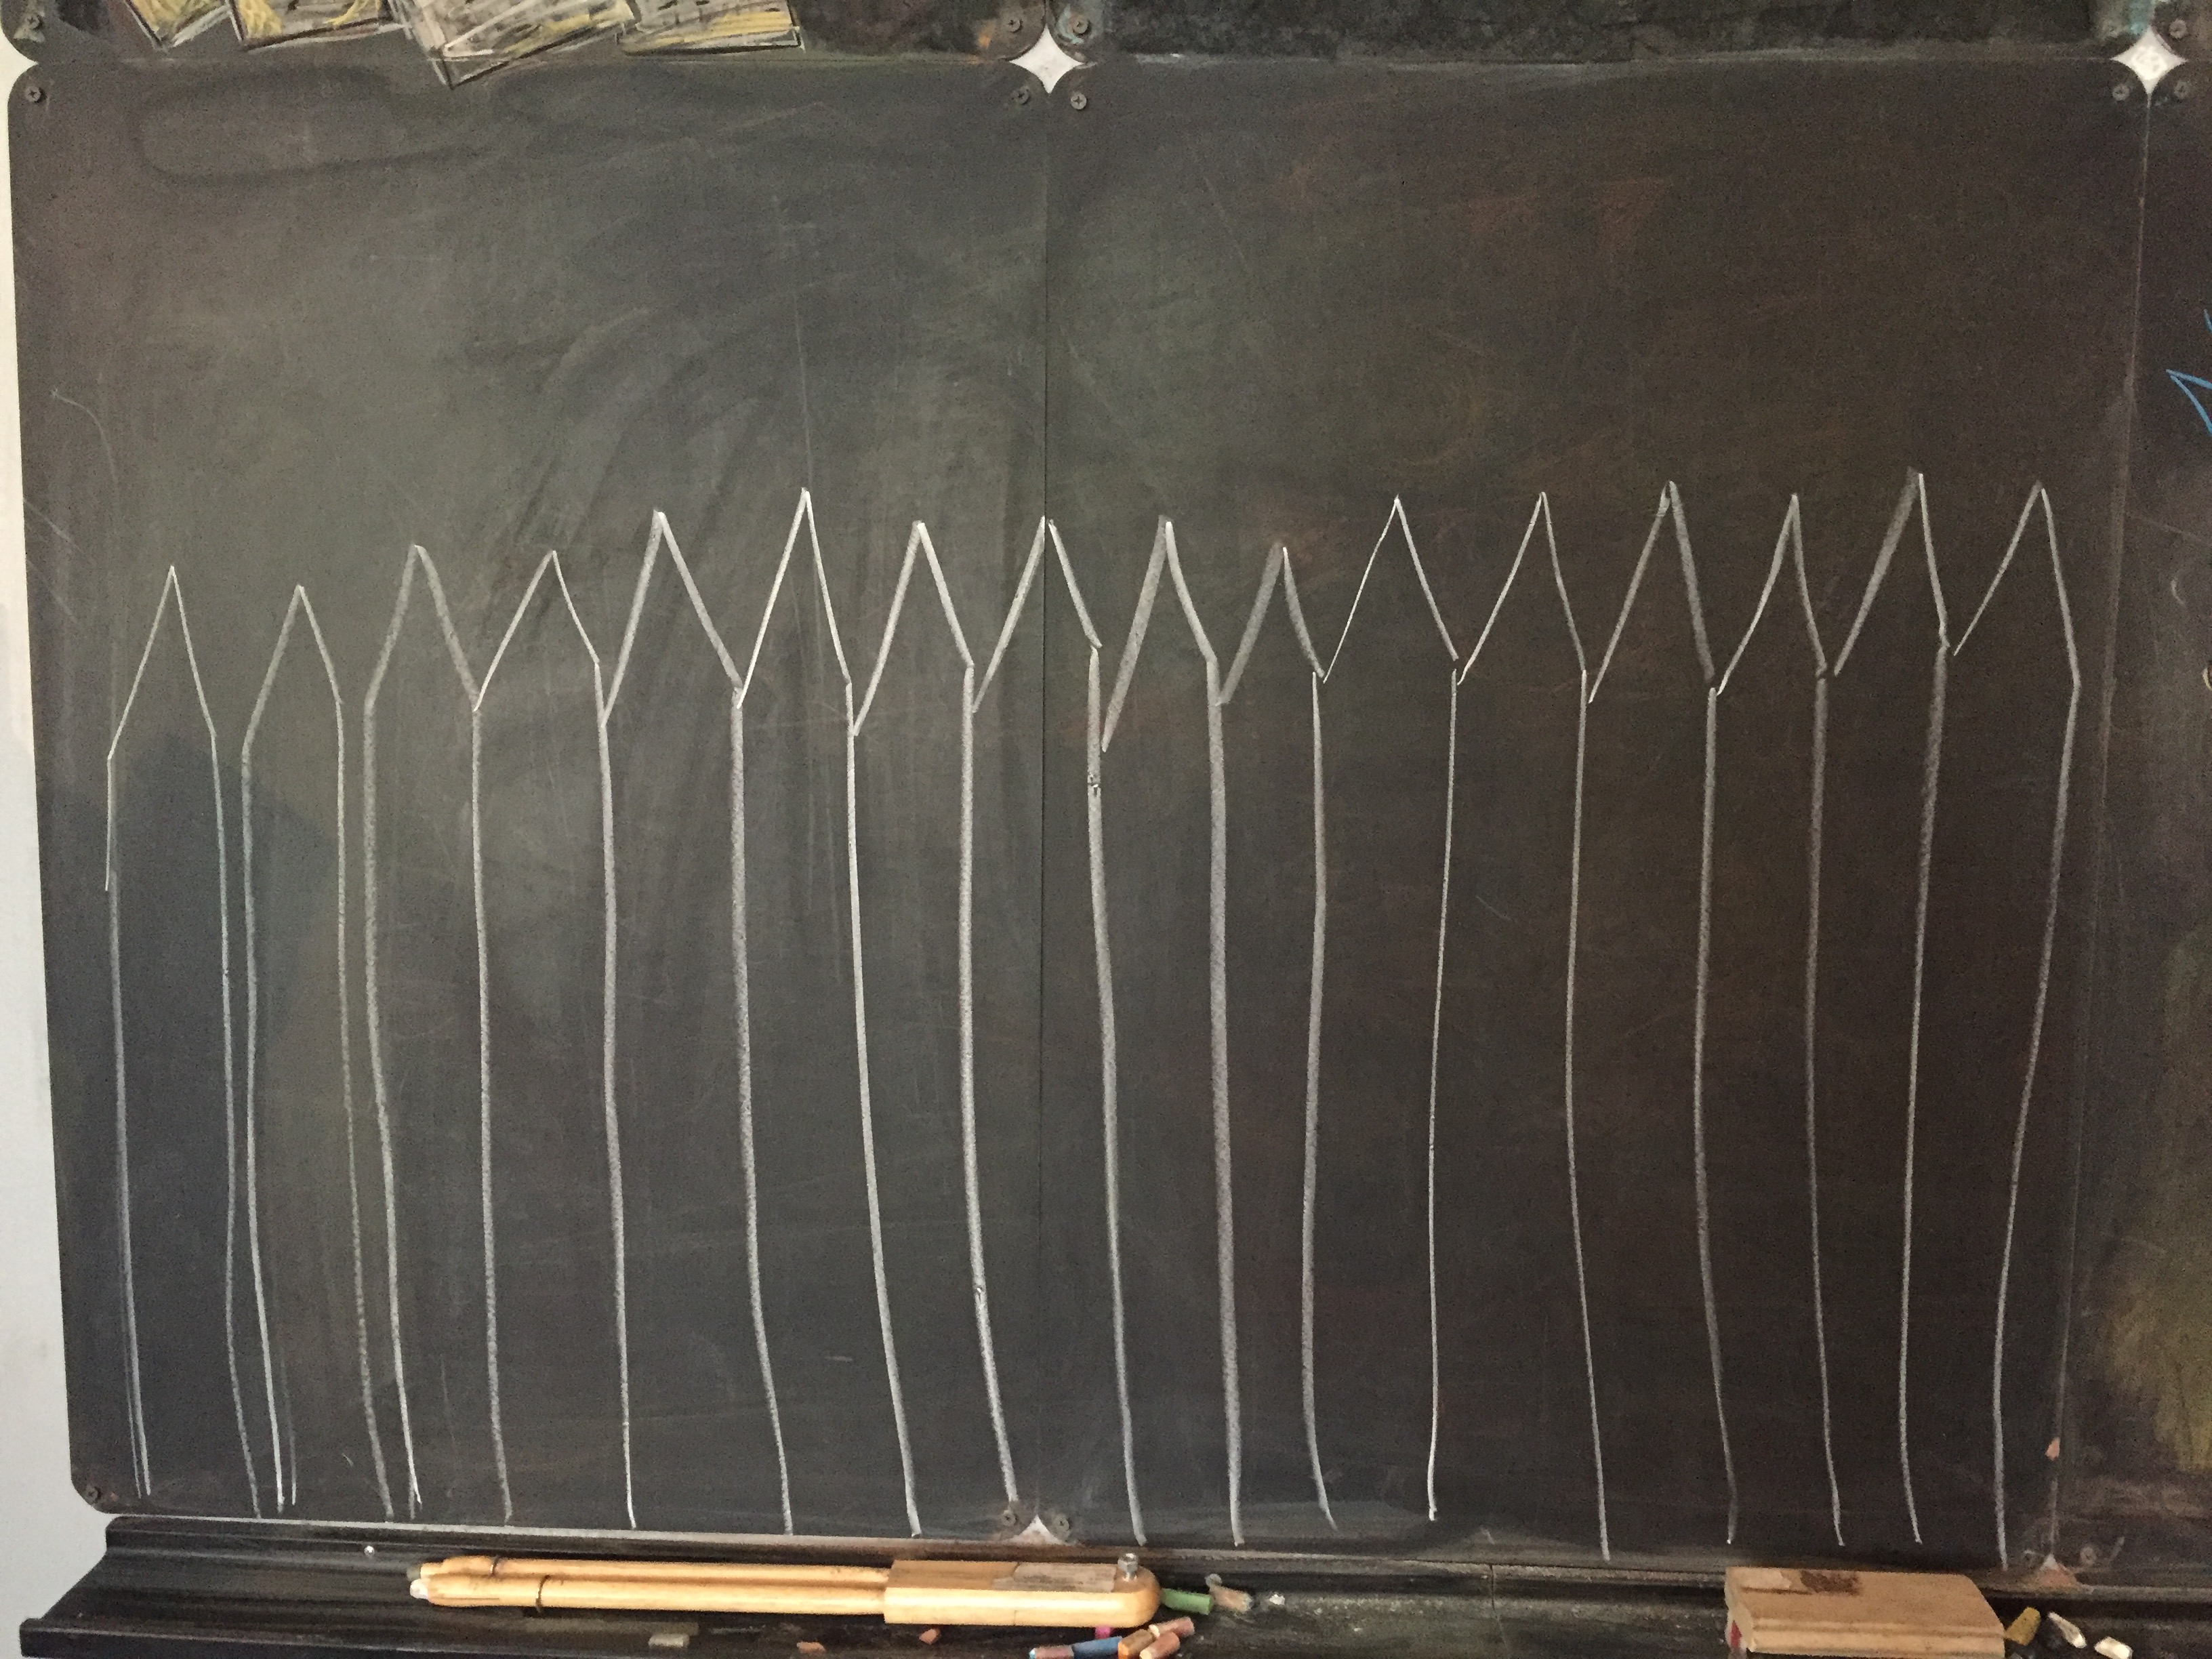
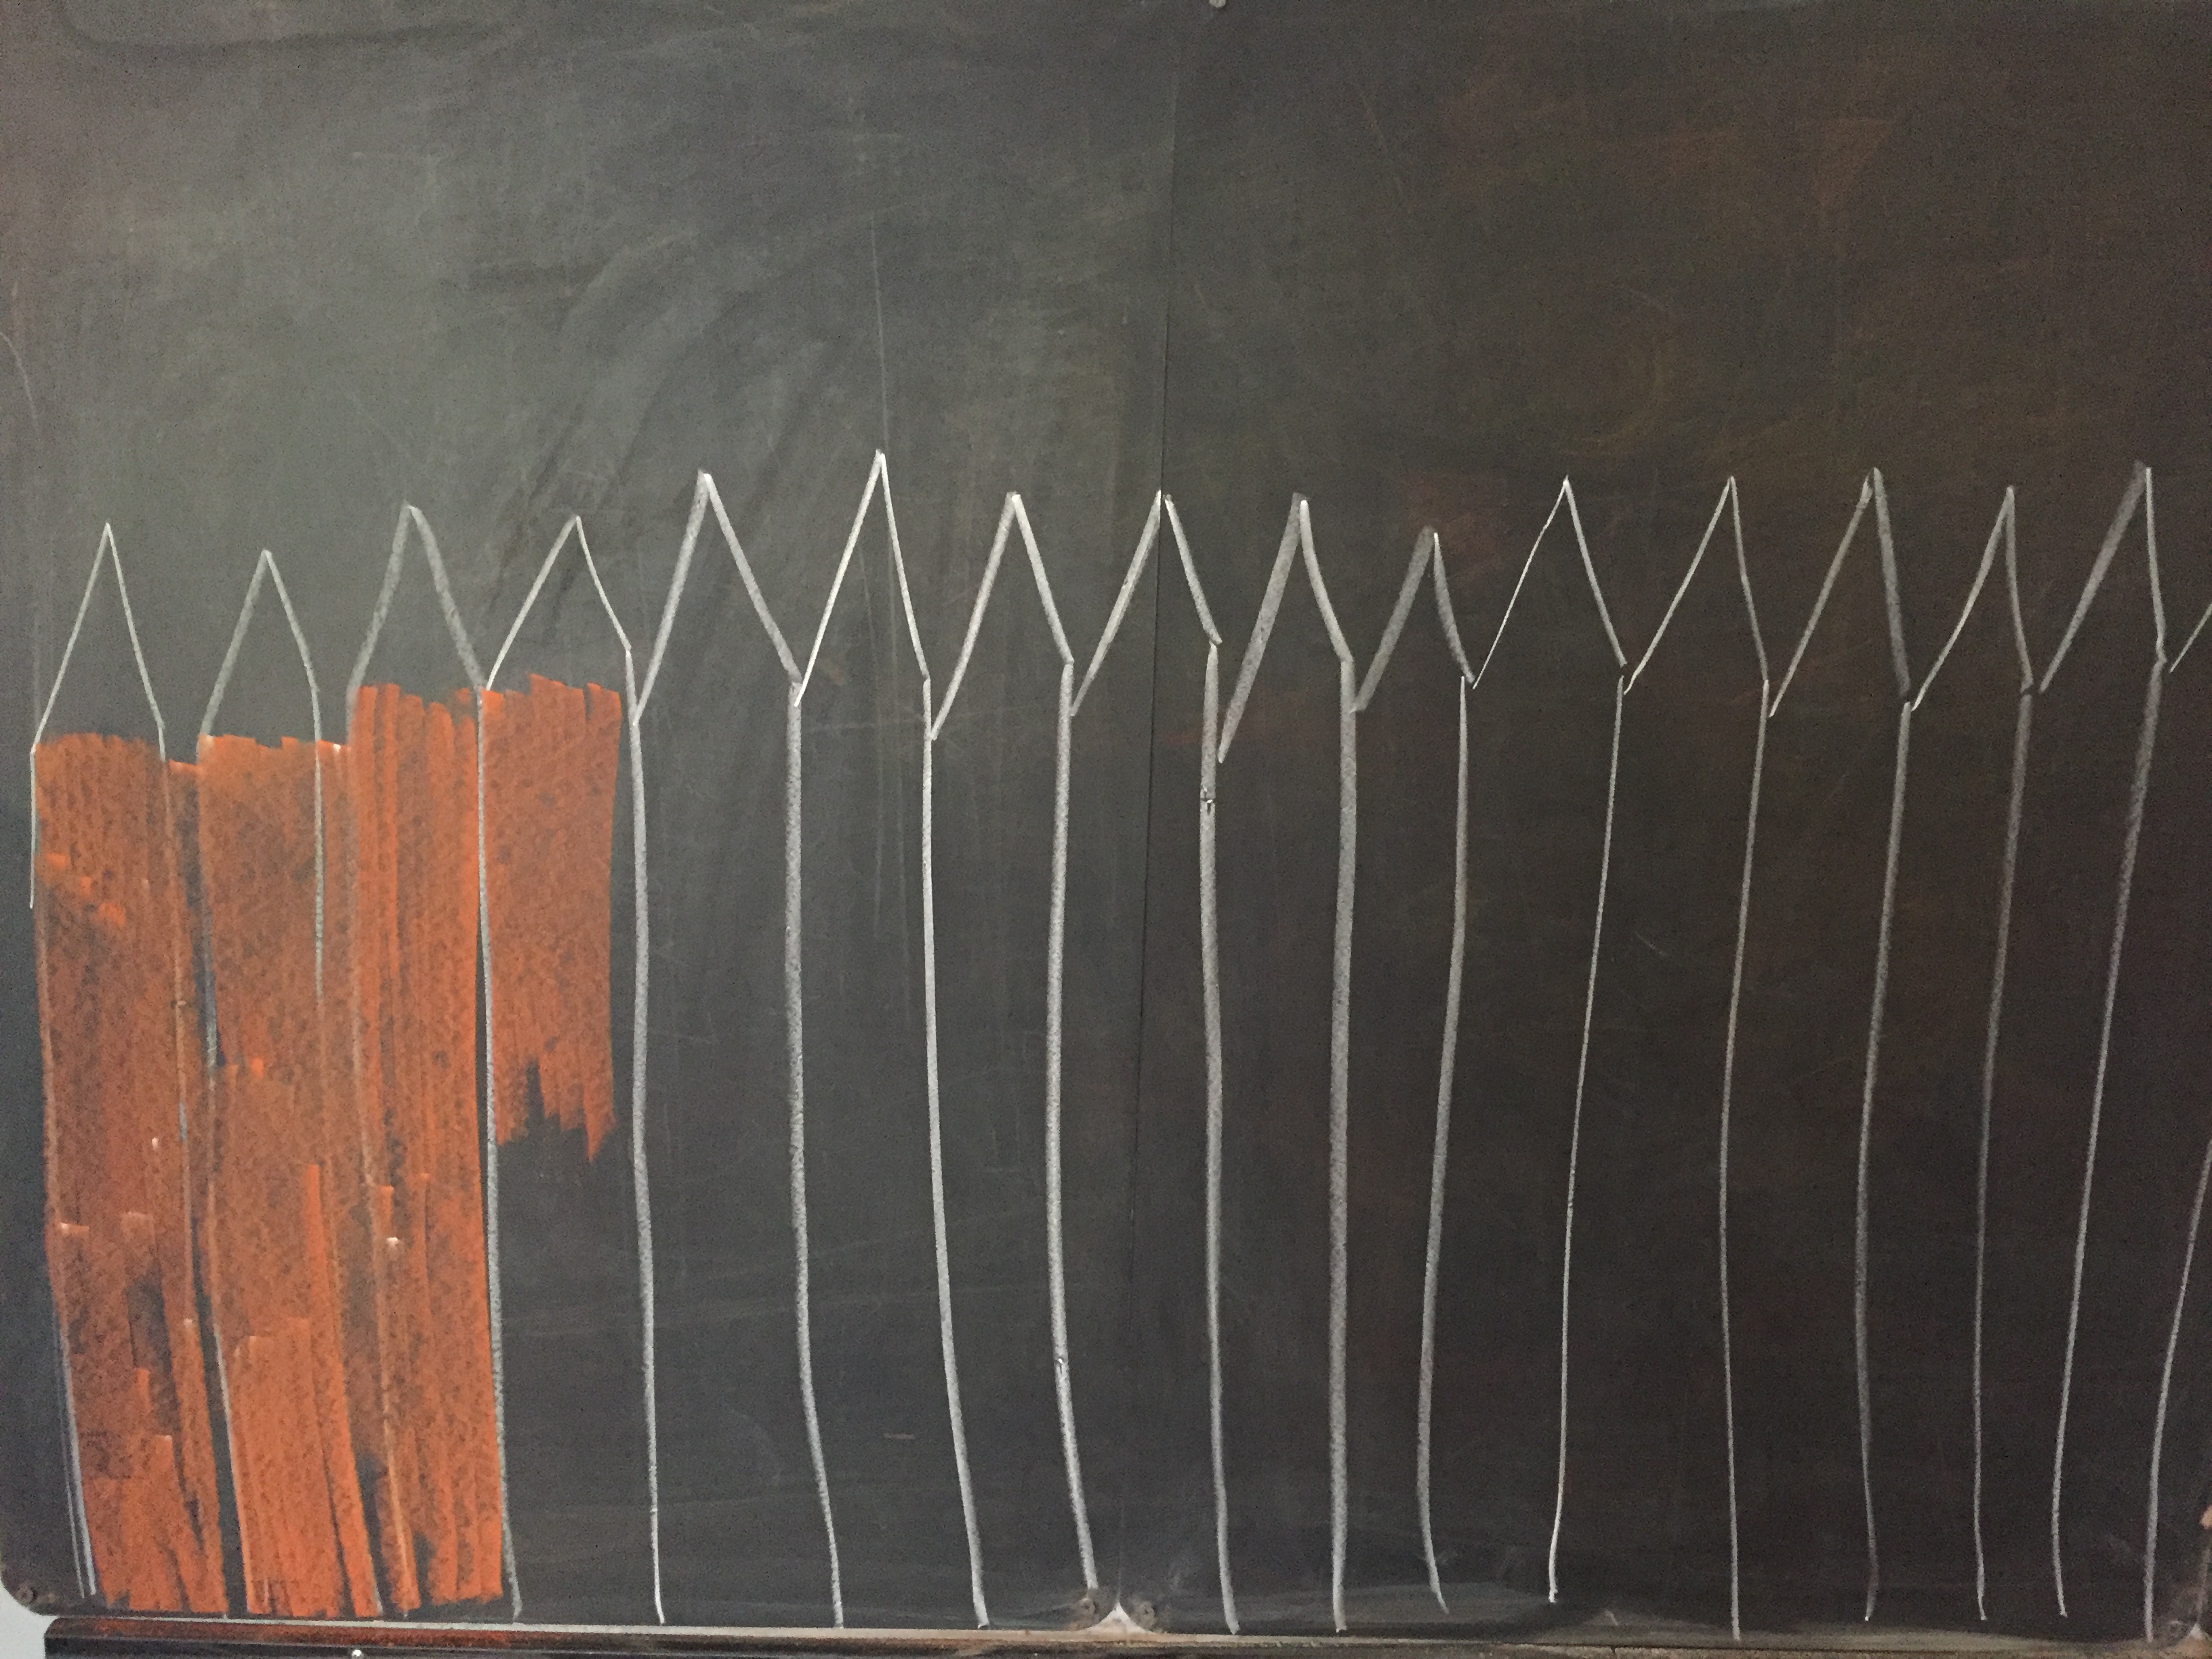
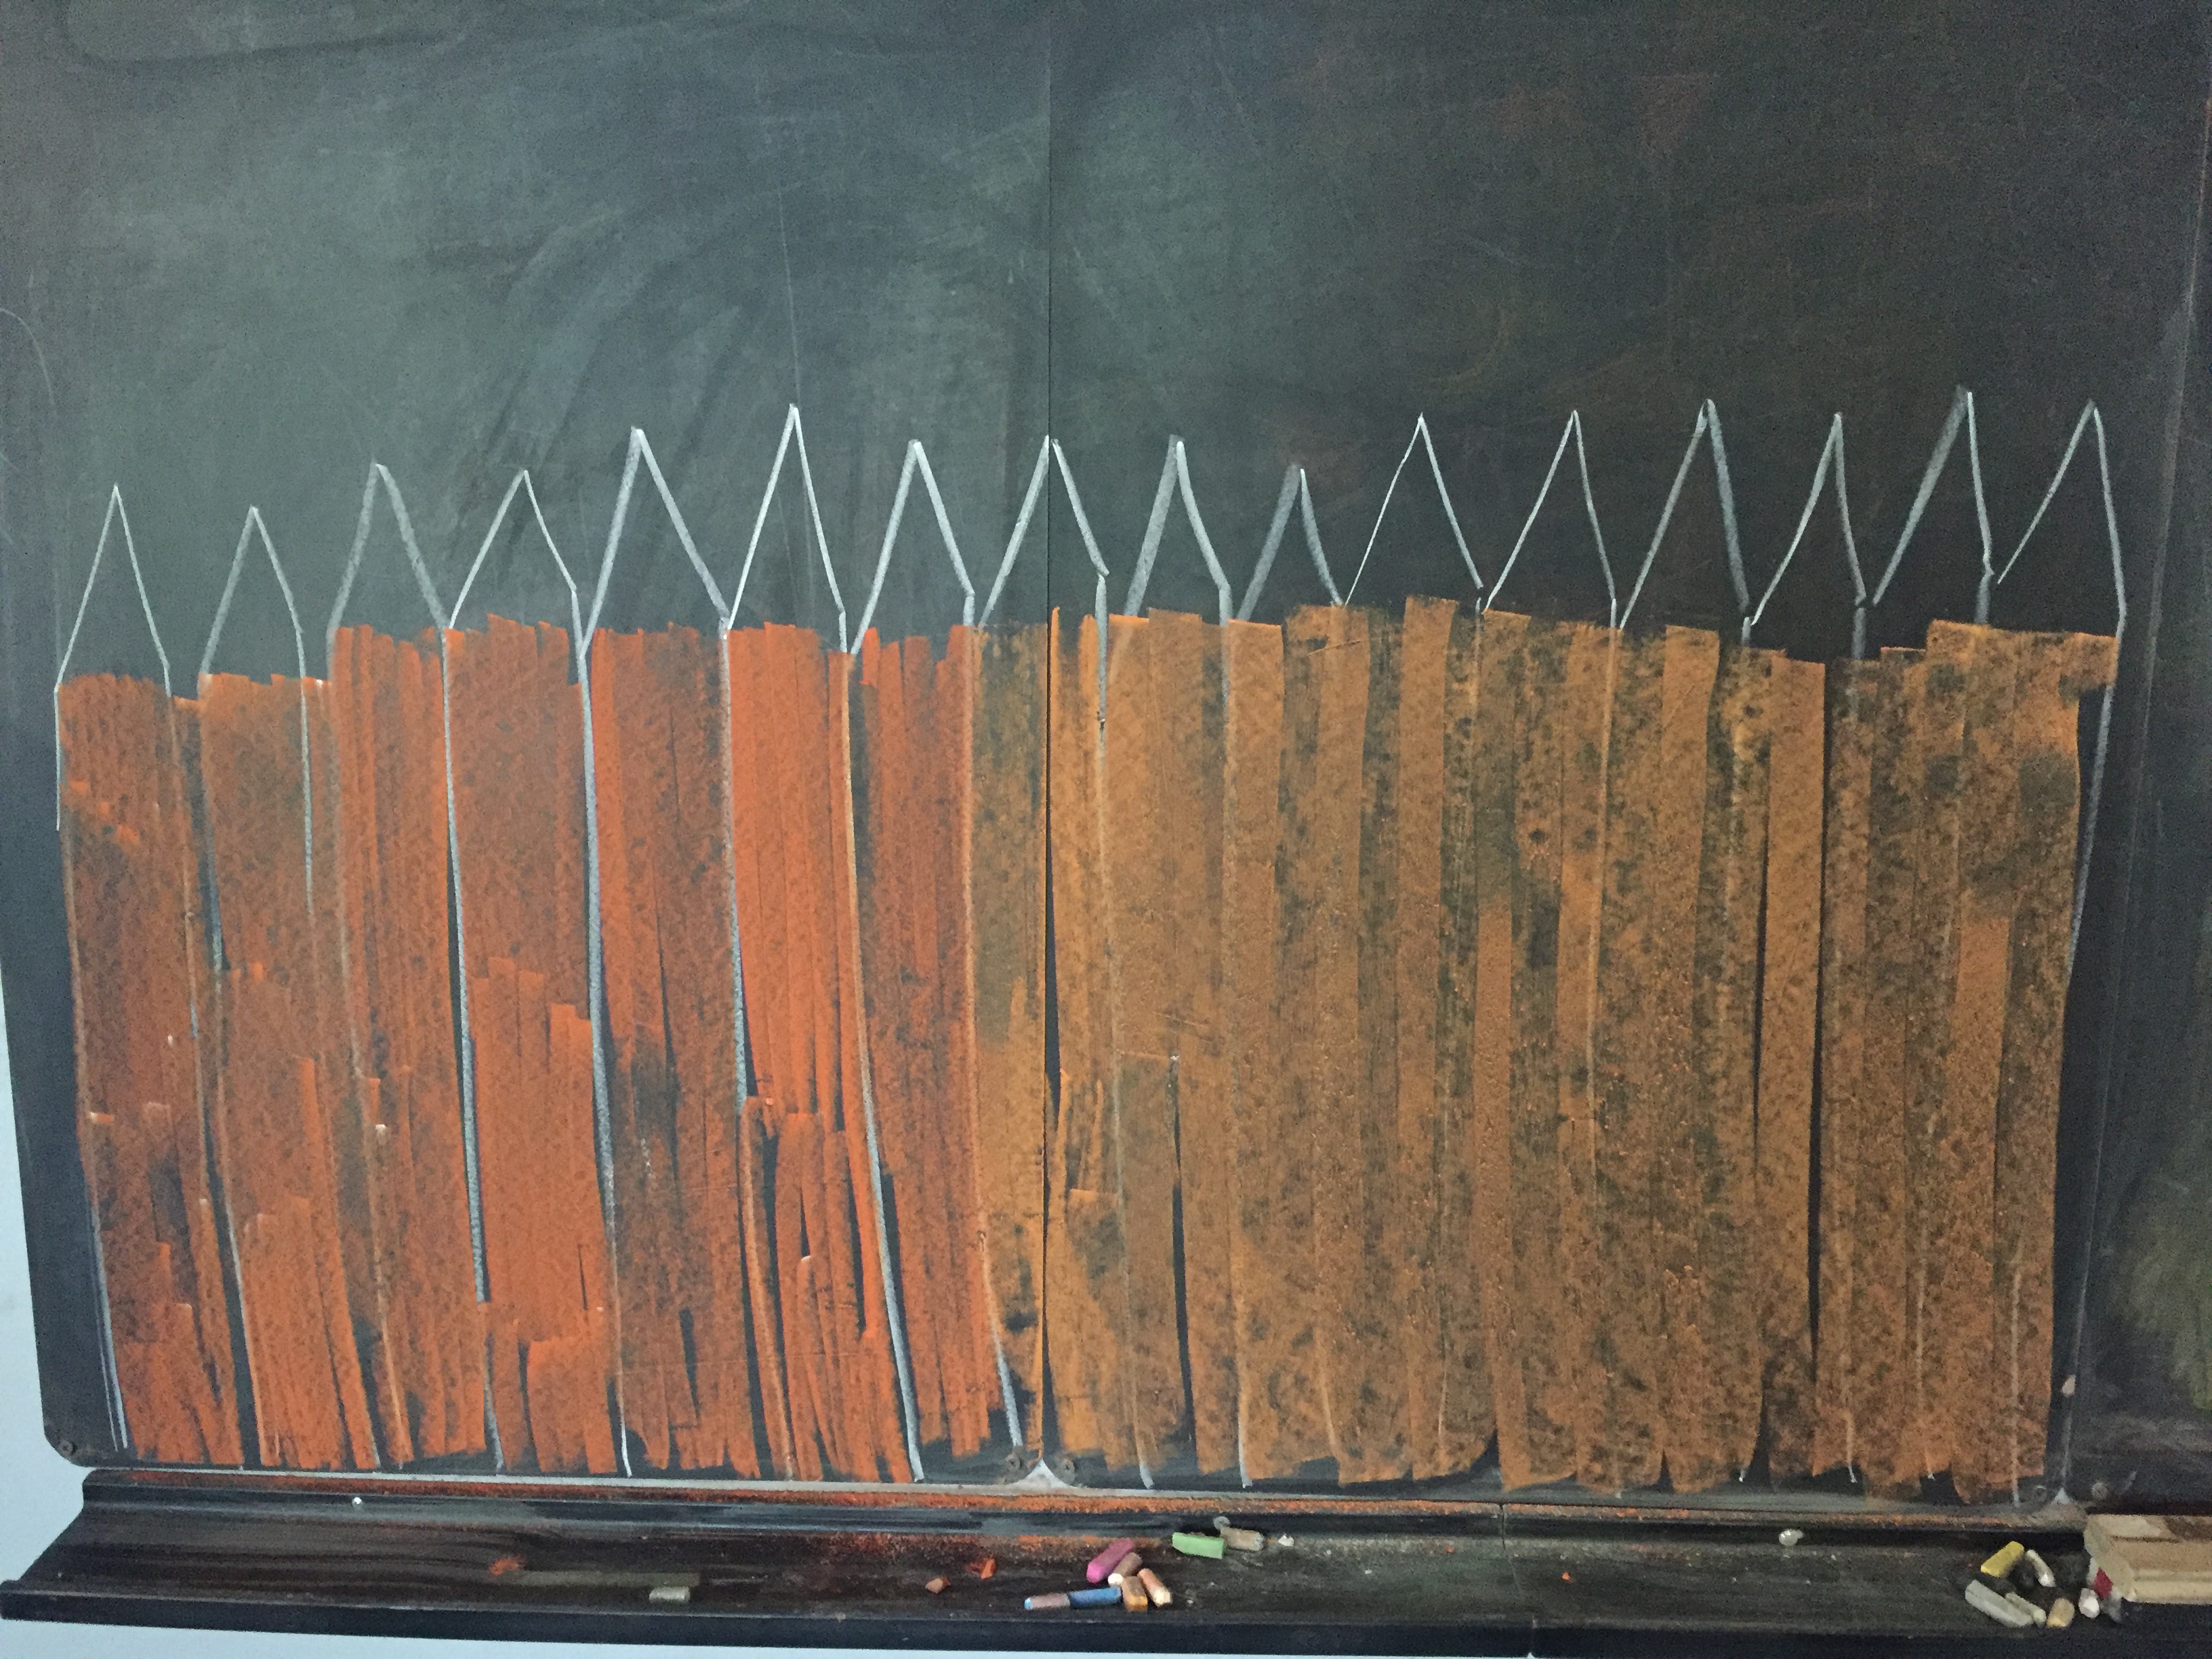
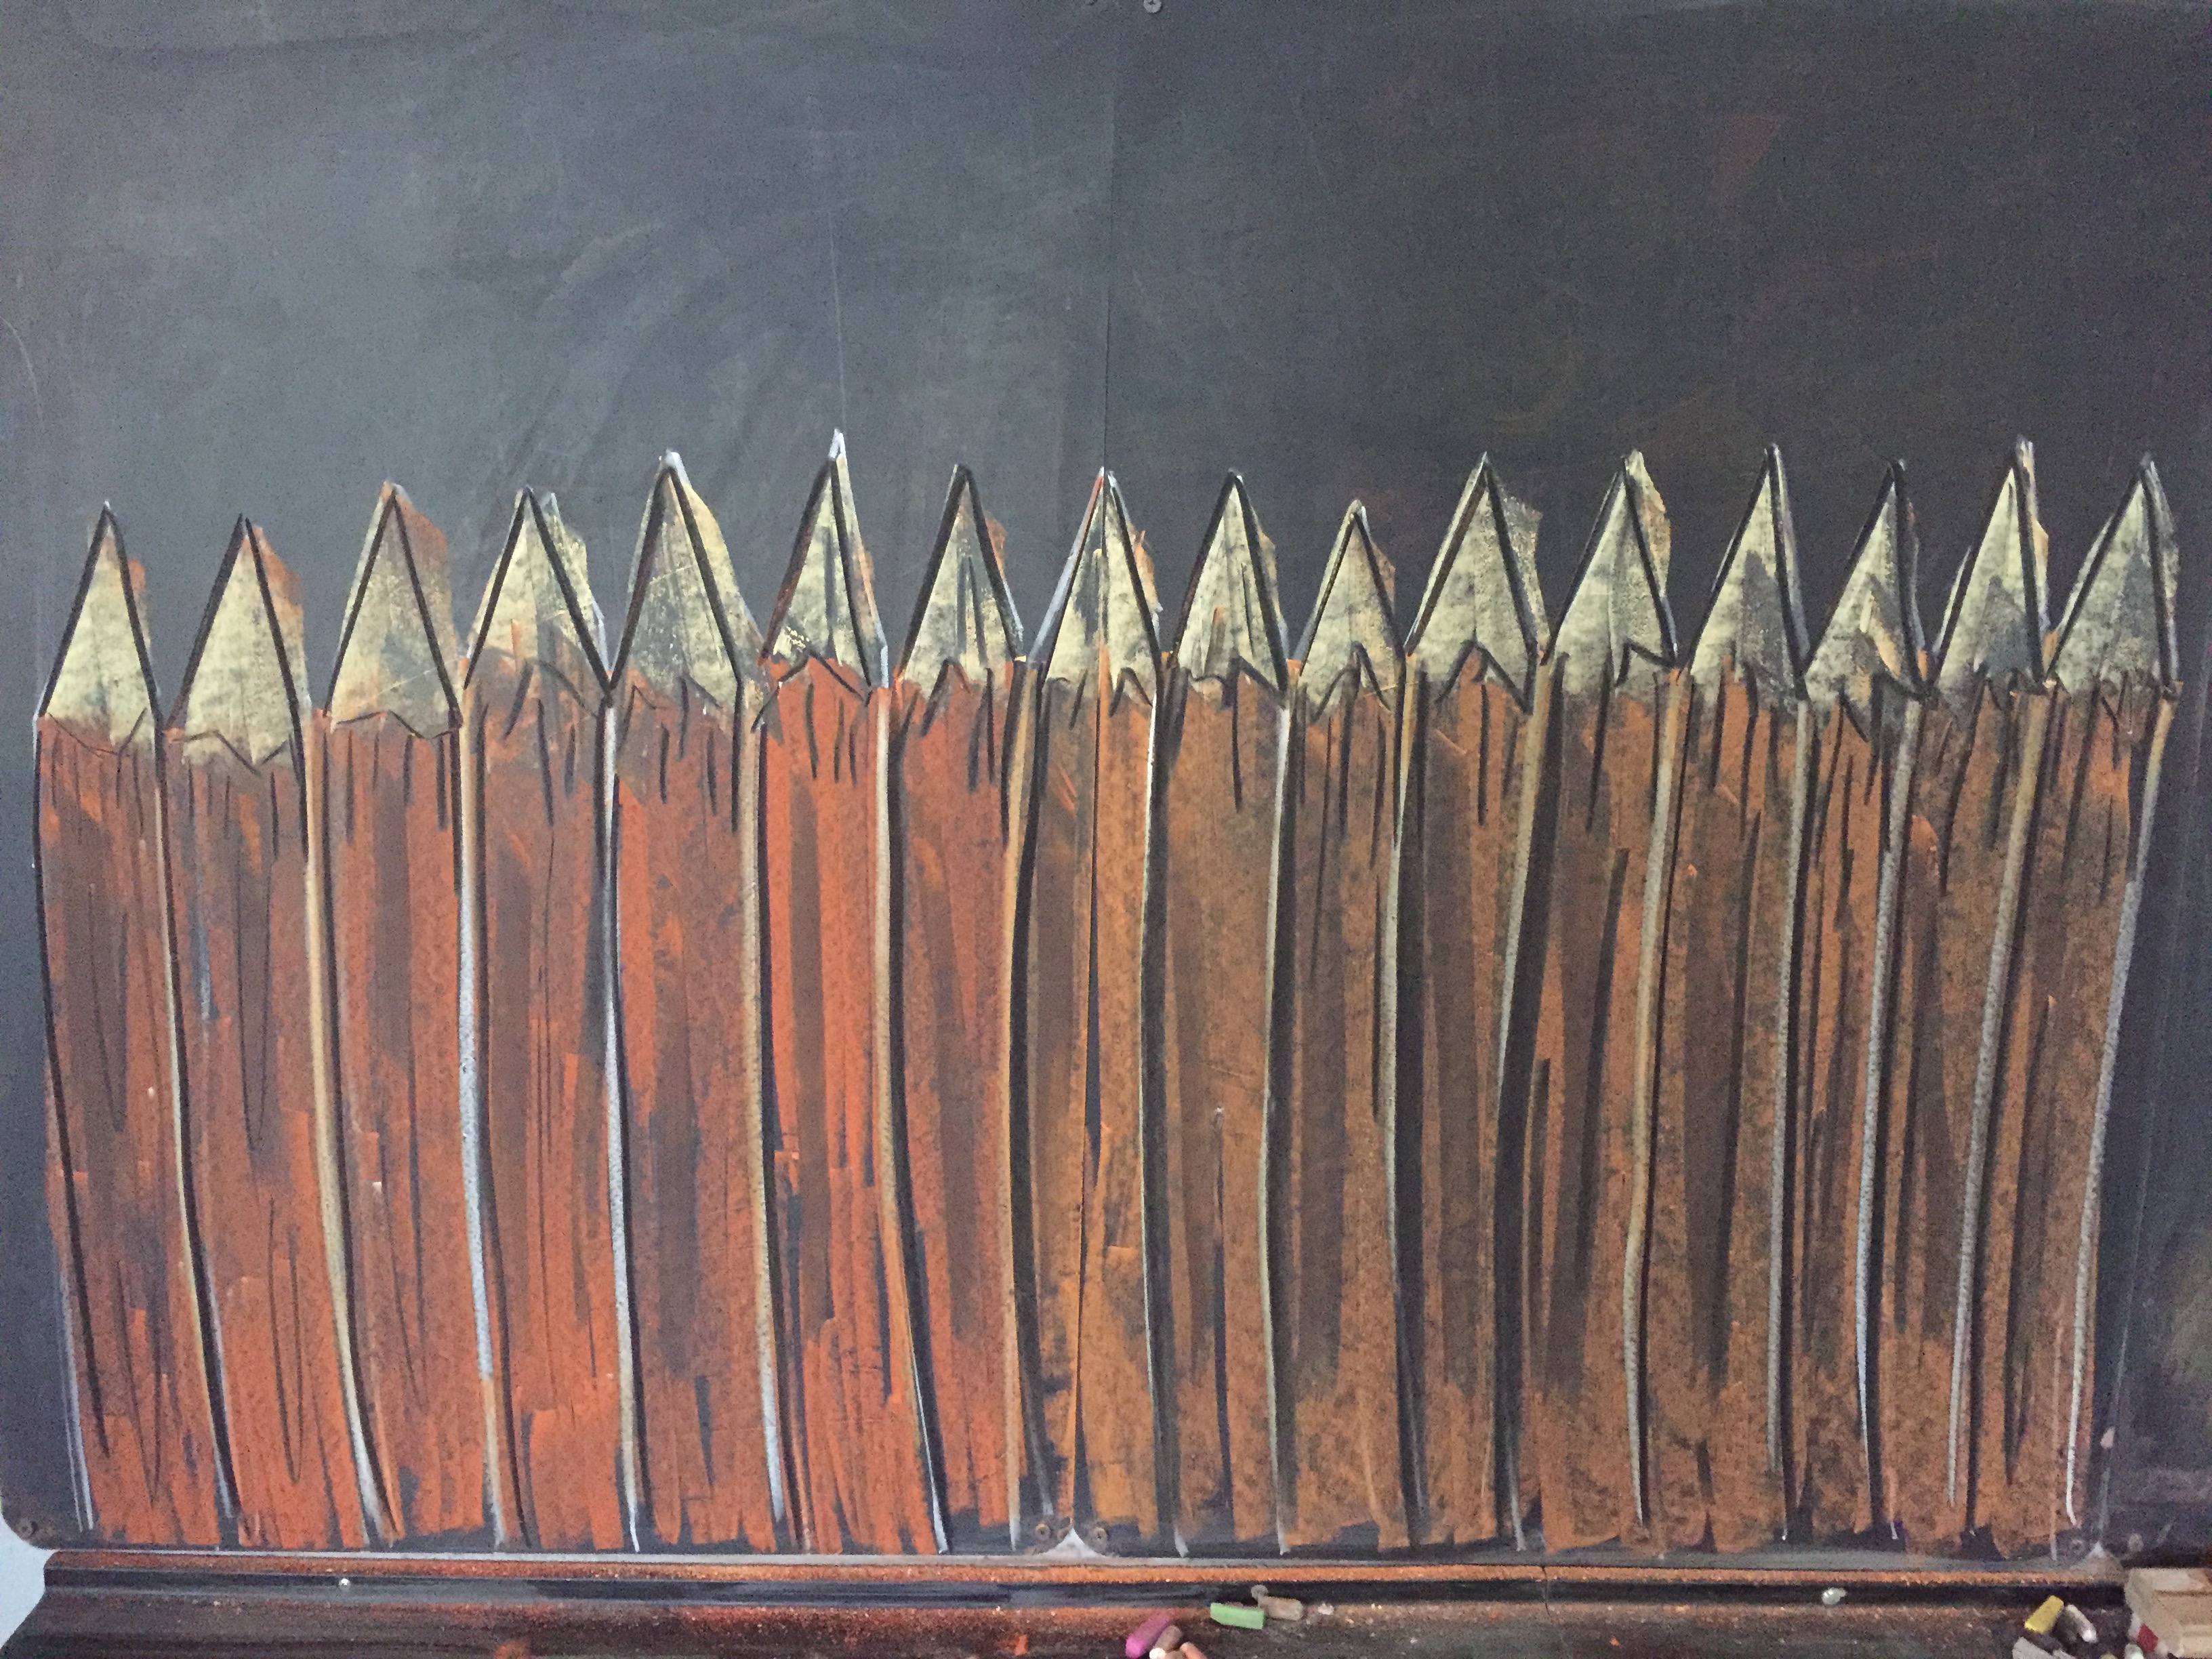
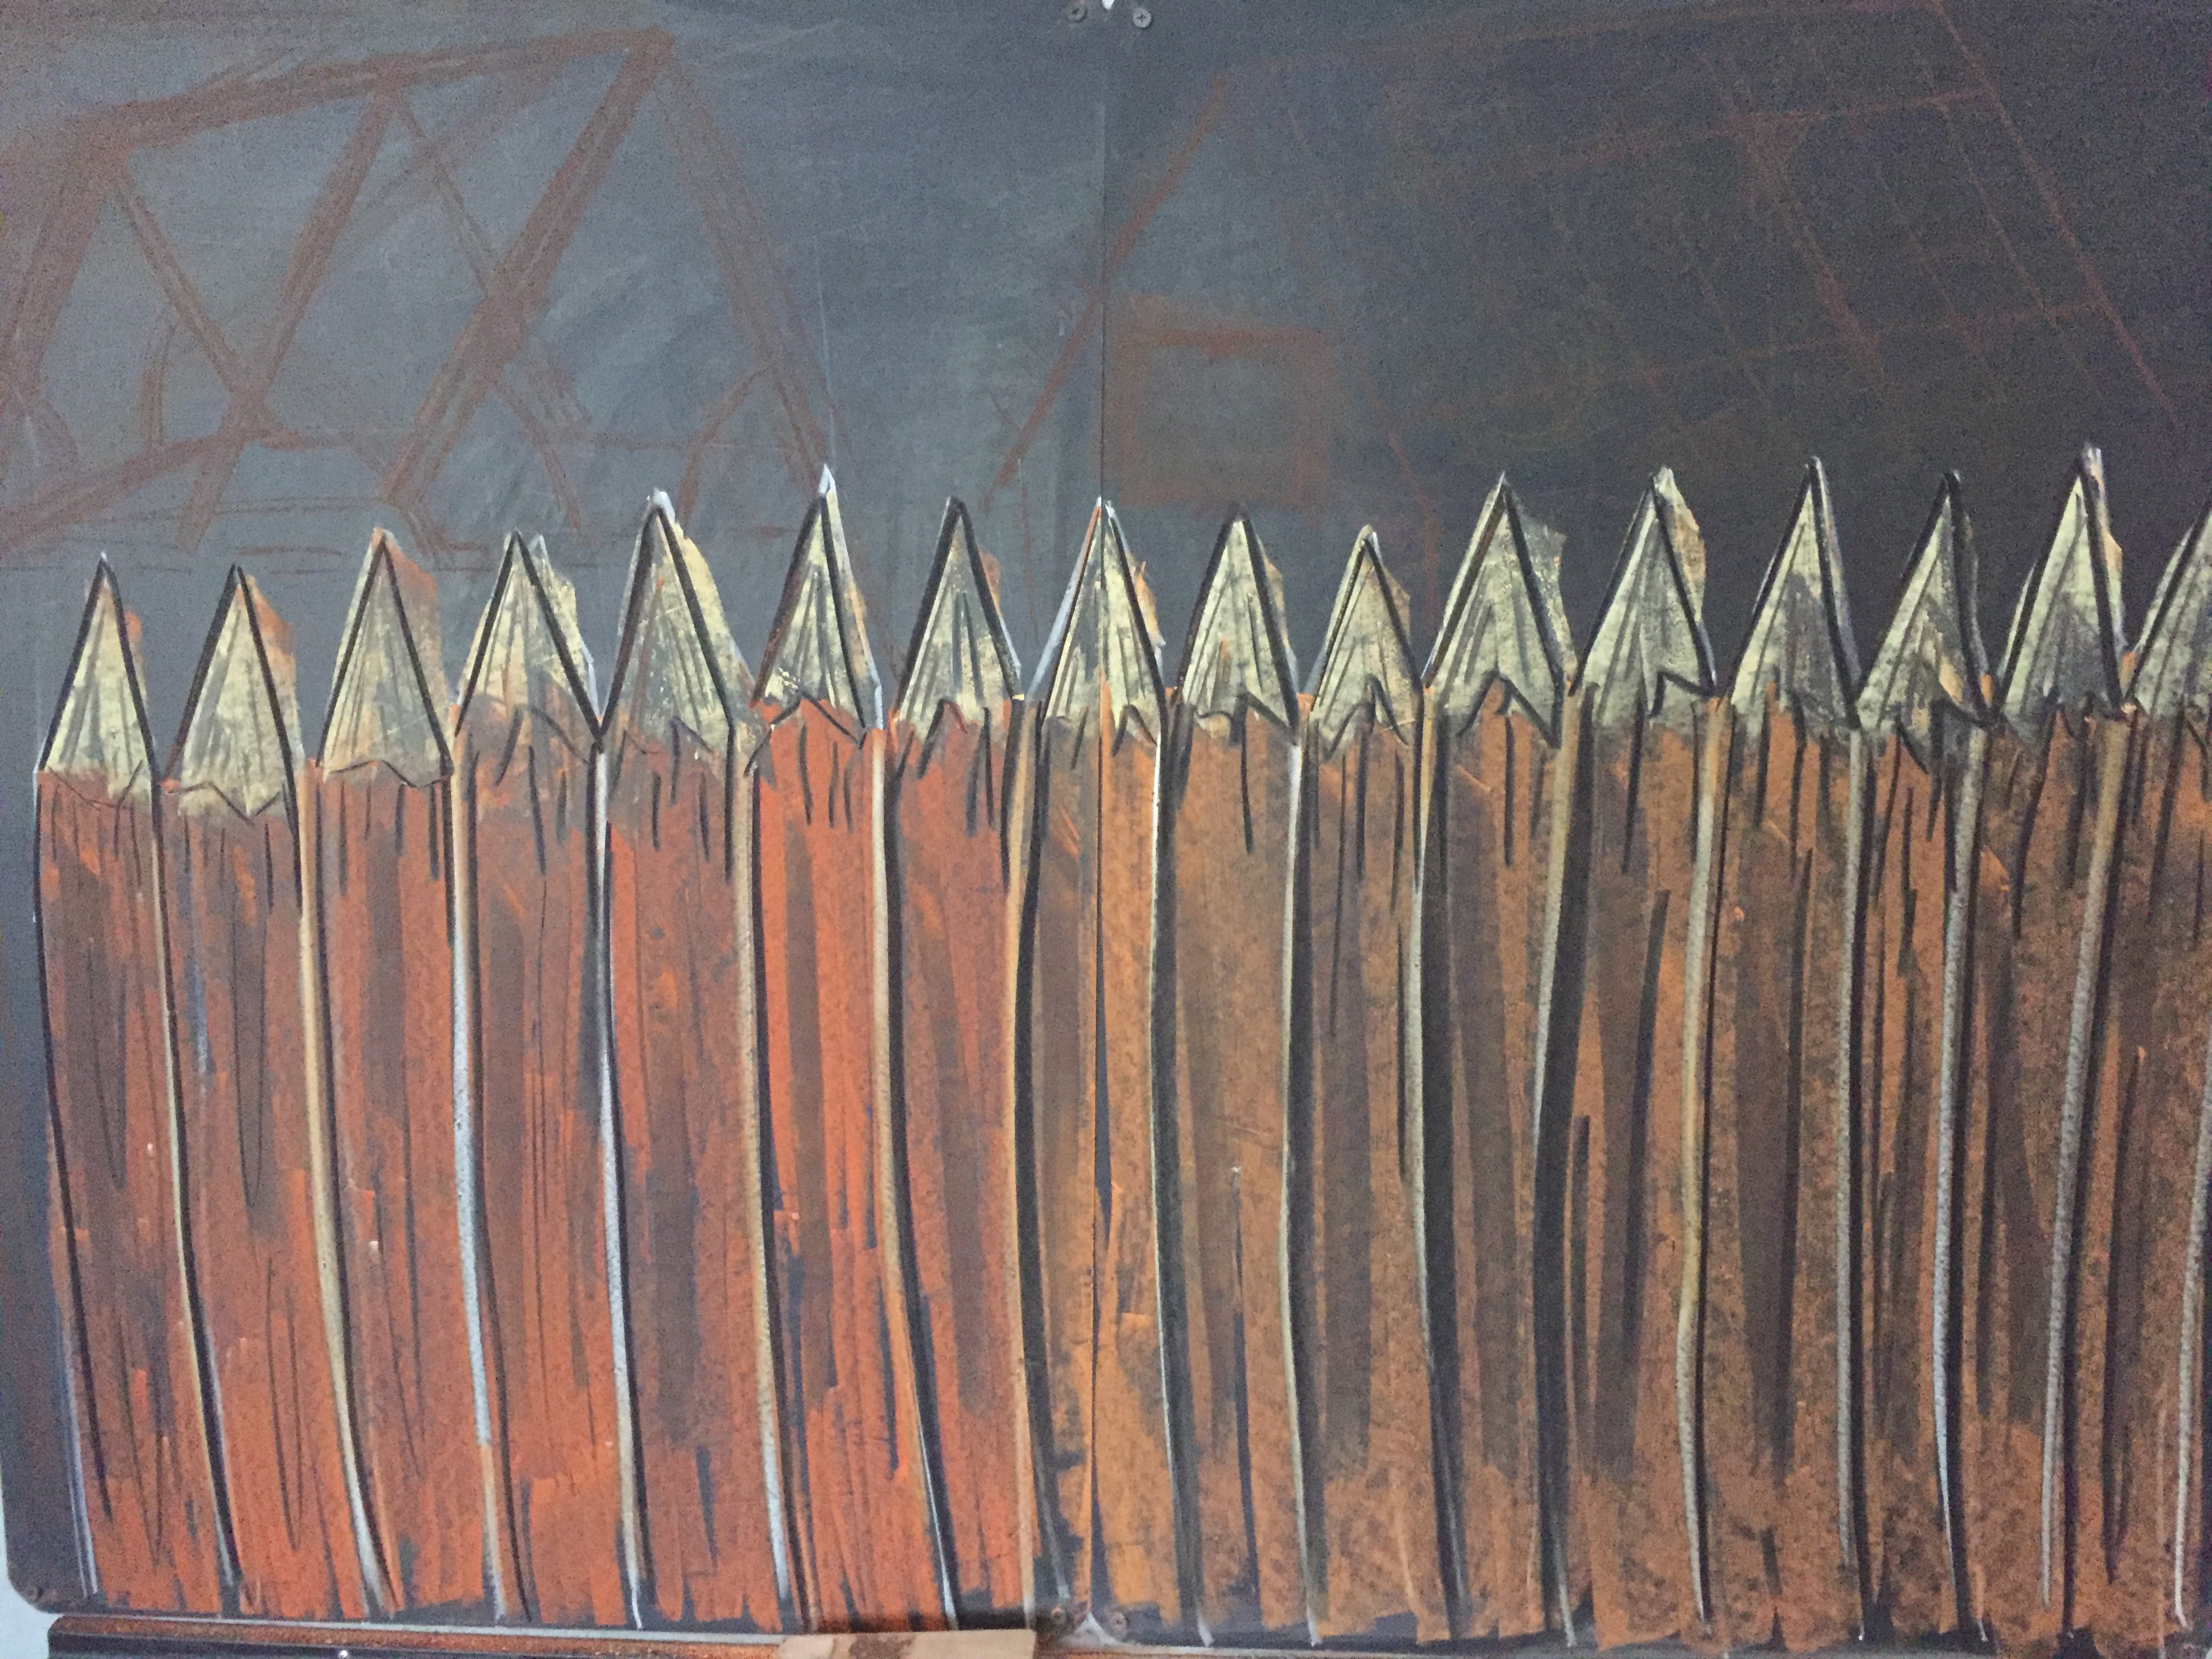
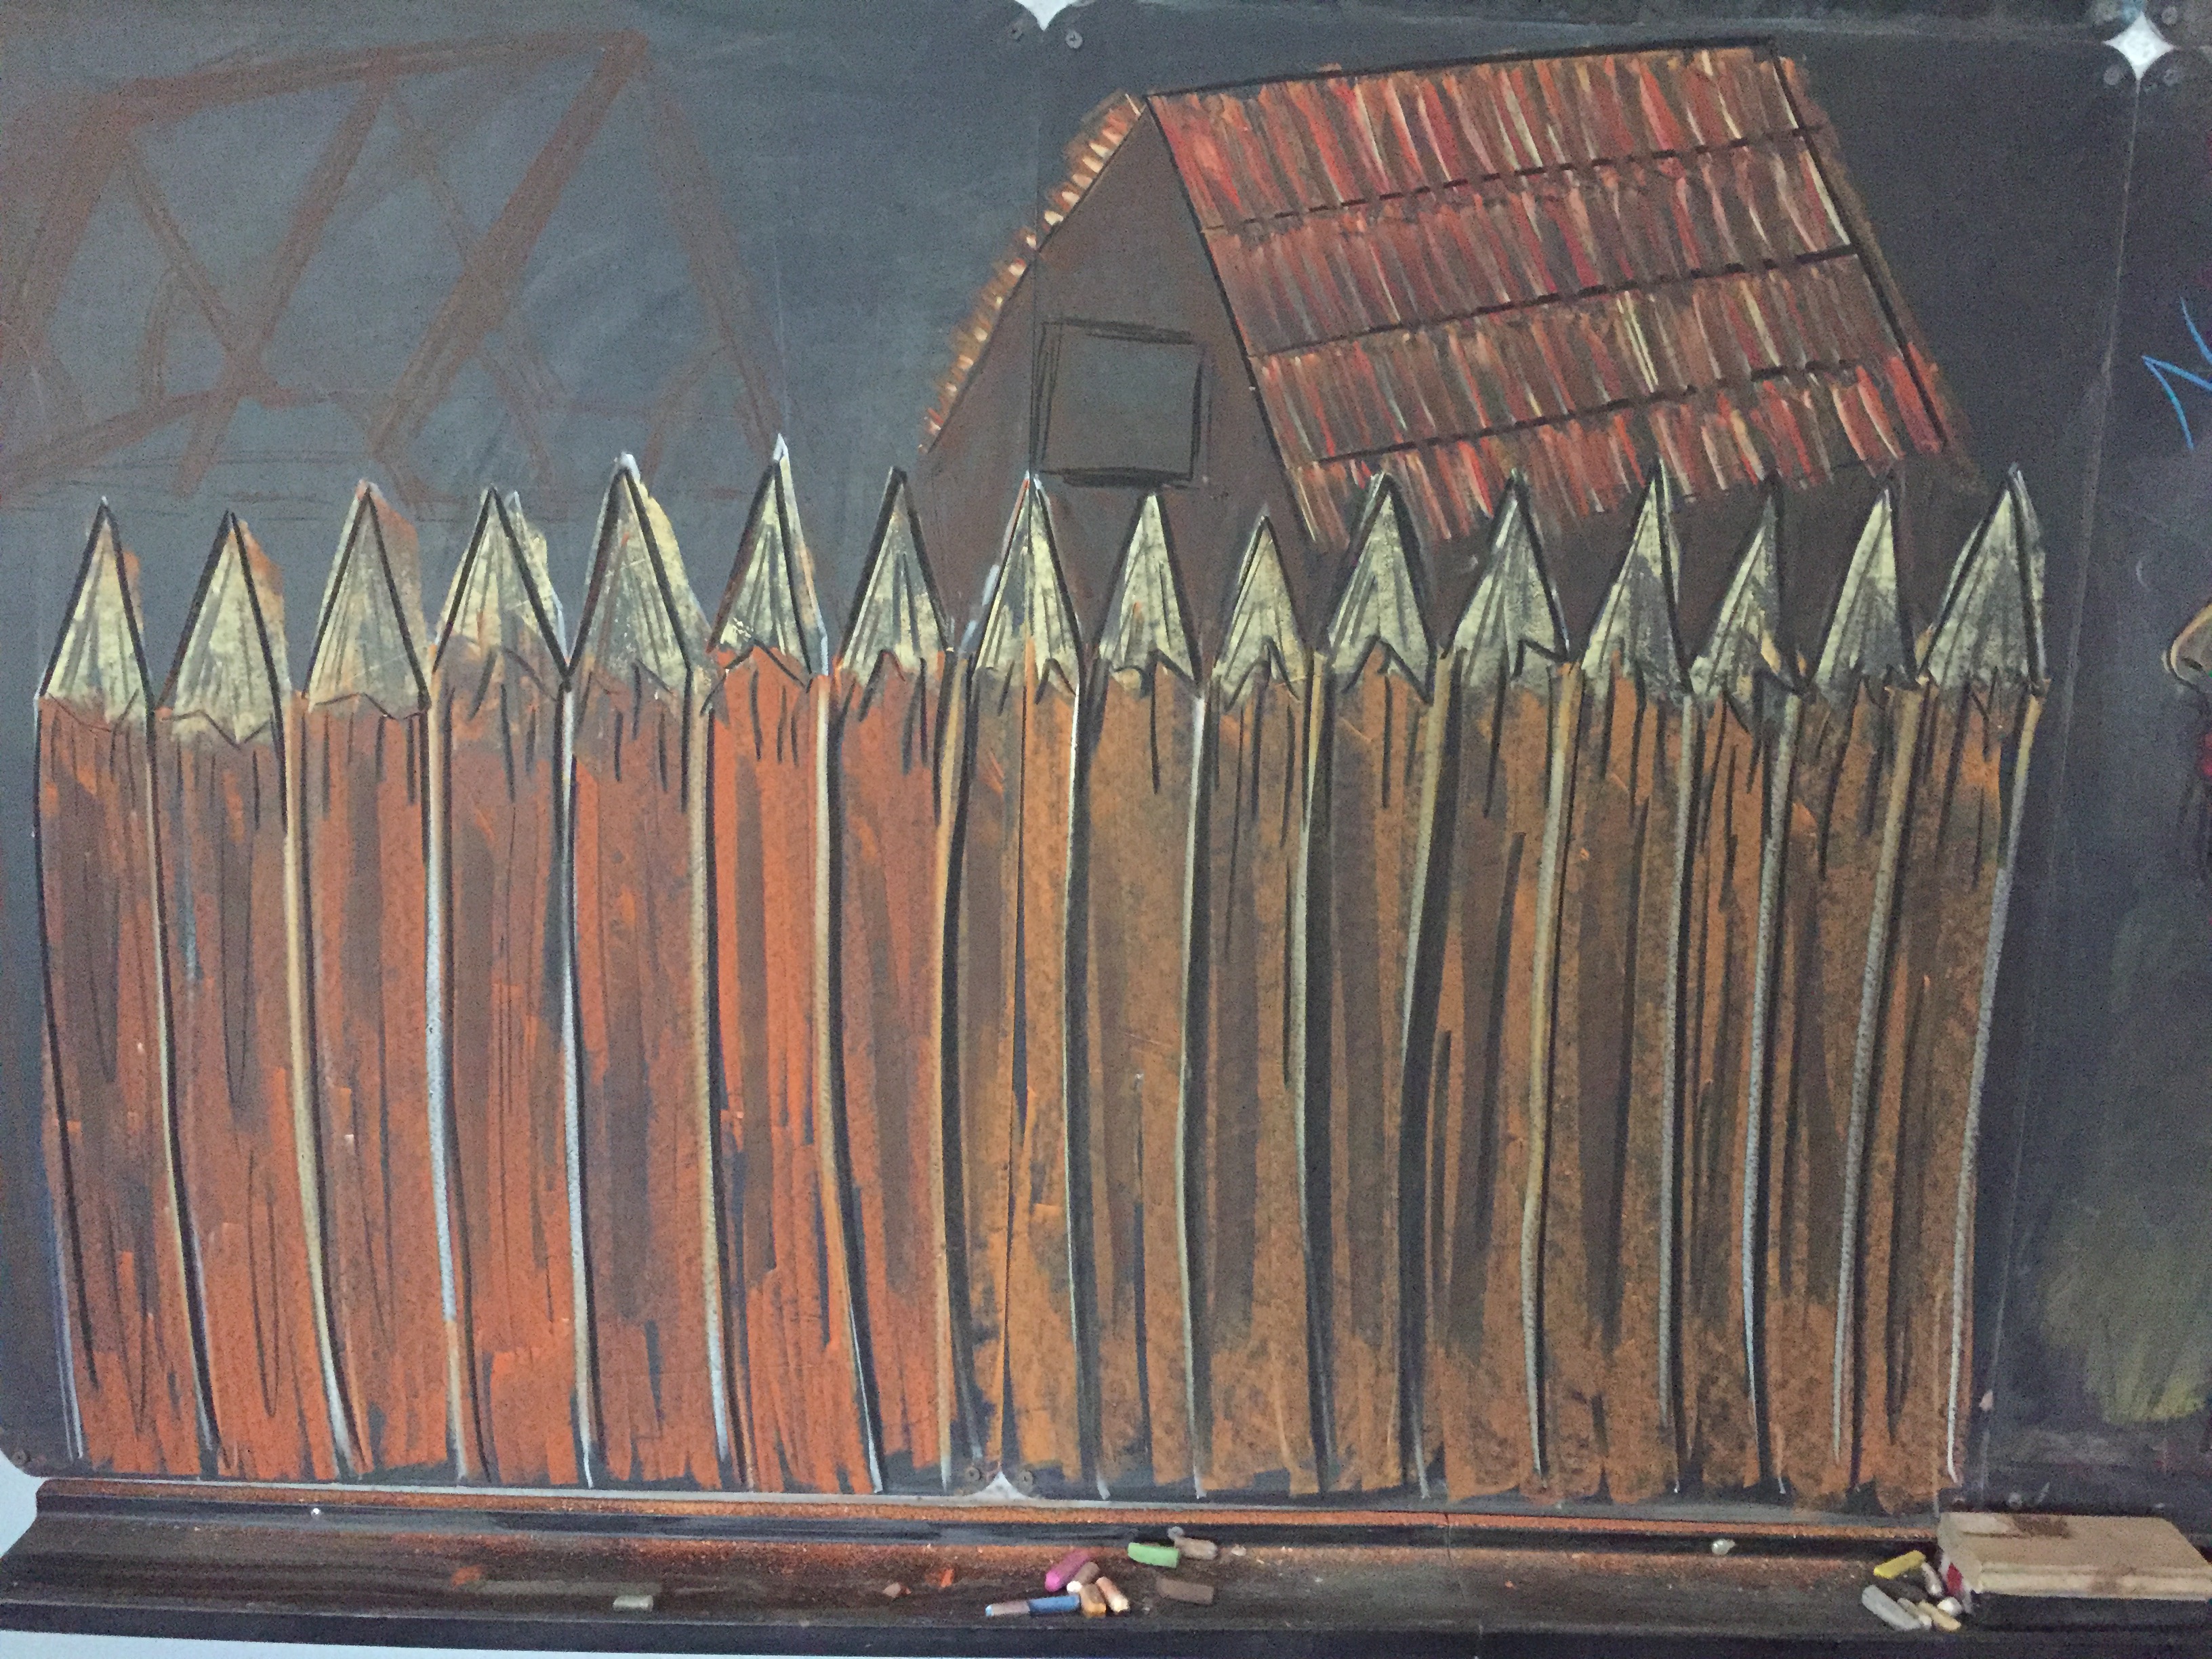
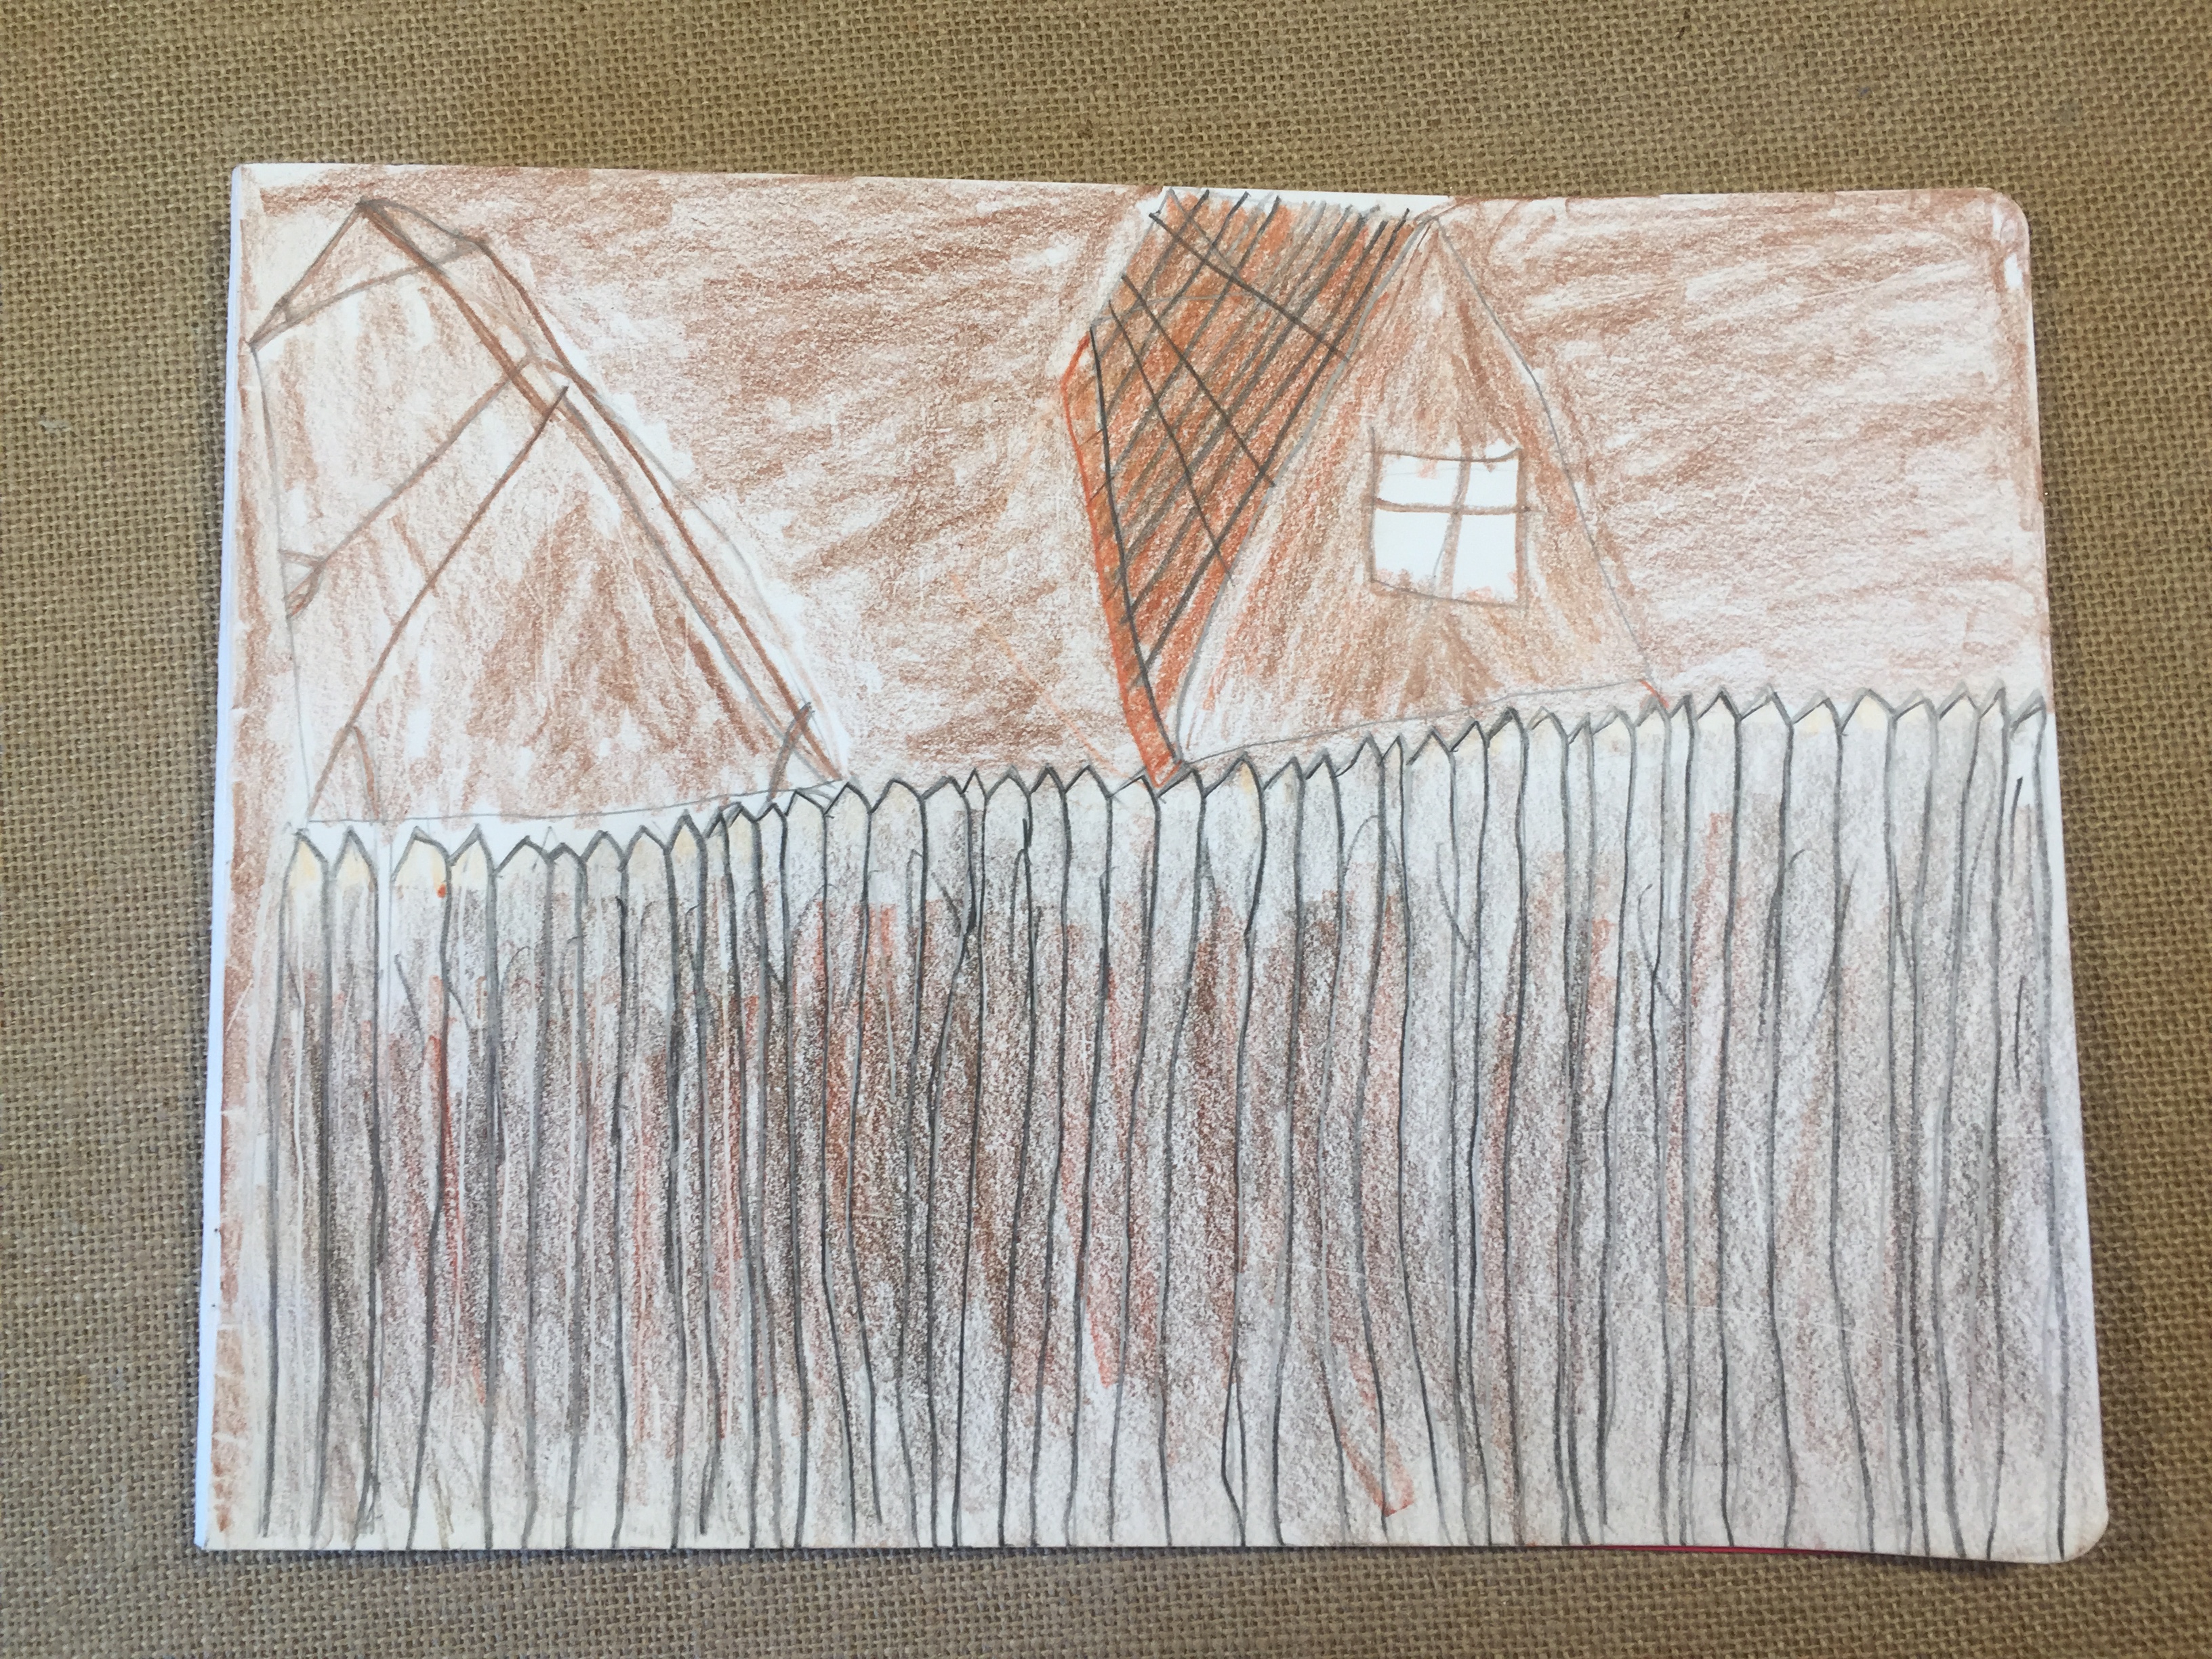
Step By Step Chalk Drawing
Today we are working on a chalk drawing inspired by the book “You Wouldn’t Want To Be An American Colonist” by Jacqueline Morley and illustrated by David Antram and published by Scholastic.
I’m using chalk pastels by Sargent Art on mounted chalk boards from Waldorf Supplies.
My 10 year old son worked on his drawing as I worked on mine. I gave him tips along the and a few times we both had to redraw the fence so it wasn’t too high or to thick. Since this was when the drawing was still being sketched, it was easy to change.

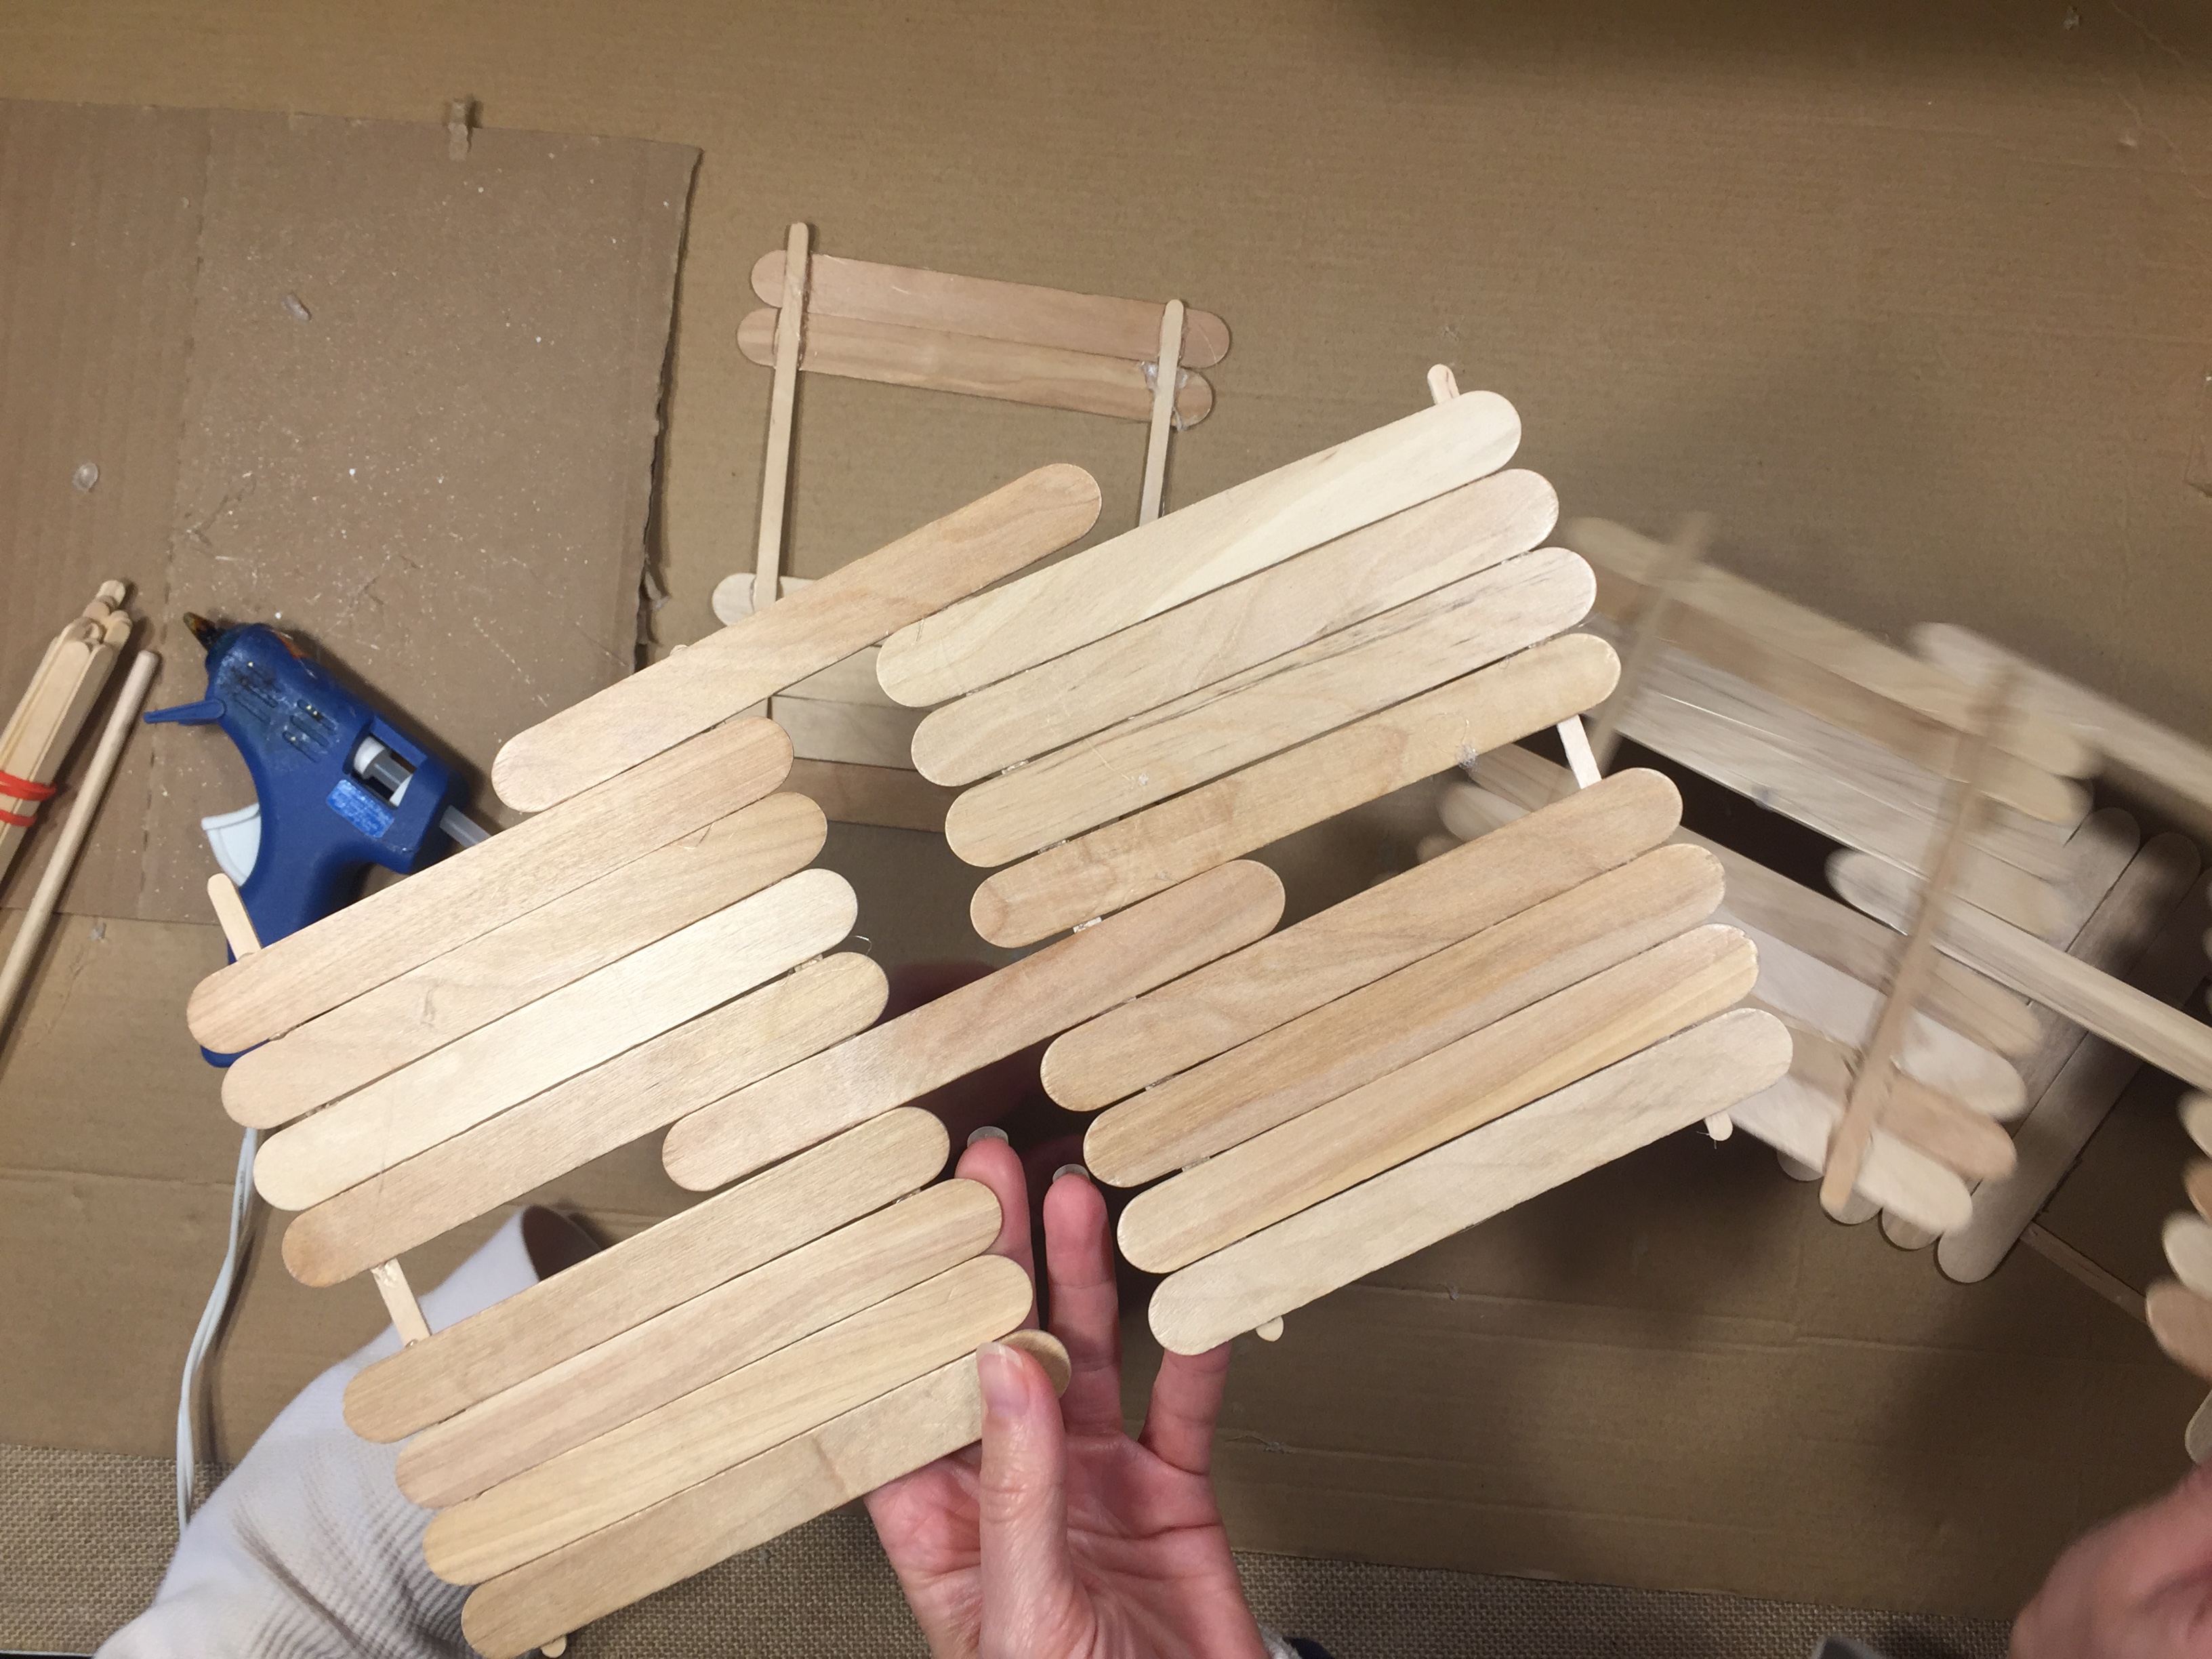
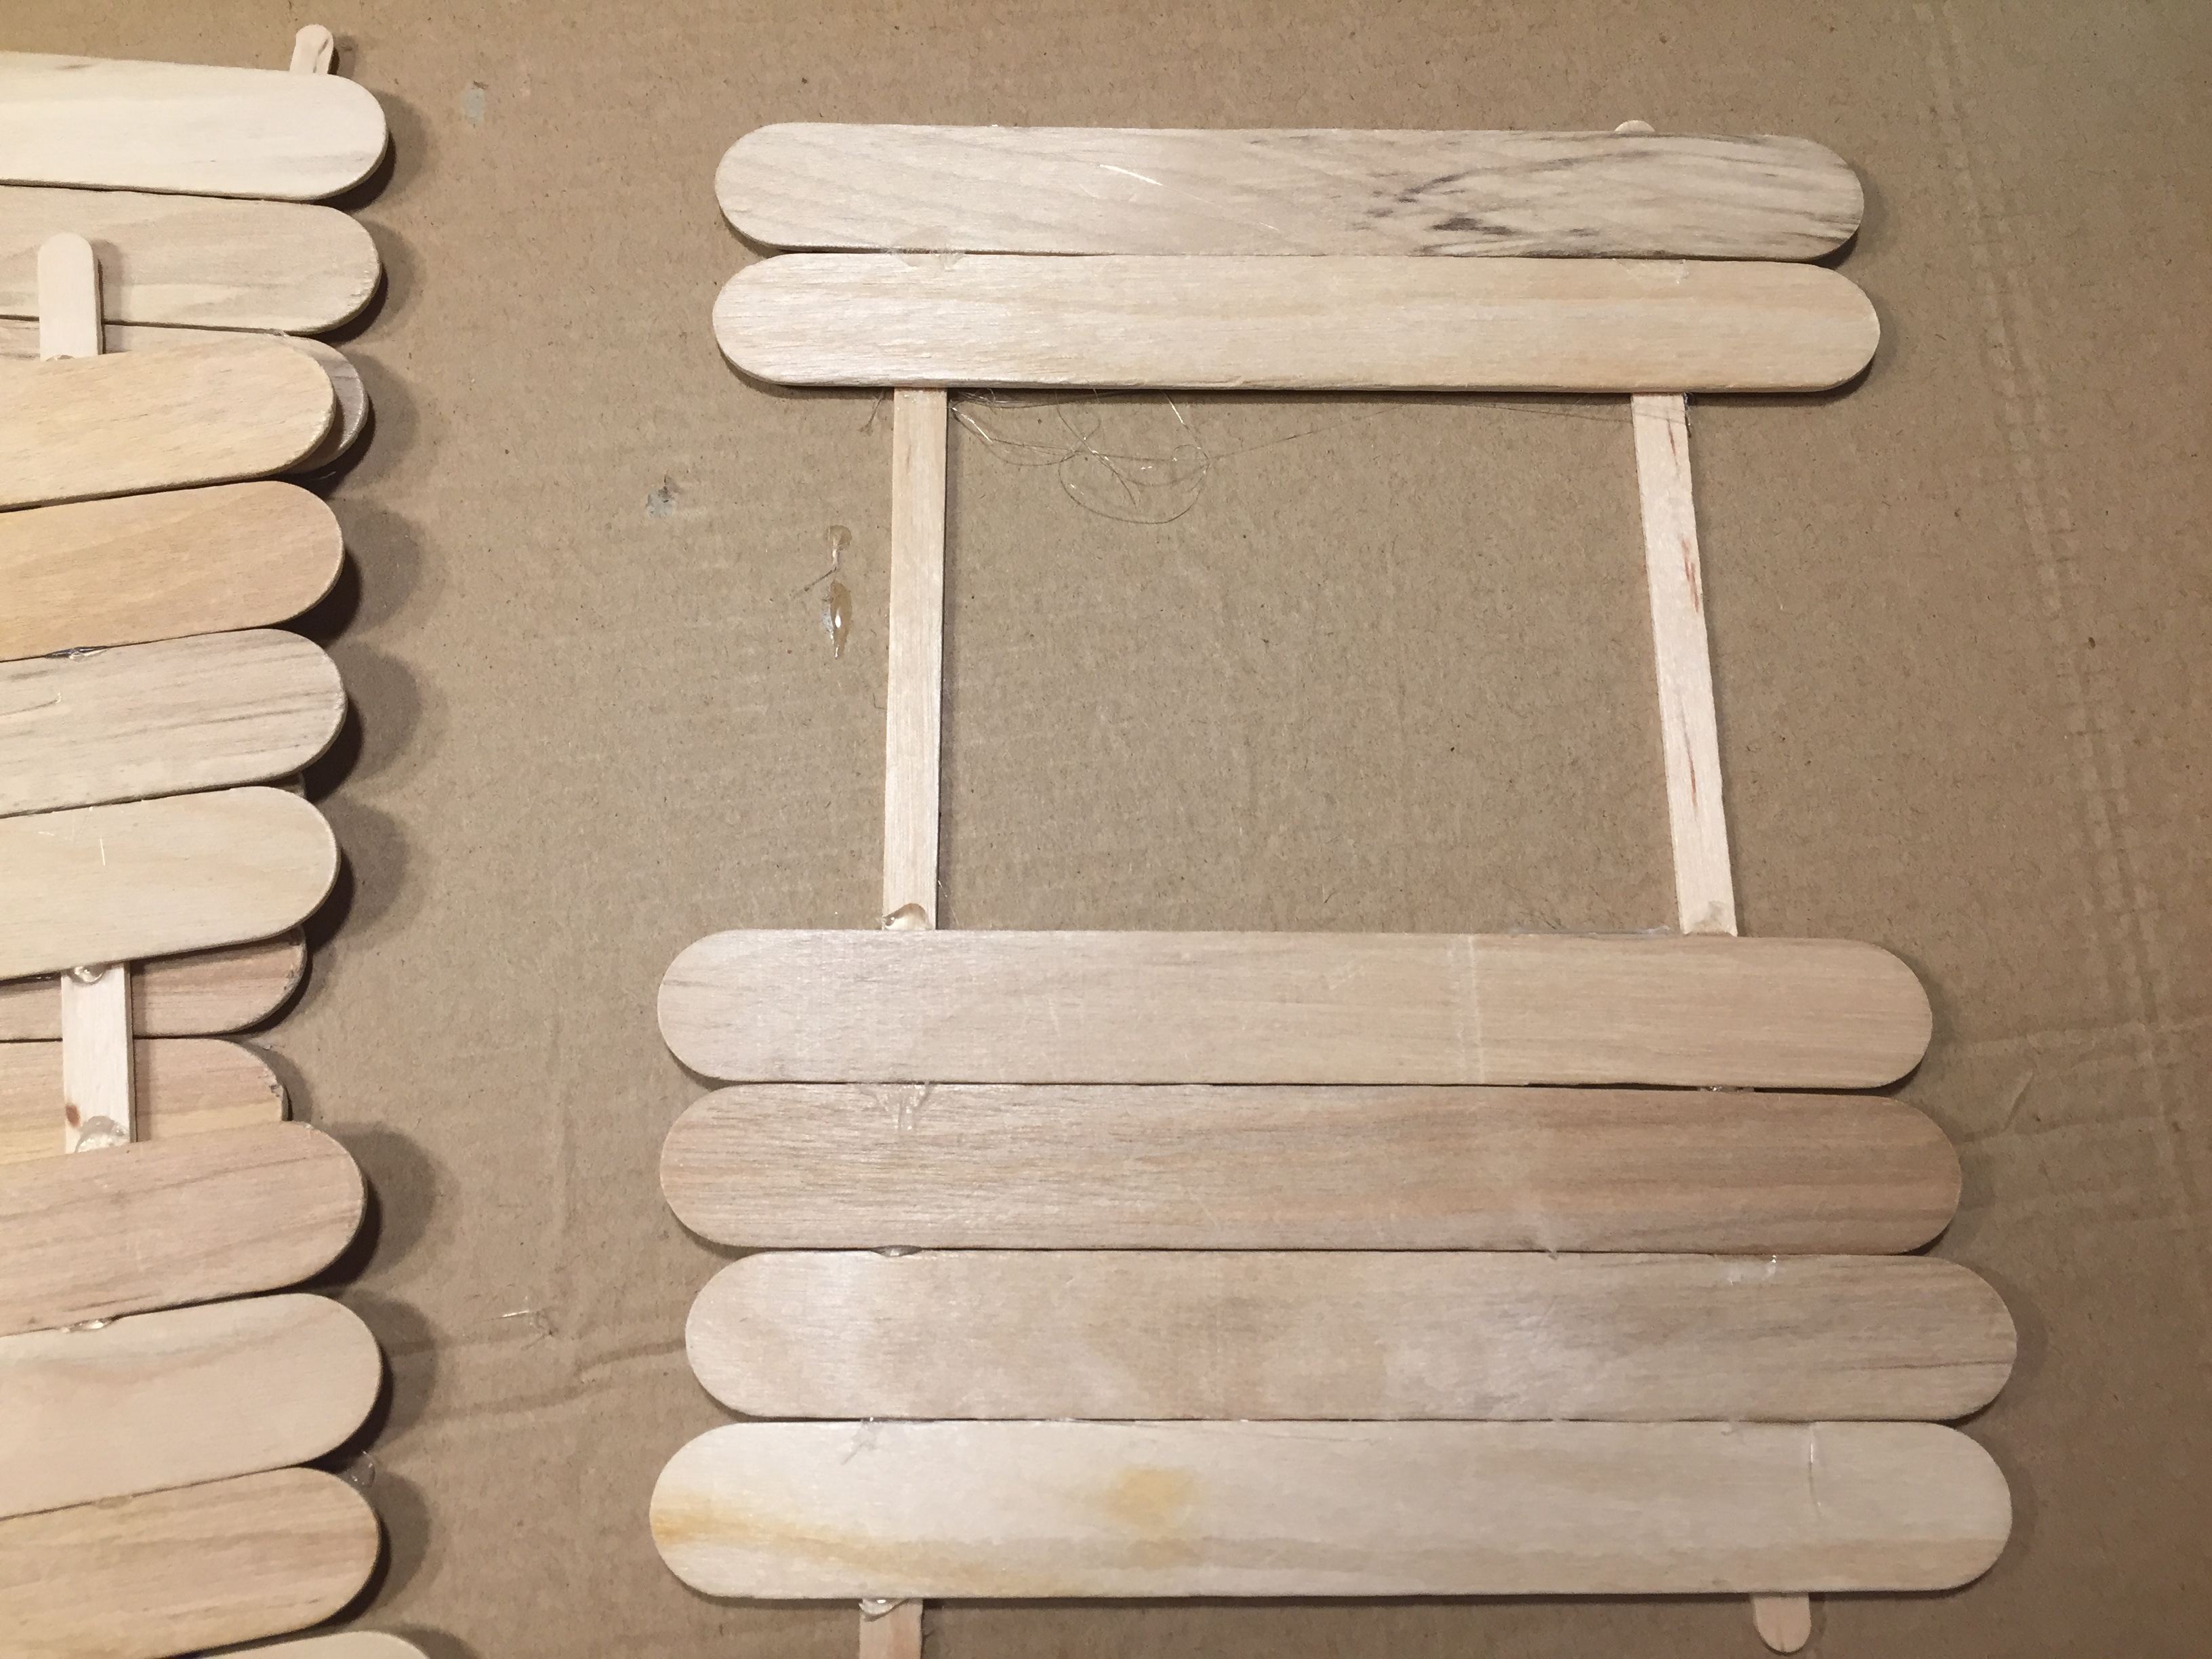
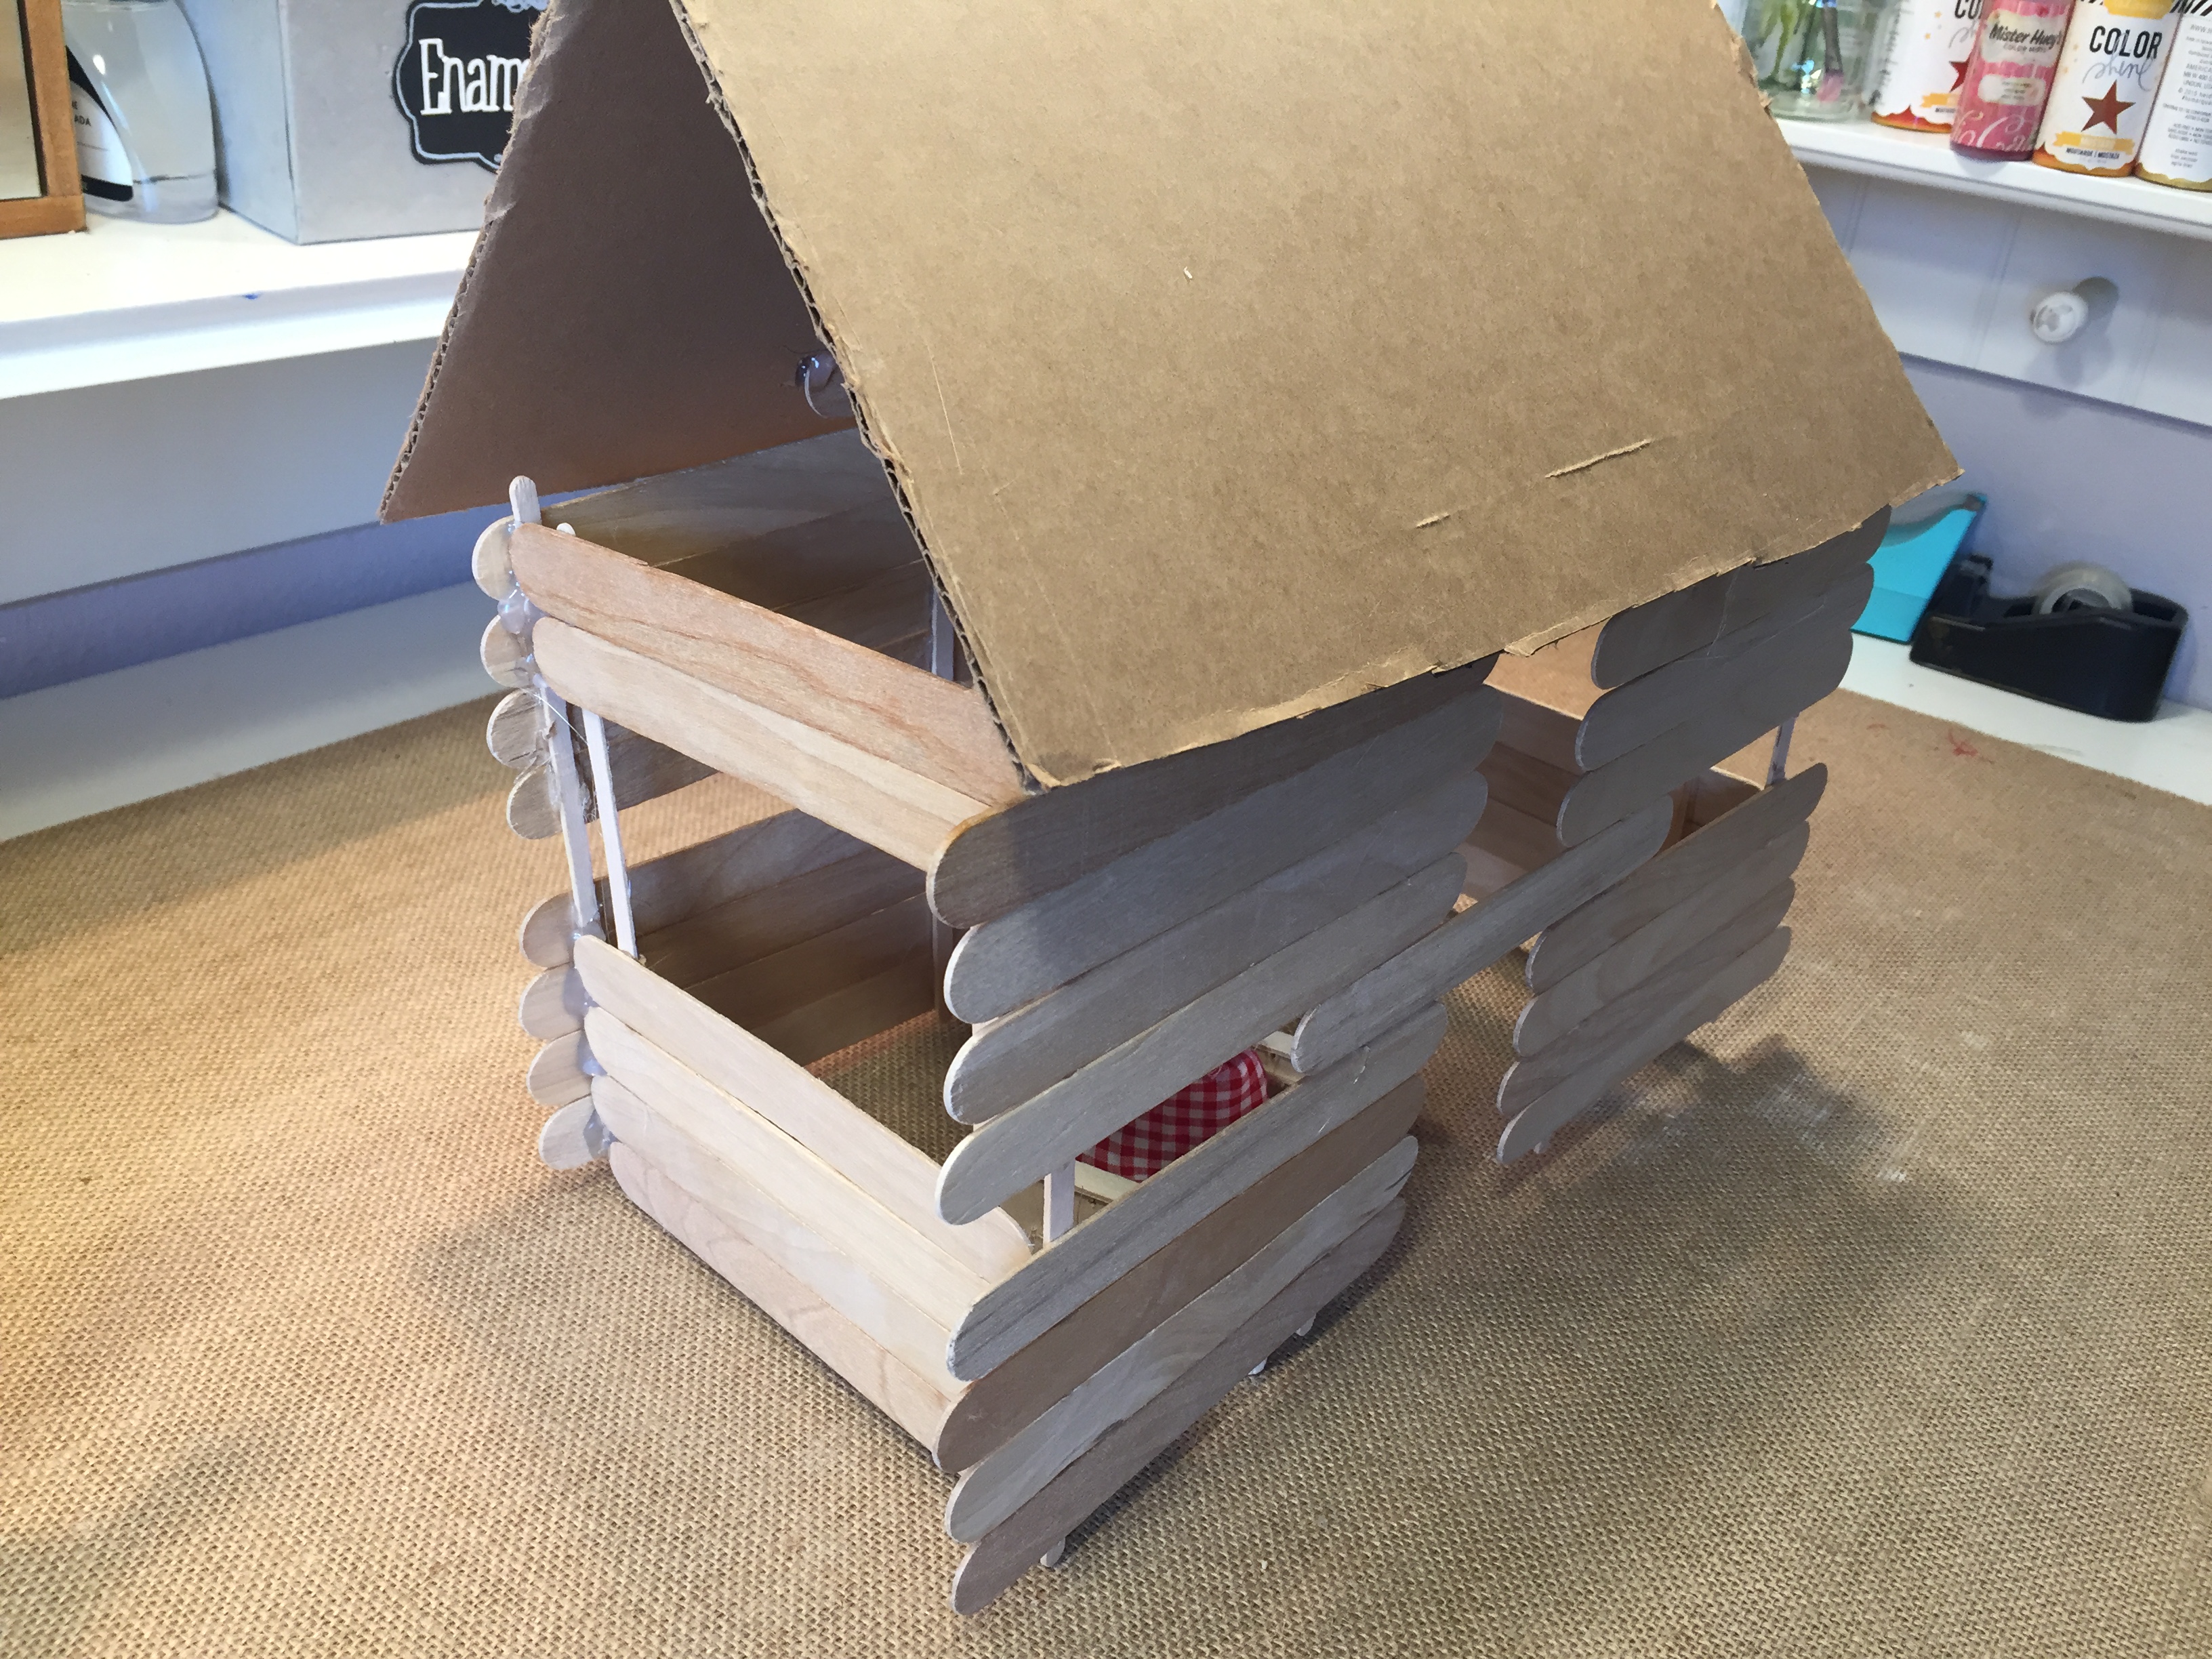
How To Make A Log Cabin | Kids Craft | Popsicle Stick
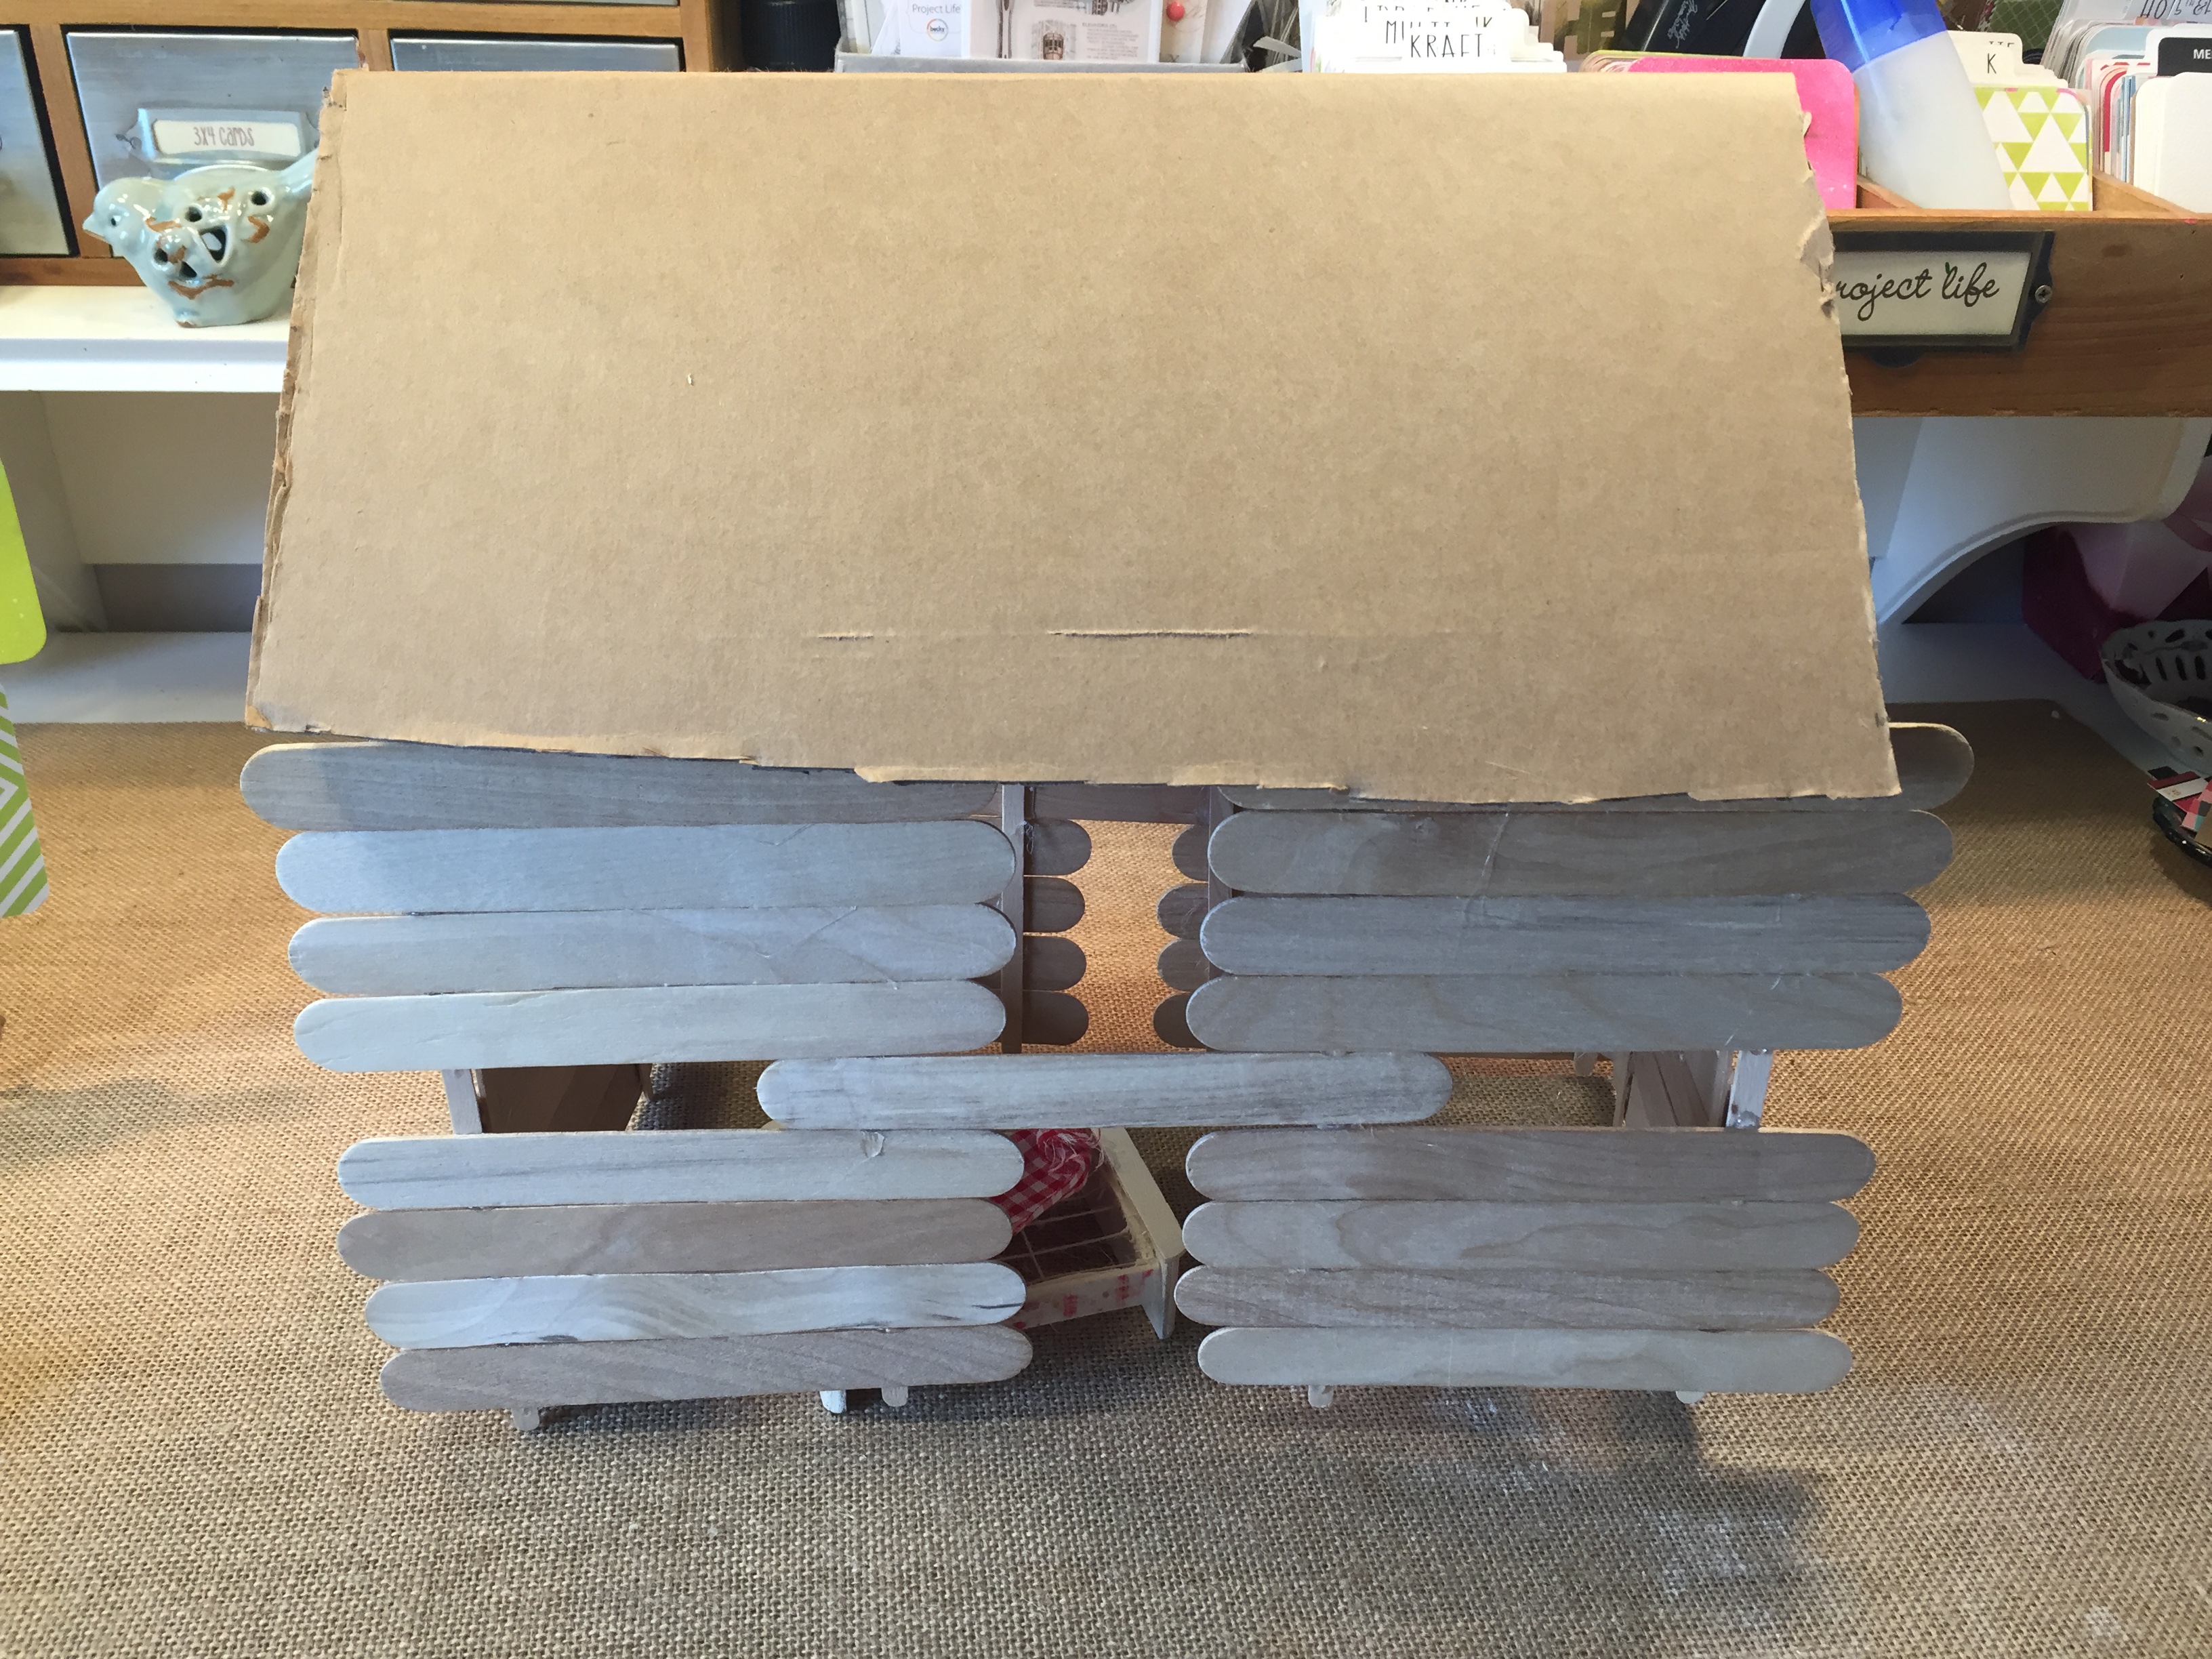
This super simple, frugal hands-on project can be accomplished by anyone, even if you are not crafty or do hands-on projects. It’s easy, fast and you and your children will have a sense of accomplishment when finished. It’s hard to mess up this project, so rest assured, you’ll be pleased when it’s complete.
Inspiration for this project came from the book Great Colonial America Projects You Can Build Yourself by Kris Bordessa. We used this books which has content plus projects along with others for our Colonial Times Unit Study.
Materials:
craft sticks (we used the wide ones from the Dollar Tree)
hot glue gun or tacky glue
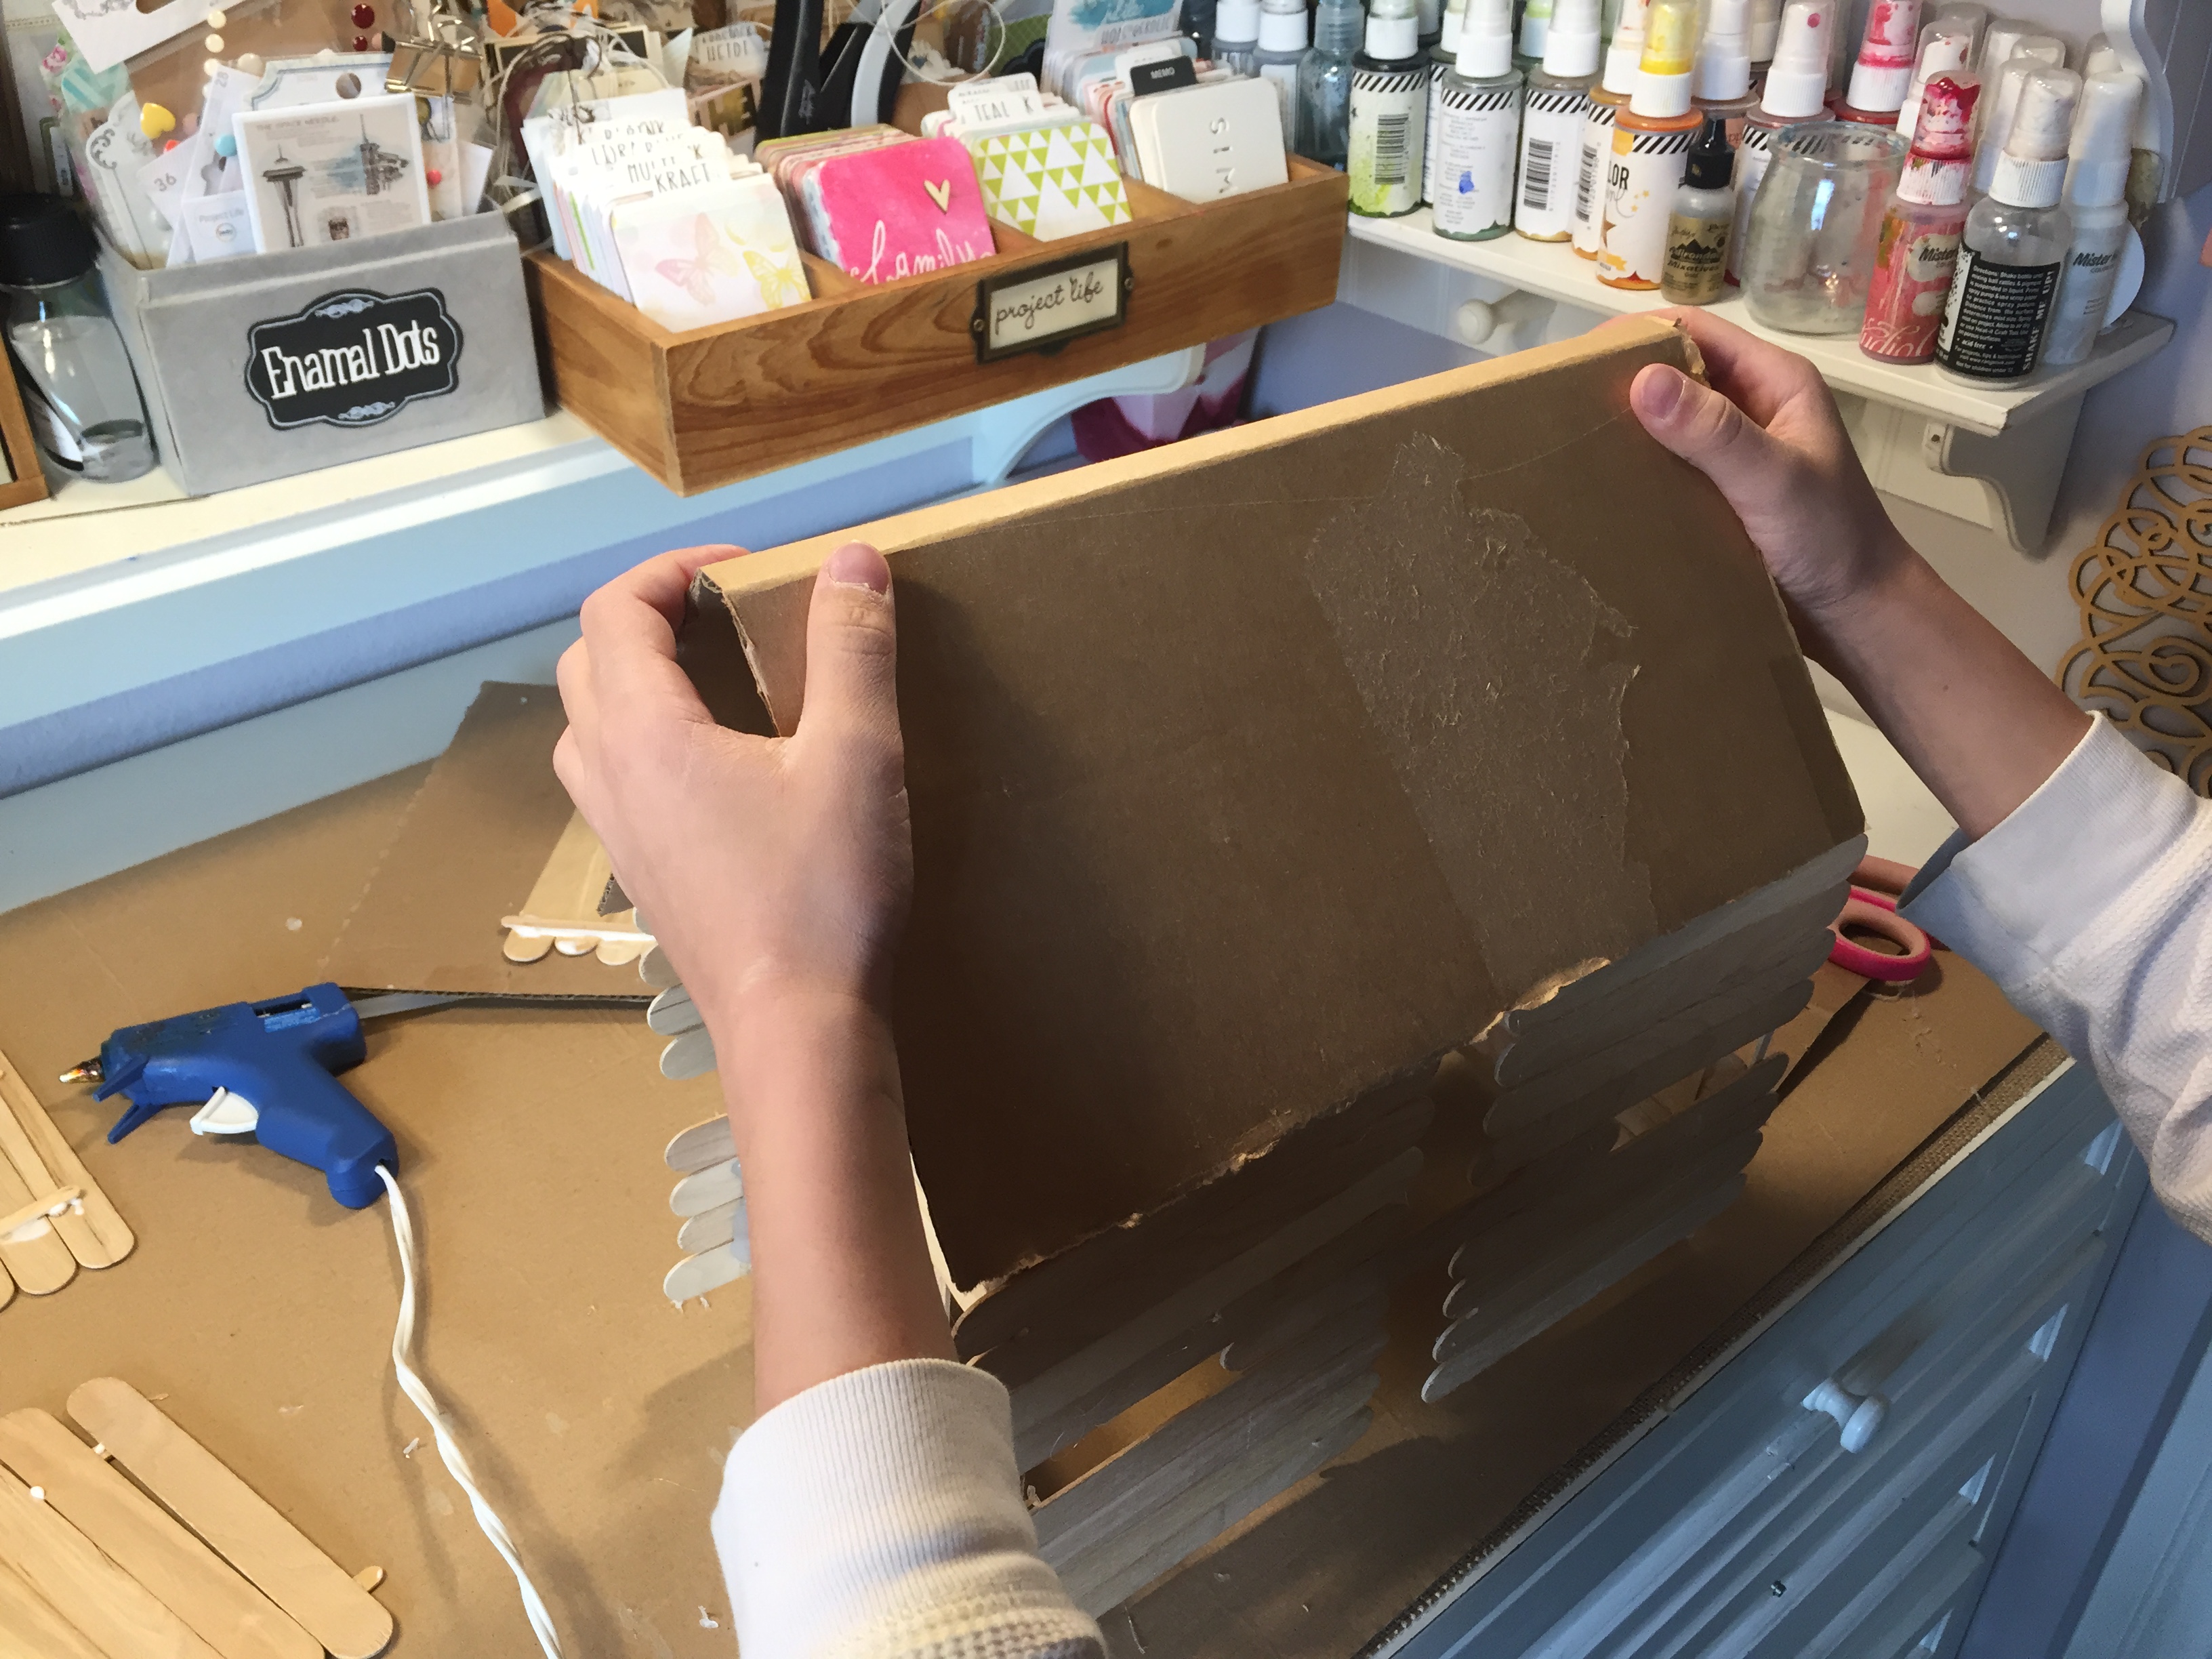
cardboard for roof
Cost: less than $2
Duration: 30 minutes or less
Prep and clean up: minimal
Grade level: KG and up

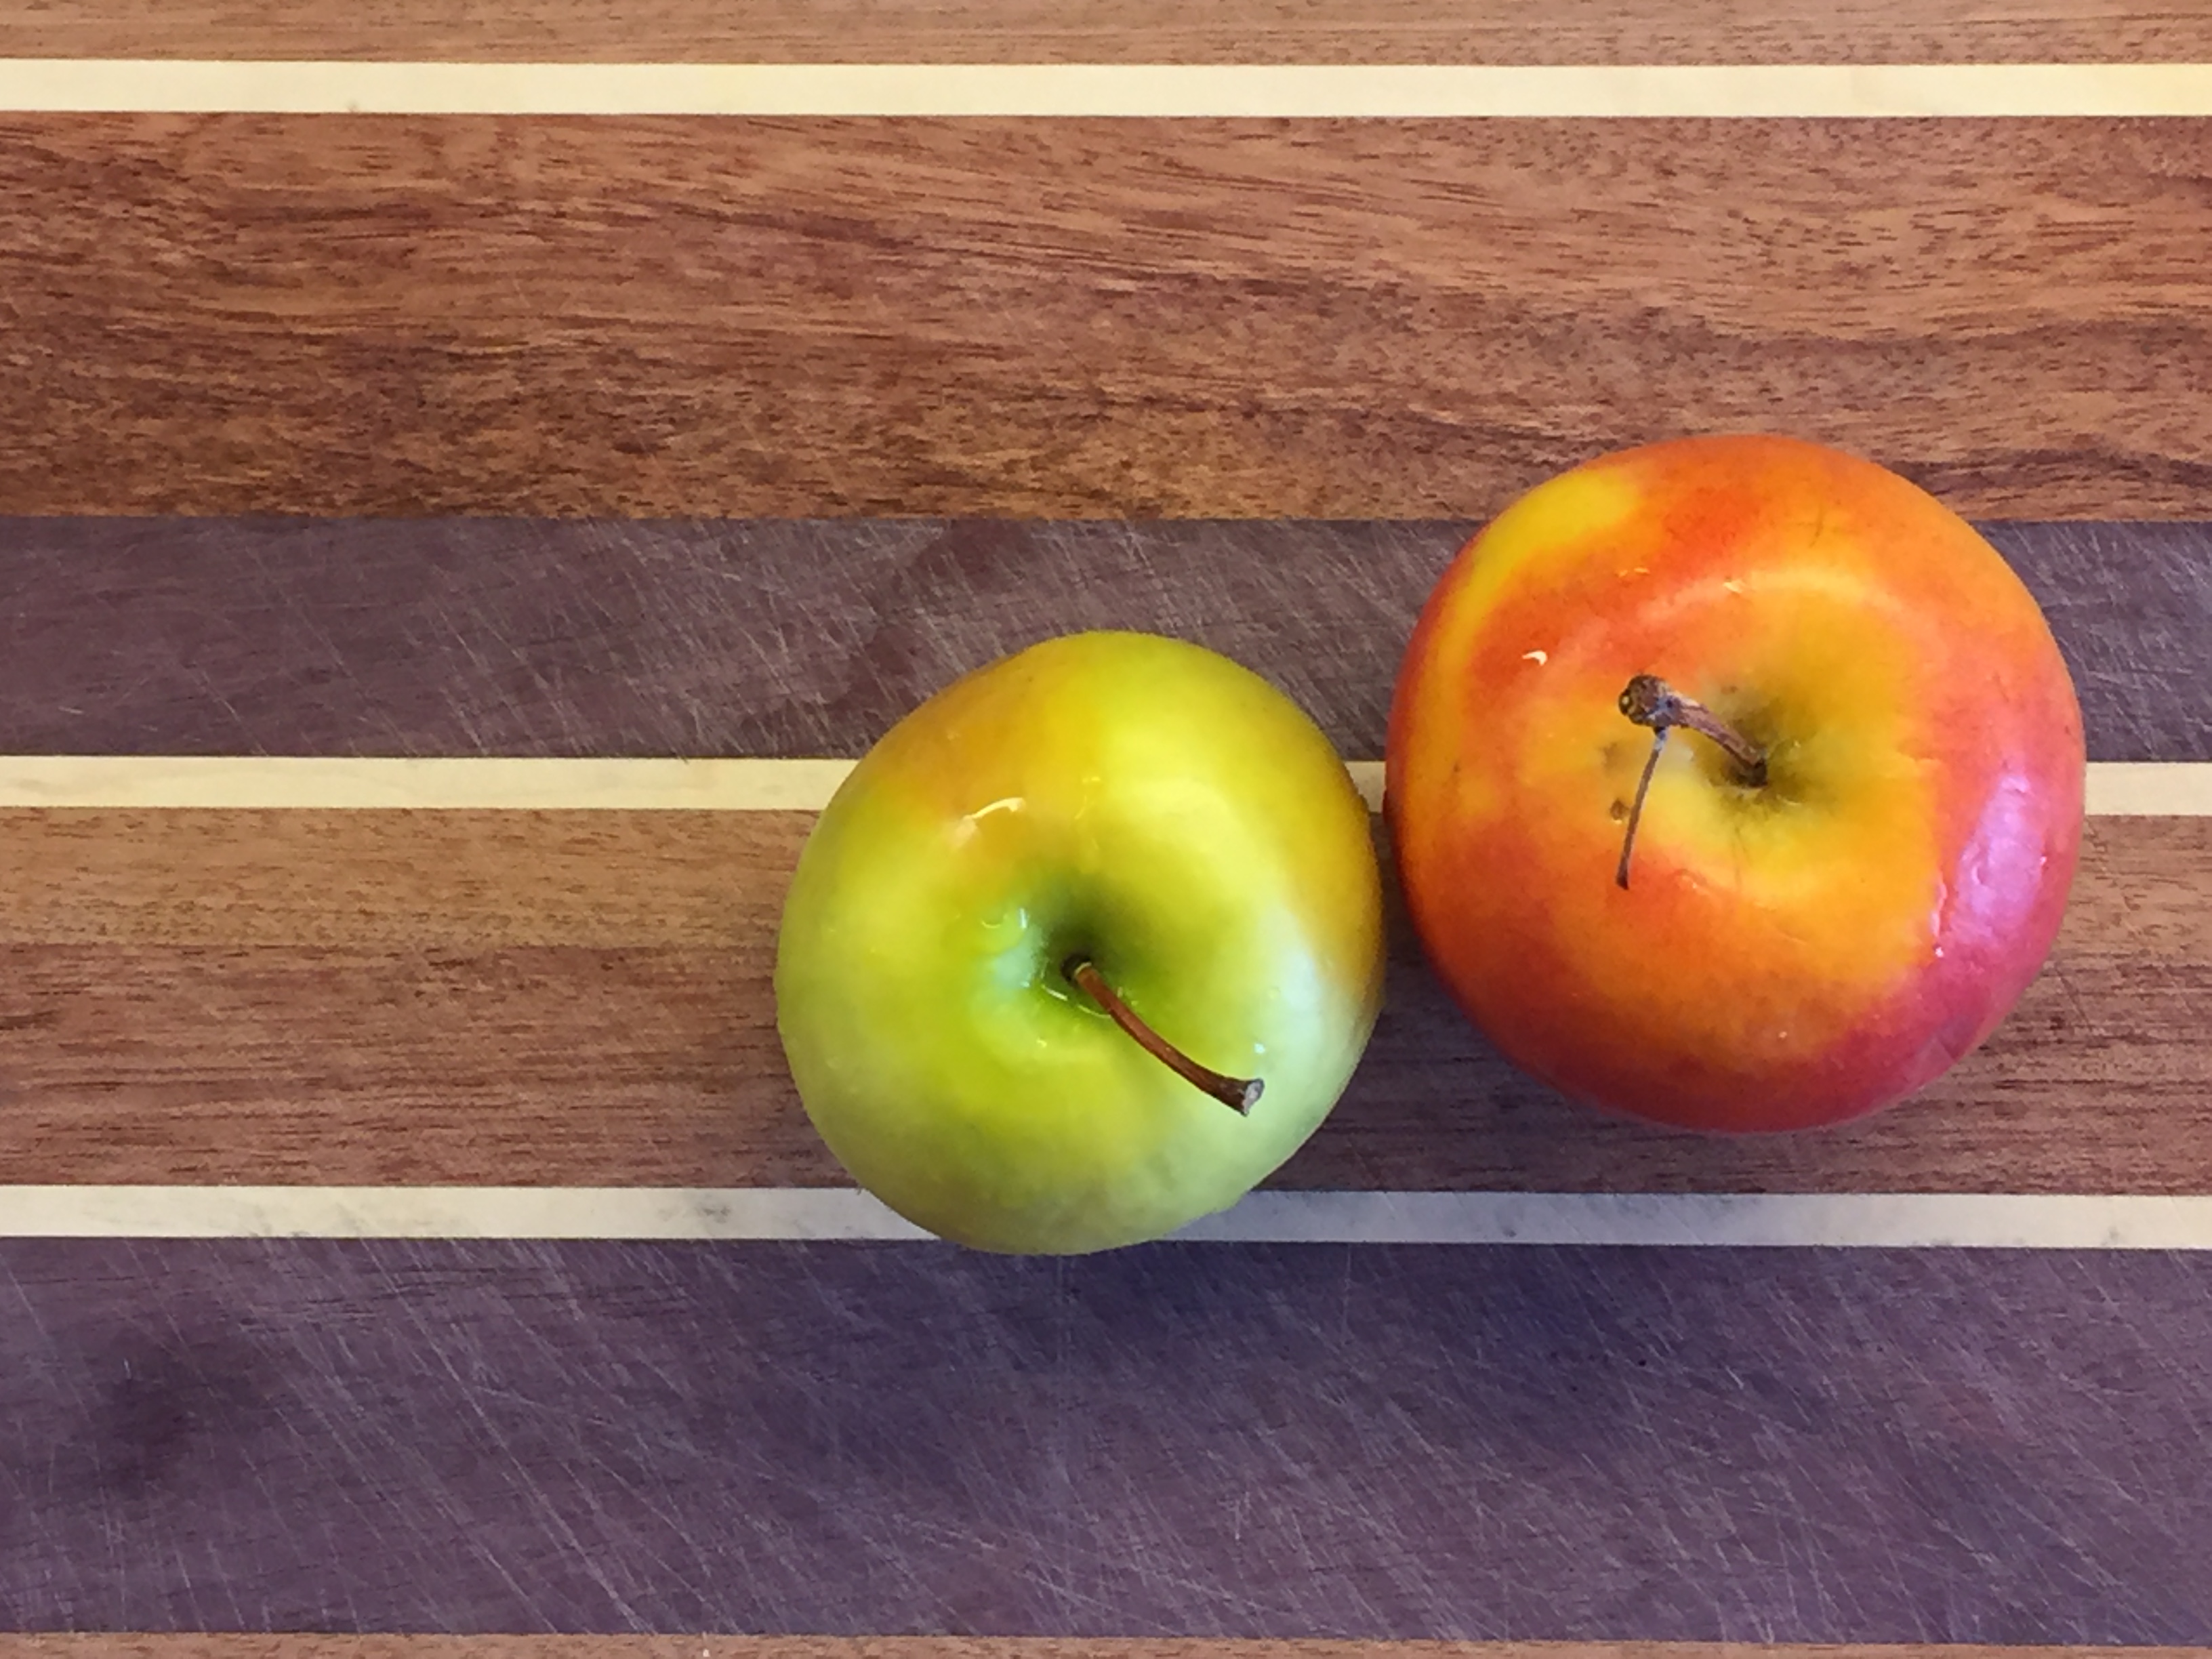
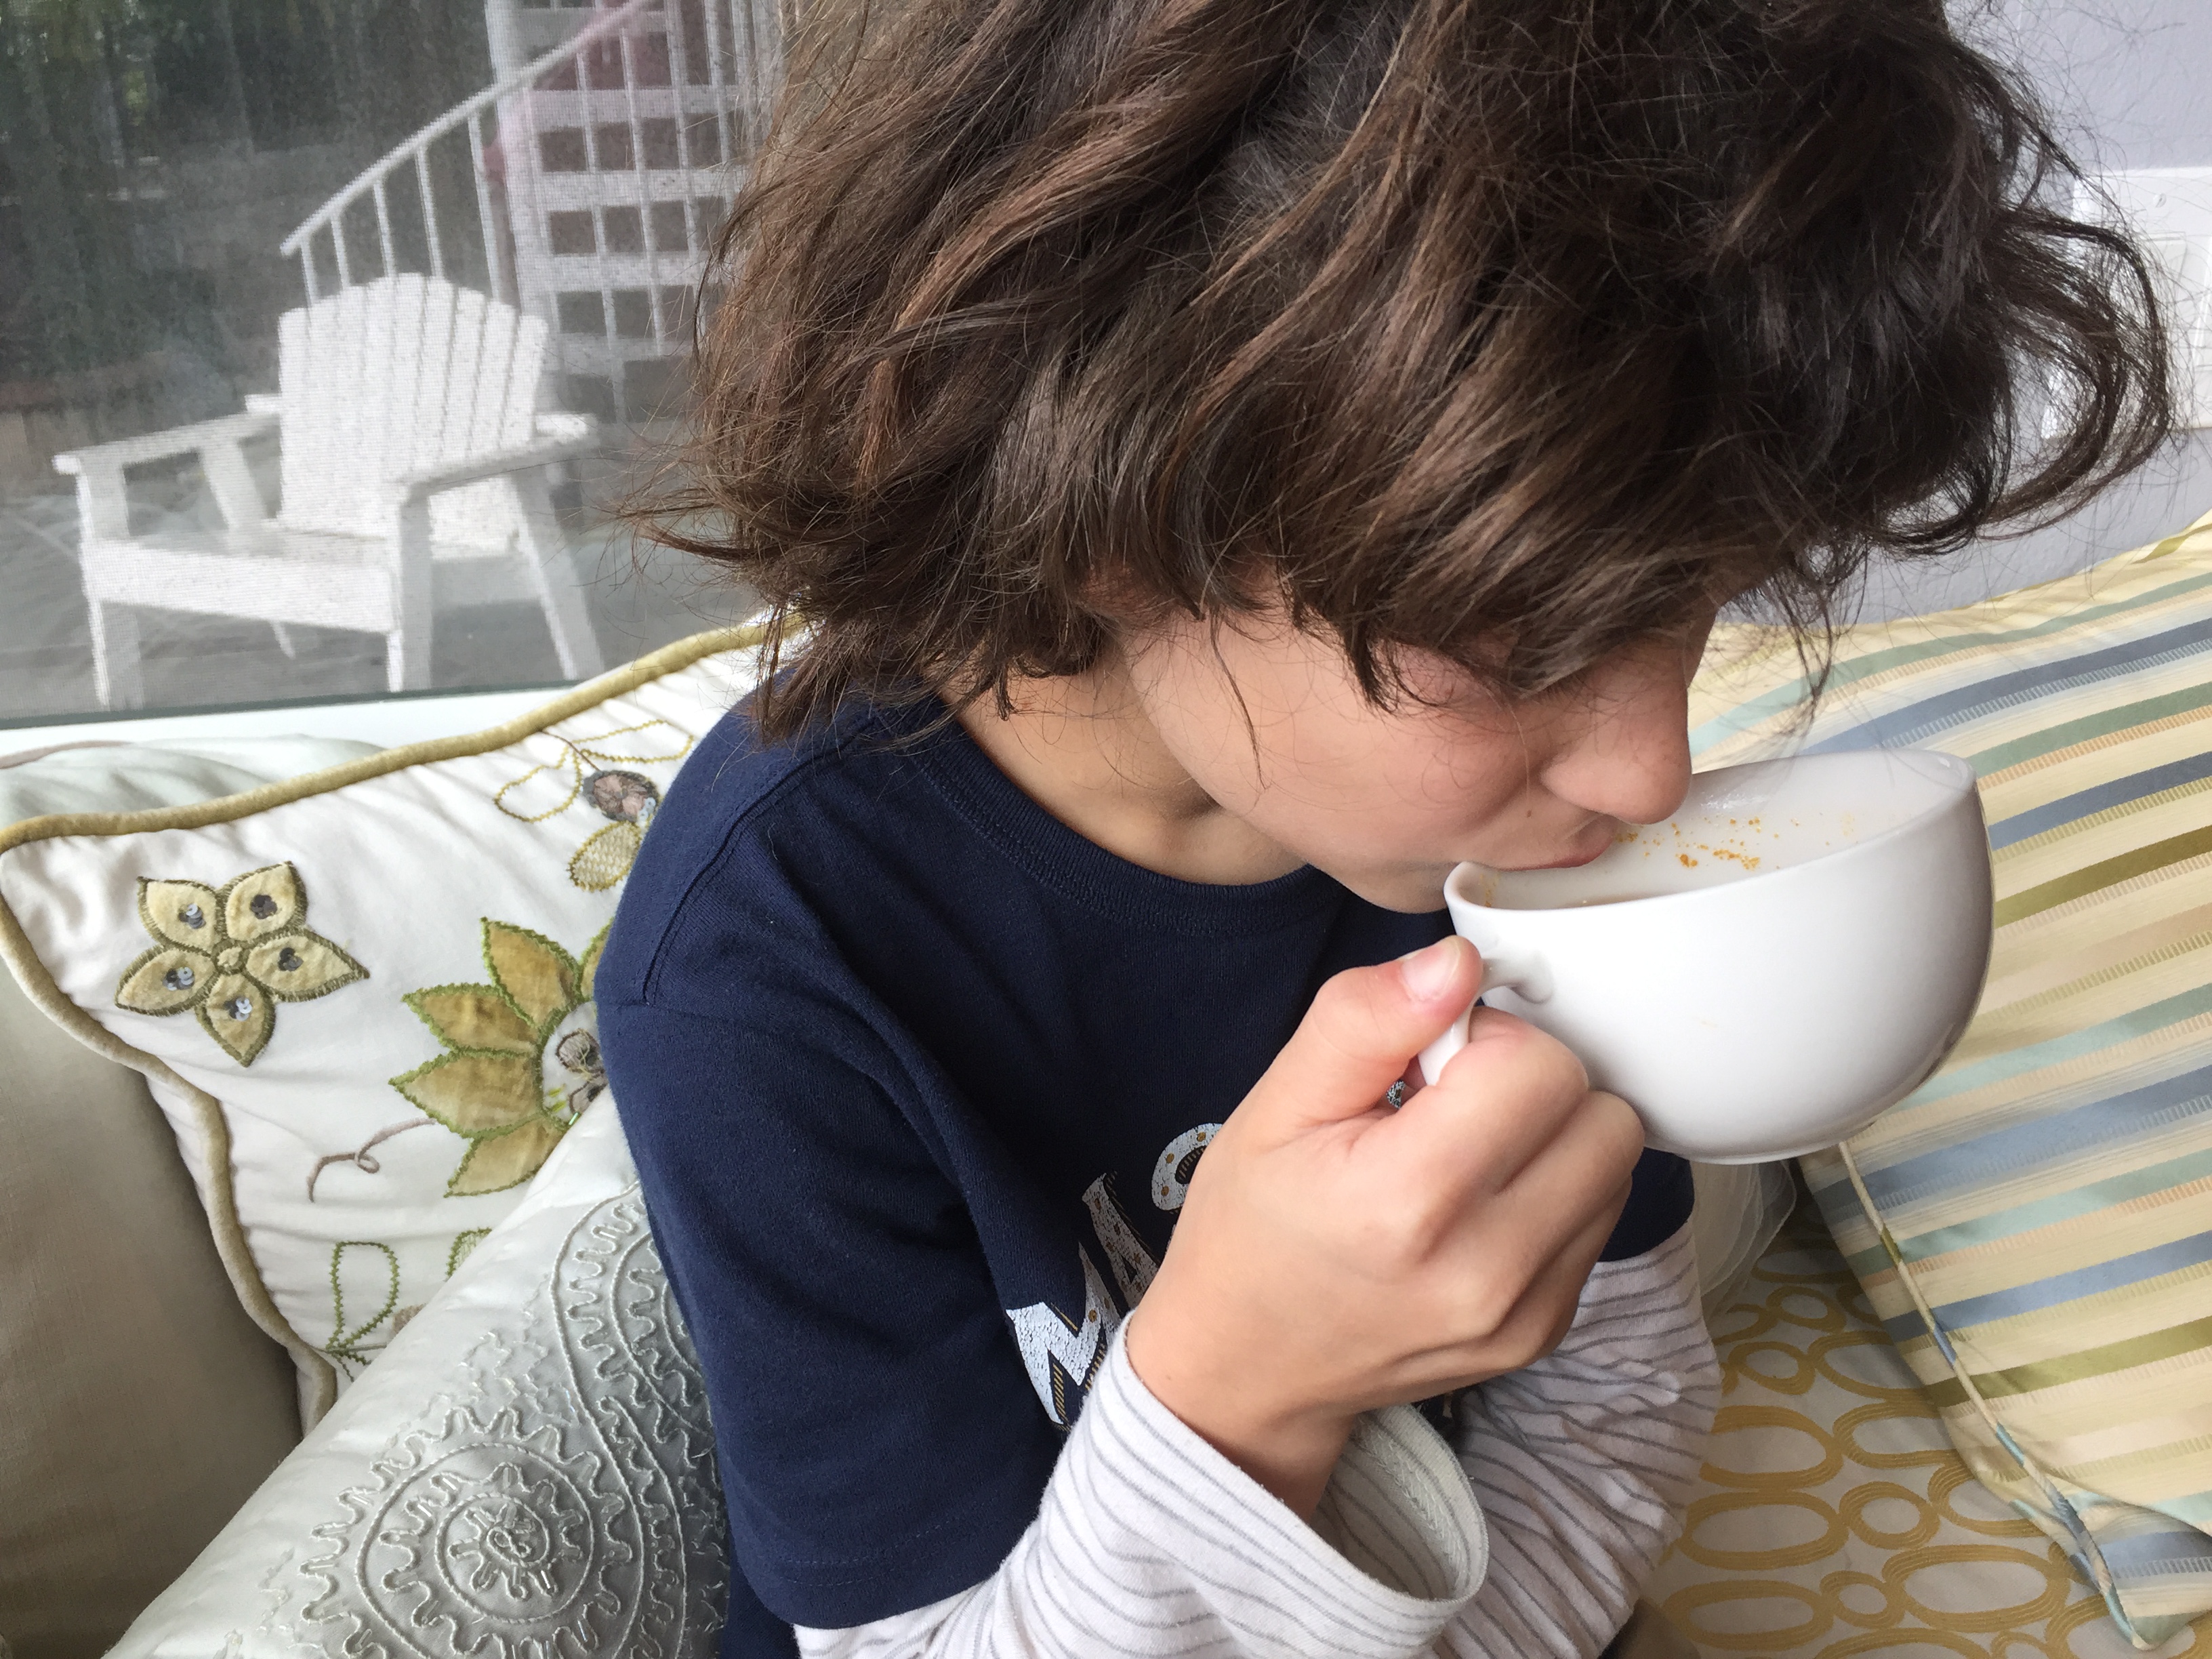
How To Make Old Fashioned Apple Cider
These two apples just didn’t get eaten. Once they turn soft, no one likes them. But that’s okay. There are many things you can do with soft apples: make applesauce, apple pie or apple cider.
Today these two apples will be turned into hot apple cider that none of us liked!
Did you know that during Colonial Times, fresh water was not so fresh or clean and often wasn’t good to drink. The solution to thirst was apple cider. Sometimes it was even hard apple cider or ale watered down a bit. This and more we learned from the book Great Colonial America Projects You Can Build by Kris Bordessa.
Directions:
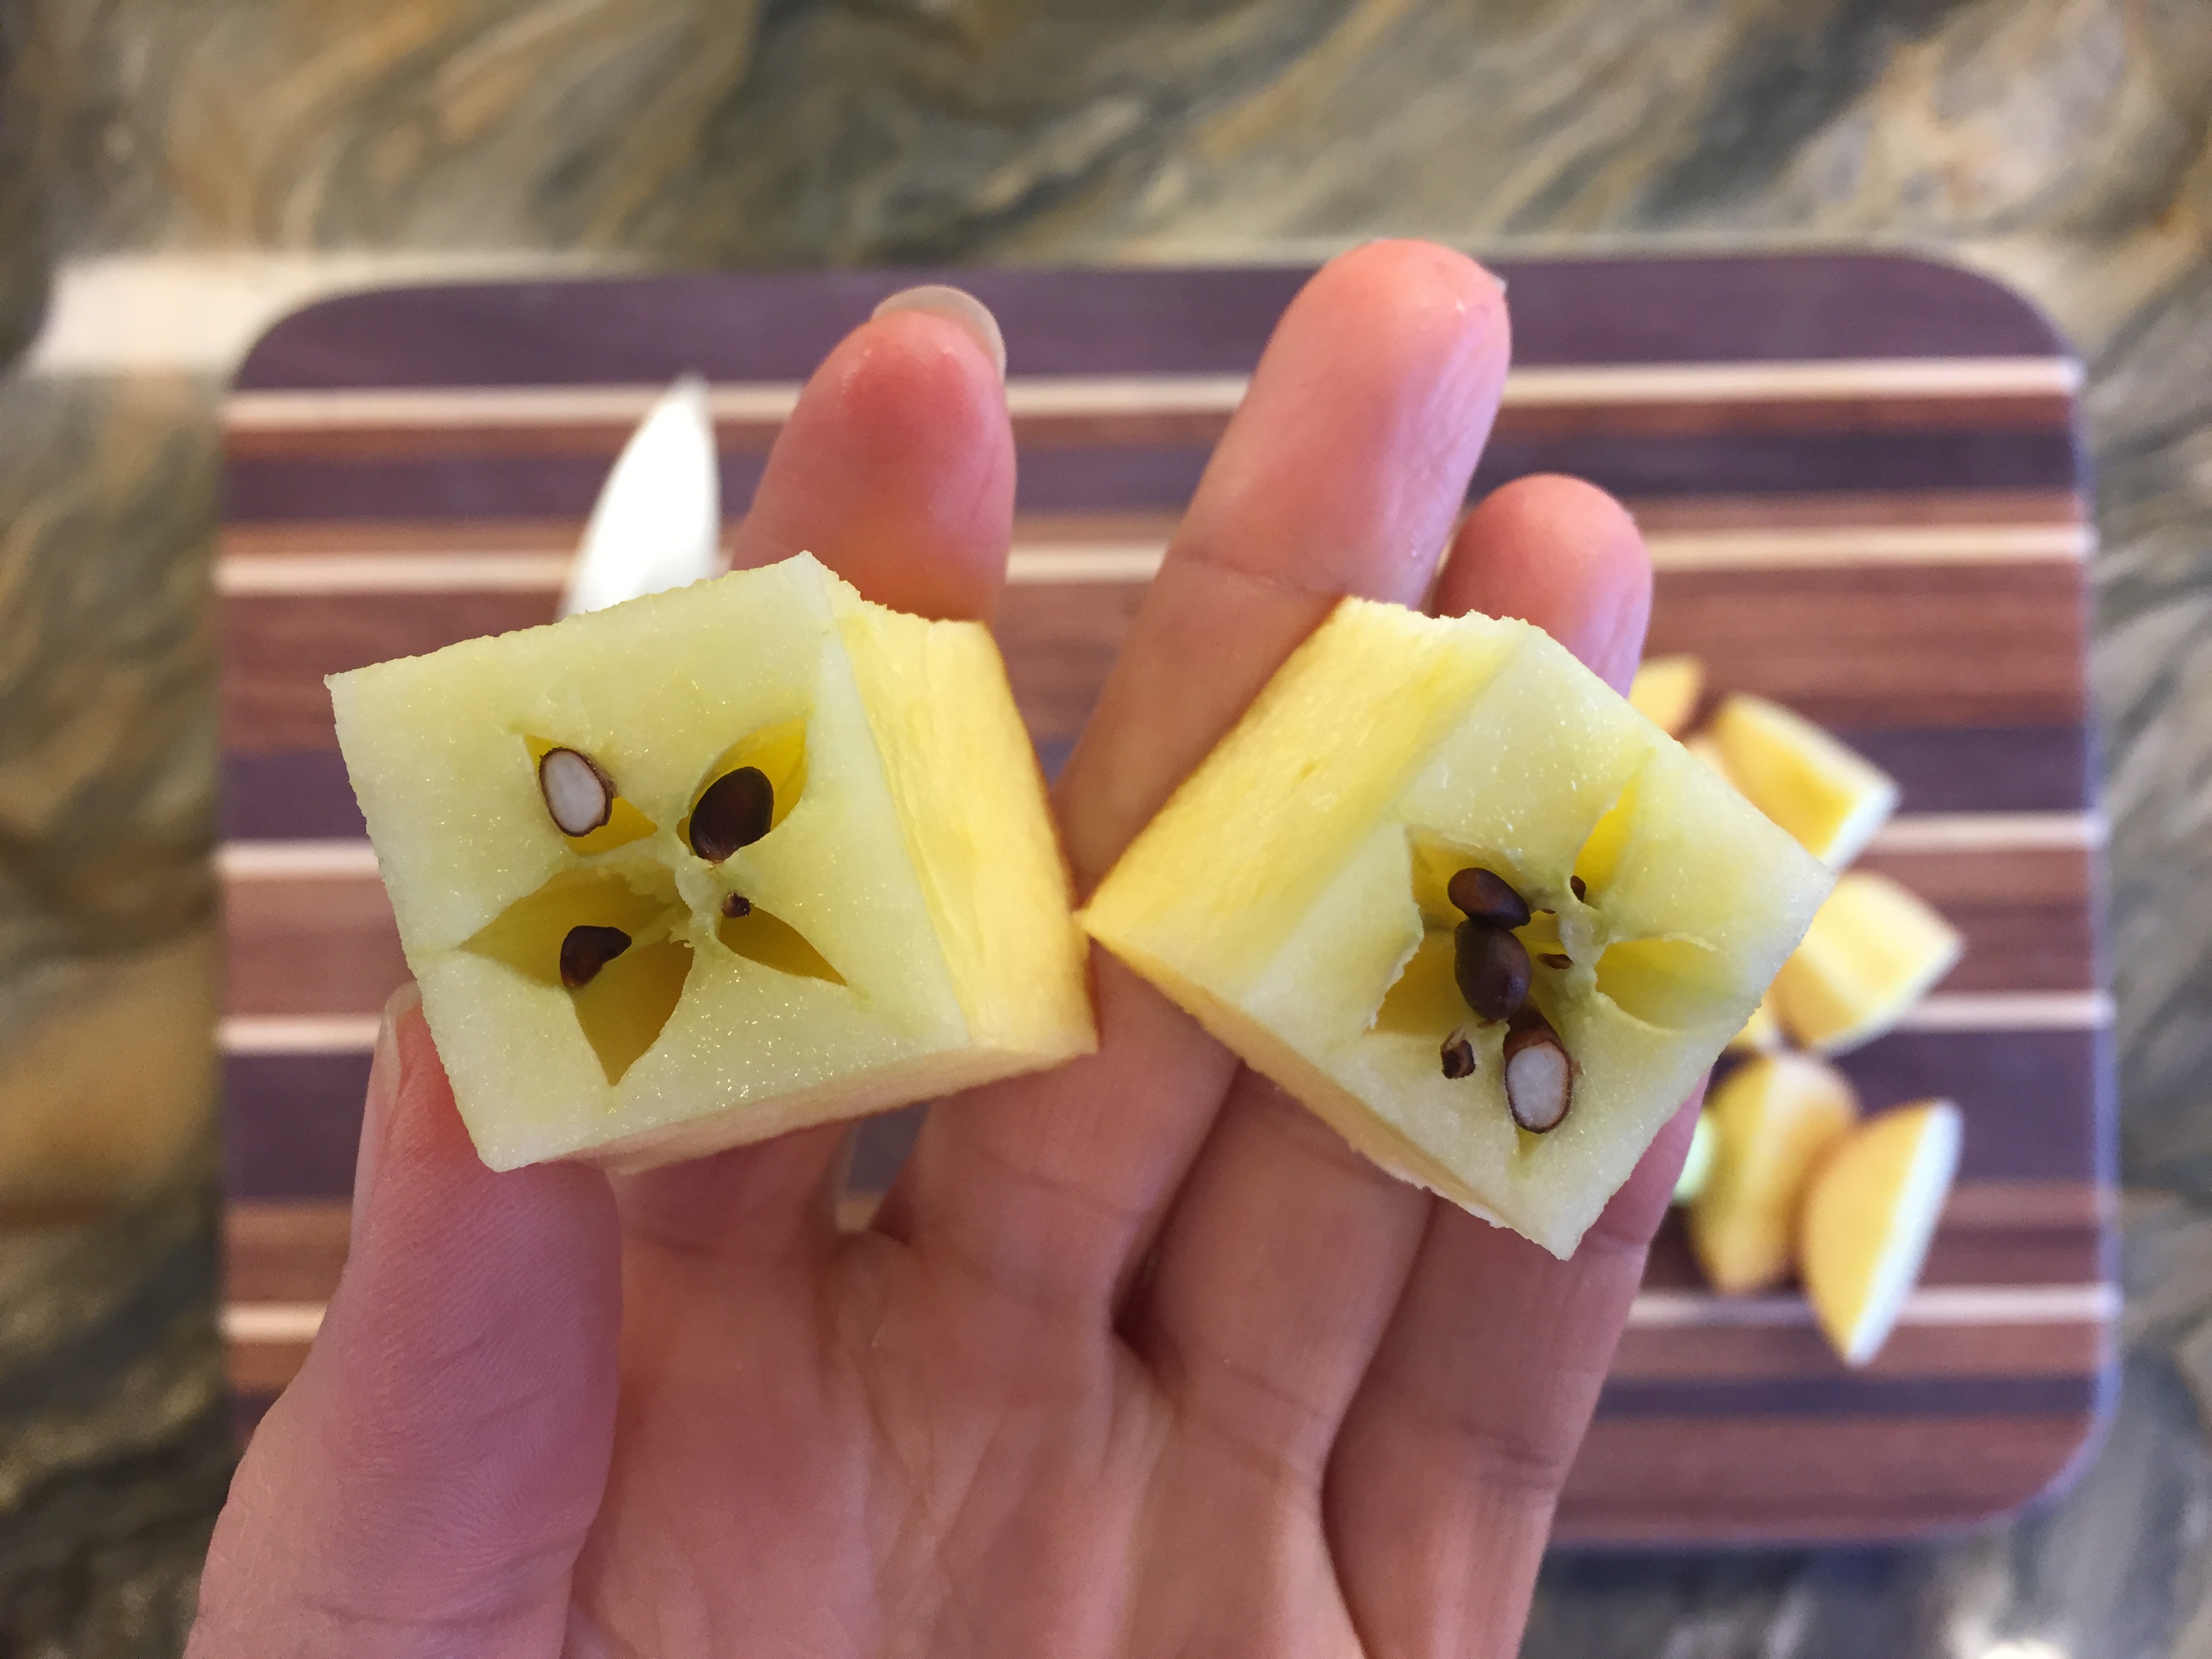
Juice 4-6 apples (reserve pulp for apple sauce)
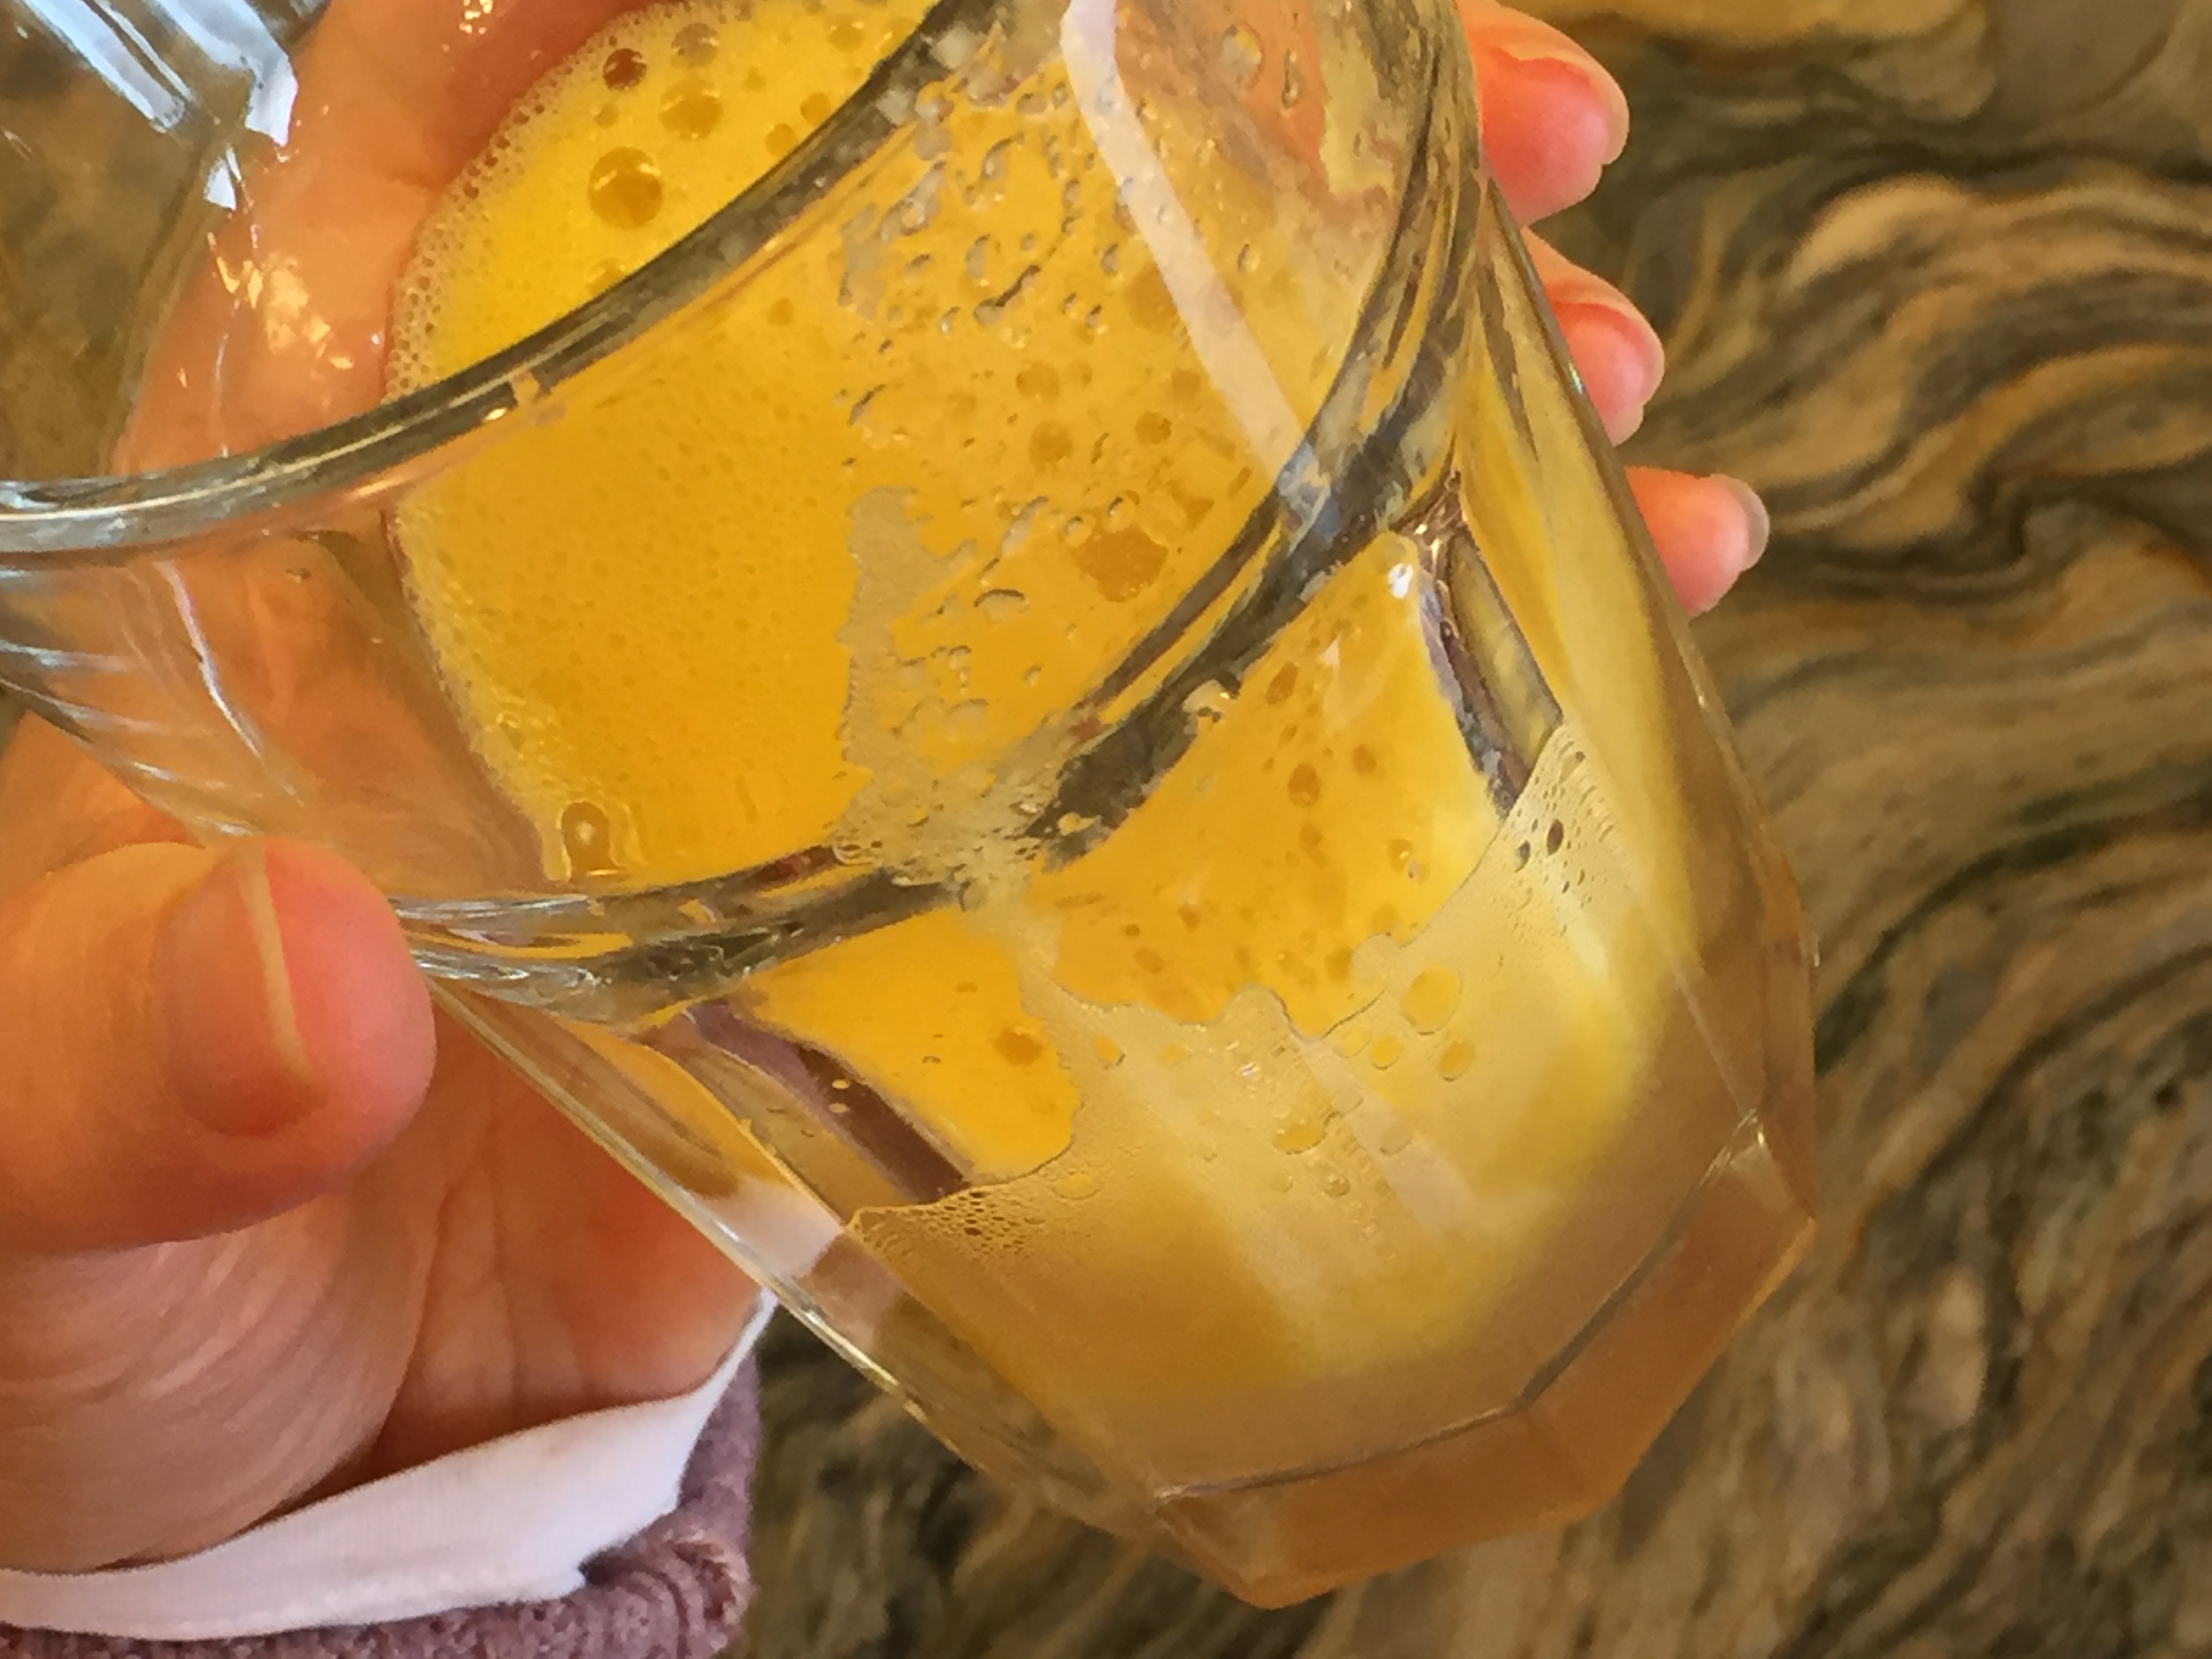
Heat on medium heat
Add a pinch of cinnamon
Enjoy hot!
I think if we try this again, we’ll drink it chilled. None of really cared for it warmed, in fact, we just didn’t like it at all! What about you?
How To Make A Historic Mop
While reading Great Colonial America Projects You Can Build Yourself by Kris Bordessa, we were inspired to do our own version of a Colonial Times mop. The supplies are readily available and affordable and this project took hardly any time at all and produced hardly any mess! This project accompanies our American History unit.
DIY Mop:
supplies: a dowel measuring at least 18-24 inches, several yards of rope (thicker than baker’s twine). I used 2 yards, but it wasn’t enough. I’d say at least 4 yards would suffice. 1-2 zip ties (clear if possible, though I used black and then covered it with baker’s twine), a pair of scissors.
Directions: loop rope to diresed length (8 inches is pretty good). Keep it looped, don’t cut it. Nestle dowel between looped rope and secure with a zip tie. Repeat for thicker mop. That’s it!
This mop actually works; try it out! Tag me on Instagram when you do! And use the hashtag #pepperandpine
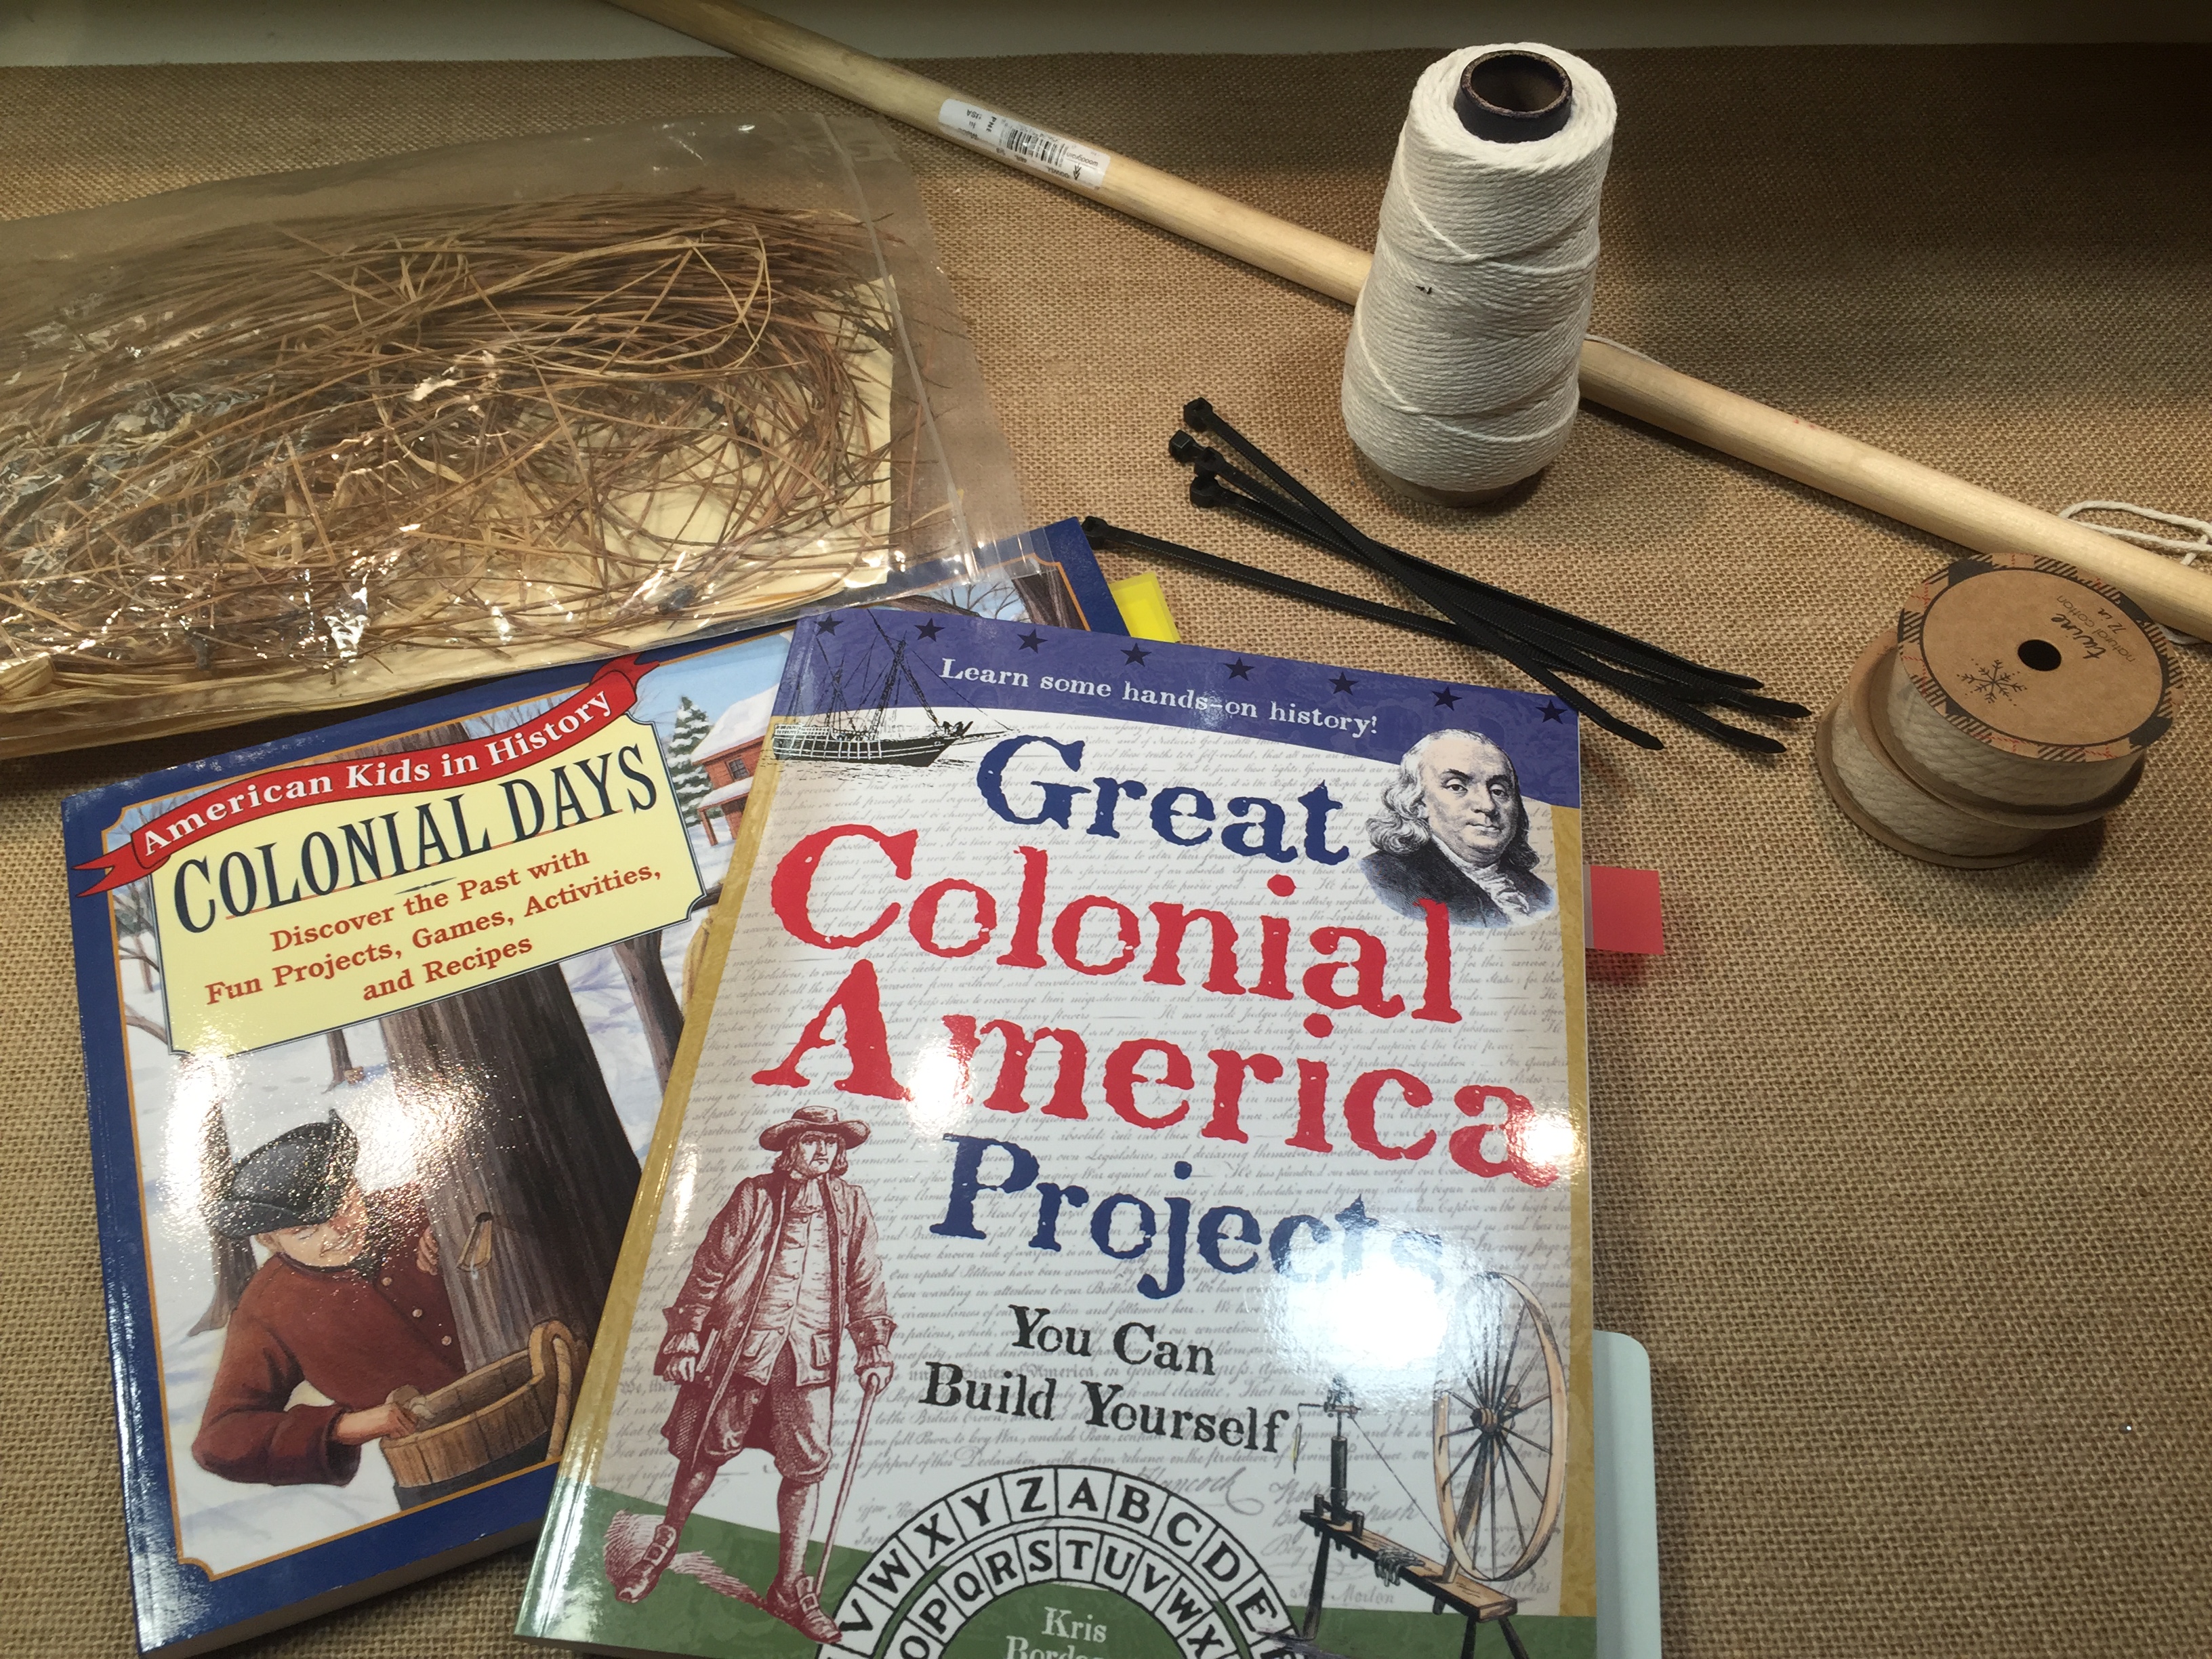

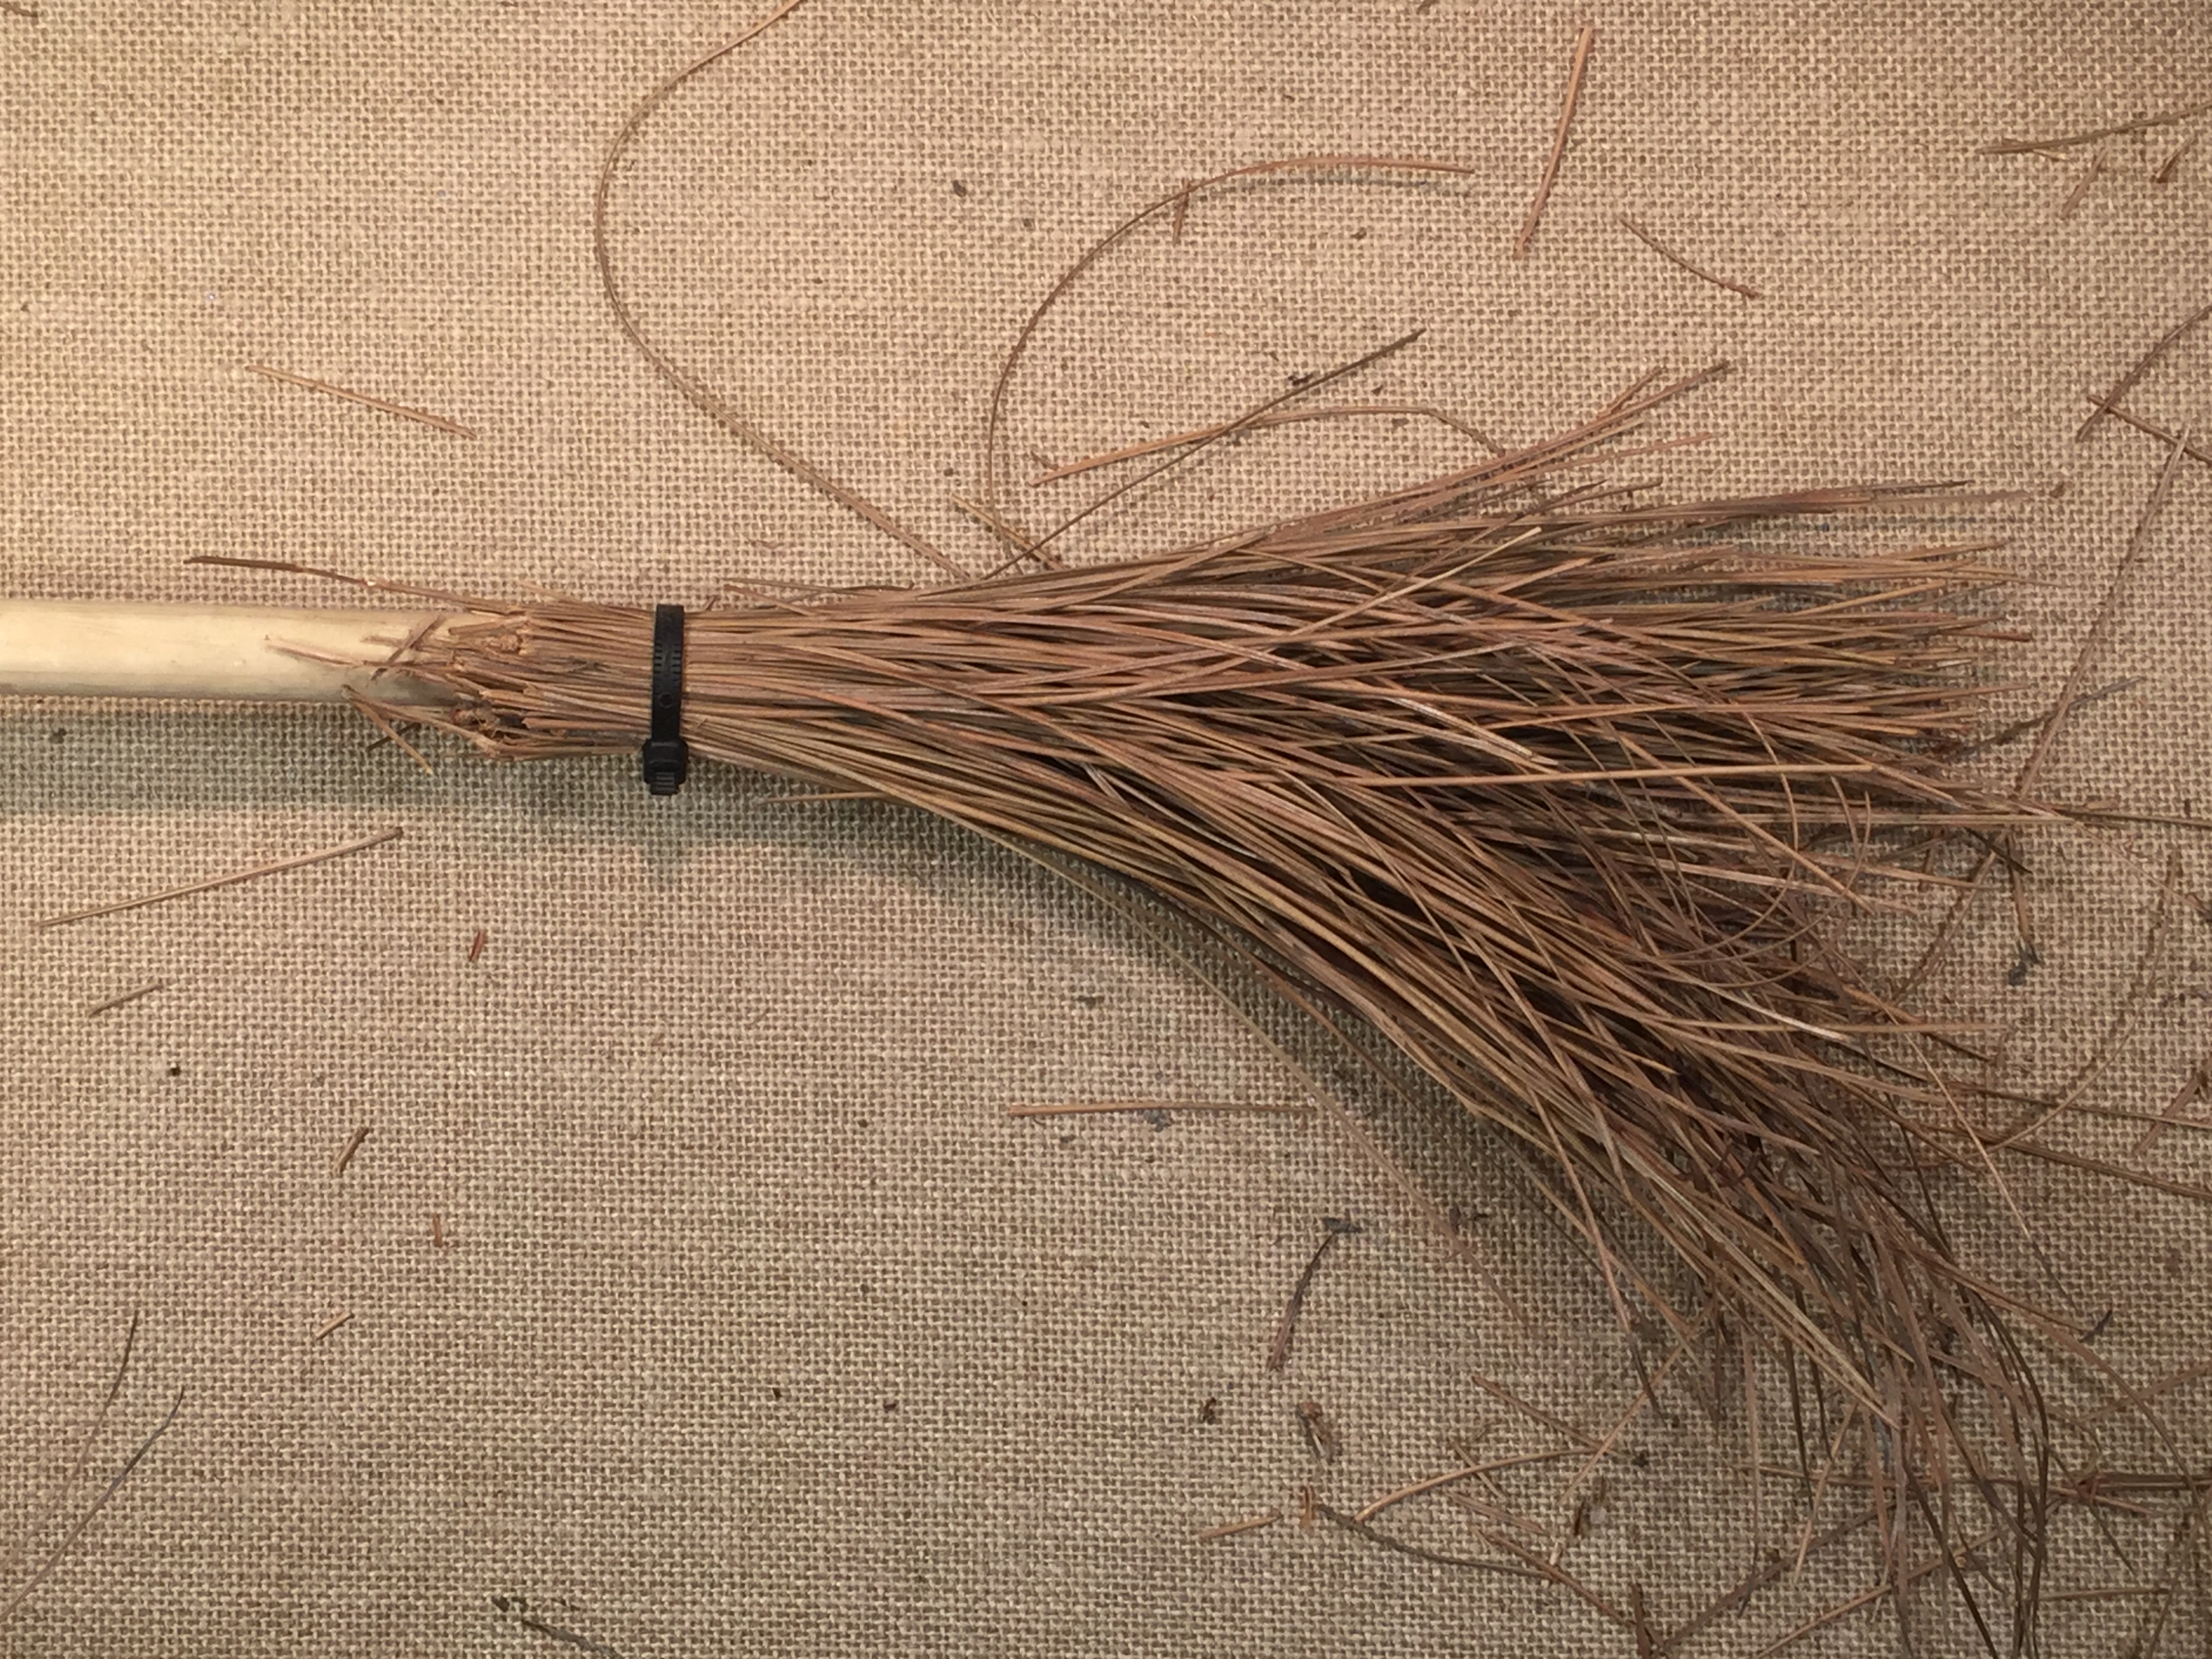
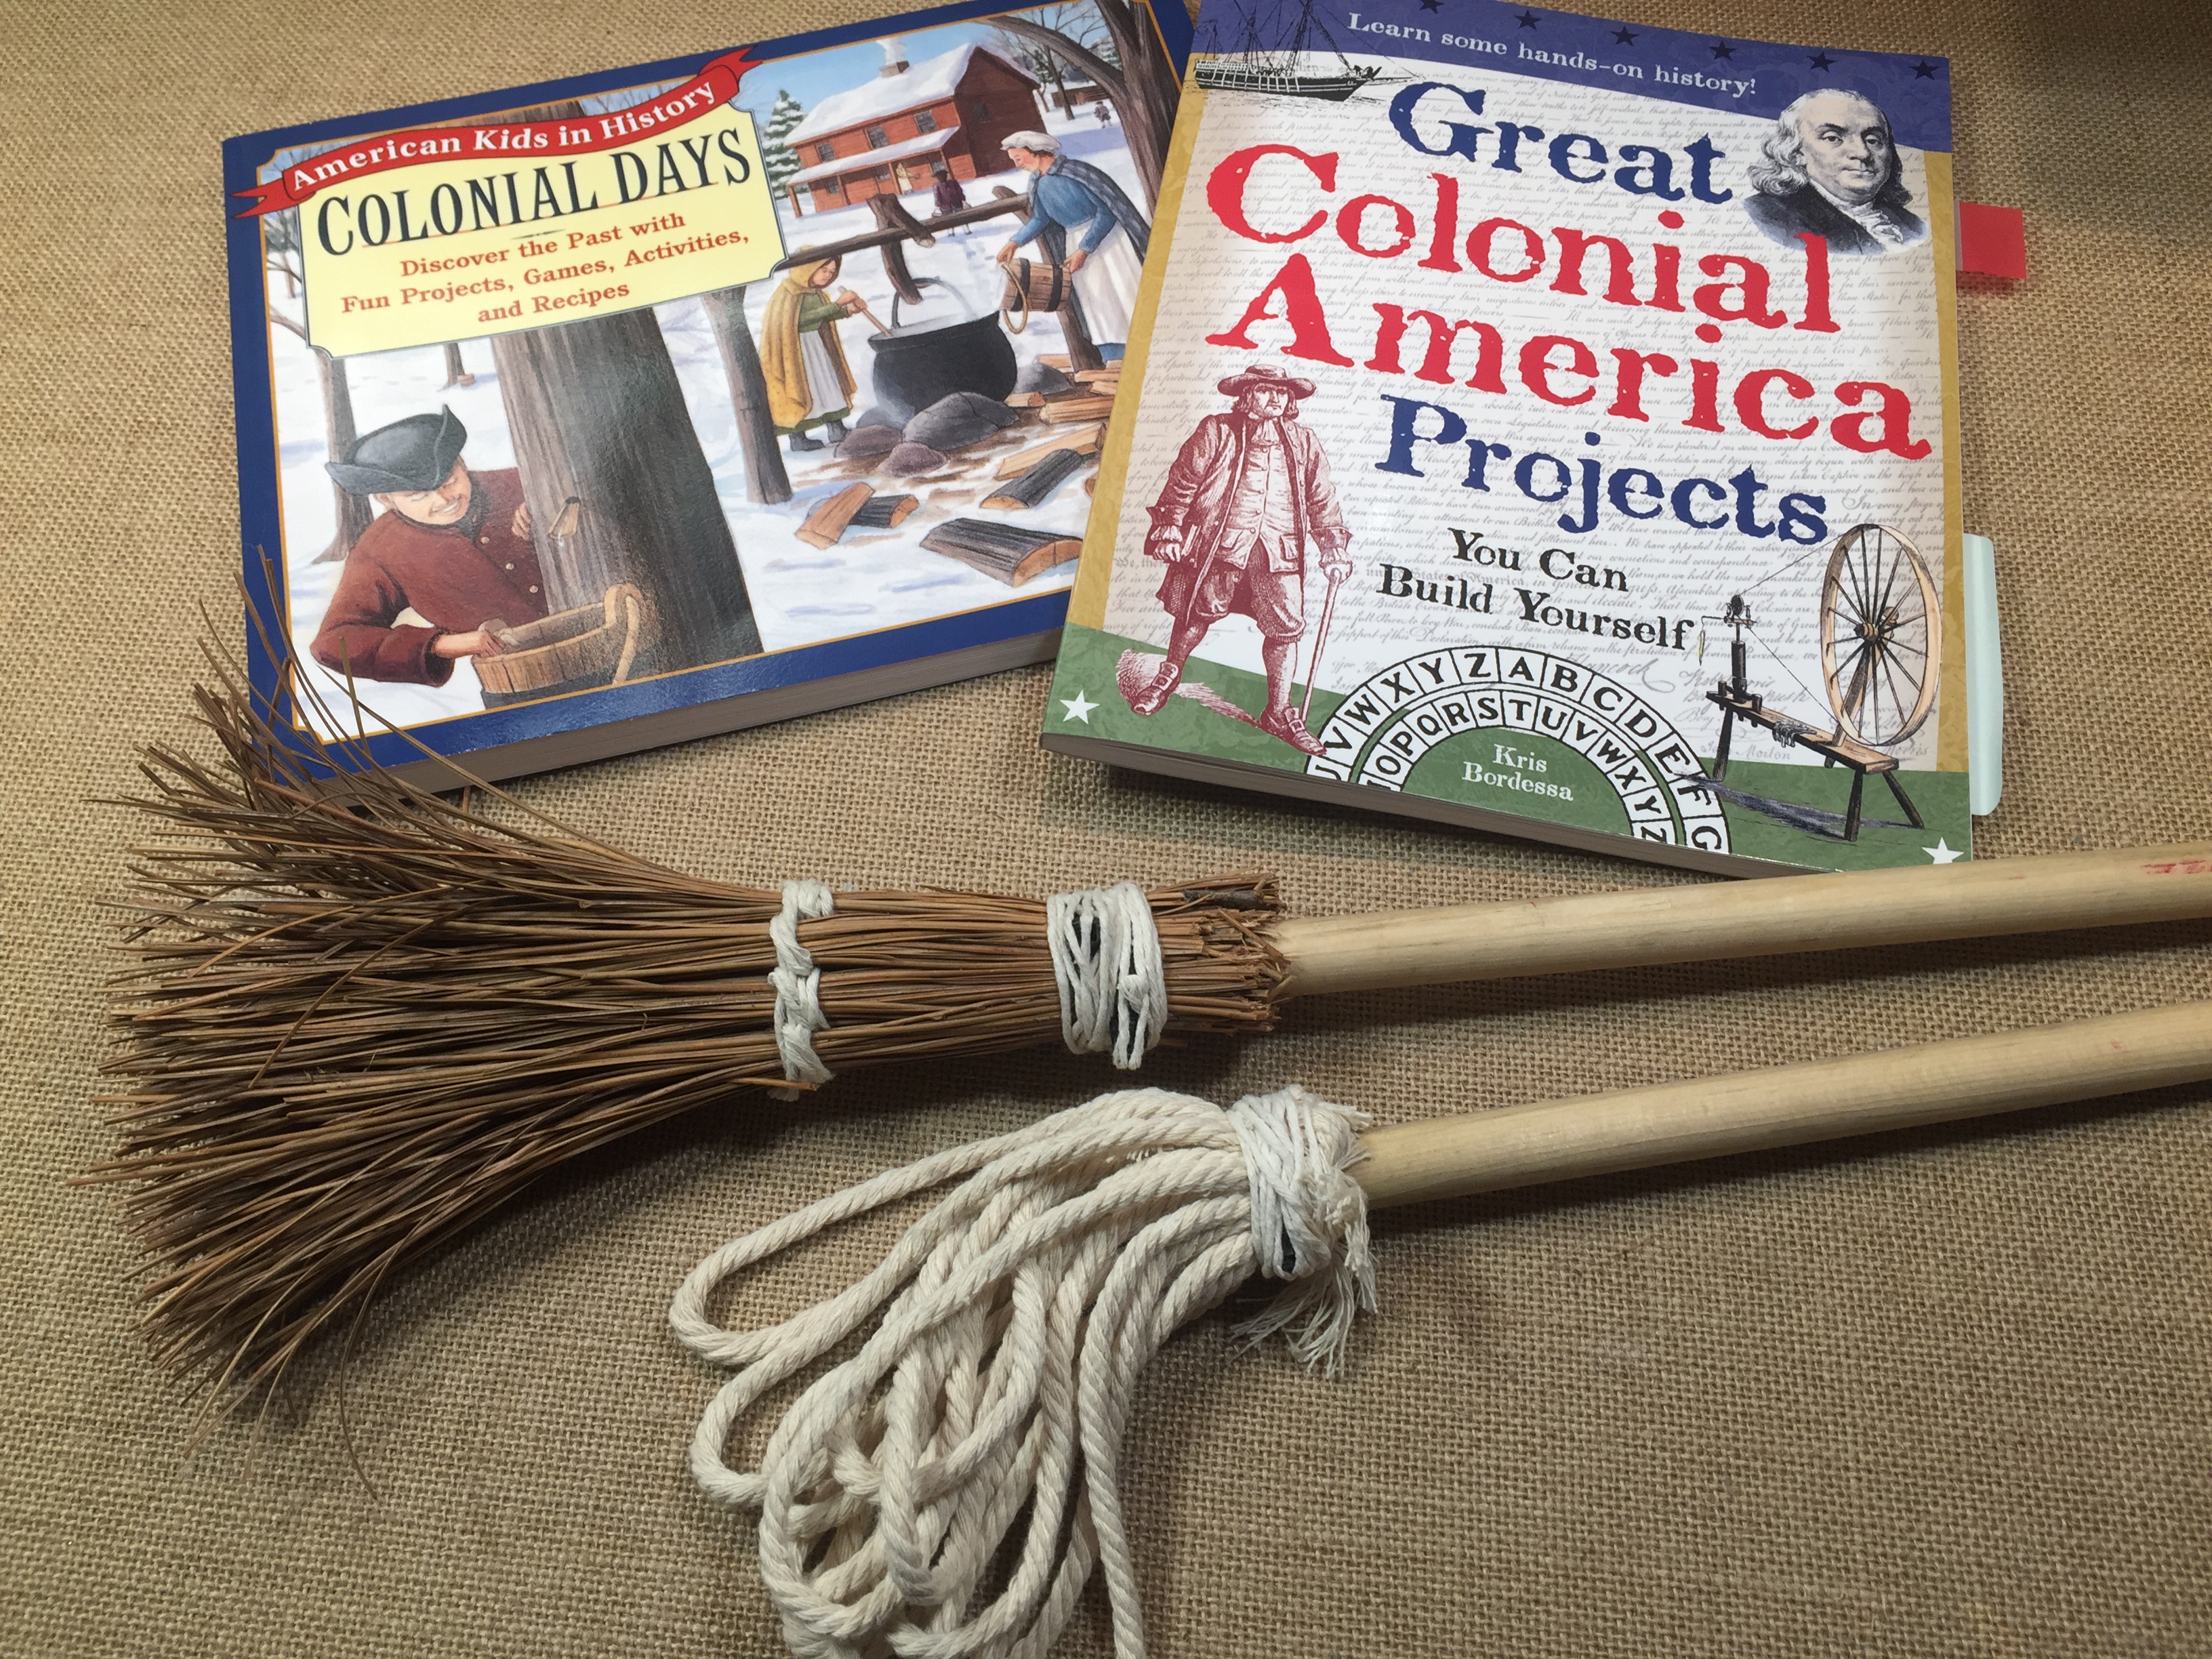
How To Make A Historic Broom
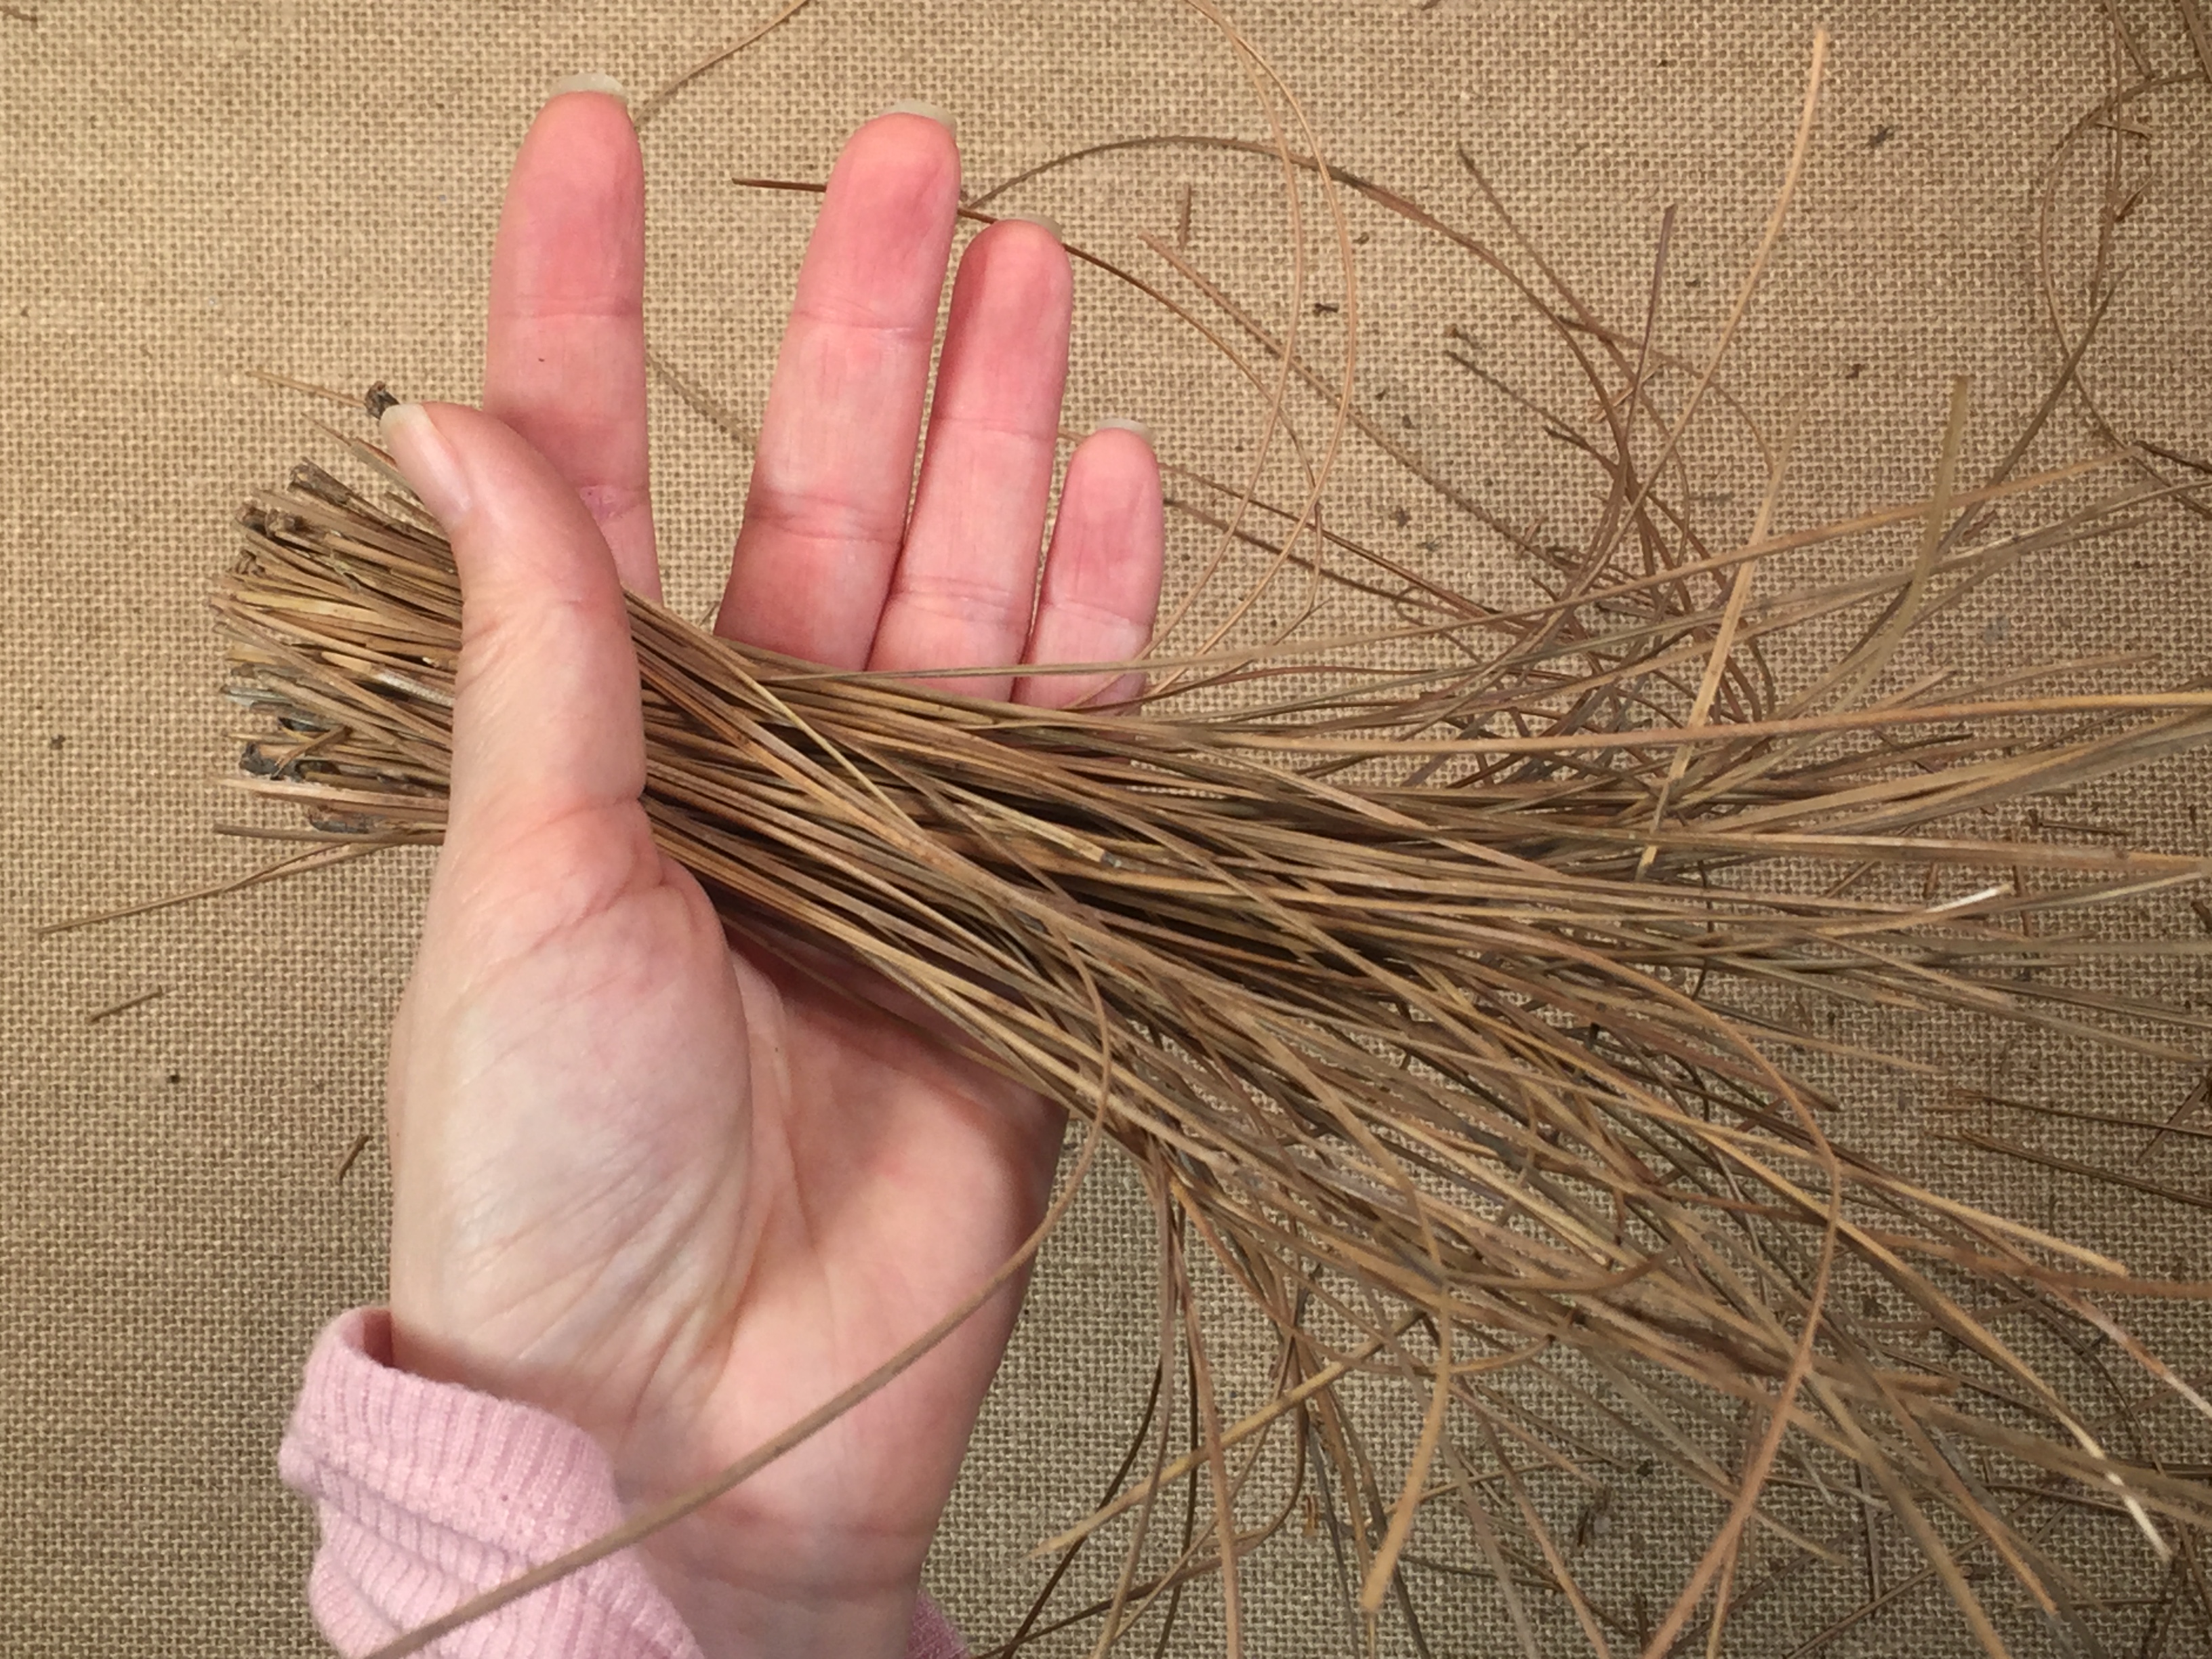
While working on our history units, we decided to make a child’s sized broom. We found inspiration for this project from Kris Bordessa’s book Great Colonial America Projects You Can Build Yourself. Though ours was more complicated than the book, it was actually really simple. You will need to assist your child if he wants to help, but this is a very quick project you can do in less than a half hour. We actually had intended to just make a mop inspired by a child’s mop my 5 year old has, but then our handmade “Harry Potter-esque” broom caught our eye and we thought we could do both! The kids and I are very pleased with the way both turned out and they actually work!
Here are a few tips that can help you if you wish to do these projects. First, look for long pine needles for the broom. You can also use straw, stiff grasses or thin twigs as well. We don’t have long pine needles where we live; they are all quite short, but I did have some left over from a basket weaving kit. We used those, but if you were do this, I’d suggest using more than what we had. We used a tight handful bundle.
Materials:
5/8 or 1/2 inch dowel (18-36 inches long)
Two bundles of straw/hay or pine needles (more the better)
2-4 clear colored zip ties
2-3 yards of baker’s twine or hemp twine
Twine needle
Directions:
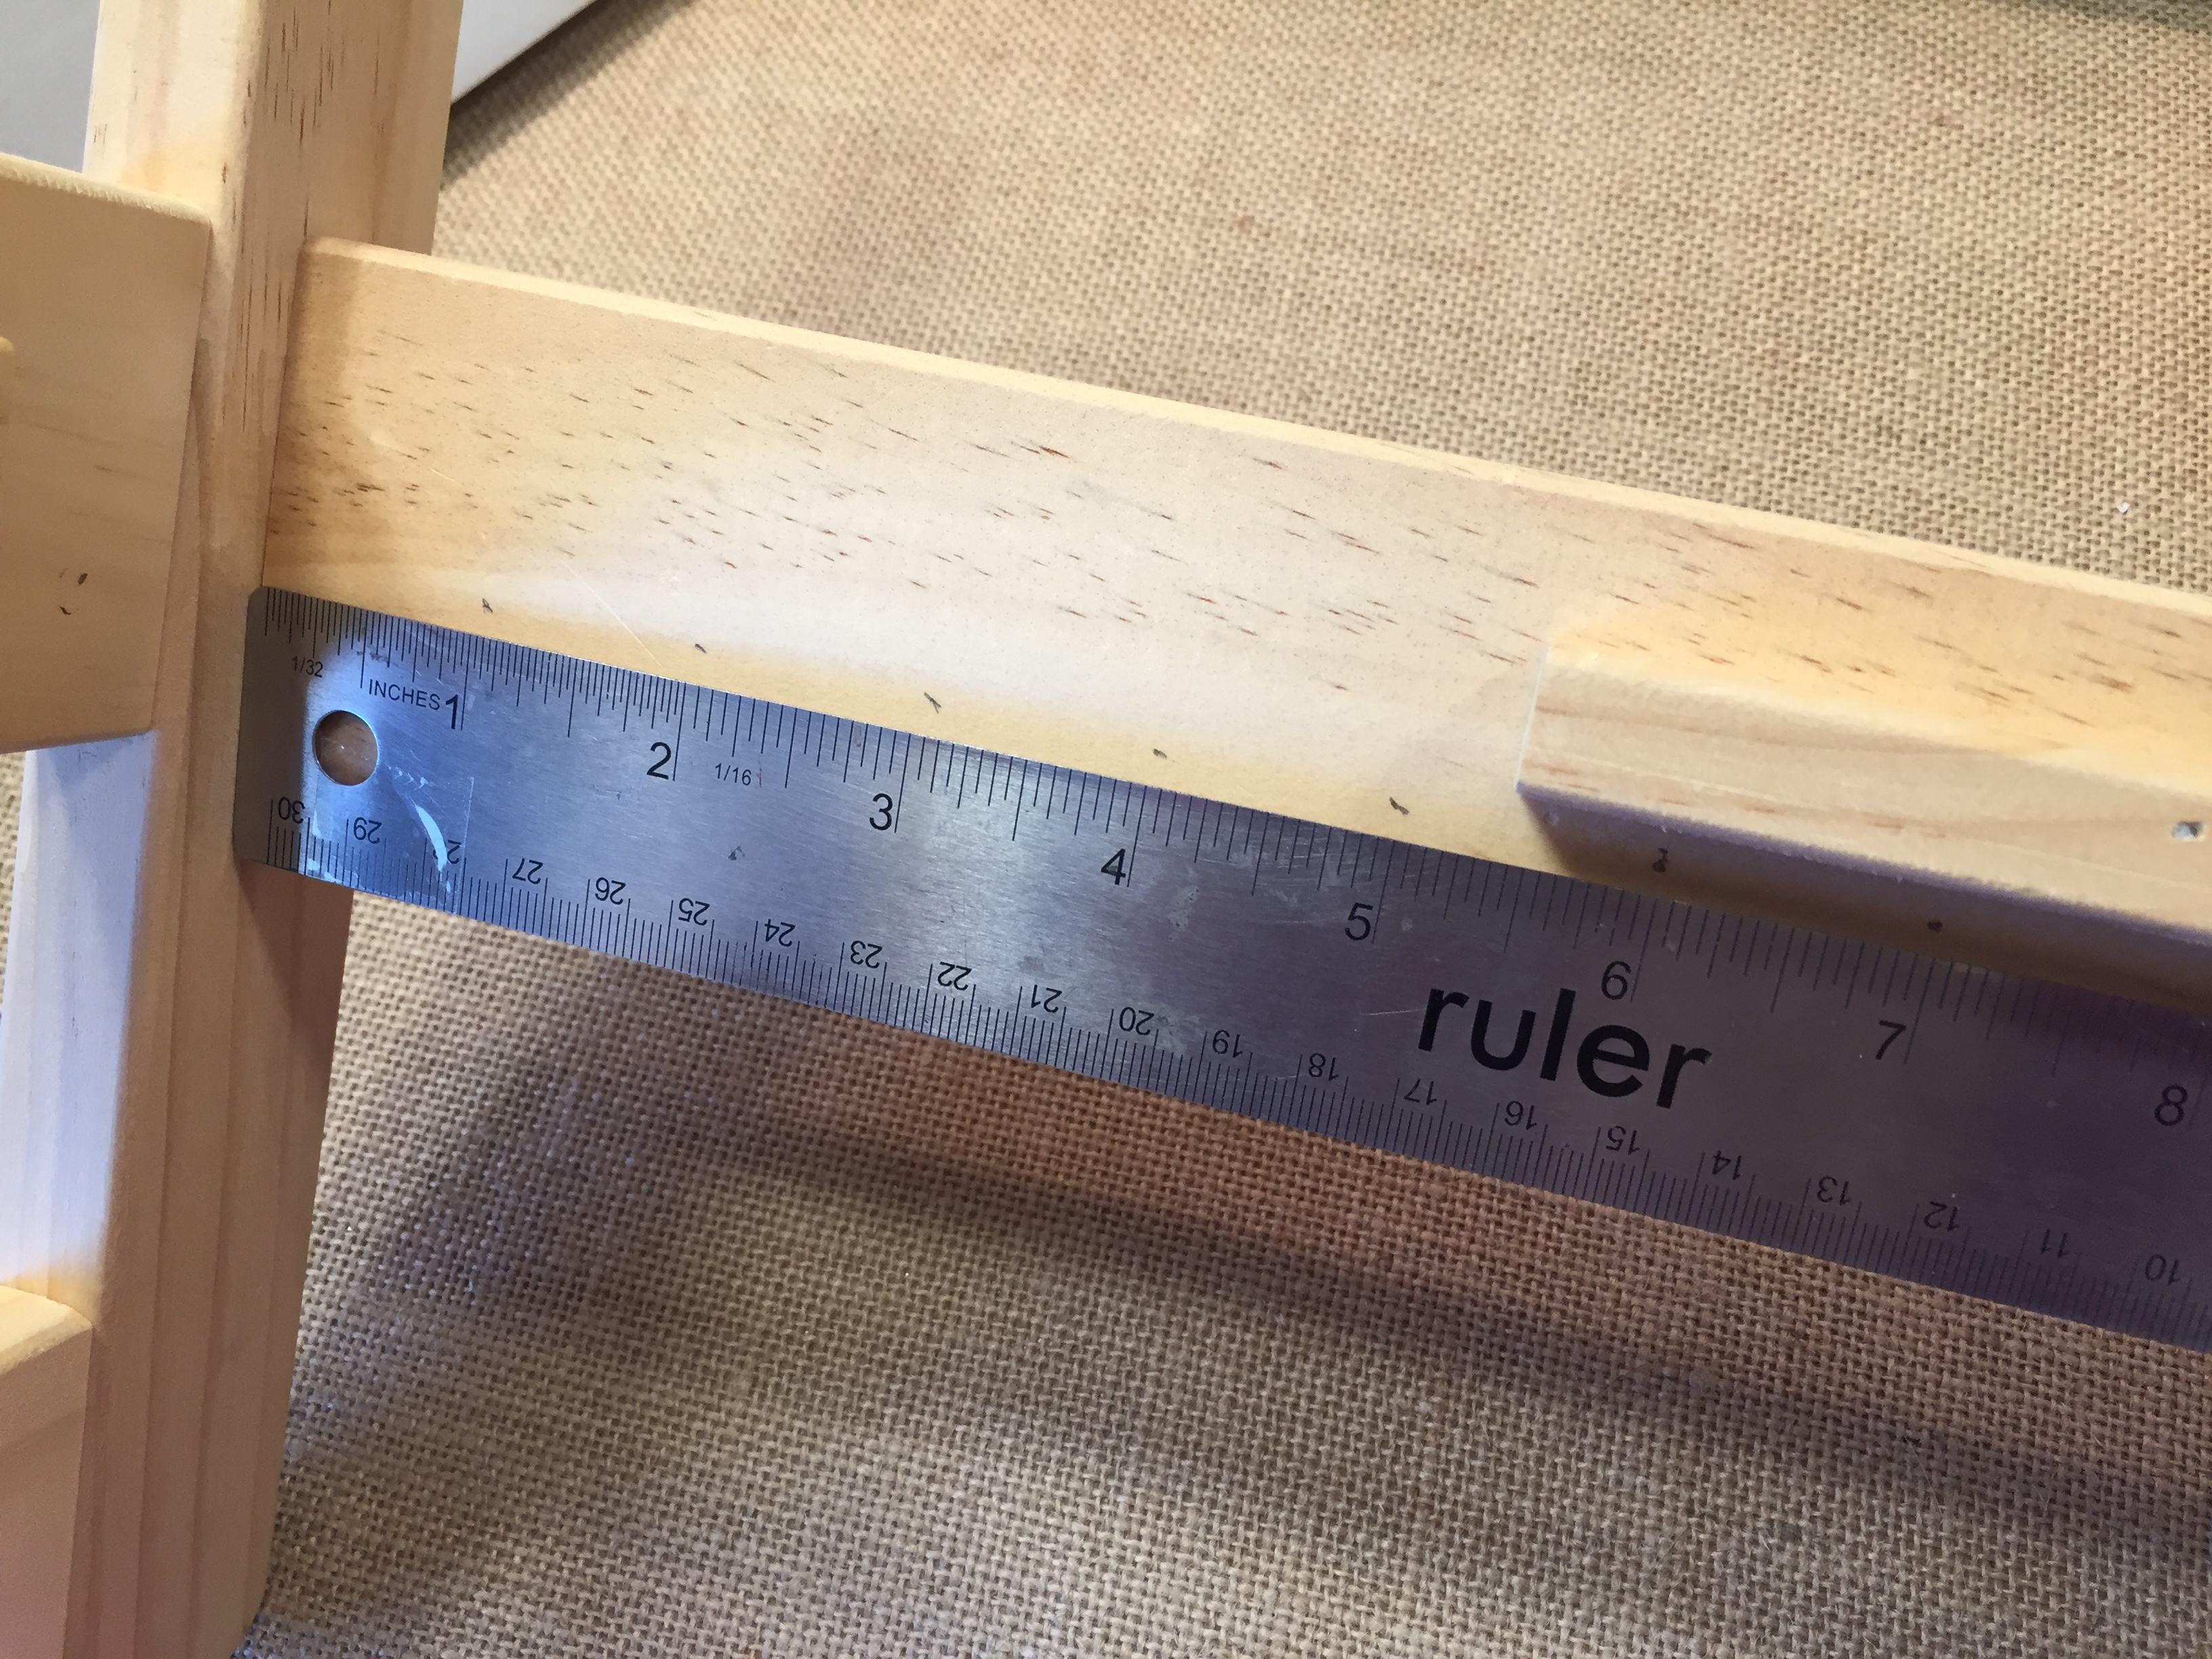
Cut a 5/8 or 1/2 inch dowel to desired height. We chose 18 inches because our dowel was 36 inches, and we only bought one thinking we were just going to make the mop. About 24 inches would be a good height for a child.
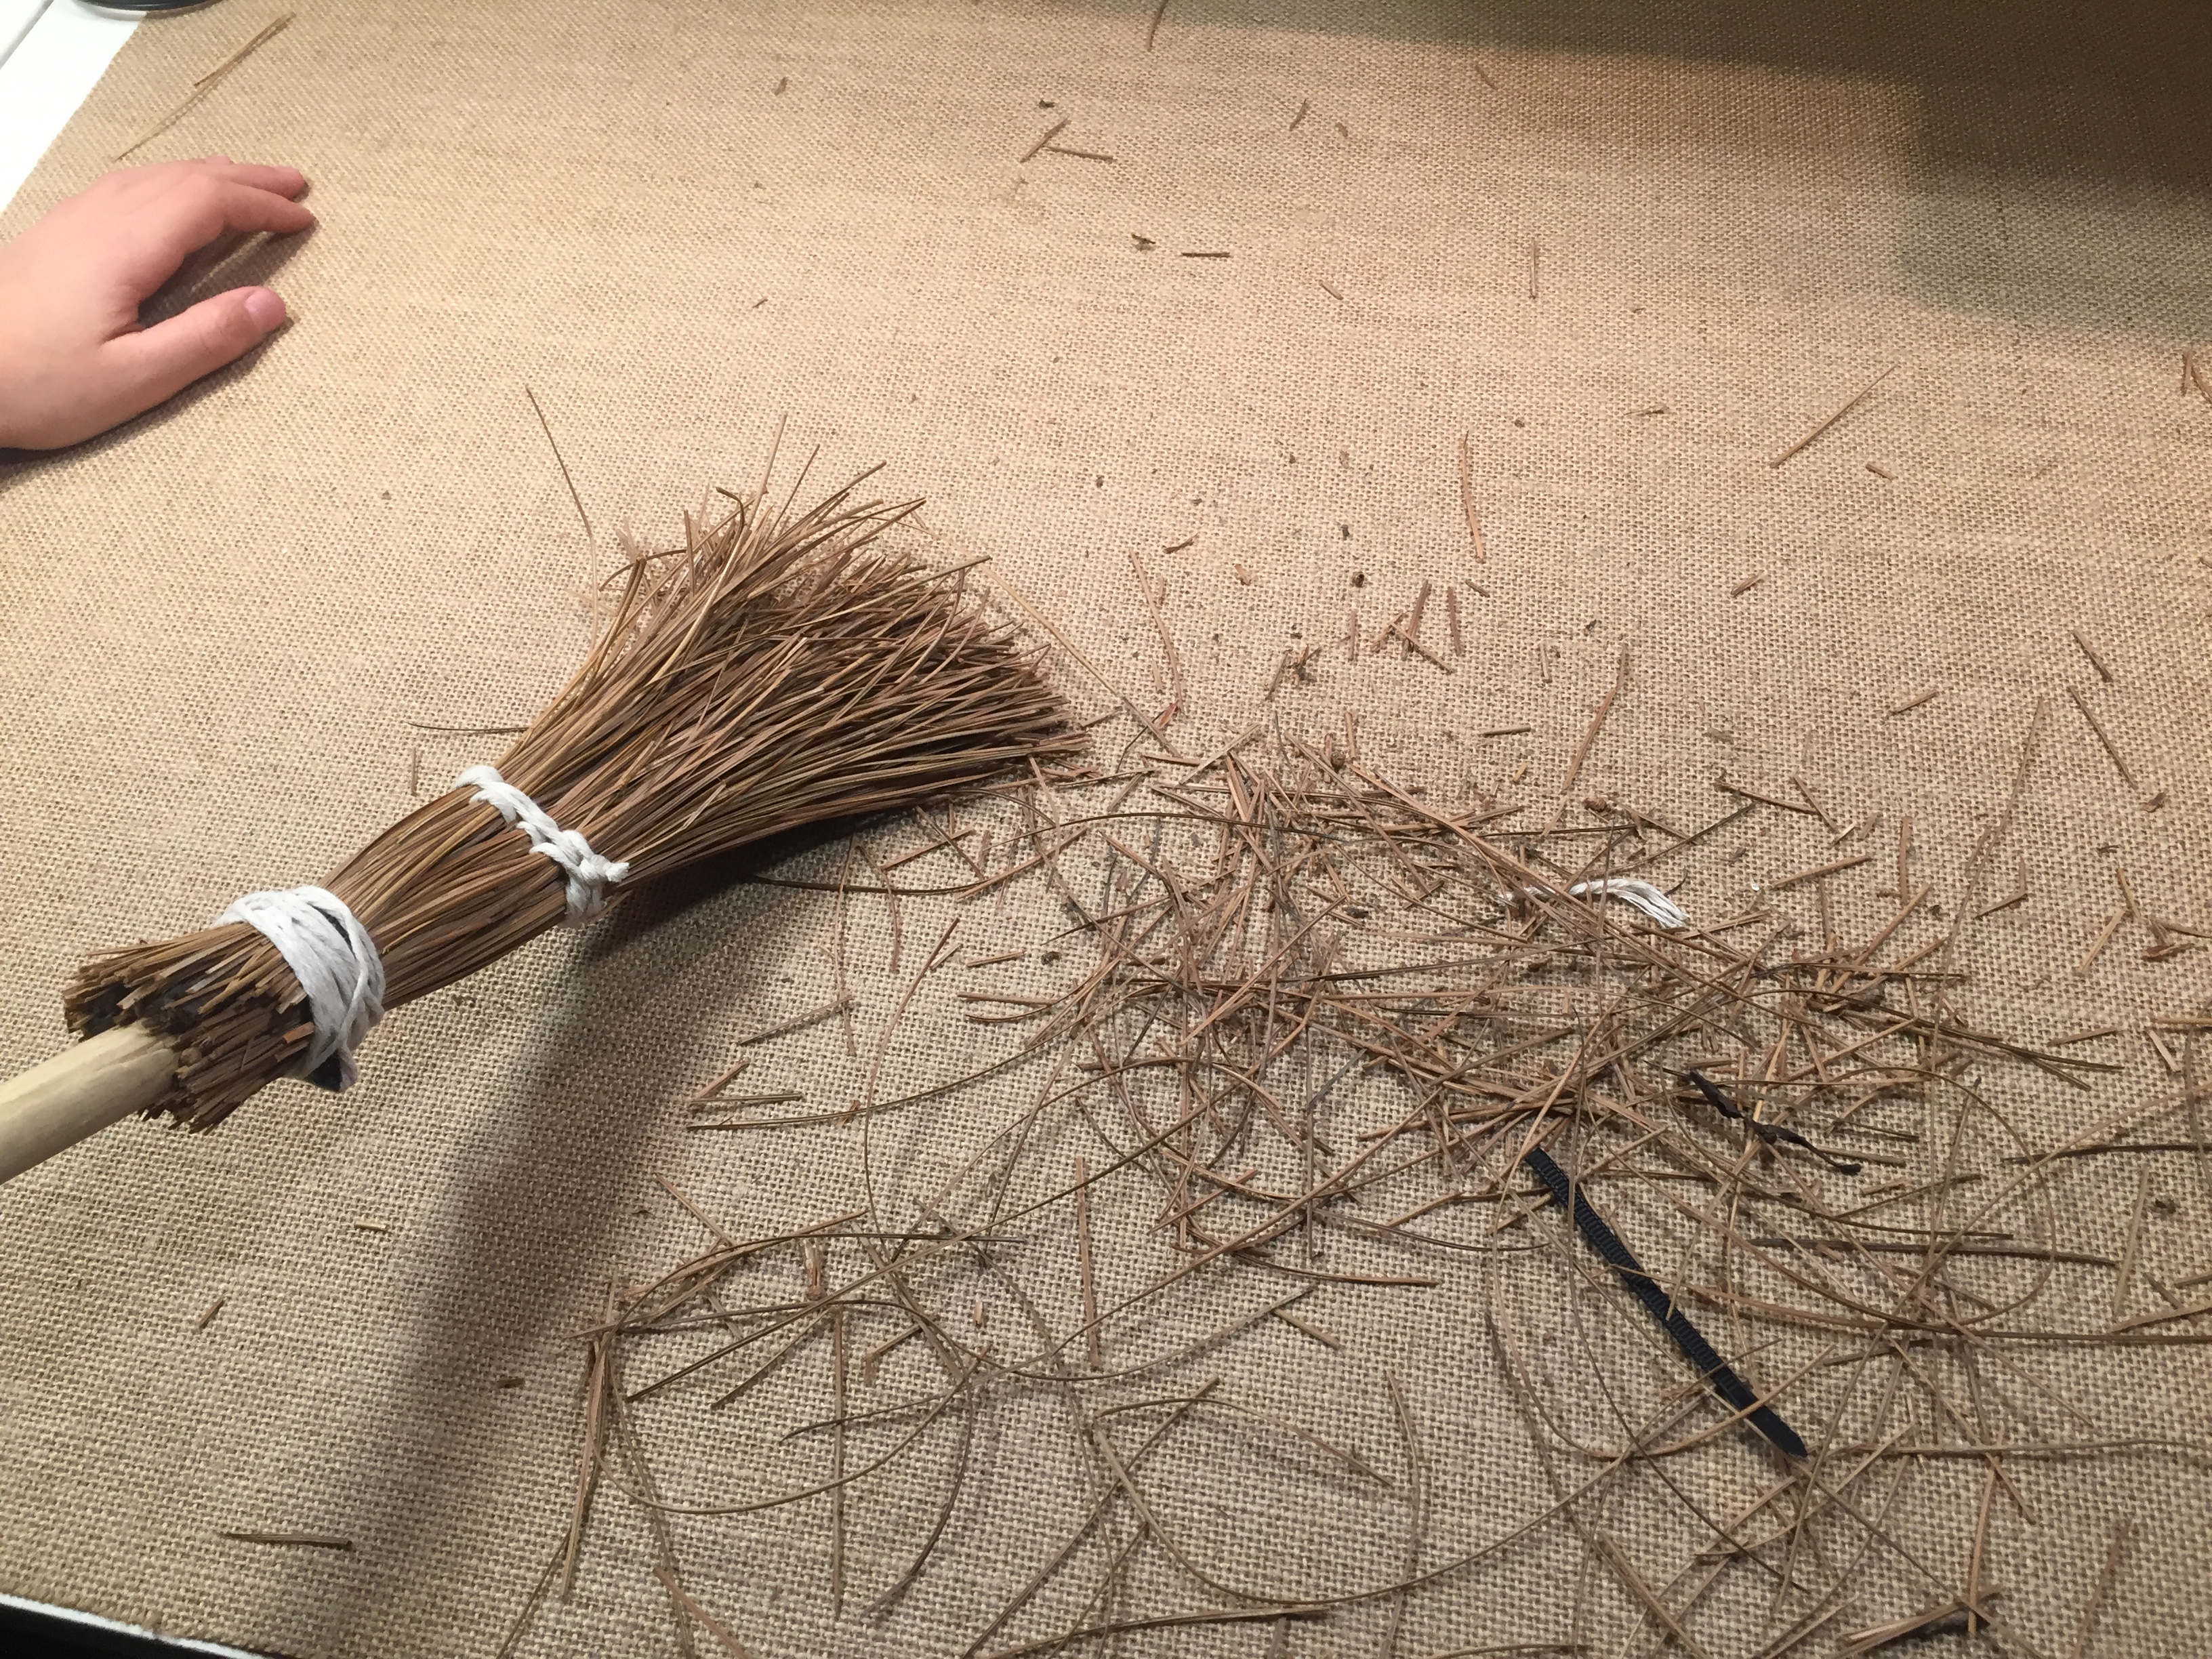
Holding a bundle of straw or pine needles, nestle the dowel in your hand while gentle wrapping the pine needles around. Secure it with a zip tie. Repeat to make the broom thicker. Add the zip tie above or below where the other zip tie already is. Tighten as best you can.
Thread your twine. Sew your pine needles 1/4 and 1/2 to keep them together. Cover your zip ties with twine. Trim the pine needles for a straight cut.
You can check out other projects we are doing for our American History unit, and see how we incorporate activity books into our curriculum.
If you try this or any other project inspired by one of my tutorials, don’t forget to share it with me on Instagram and use the hashtag #pepperandpine! I love to see what you come up. I’m always so impressed!!
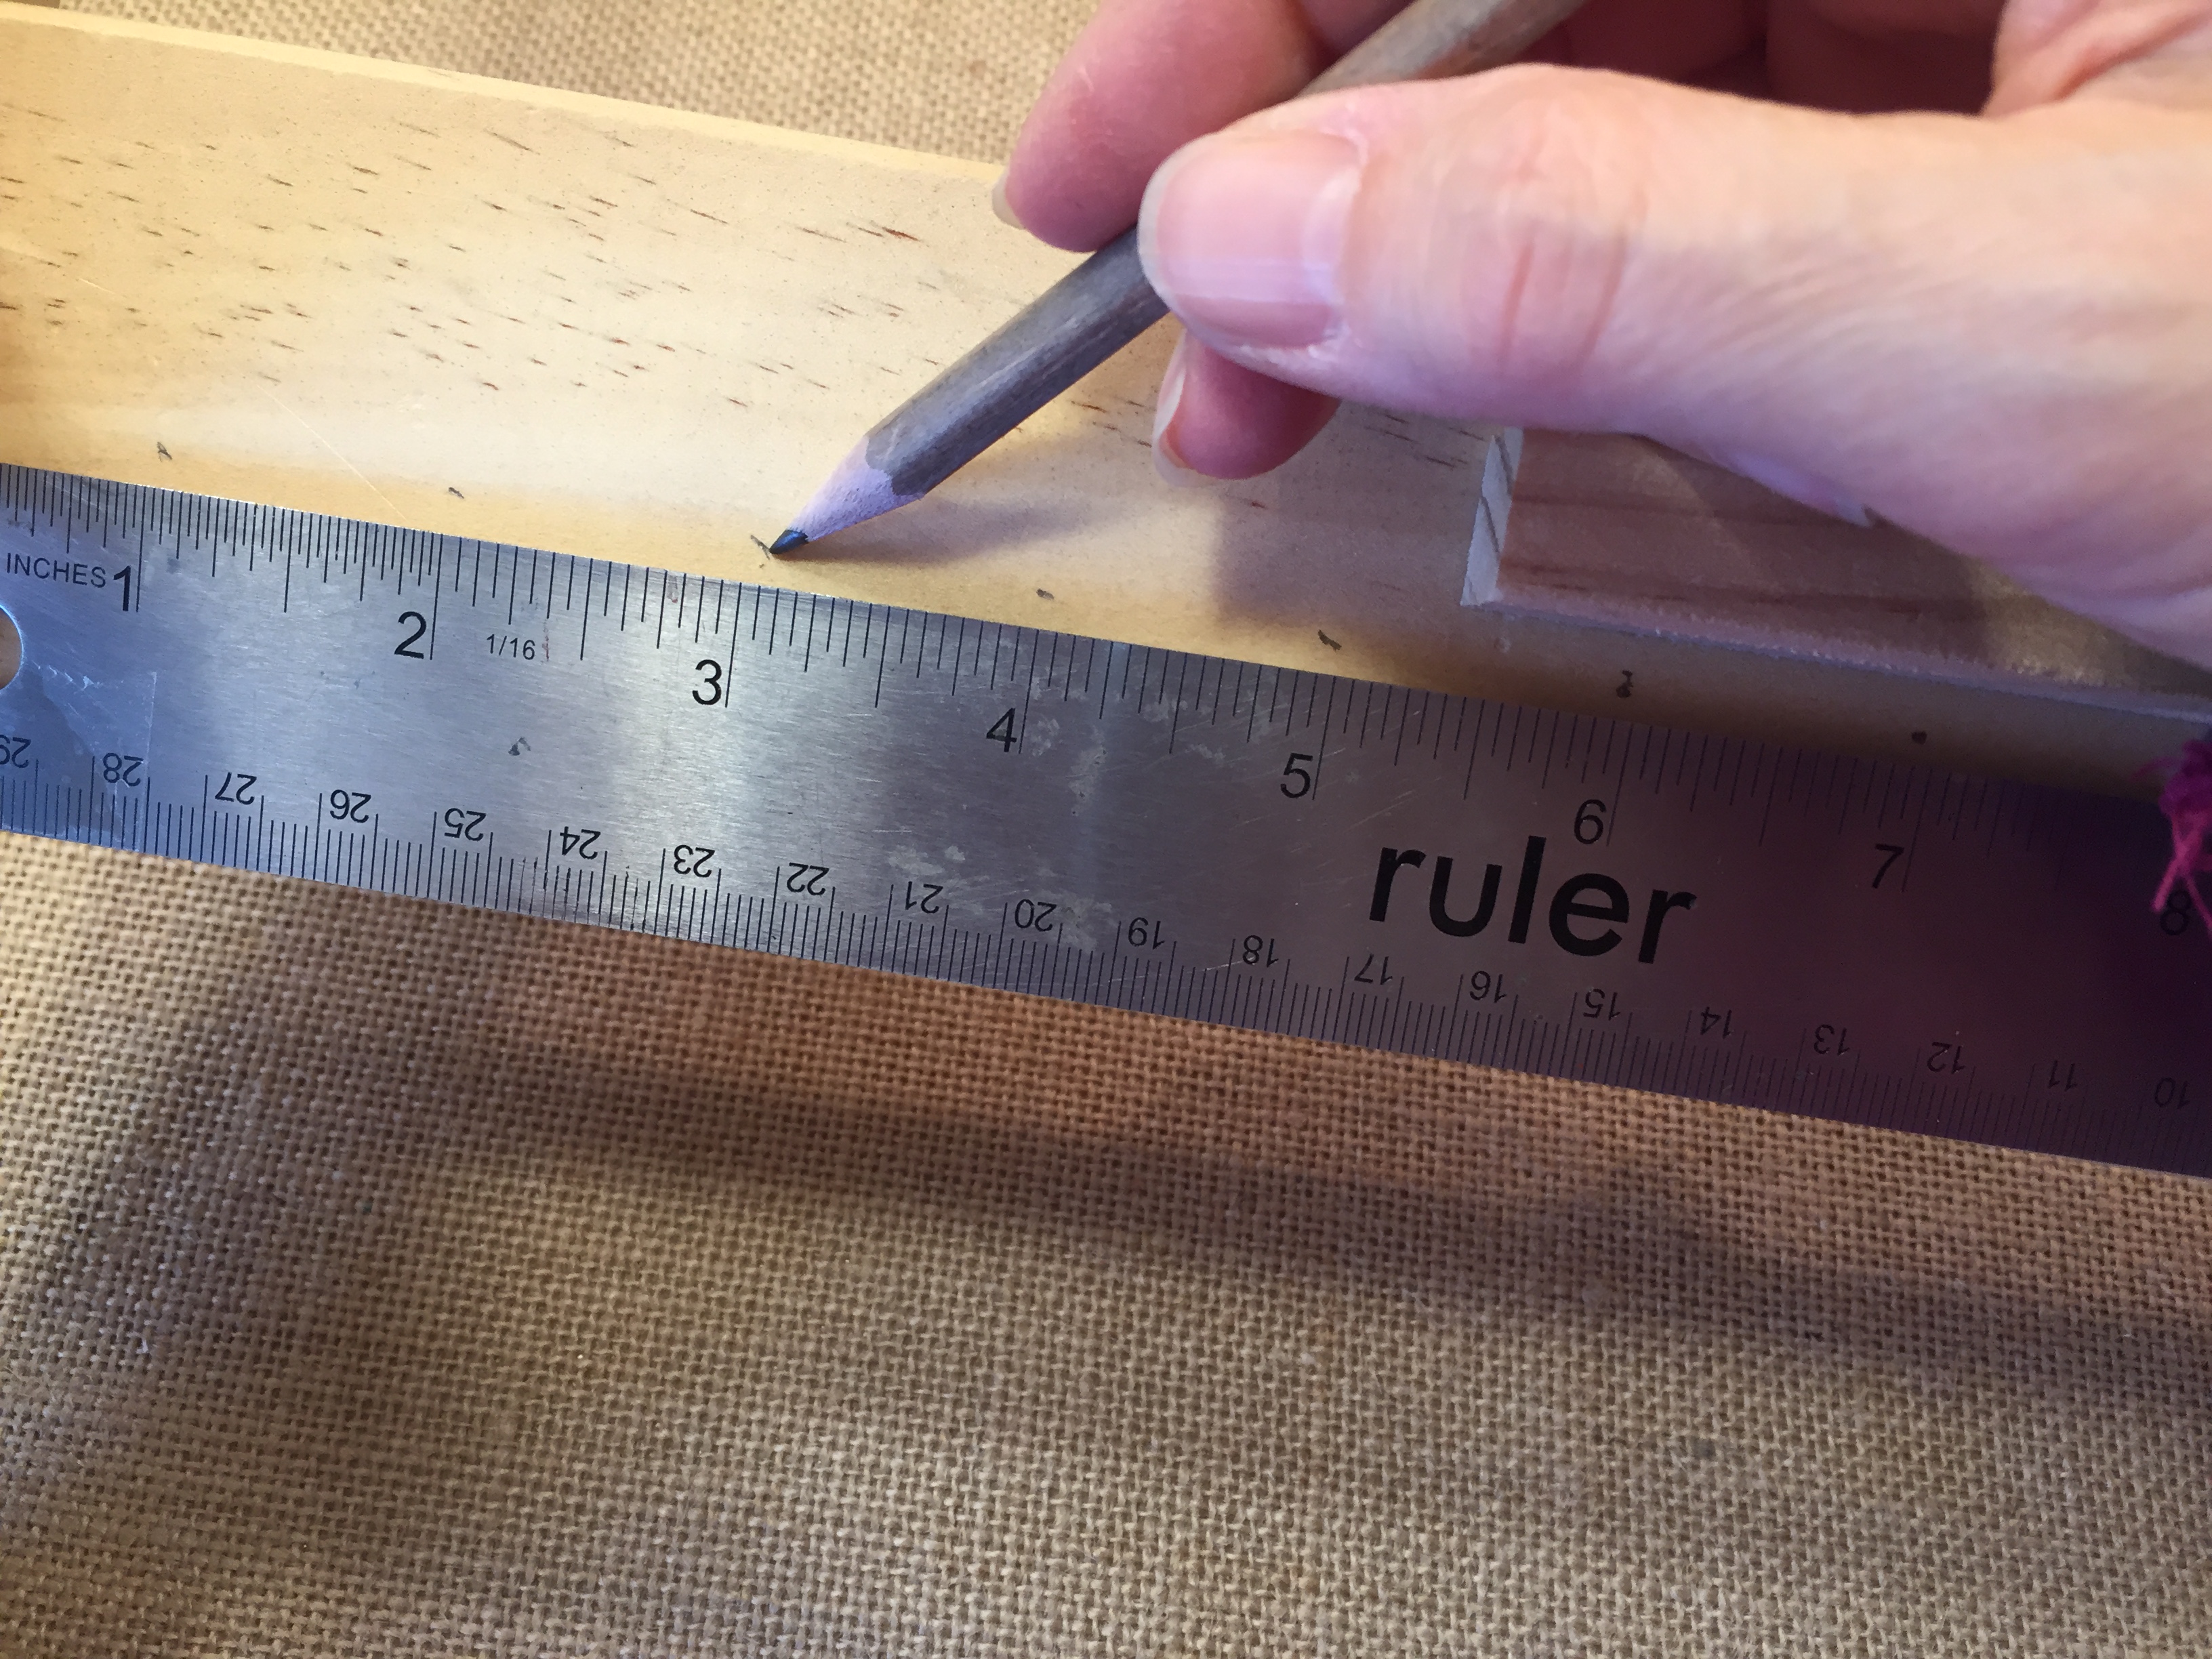
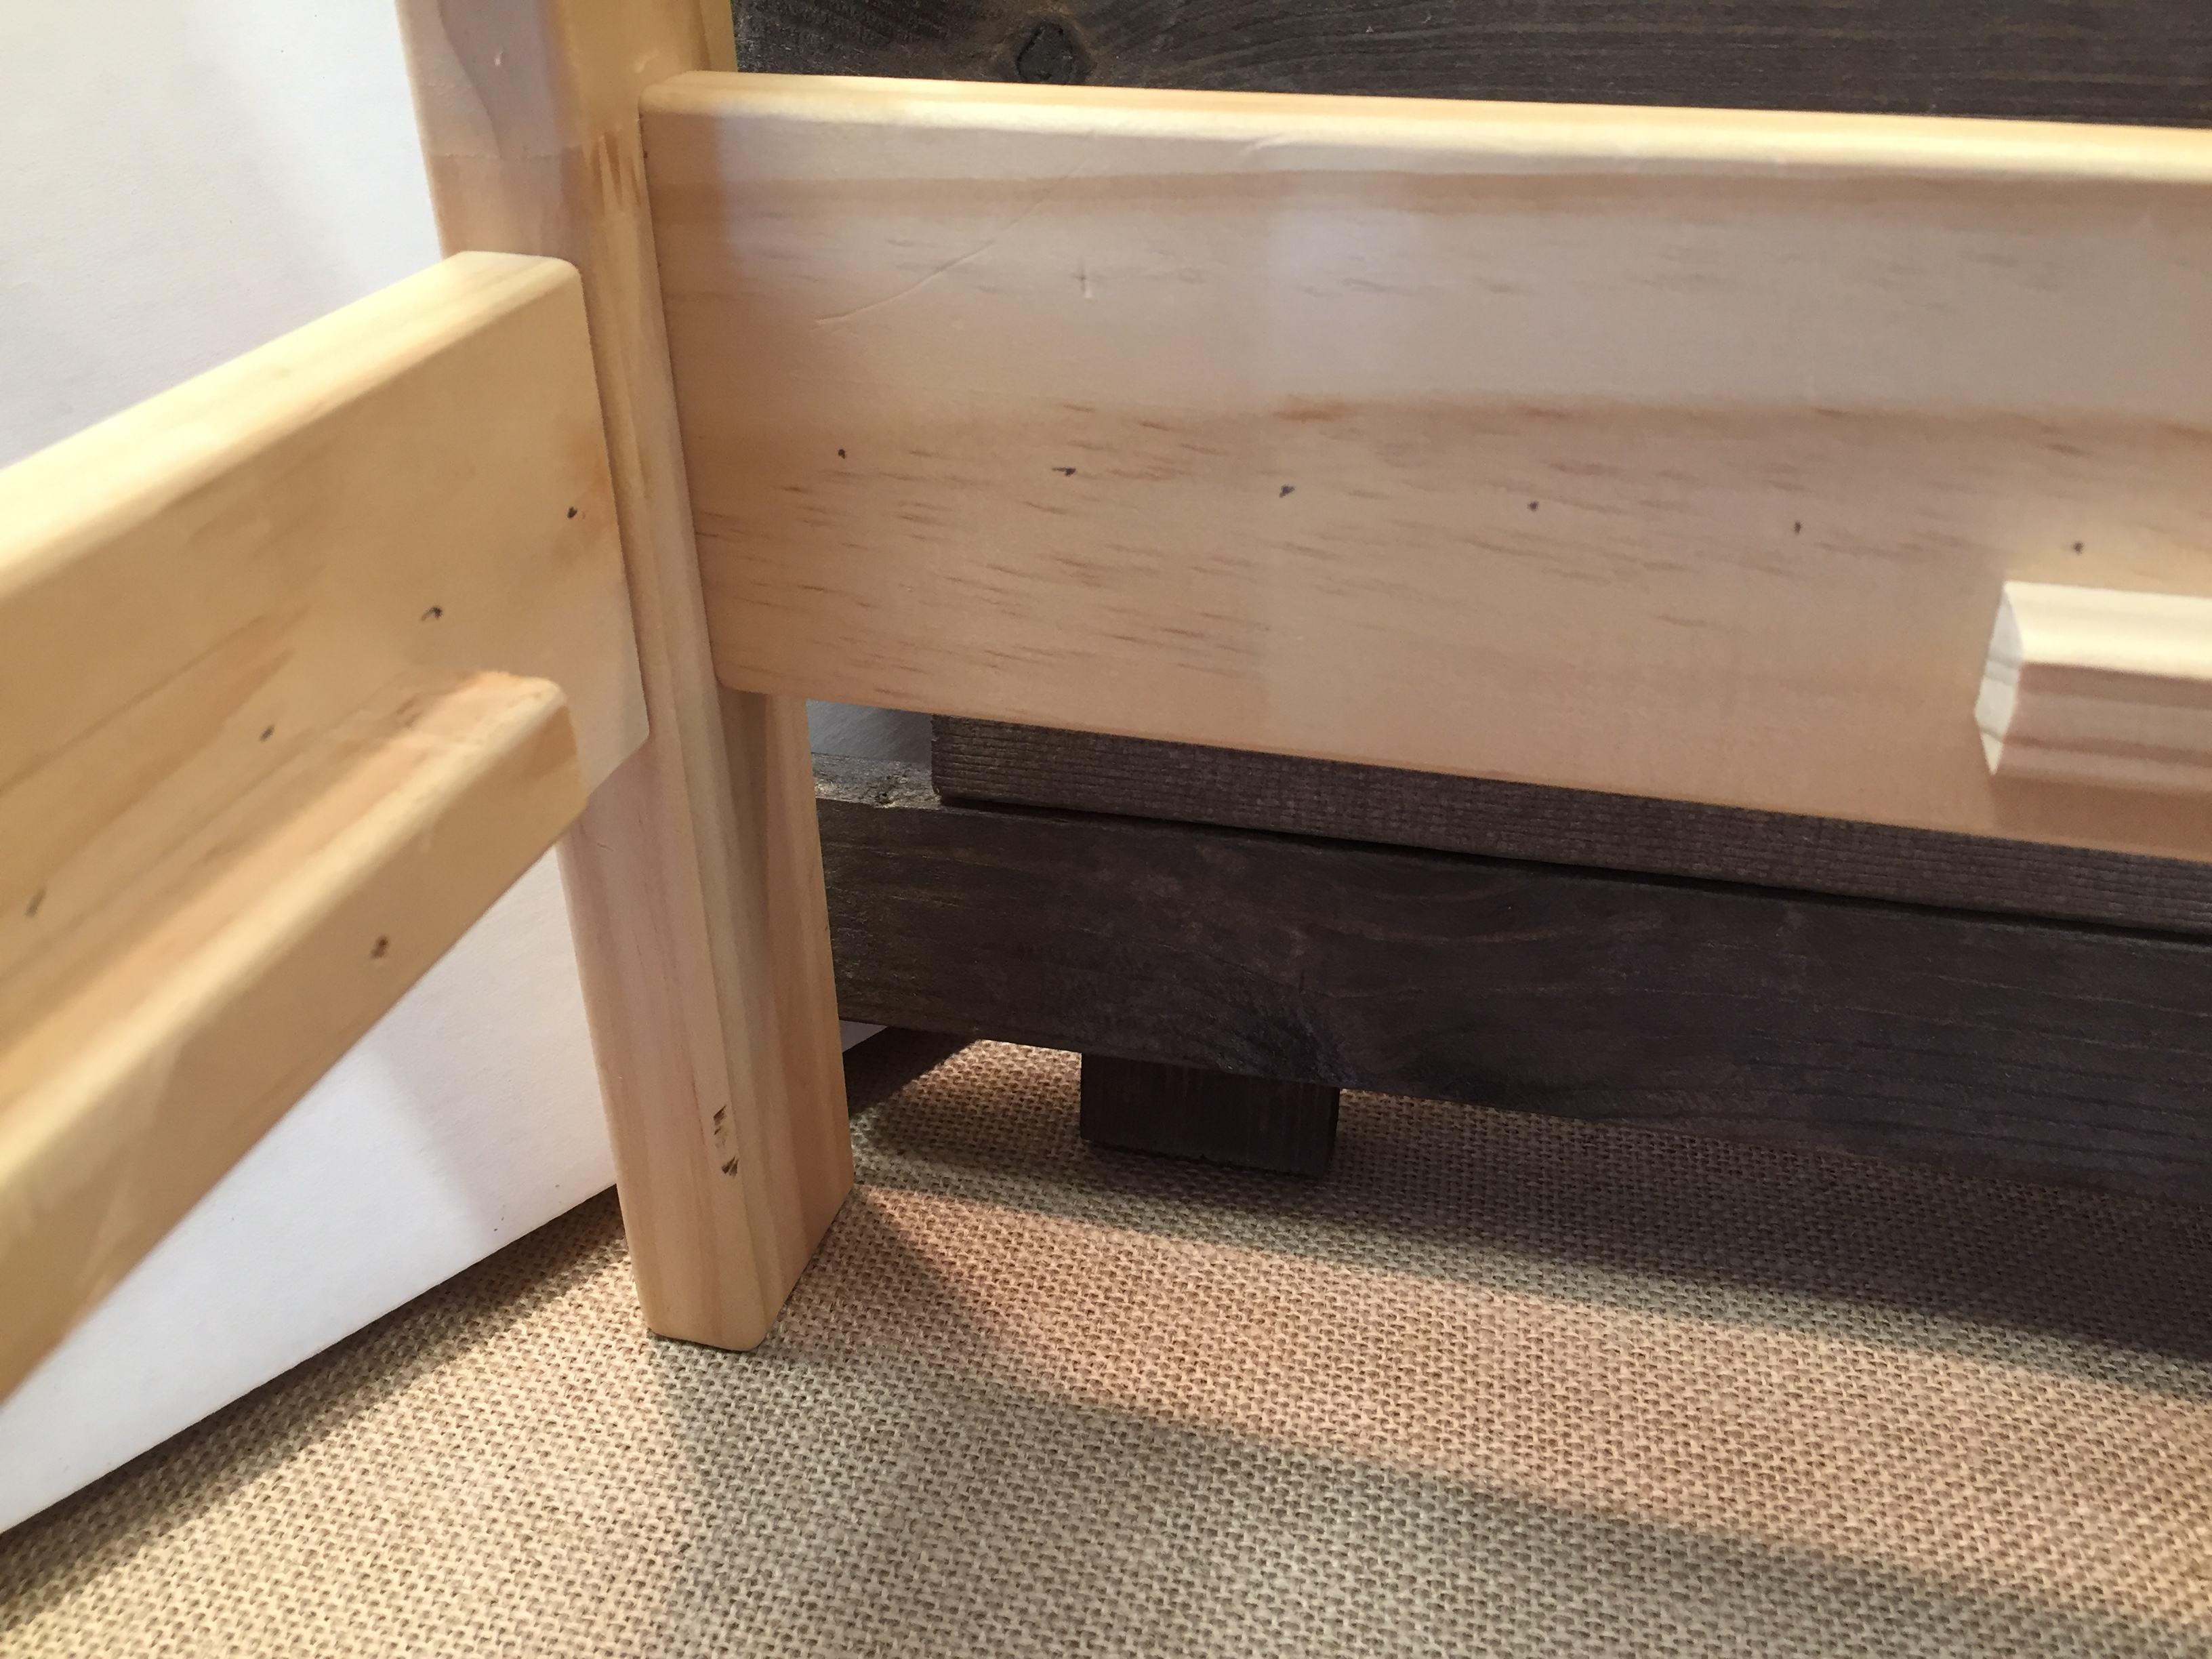
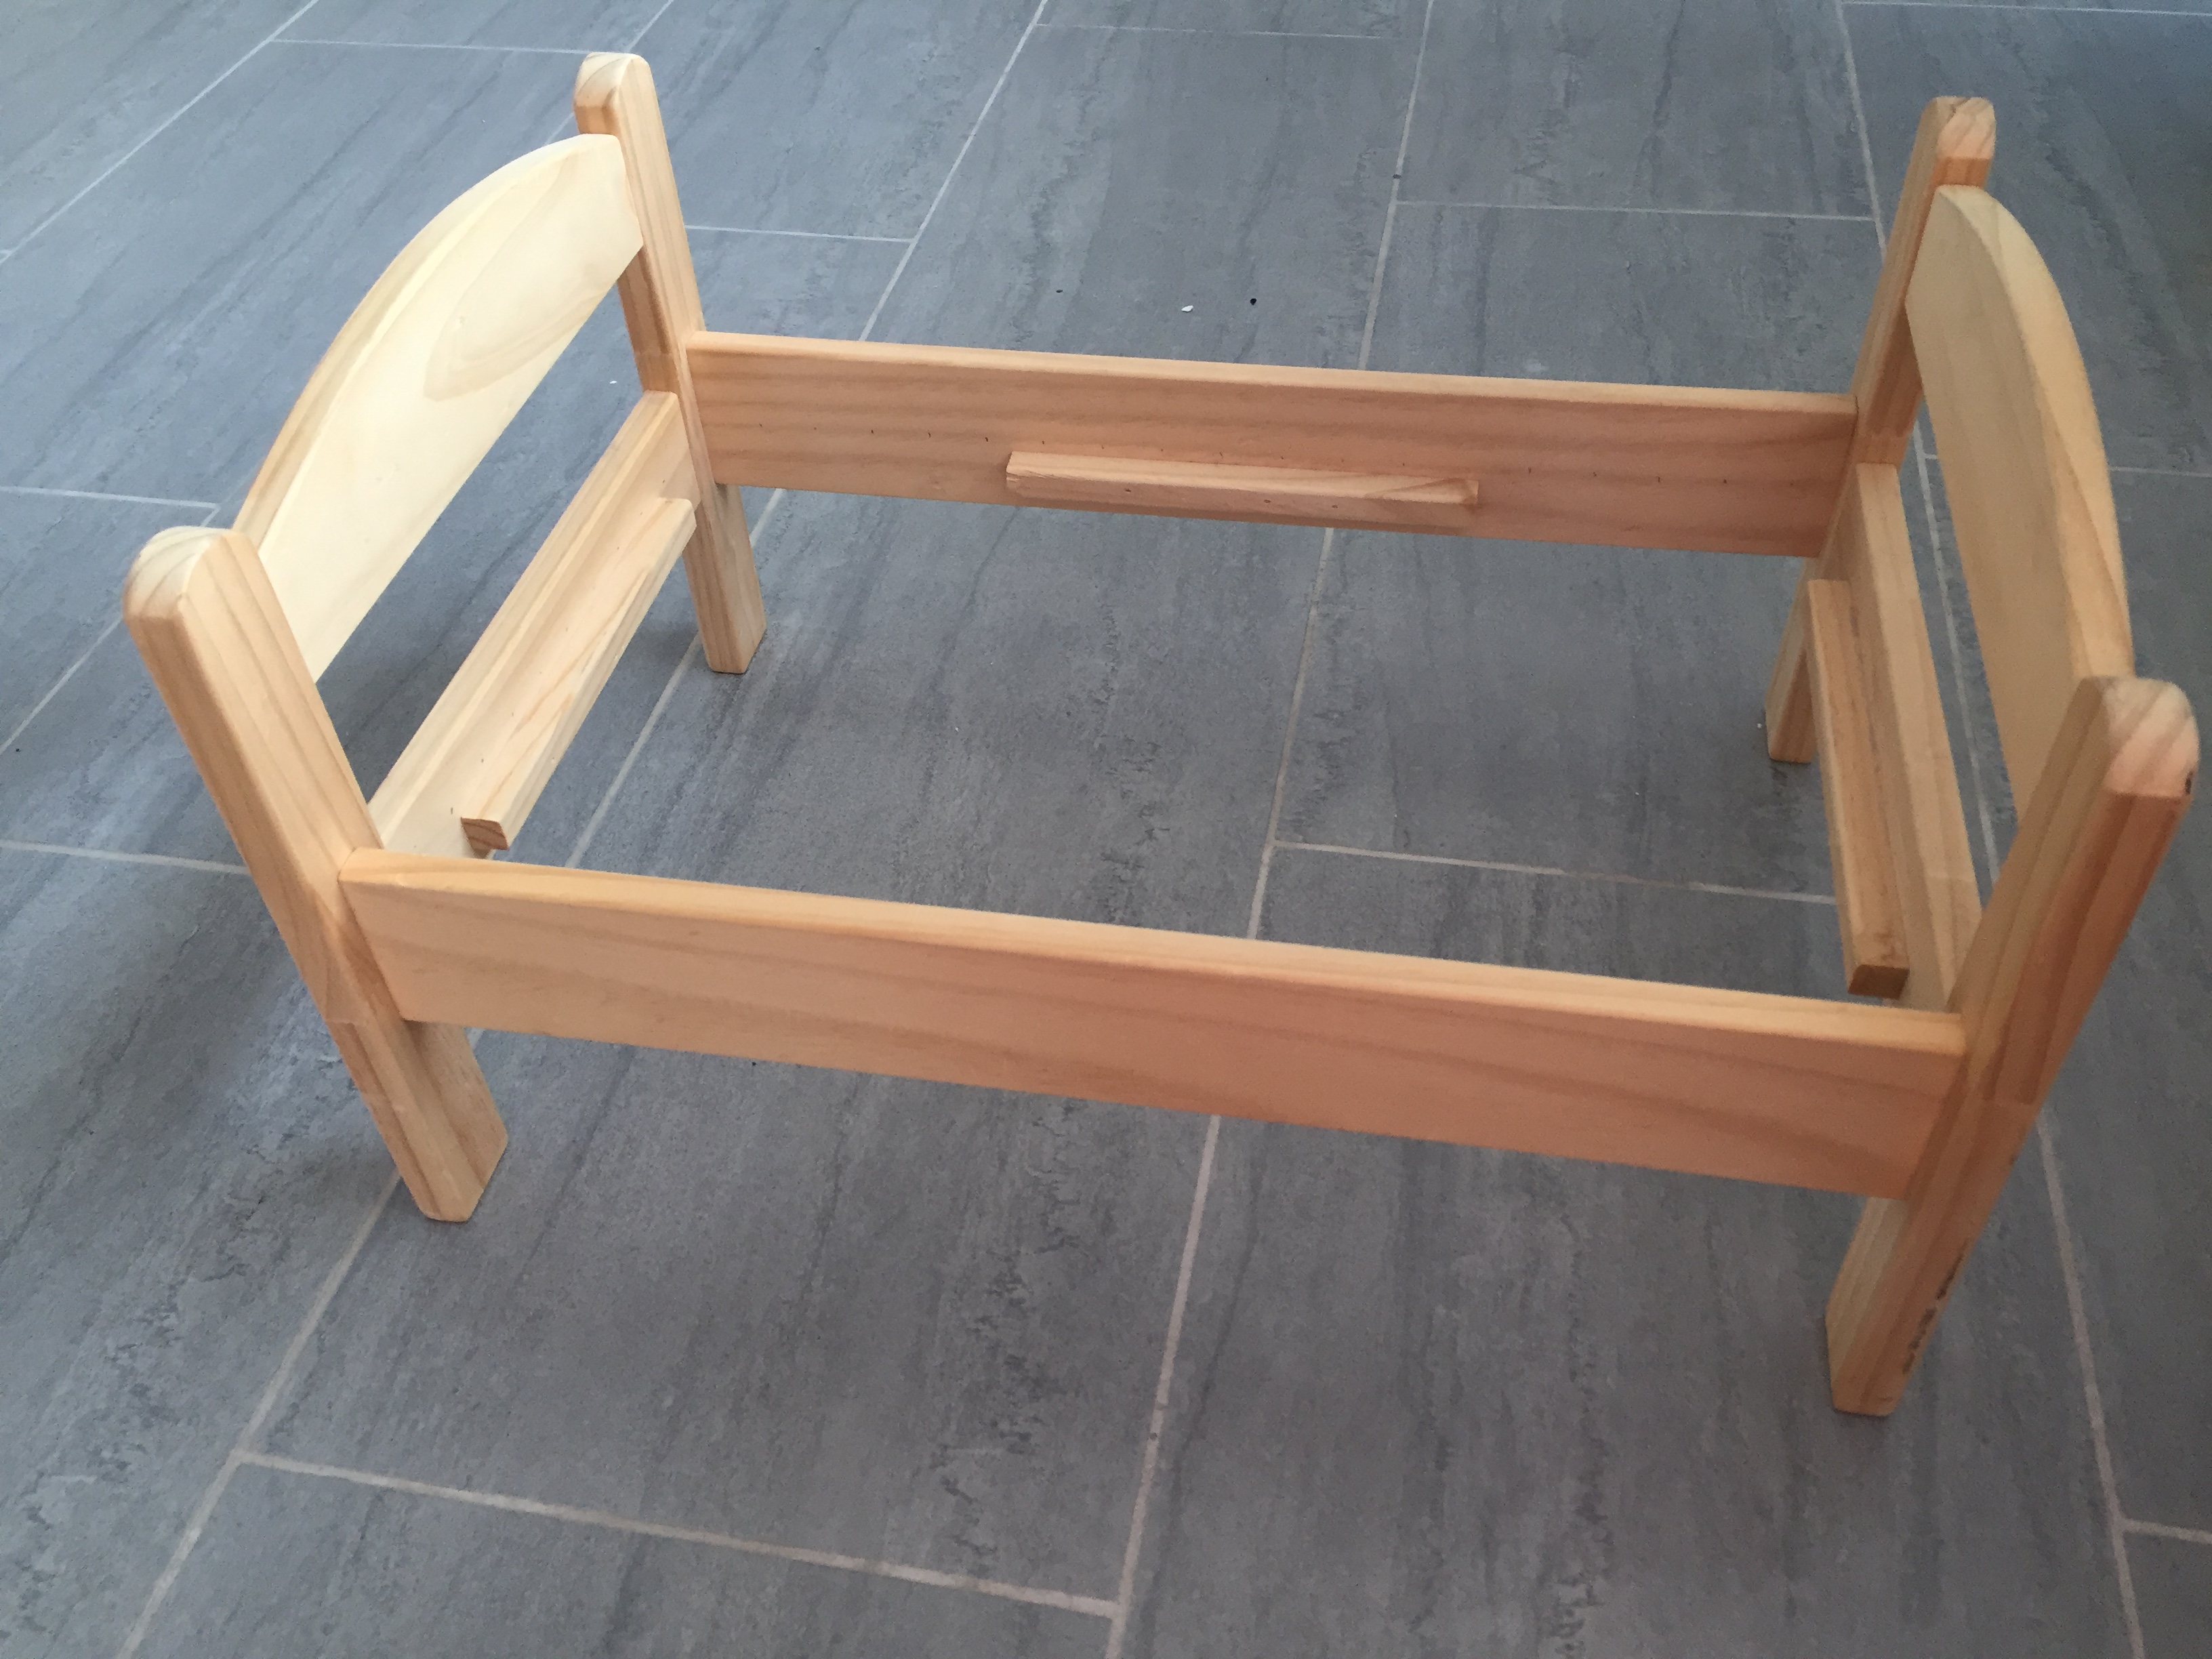
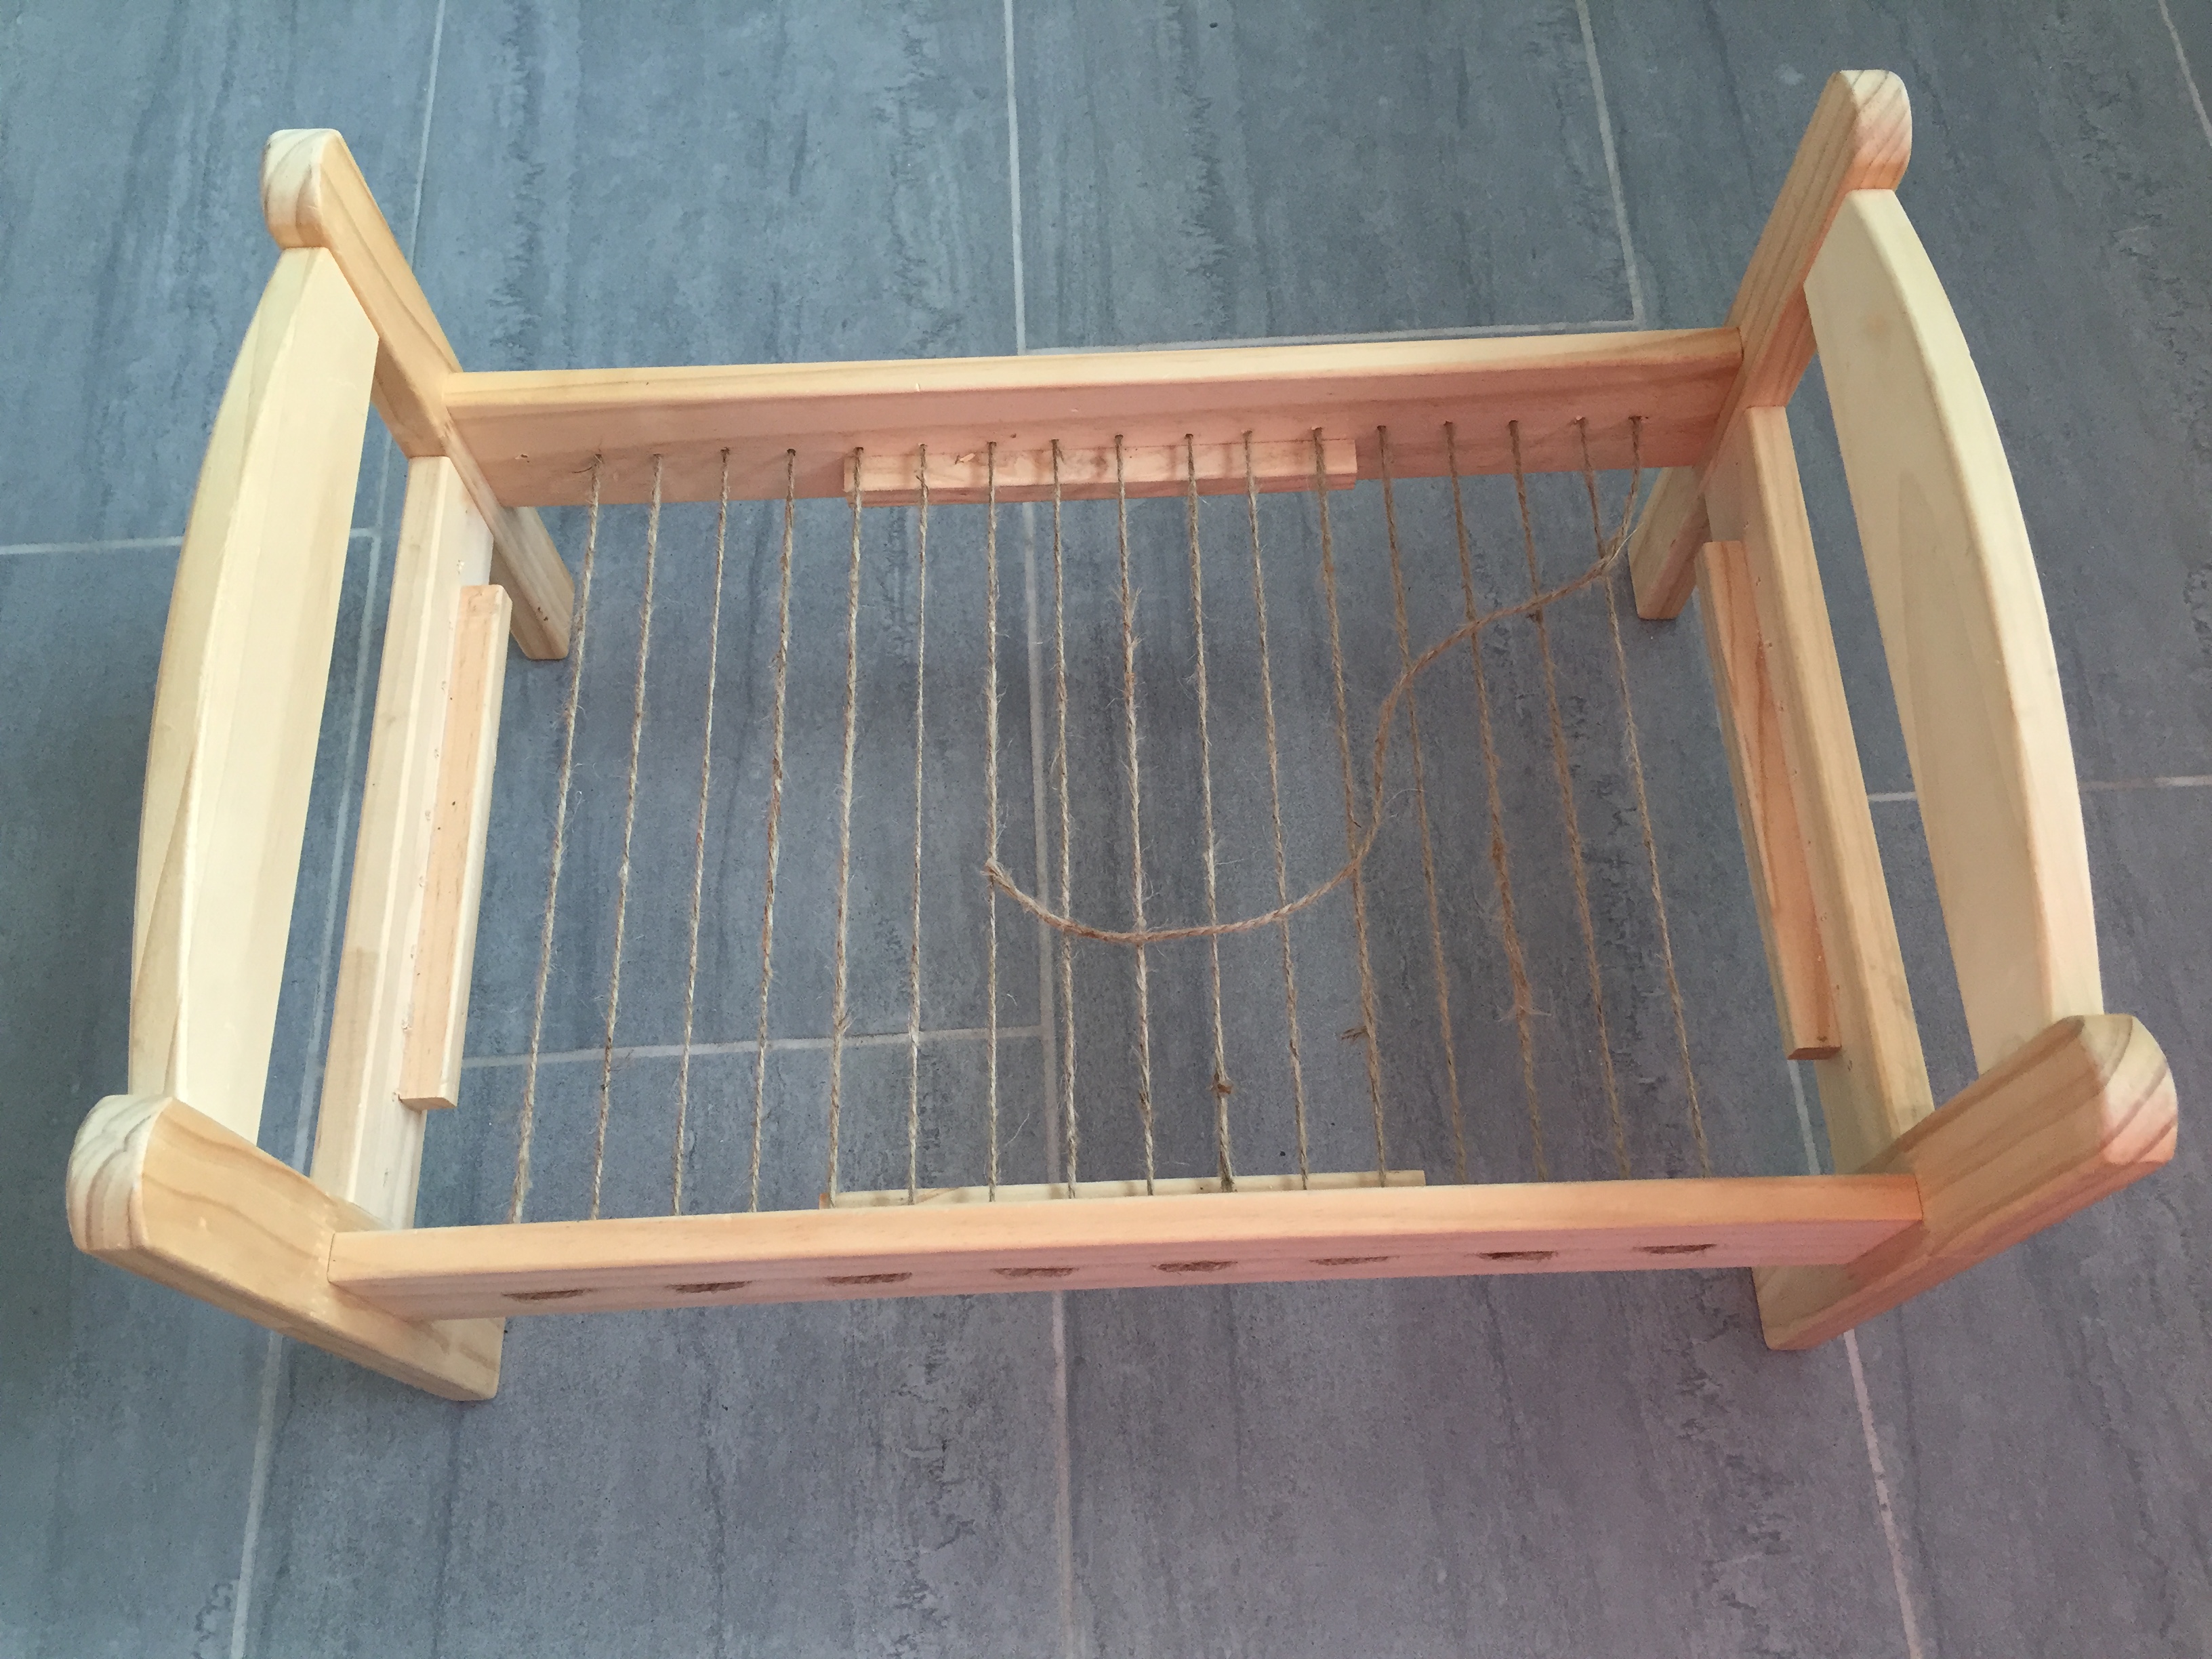
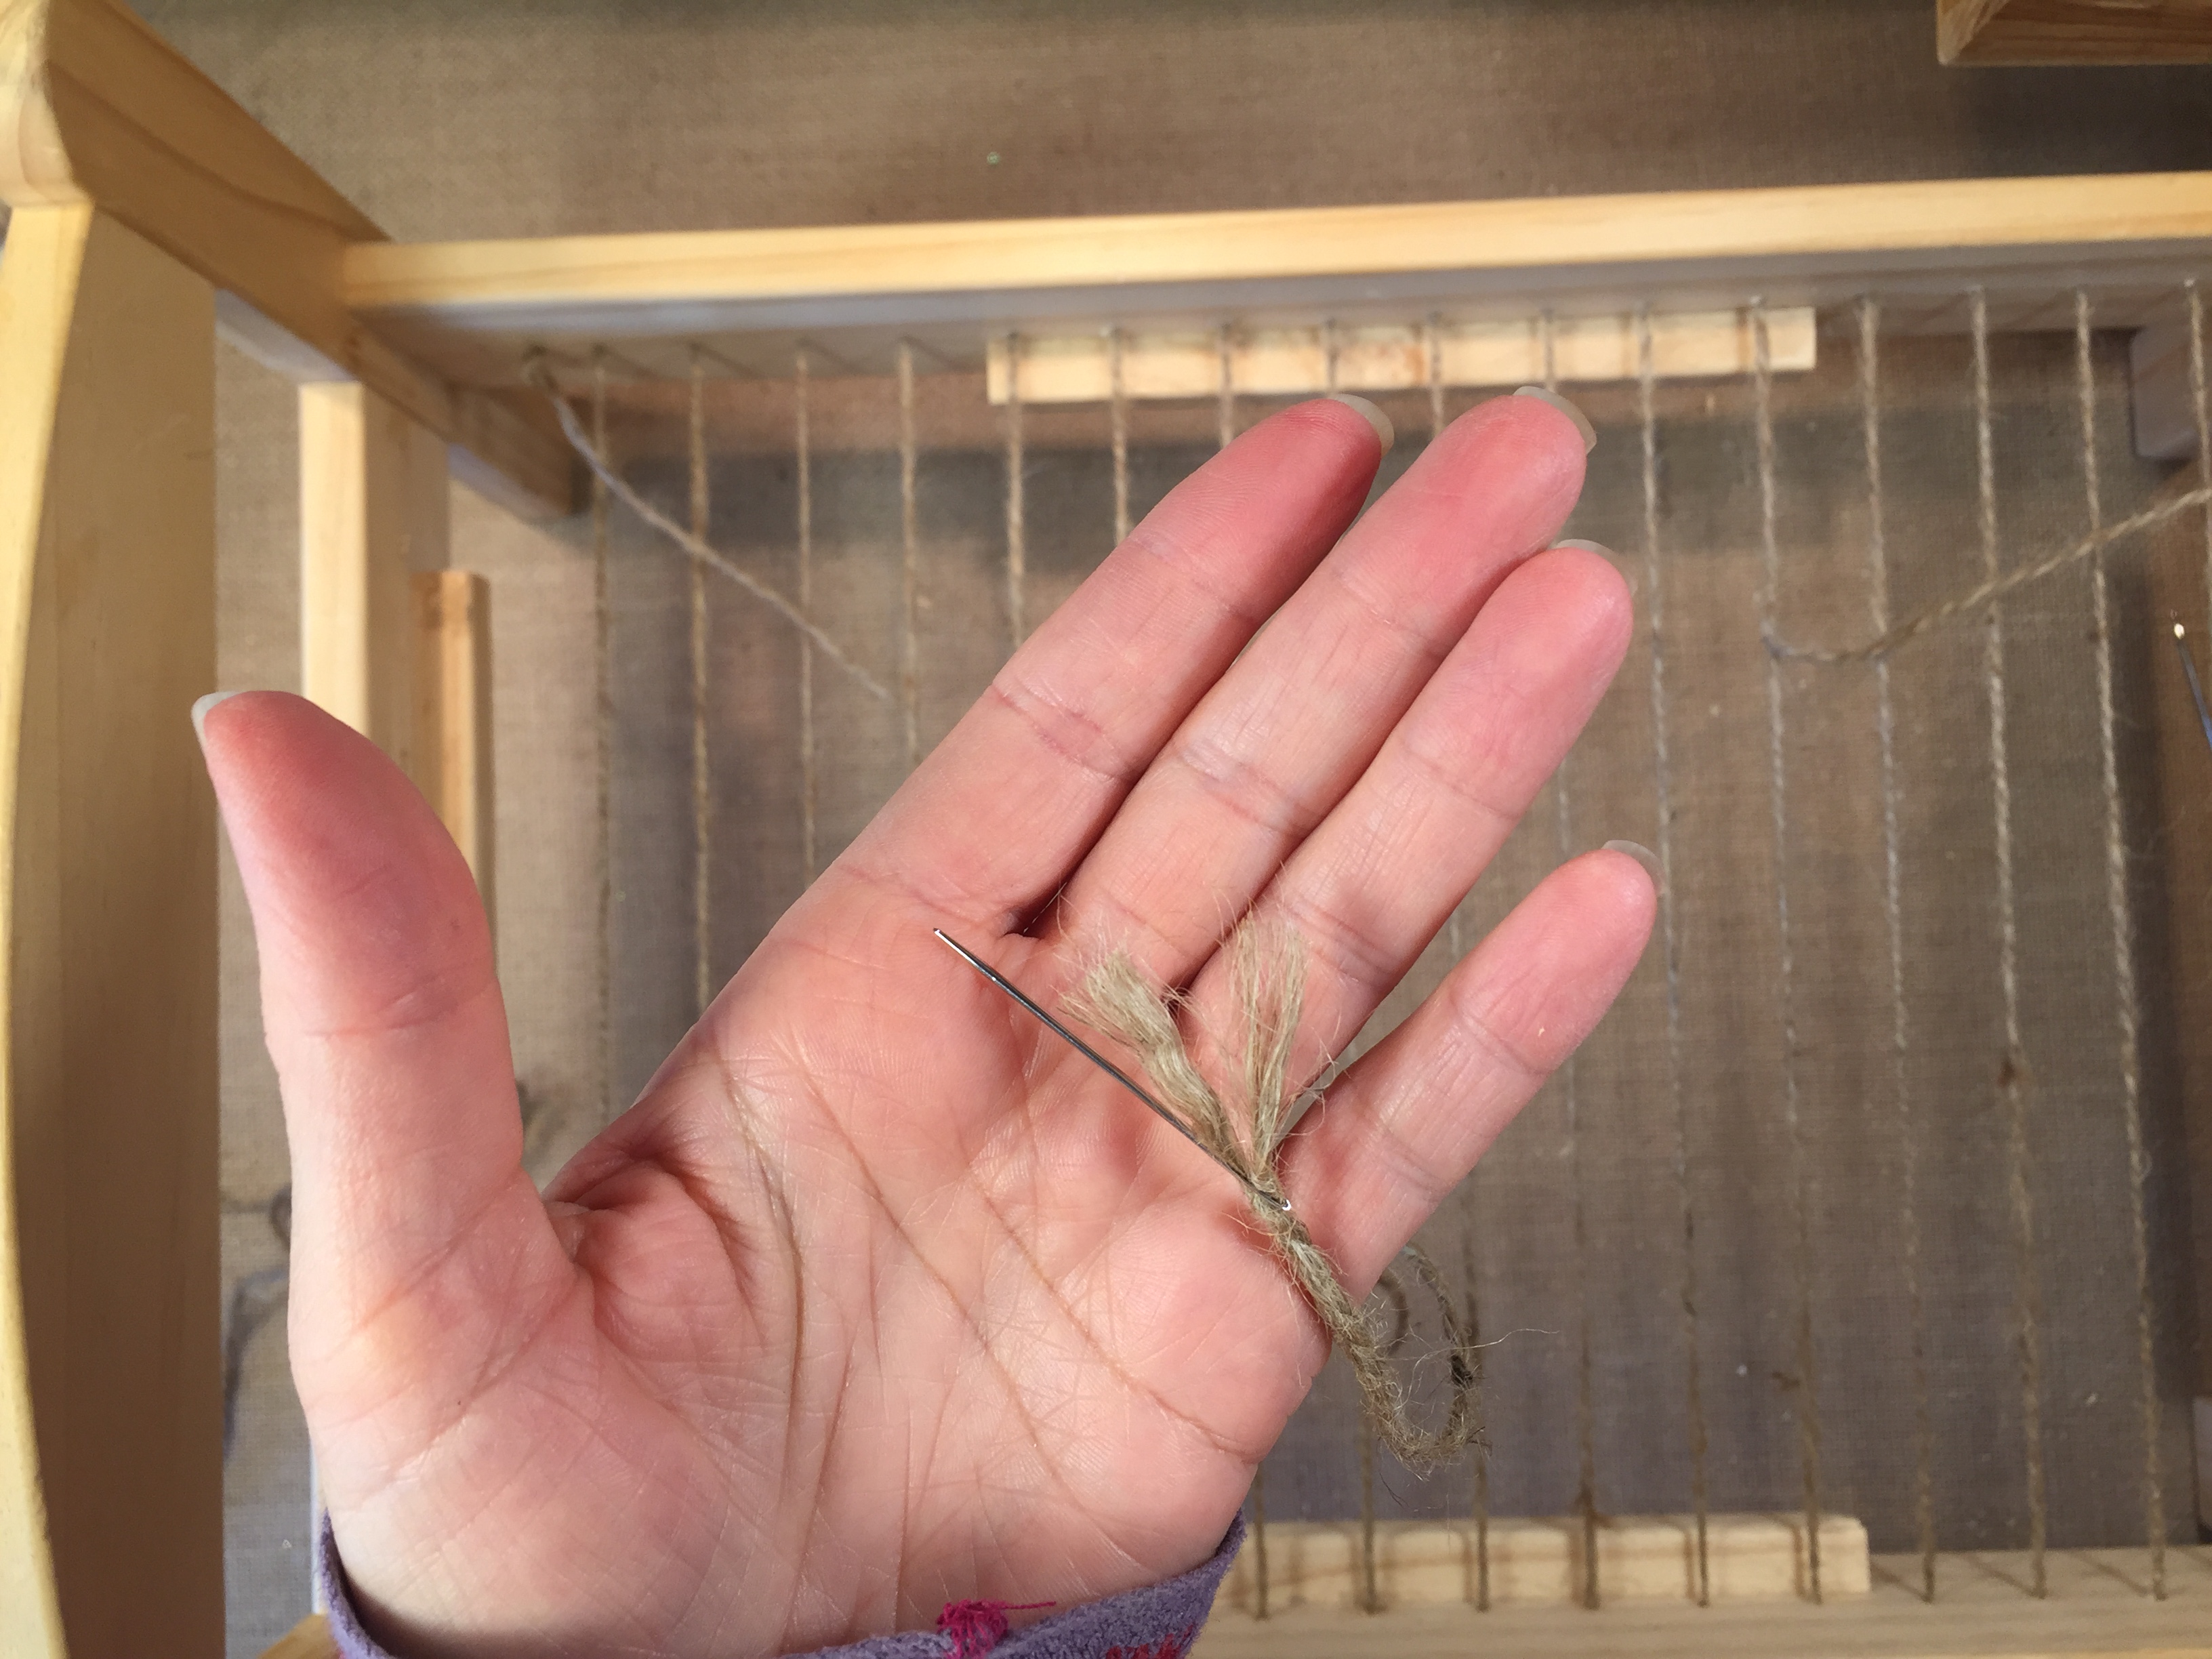
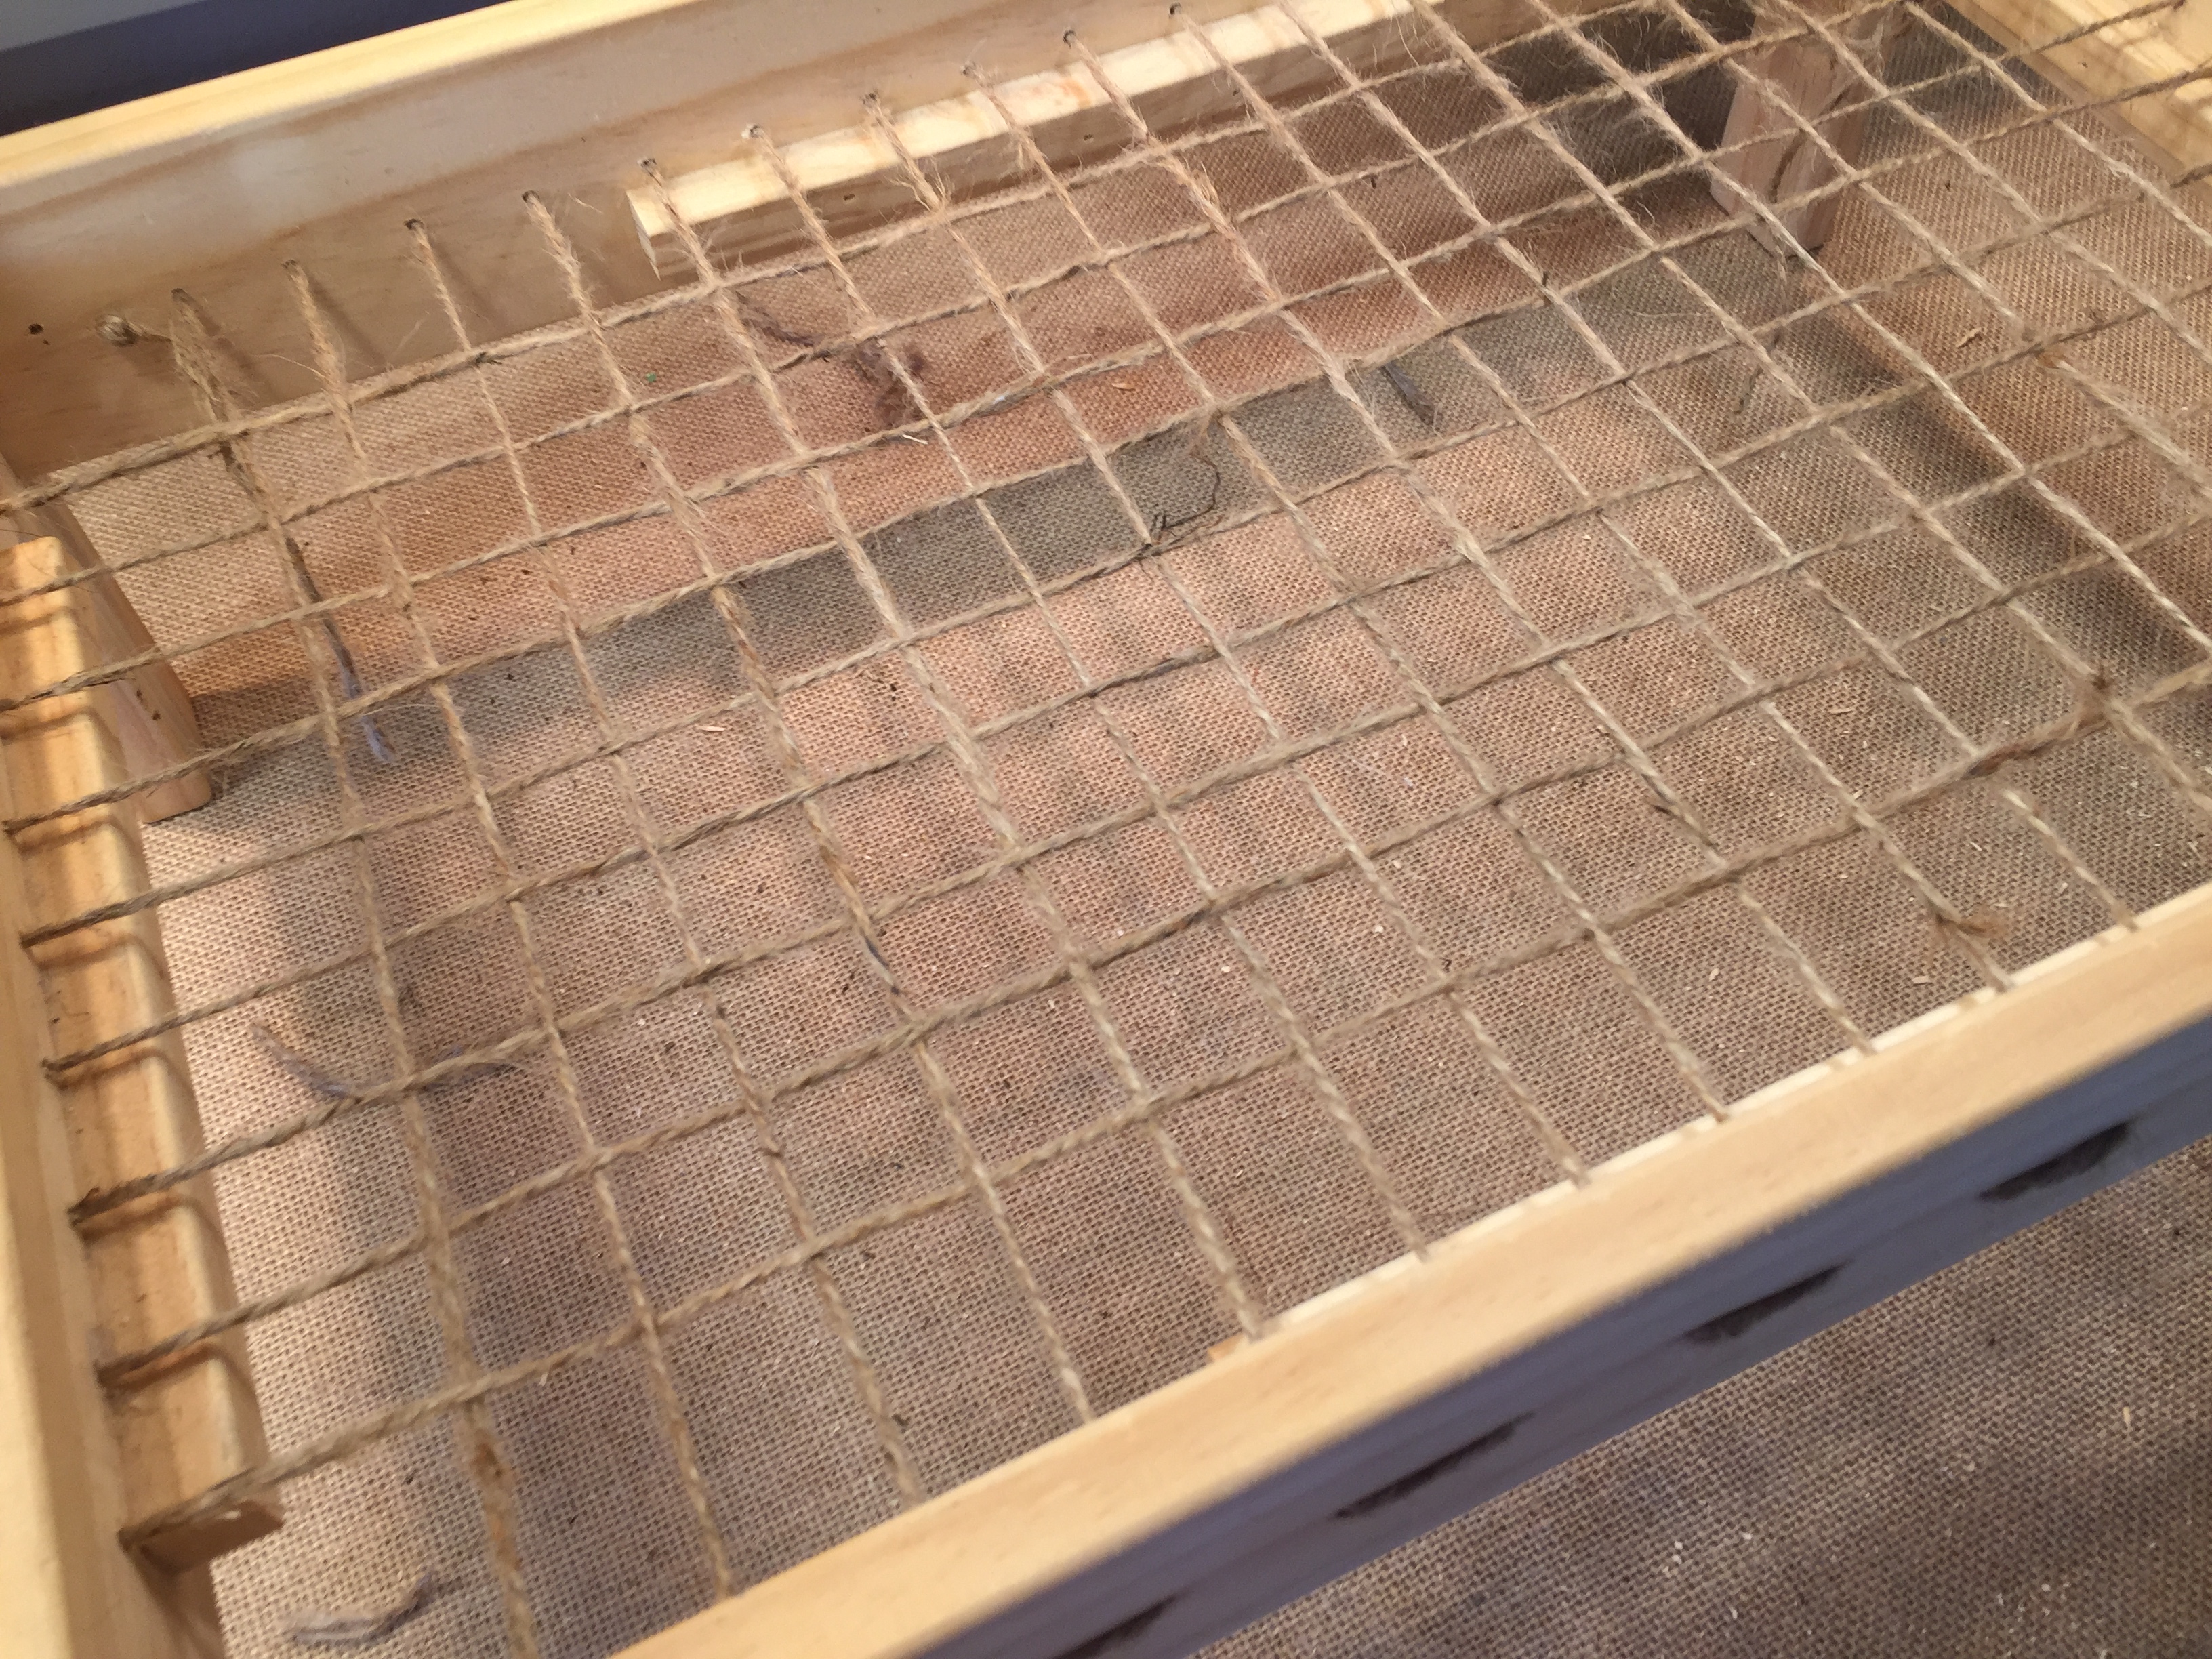
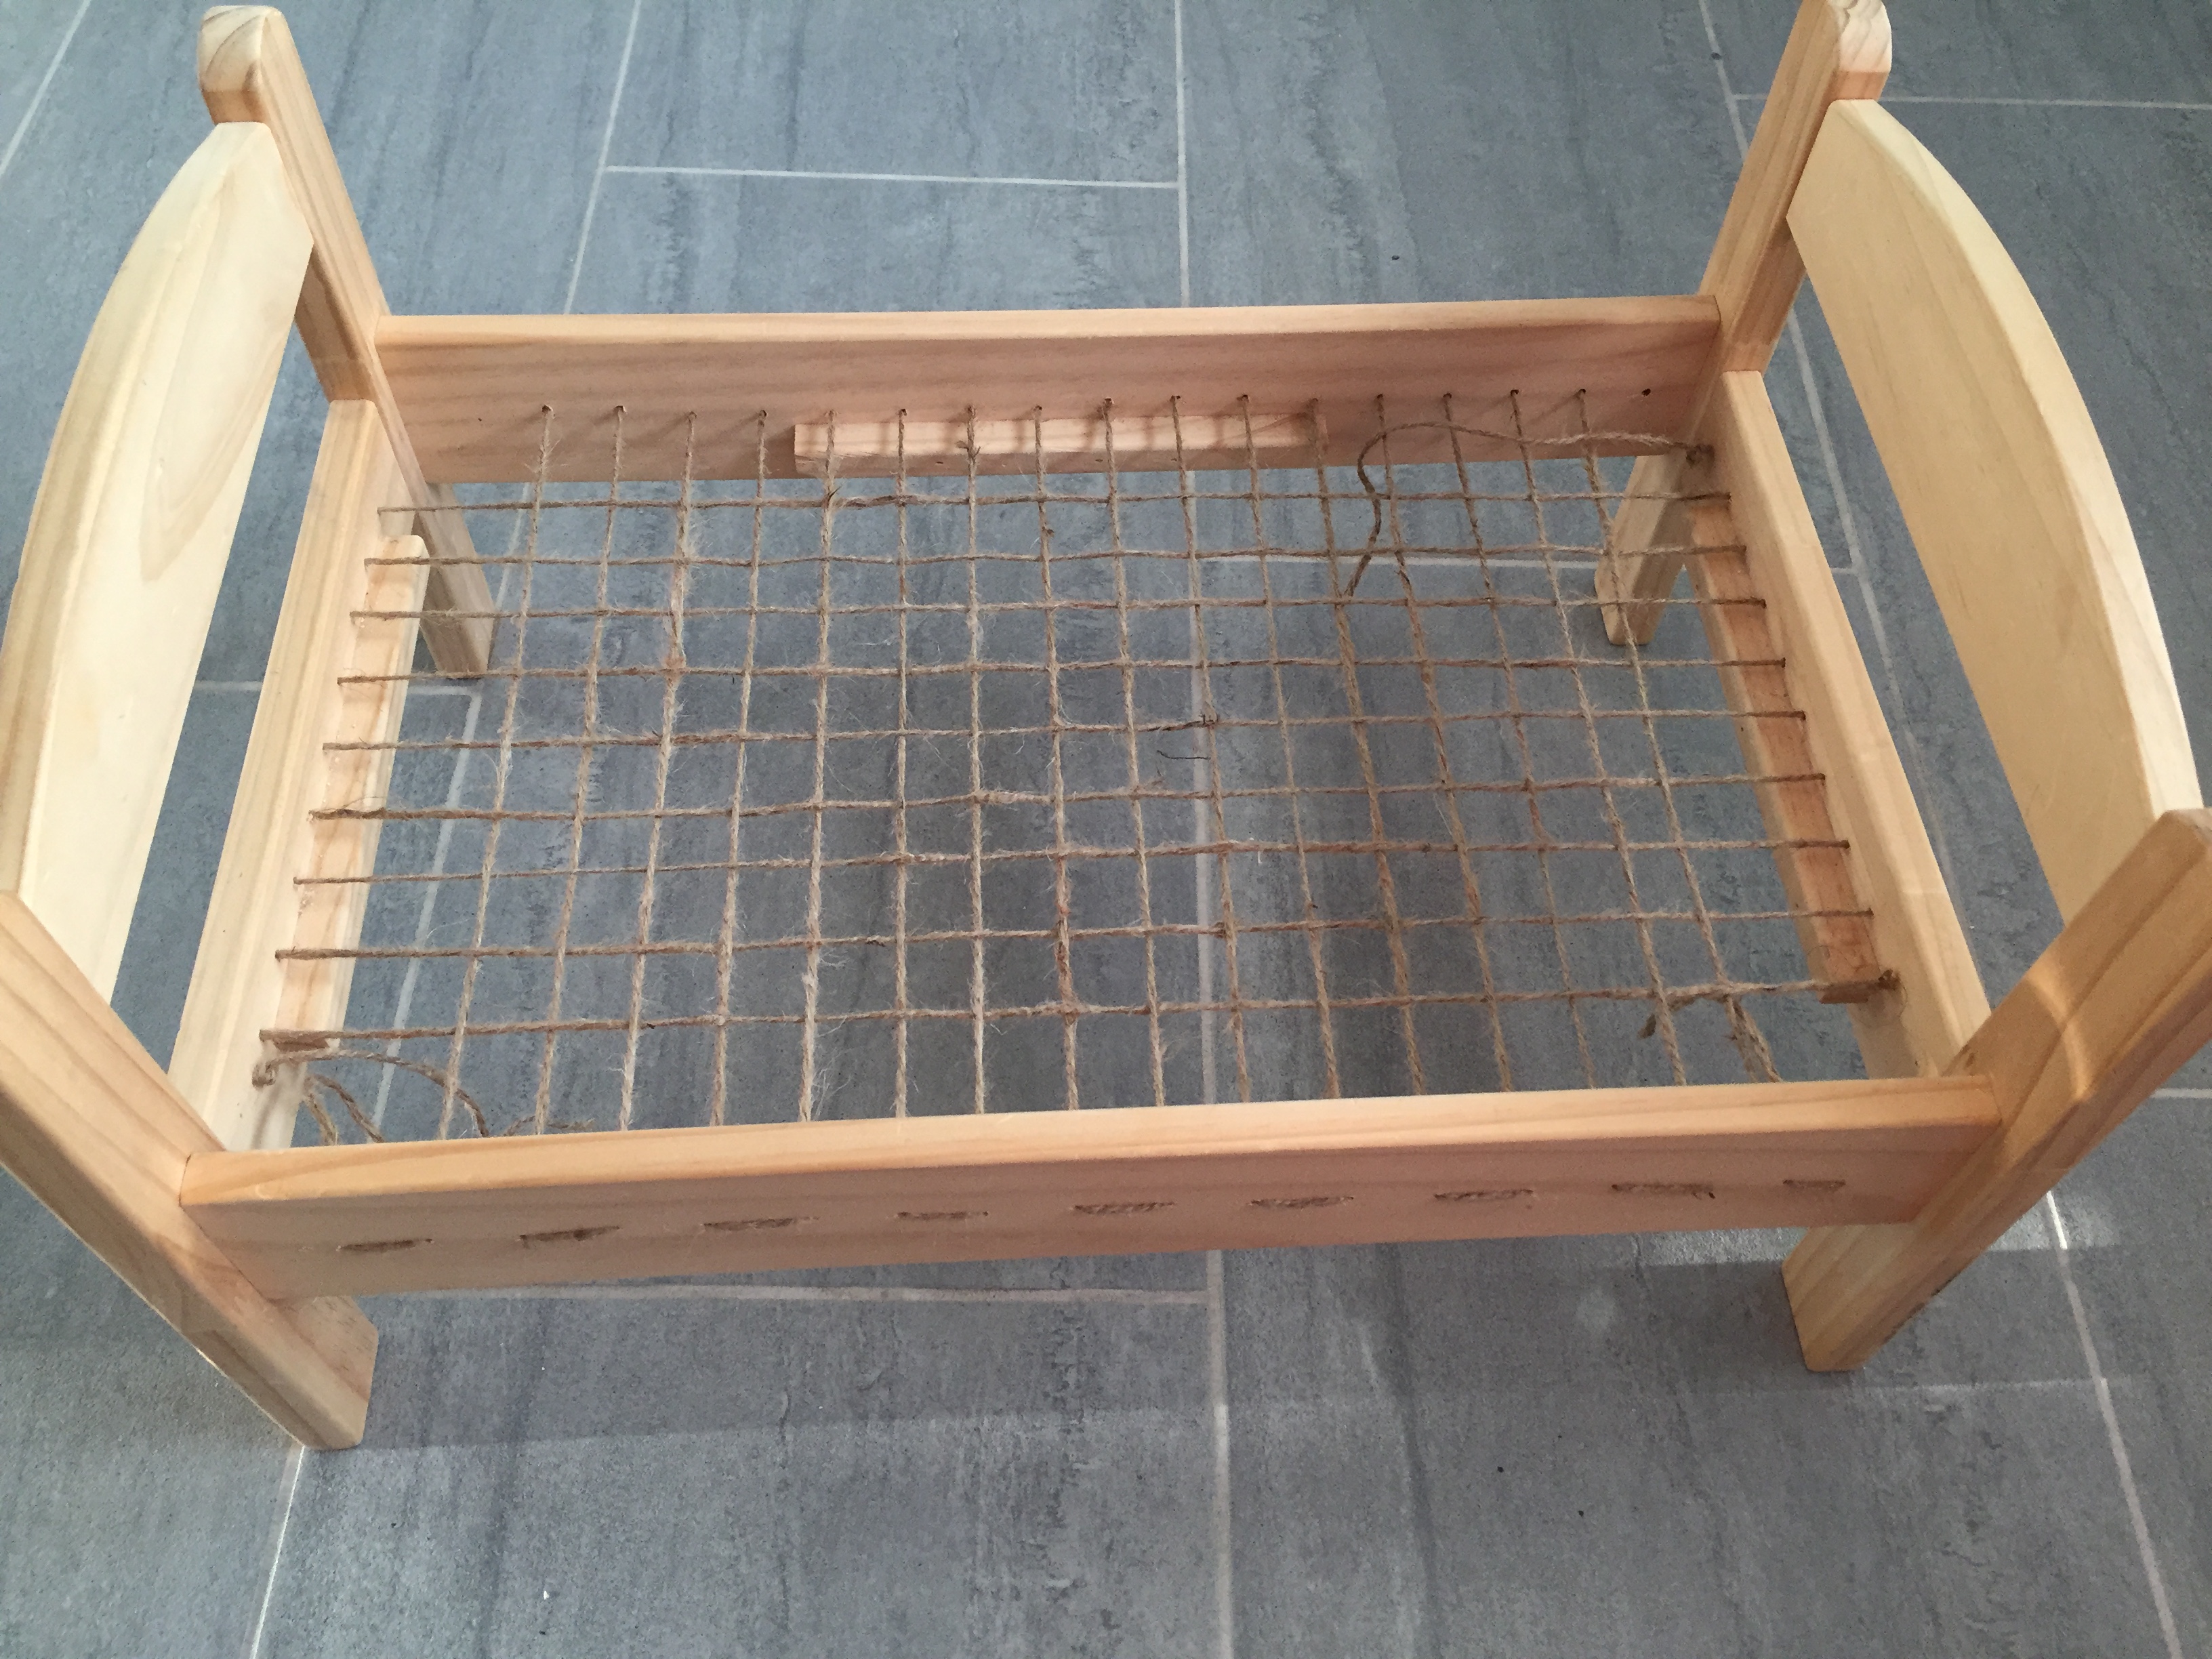
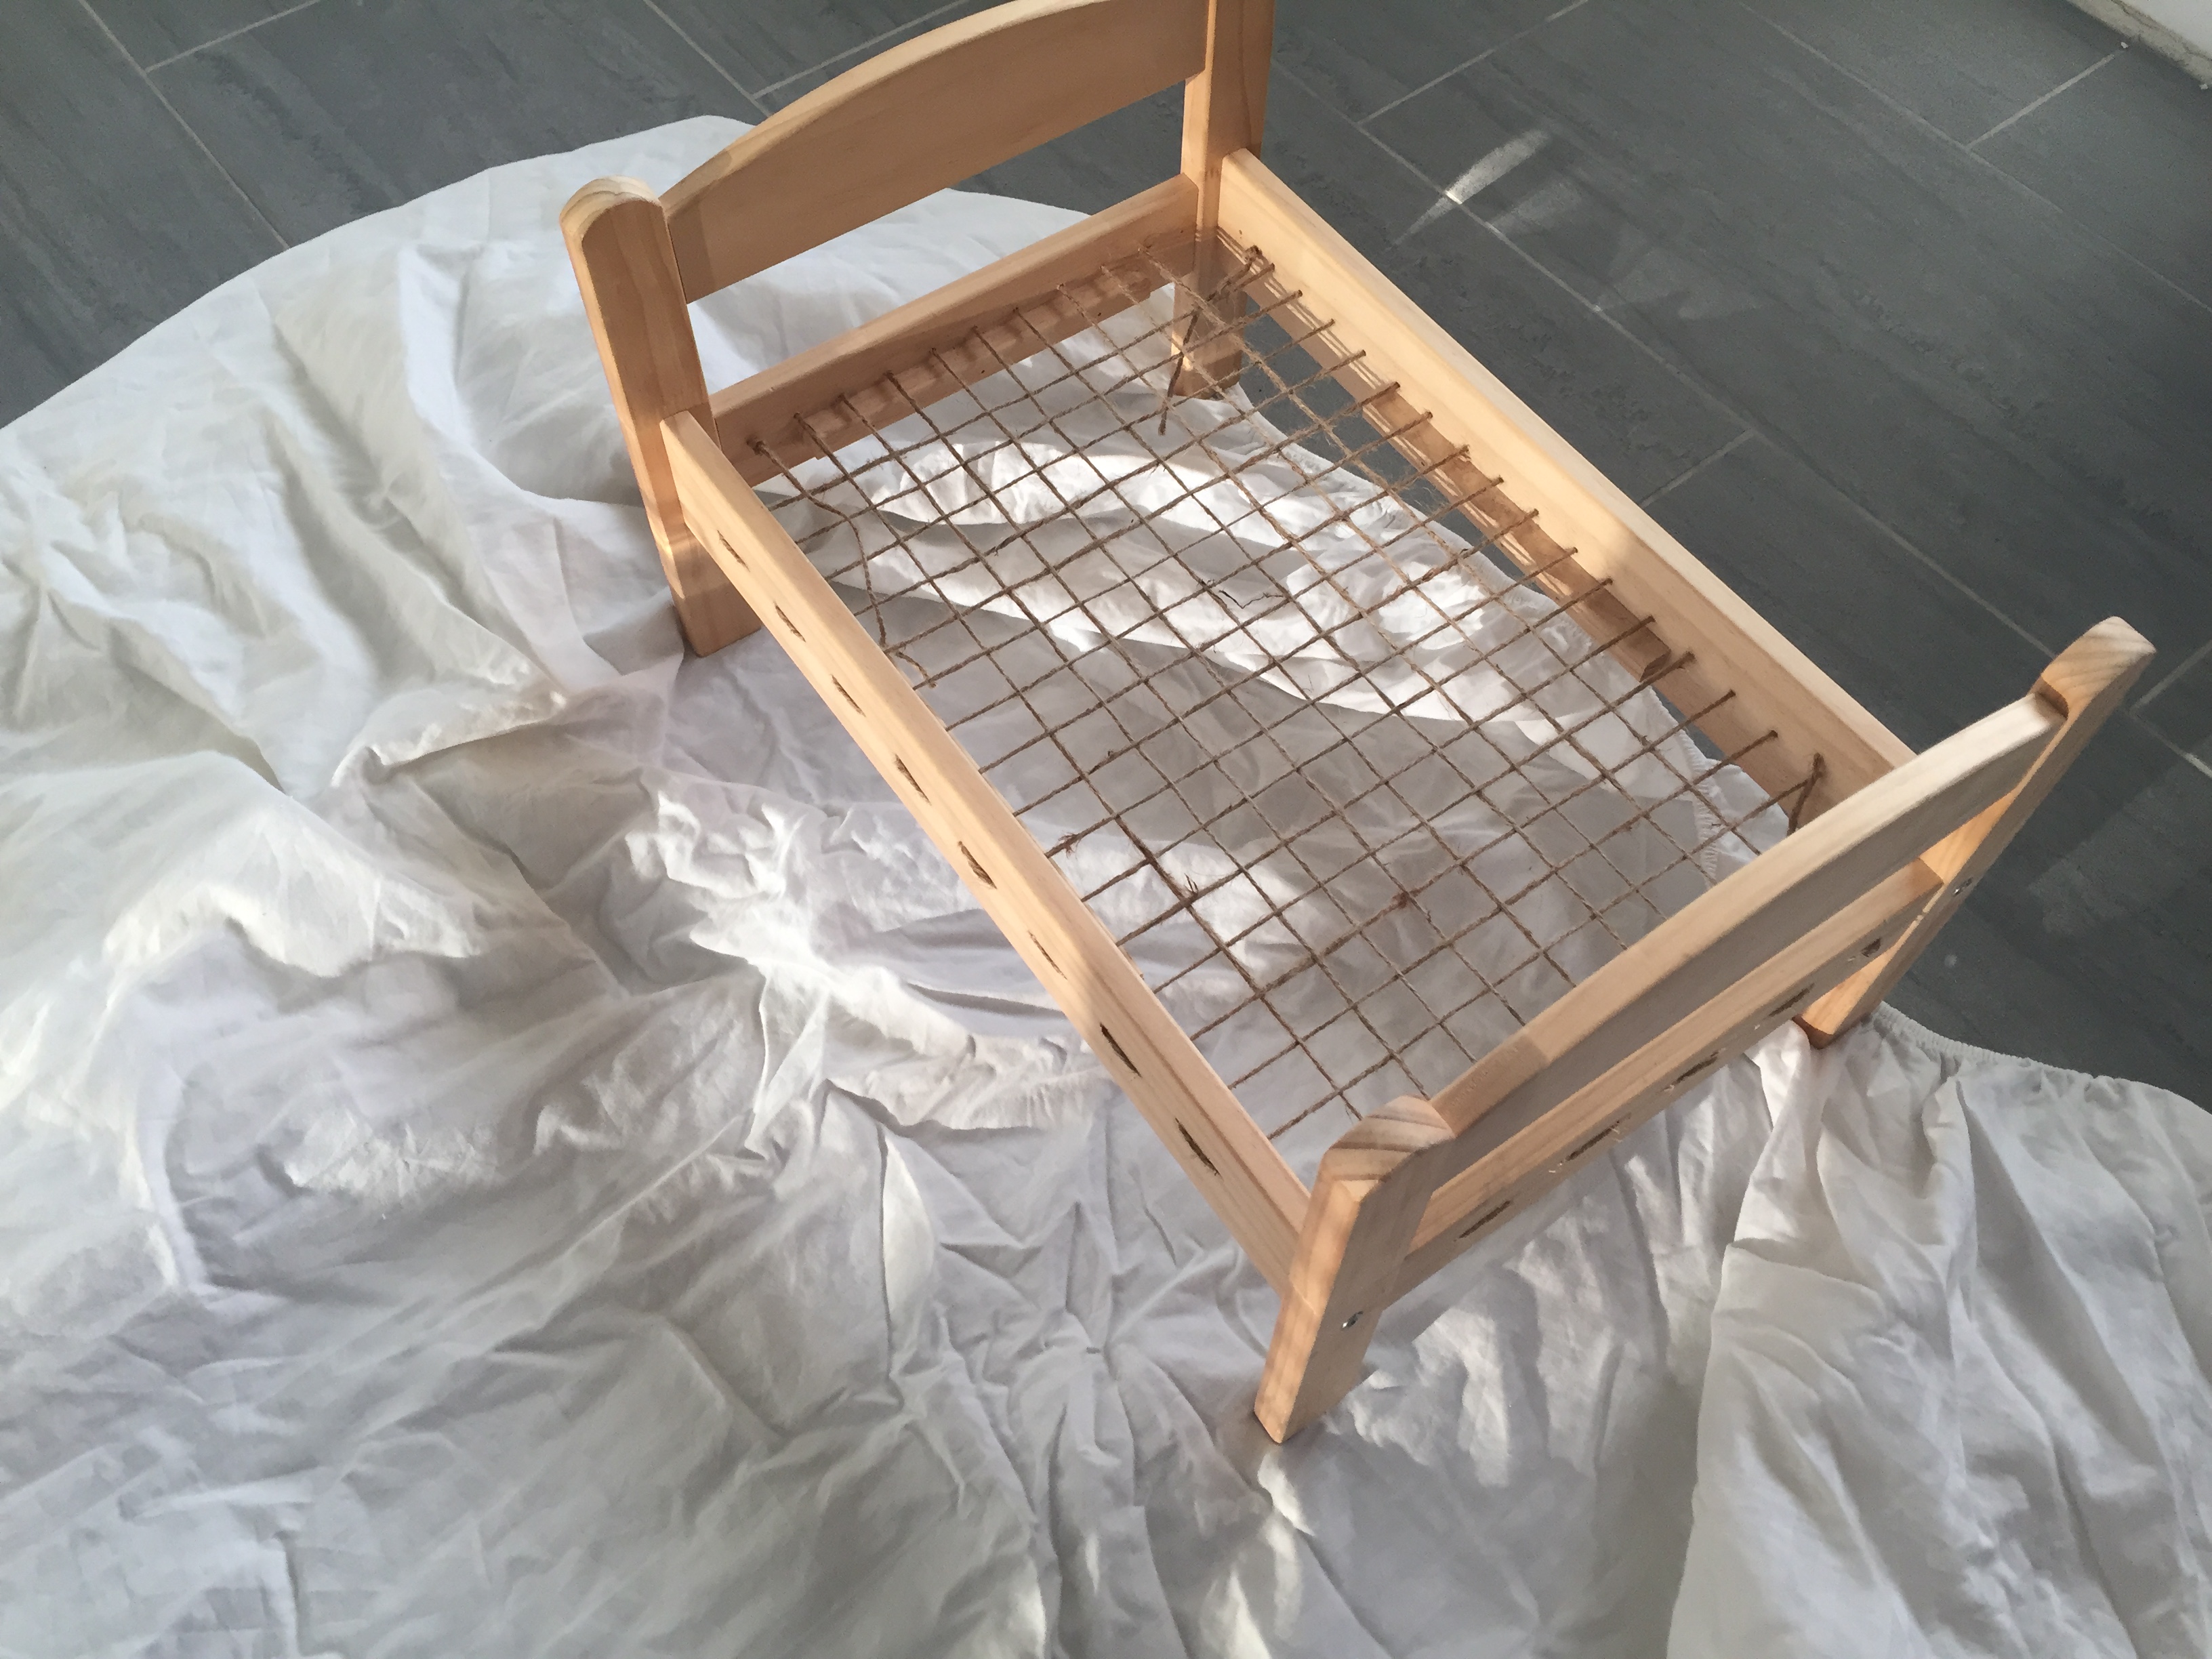
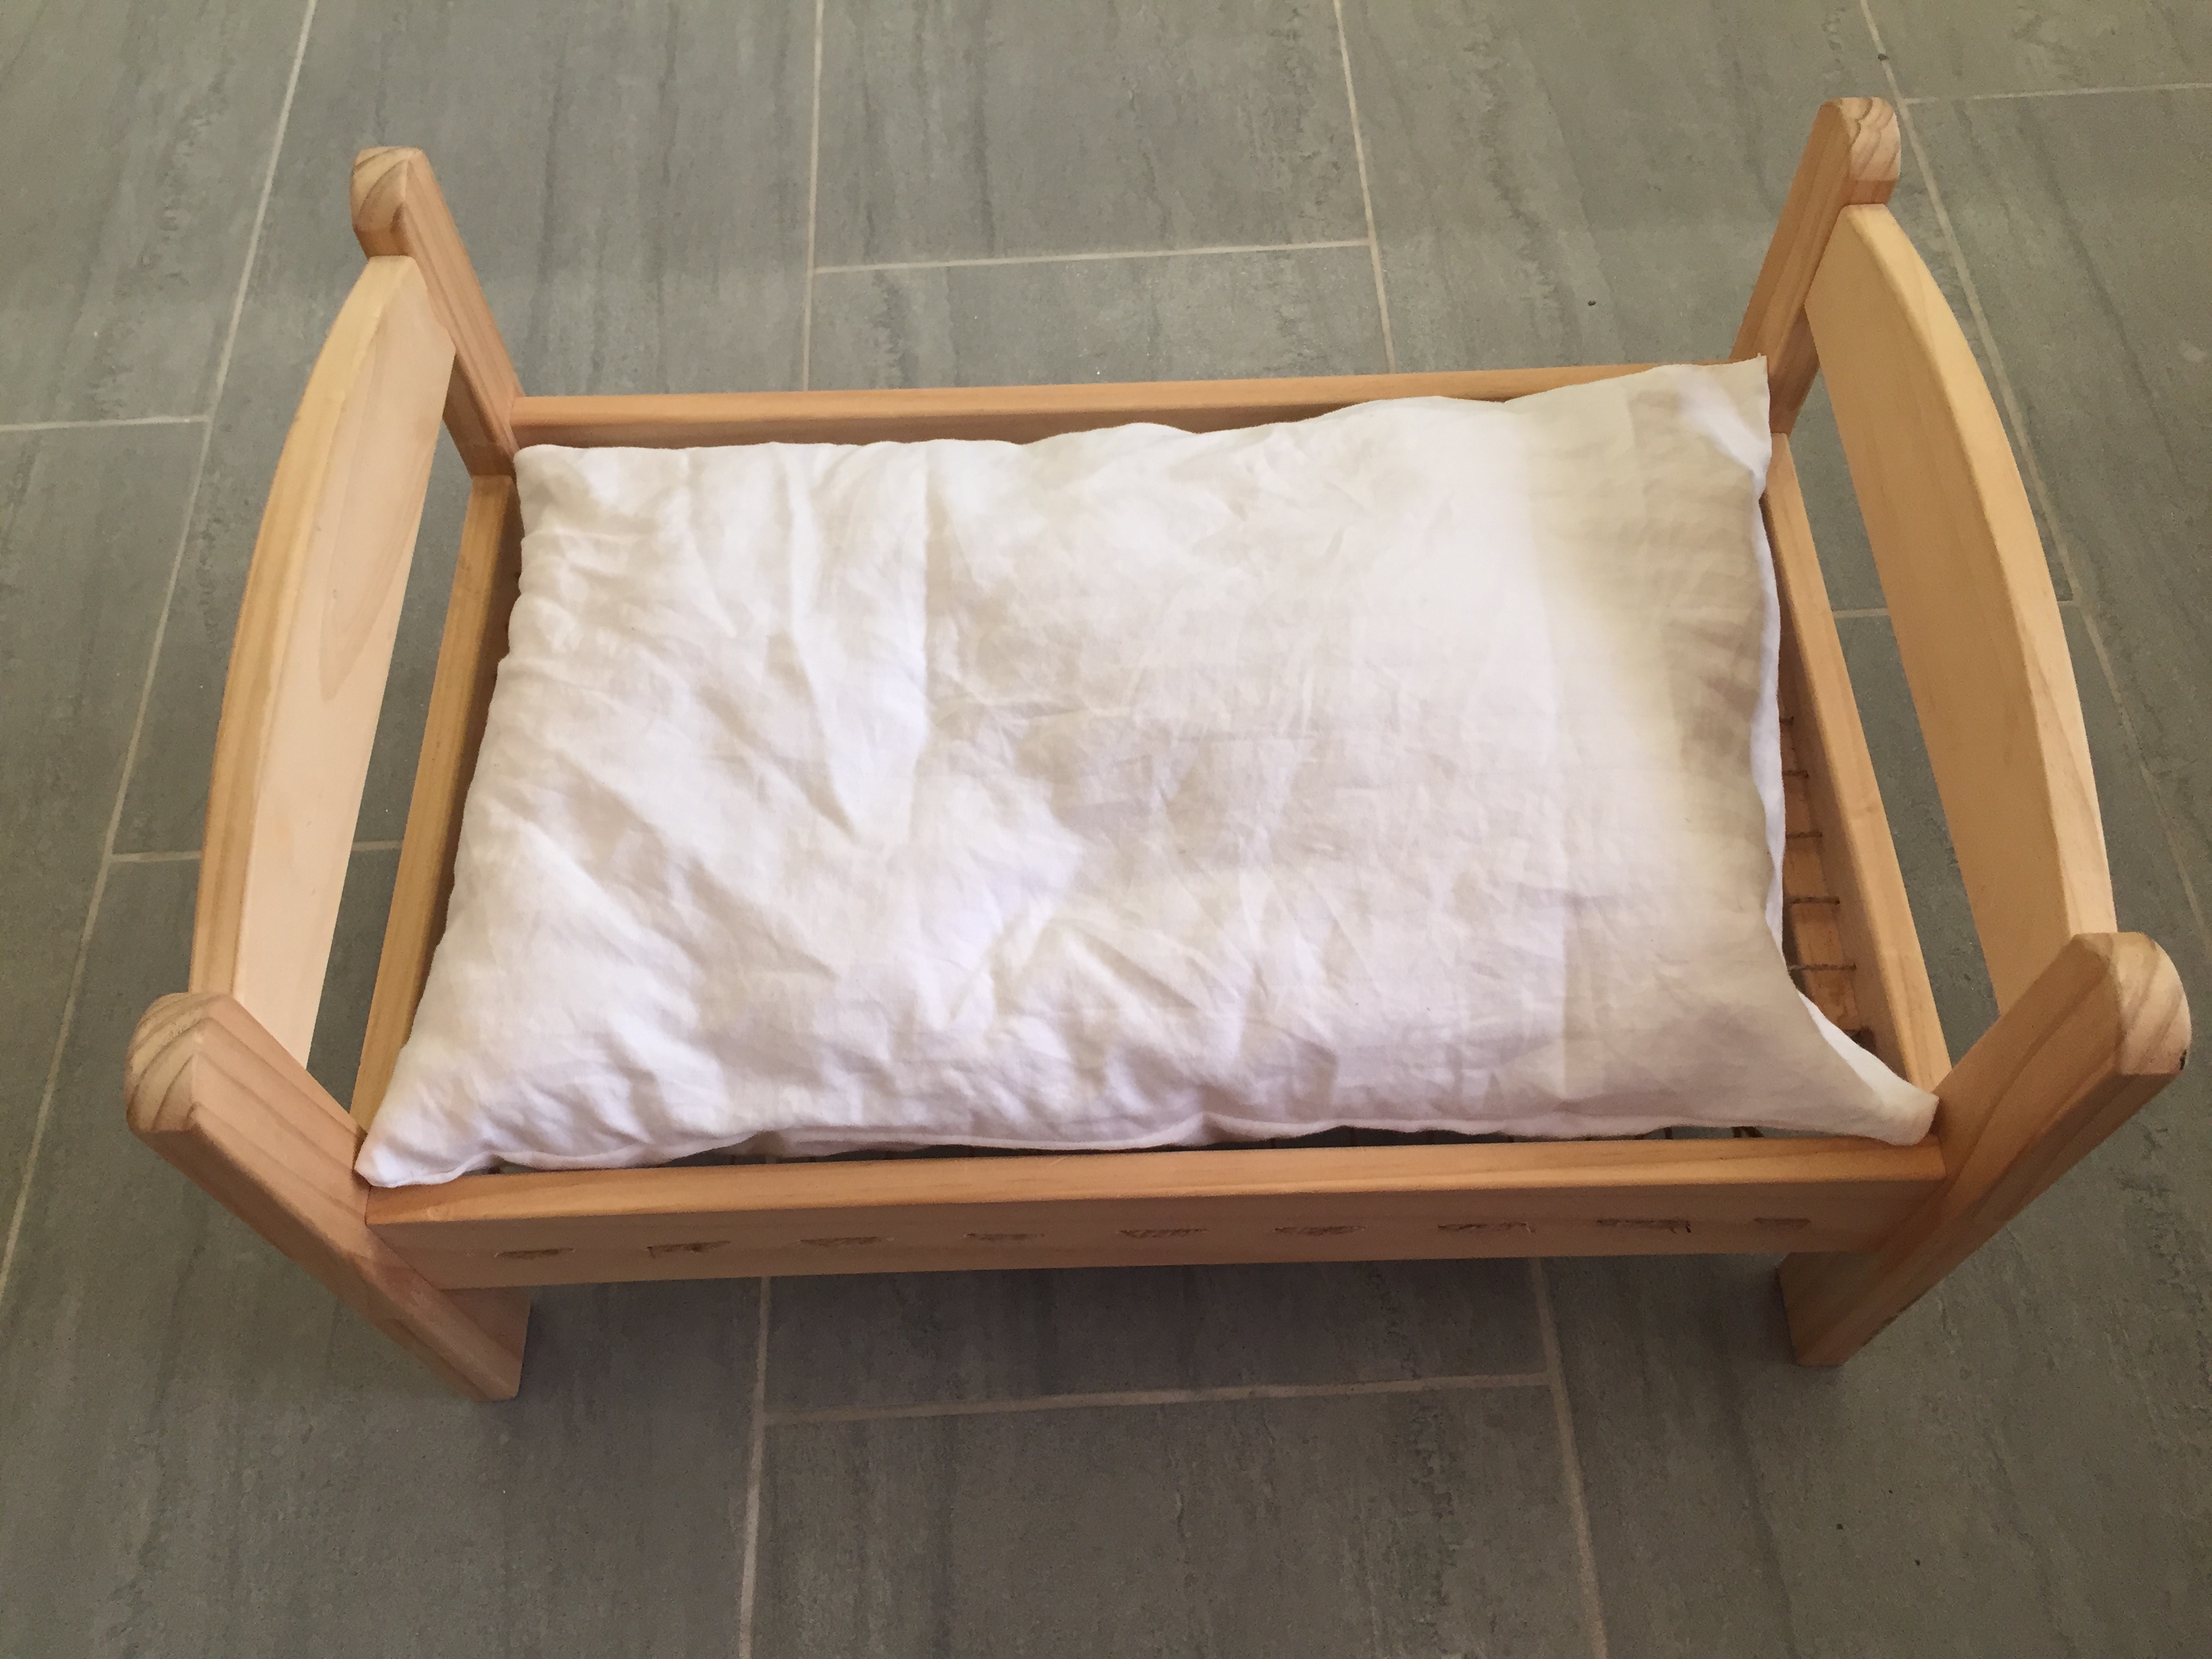
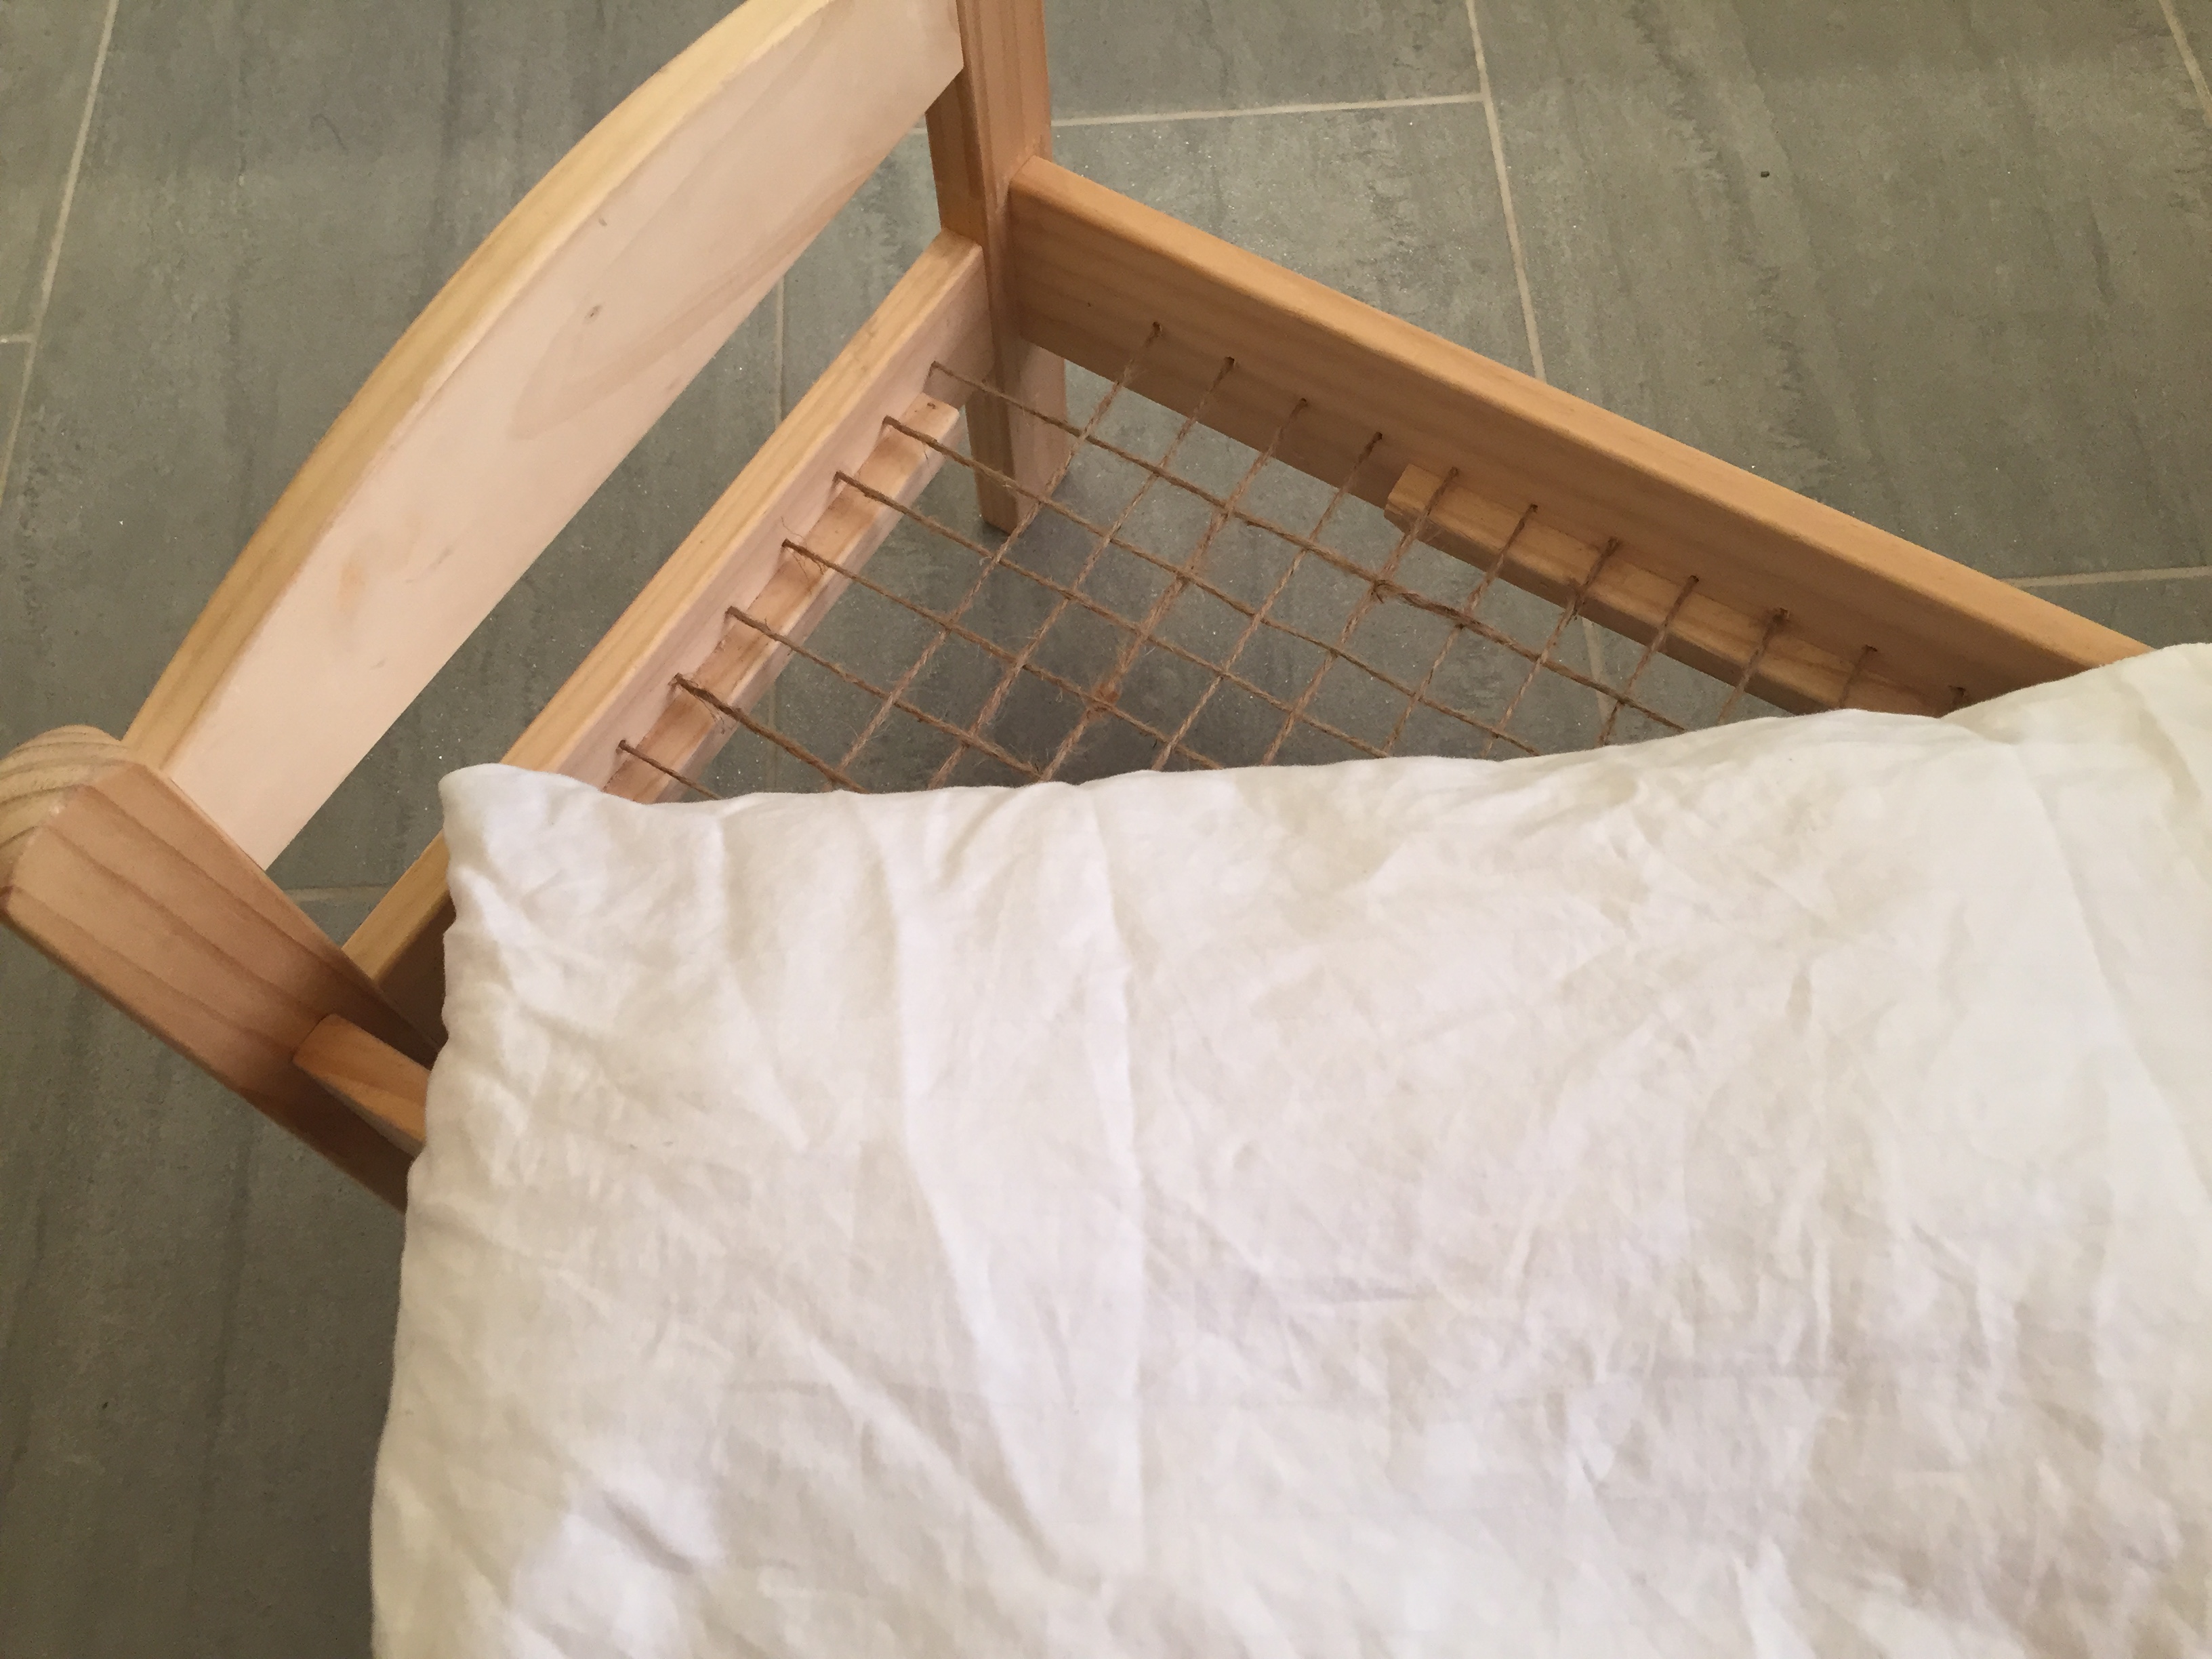
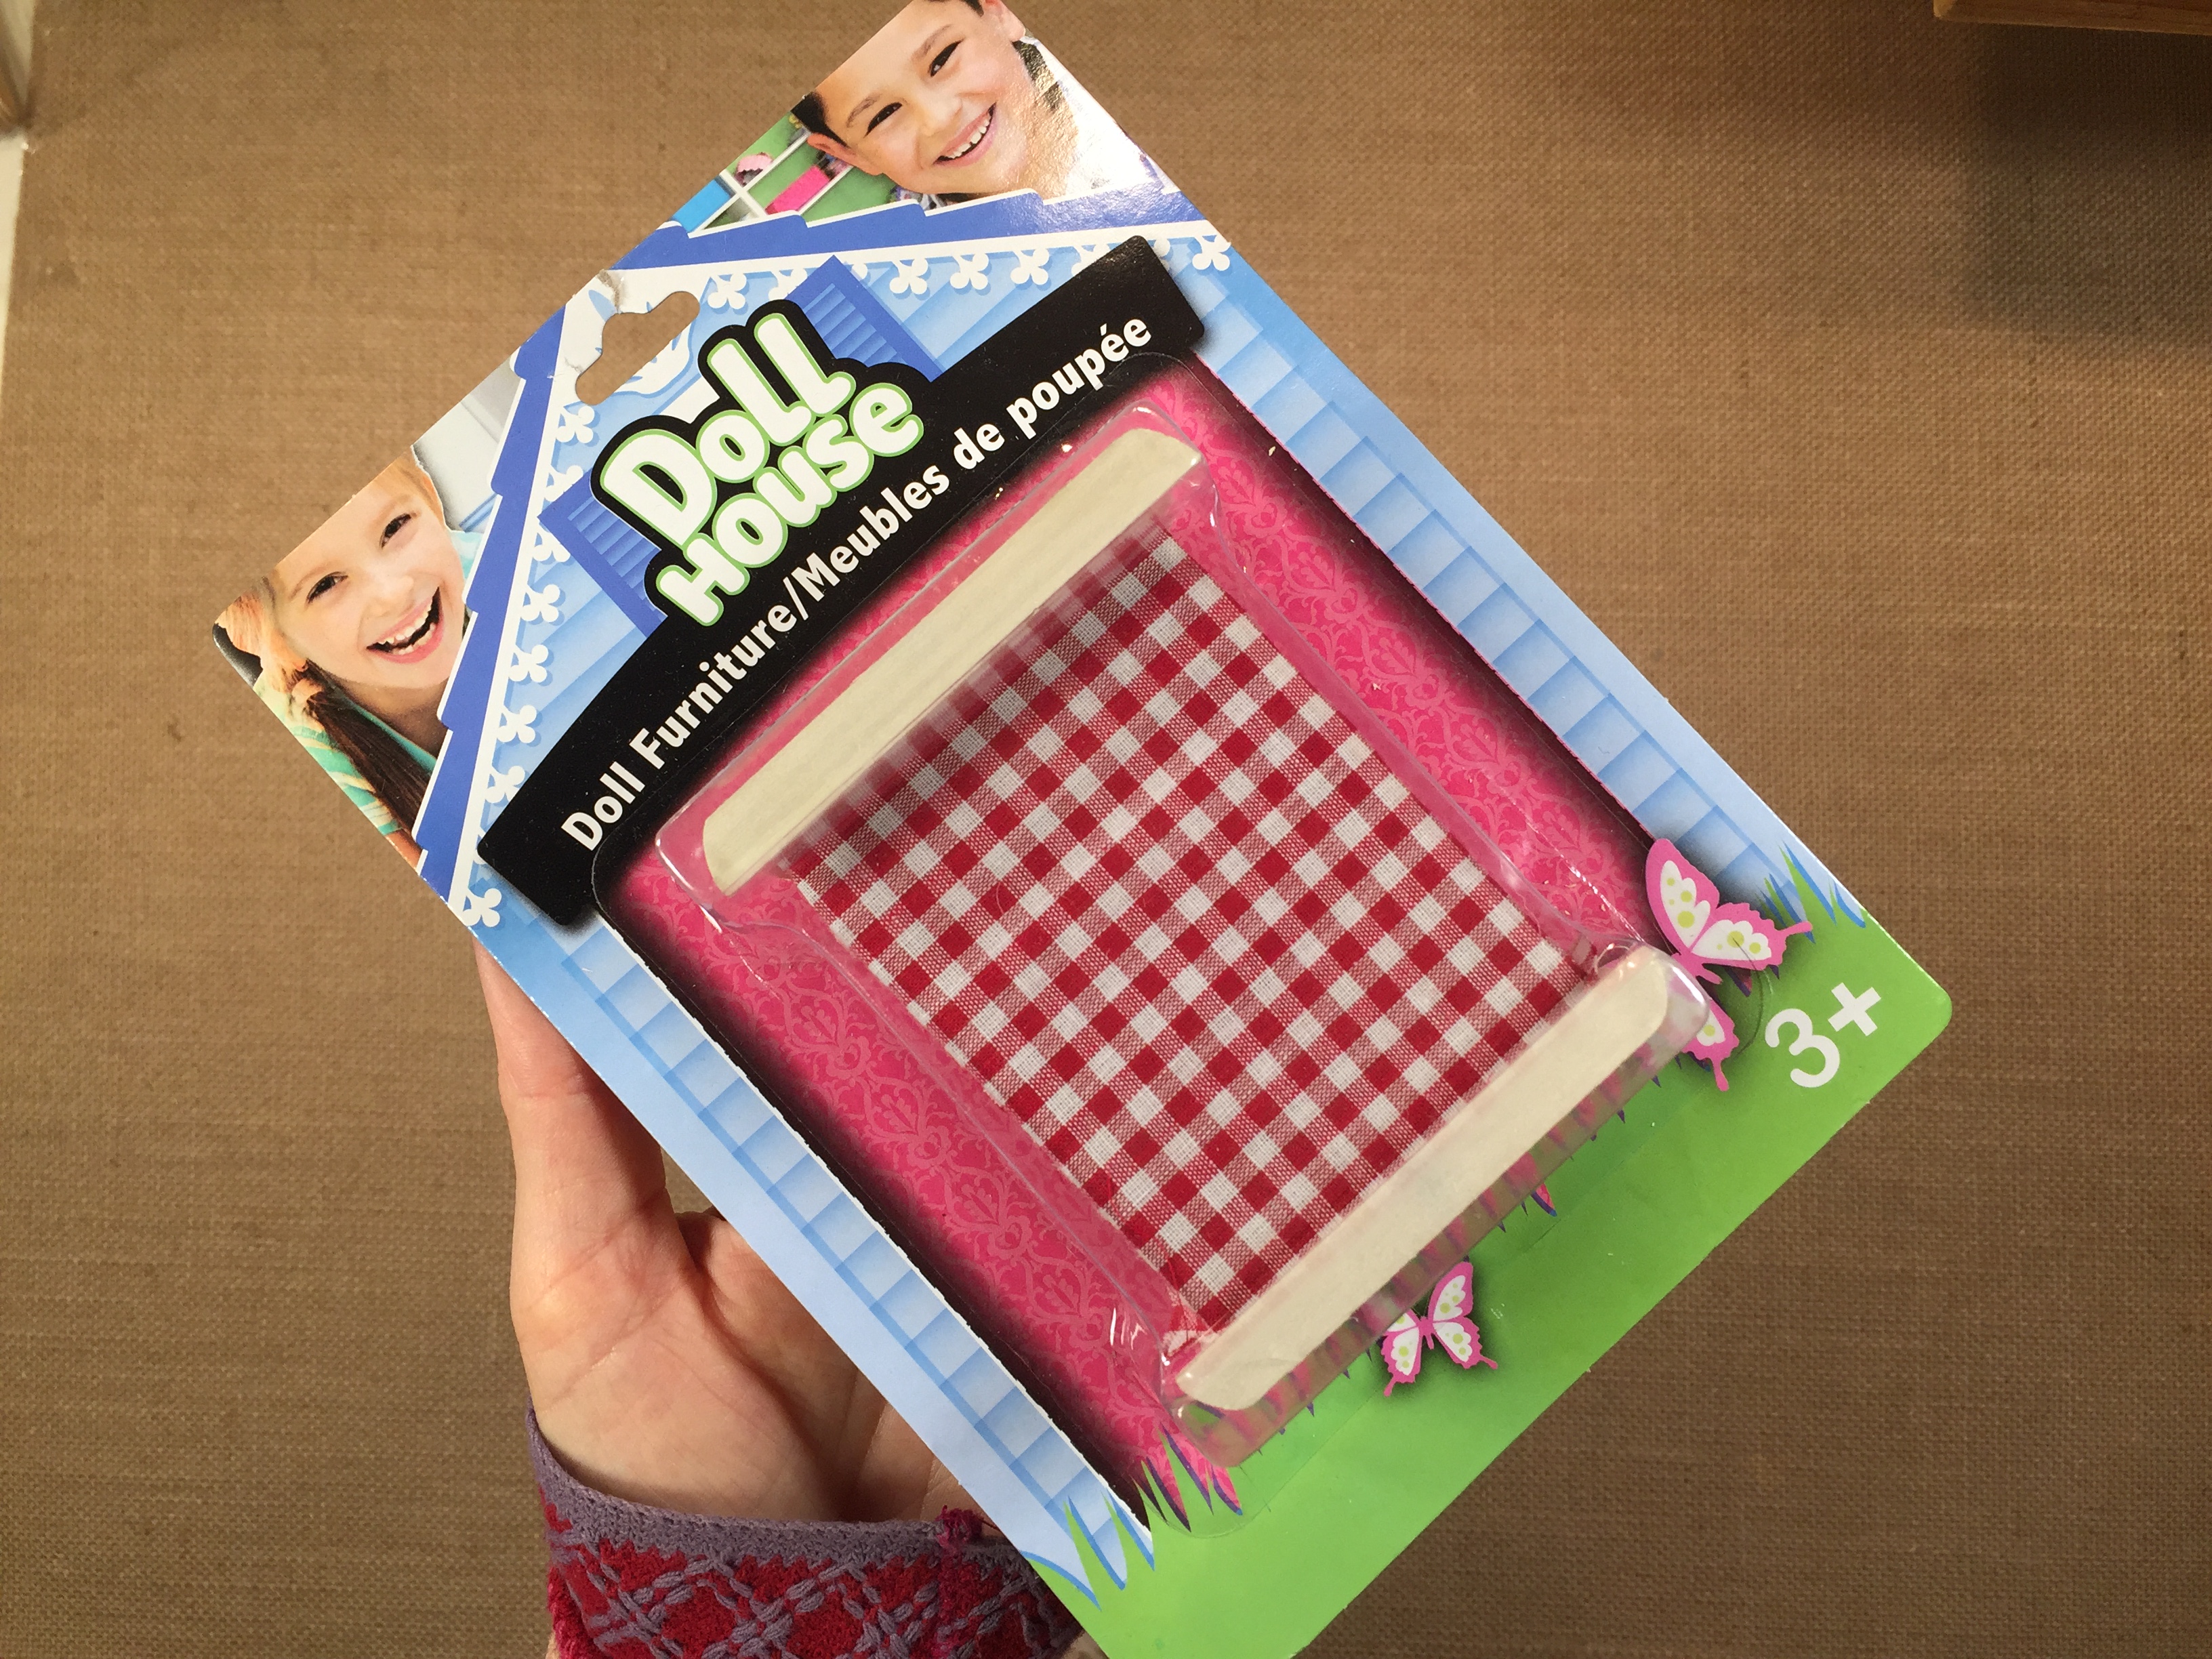
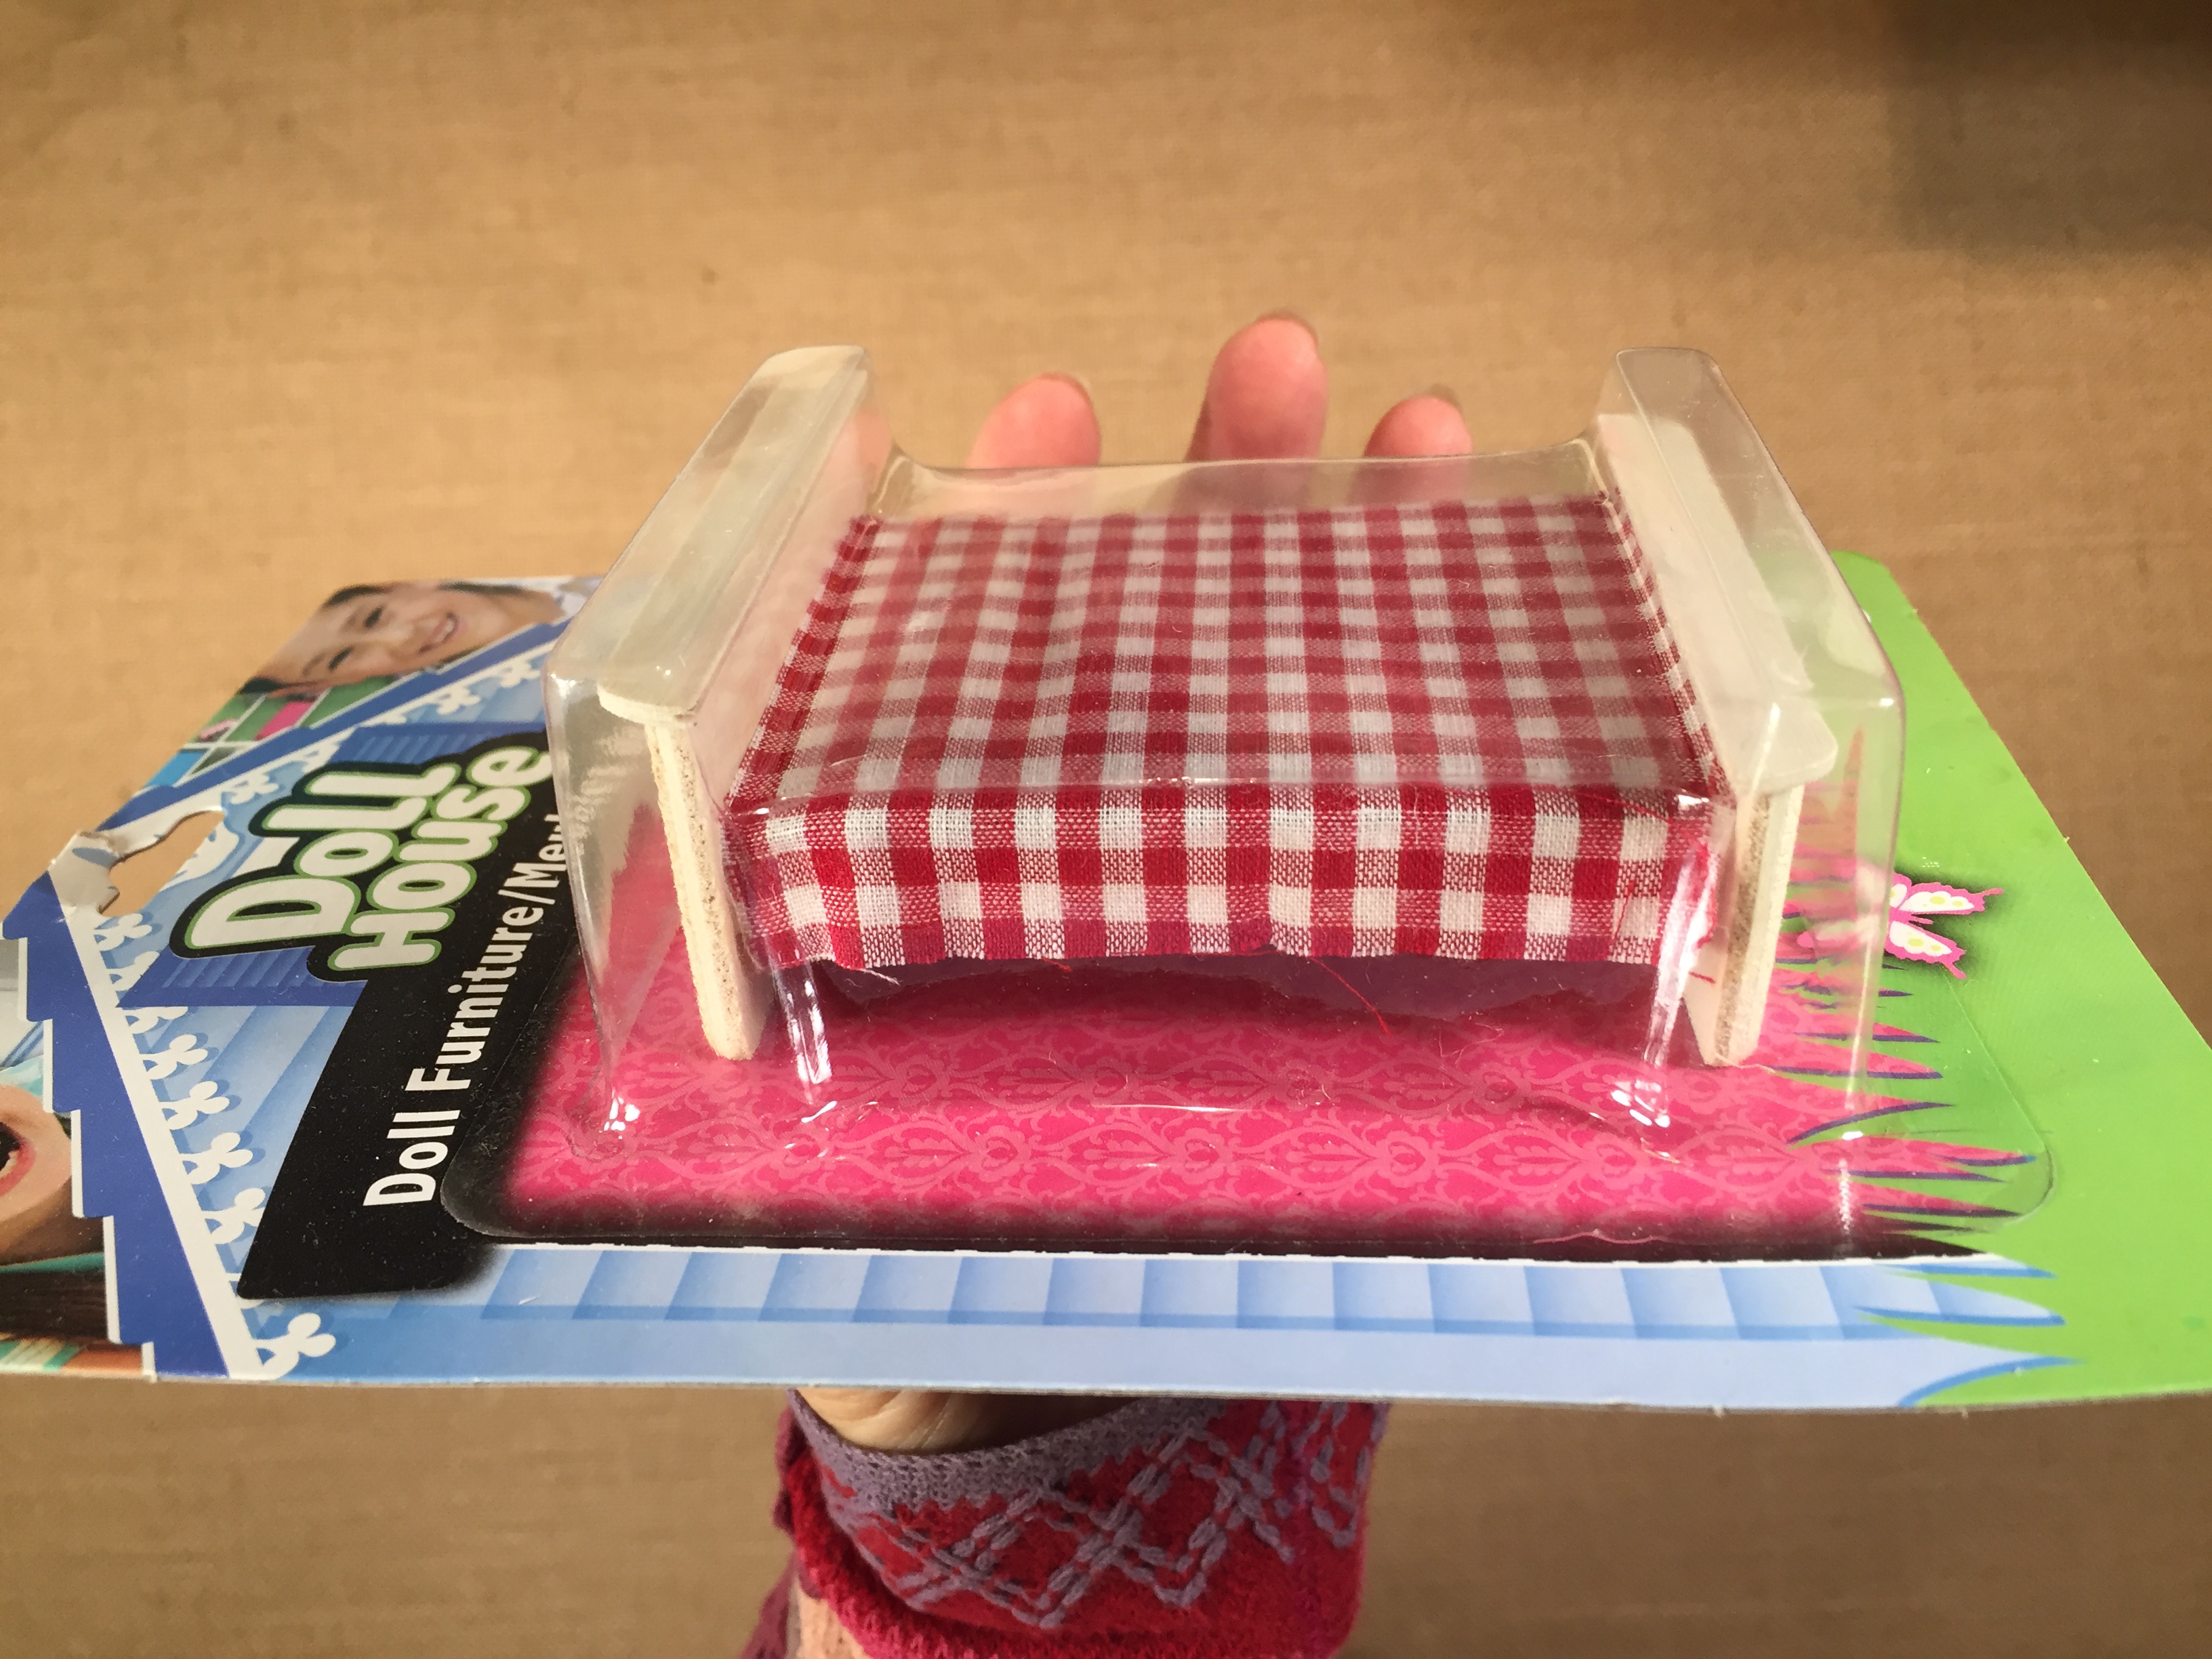
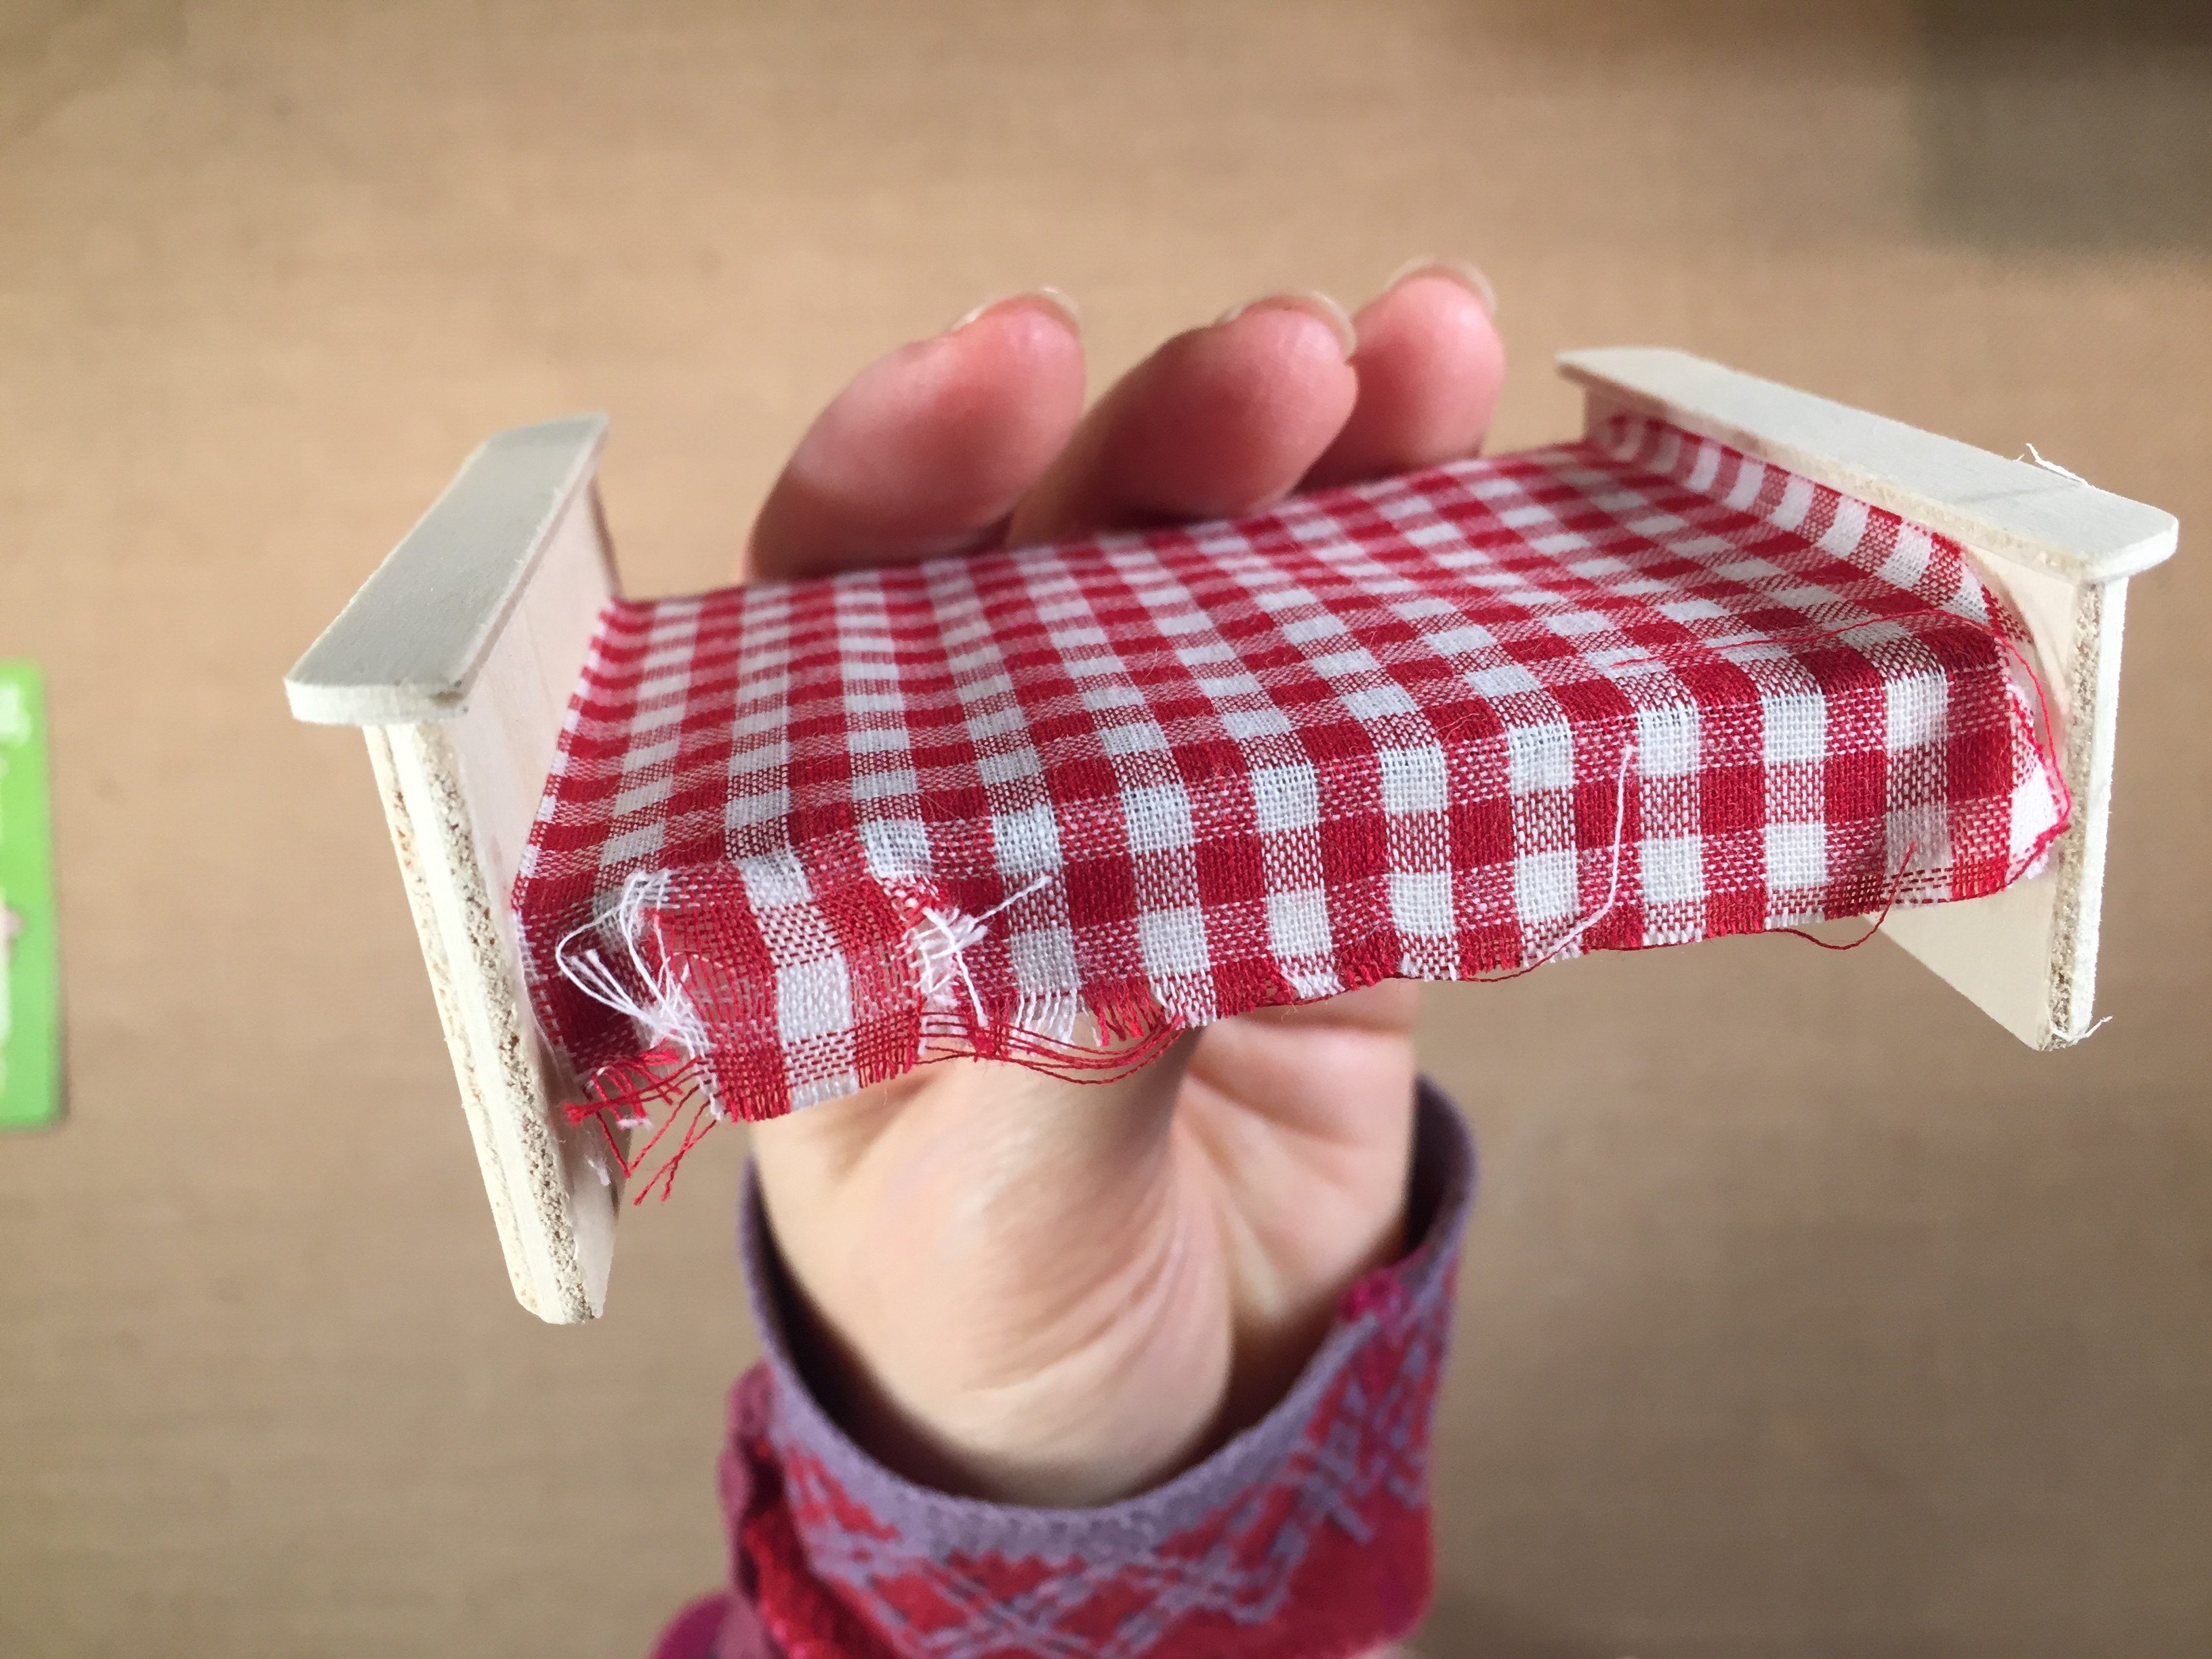
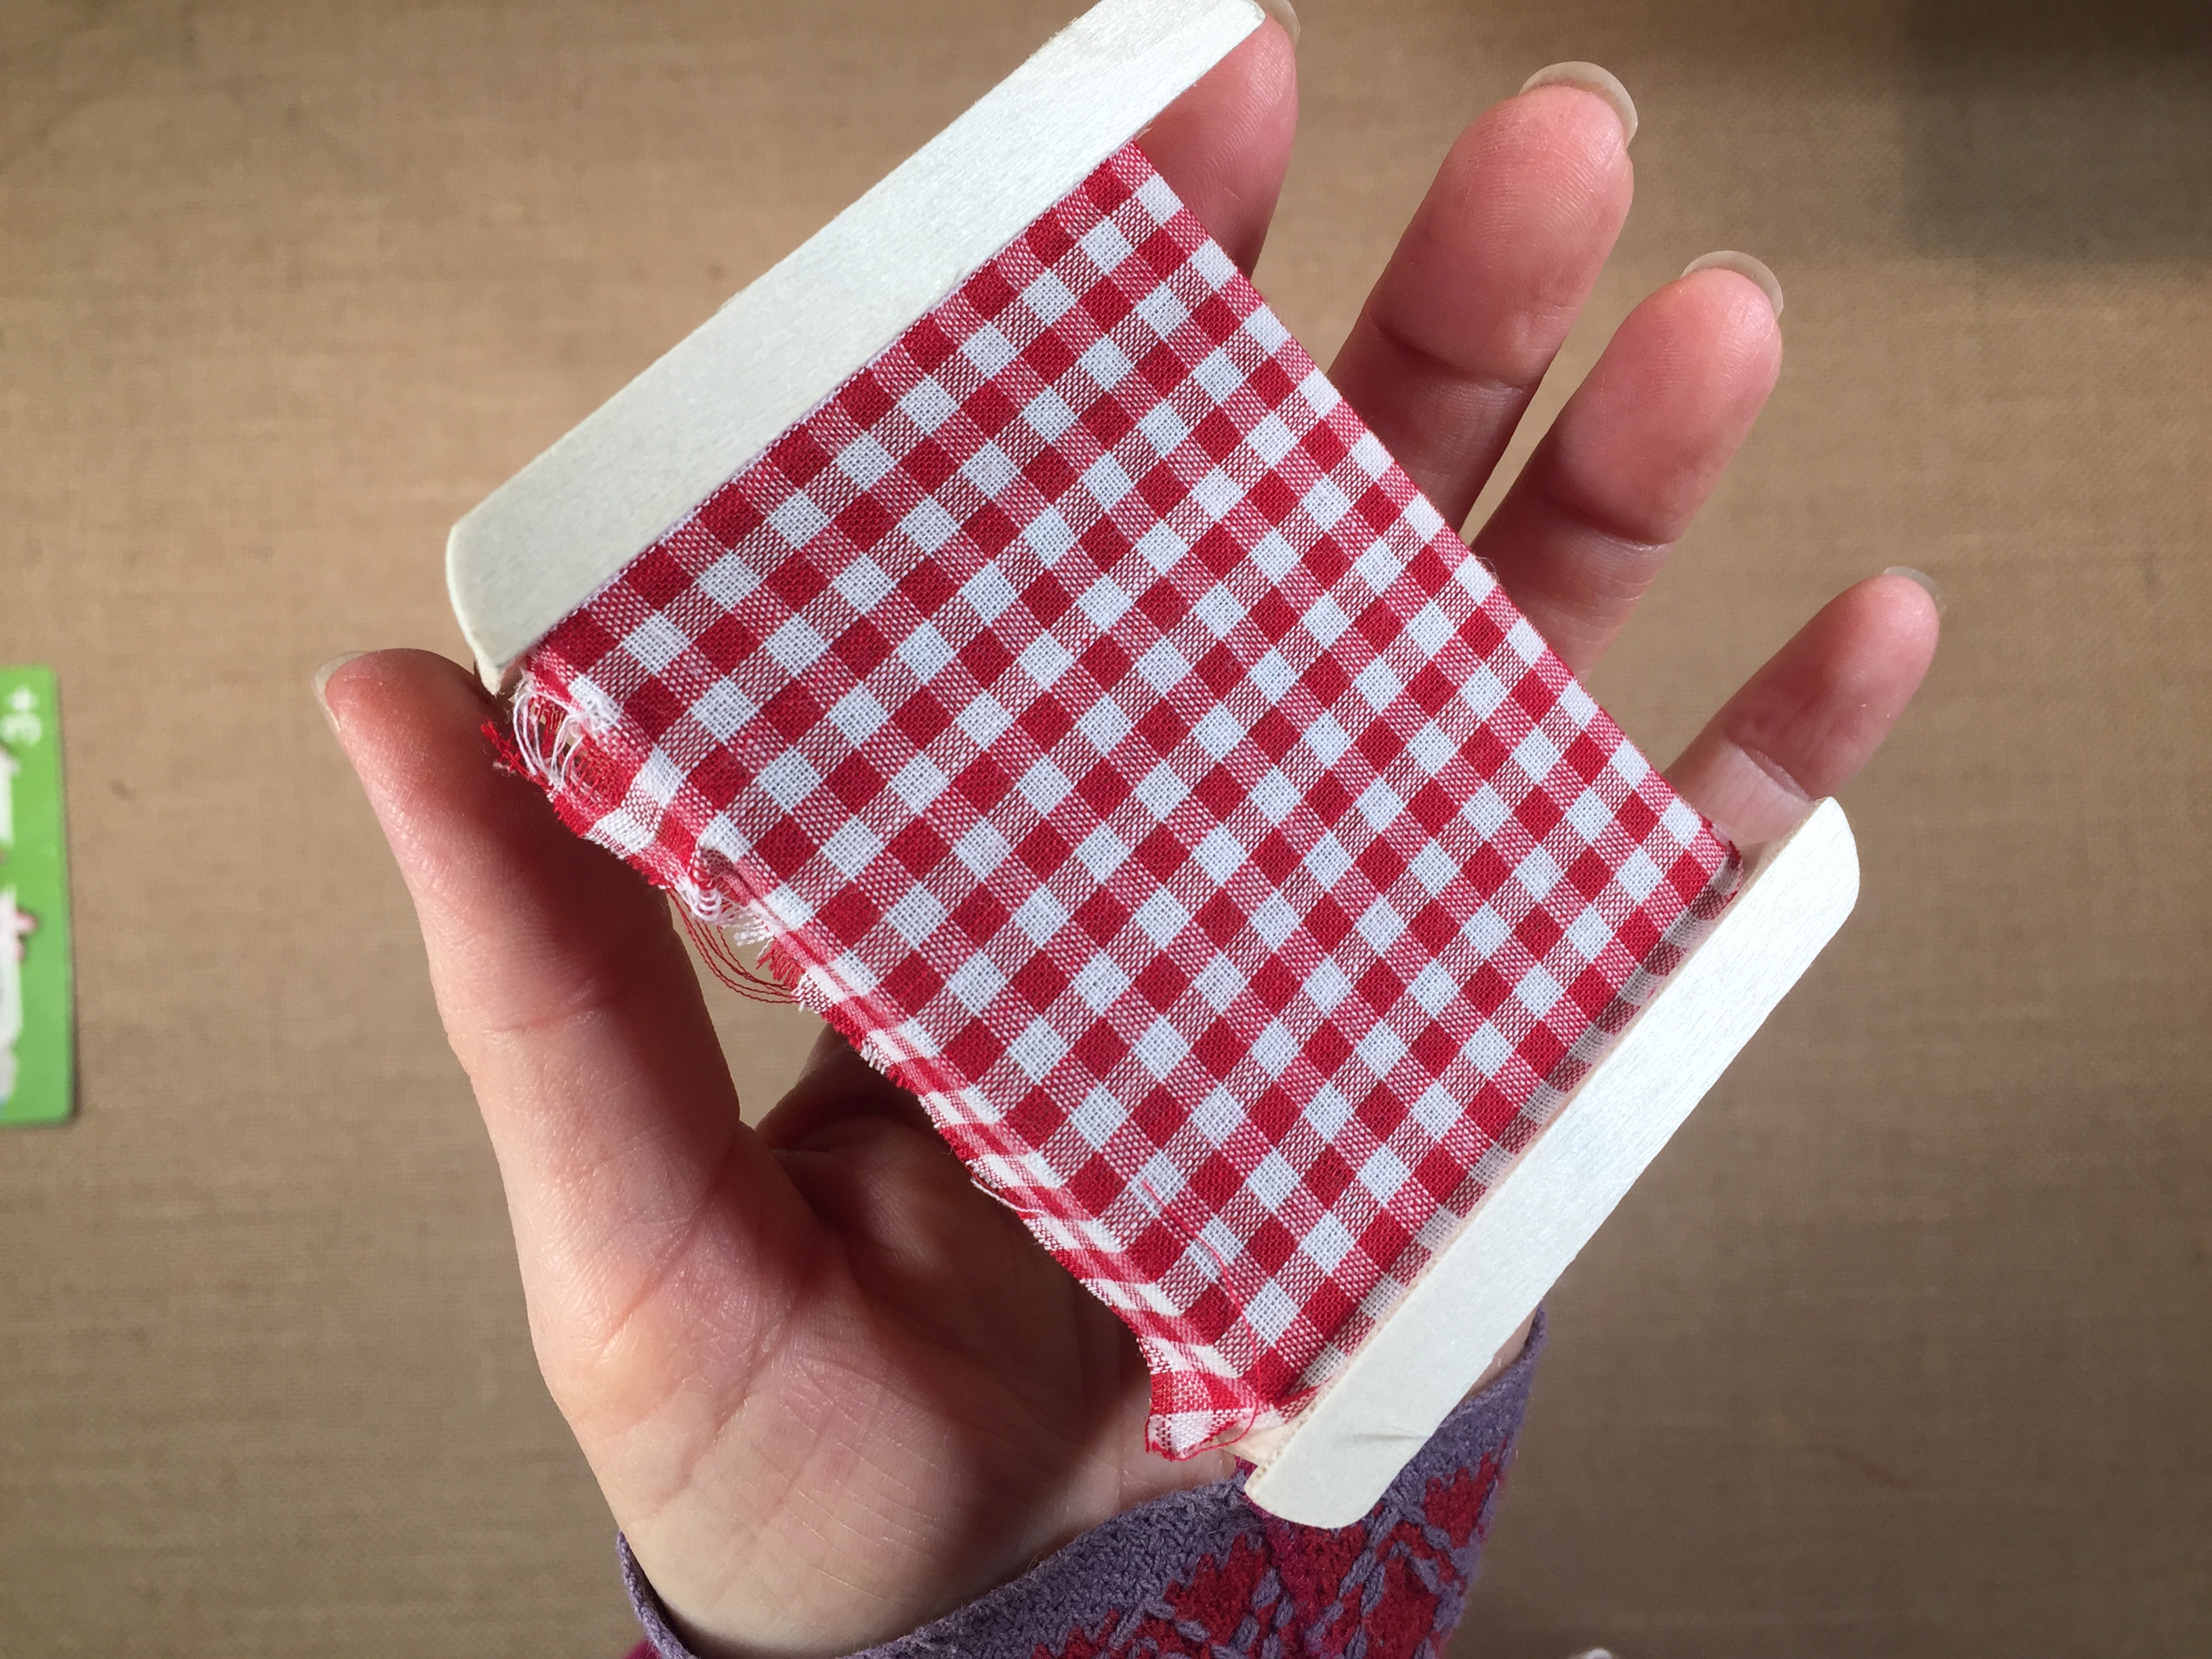
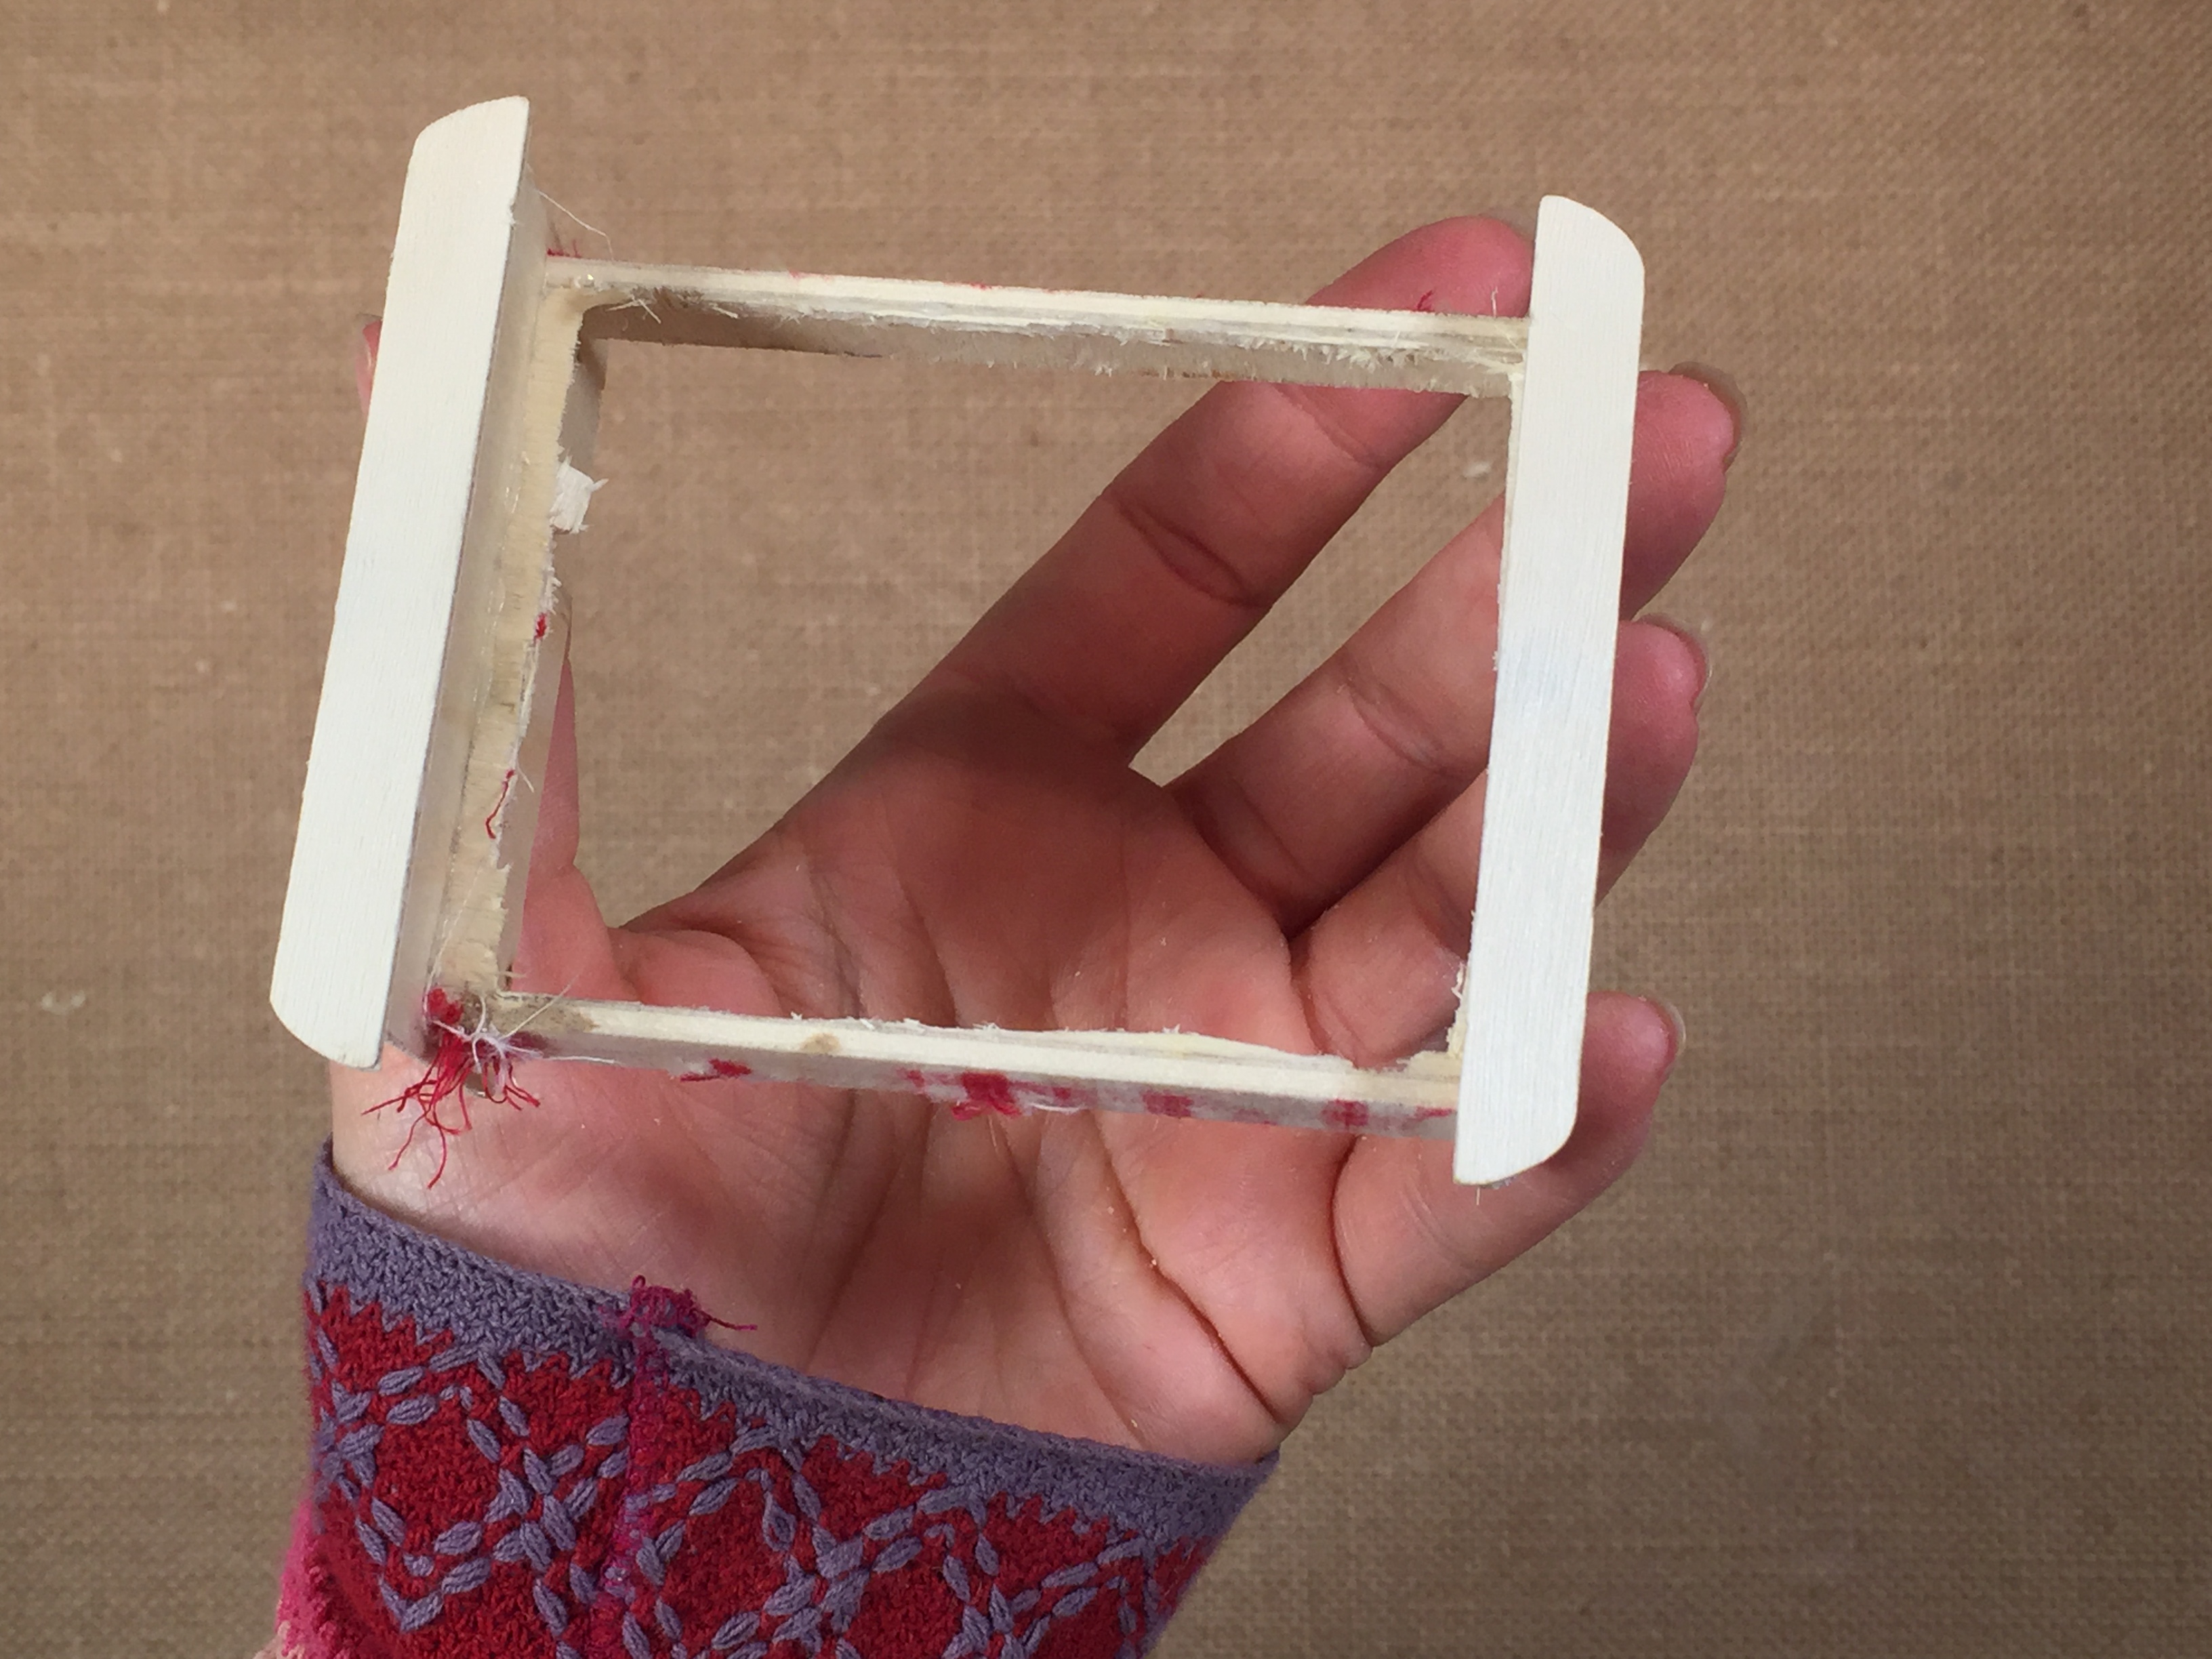
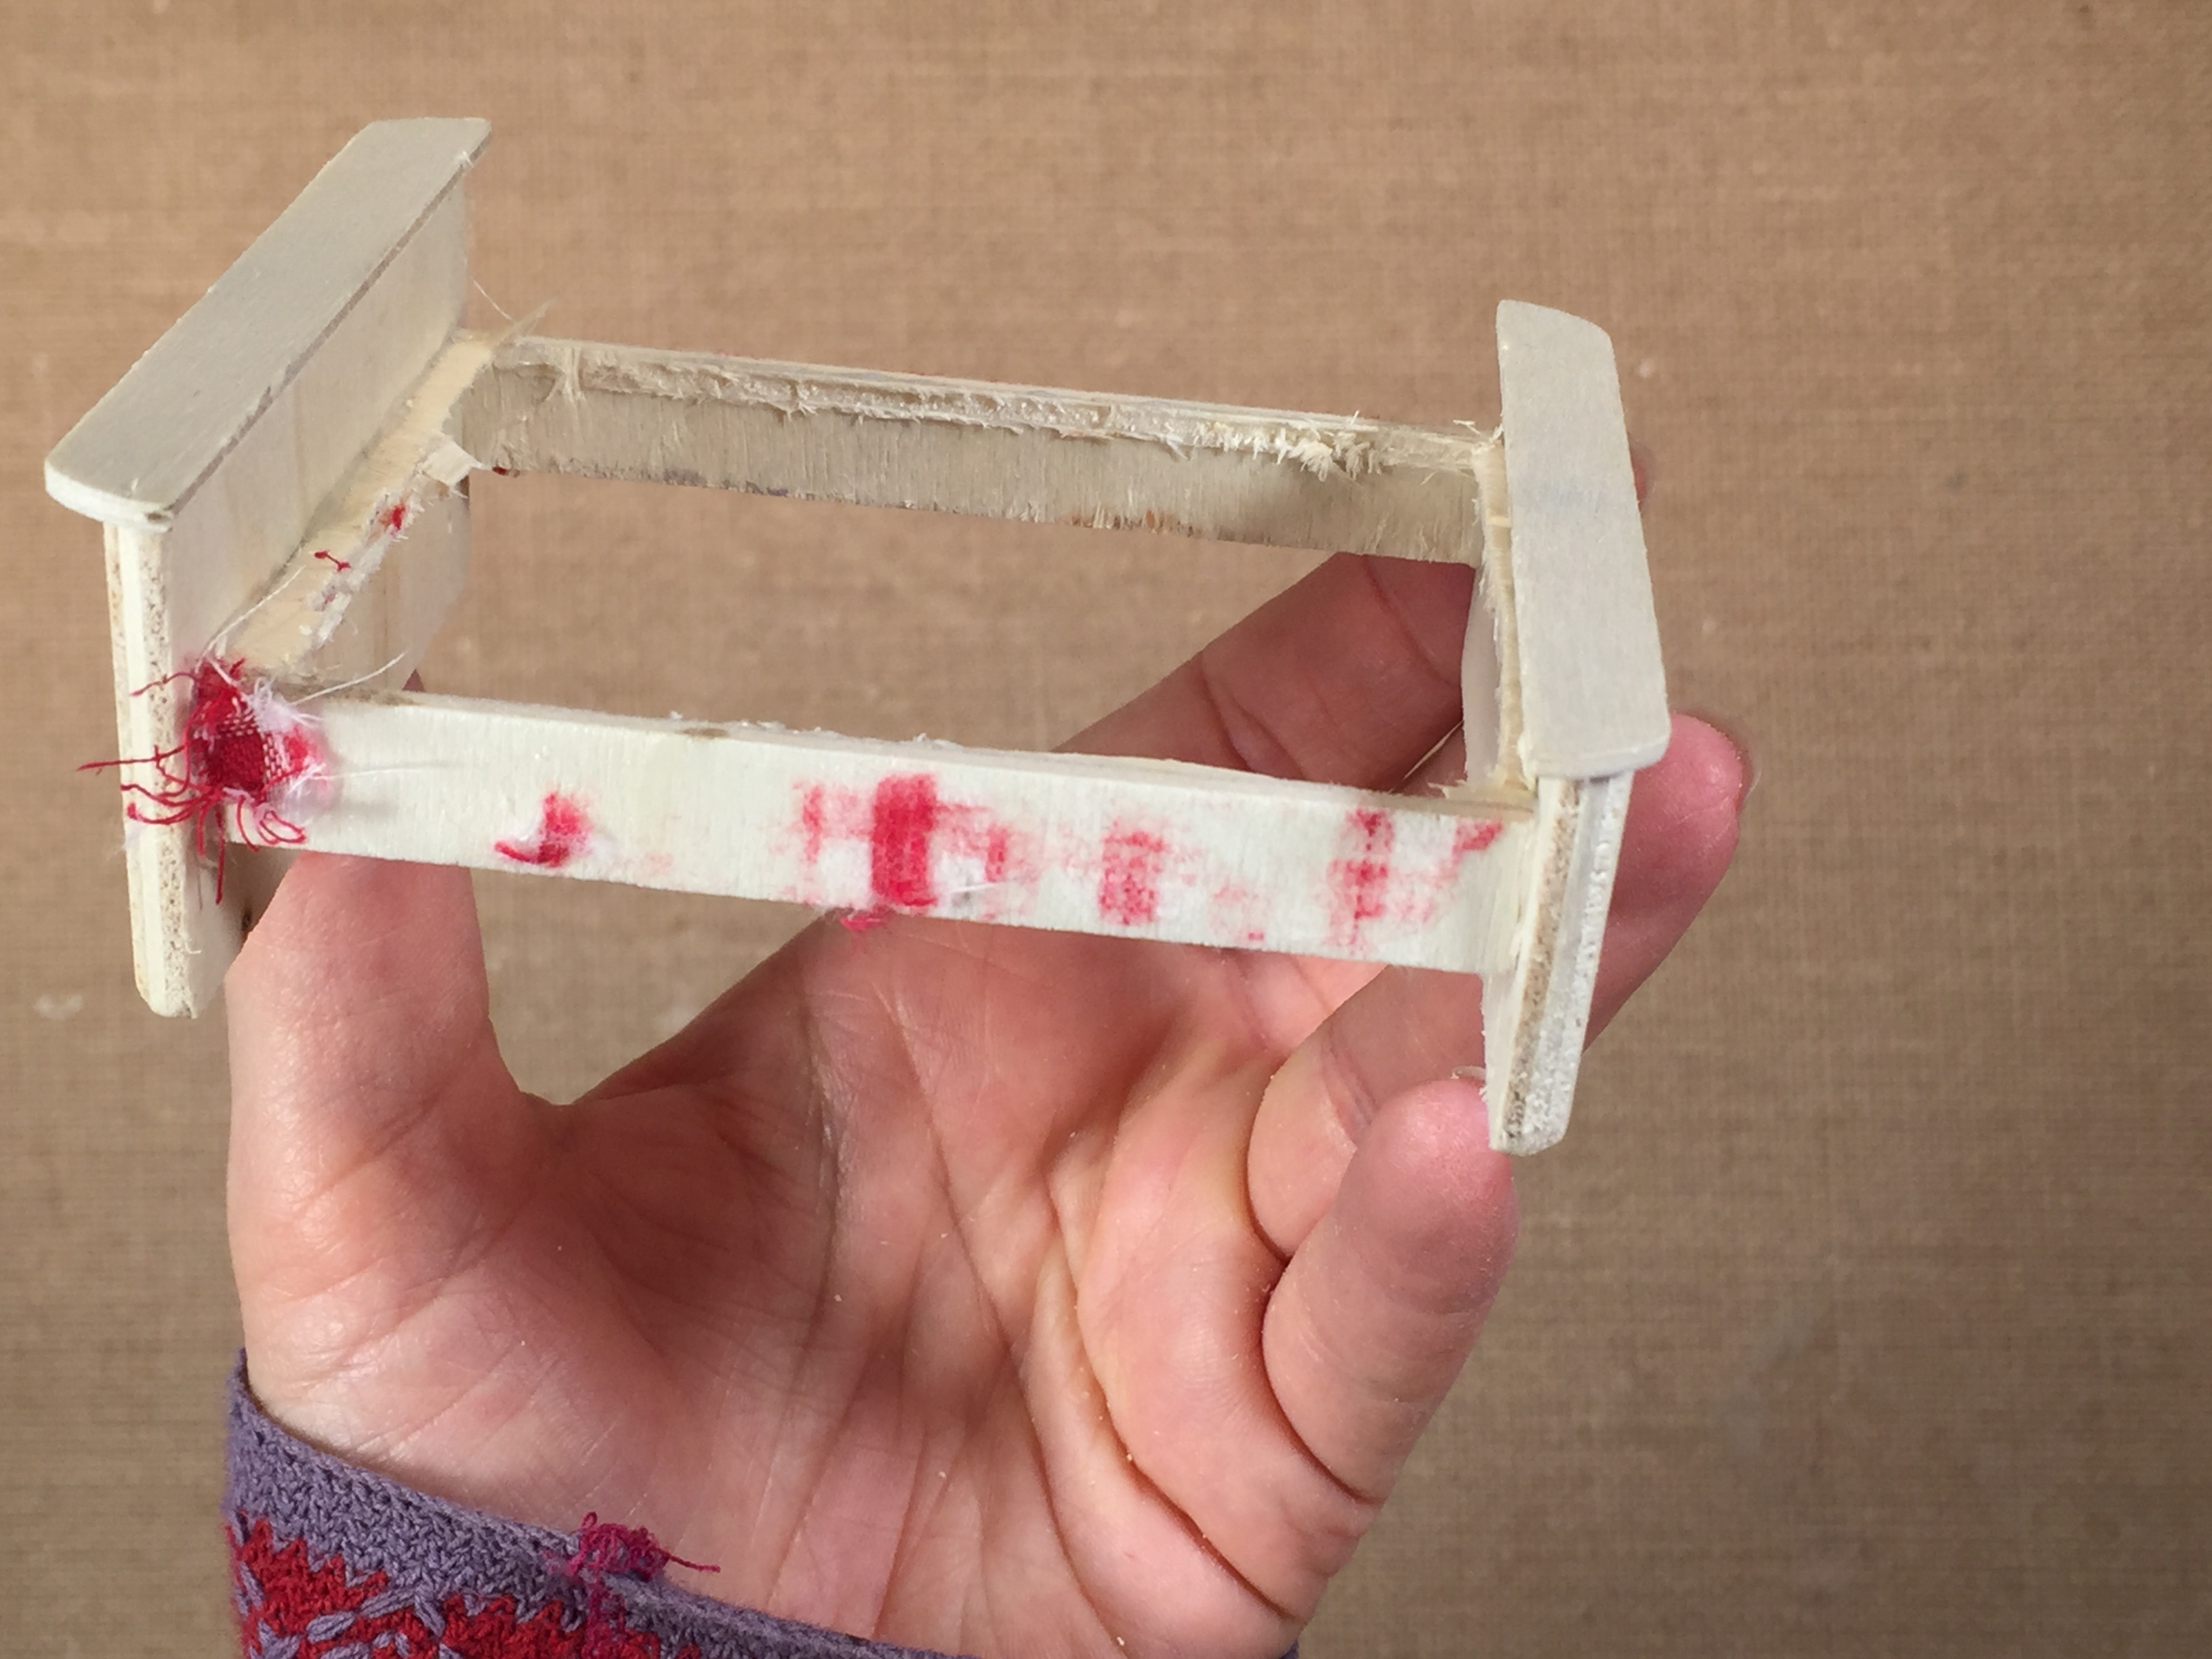
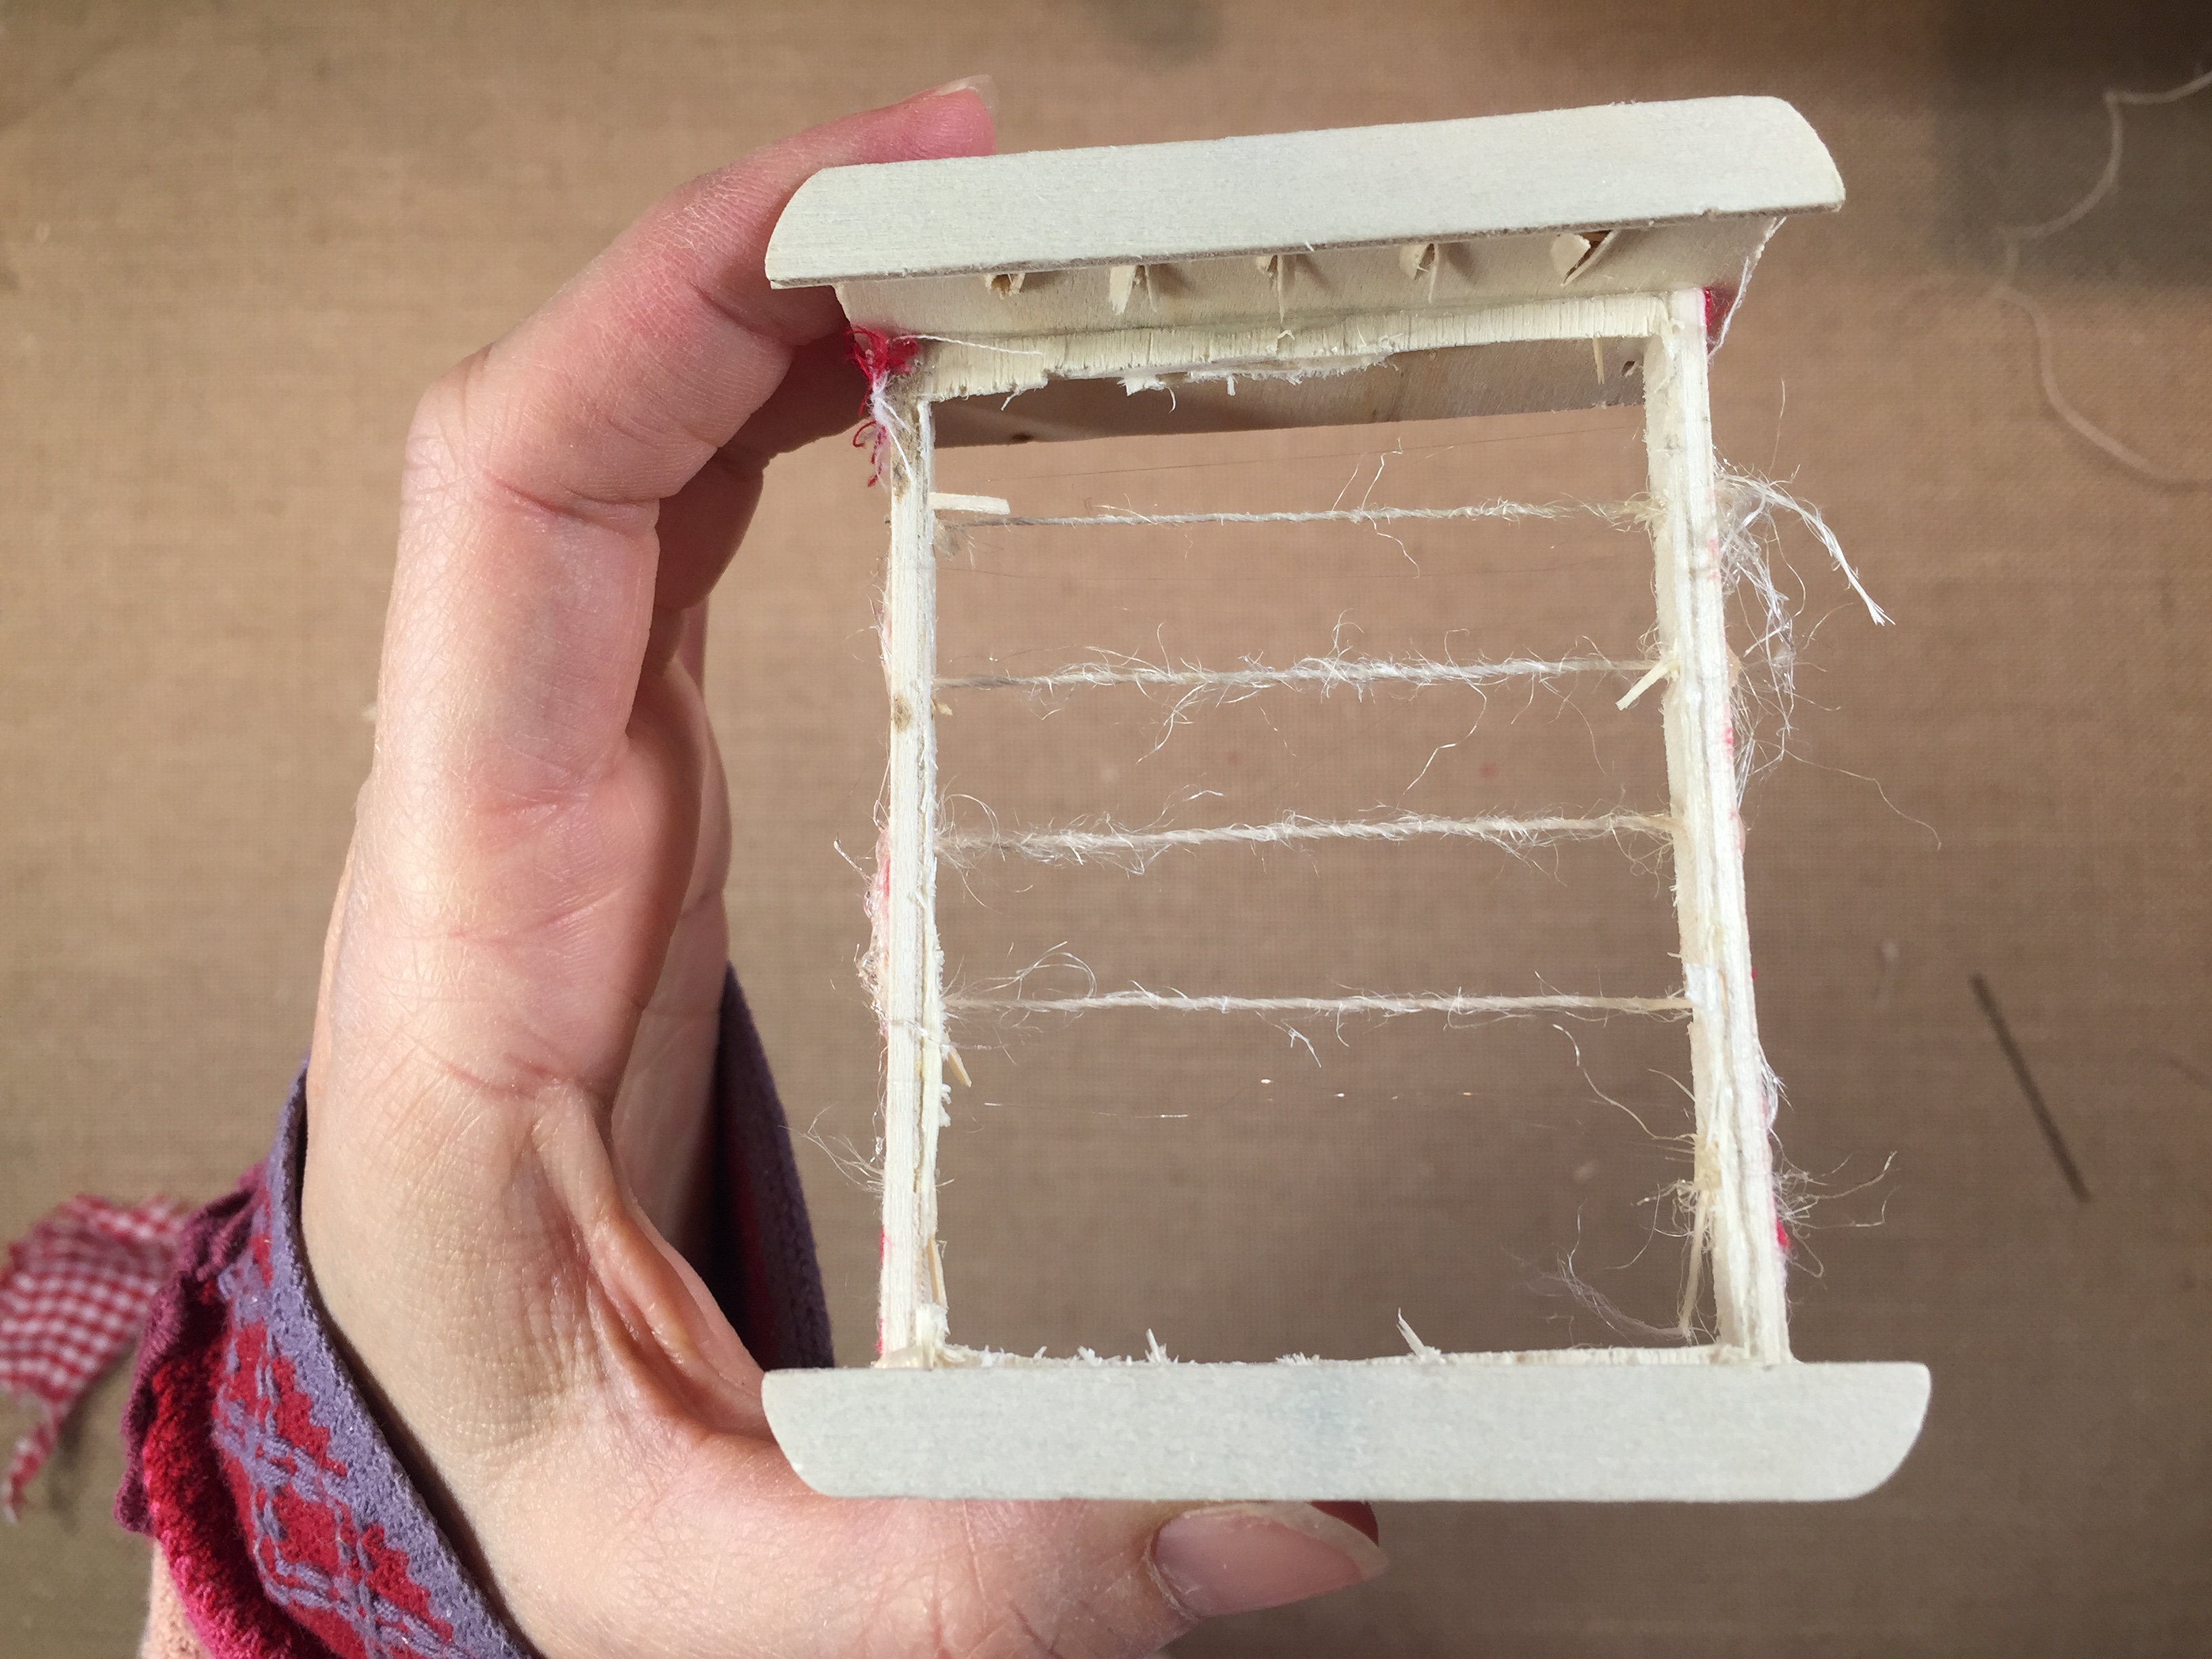
How To Make A Historic Rope Bed
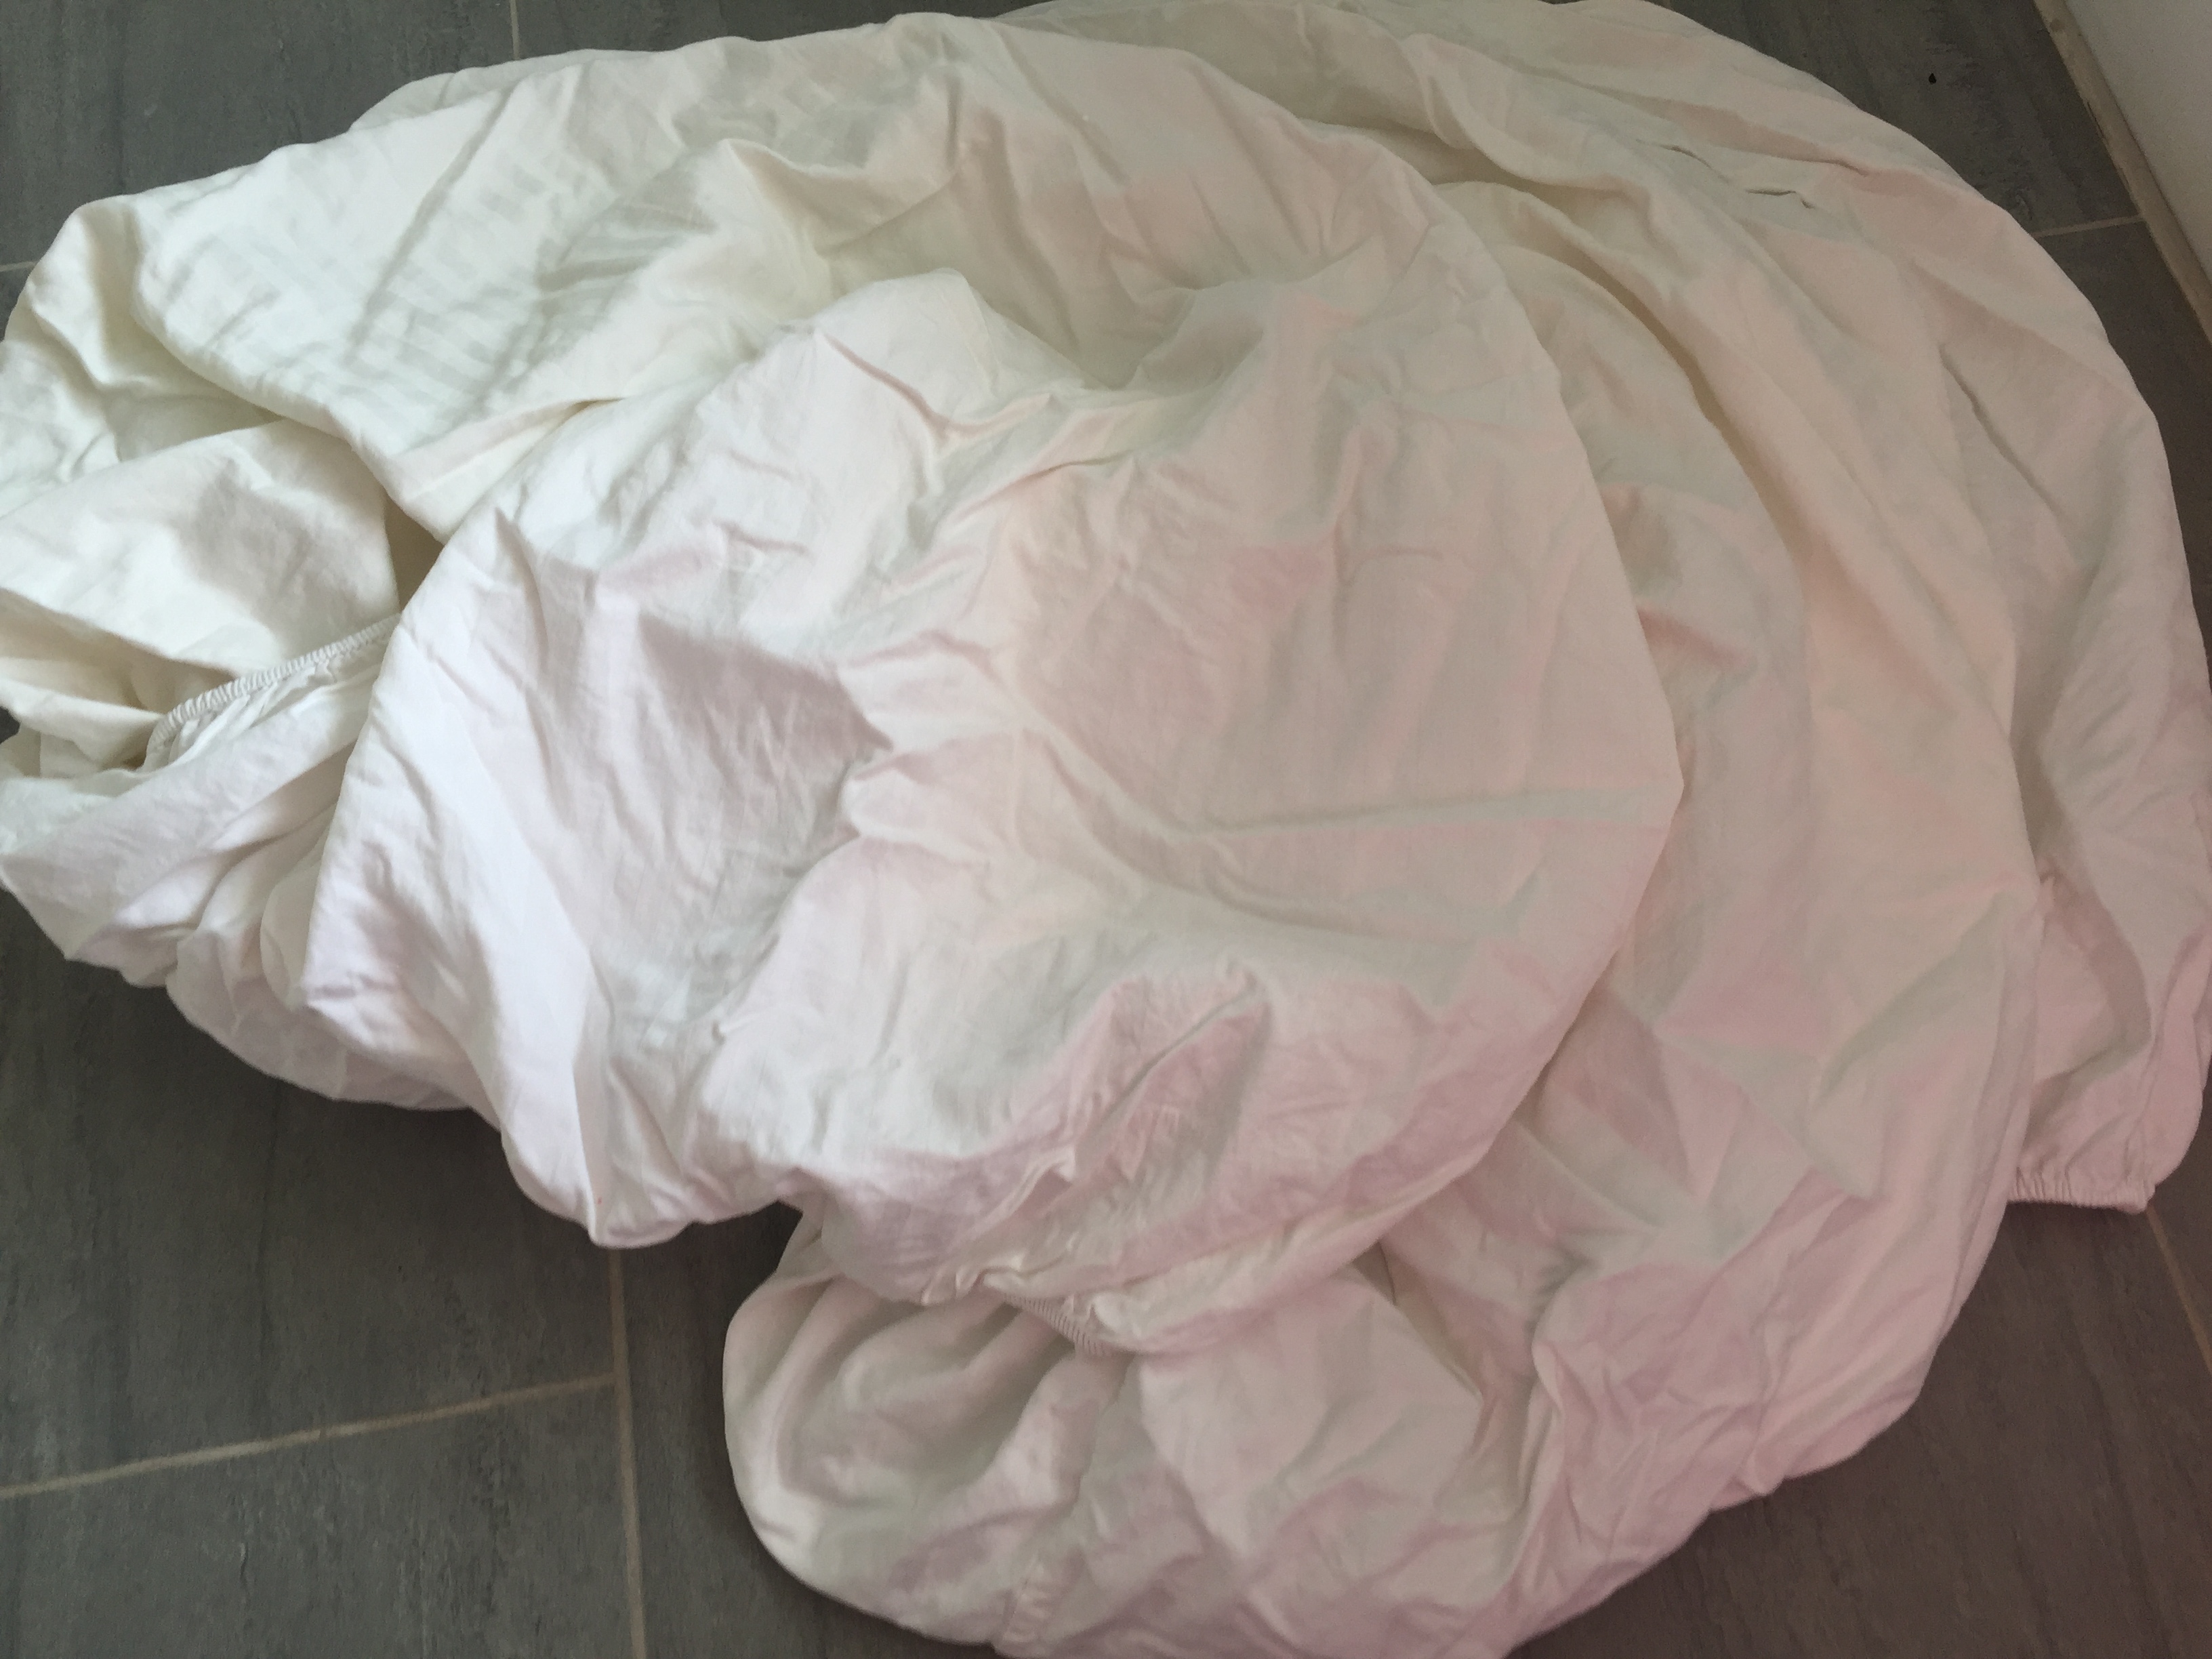
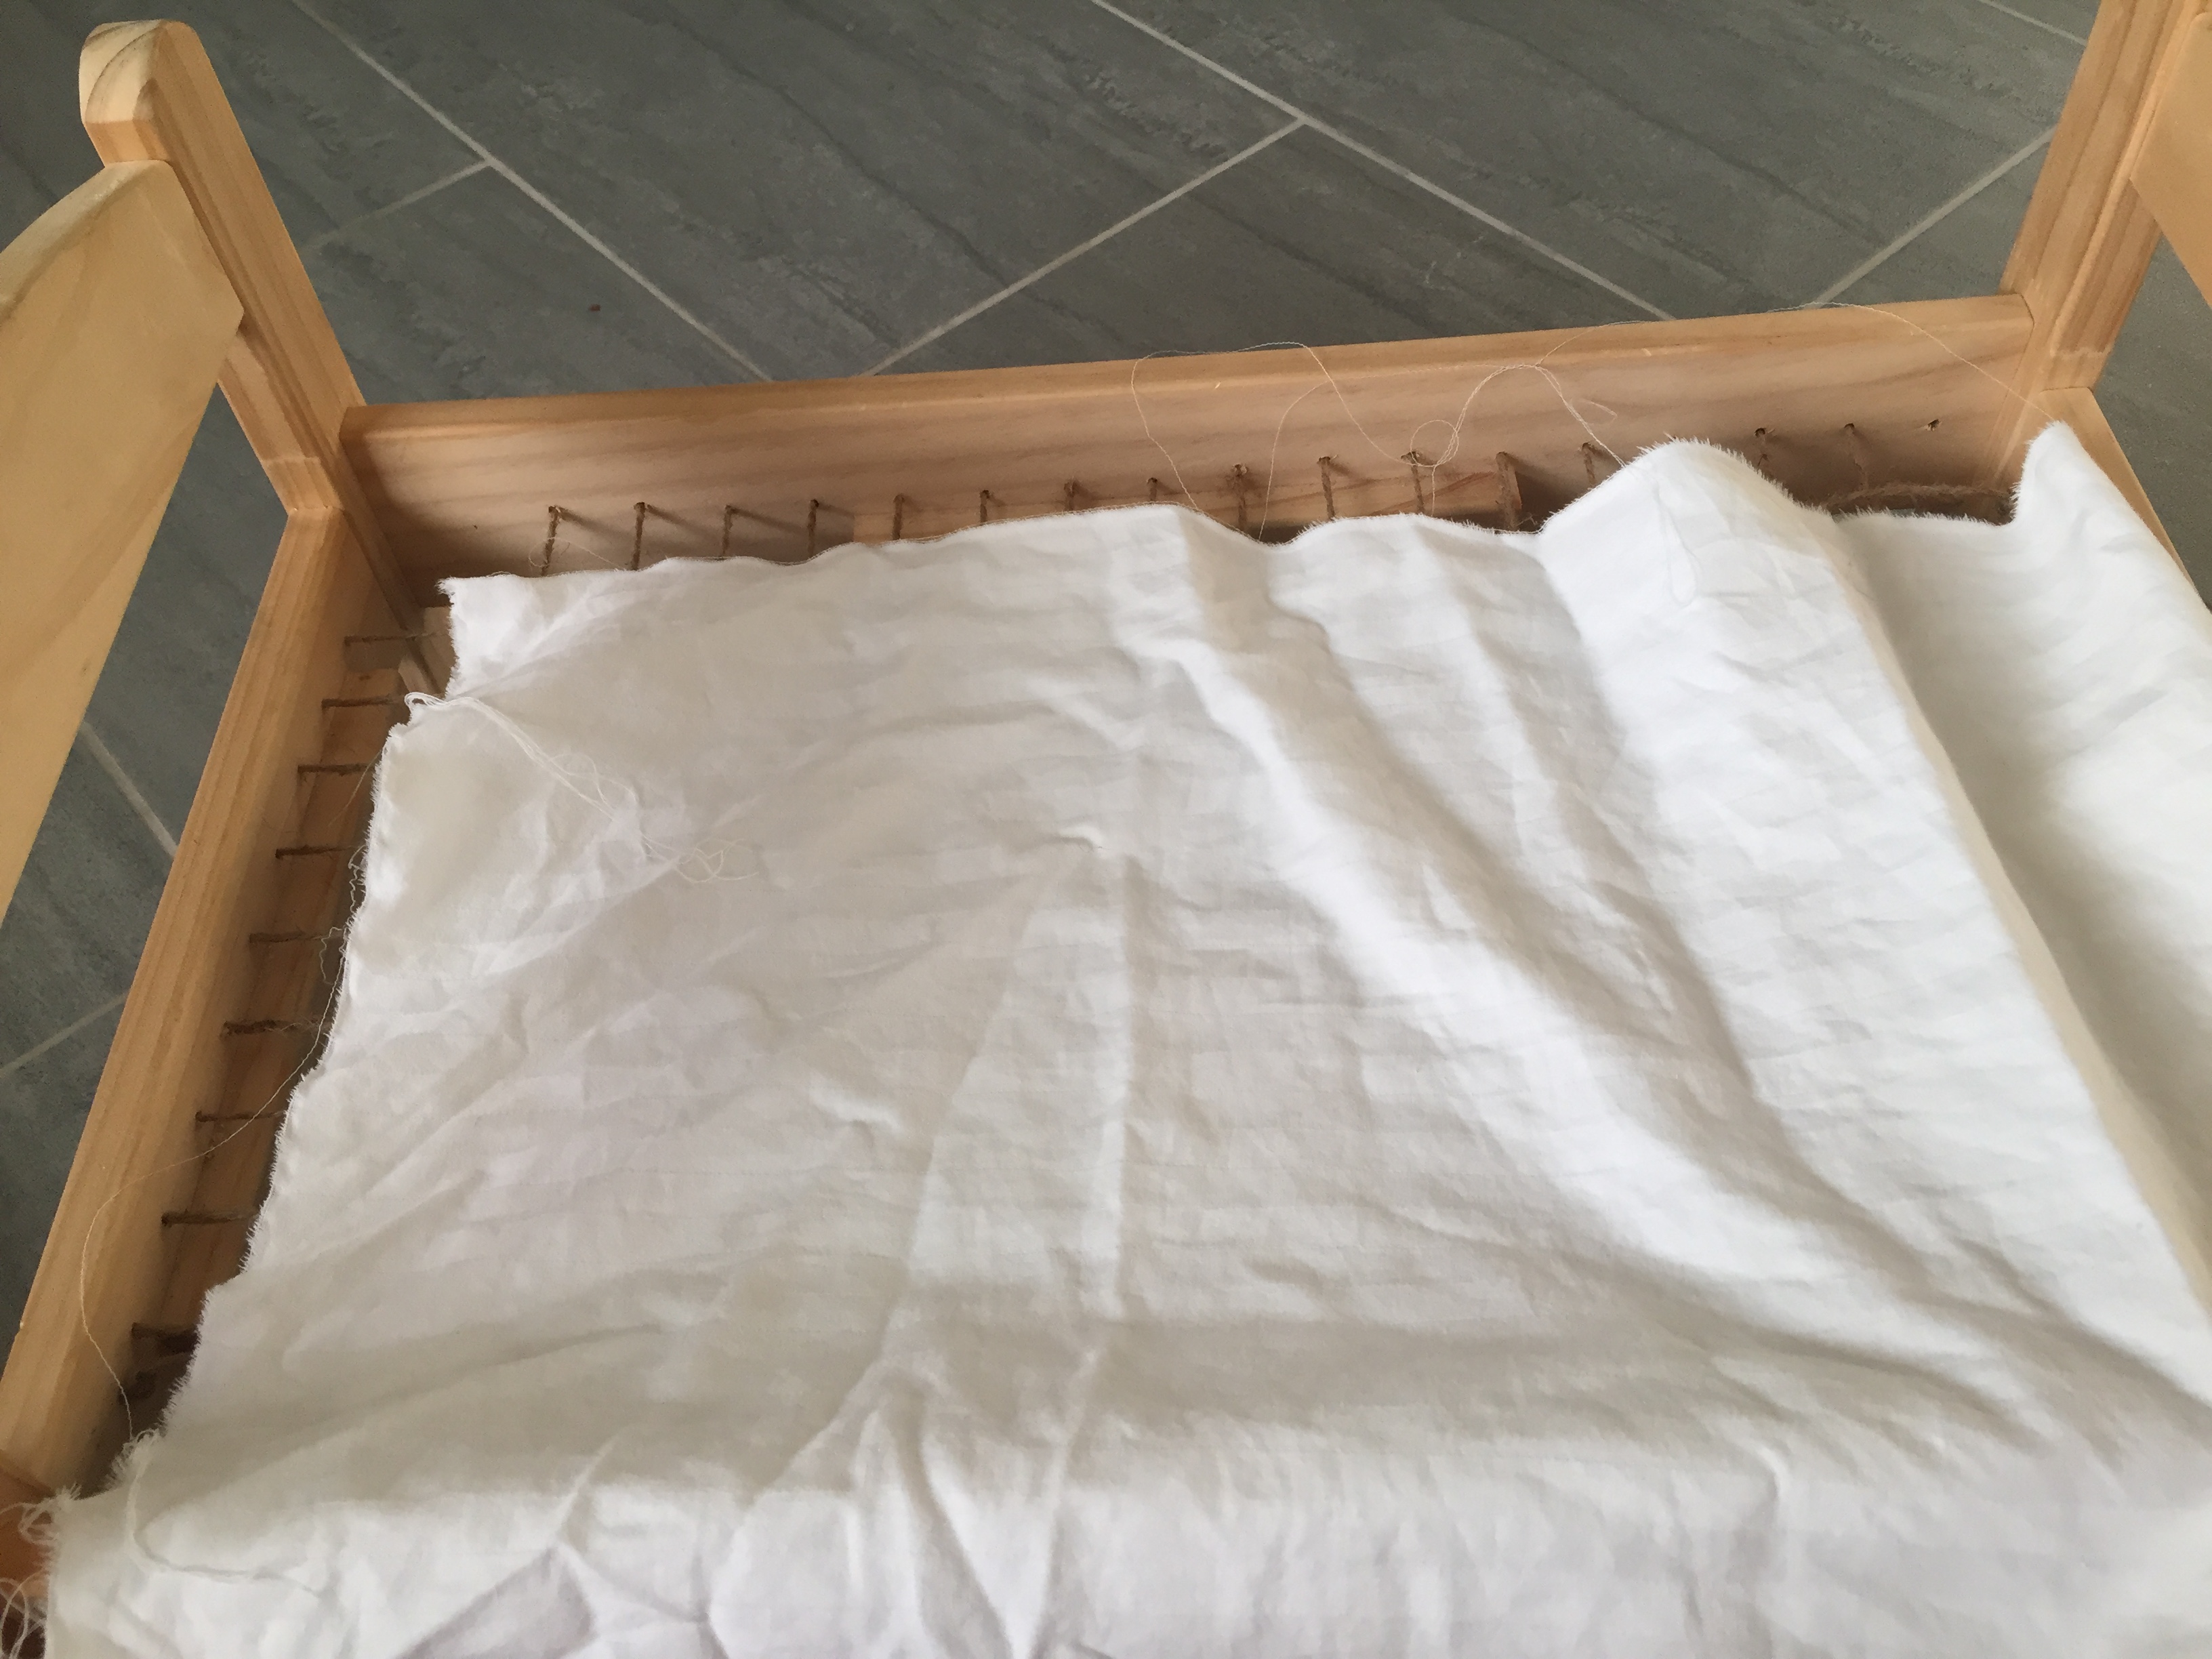
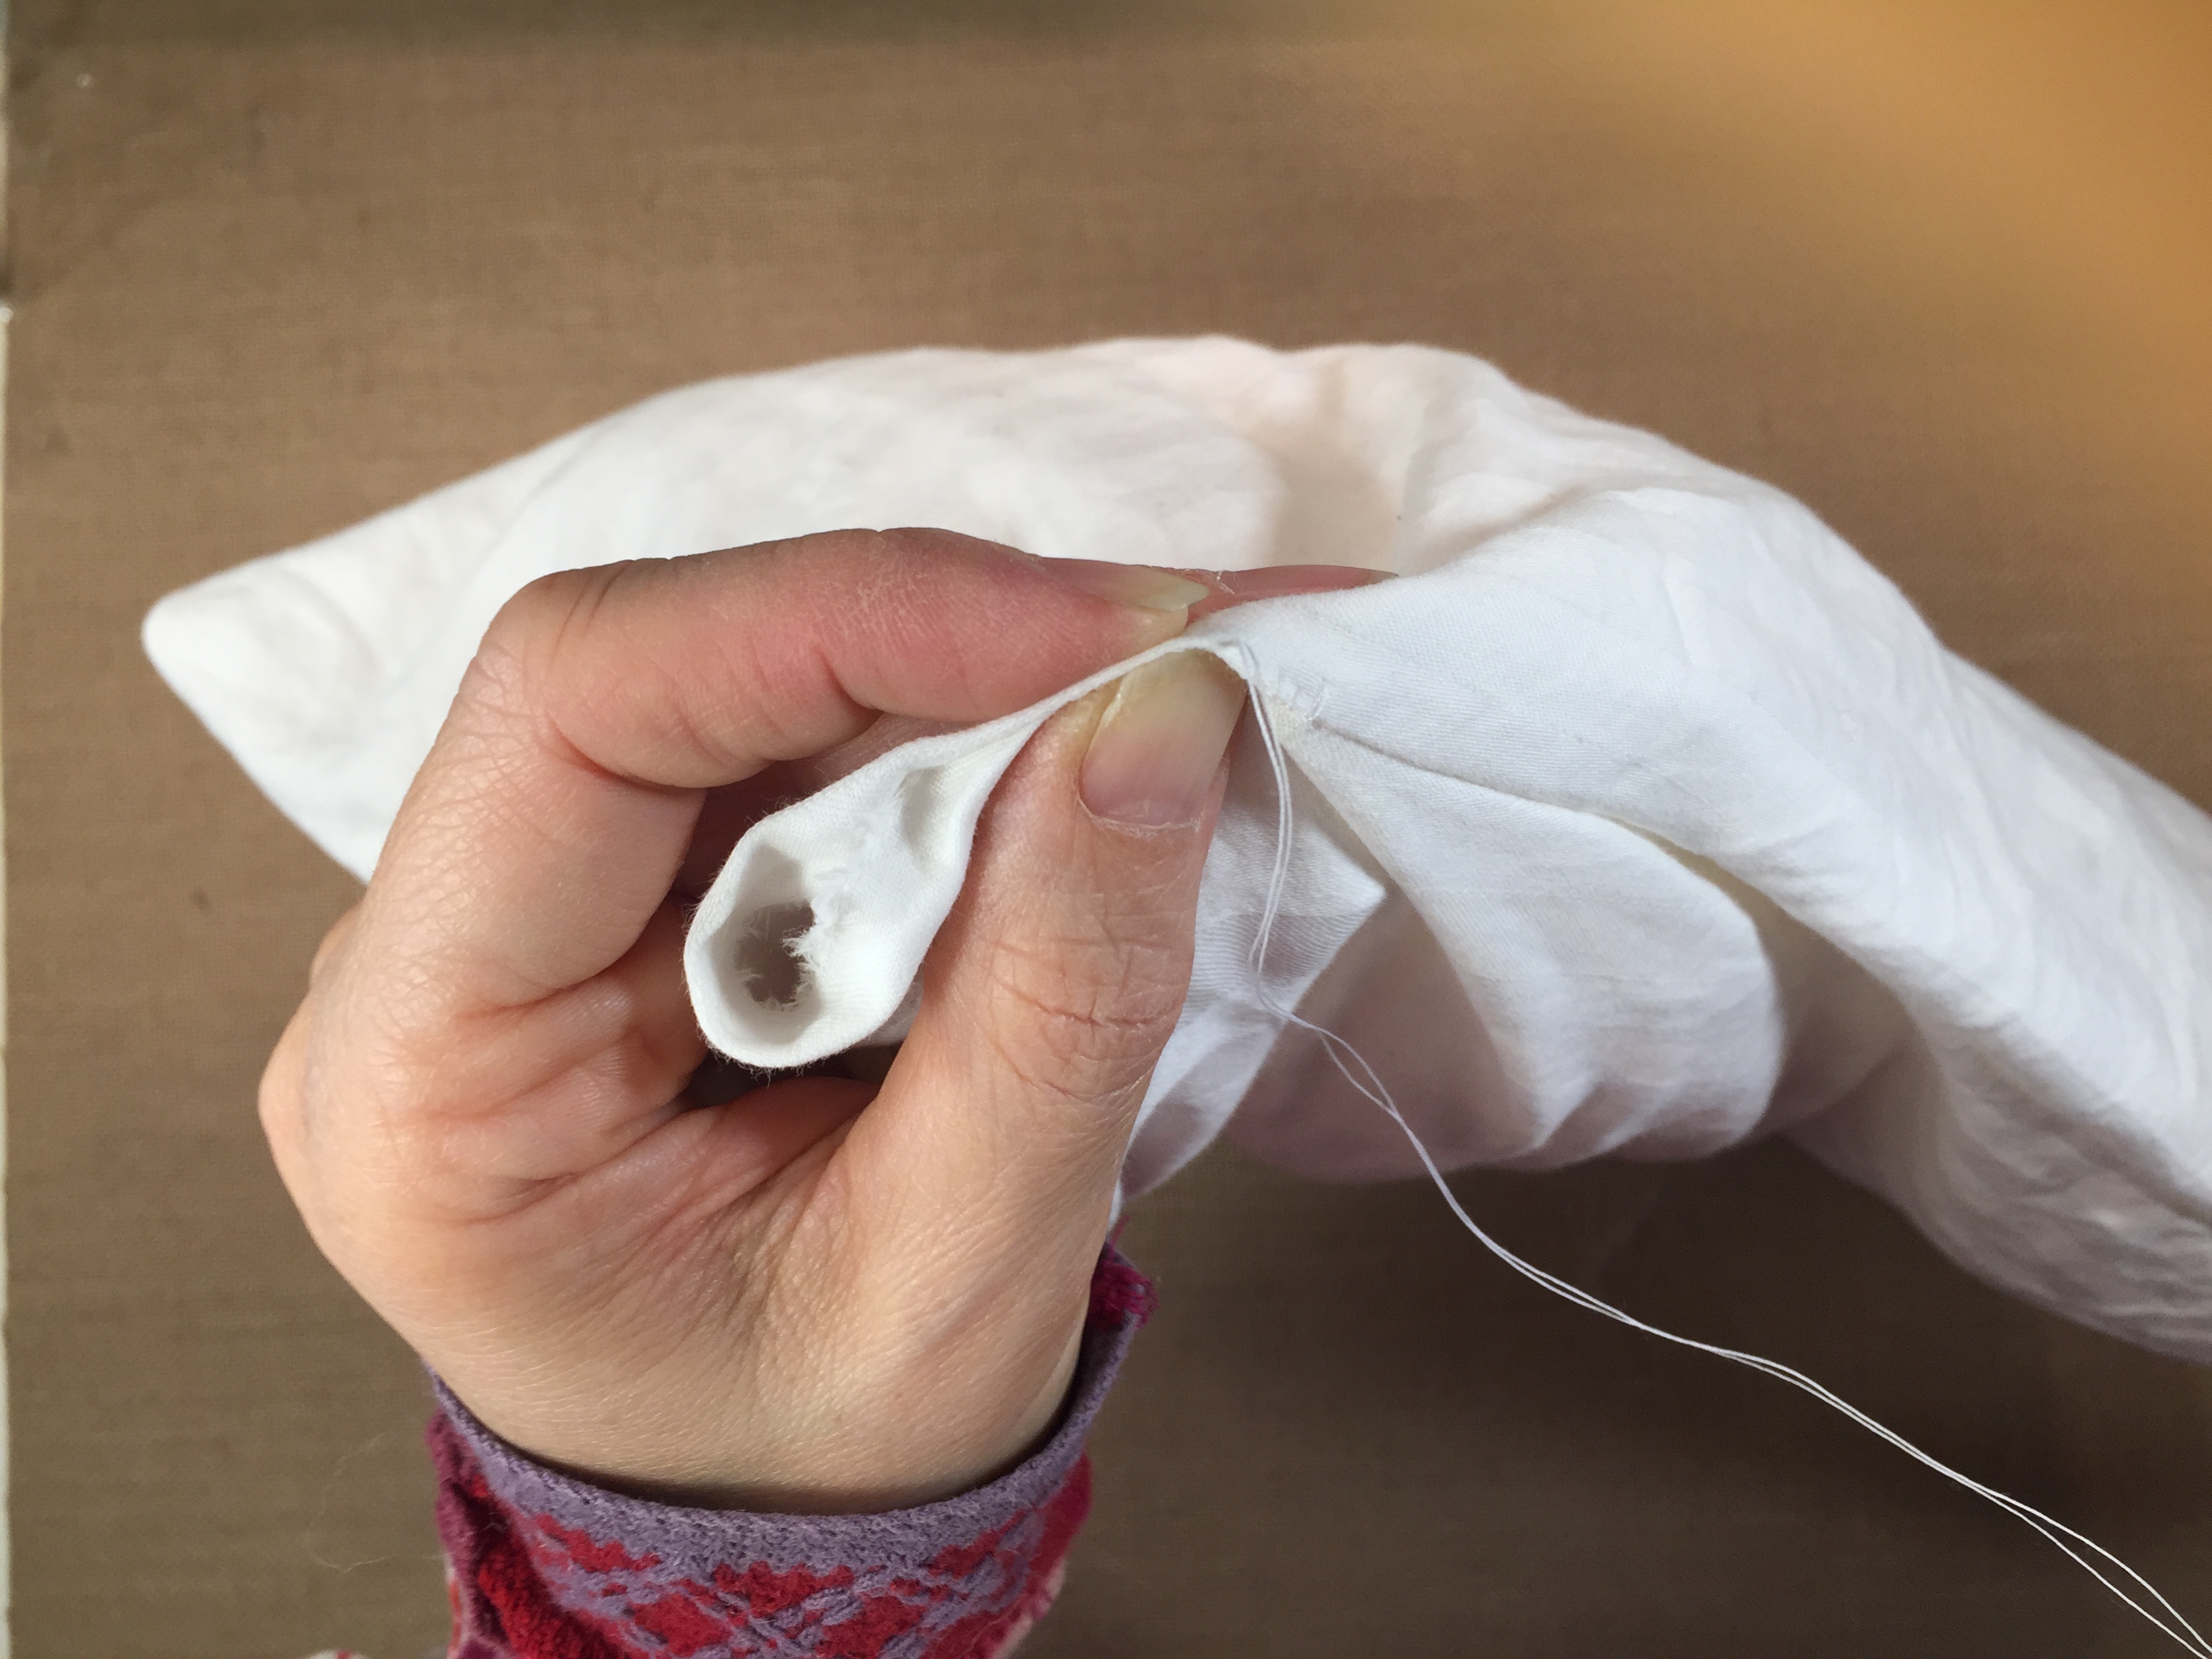
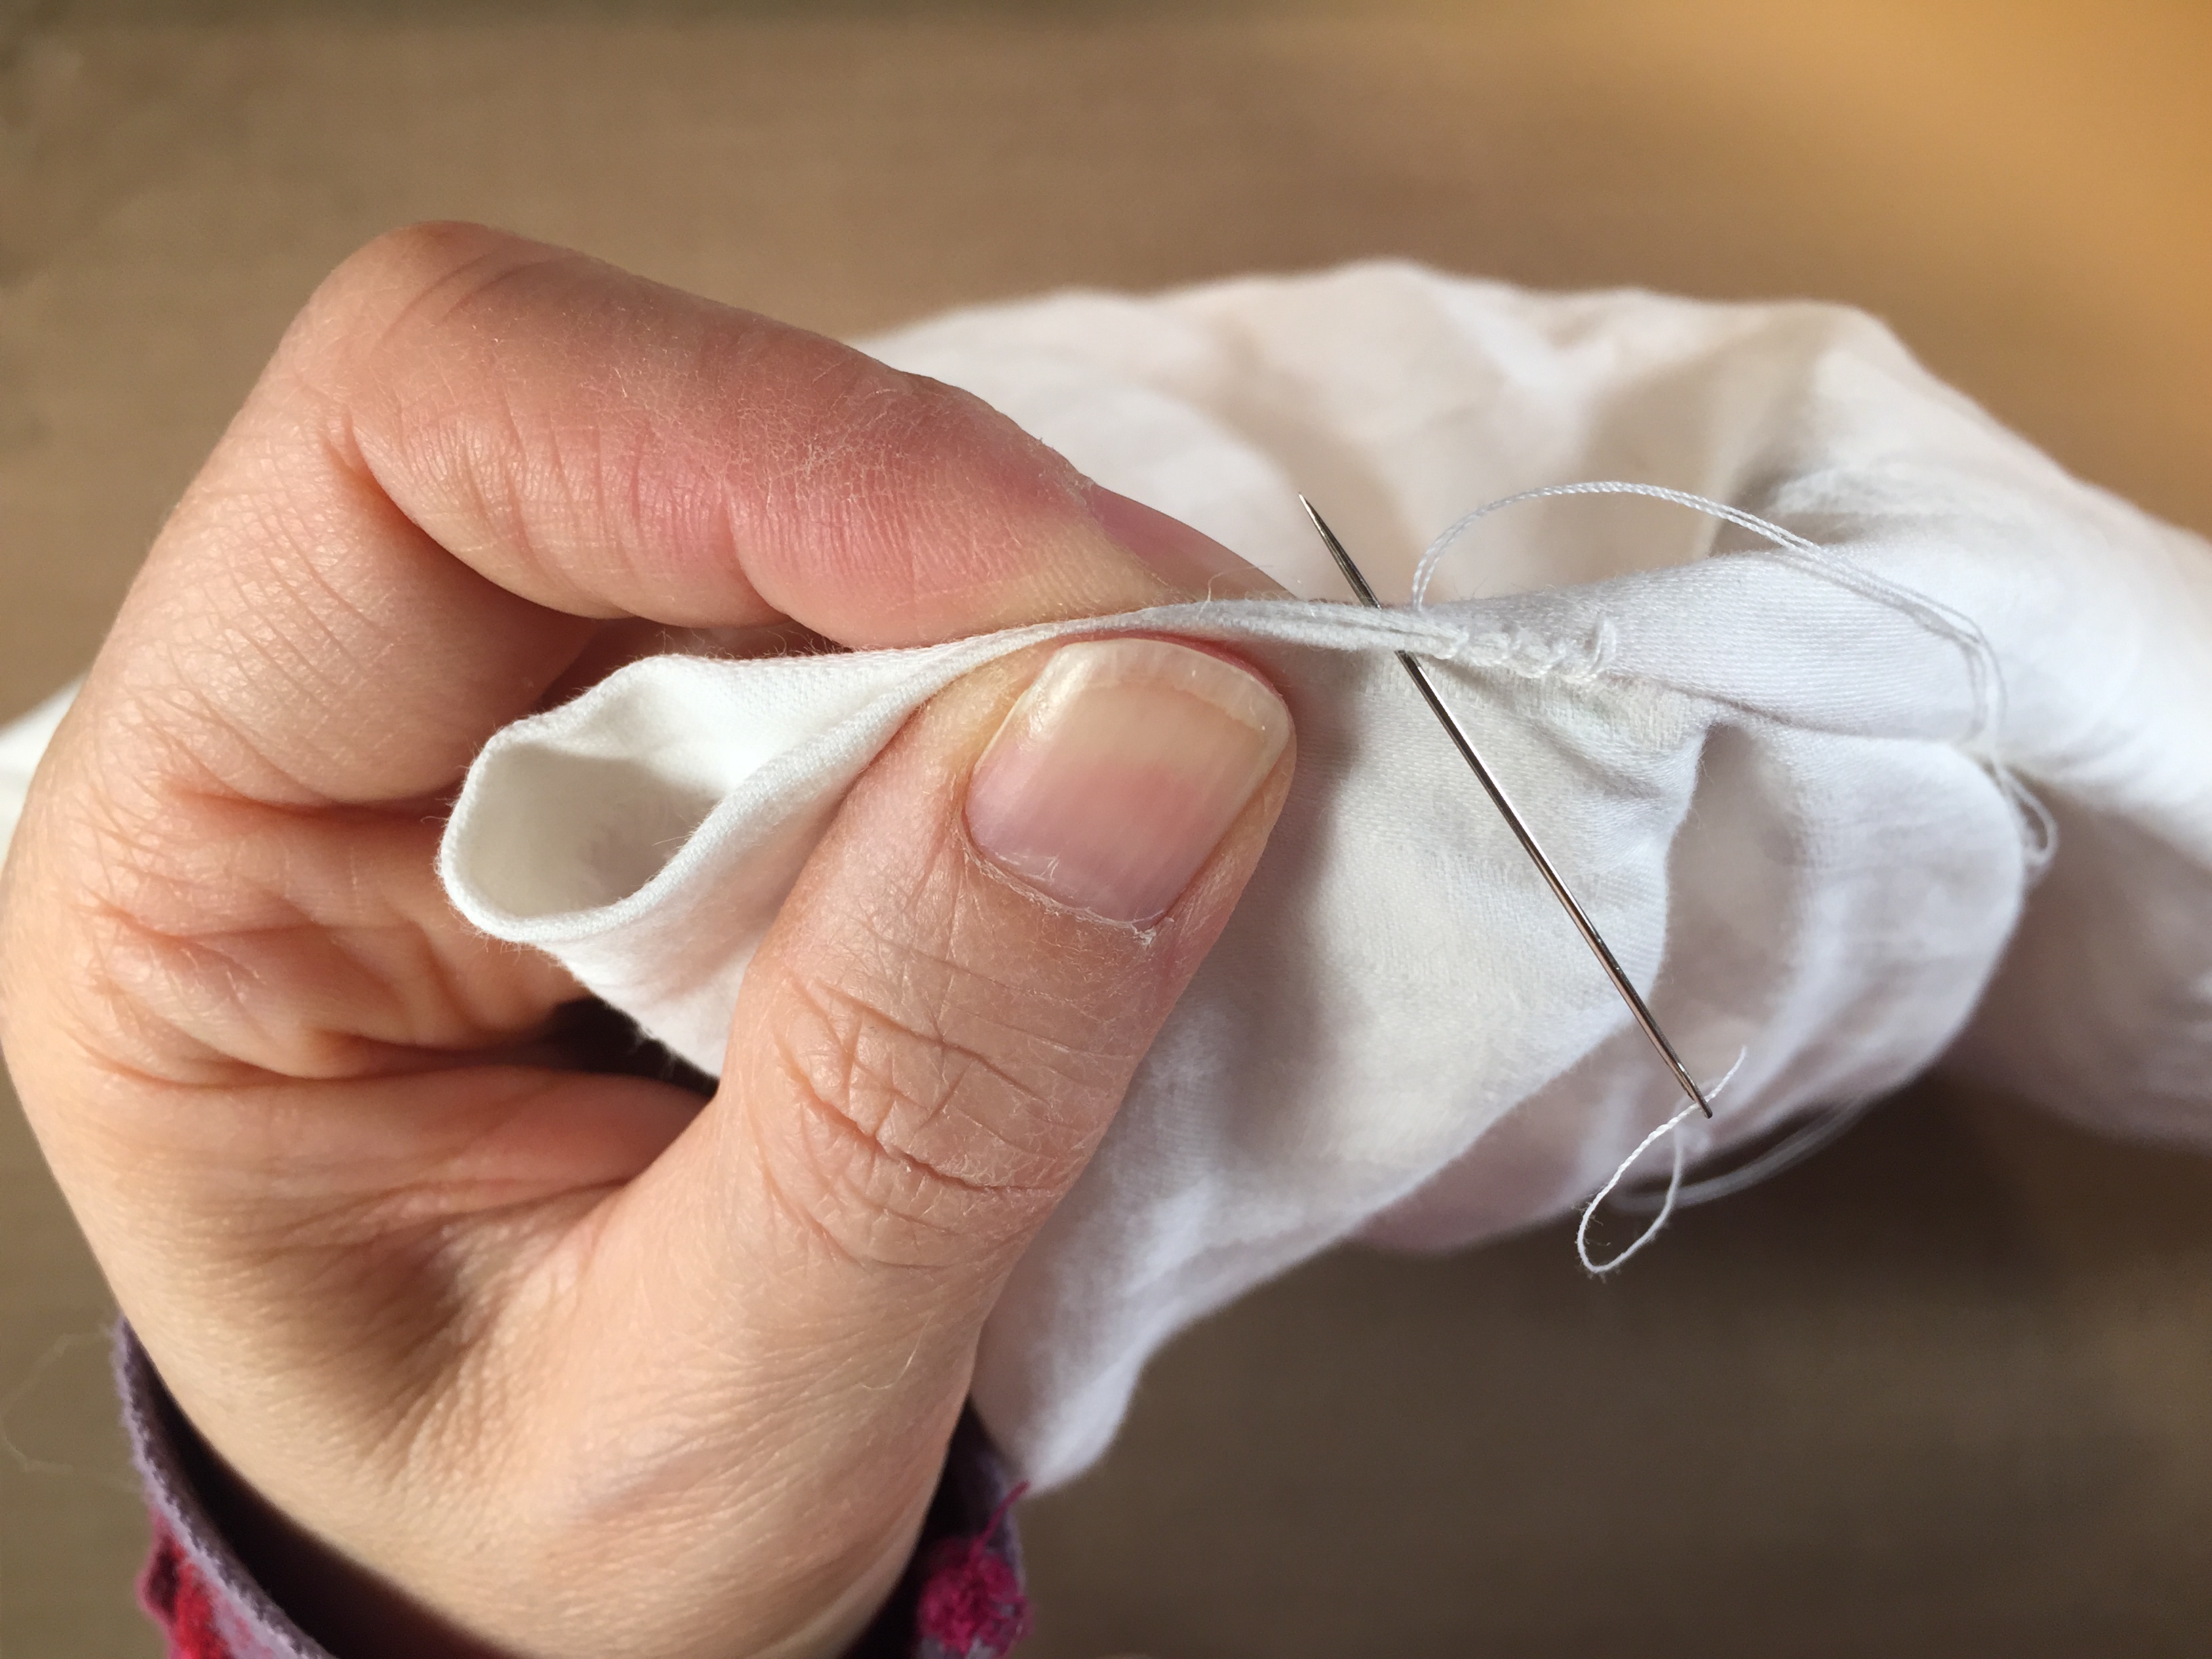
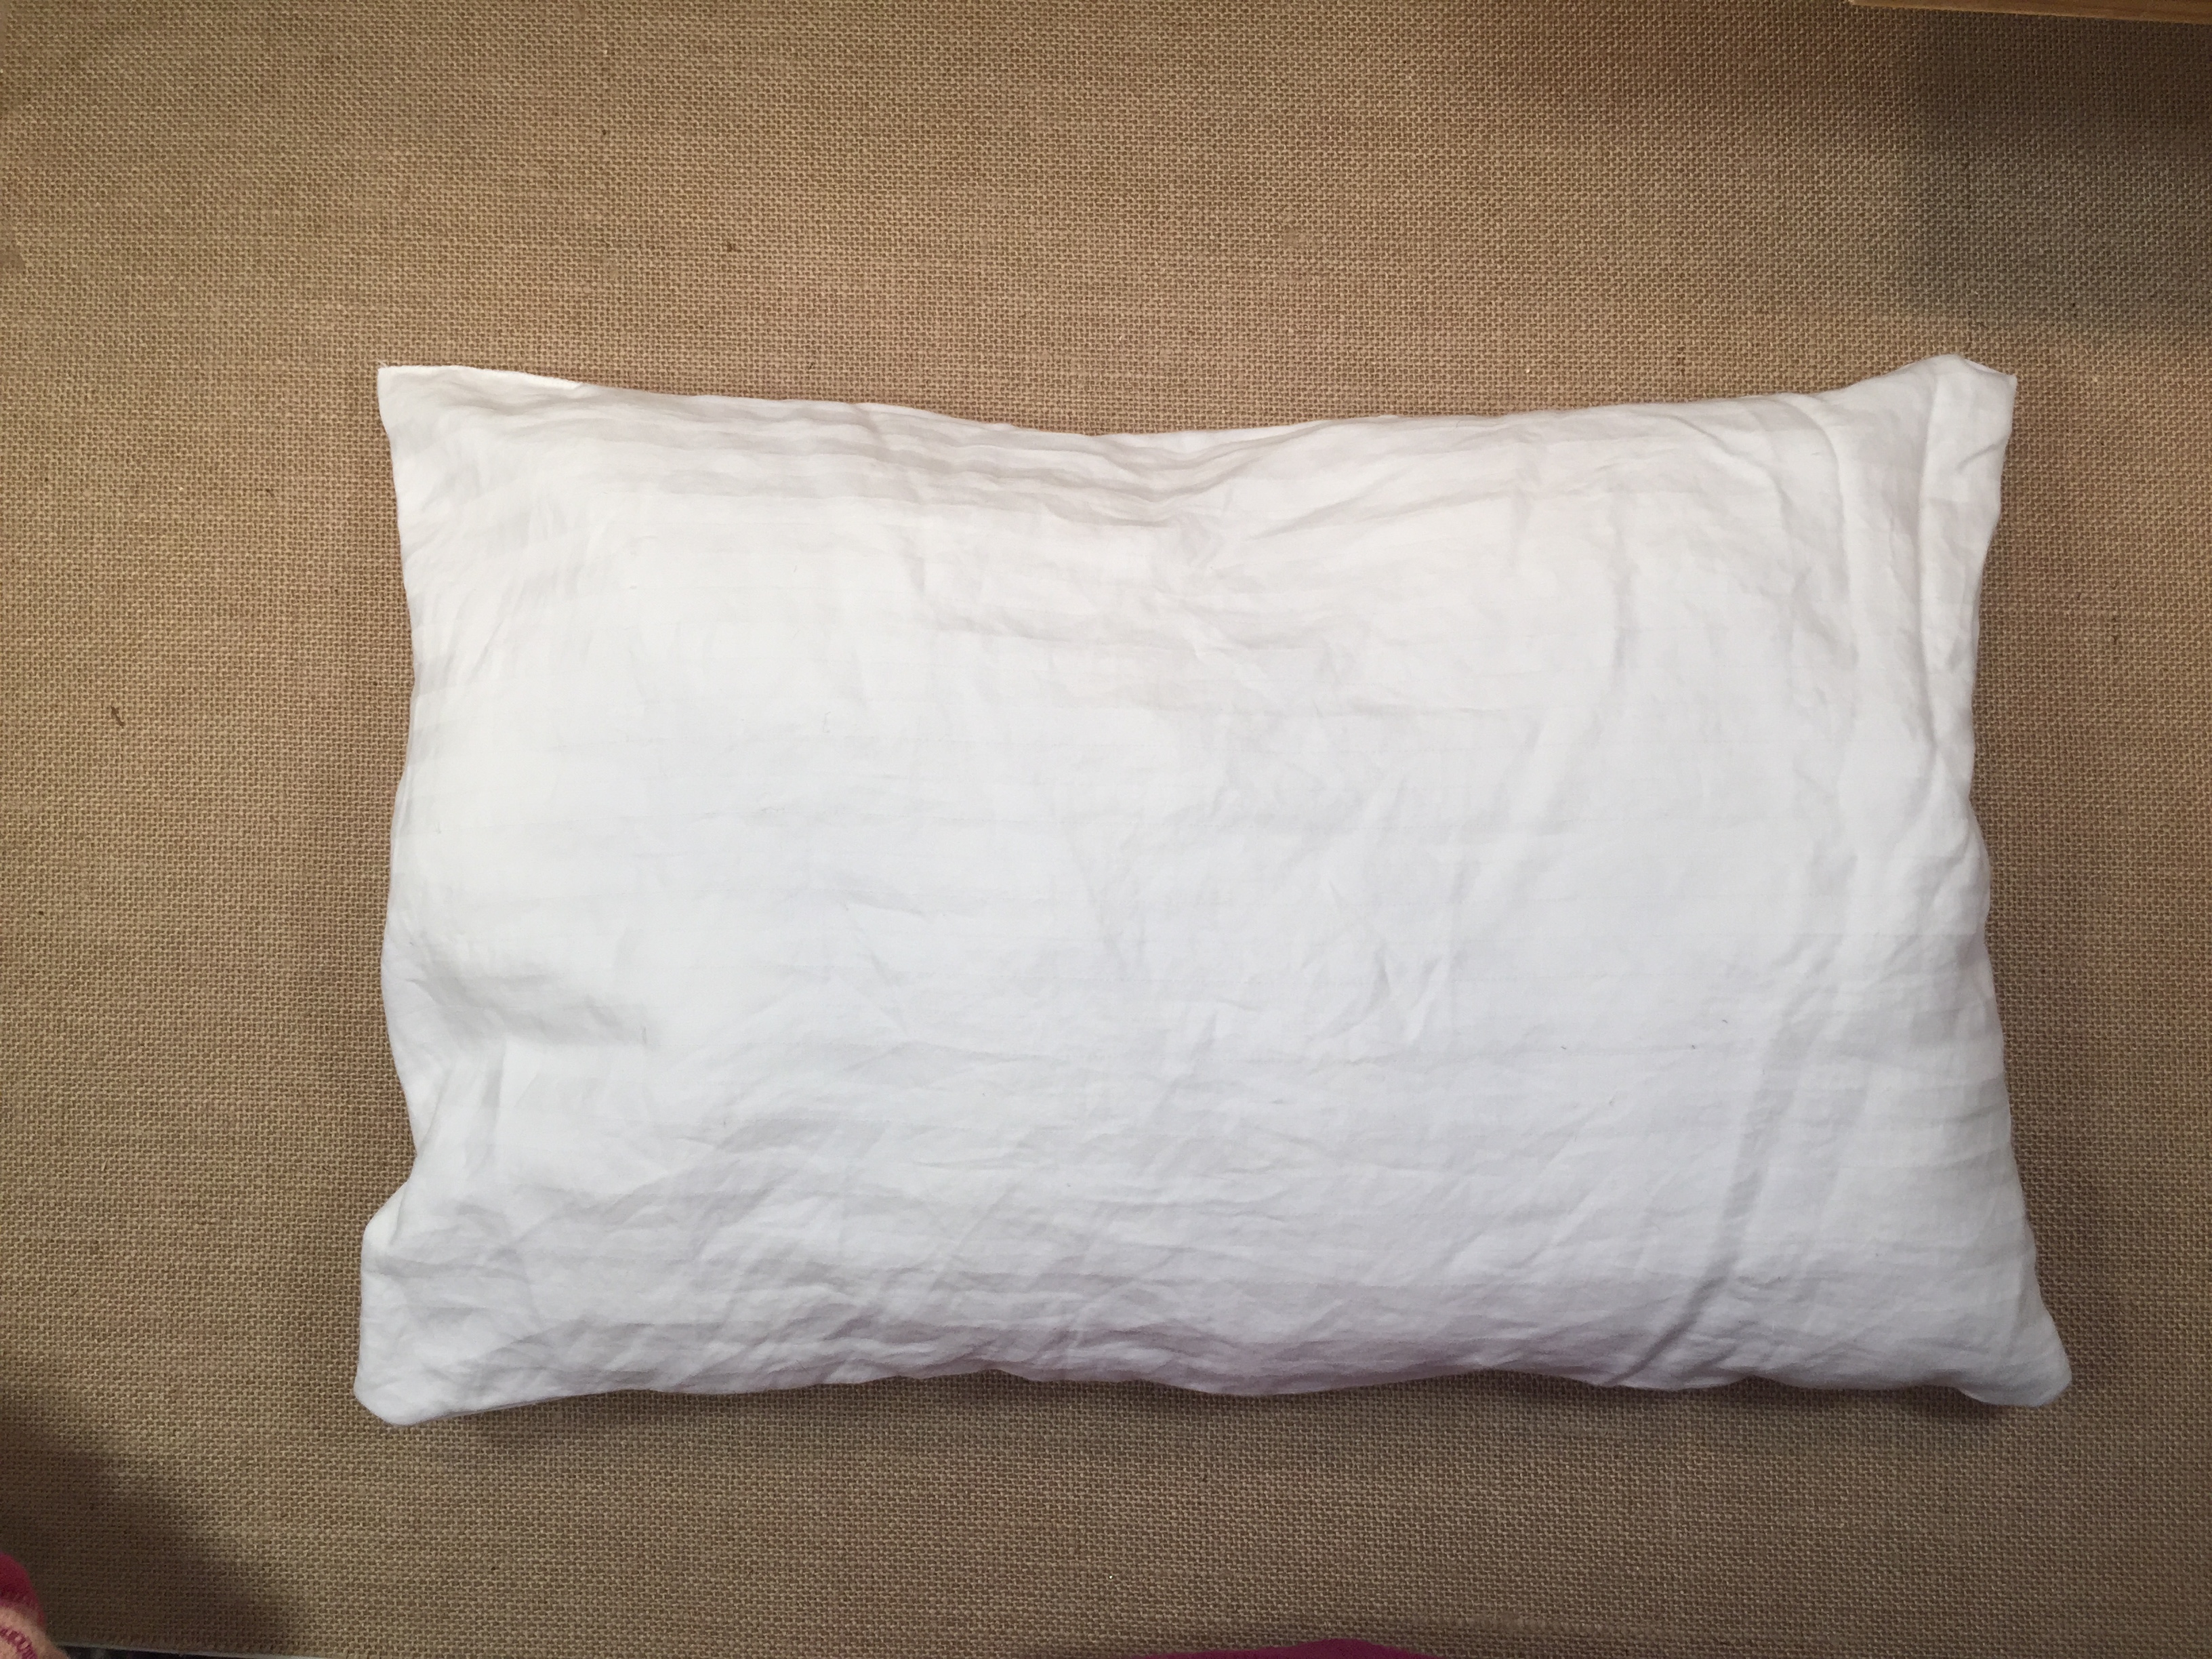
I love projects that are educational and functional. A few years ago, this doll’s bed from IKEA broke when my boys ‘accidentally’ stepped on the particle bed insert. Eventually it broke all together. I had intended to buy a piece of wood to replace it, but didn’t get around to it and finally I stored the broken bed in the attic for another day. Well that day is today! I came across while in the attic and thought it would make a perfect project for our history units. We’ll fix it up by using the frame to make a rope bed. And using an old sheet, we’ll make a straw tick. “Goodnight, sleep tight, don’t let the bedbugs bite” here we come!
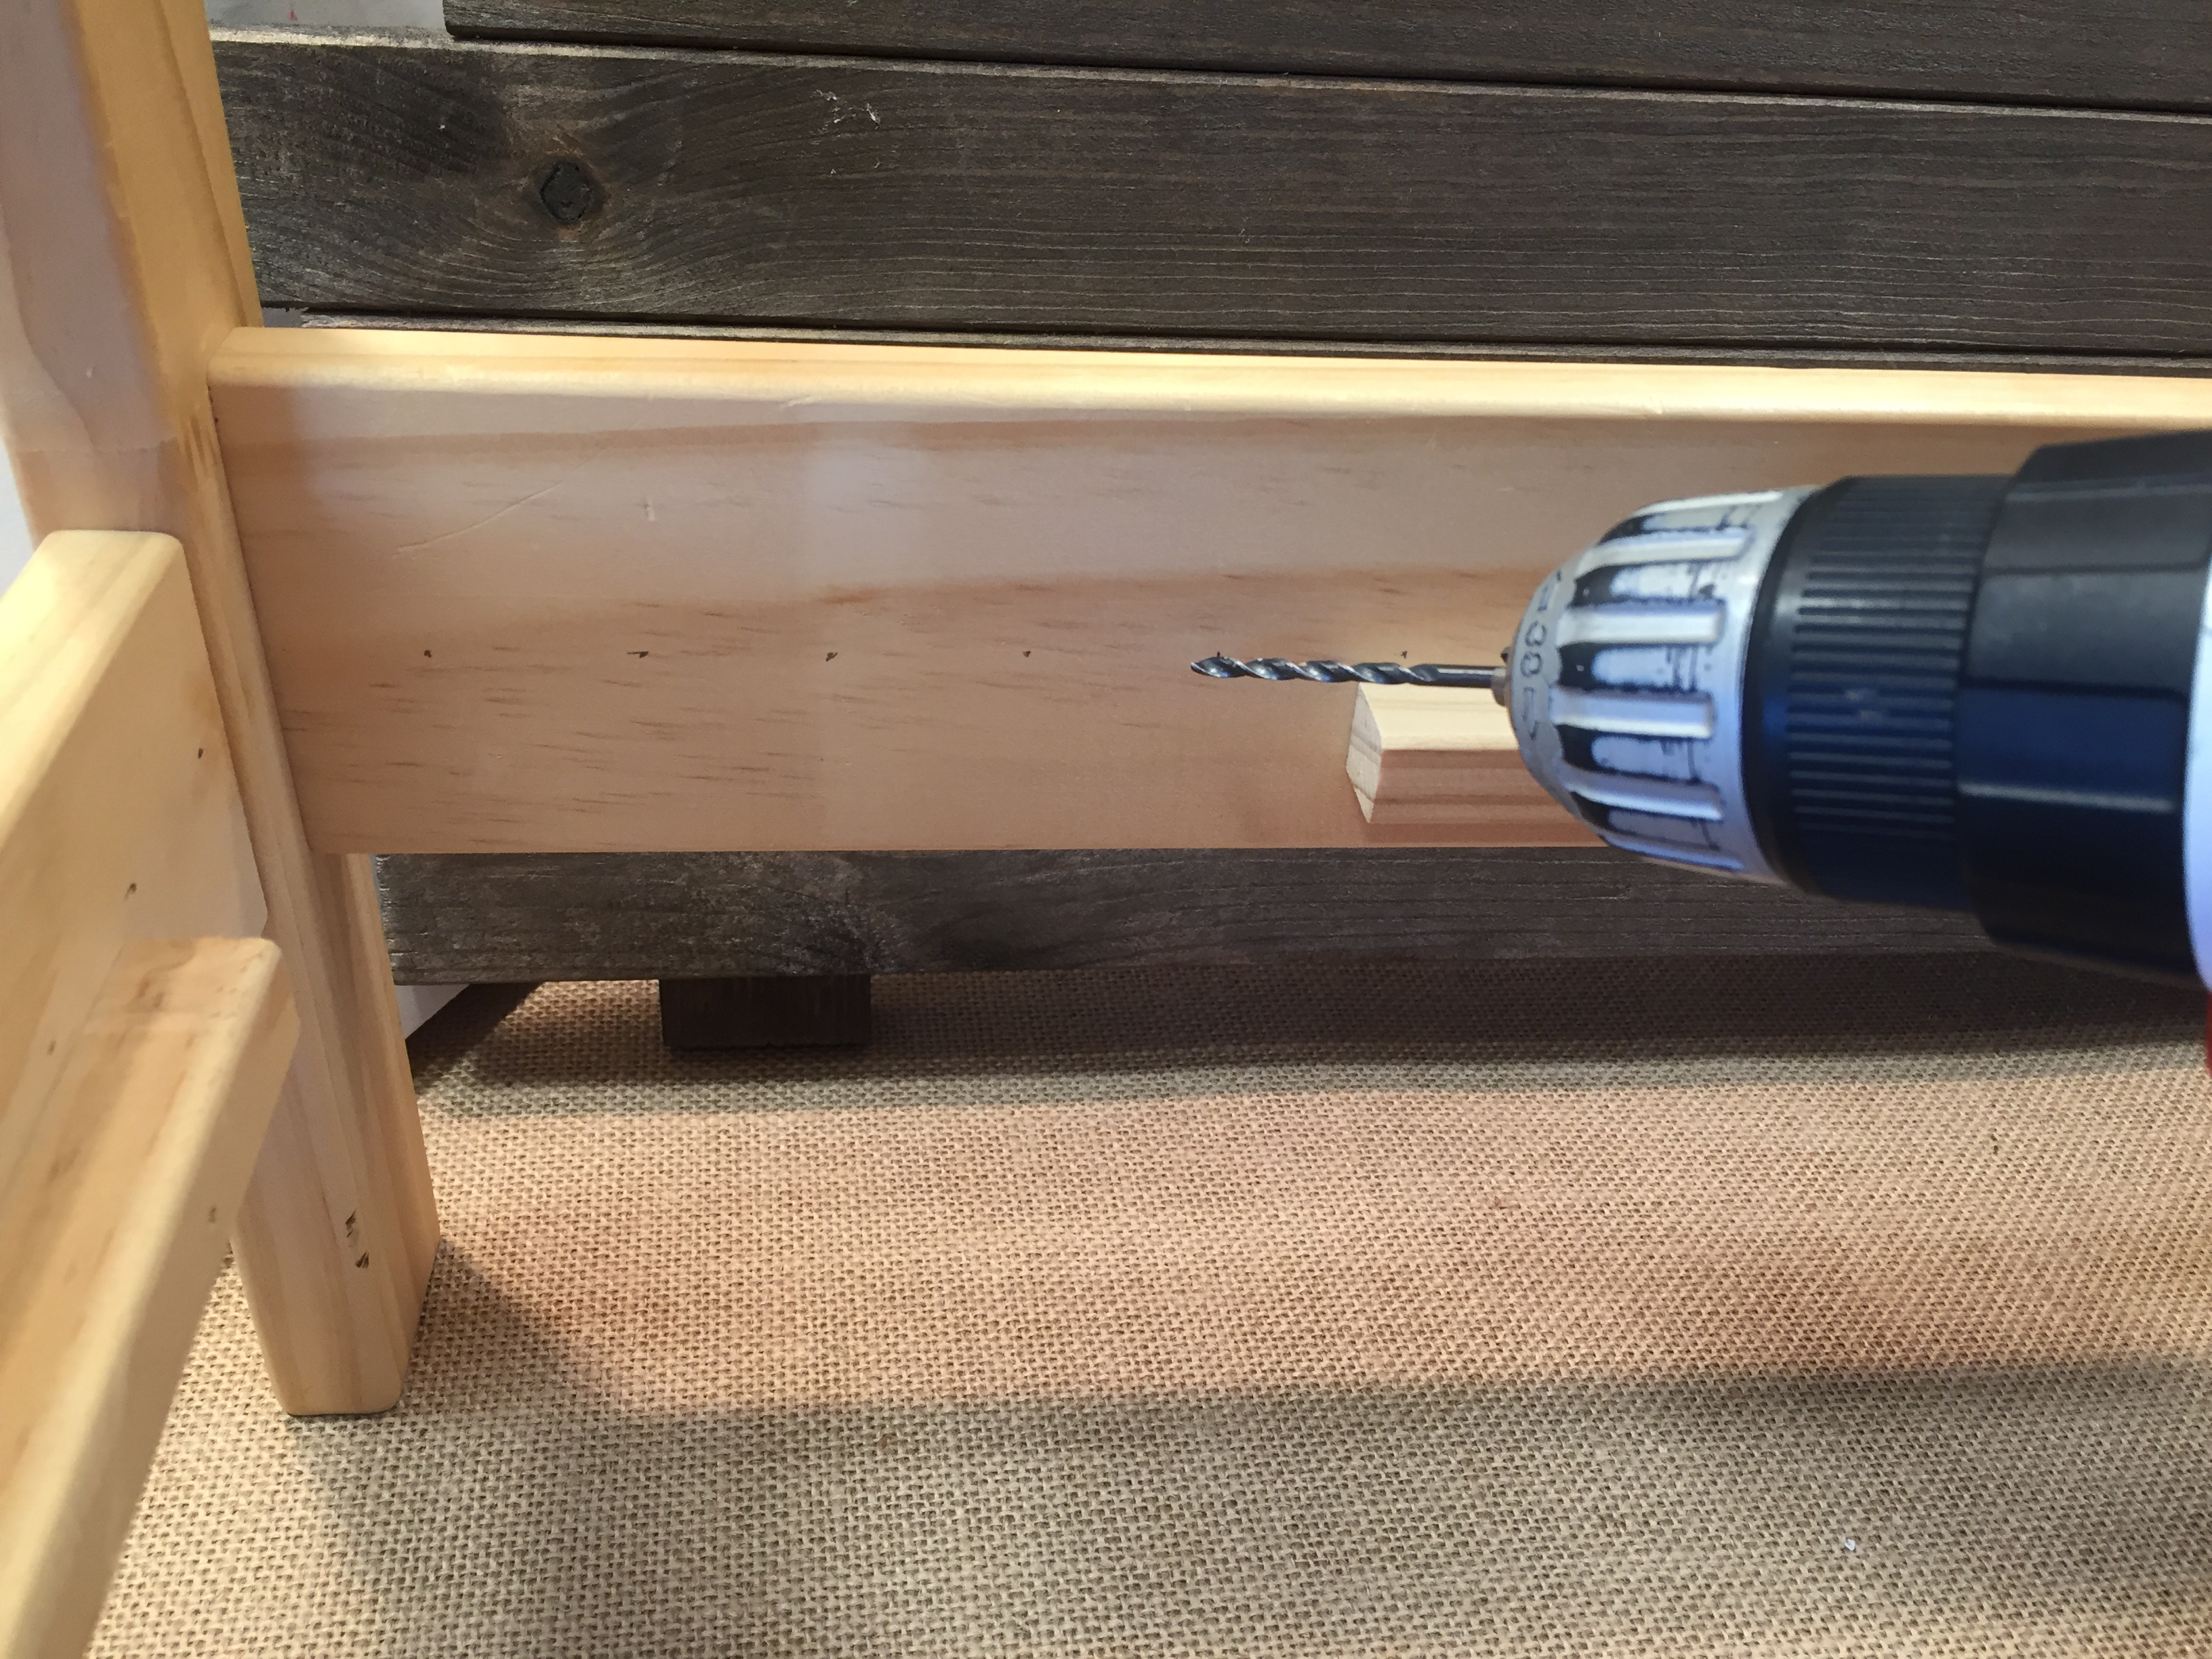
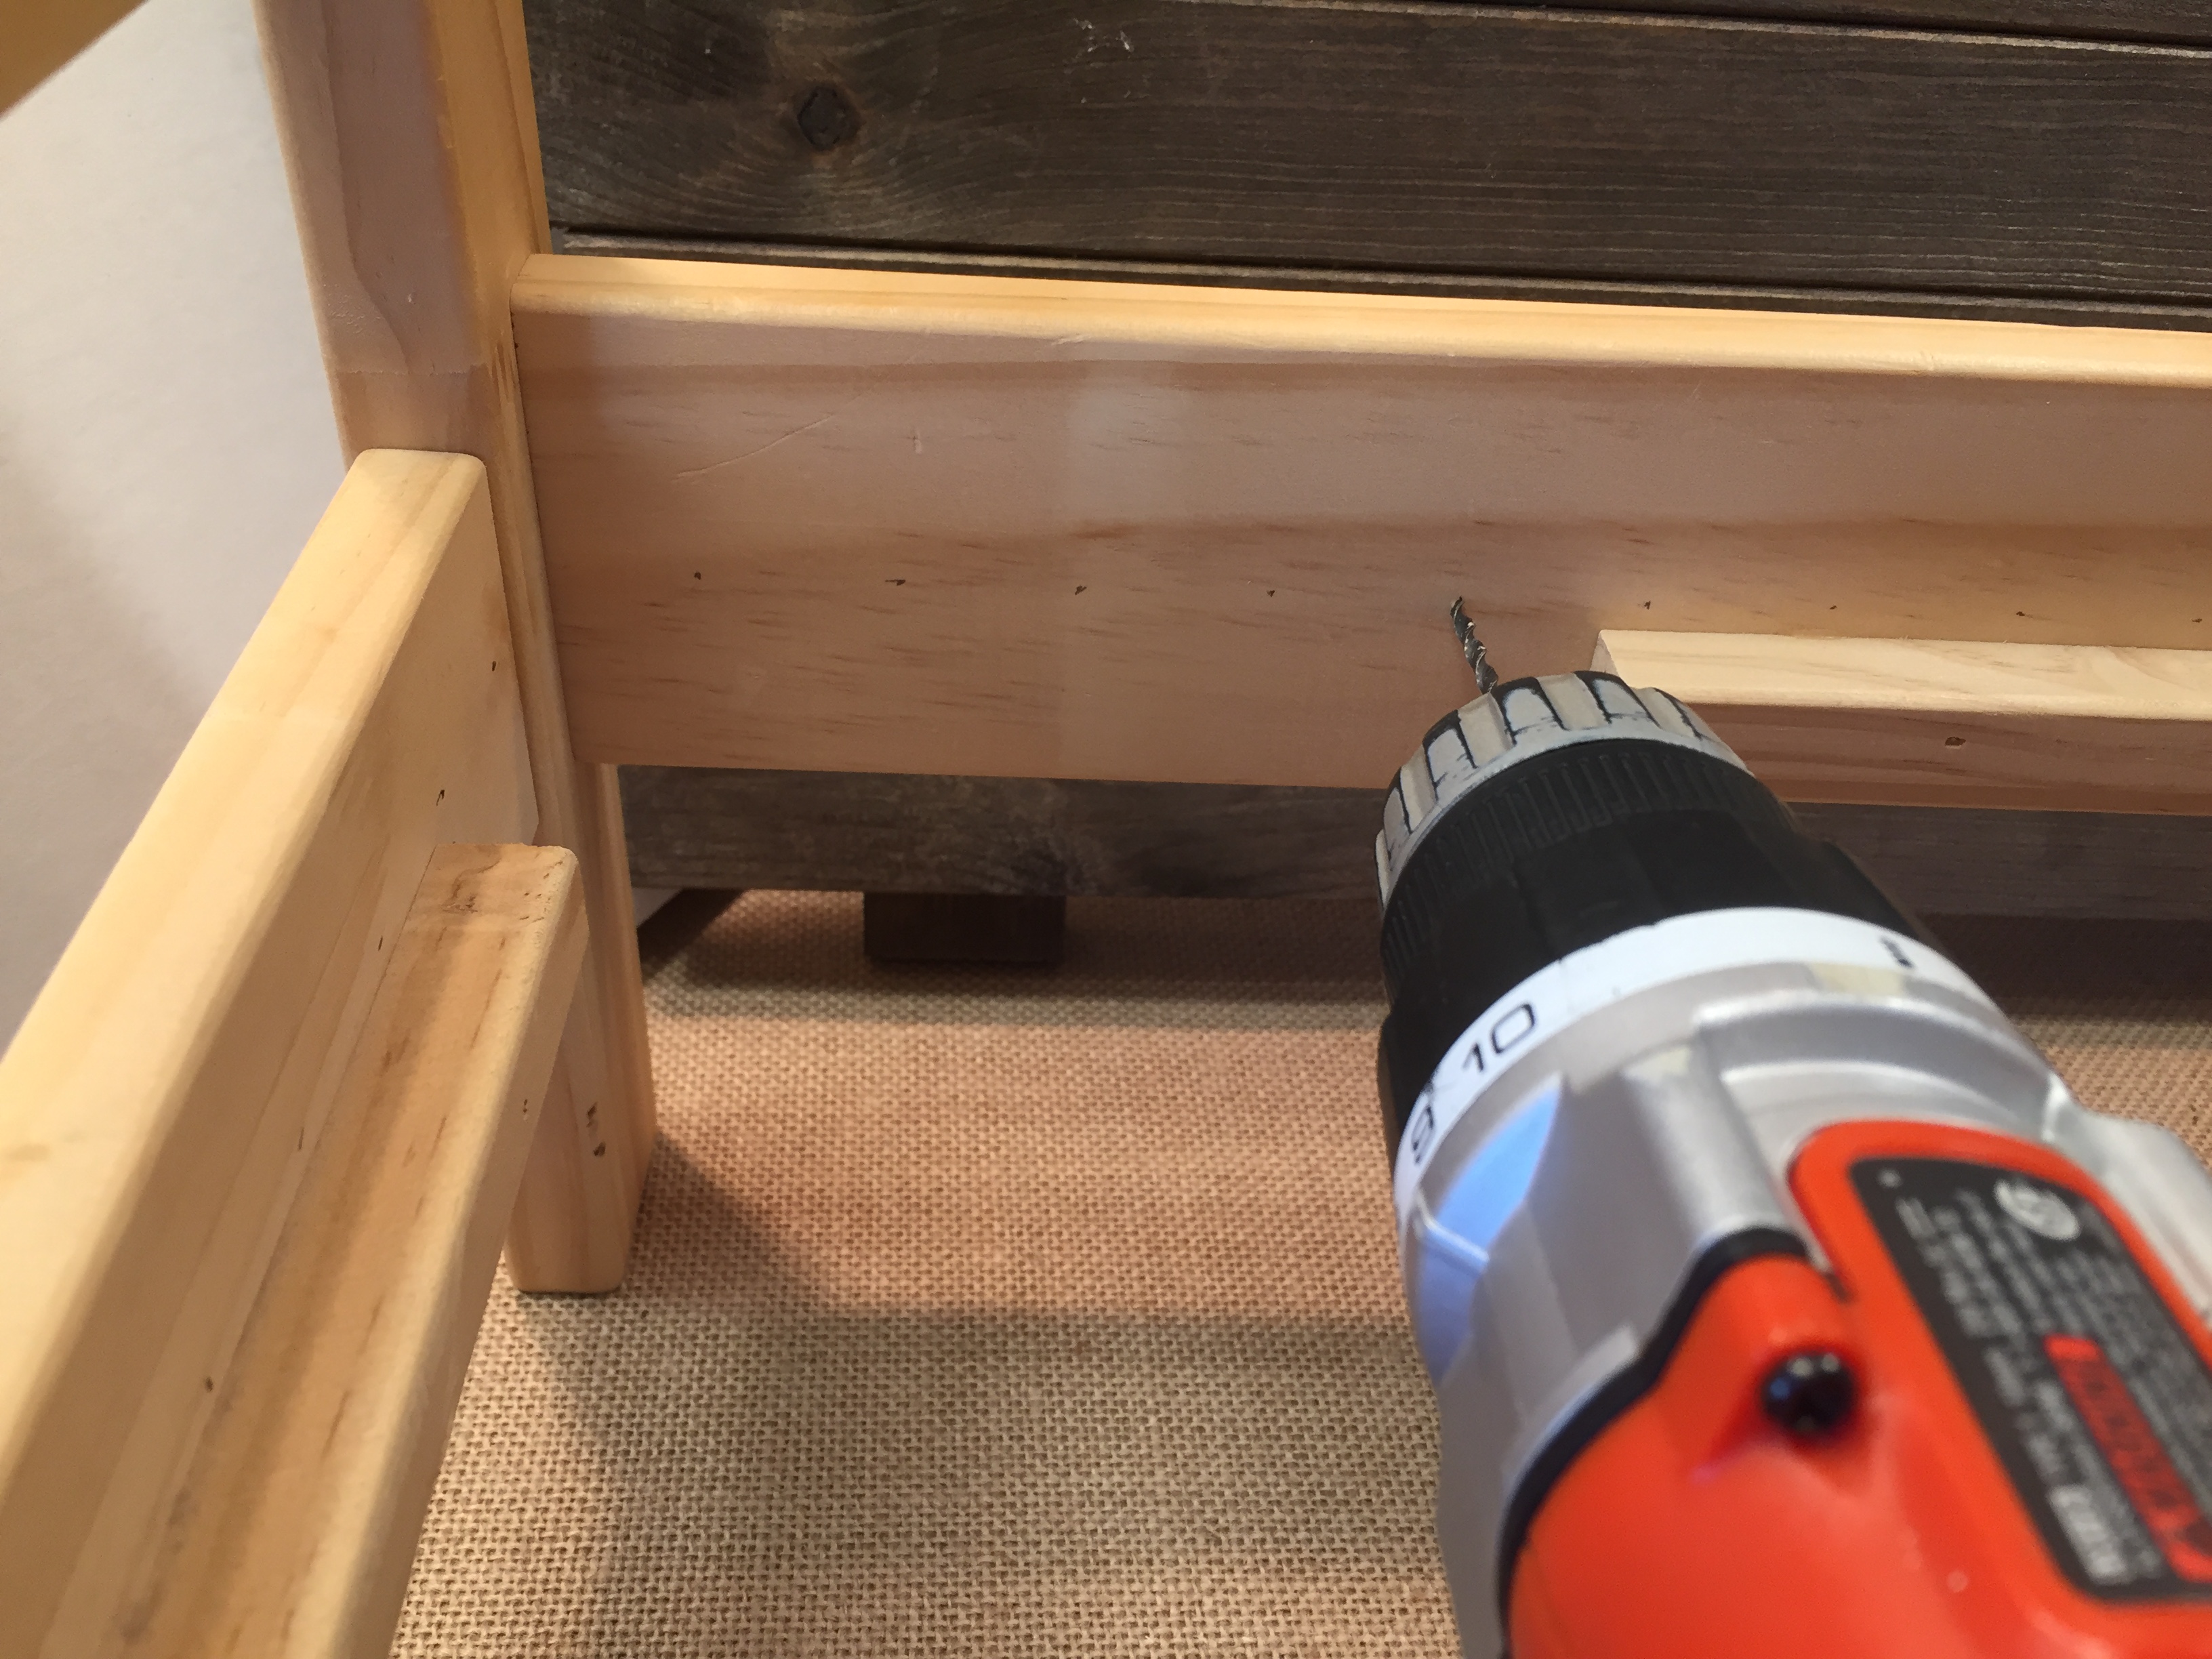
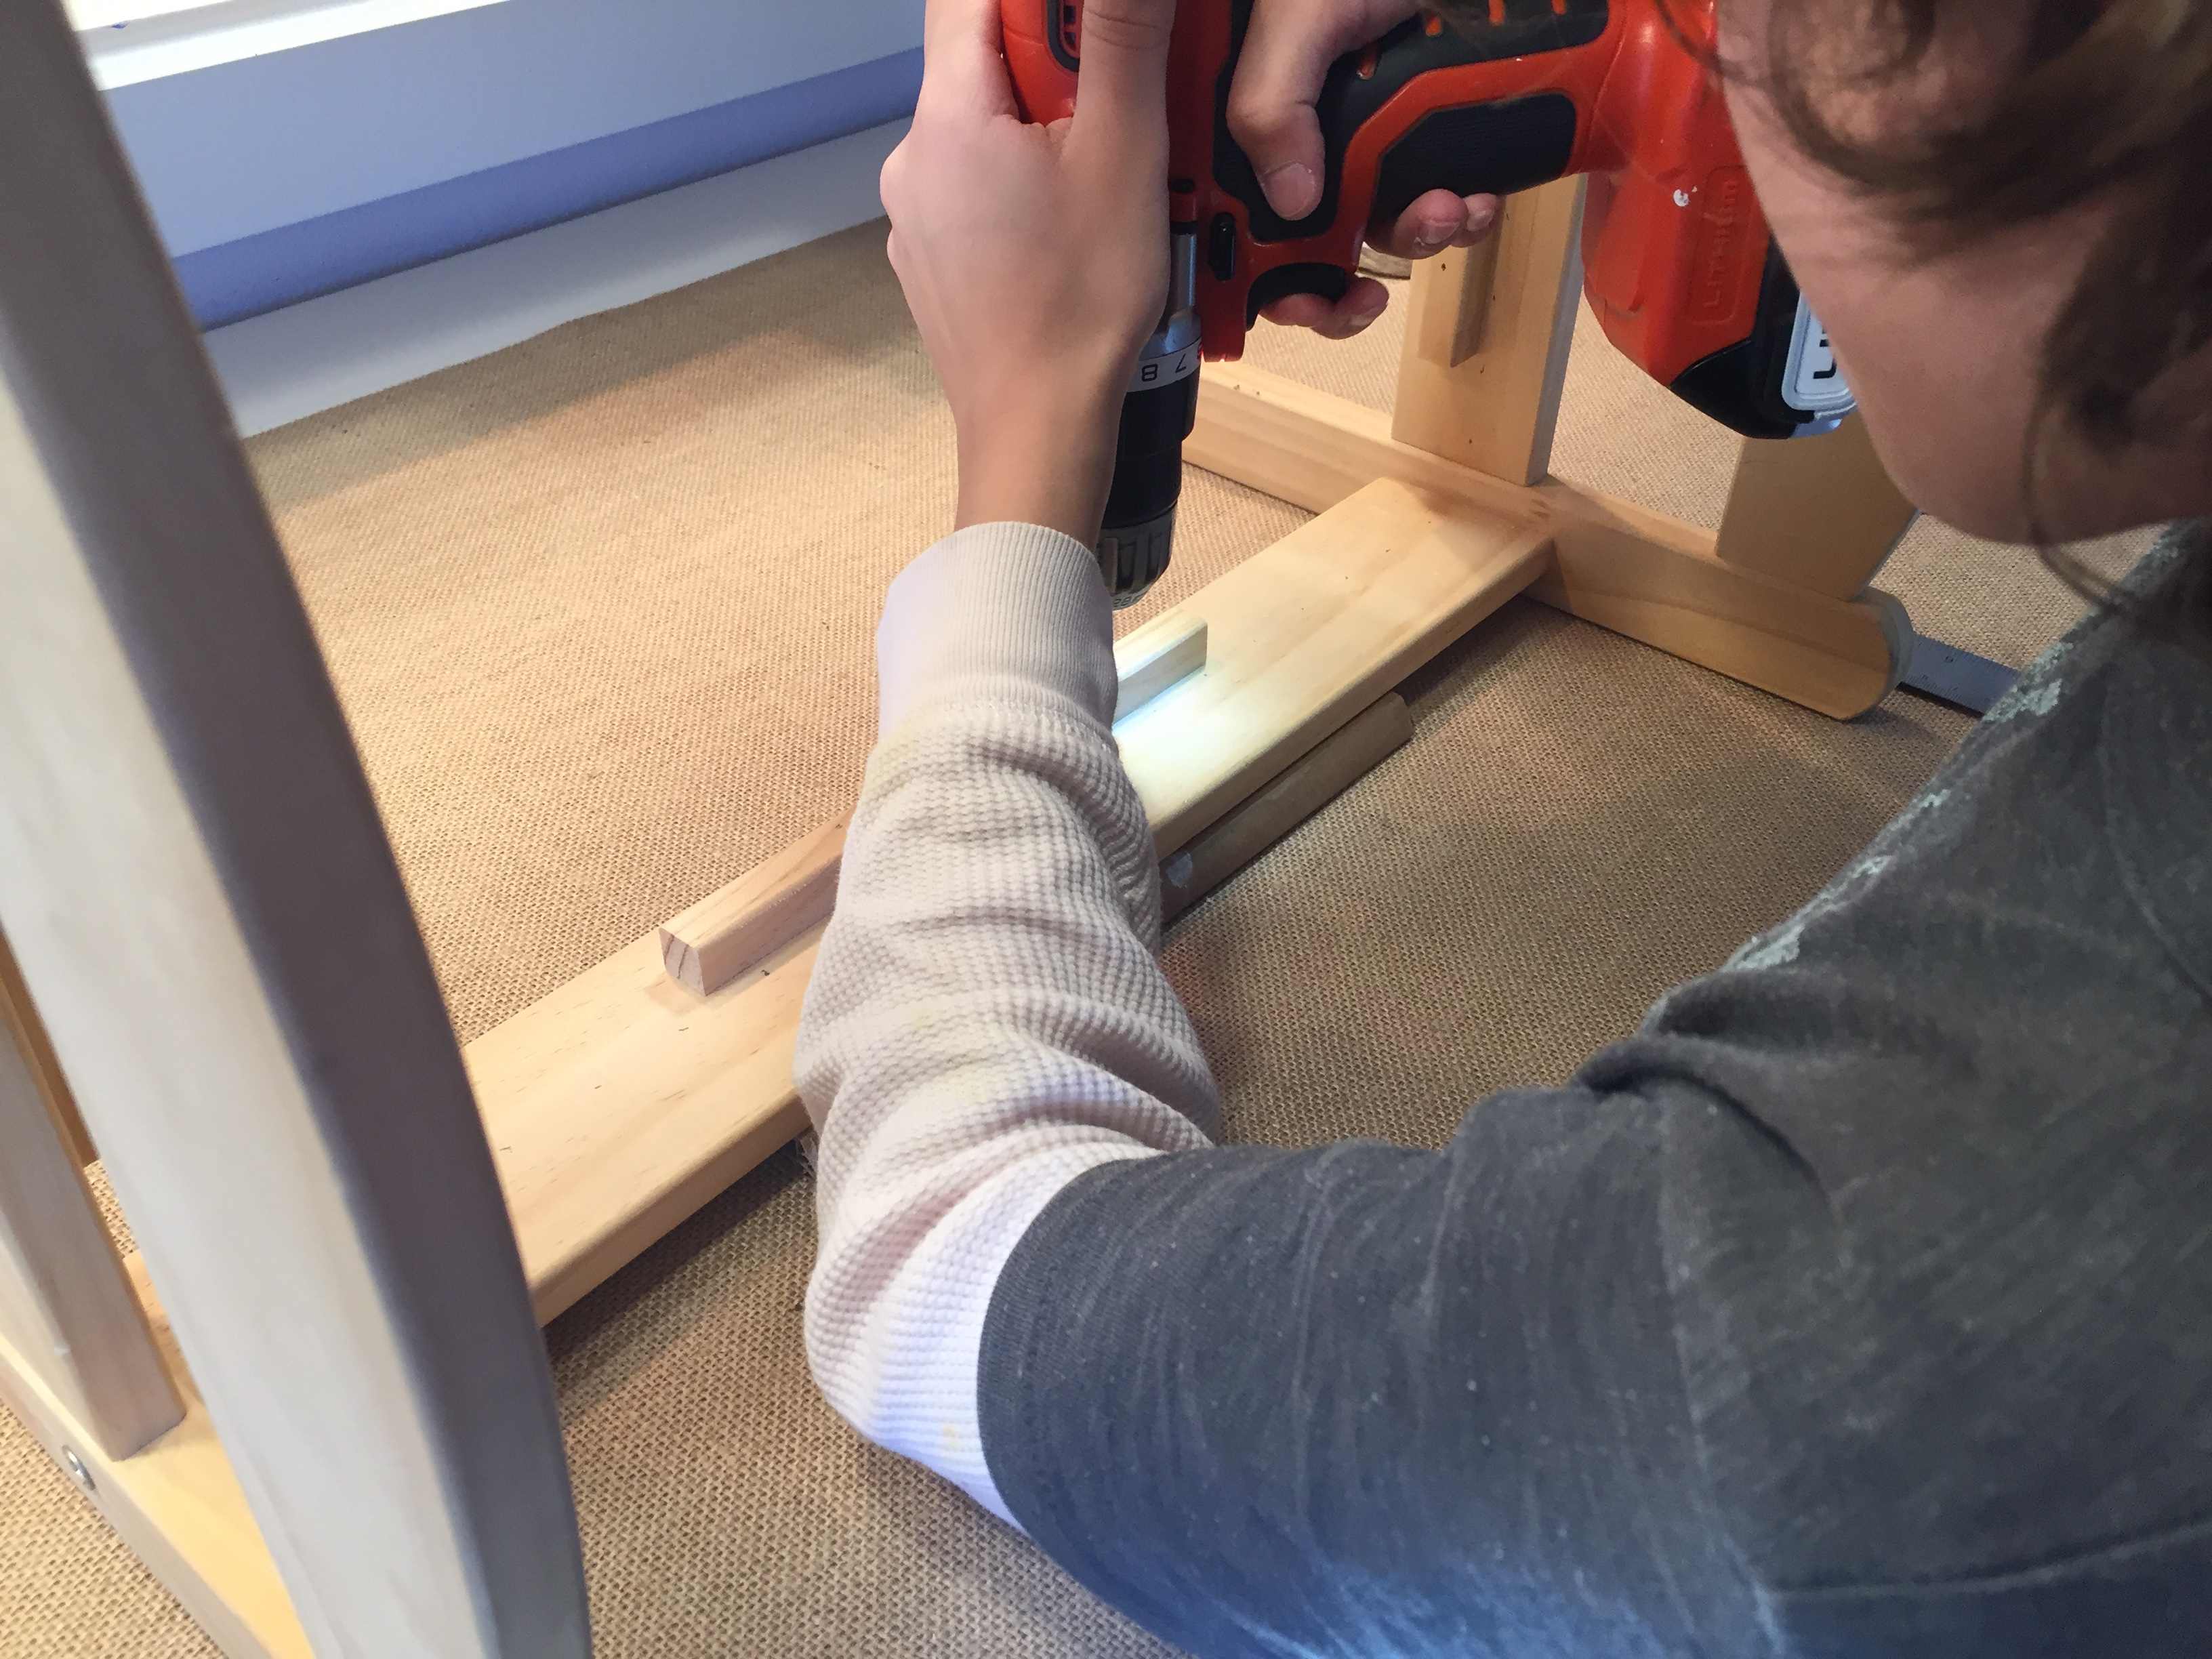
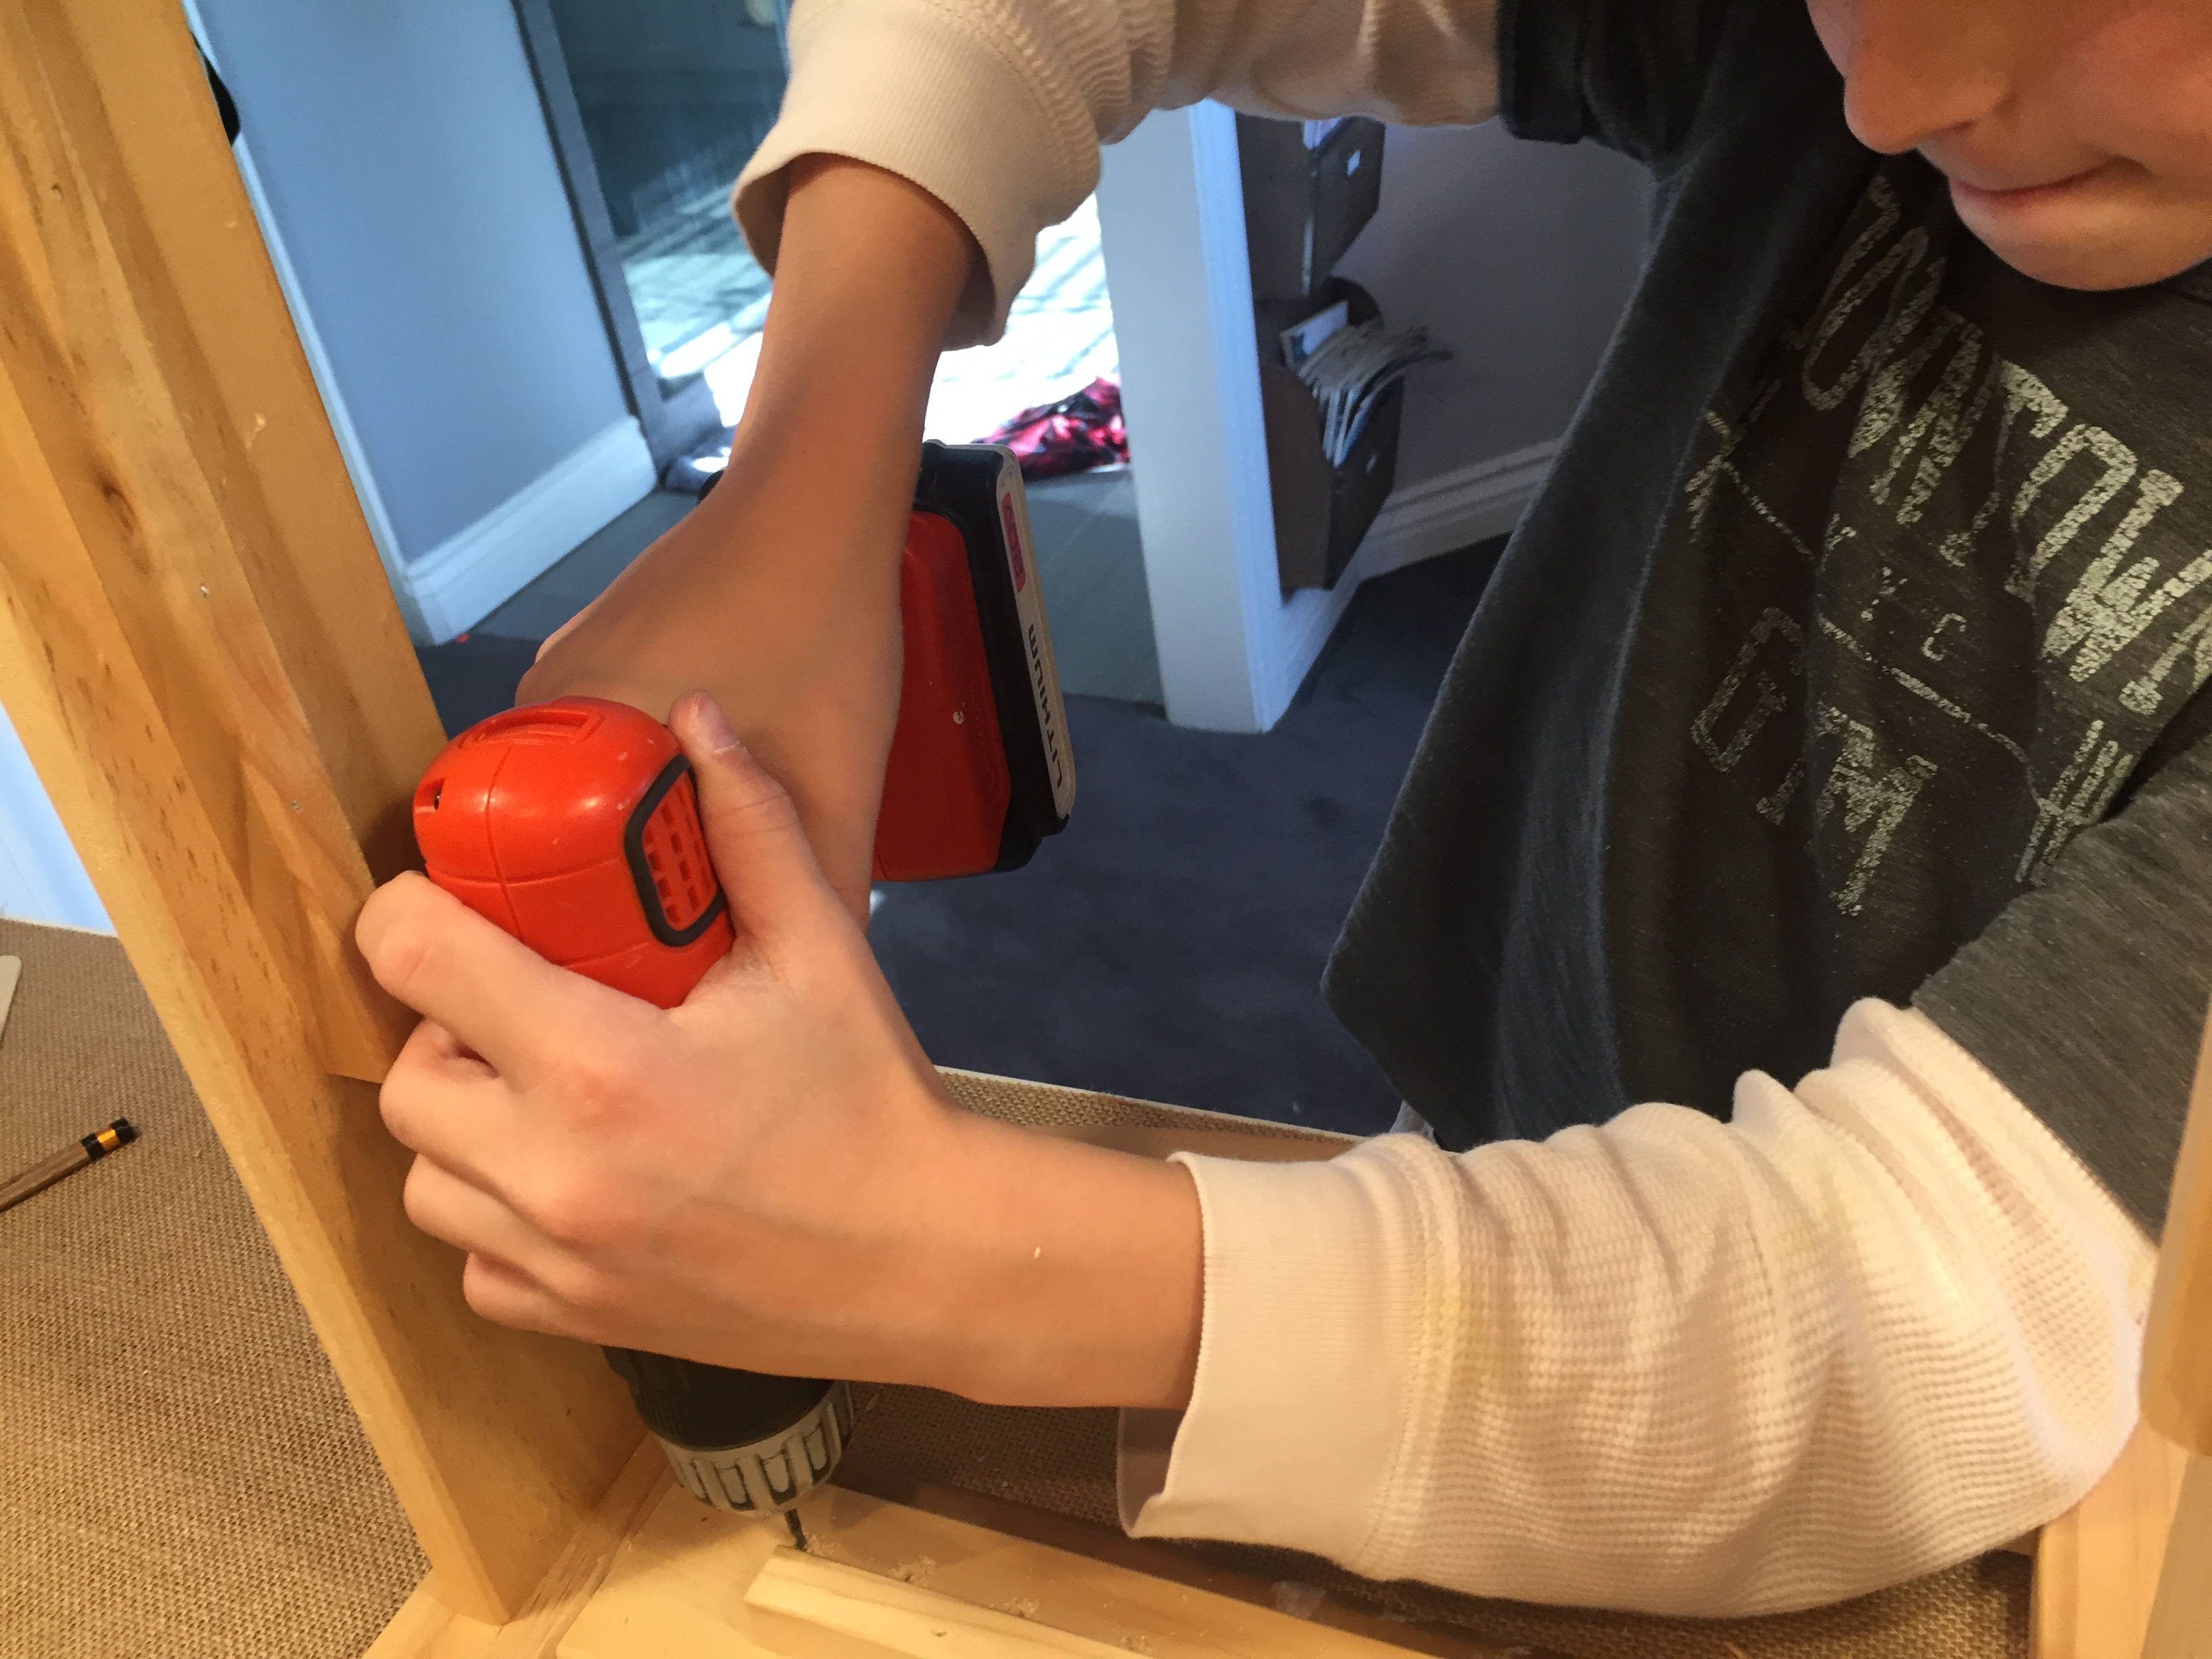
Now I know we only had to string it up and sew a mattress with modern day tools. No growing or chopping down trees to make the bedstead, no raising and shearing sheep for wool or gathering straw and leaves. No weaving and sewing a mattress. But seriously, this was more work and took much longer than I expected. I can’t tell you how appreciative we all were when this project was complete that we have easy access to clean mattress and bed frames!!
This project took over an hour to complete. We used and upcycled materials we already owned (except the Dollar Tree bed), so this project was very affordable for us. If you didn’t want to buy materials for this project, I suggest getting a Dollar Tree bed to do the project.
We used the book Great Colonial America Projects by Chris Bordessa for inspiration for this project. Though the book calls for making your own straw tick, we decided to take it a step further.
You can see all other projects we did for our American History units by checking out the playlist.

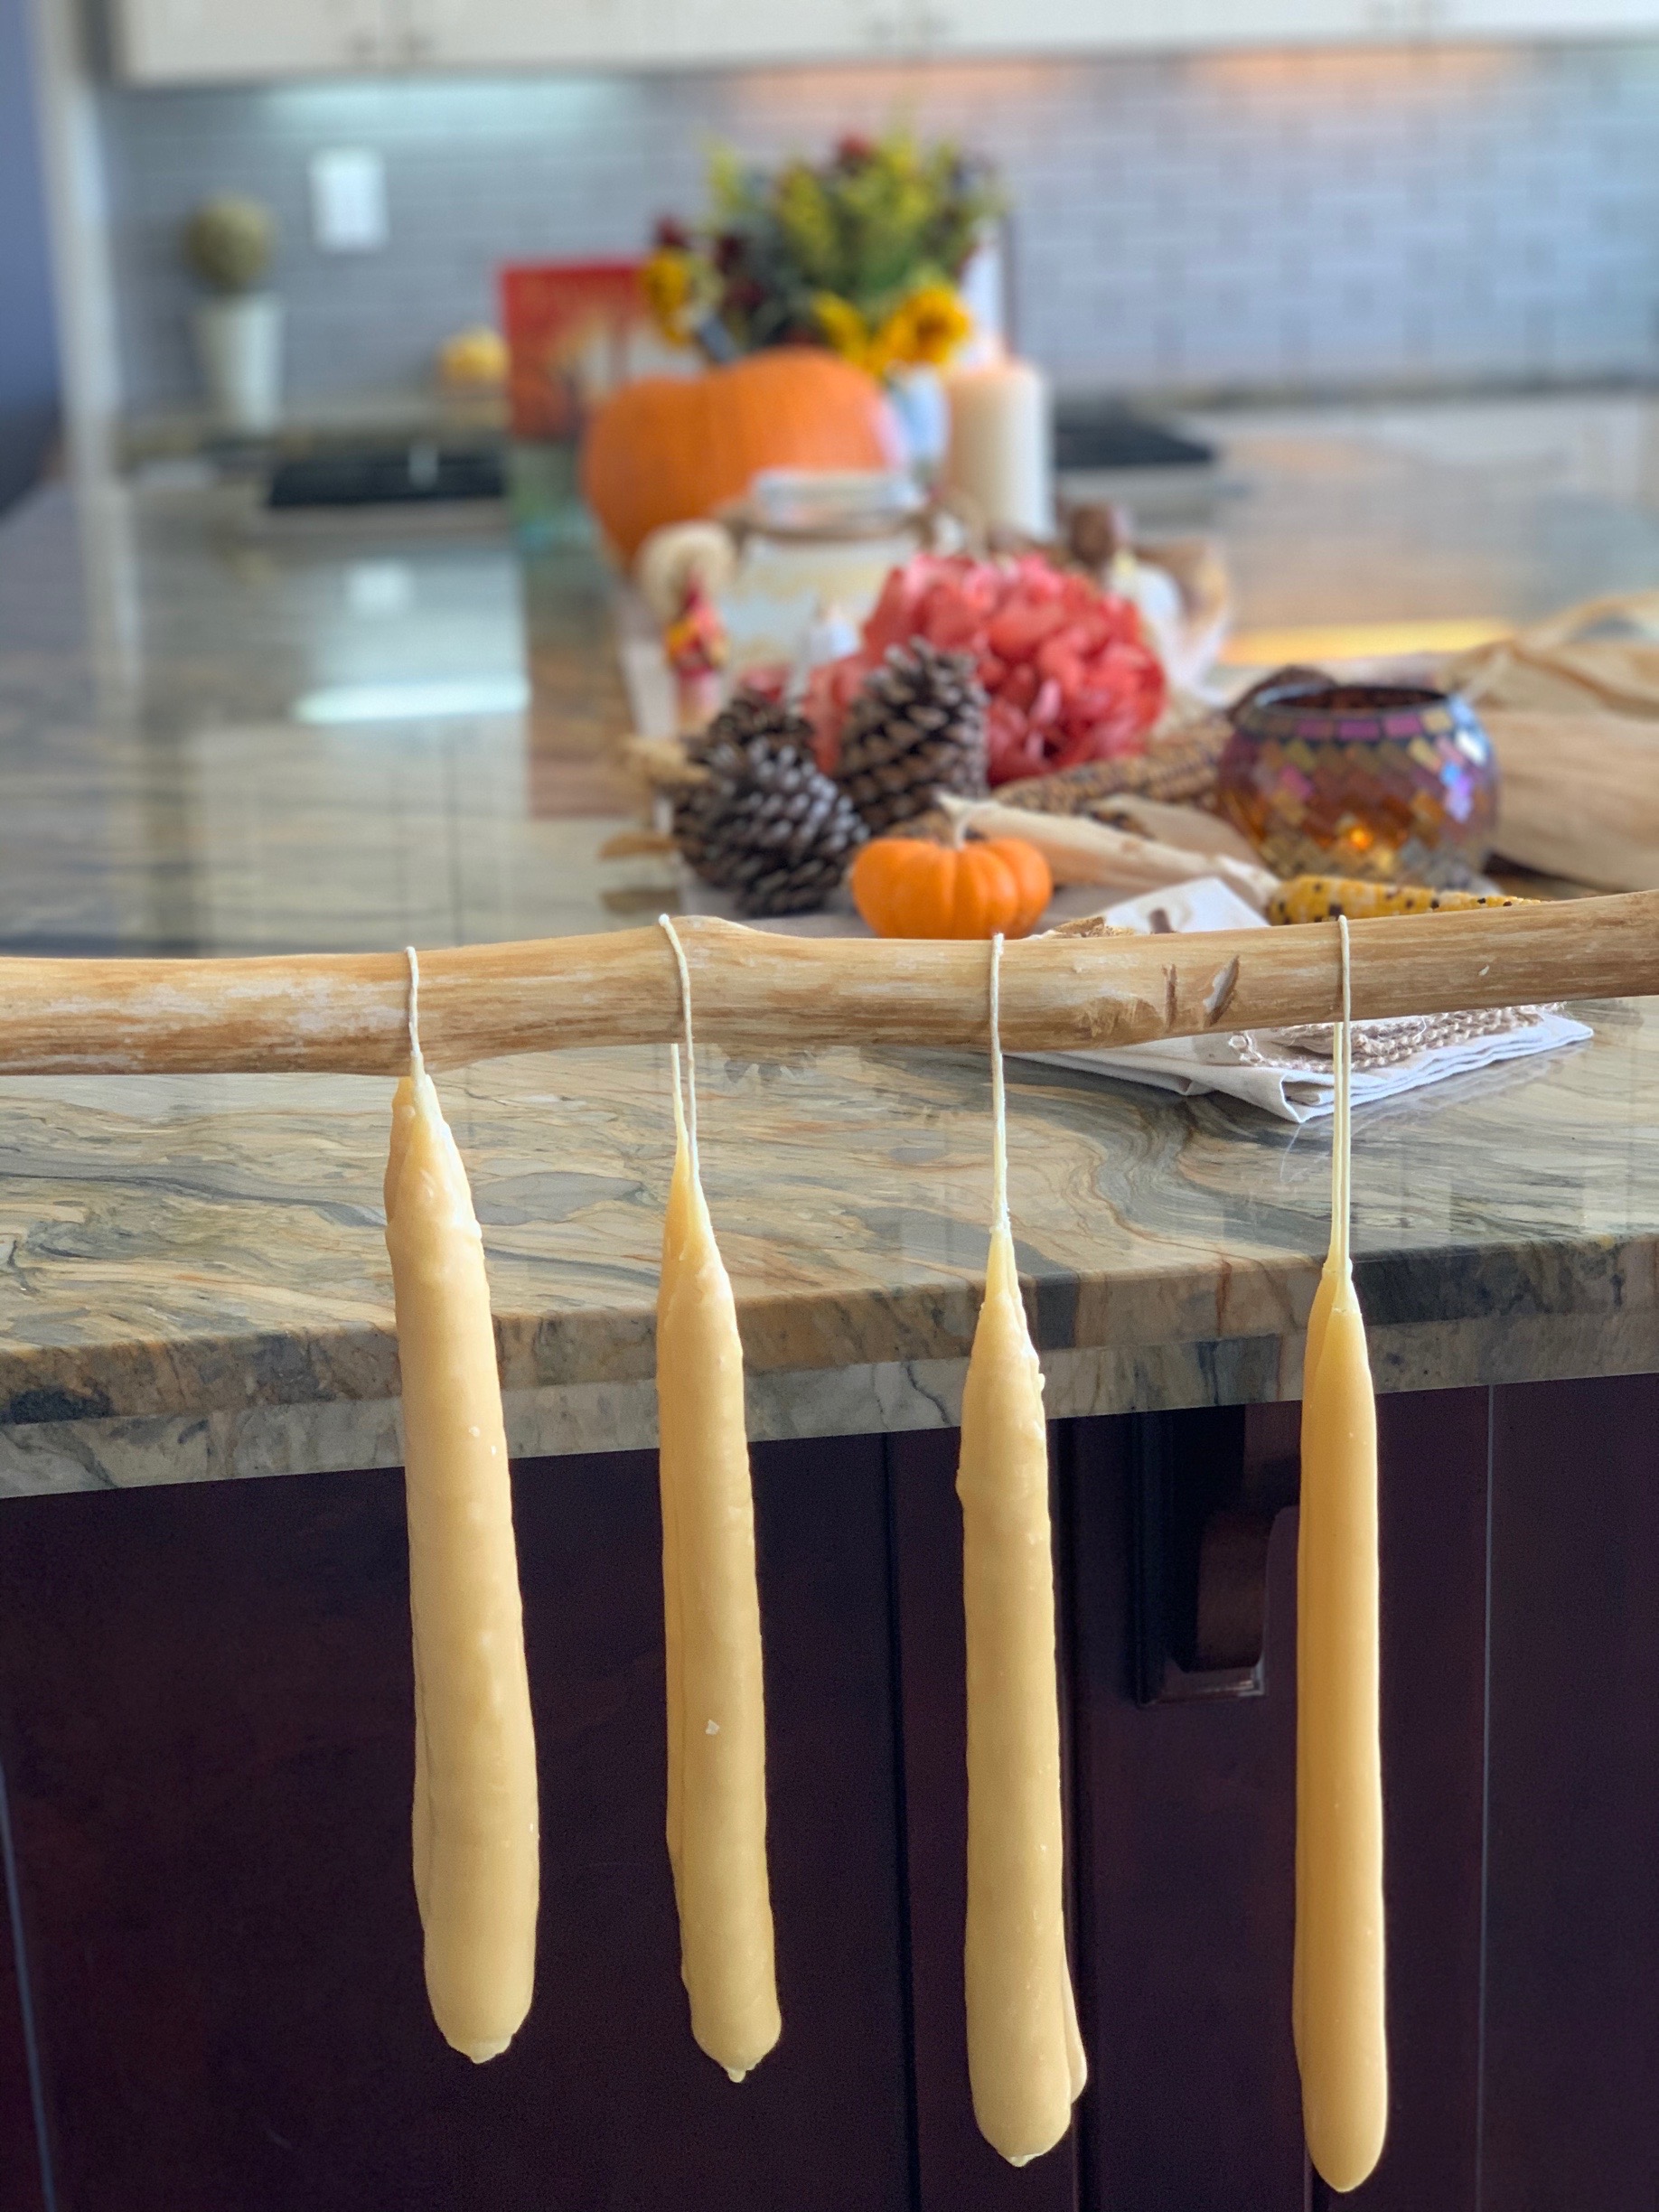
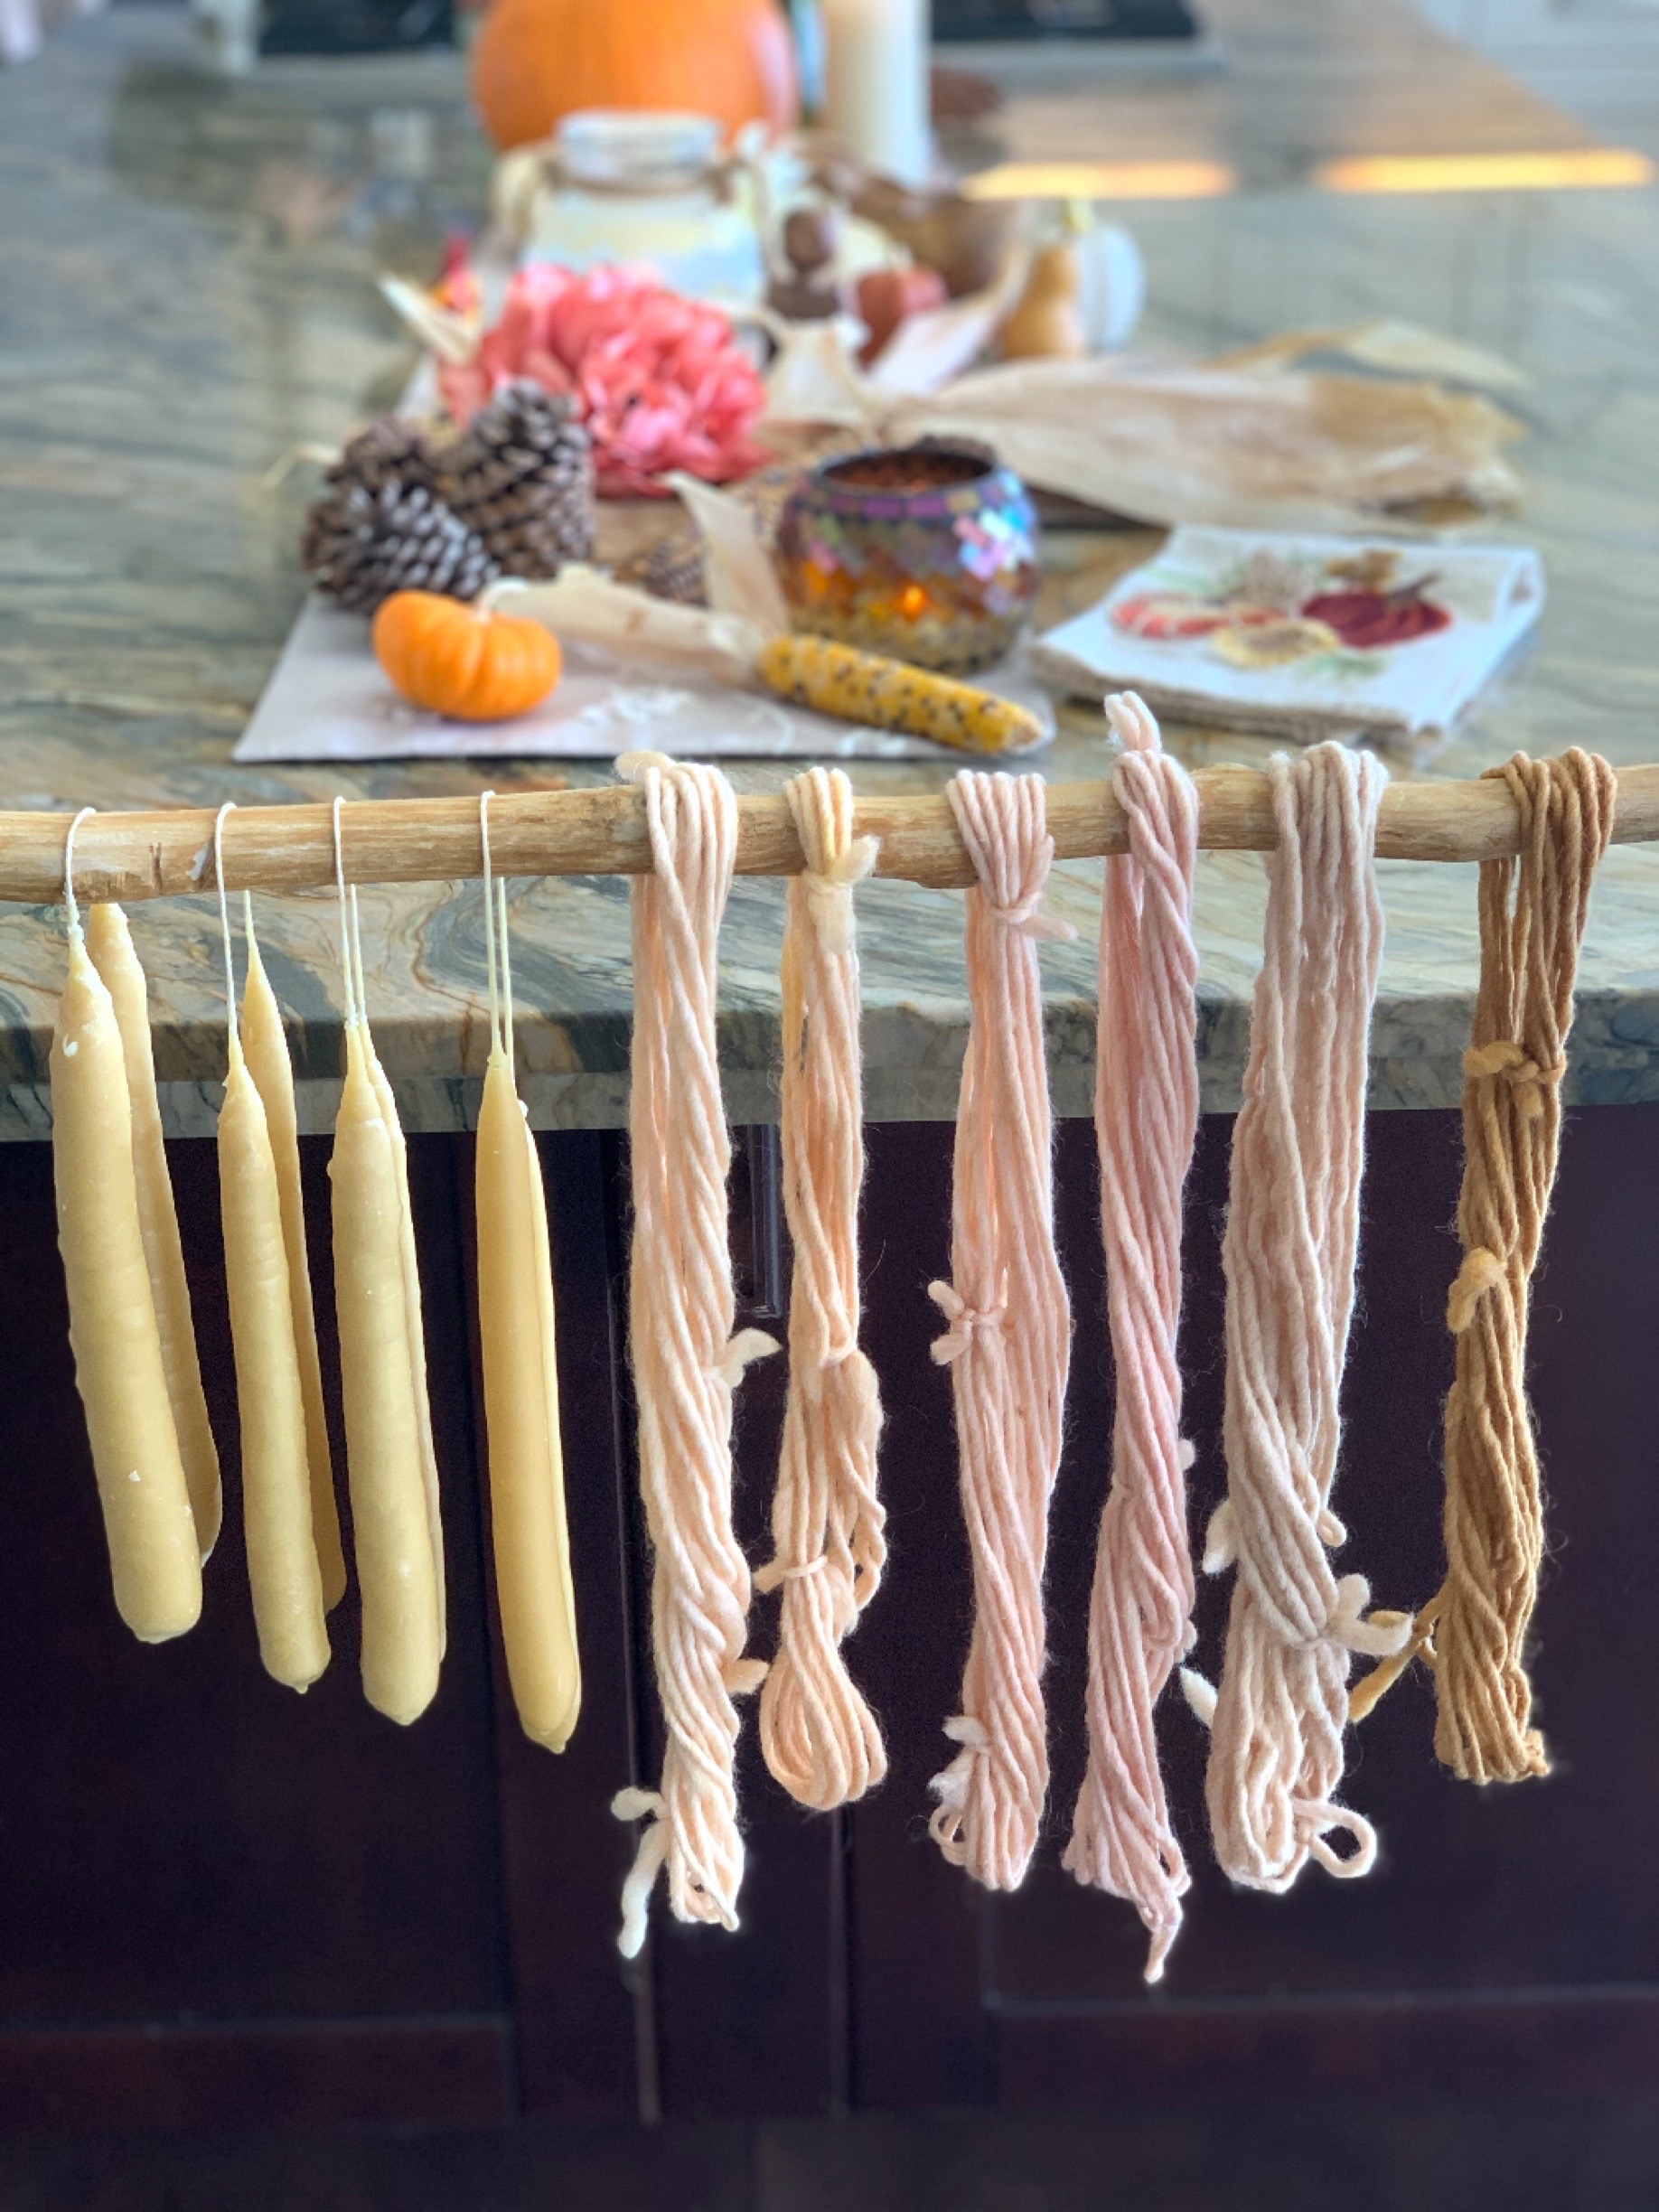
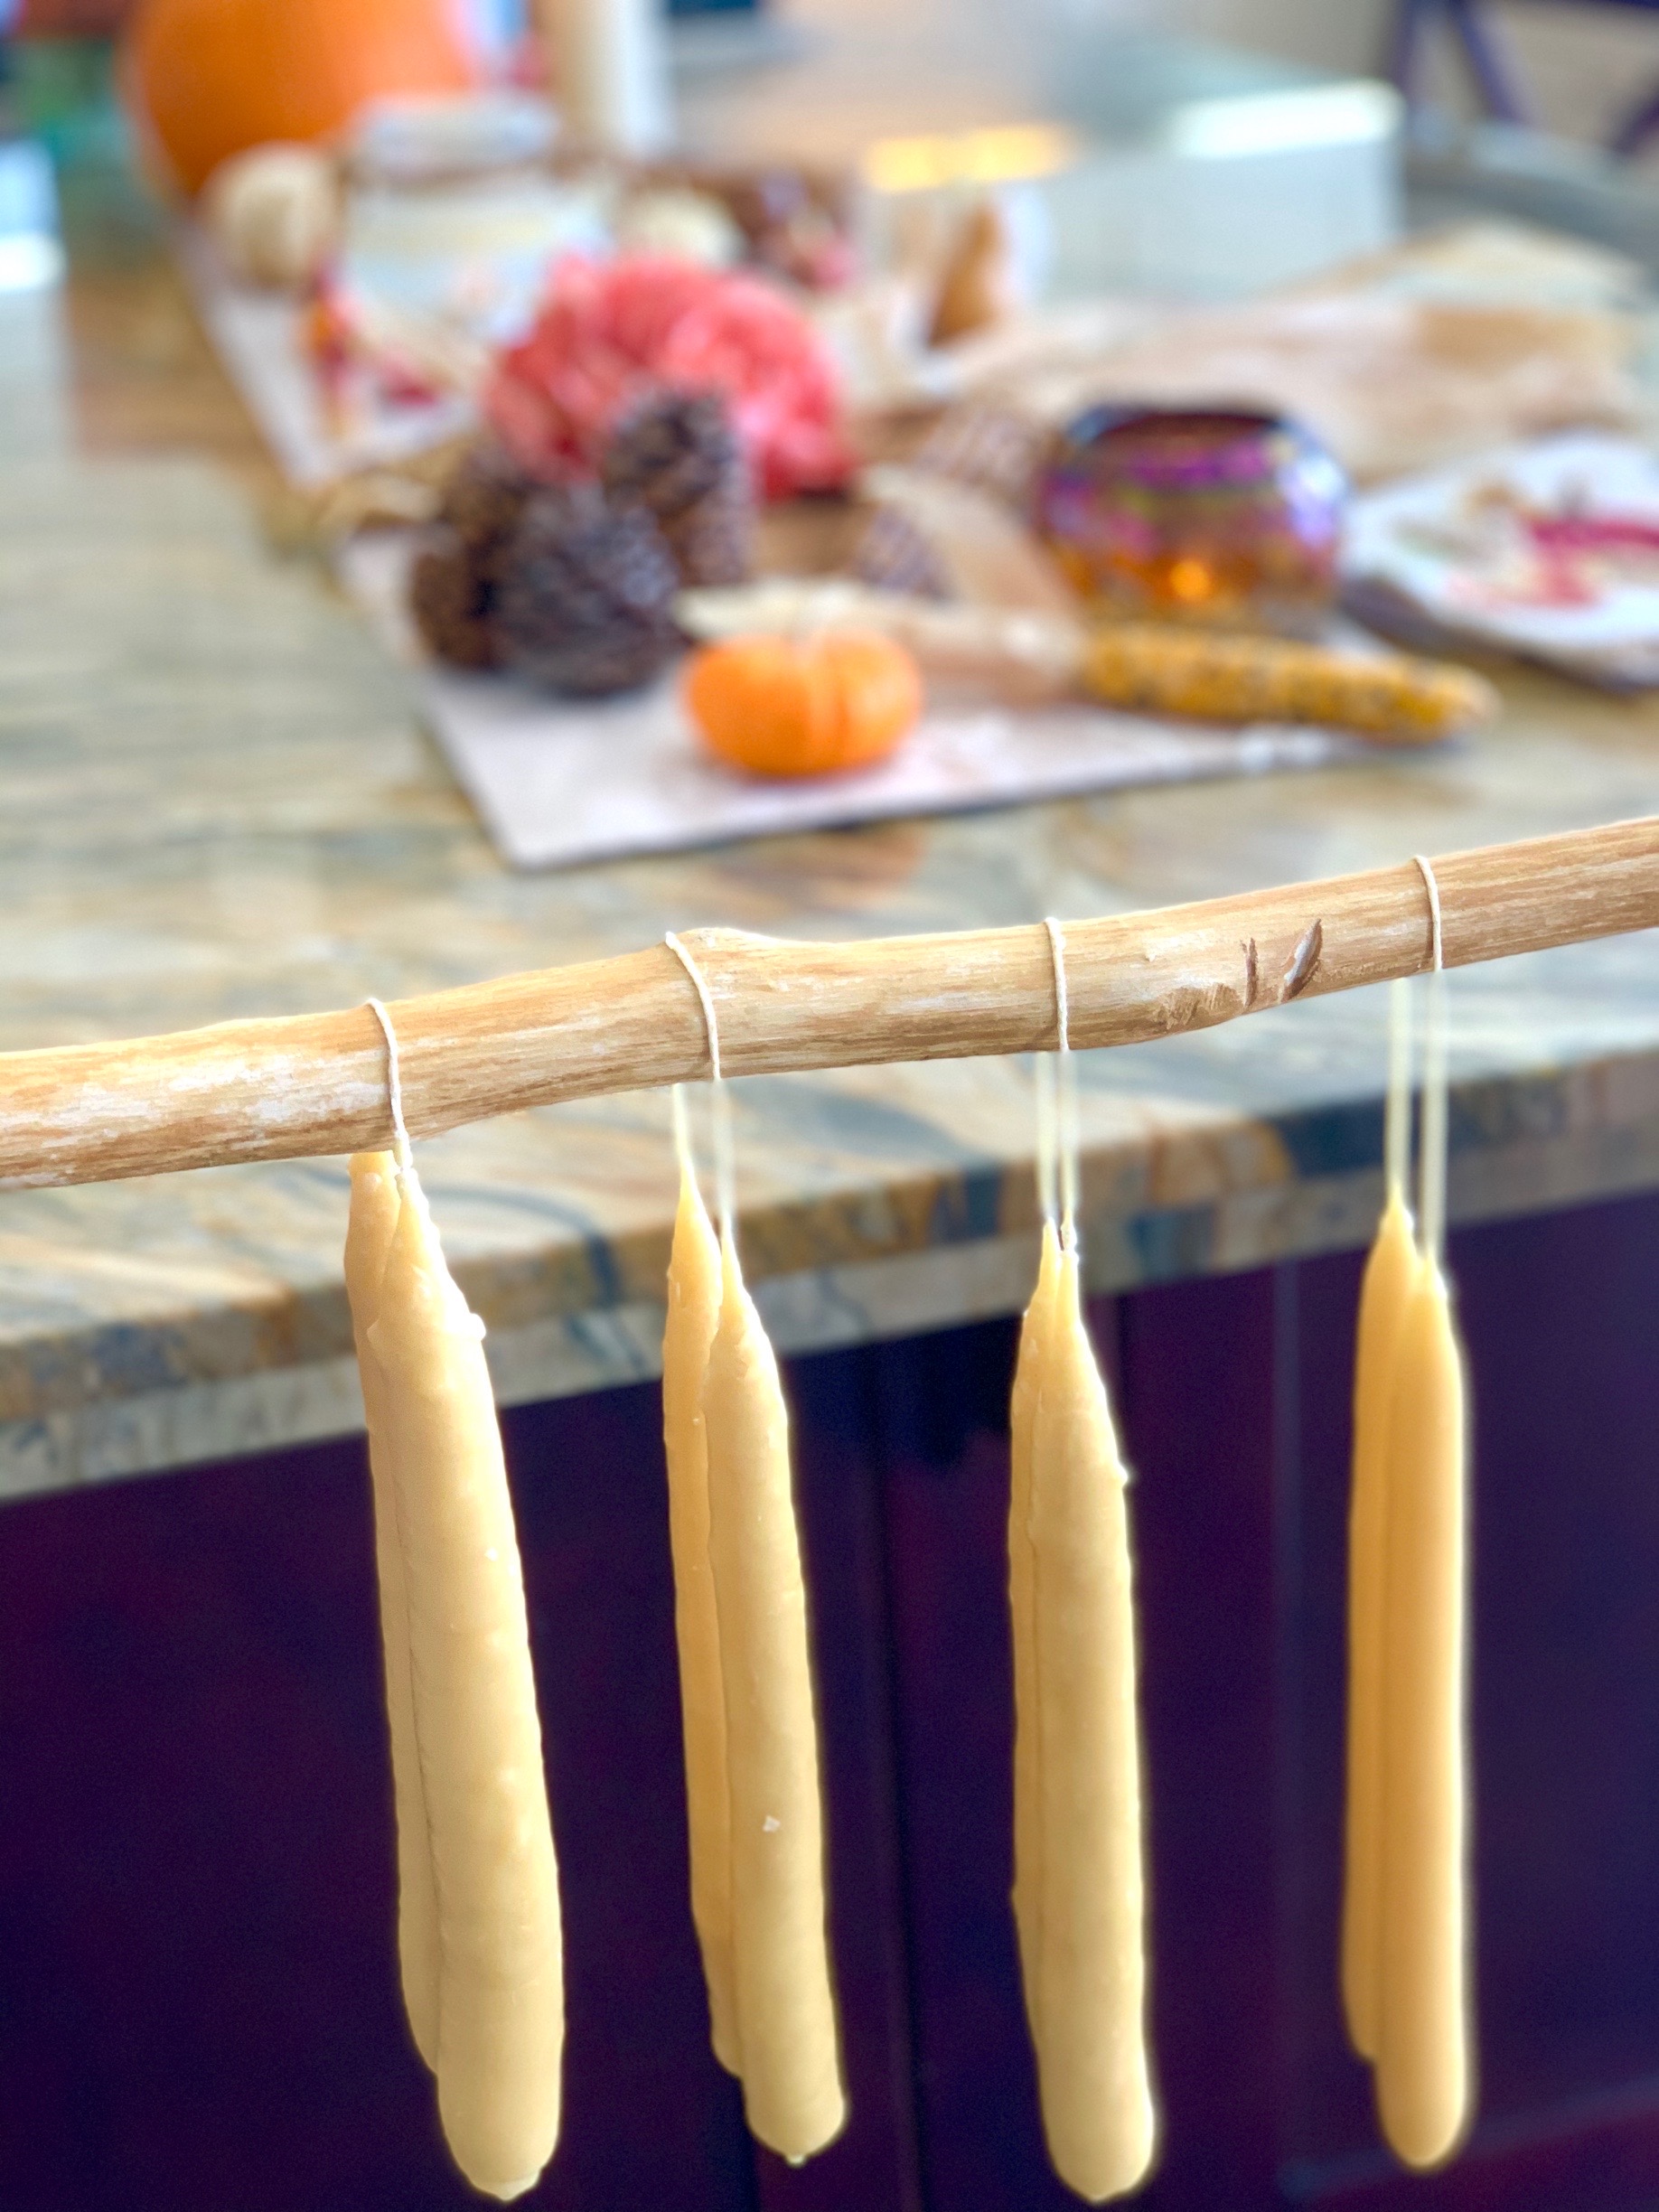
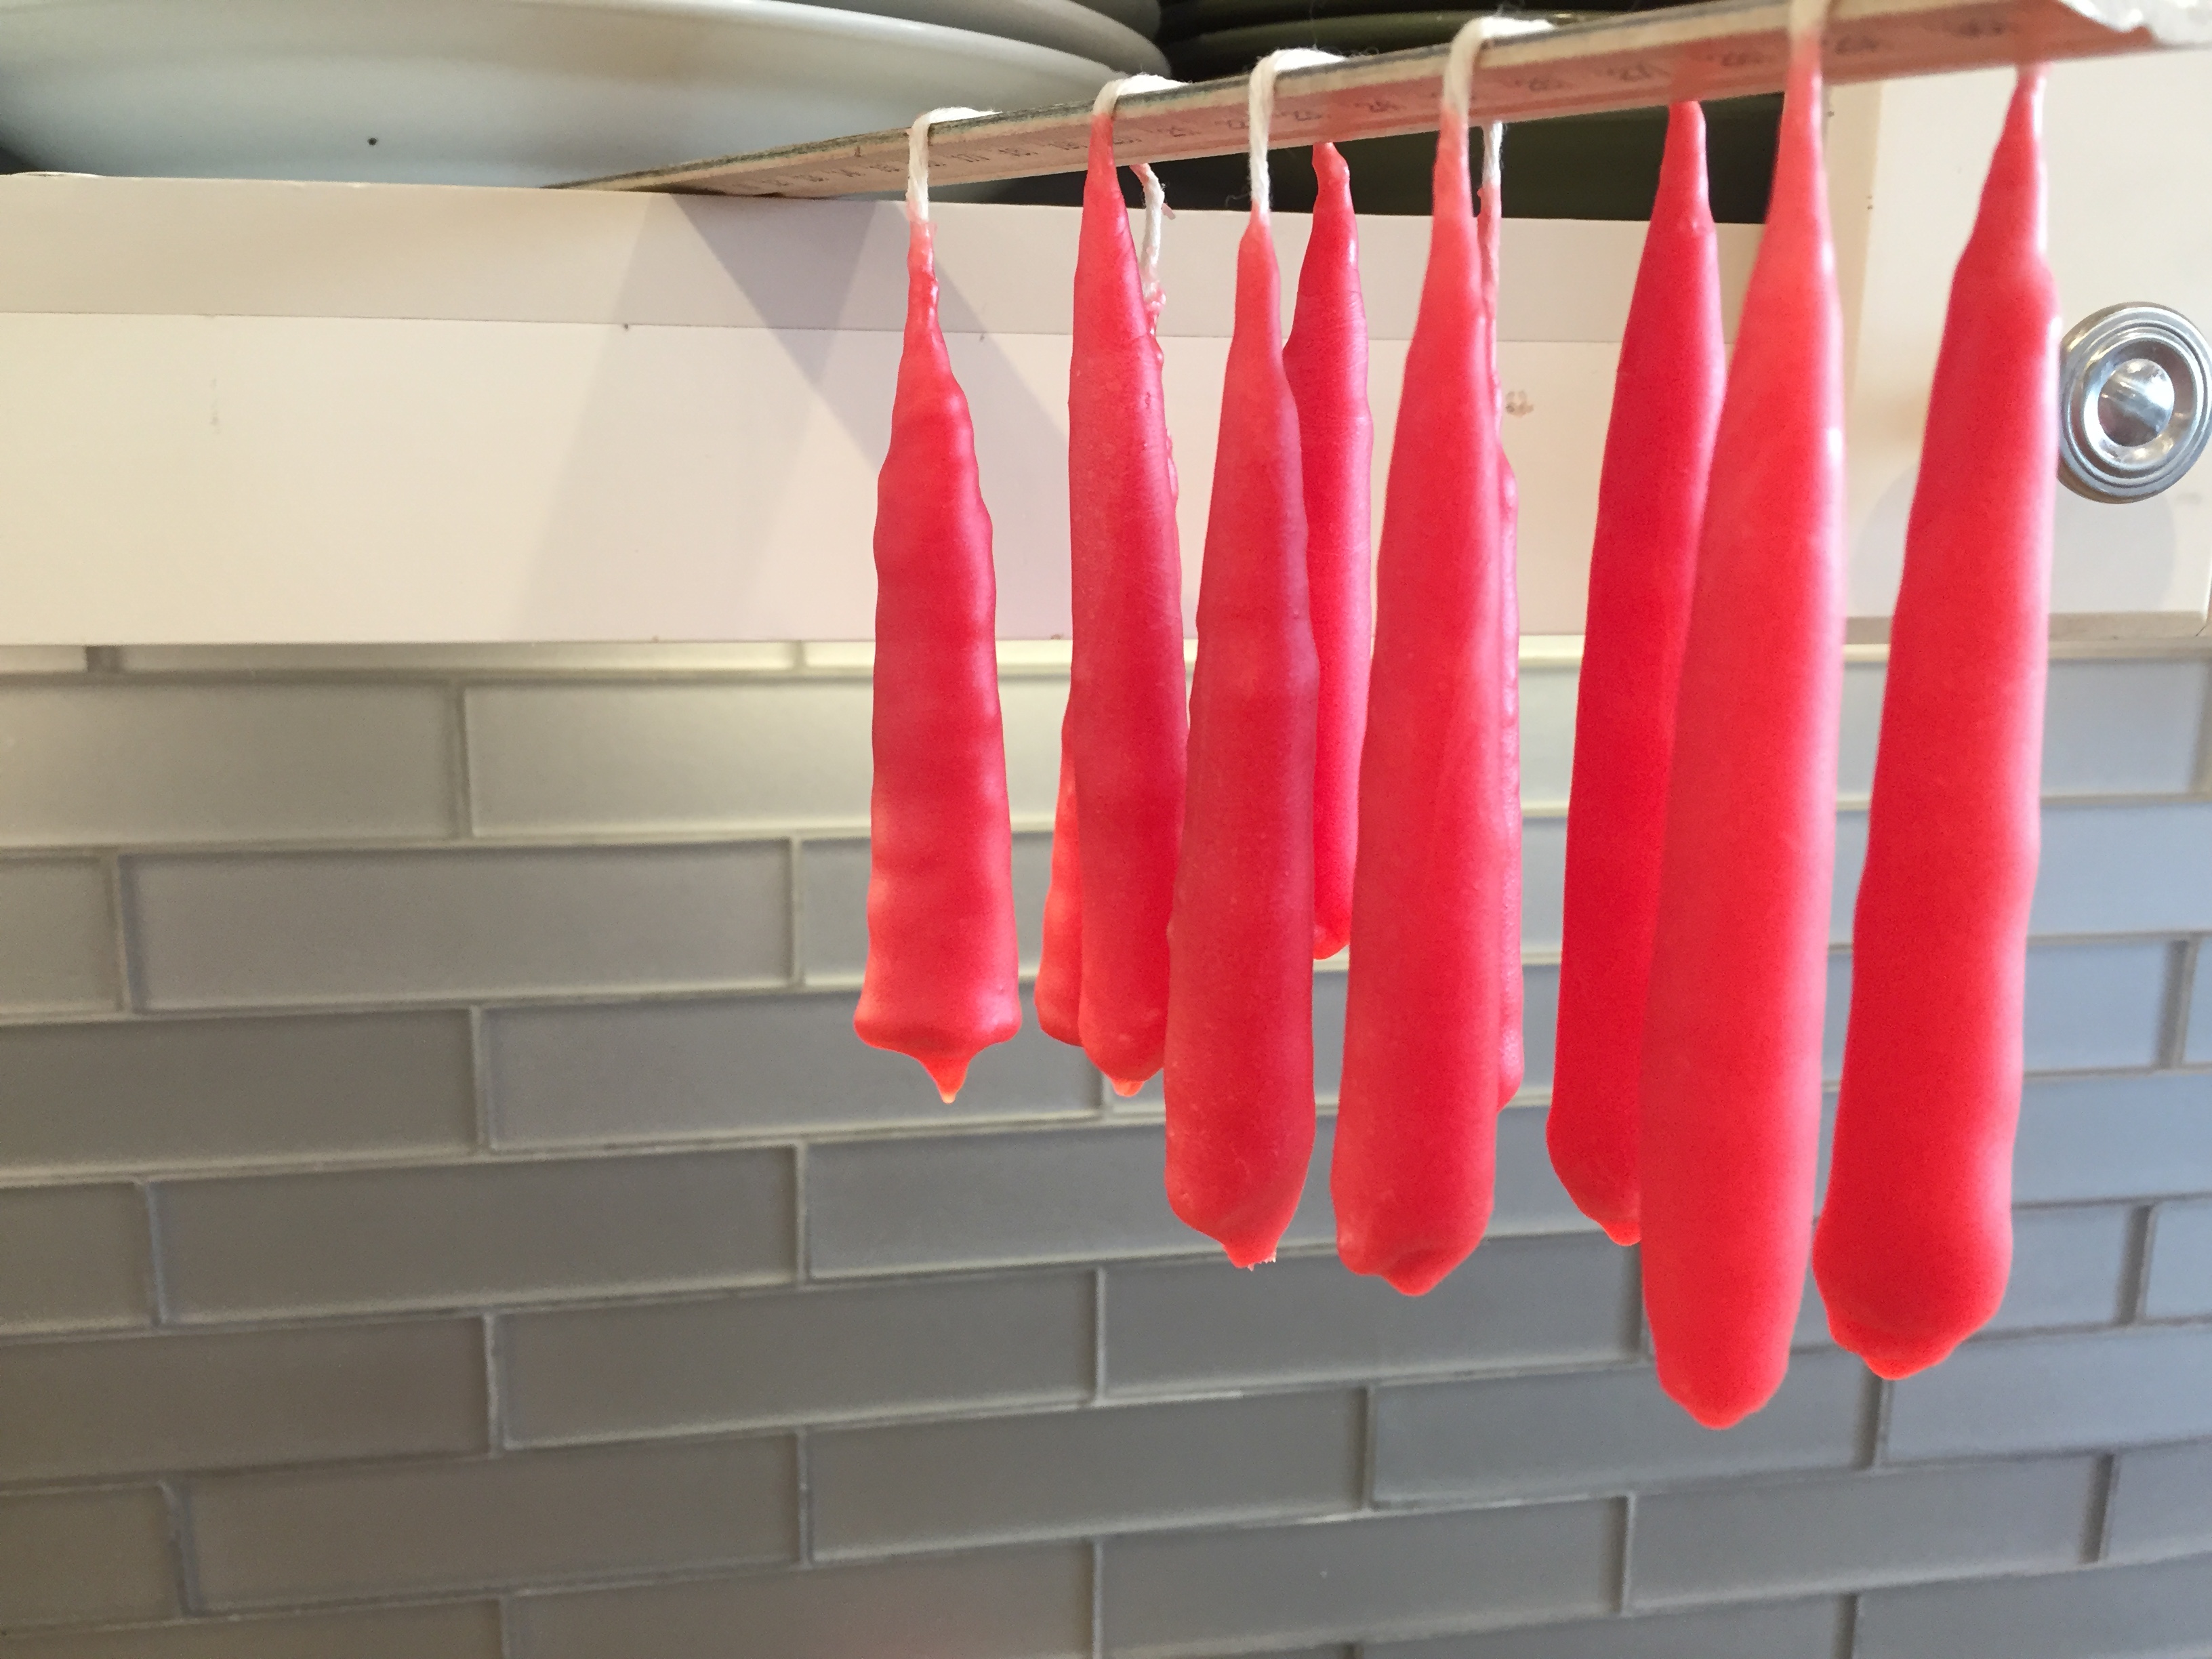
Hand Dipped Candles
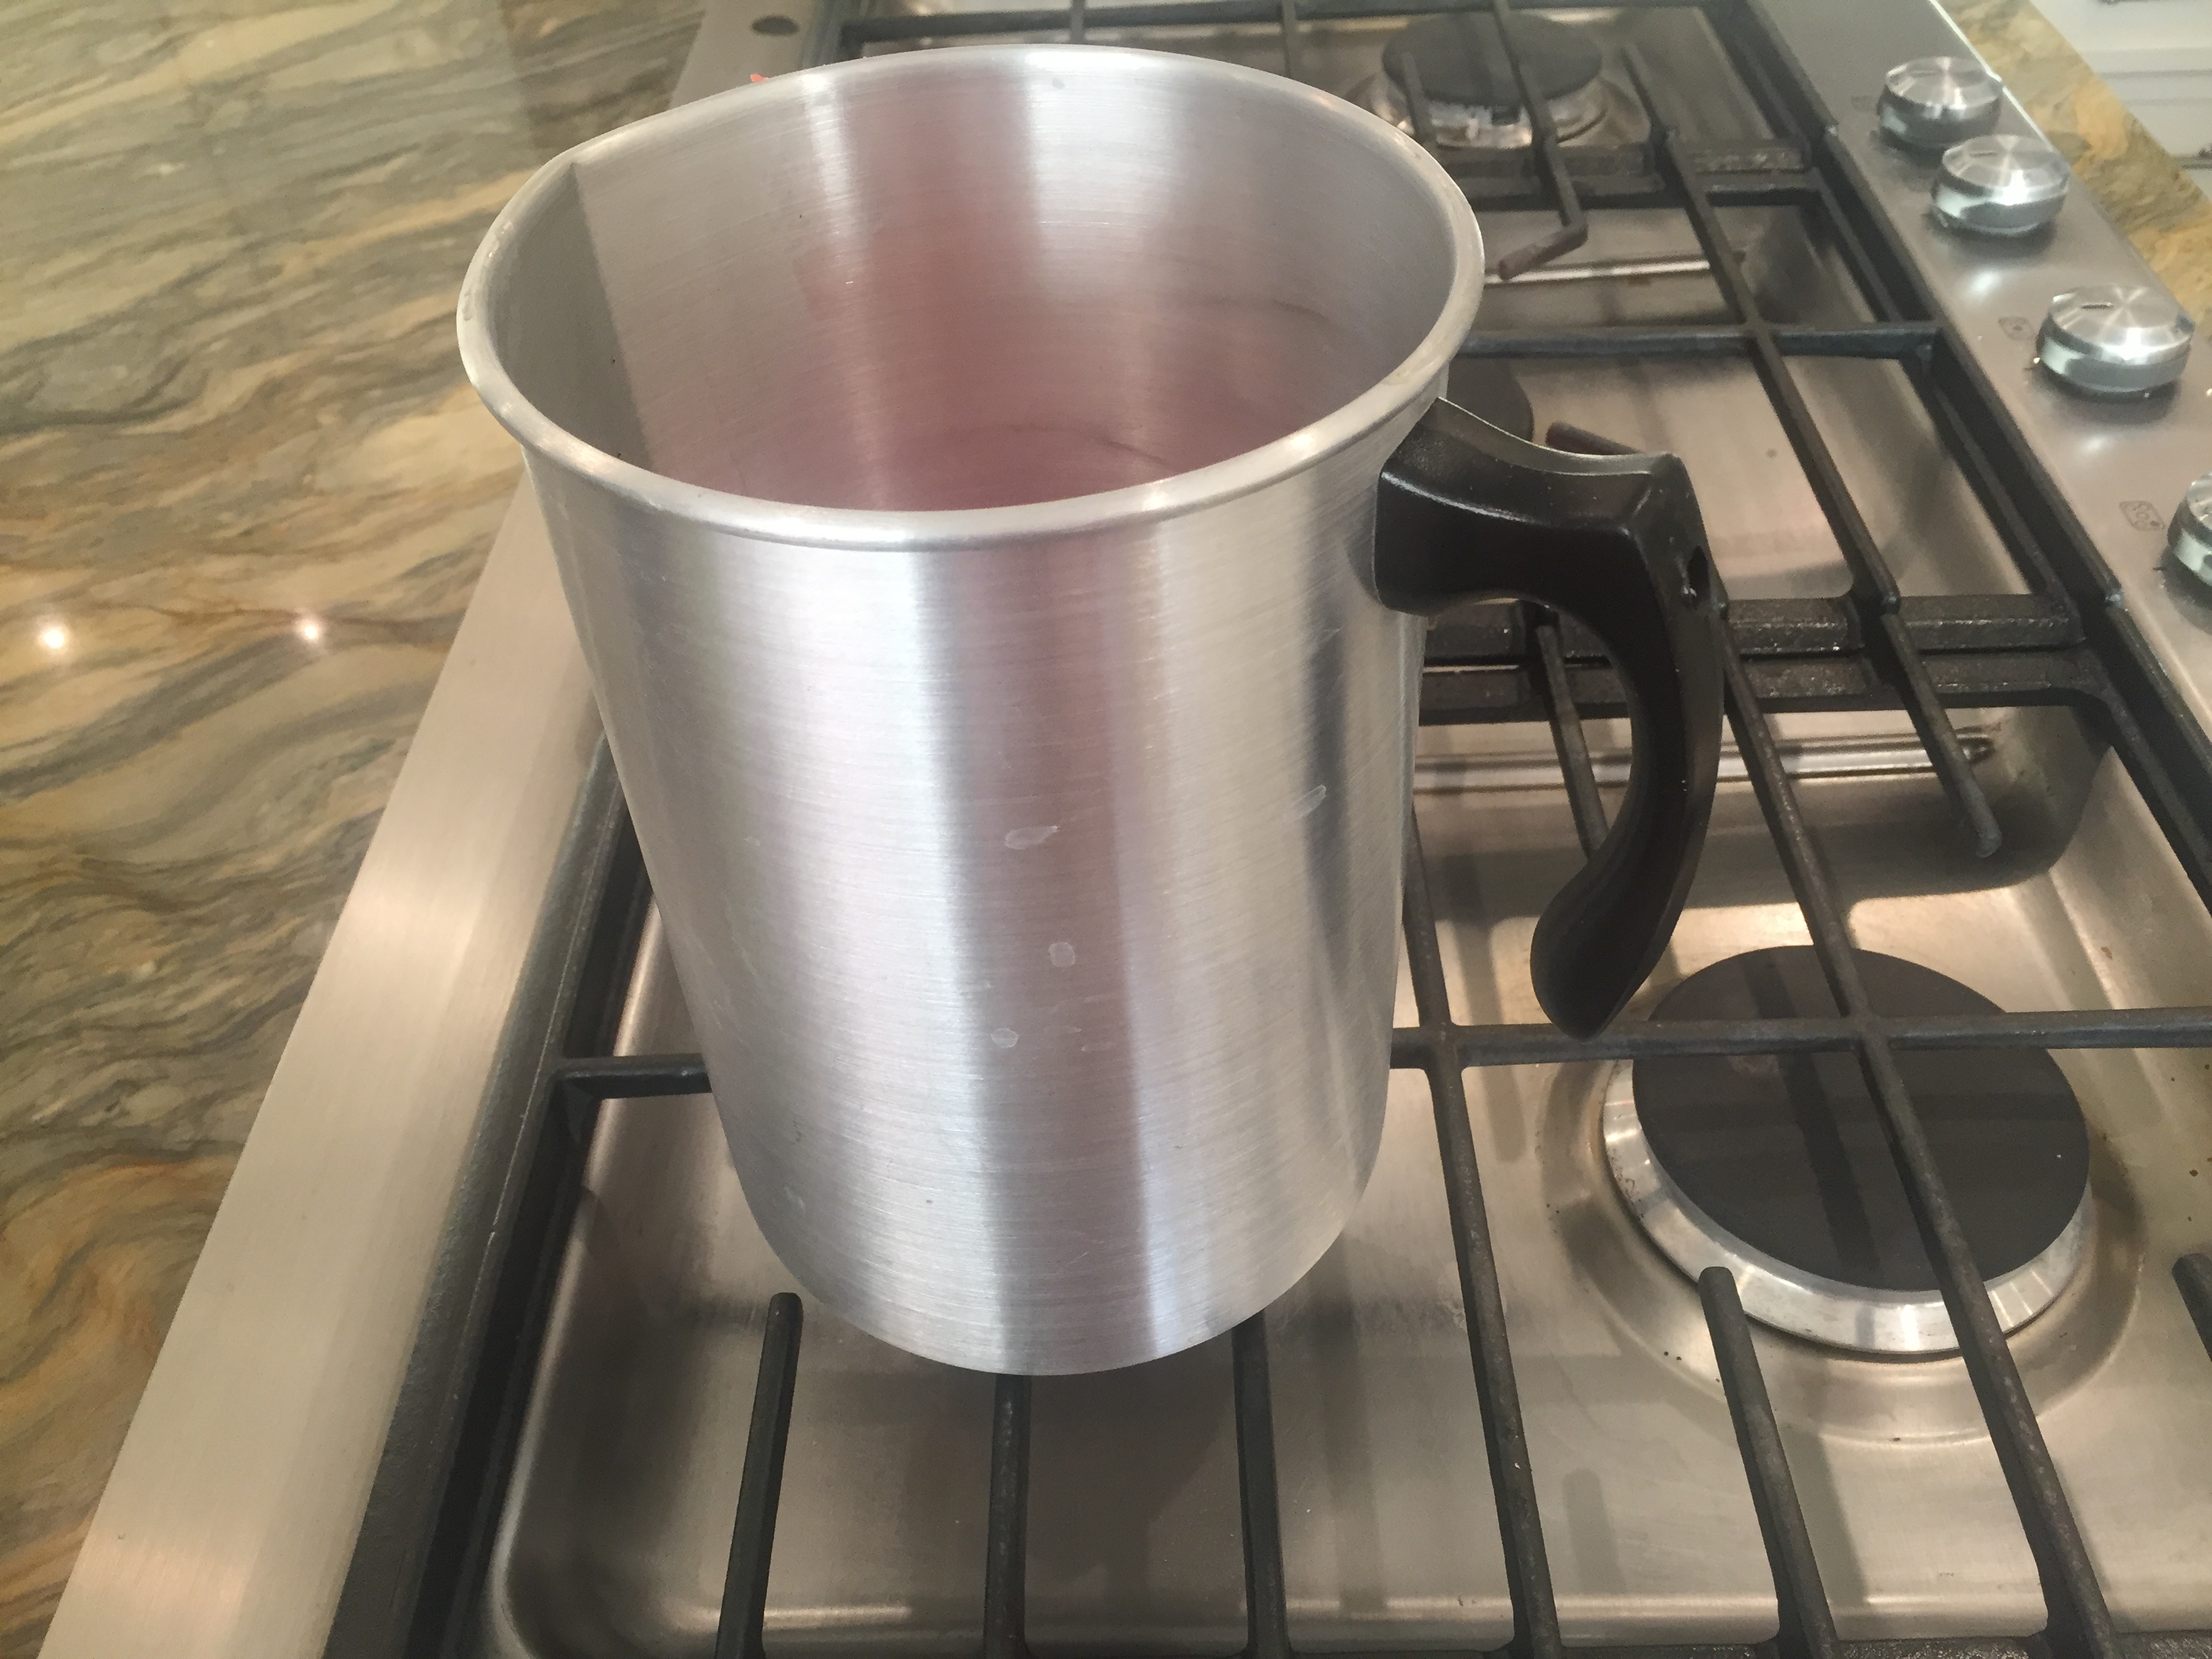
Ever wanted to turn left over candles into hand dipped tapers? You can either buy wax or upcycle an old candle. All you need is a deep pot for the wax, baker’s twine, a pair of scissors and a burner.
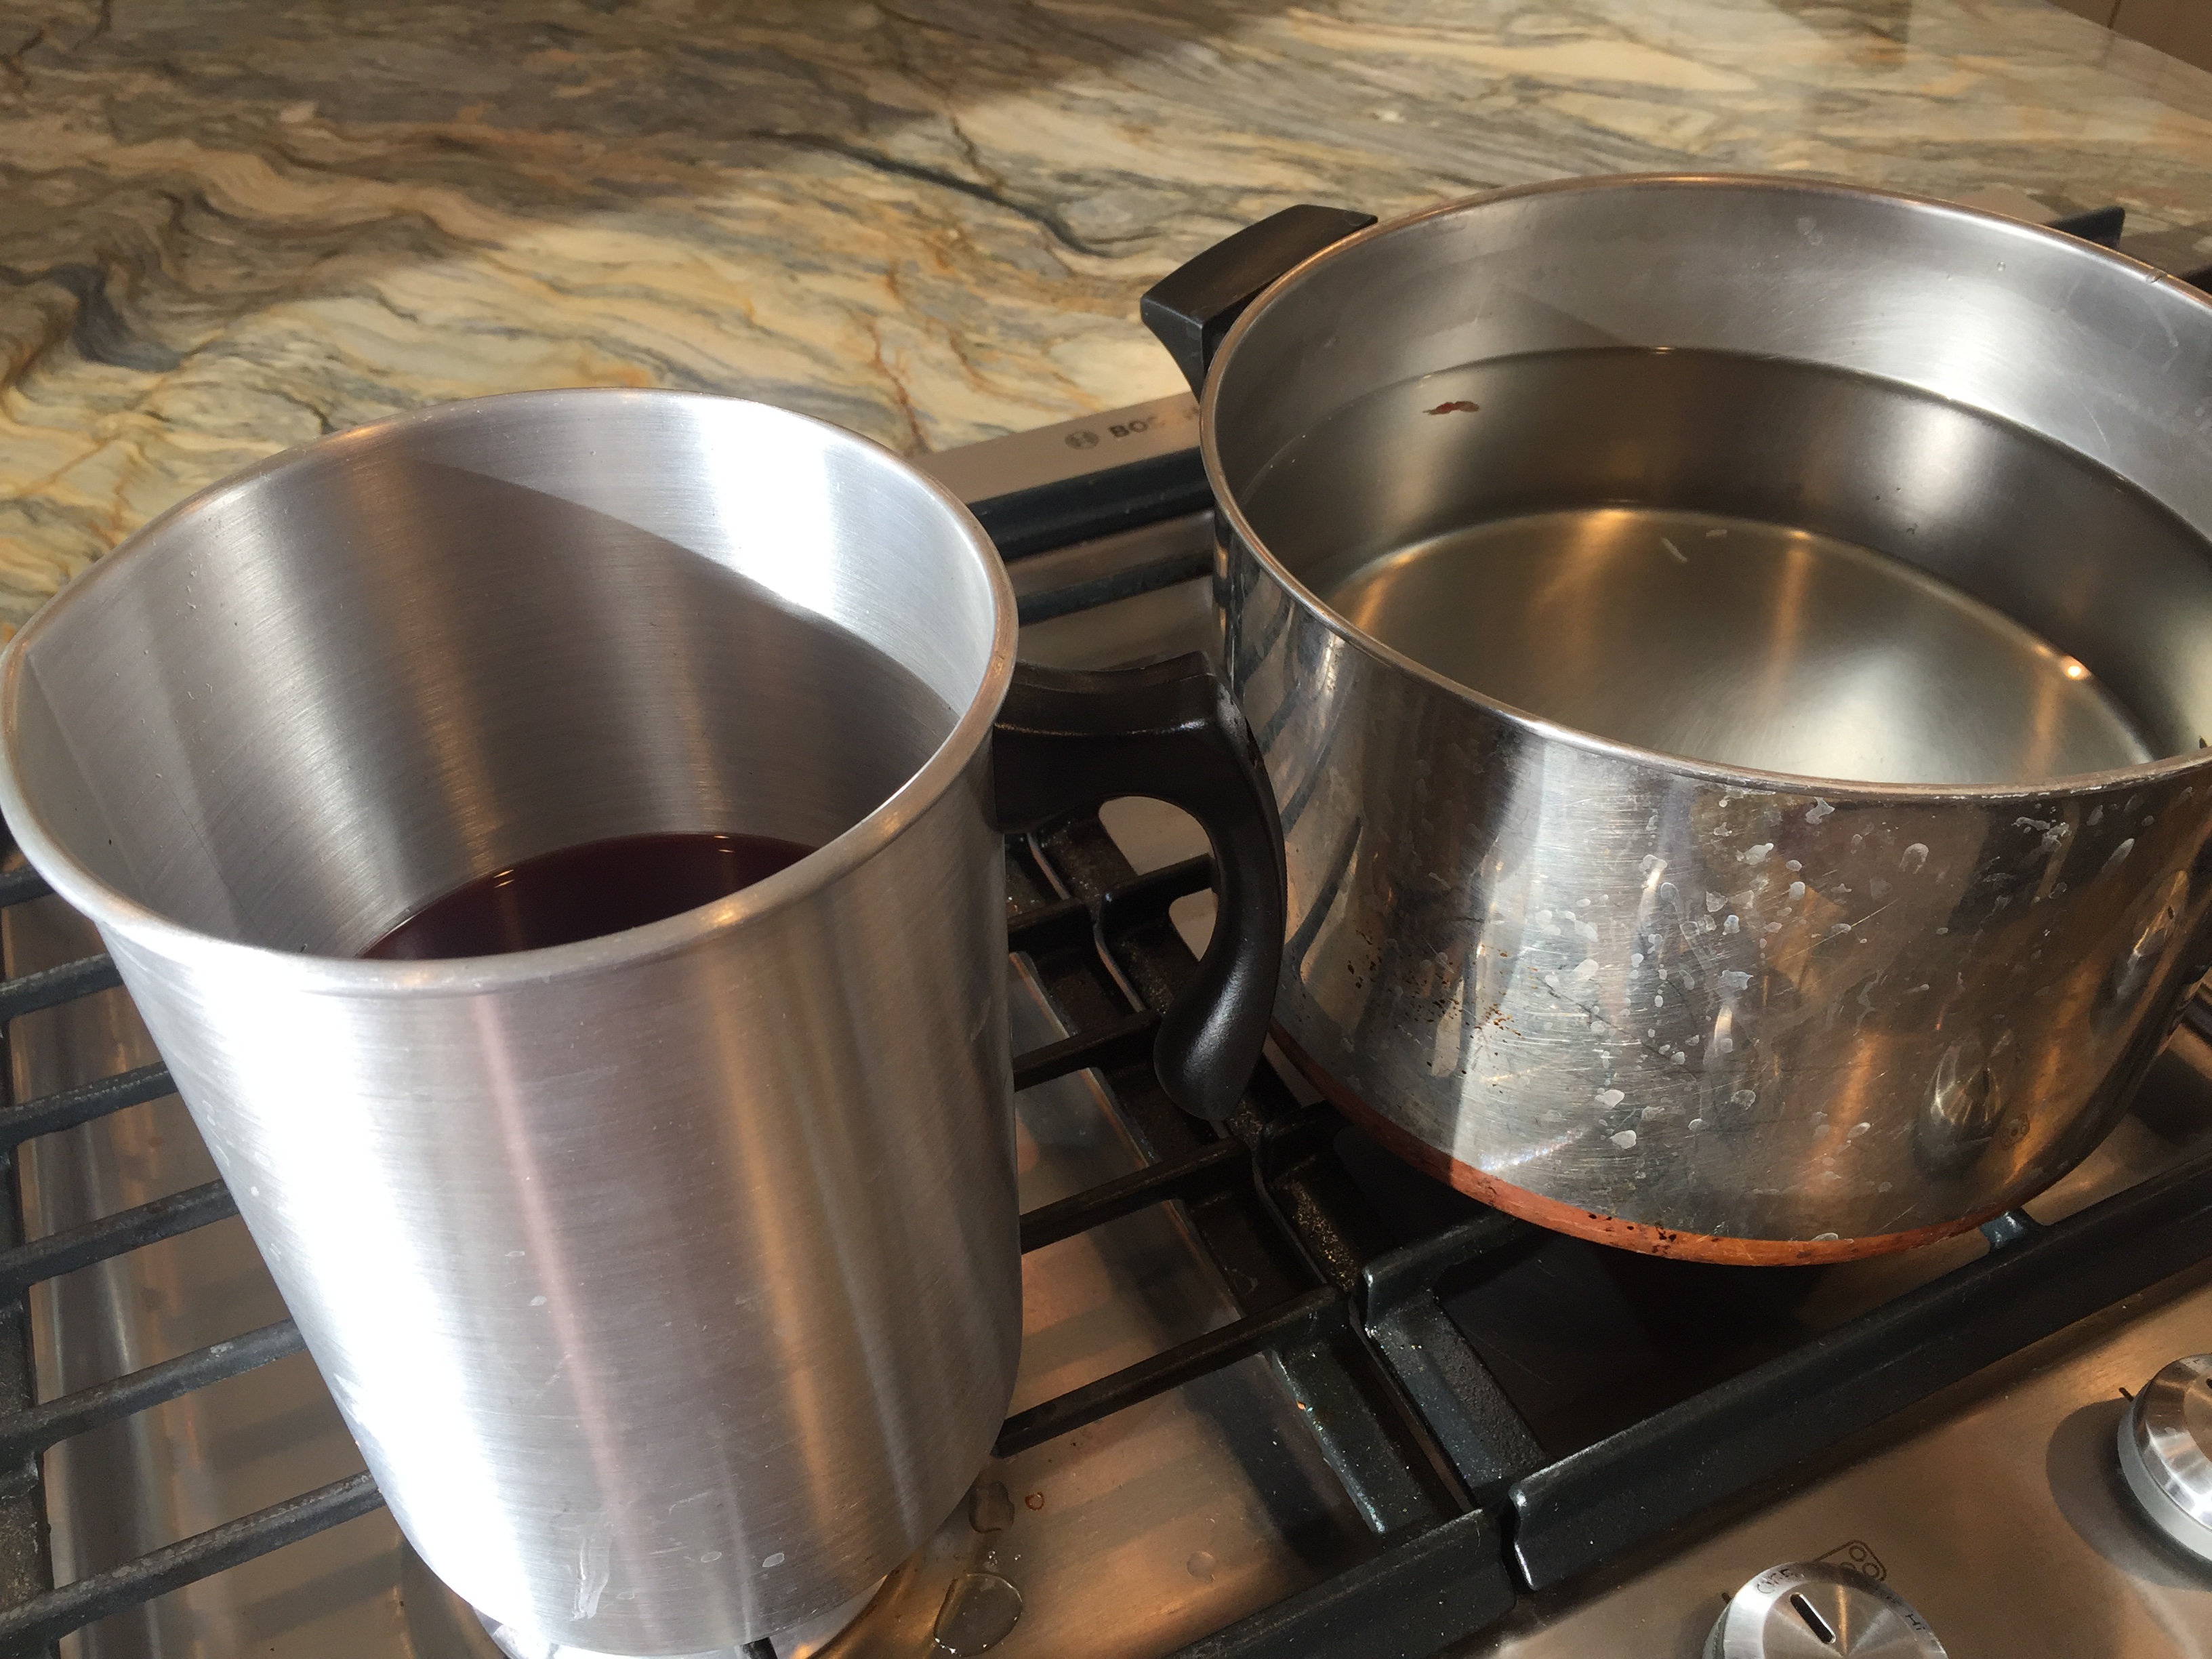
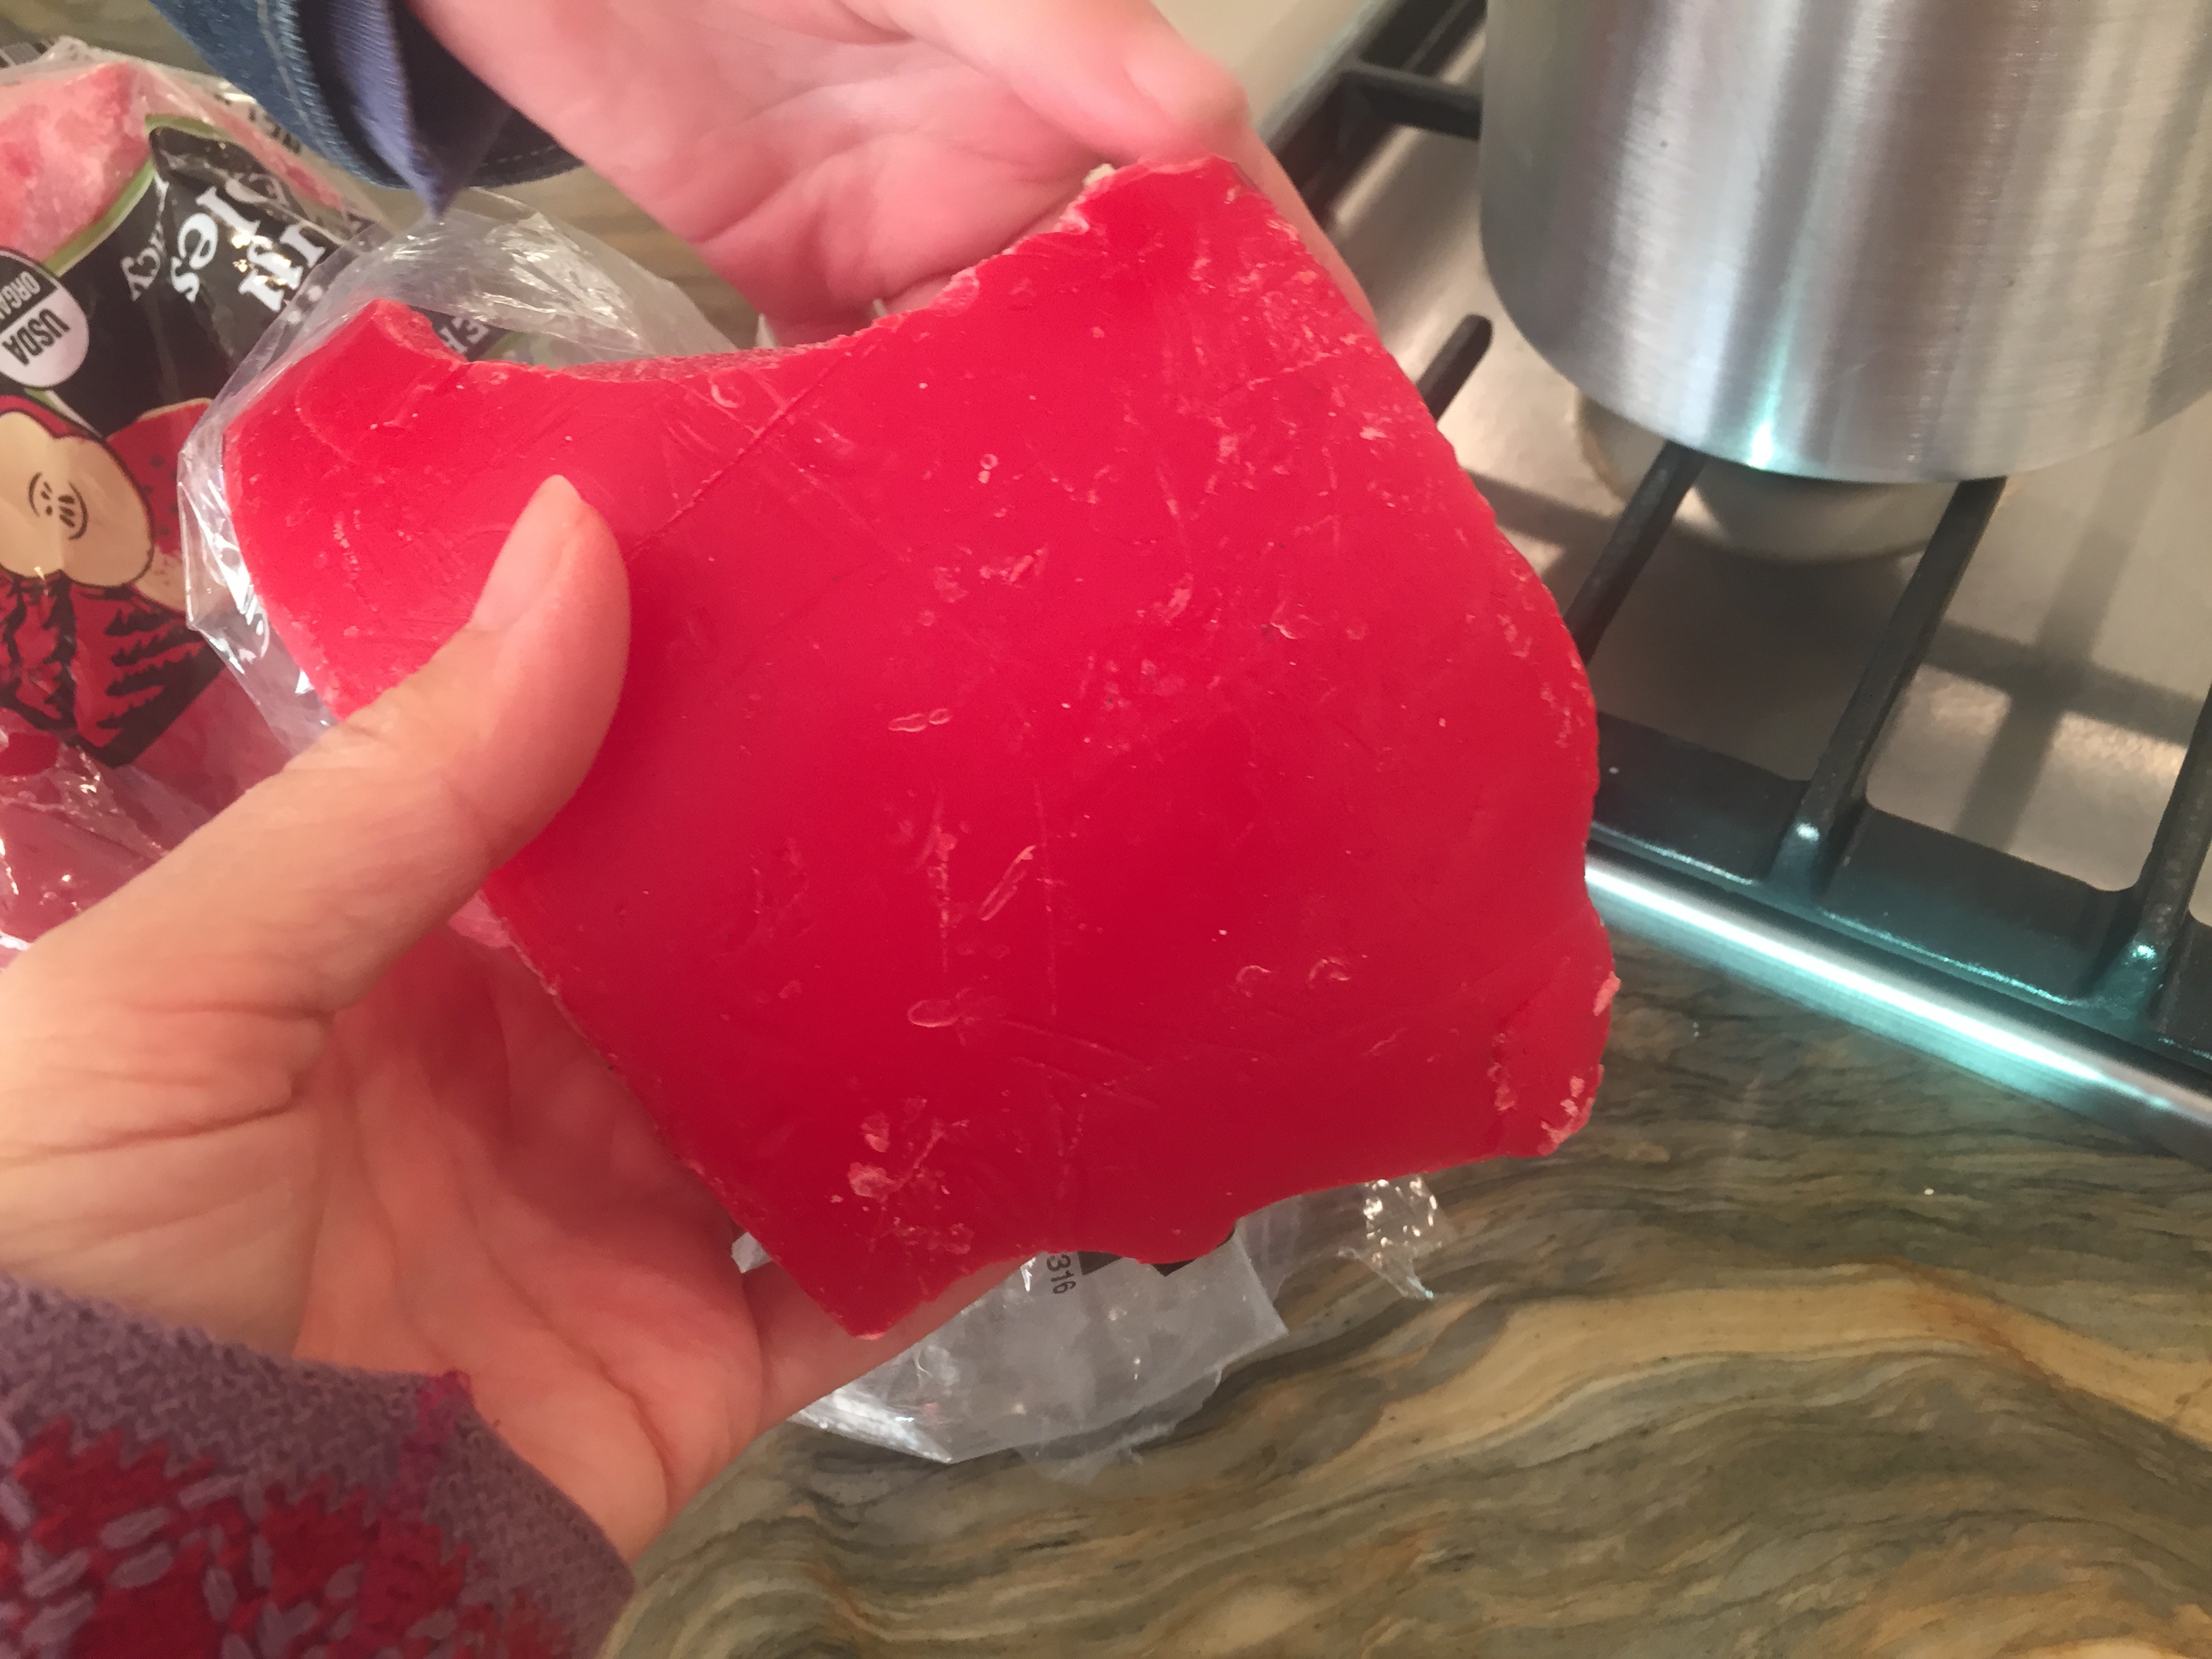
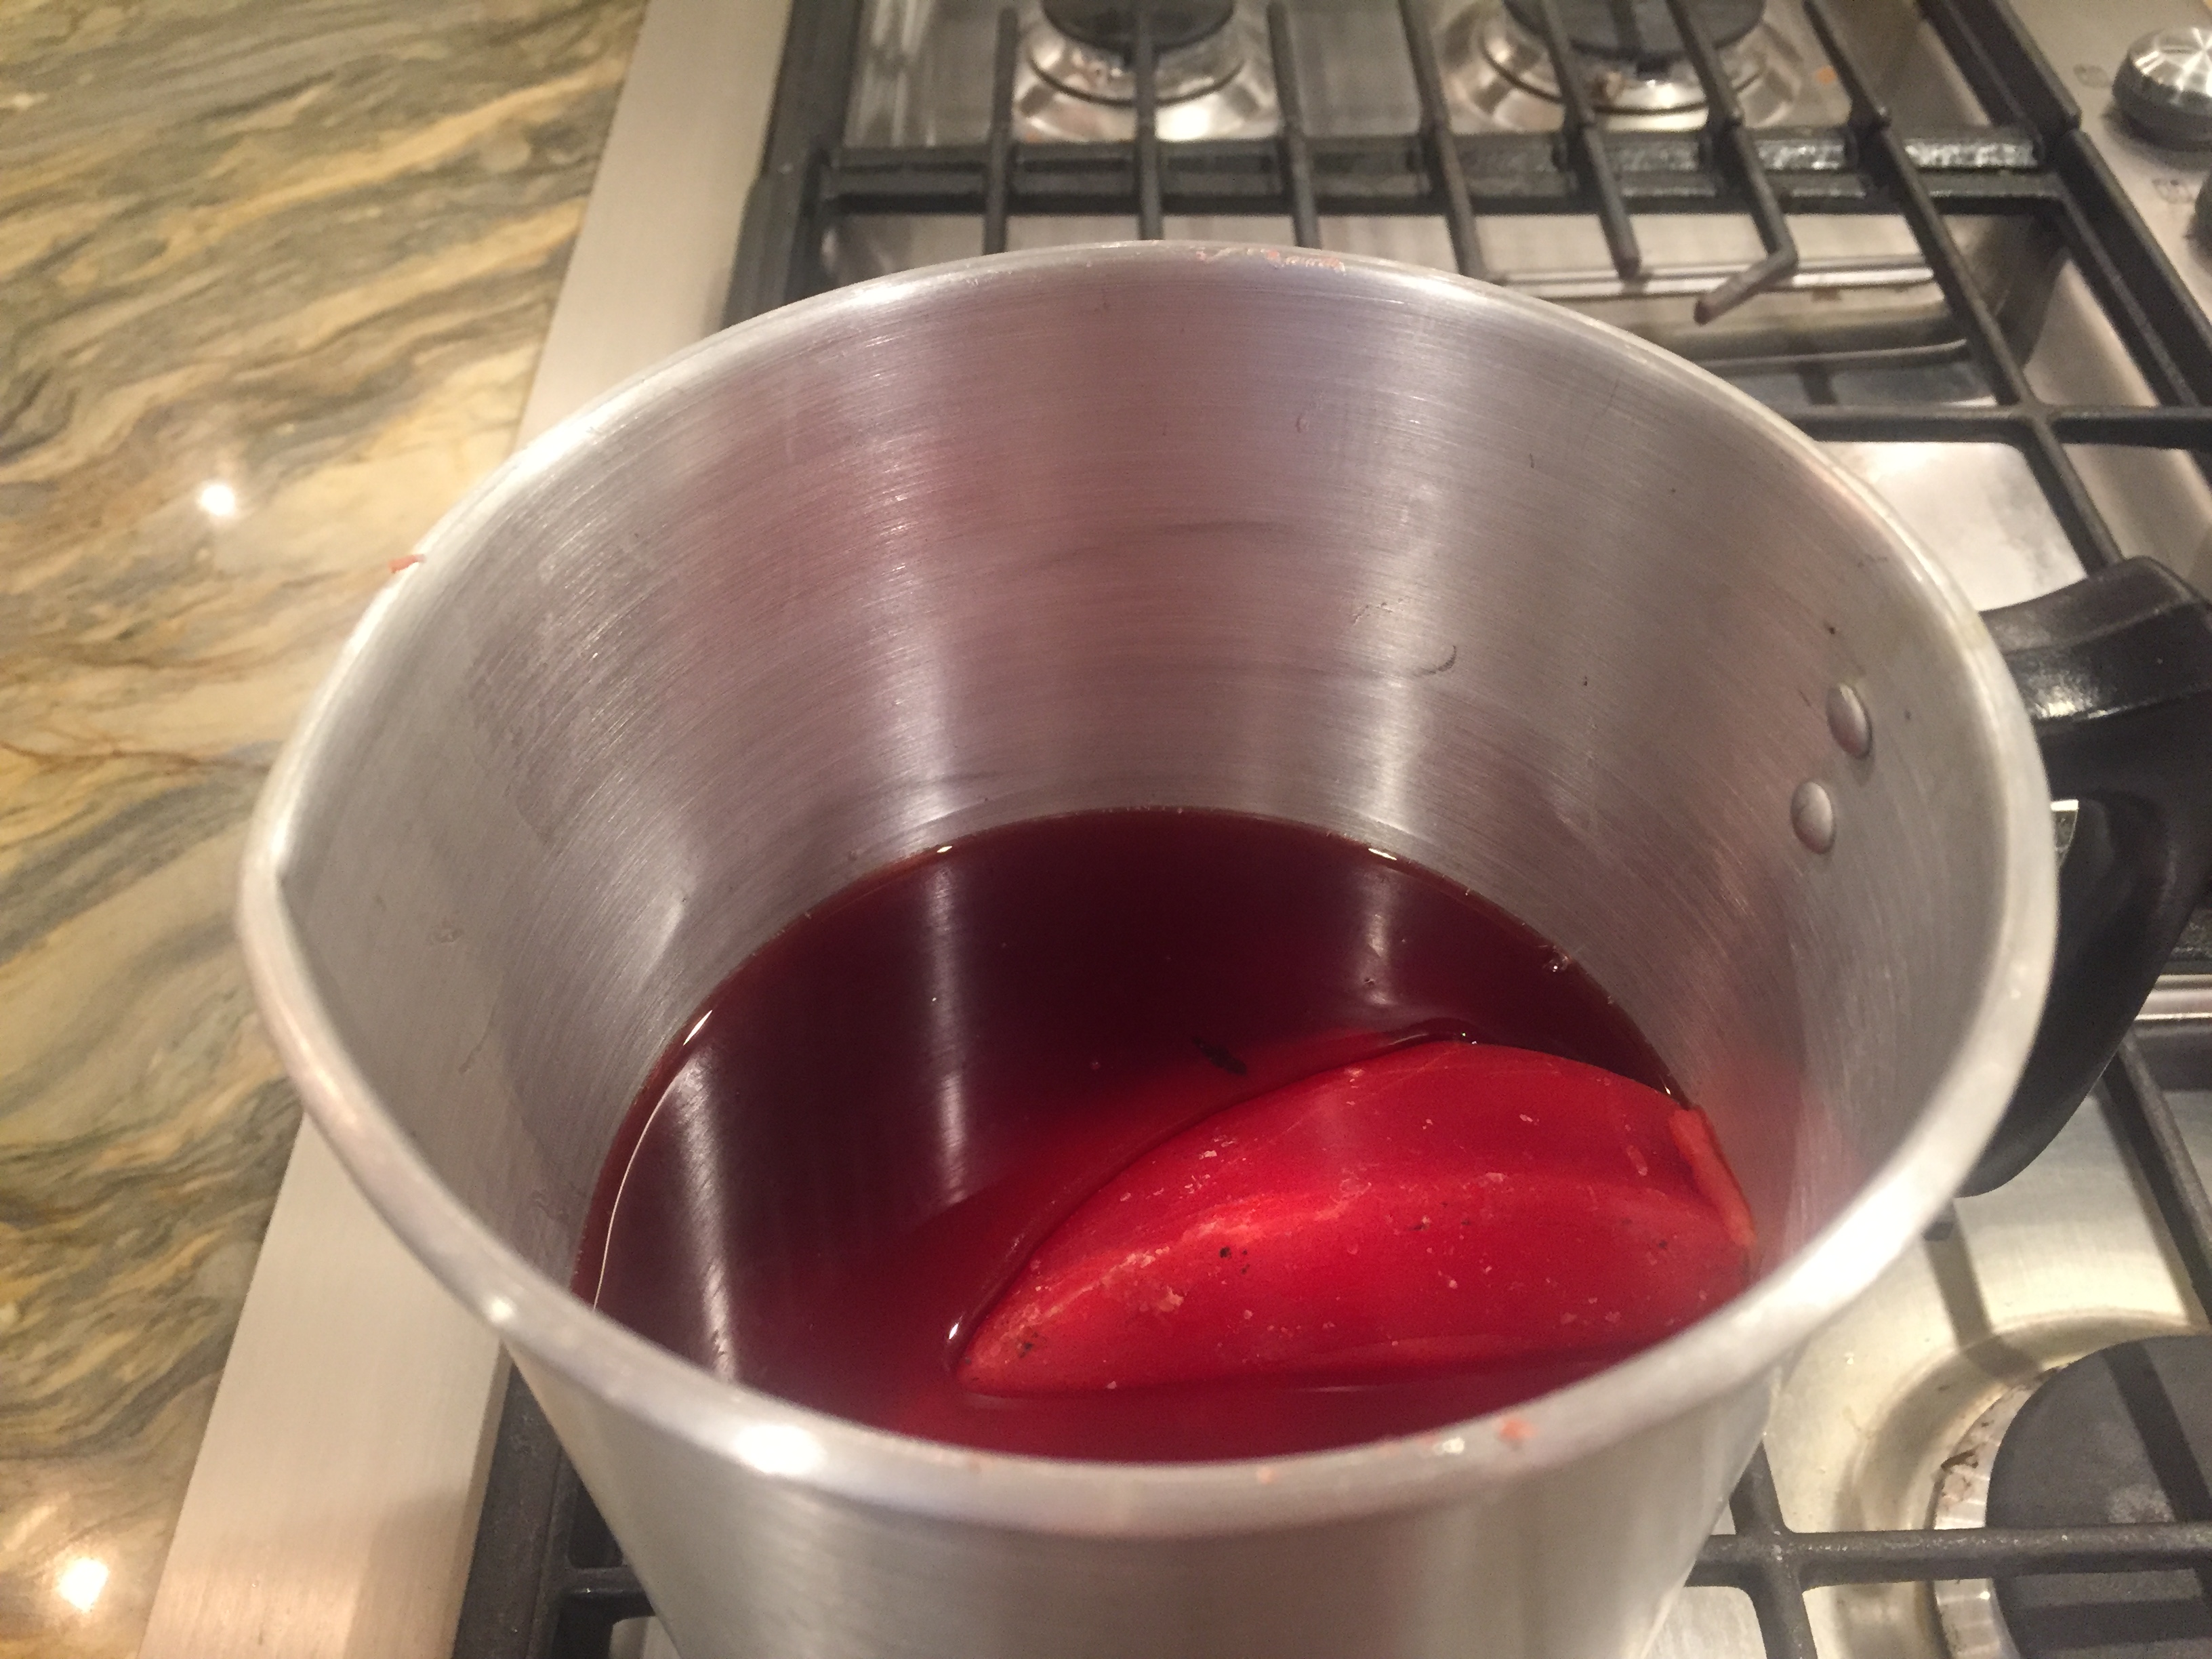
We used an old three-wick candle by Colonial Candles of Cape Cod sold by PartyLite. It has a nice light peppermint scent and a bright red color, both of which were retained when we turned them into new tapers.
Tips for this dipping candles were borrowed from this video.
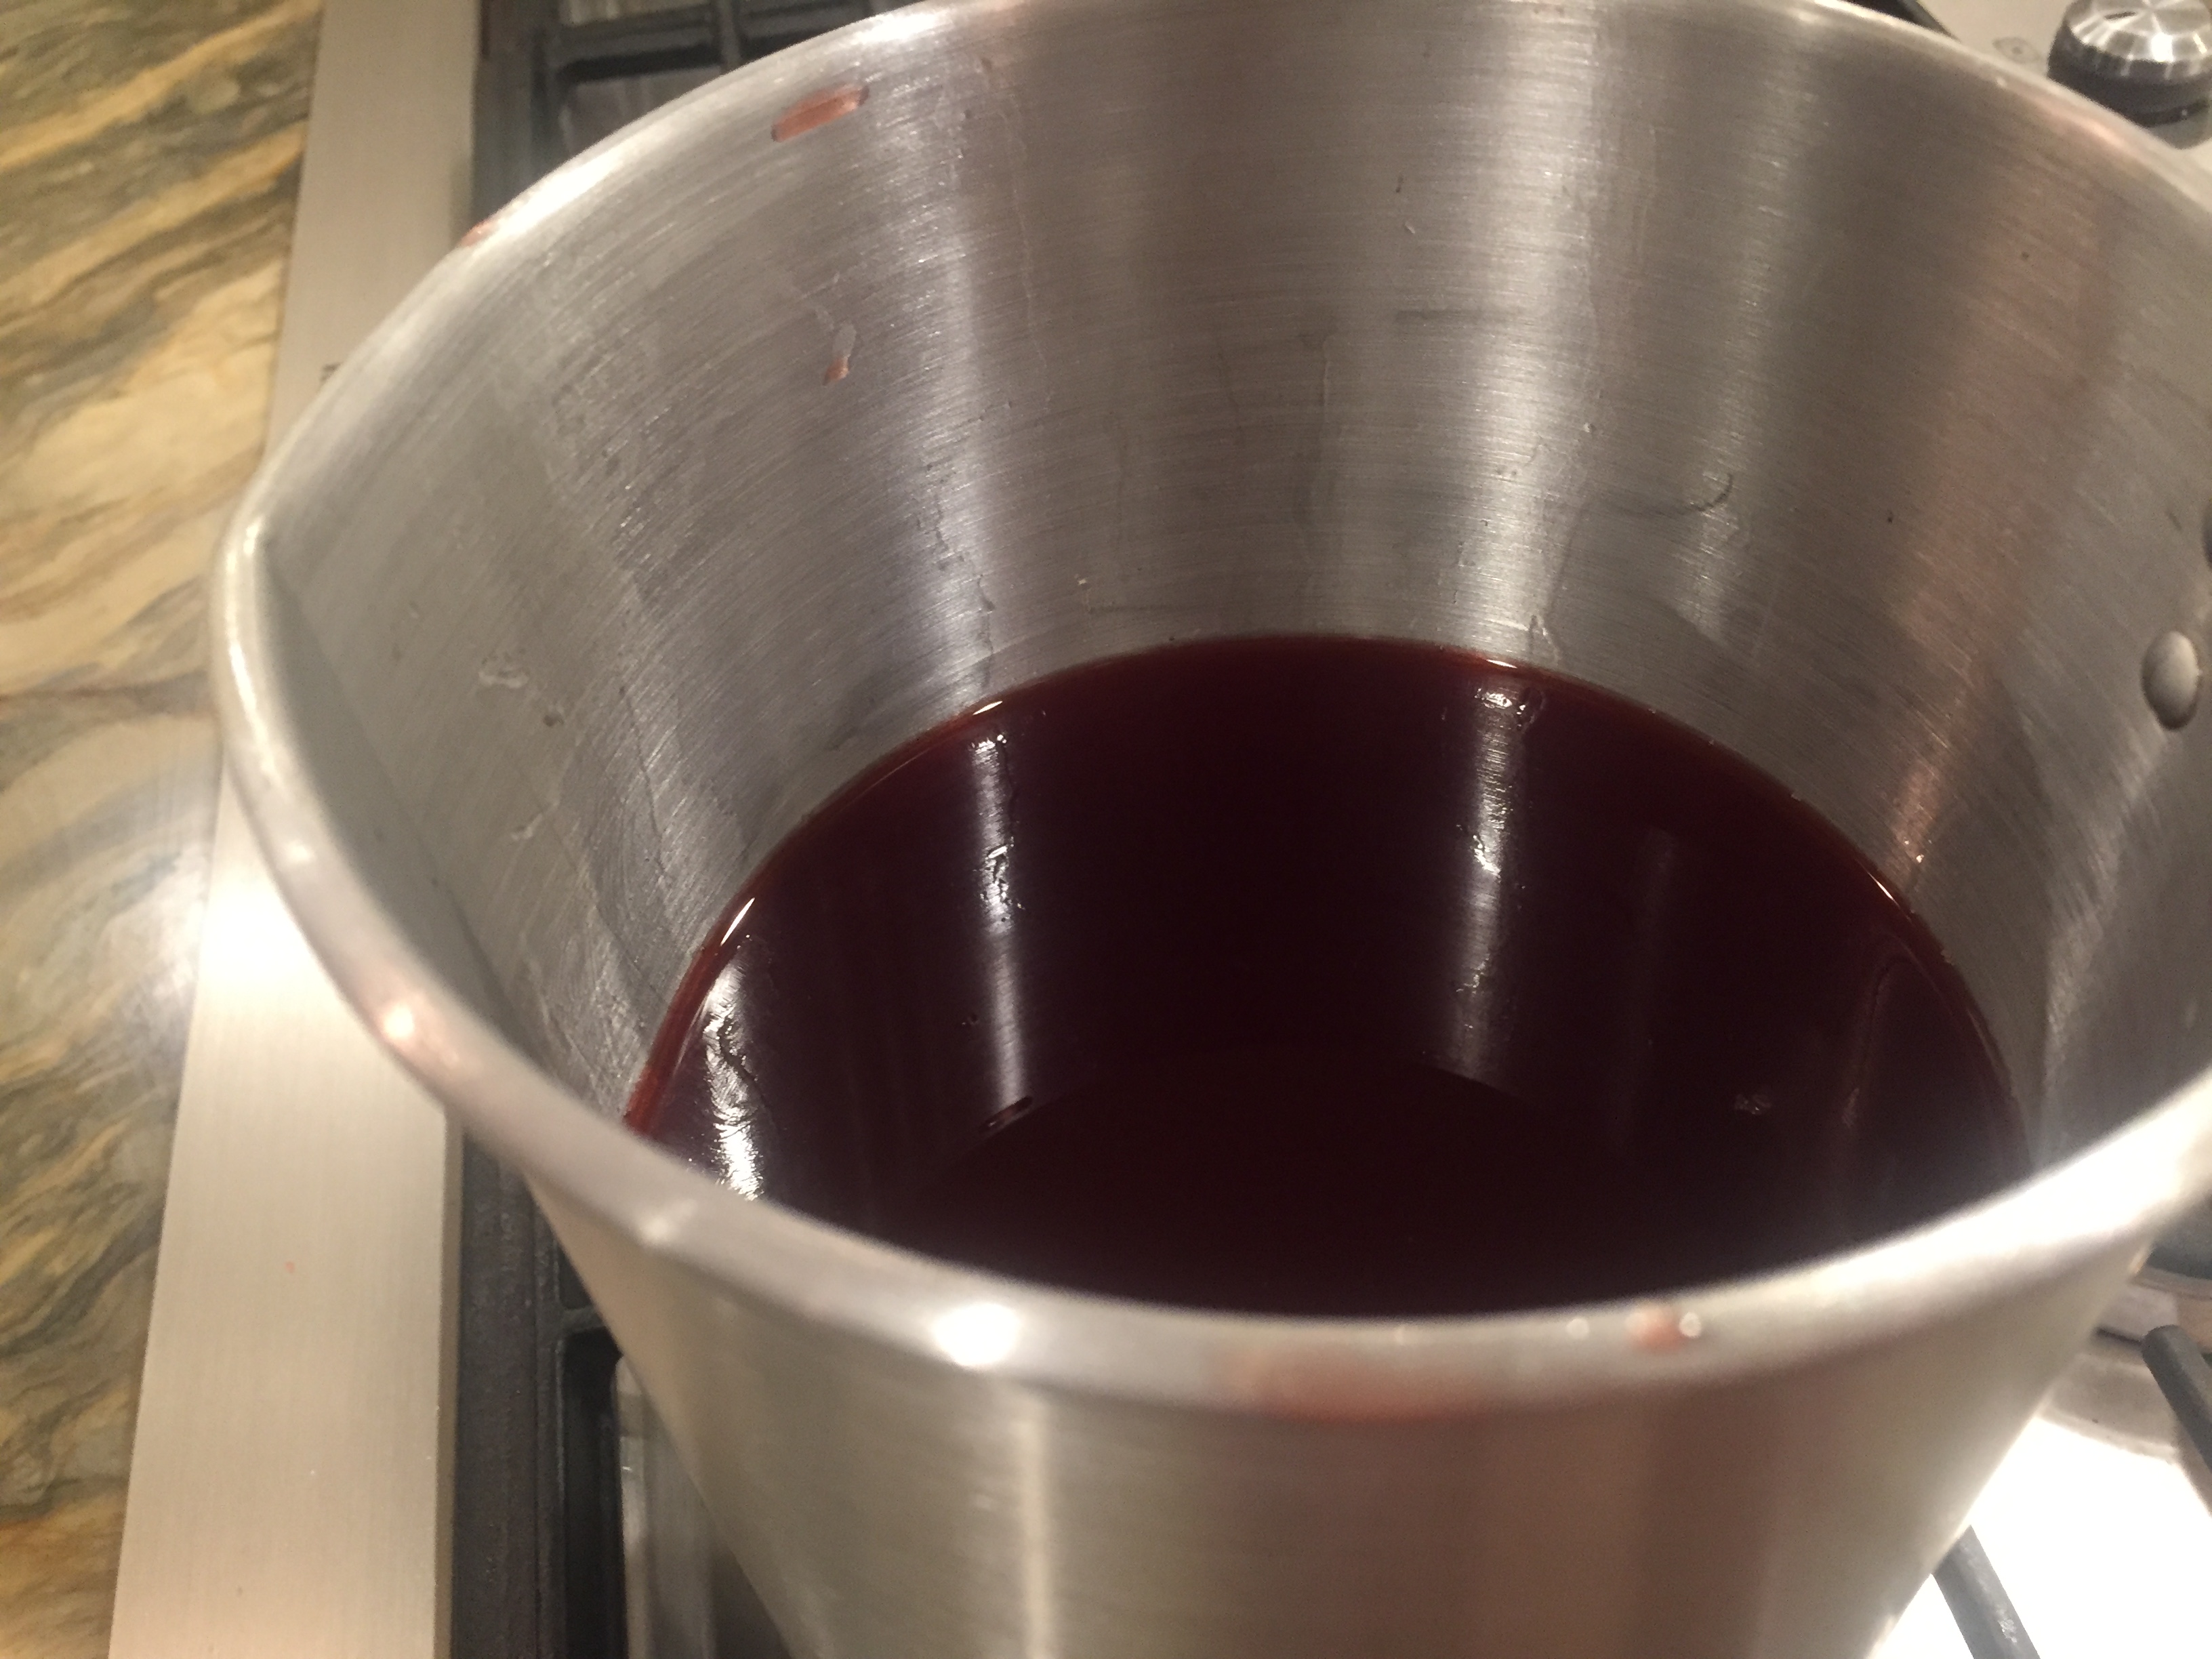
Here’s how we dipped our candles: First we broke up our old candles and put them in a large candle pot.
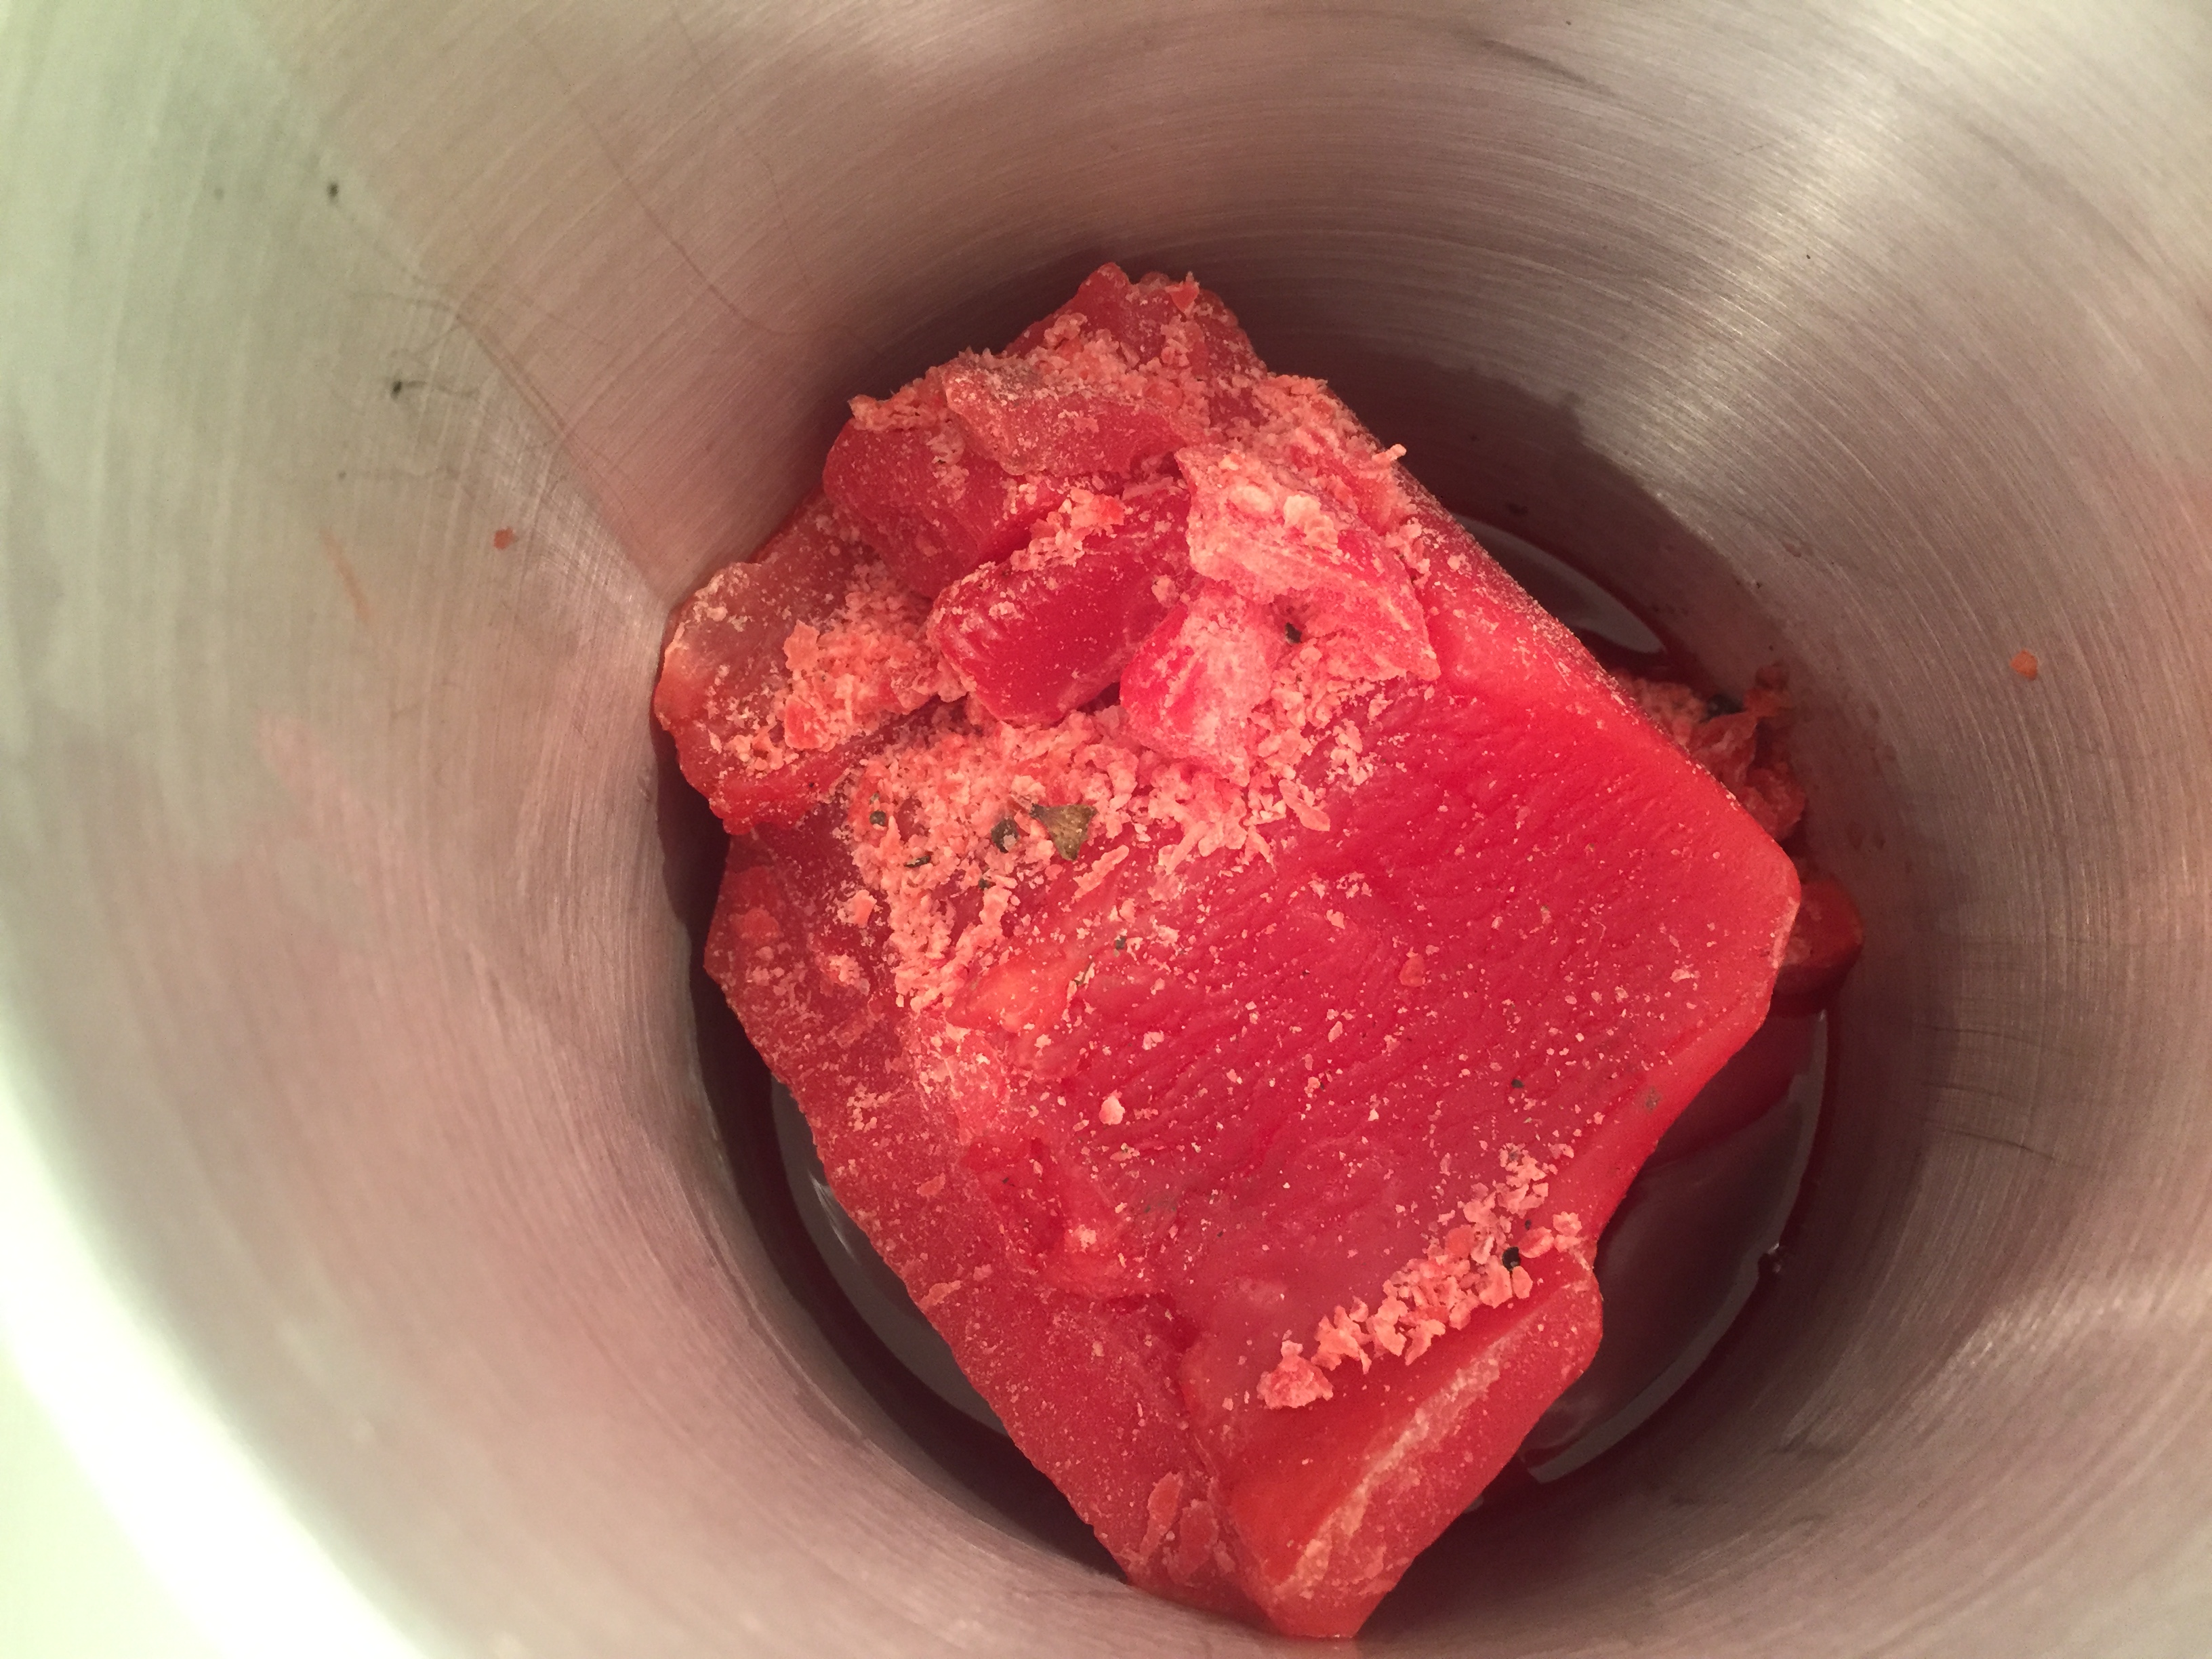
You can use any tall pot, but what’s nice about using one specially designed for candles is that you can leave the candle wax in there until you need it again.
We found that our smallest burner on the lowest setting melted the wax in about 30 minutes, but brought the temperature up to 200 degrees F which is about 30-40 degrees higher than the melting temperature of wax. This meant that it was really hard to coat our candles. We turned off the heat and let the wax cool down before dipping them, and that worked much better.
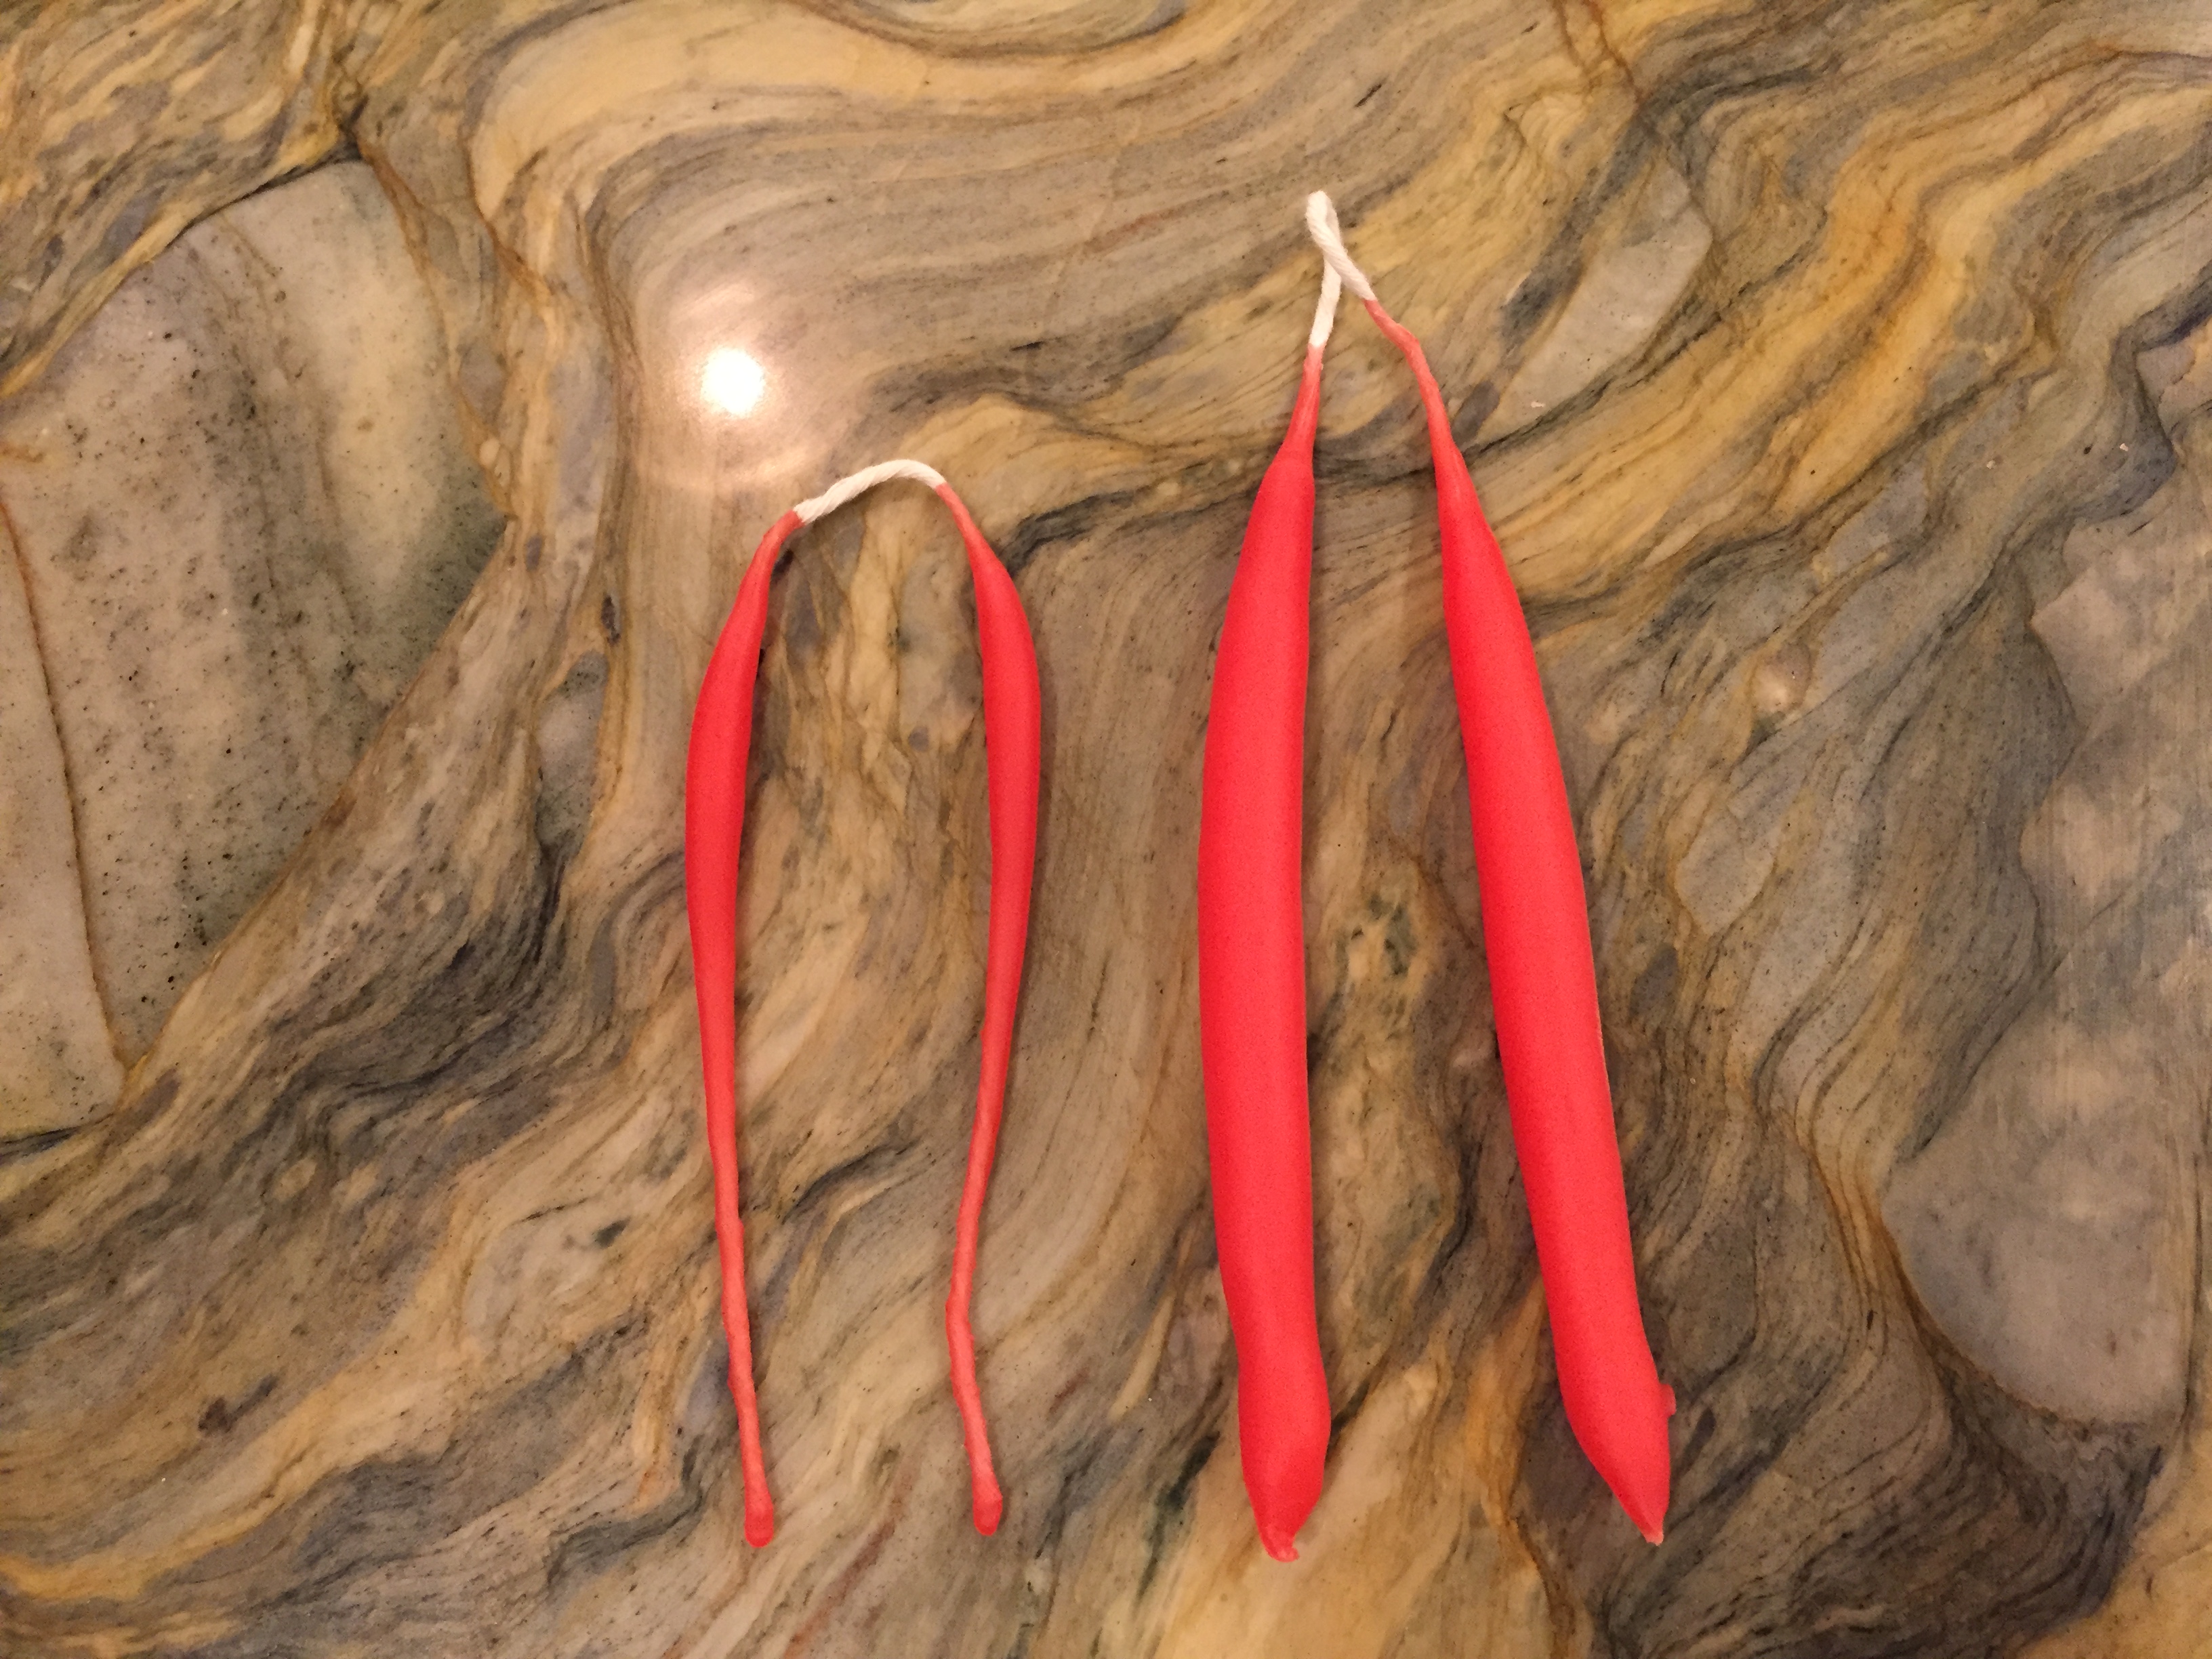
An alternative is to add your dipped candles to a cold water bath to cool down between dippings in the wax.
We found this to work really well, but we noticed that our candle became rippled when doing so. Maybe we didn’t let the water drip throughly, but it is a solution for hasty candle dippers!
Last alternative is to add weights to your candles to keep them dipping deep in the wax and to keep them from floating up in the water.
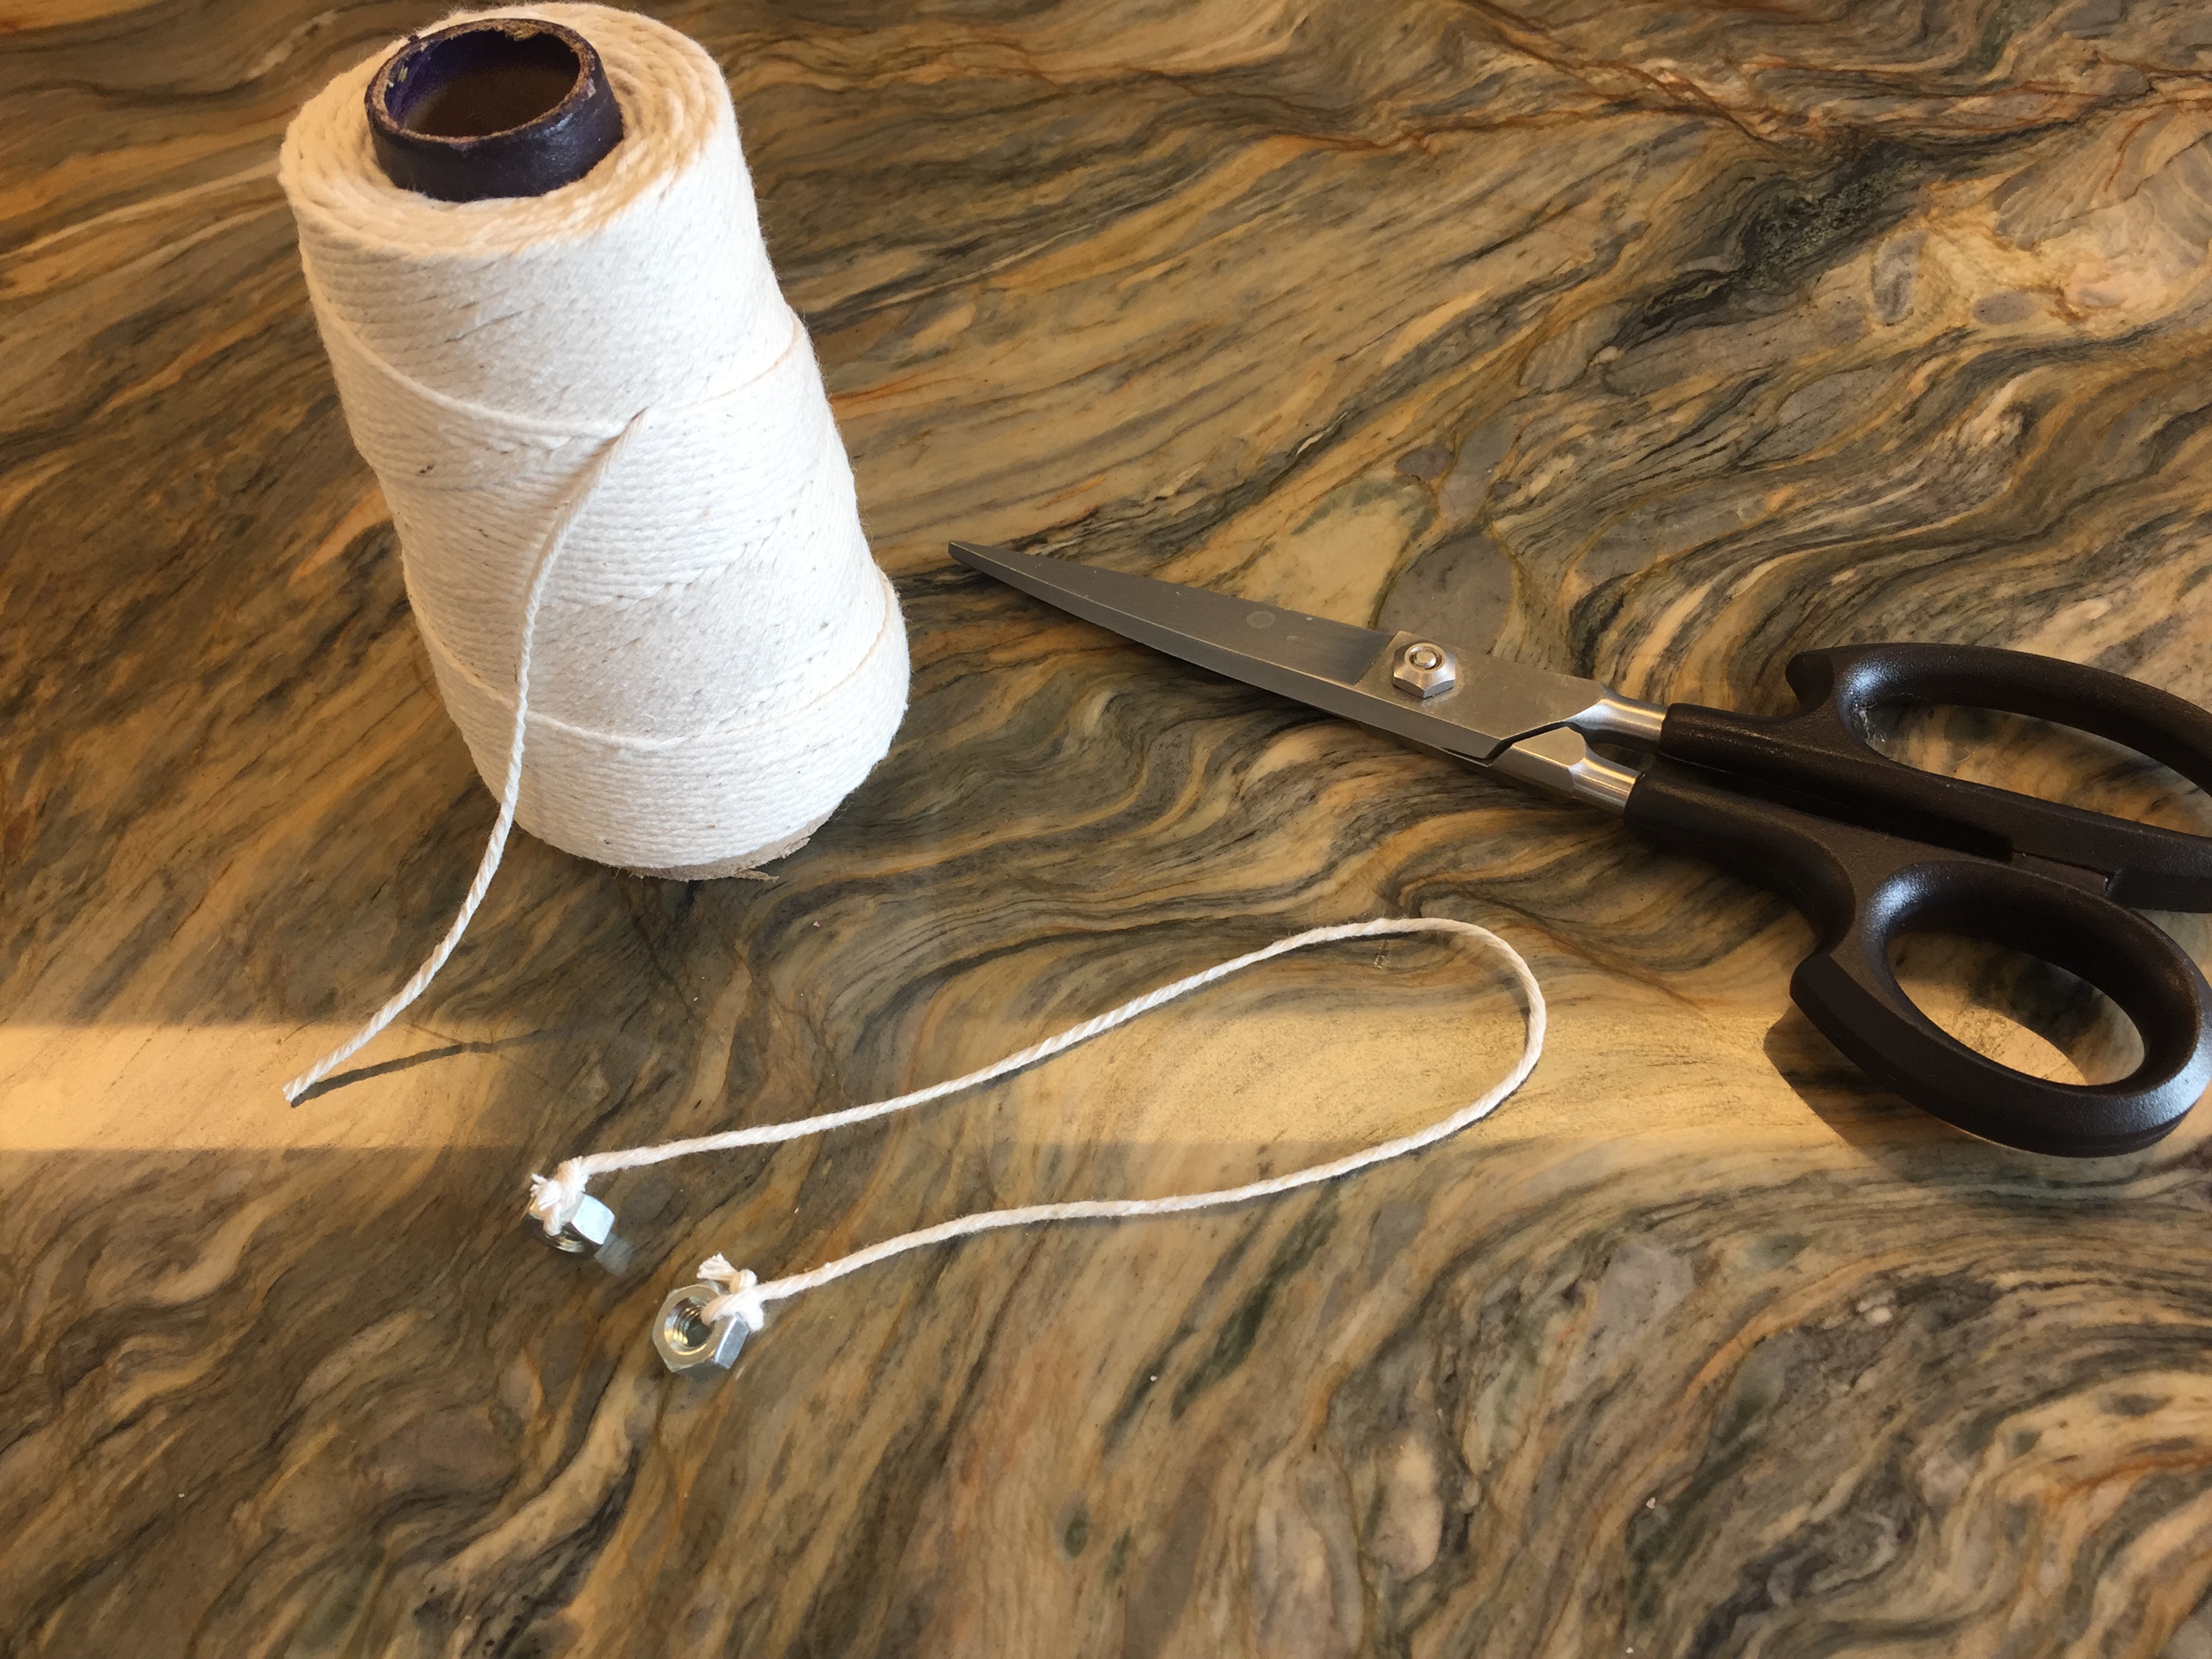
We didn’t like this option because wax began to build up on the weight and below it ultimately reducing the size of our candle. You just need to trim off the weight and reform the bottom of the candle before giving it a few more dips. Let the weight plop into the wax and melt off before retrieving your weight.


If you try this out, share a pic with me via Instagram and don’t forget to tag me!!
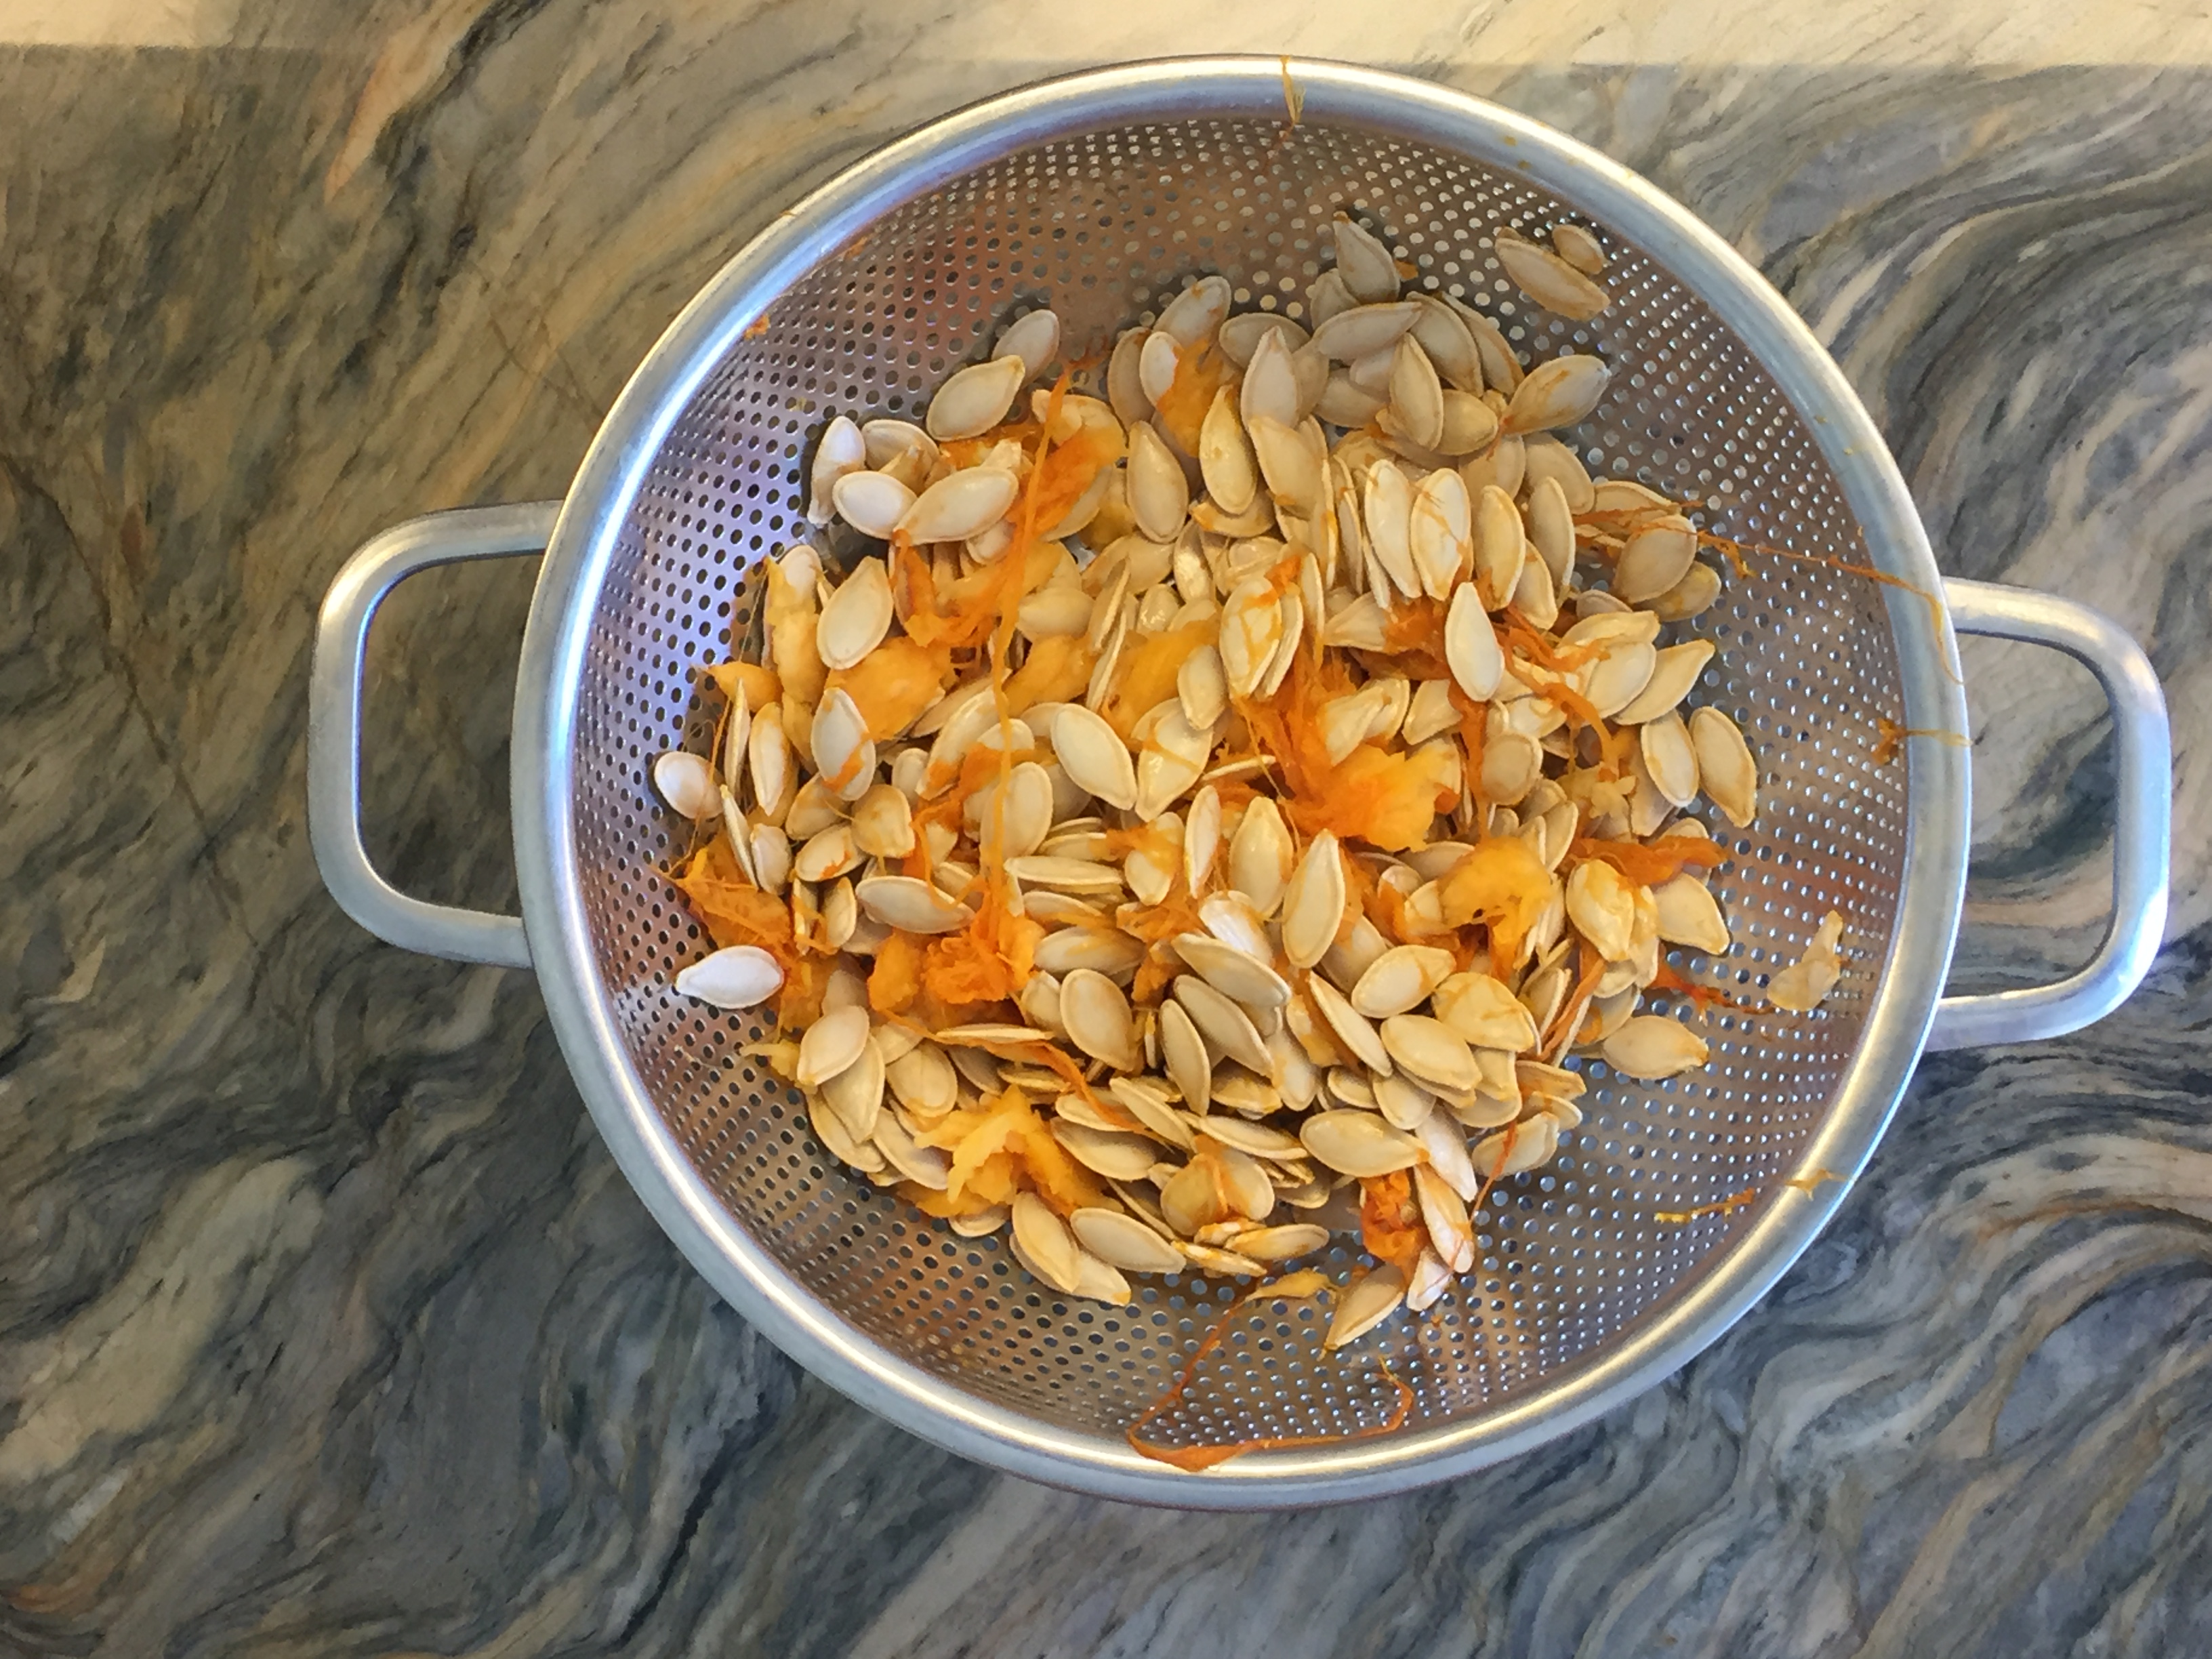
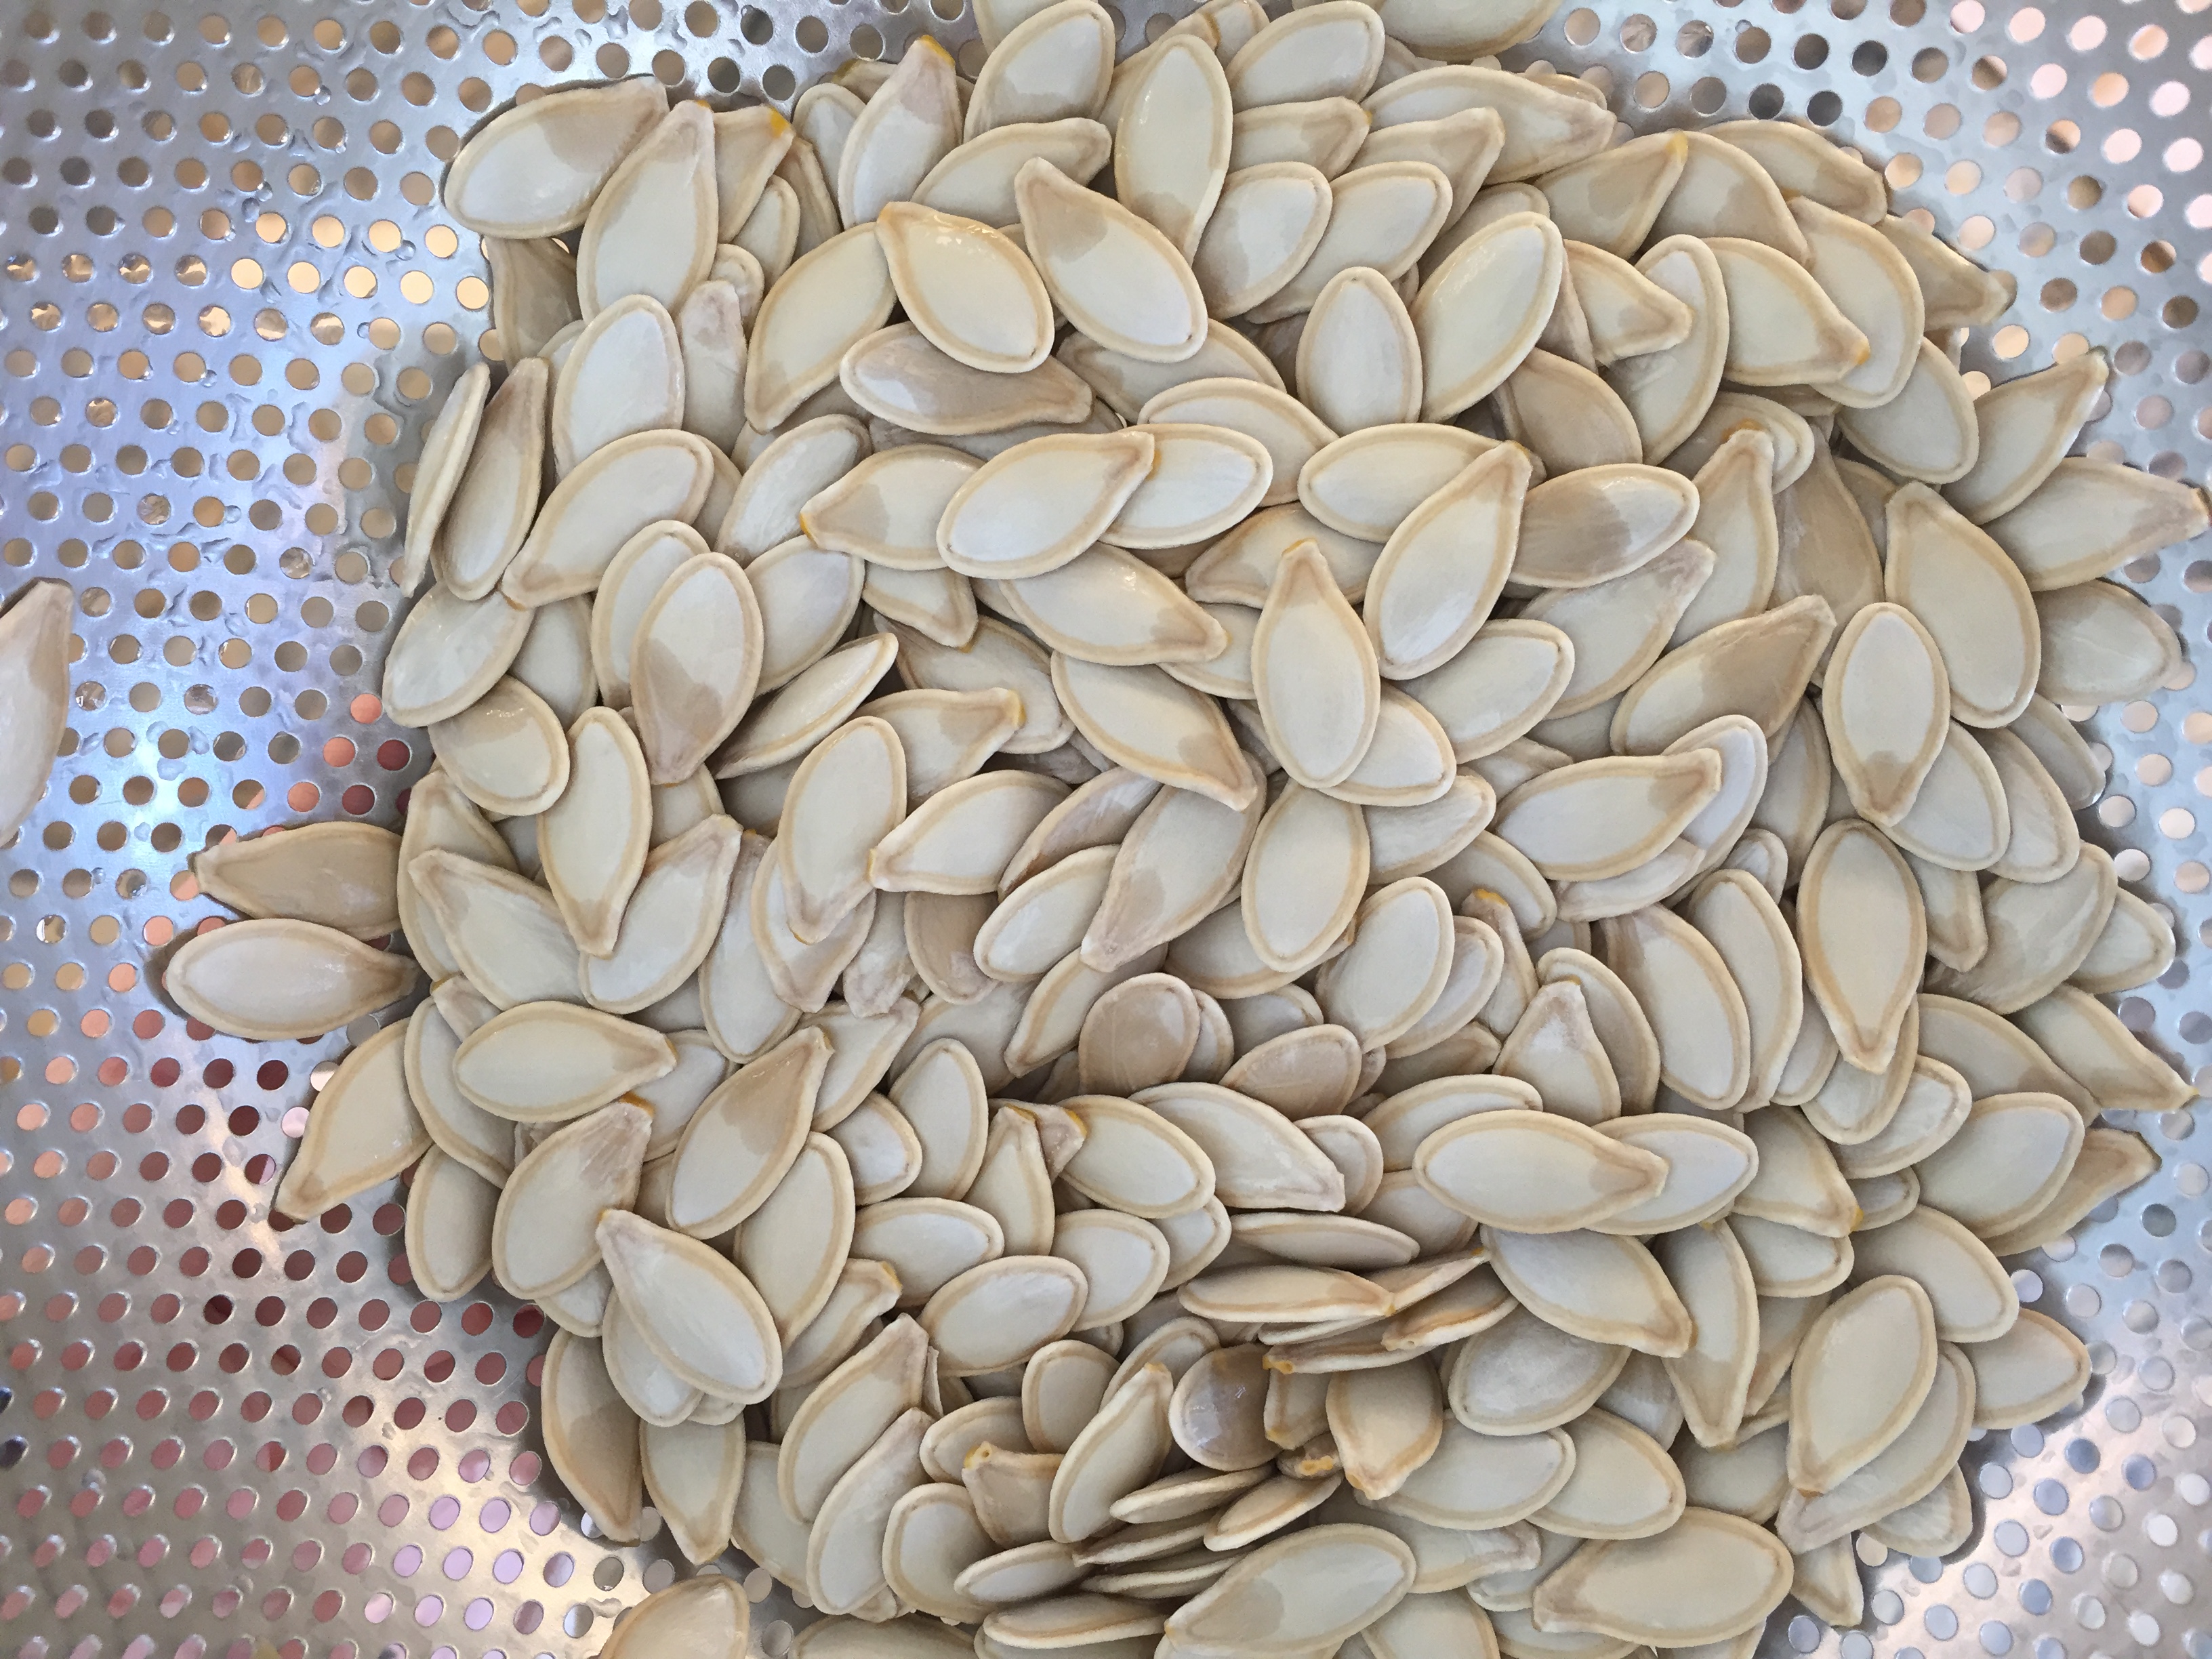
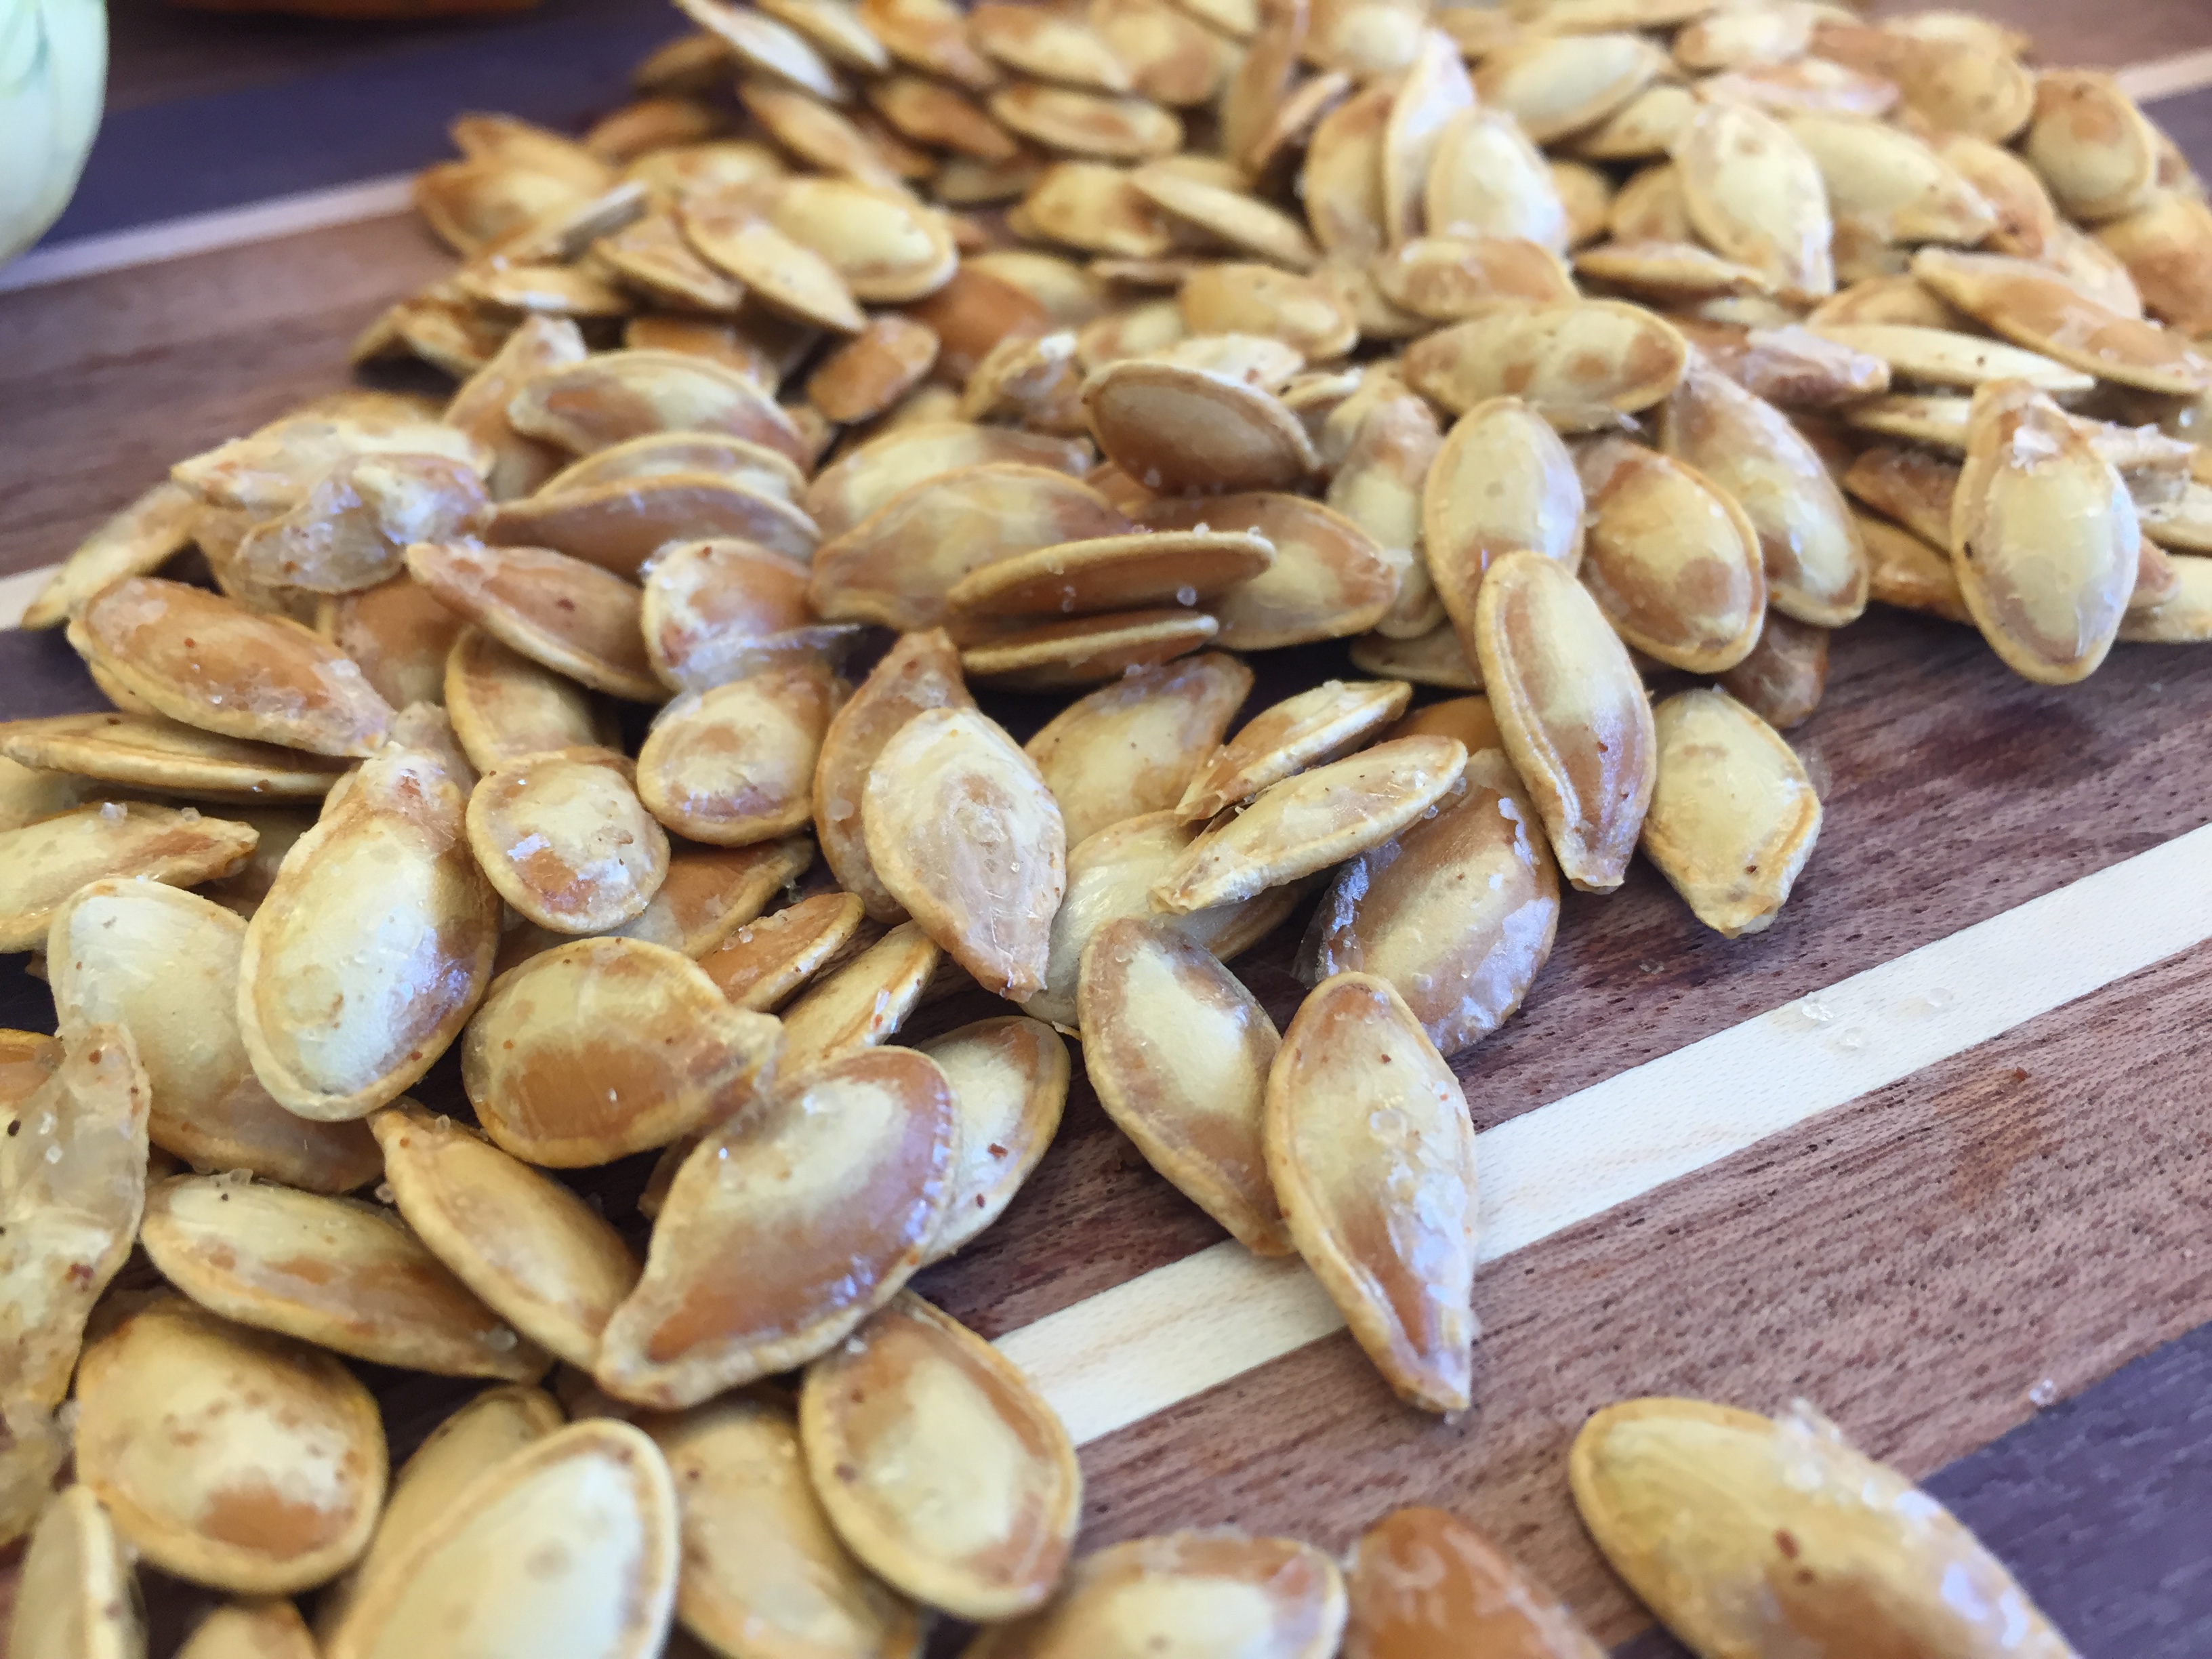
How To Make Roasted Pumpkin Seeds
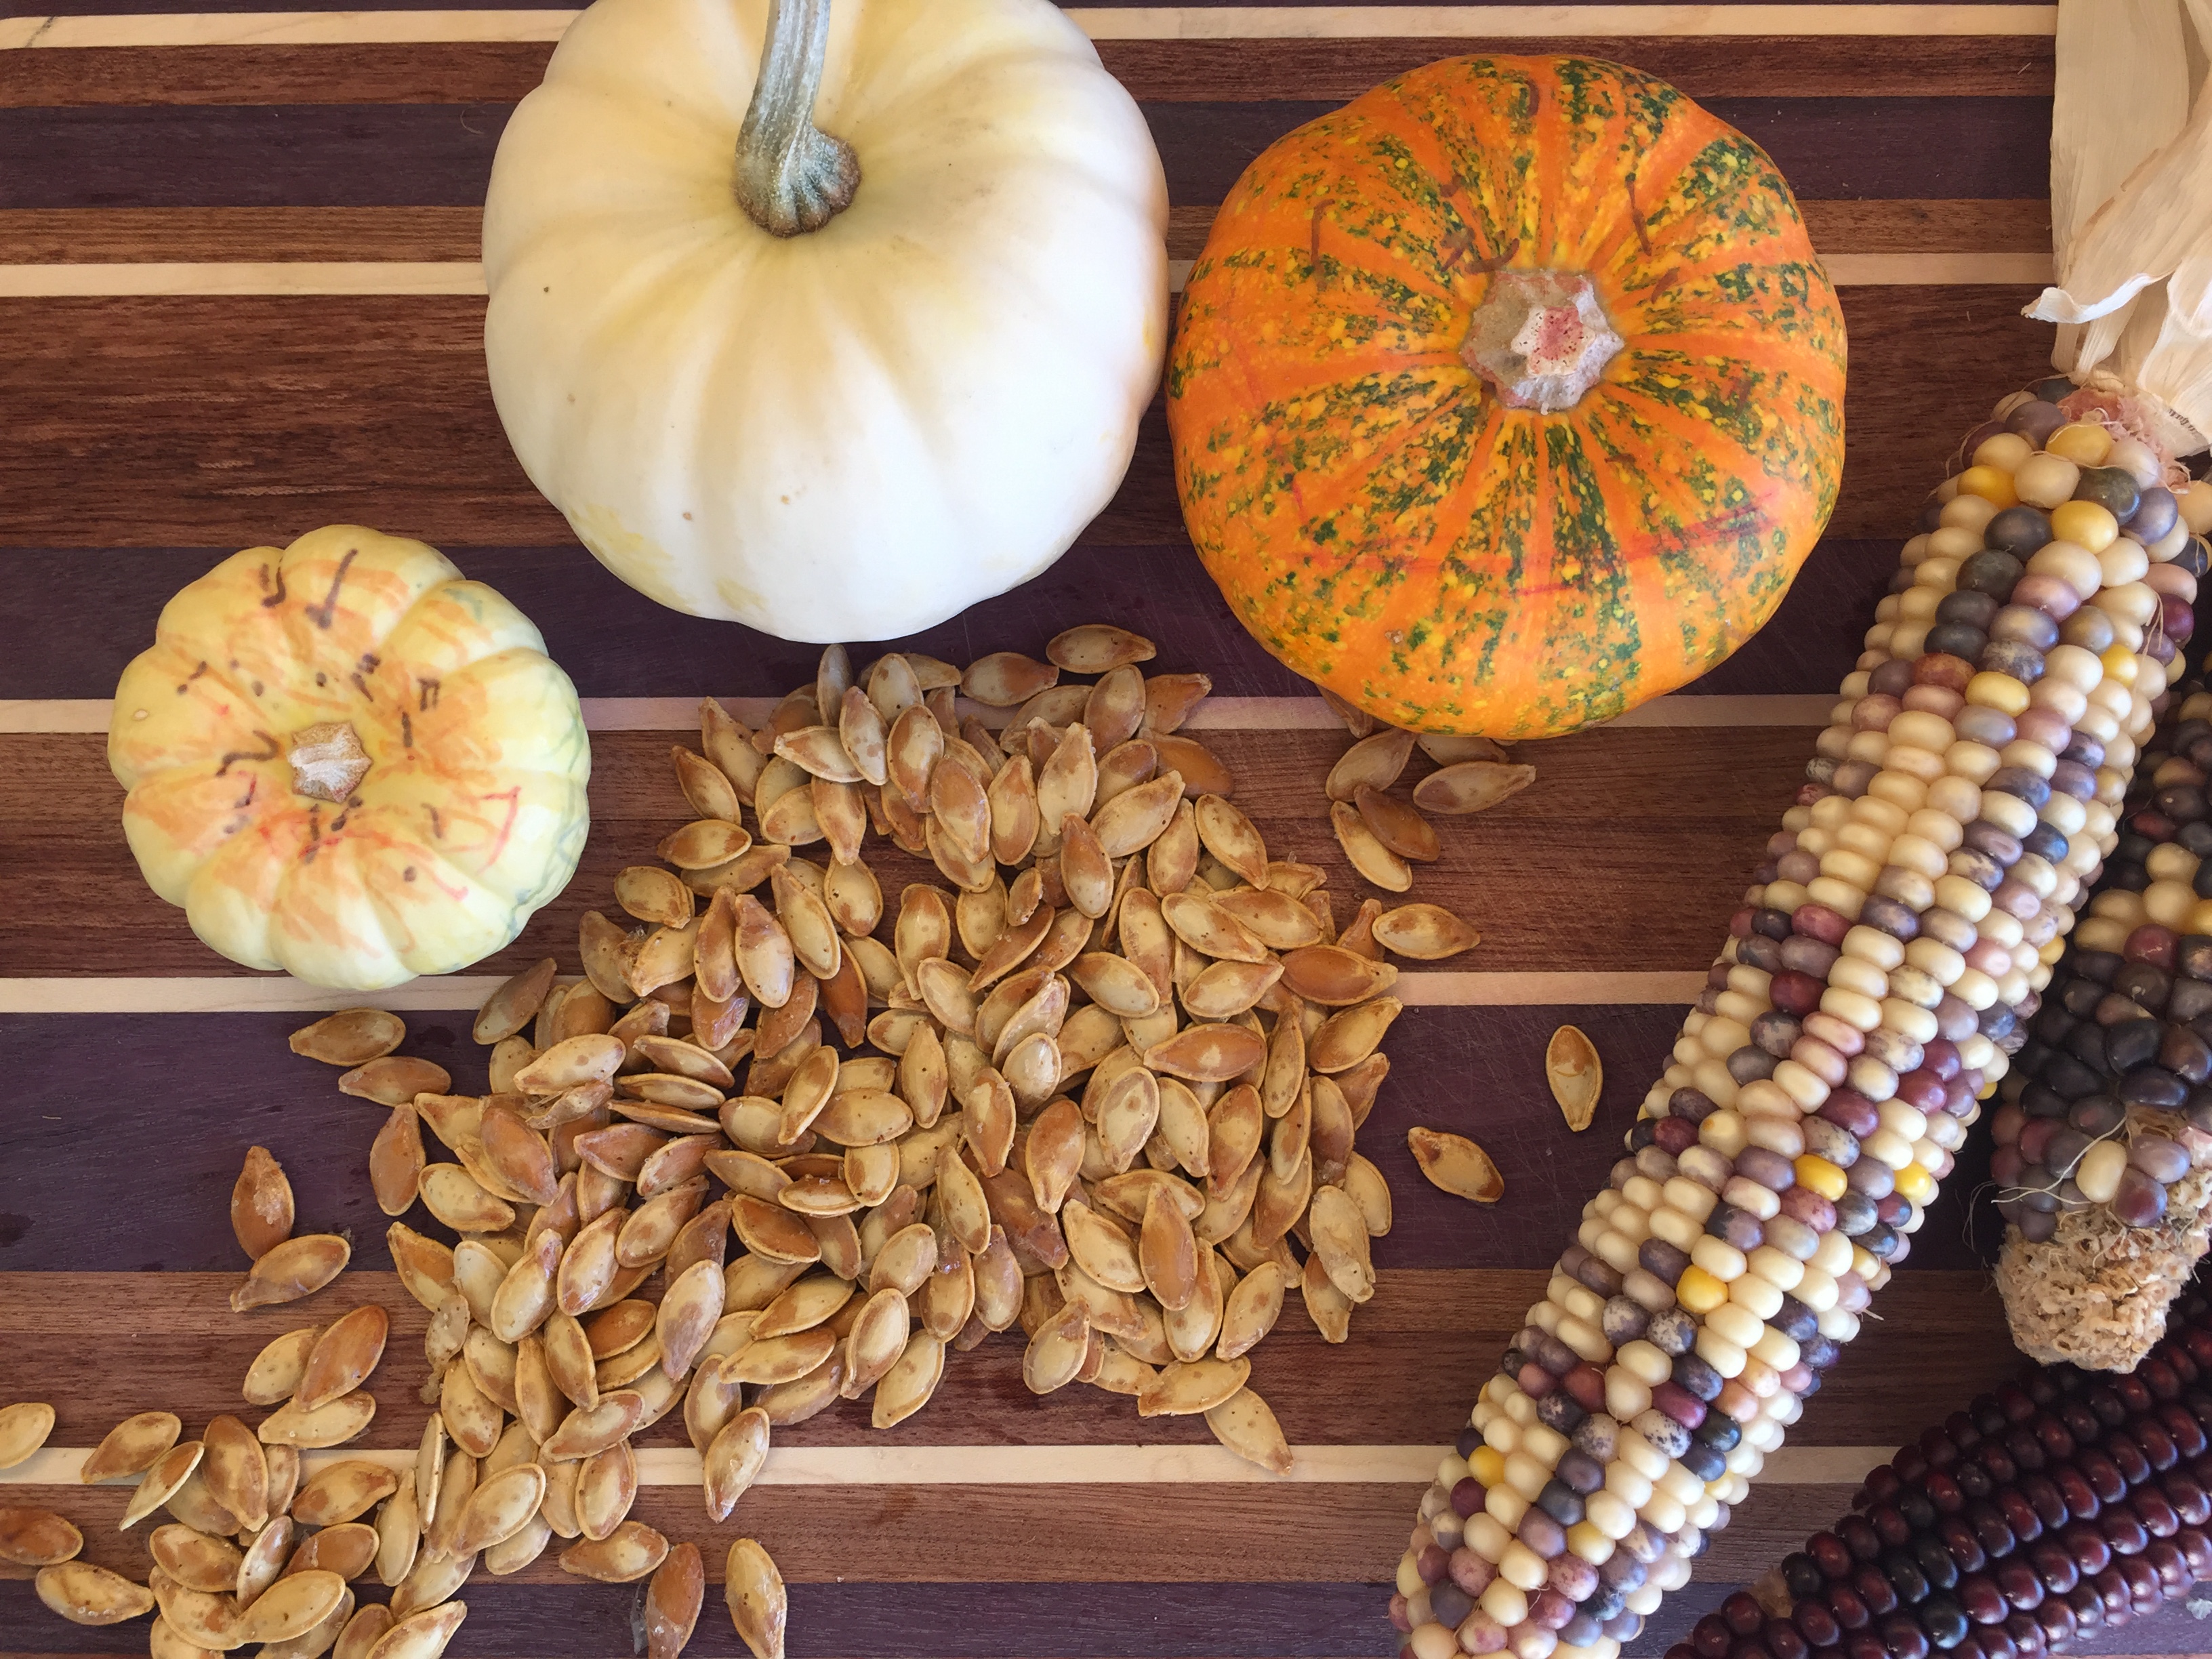
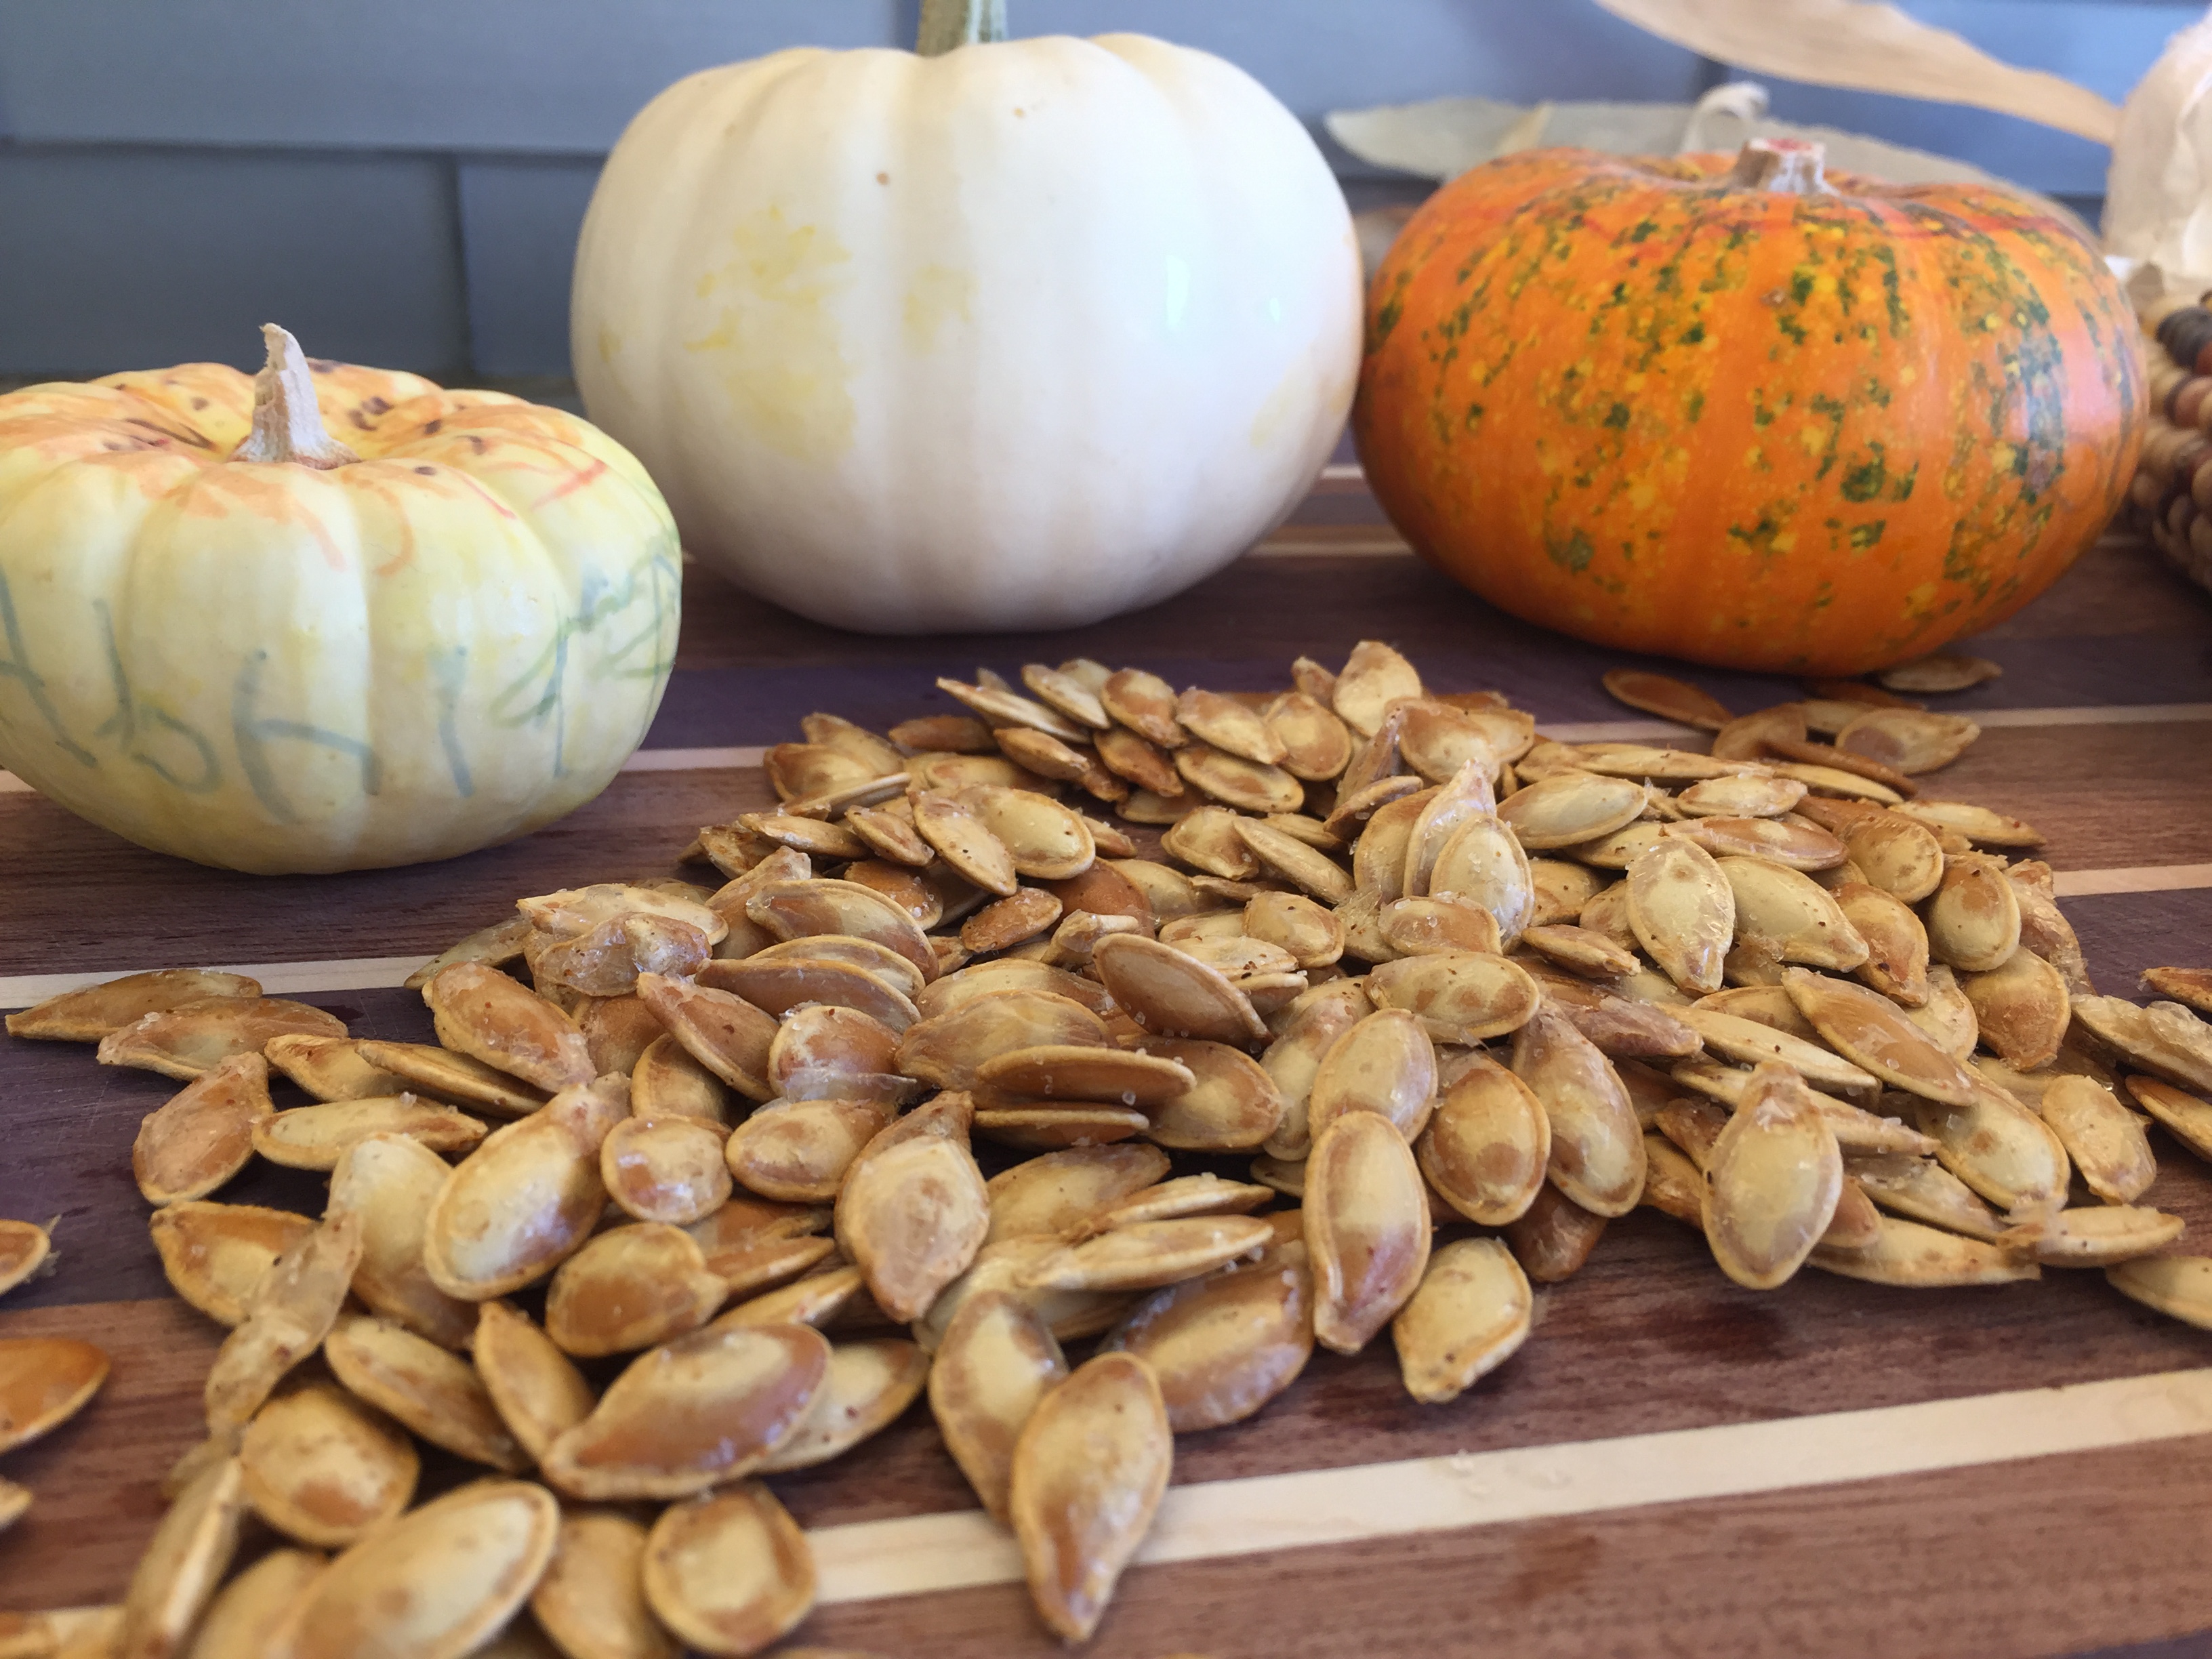
Did you carve a pumpkin this fall? I hope you saved those pumpkin seeds because you can roast them with a bit of salt and olive oil for a fast, tasty and healthy snack. Don’t forget to reverse a few seeds to plant them next spring/summer and hopefully you’ll have your very own pumpkin next fall!
Recipe:
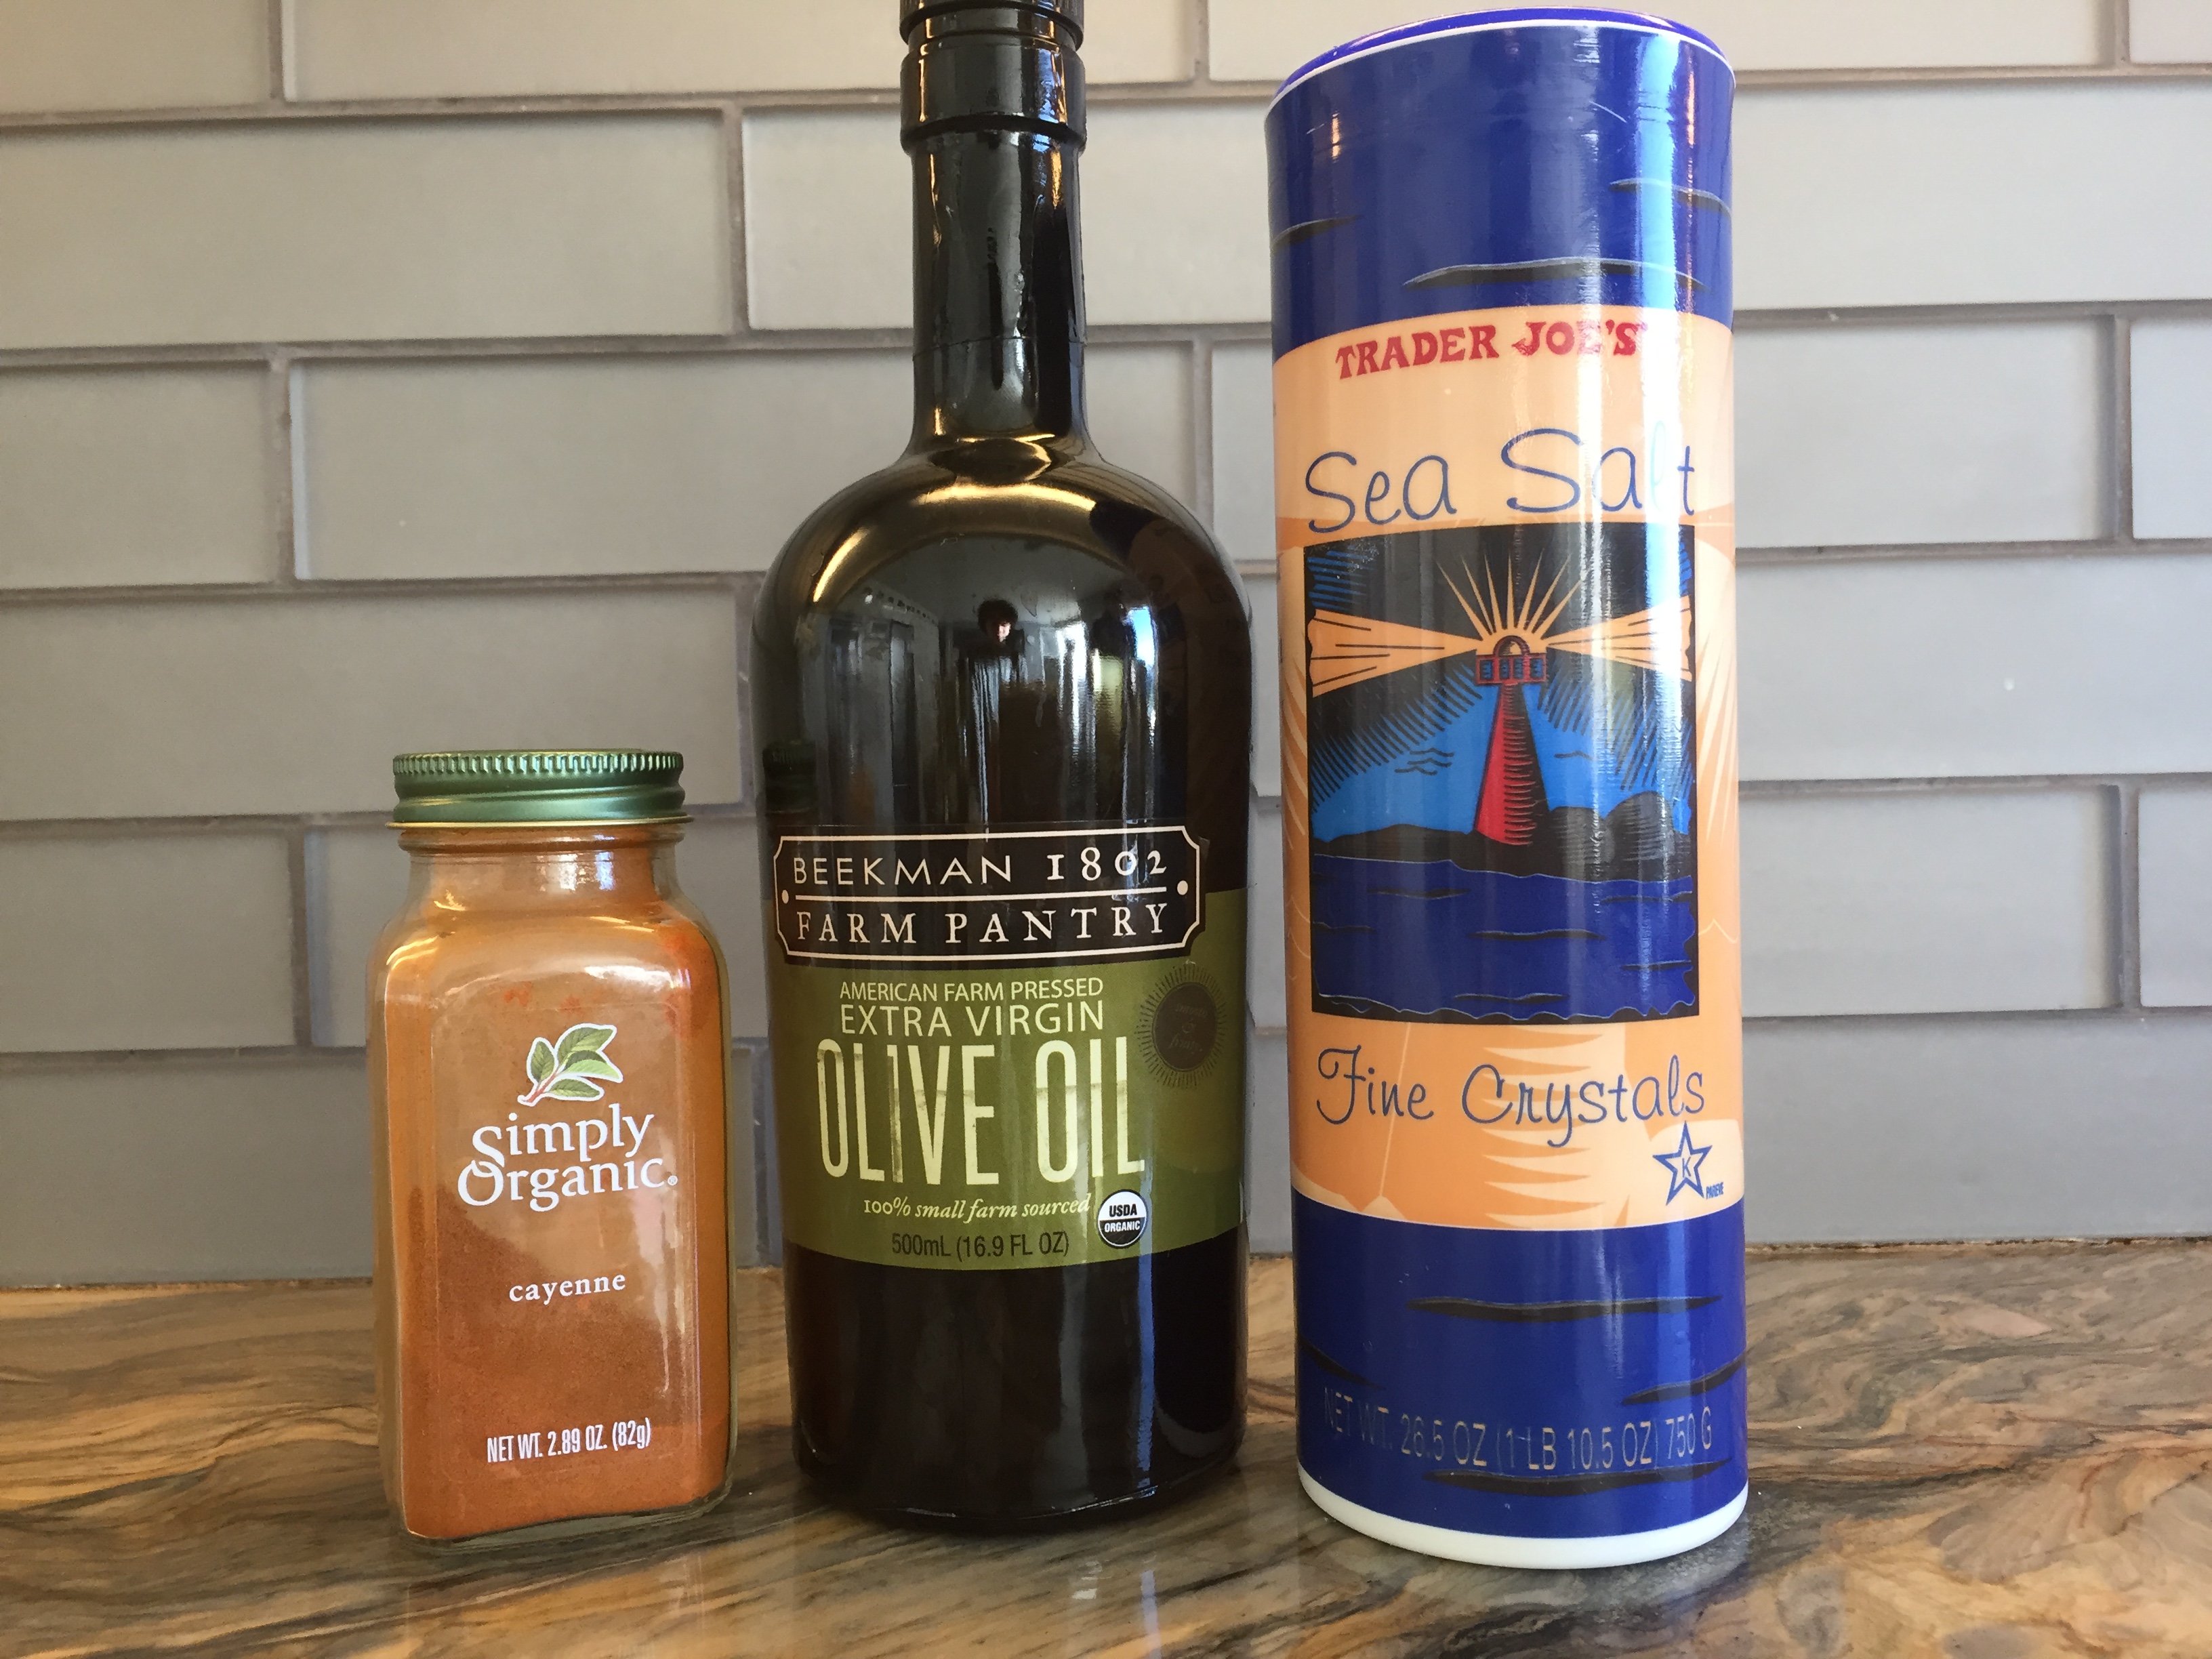
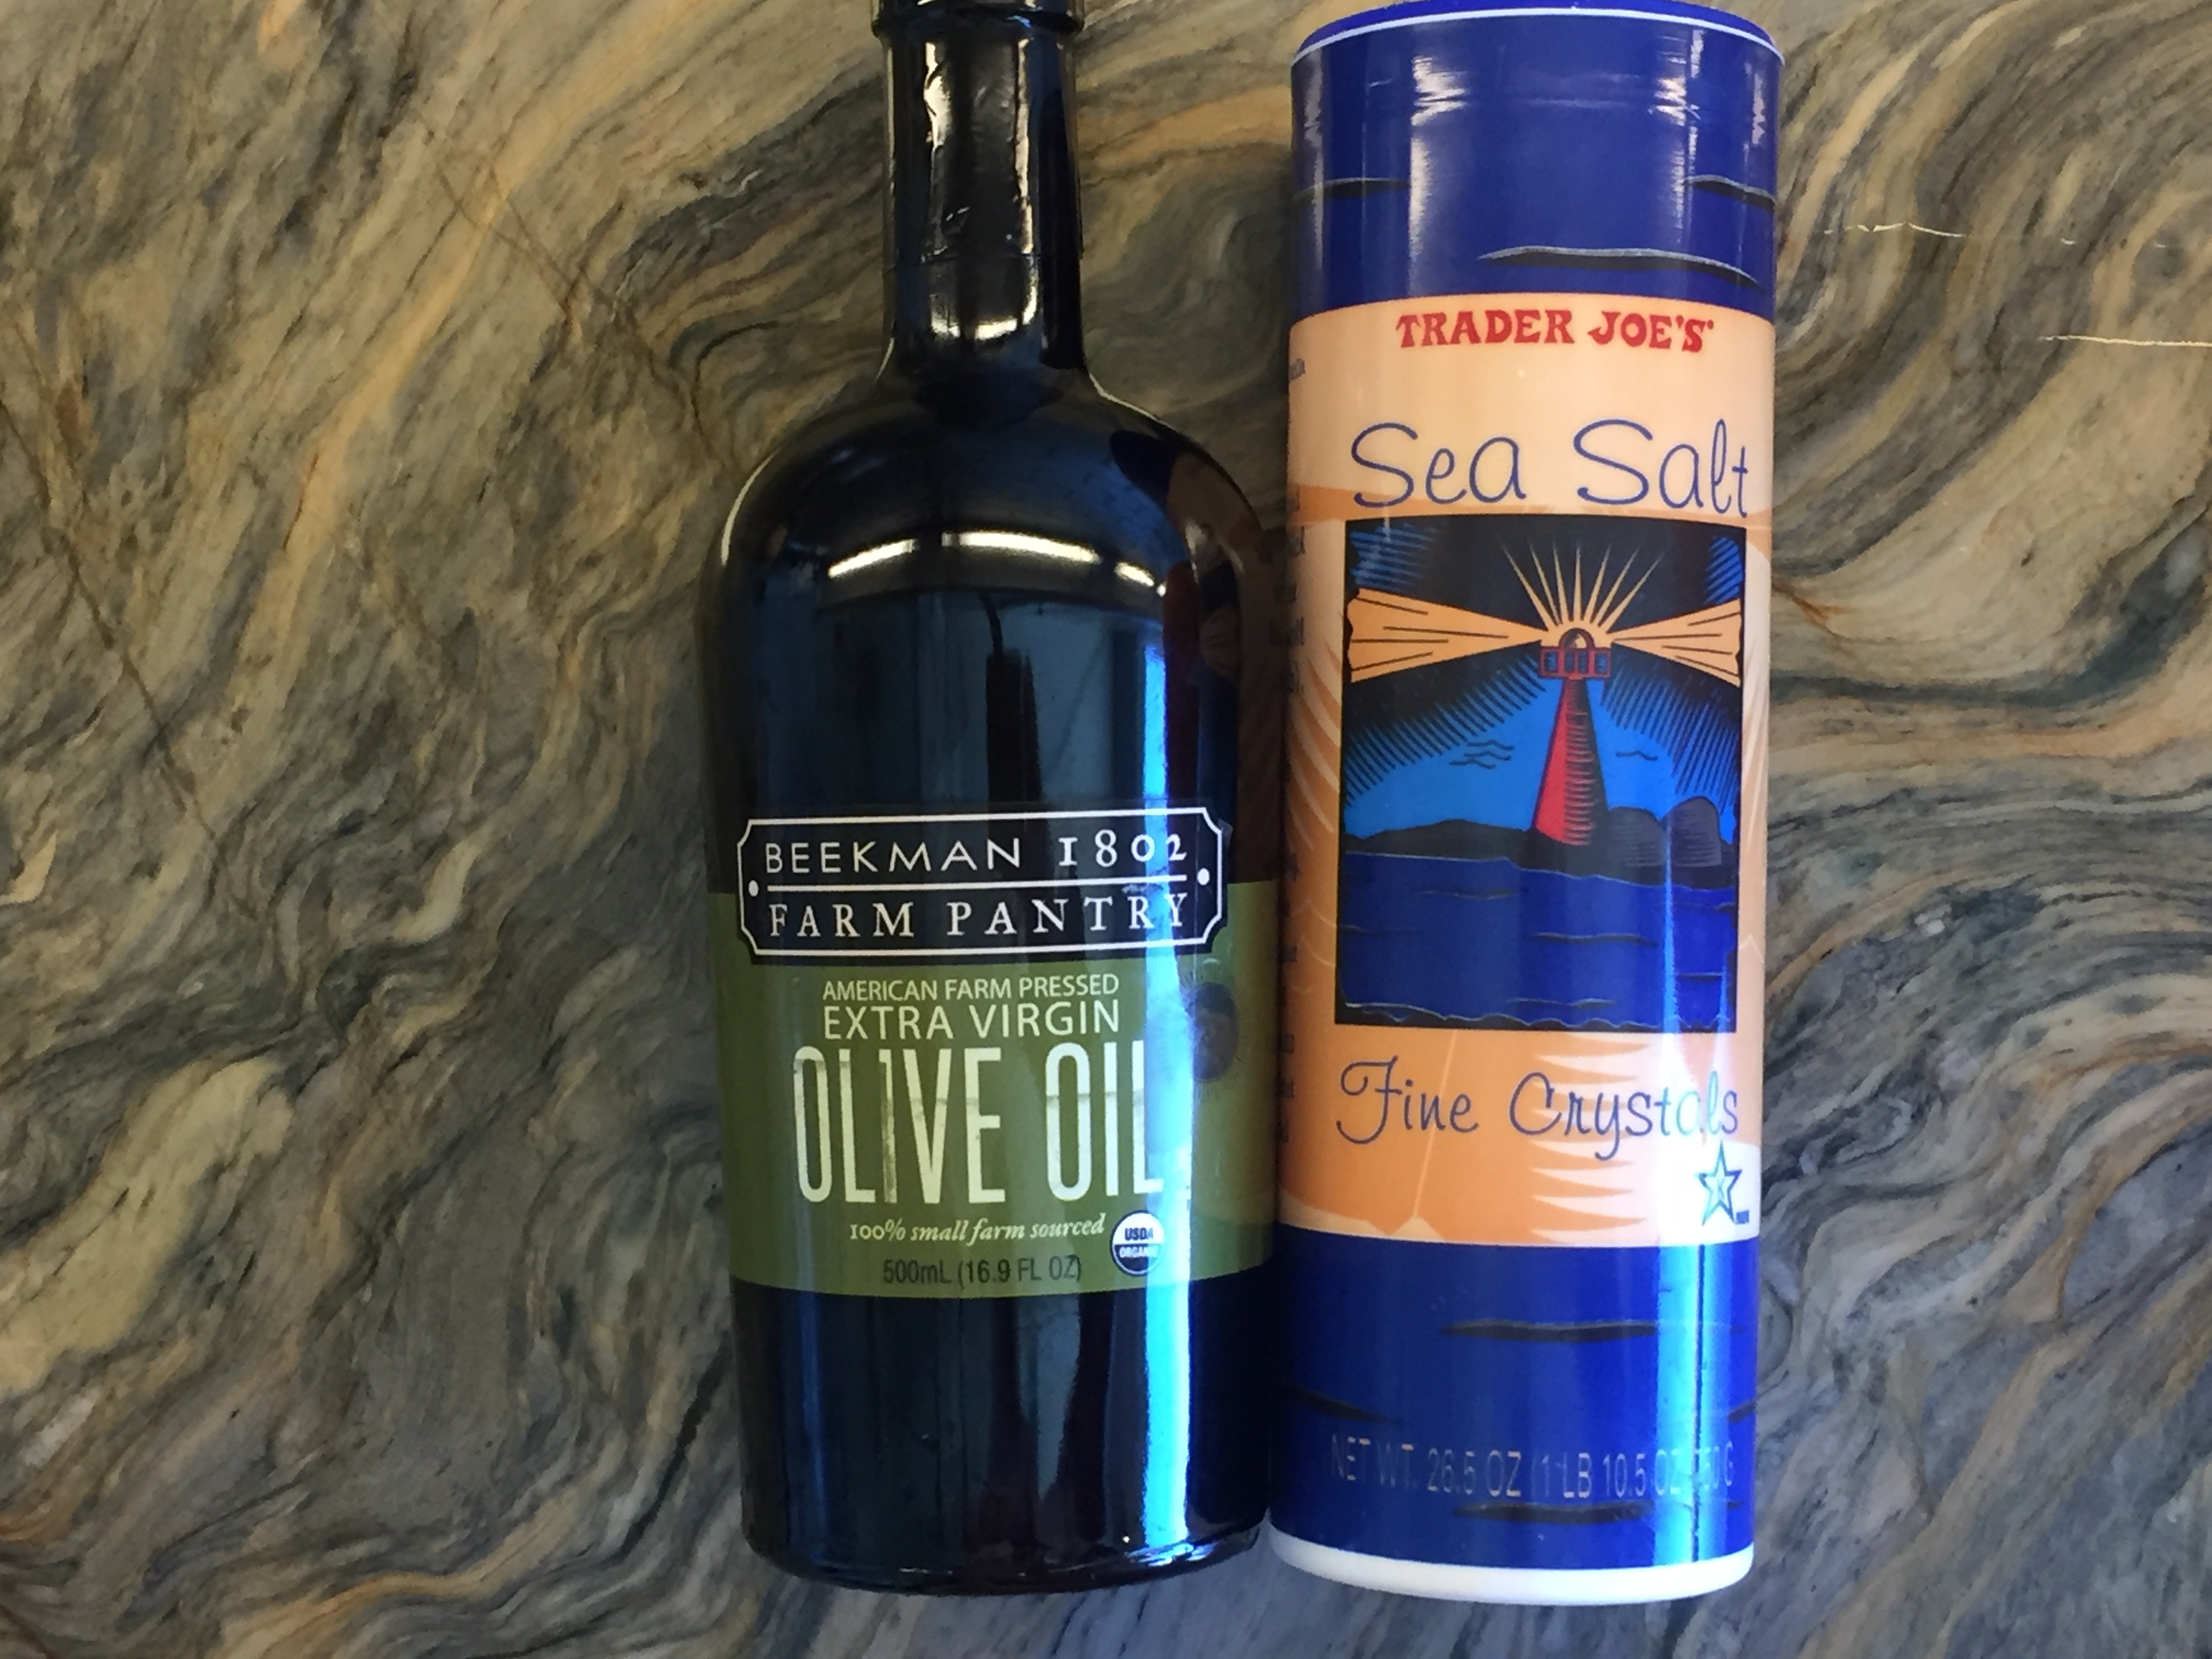
Pumpkin seeds, olive oil, salt and a pinch of cayenne.
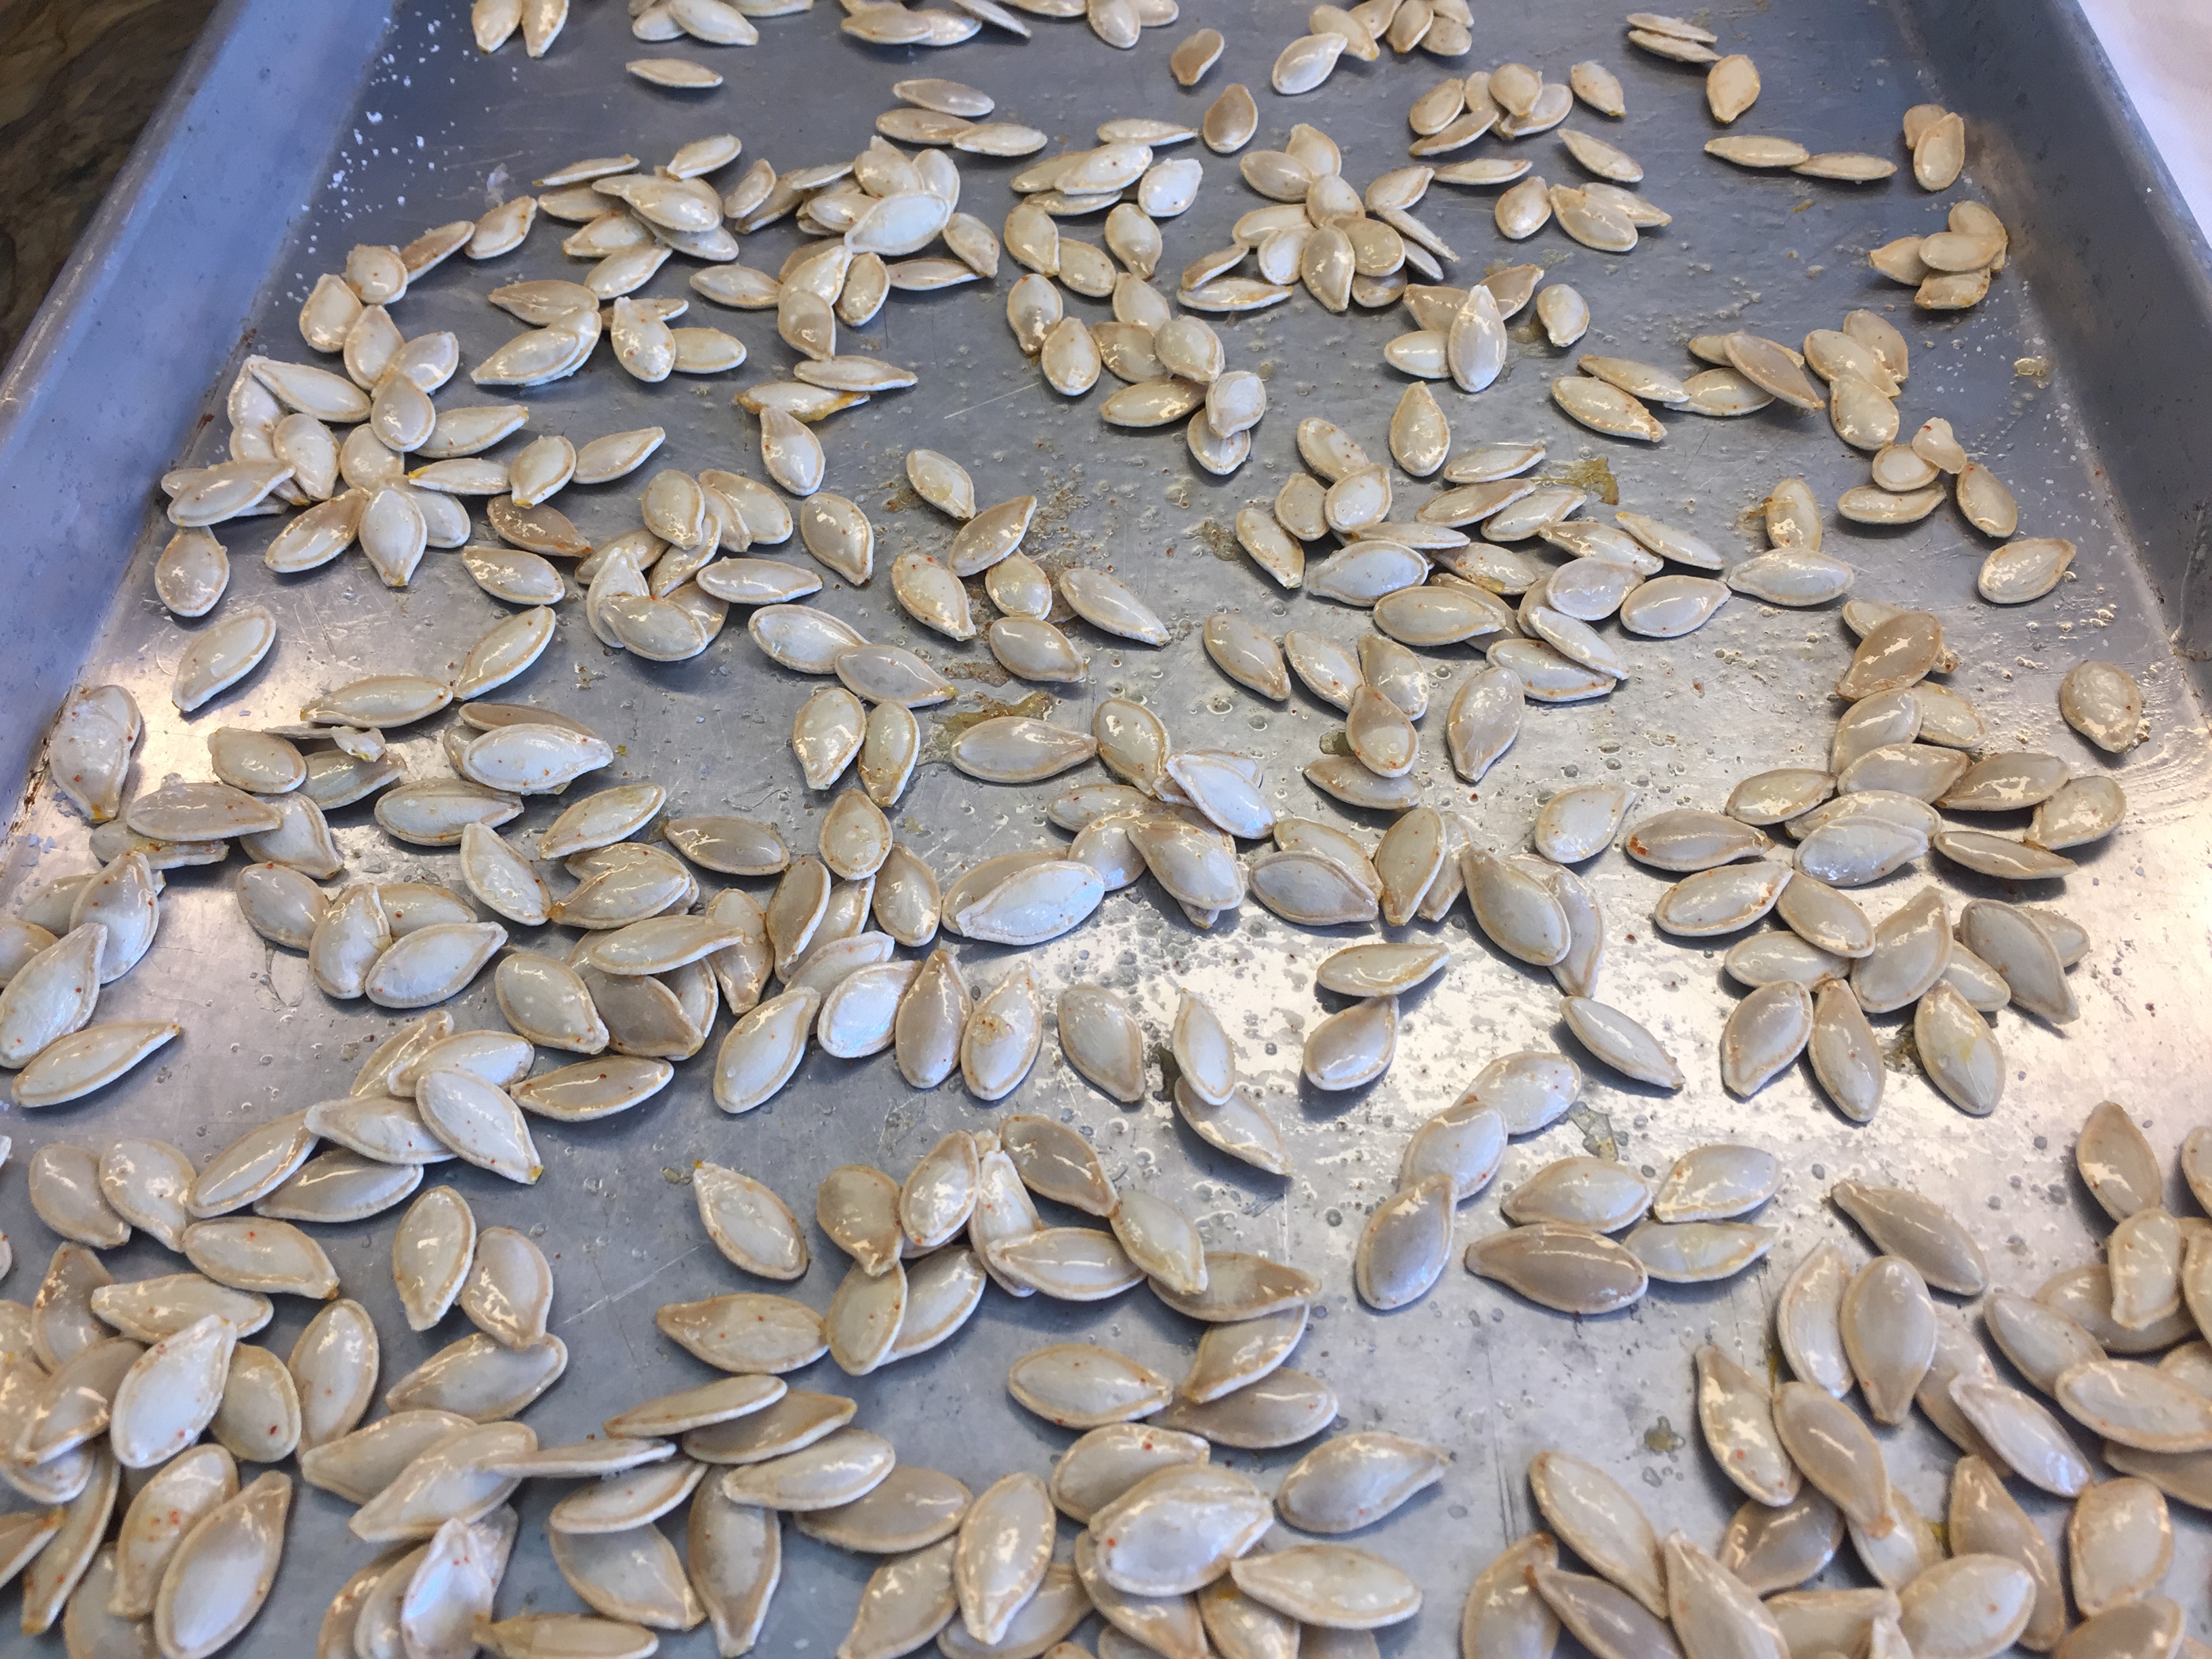
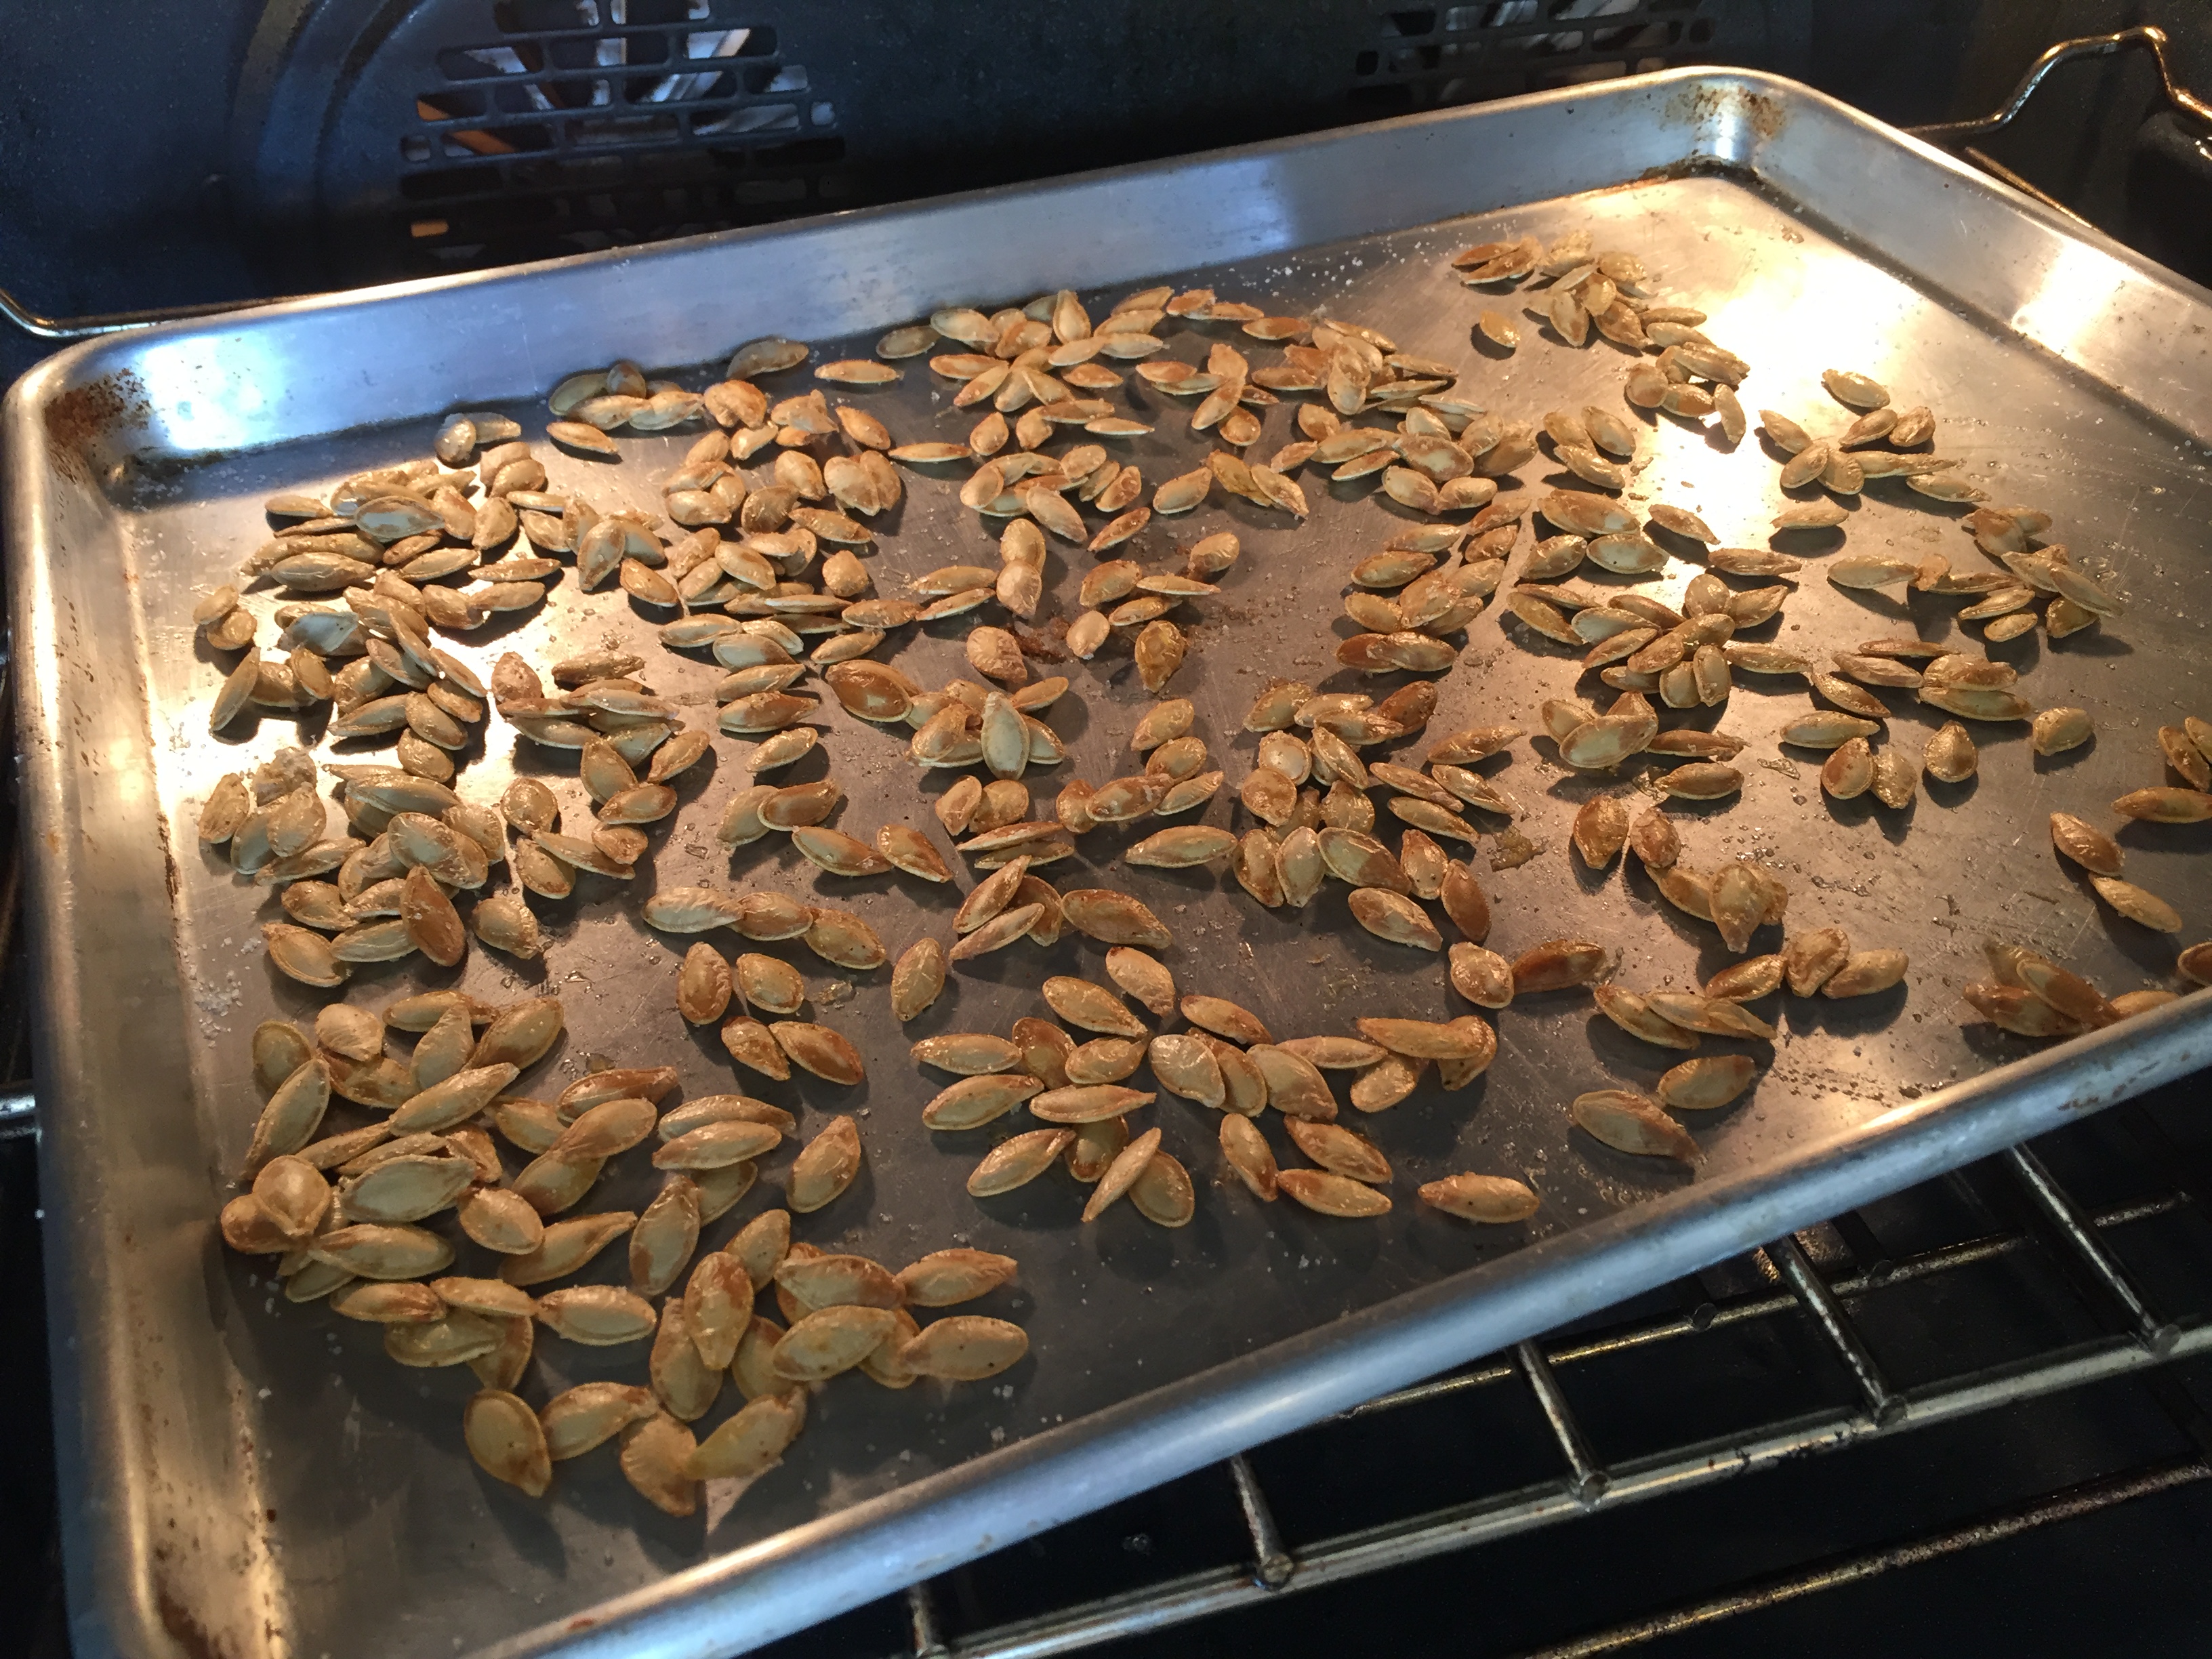
Directions: Remove seeds from pumpkin and wash them in water. Let dry. Toss with olive oil, salt and cayenne pepper. Spread over a baking tray. Bake on 400 F for 15 minutes. Rotate midway. Remove from oven and let cool before enjoying this wonderful snack.
This recipe perfectly fits with our Colonial Times unit study.
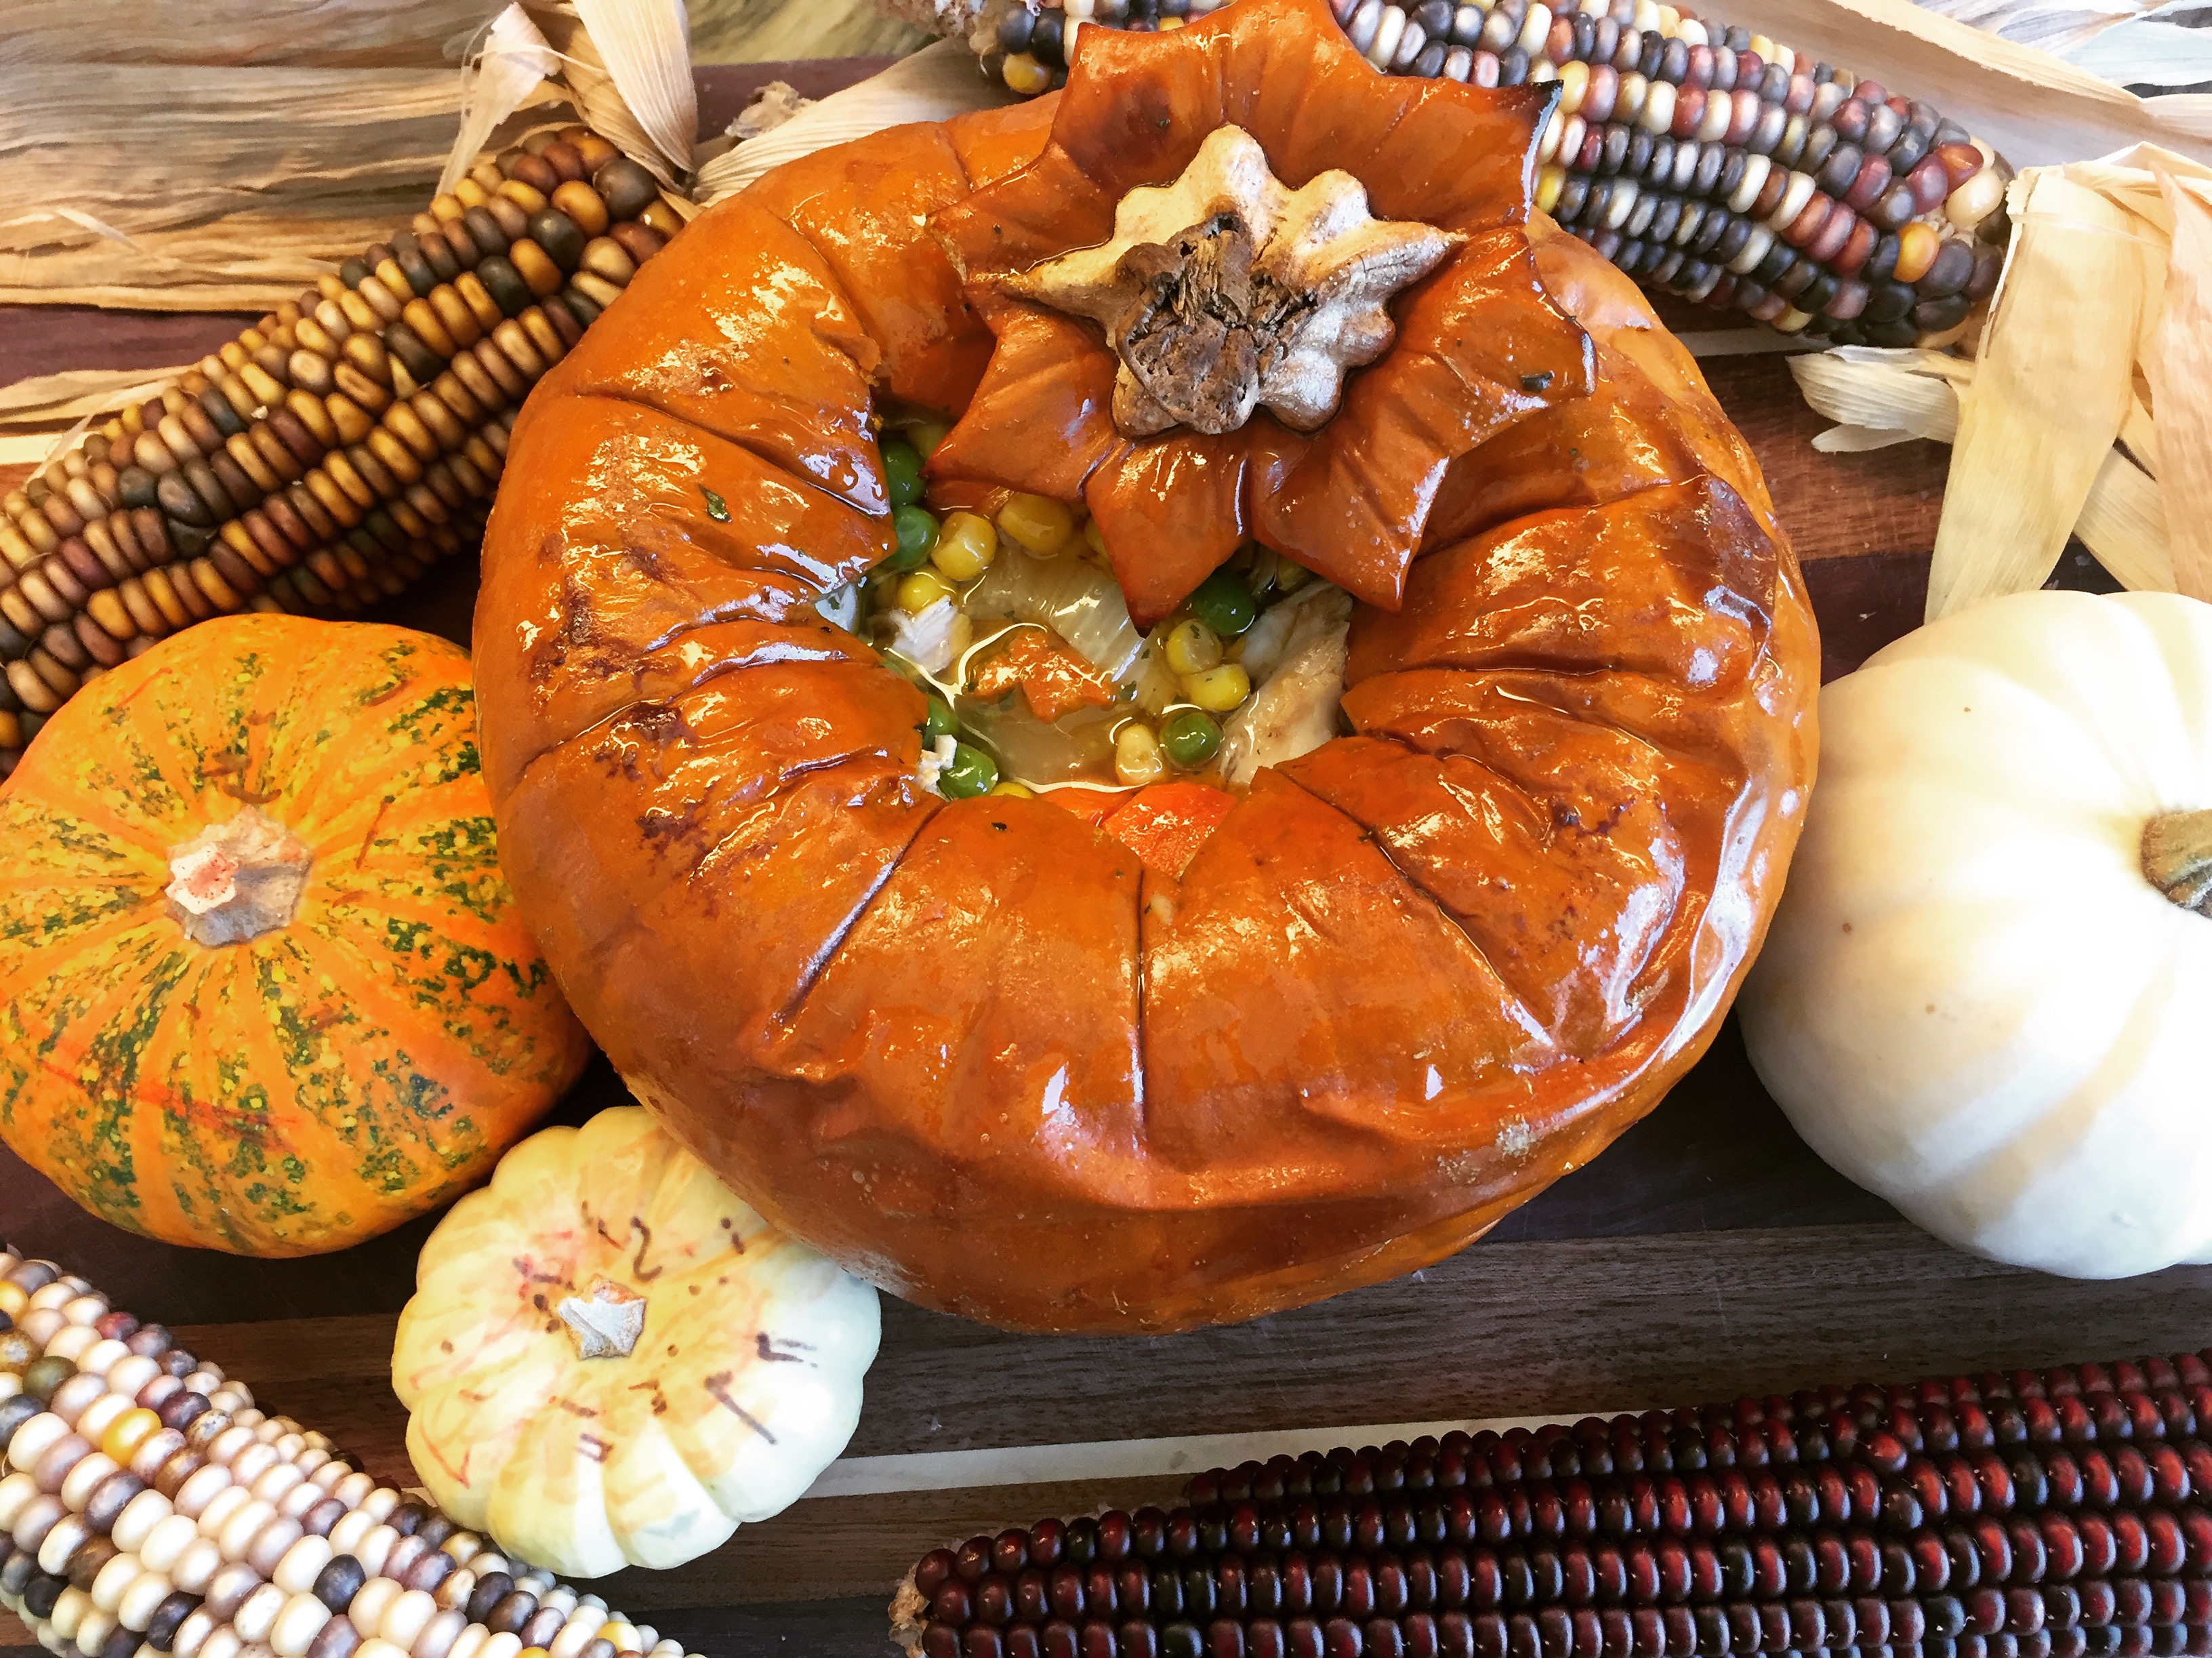
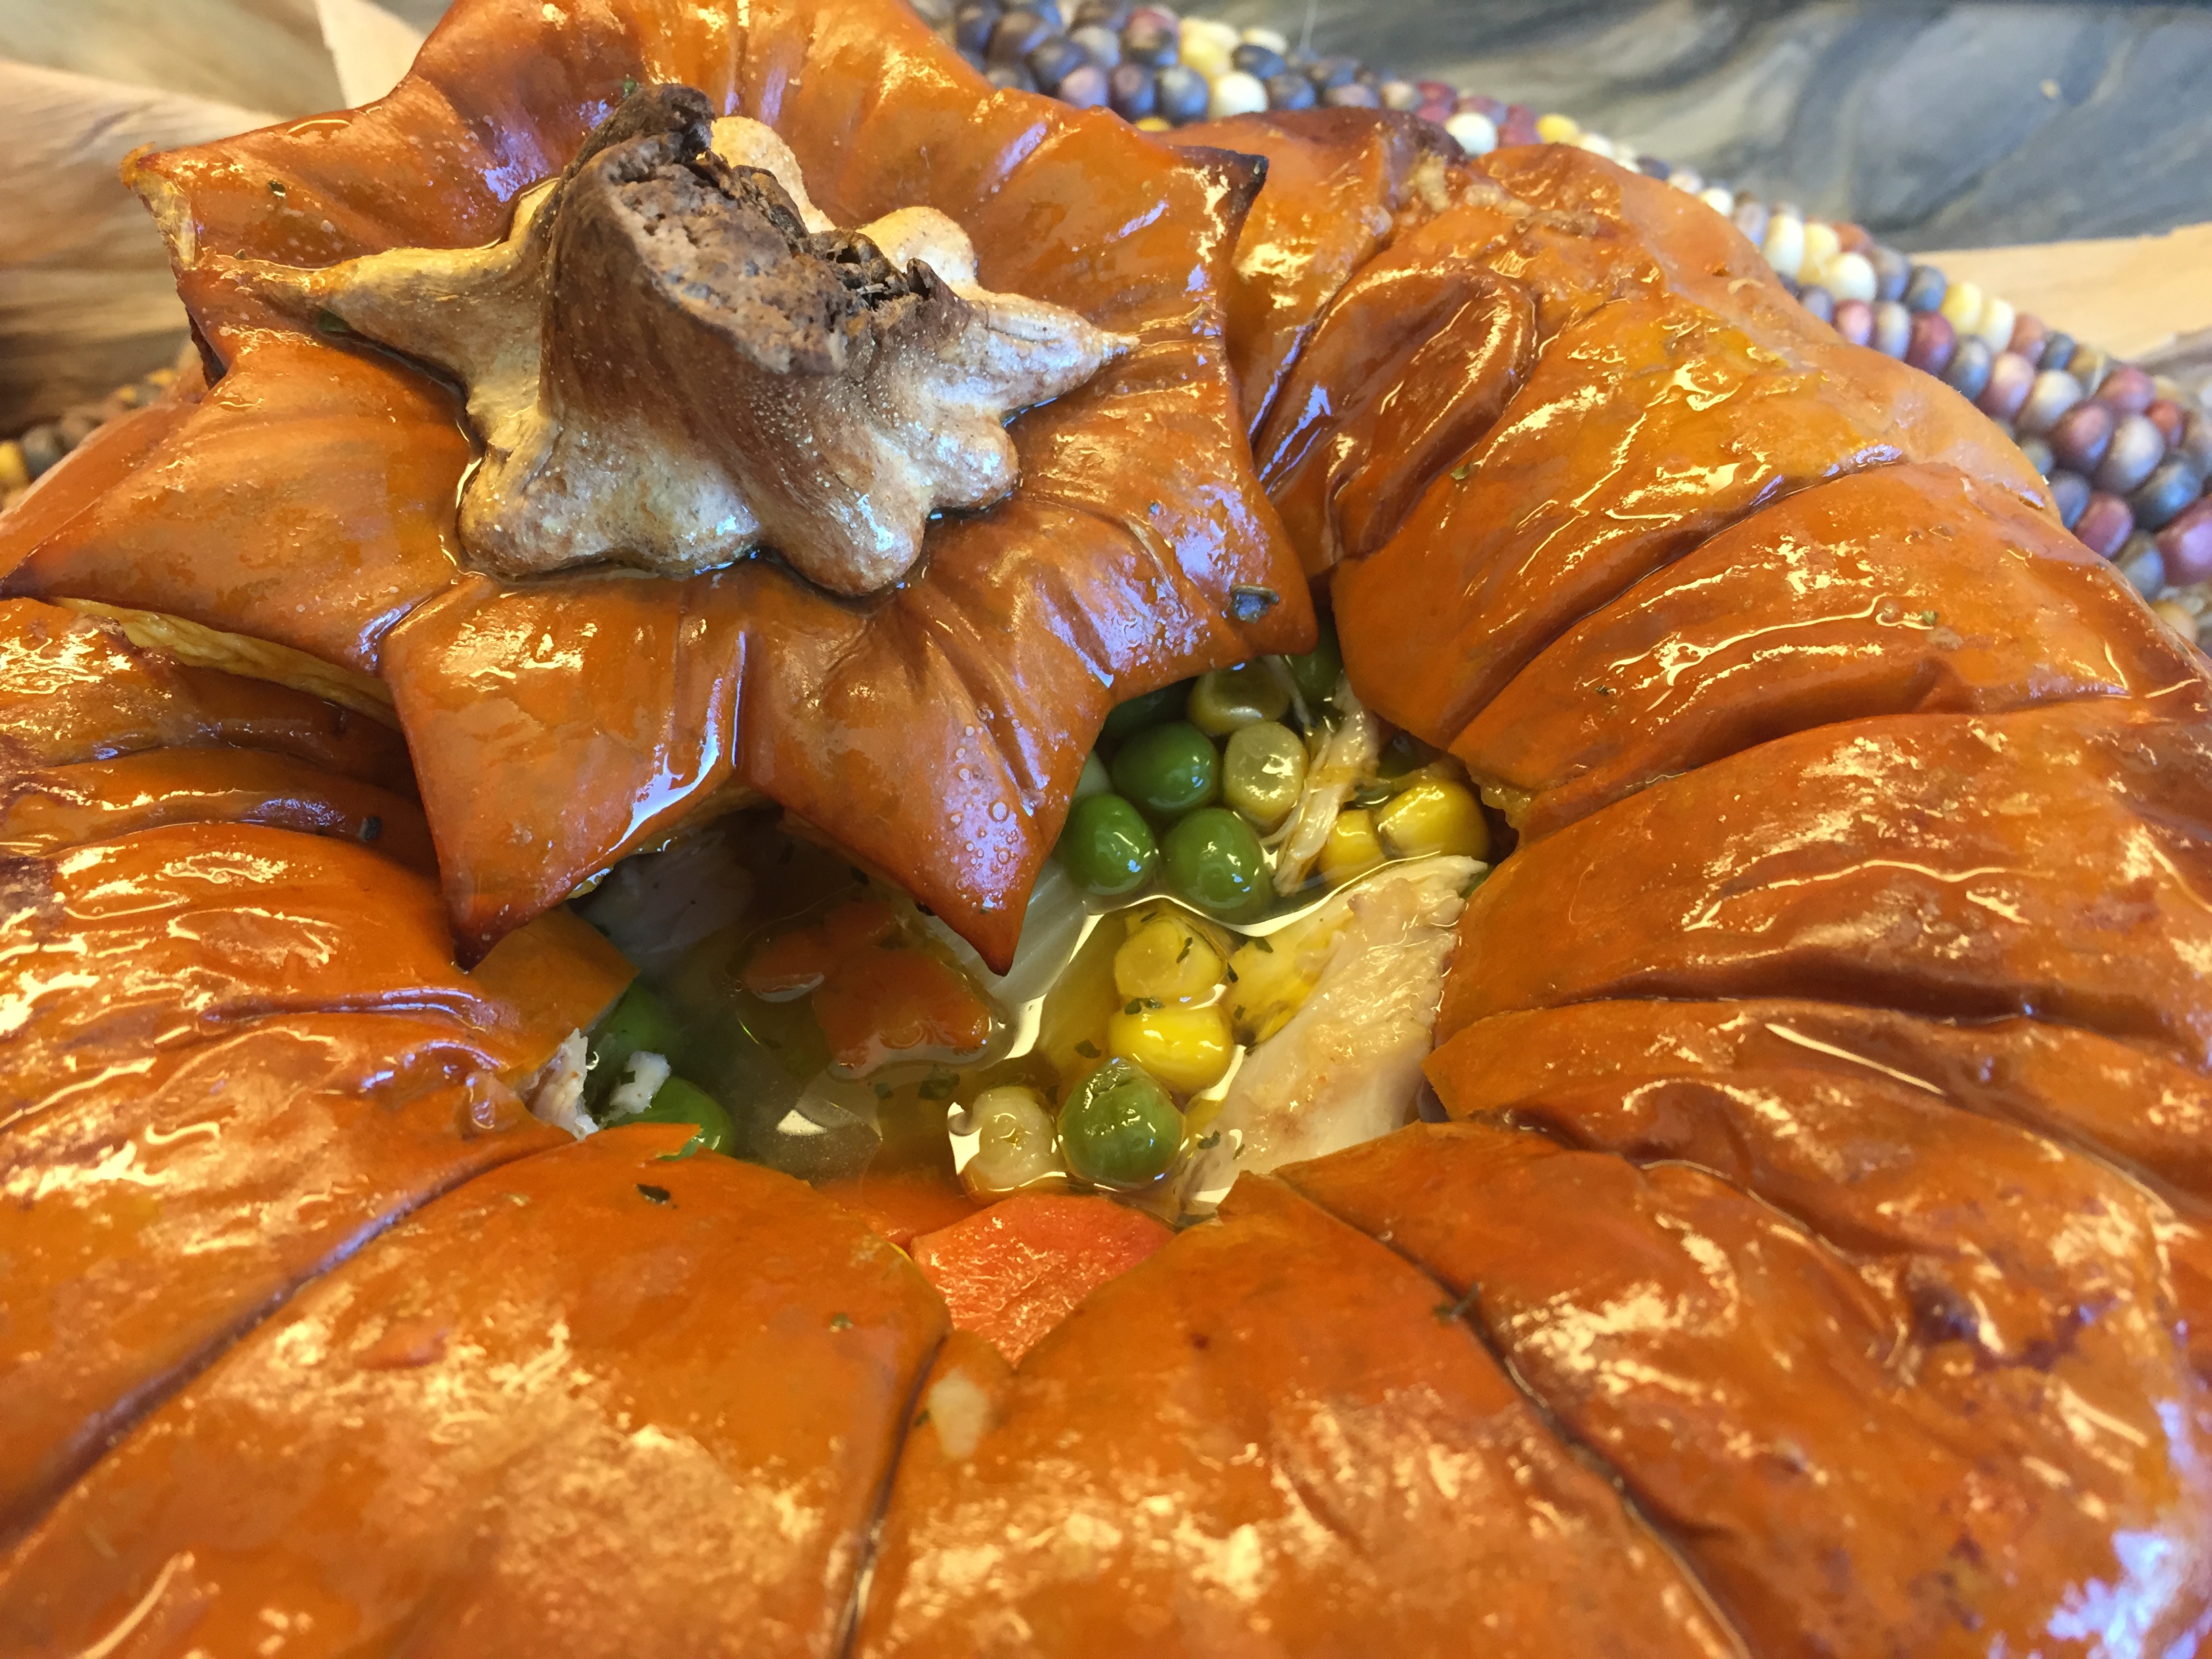
How to Make Vegetable Soup in a Pumpkin!
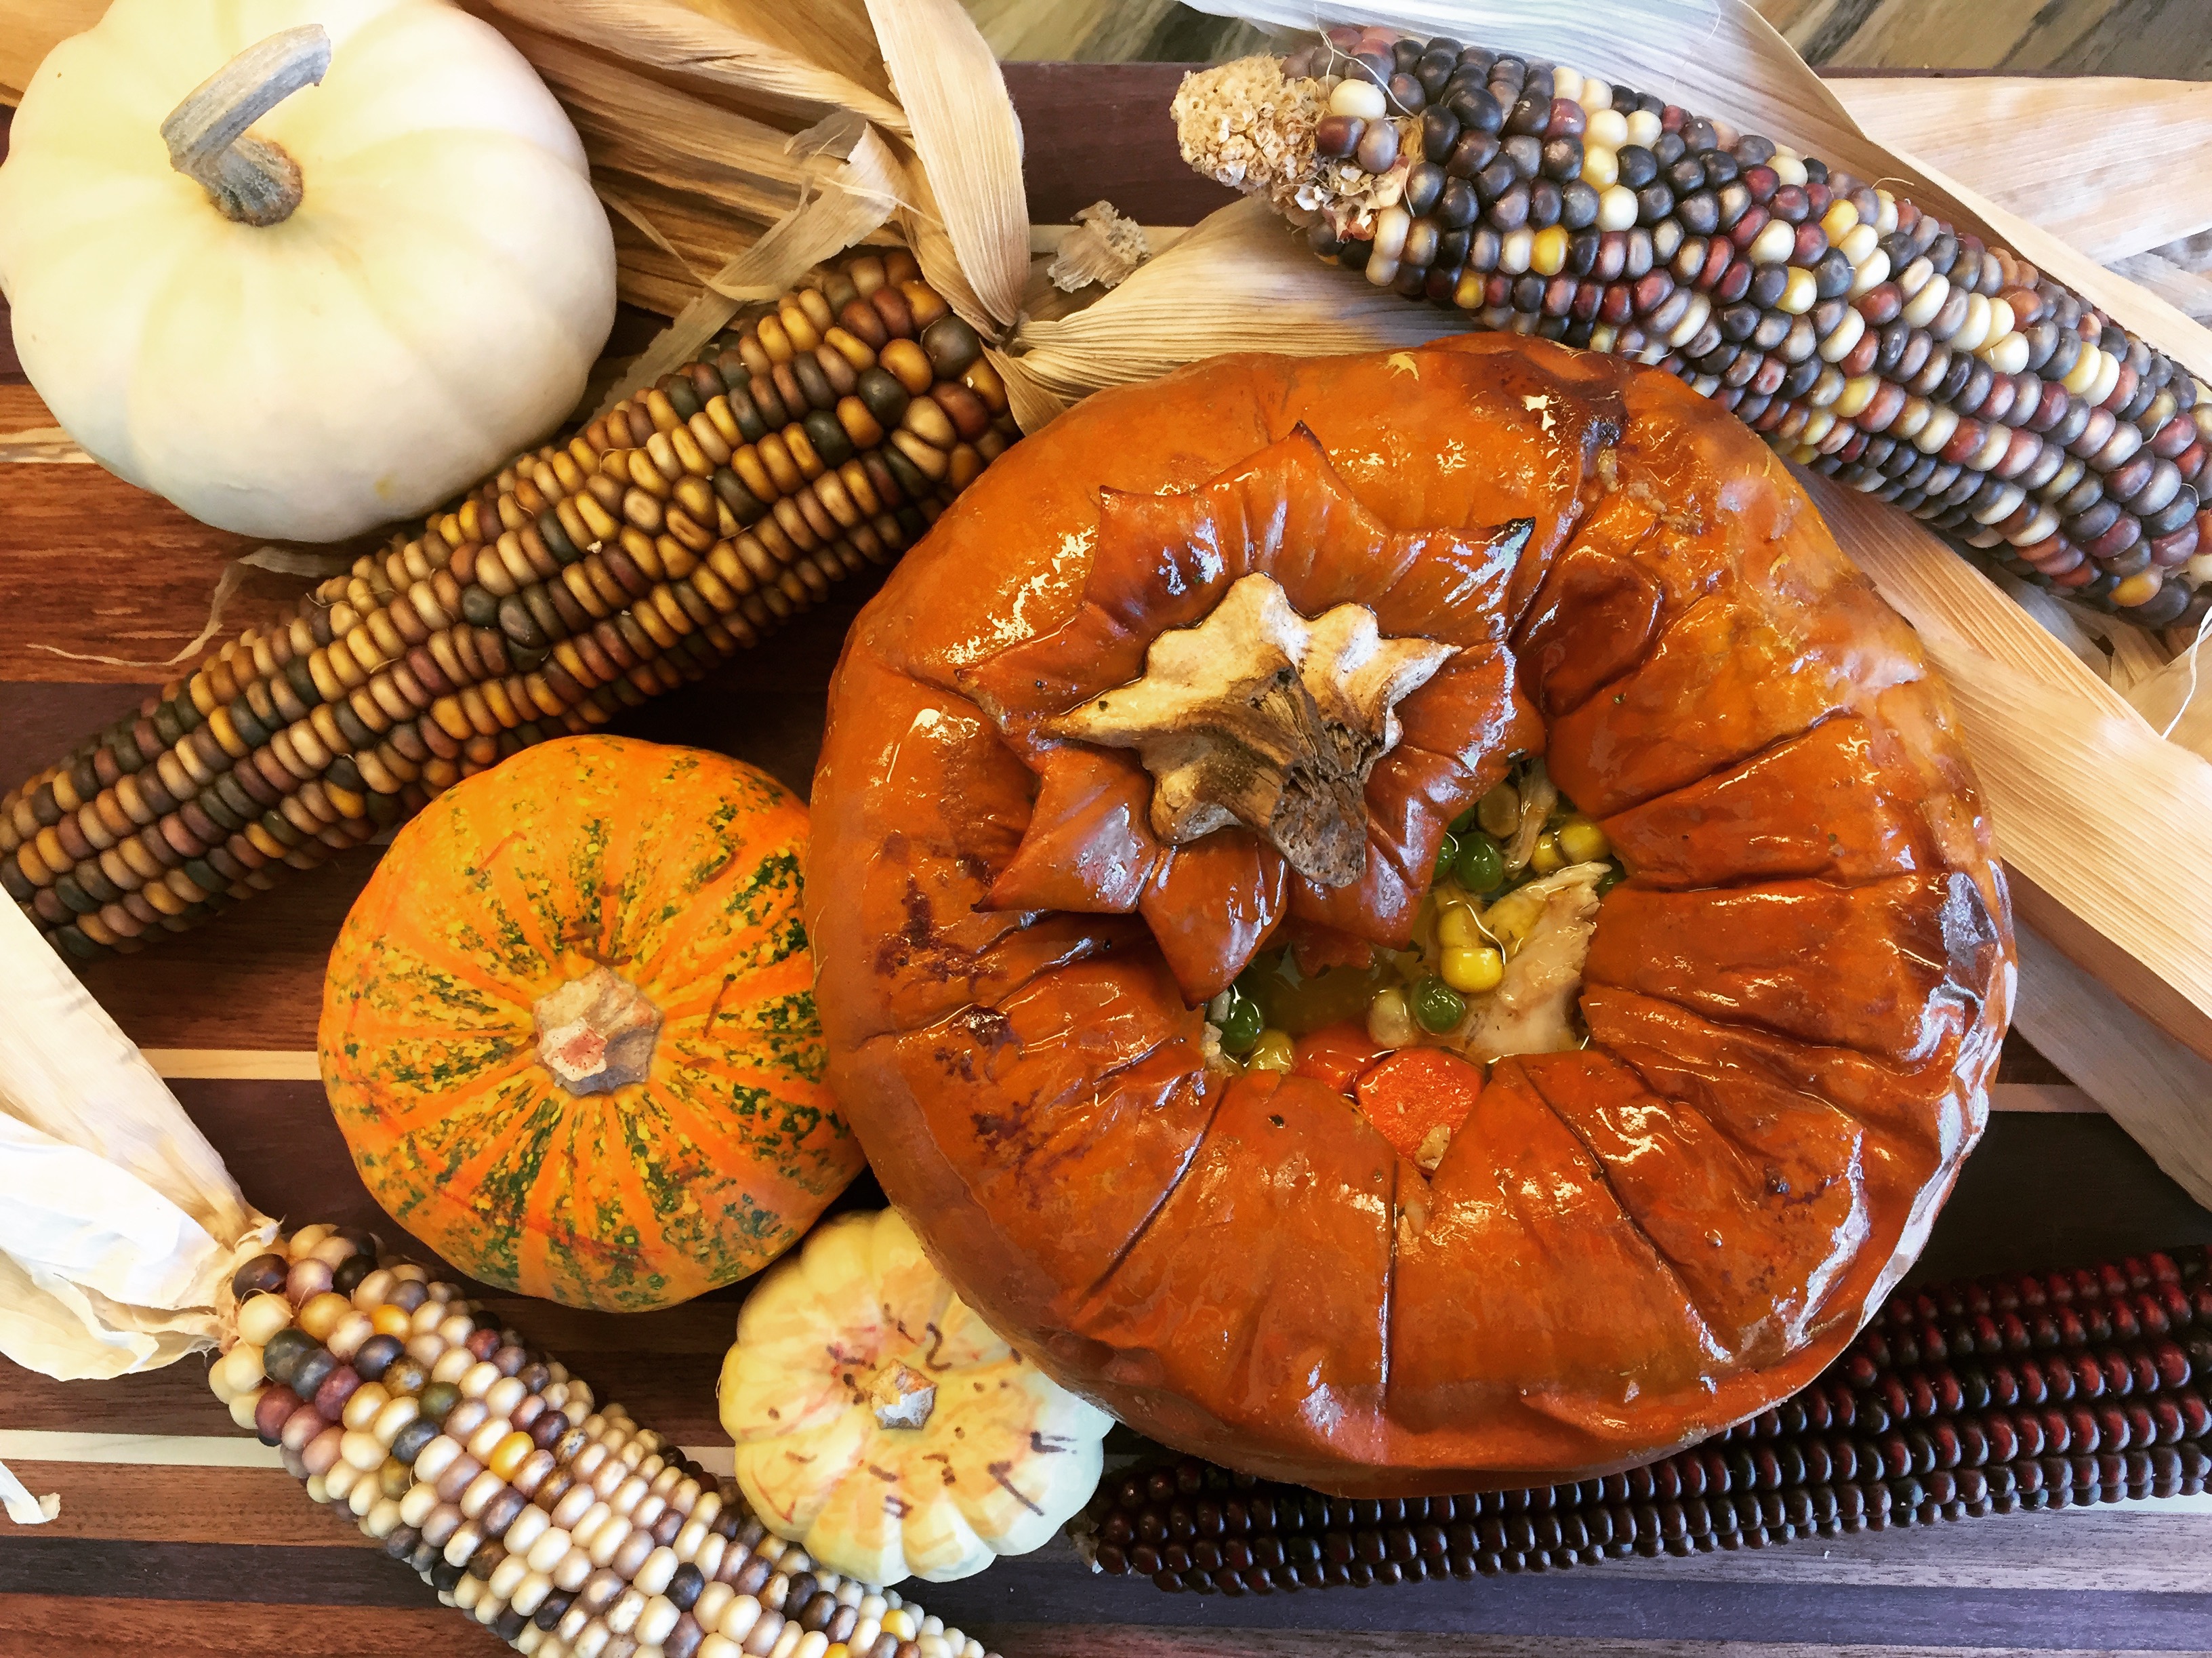
This is a show stopping center piece that tastes great and looks amazing! Add drama and intrigue to your dinner party with this perfect-for-fall vegetable soup served in a pumpkin. It’s actually easier than you’d think to make, is the perfect meal or appetizer for large groups and warms you to the bone on cold autumn nights.
You can make this recipe vegan friendly by omitting the chicken, and you’ll barely notice the loss because this soup is naturally flavorful. Adding chicken makes it a complete meal. Cooking your whole chicken in water gives you a flavorful broth that’s ready for the tender vegetables. It’s lightly seasoned with salt, pepper, cayenne and parsley, but you could add any variety of seasonings.
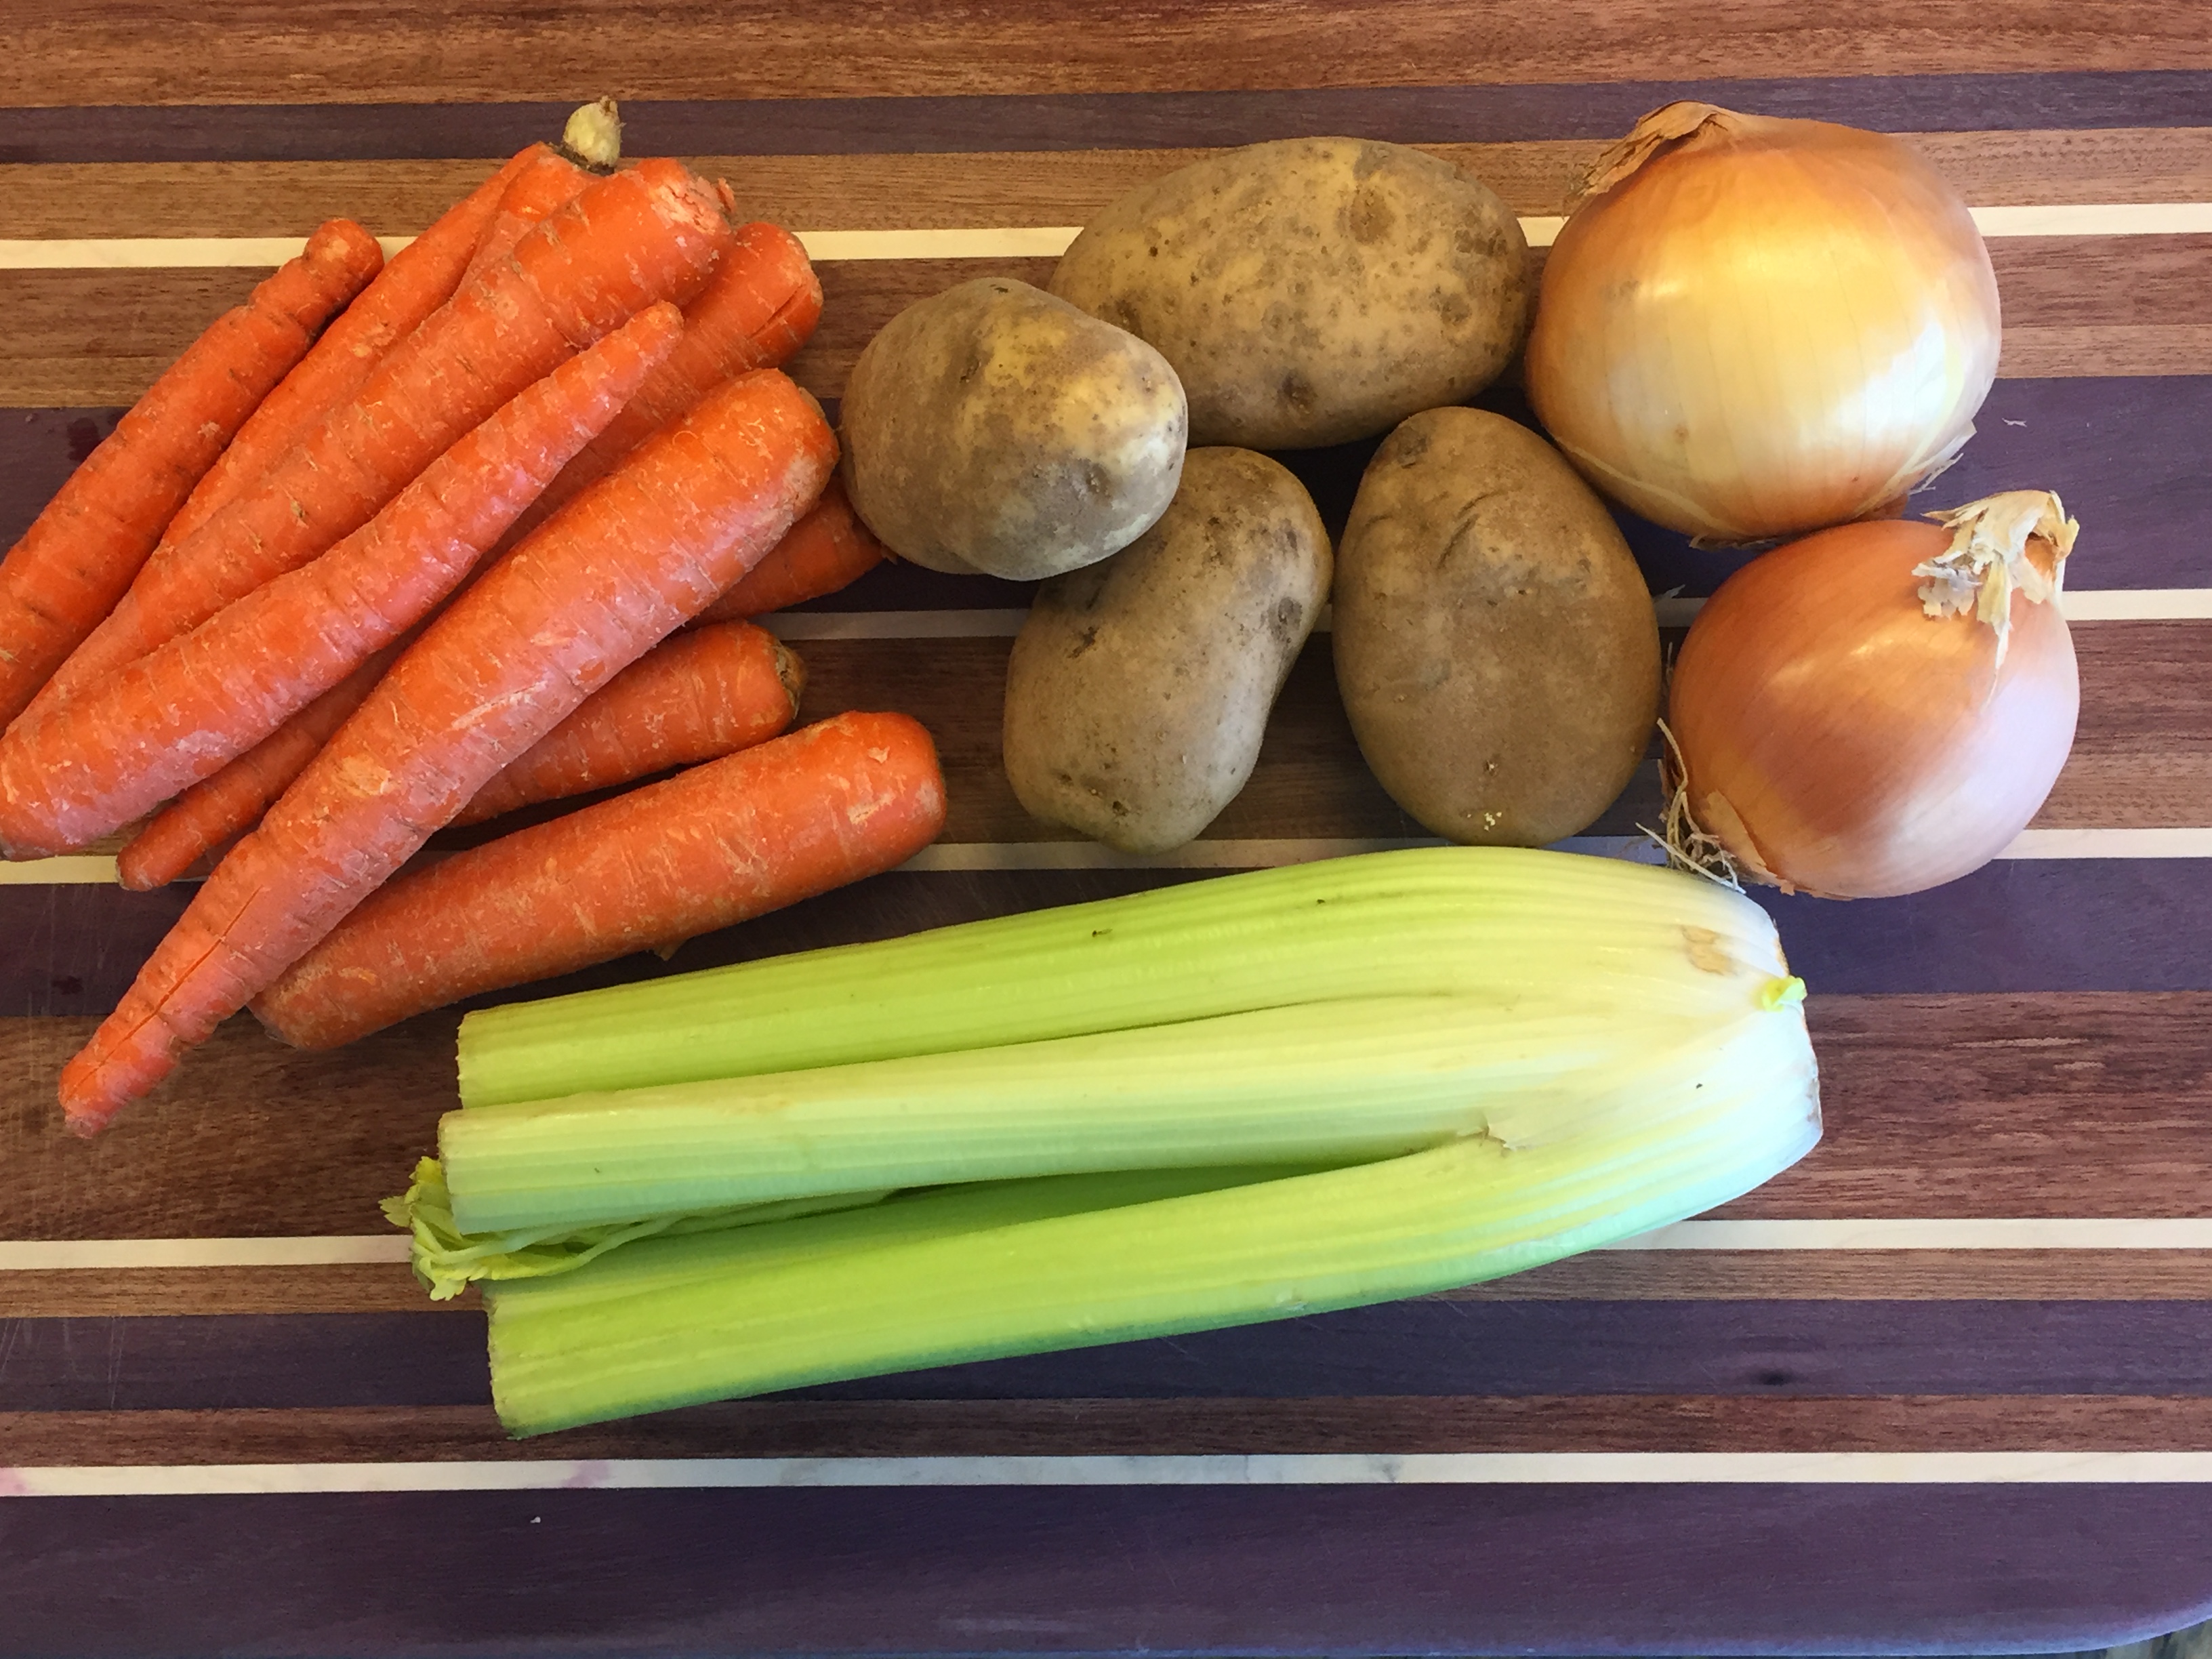
Recipe:
1-2 whole chickens
2 onions
4-5 medium organic potatoes
1 bag of organic onions
1 bunch of organic celery
1 bag of organic peas
1 bag of organic corn
1 teaspoon of fresh ground black pepper, cayenne and dried parsley.
Salt to taste
Directions:
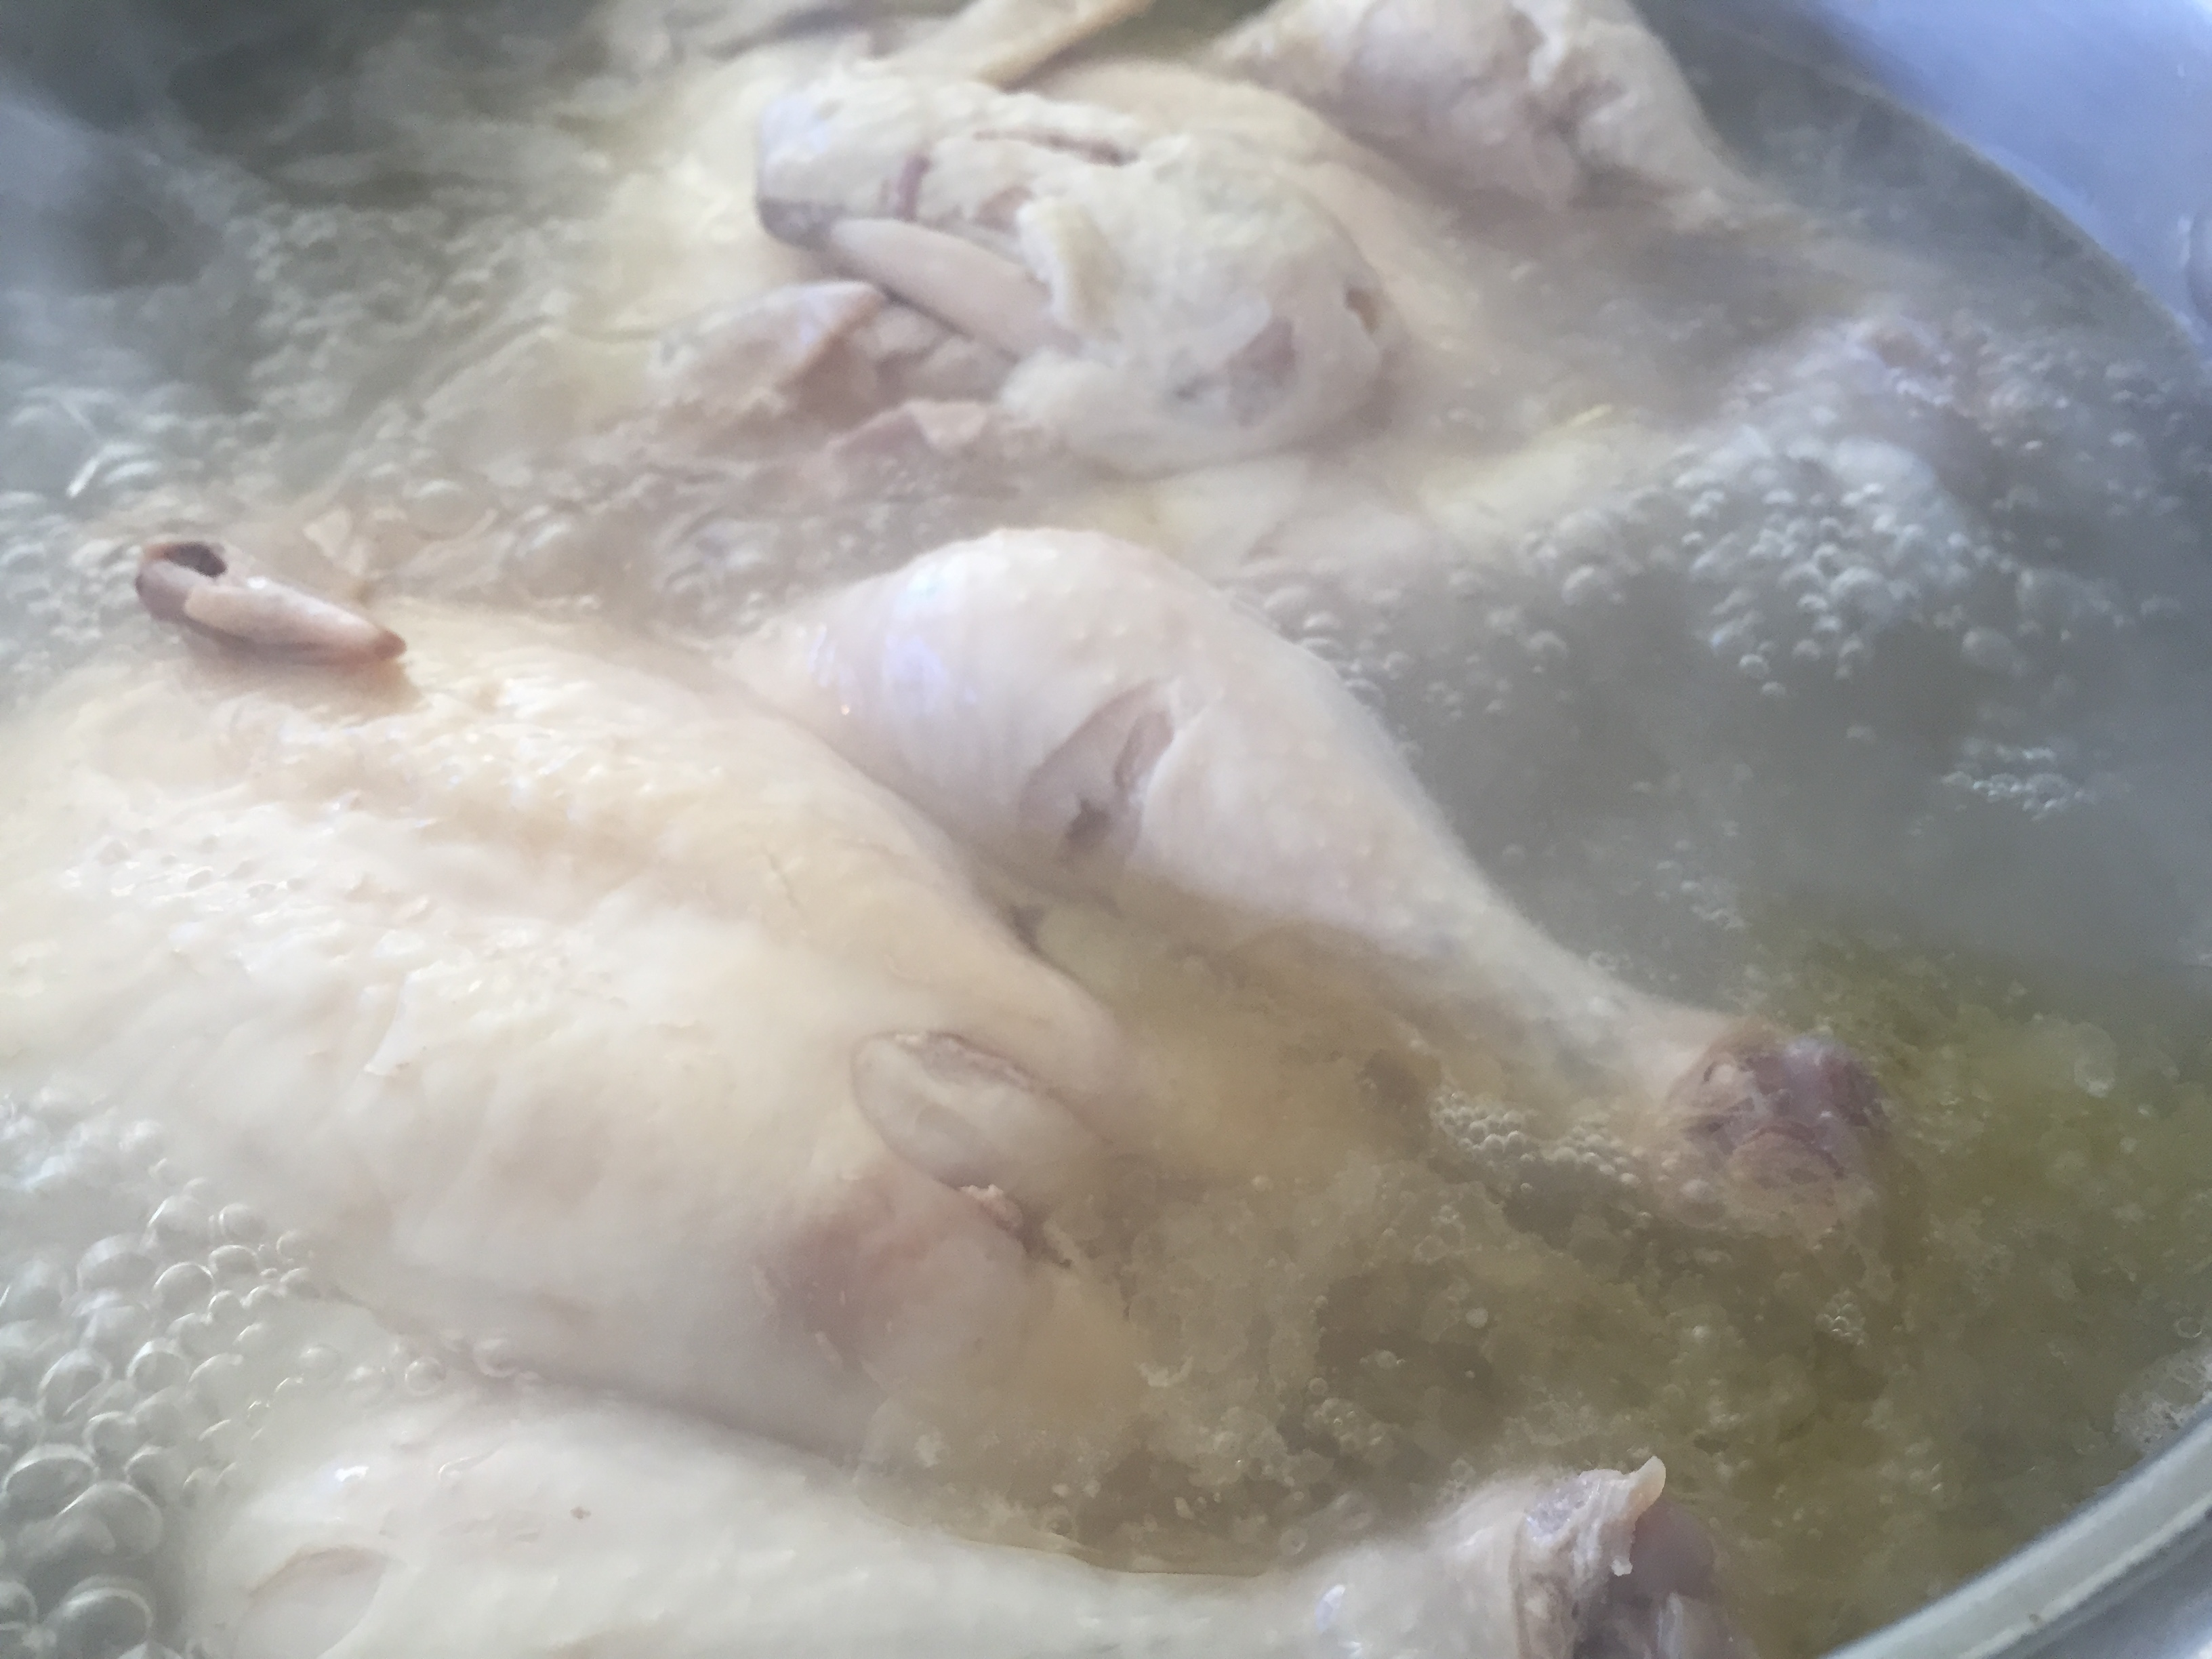
In a large pot, simmer 1-2 whole chickens with skin on, in enough water to cover the chickens completely (the chicken will float to the top, but that’s okay, you can rotate it midway). Bring chicken broth to a high simmer and cook until the meat falls away easily (about 1 hour).
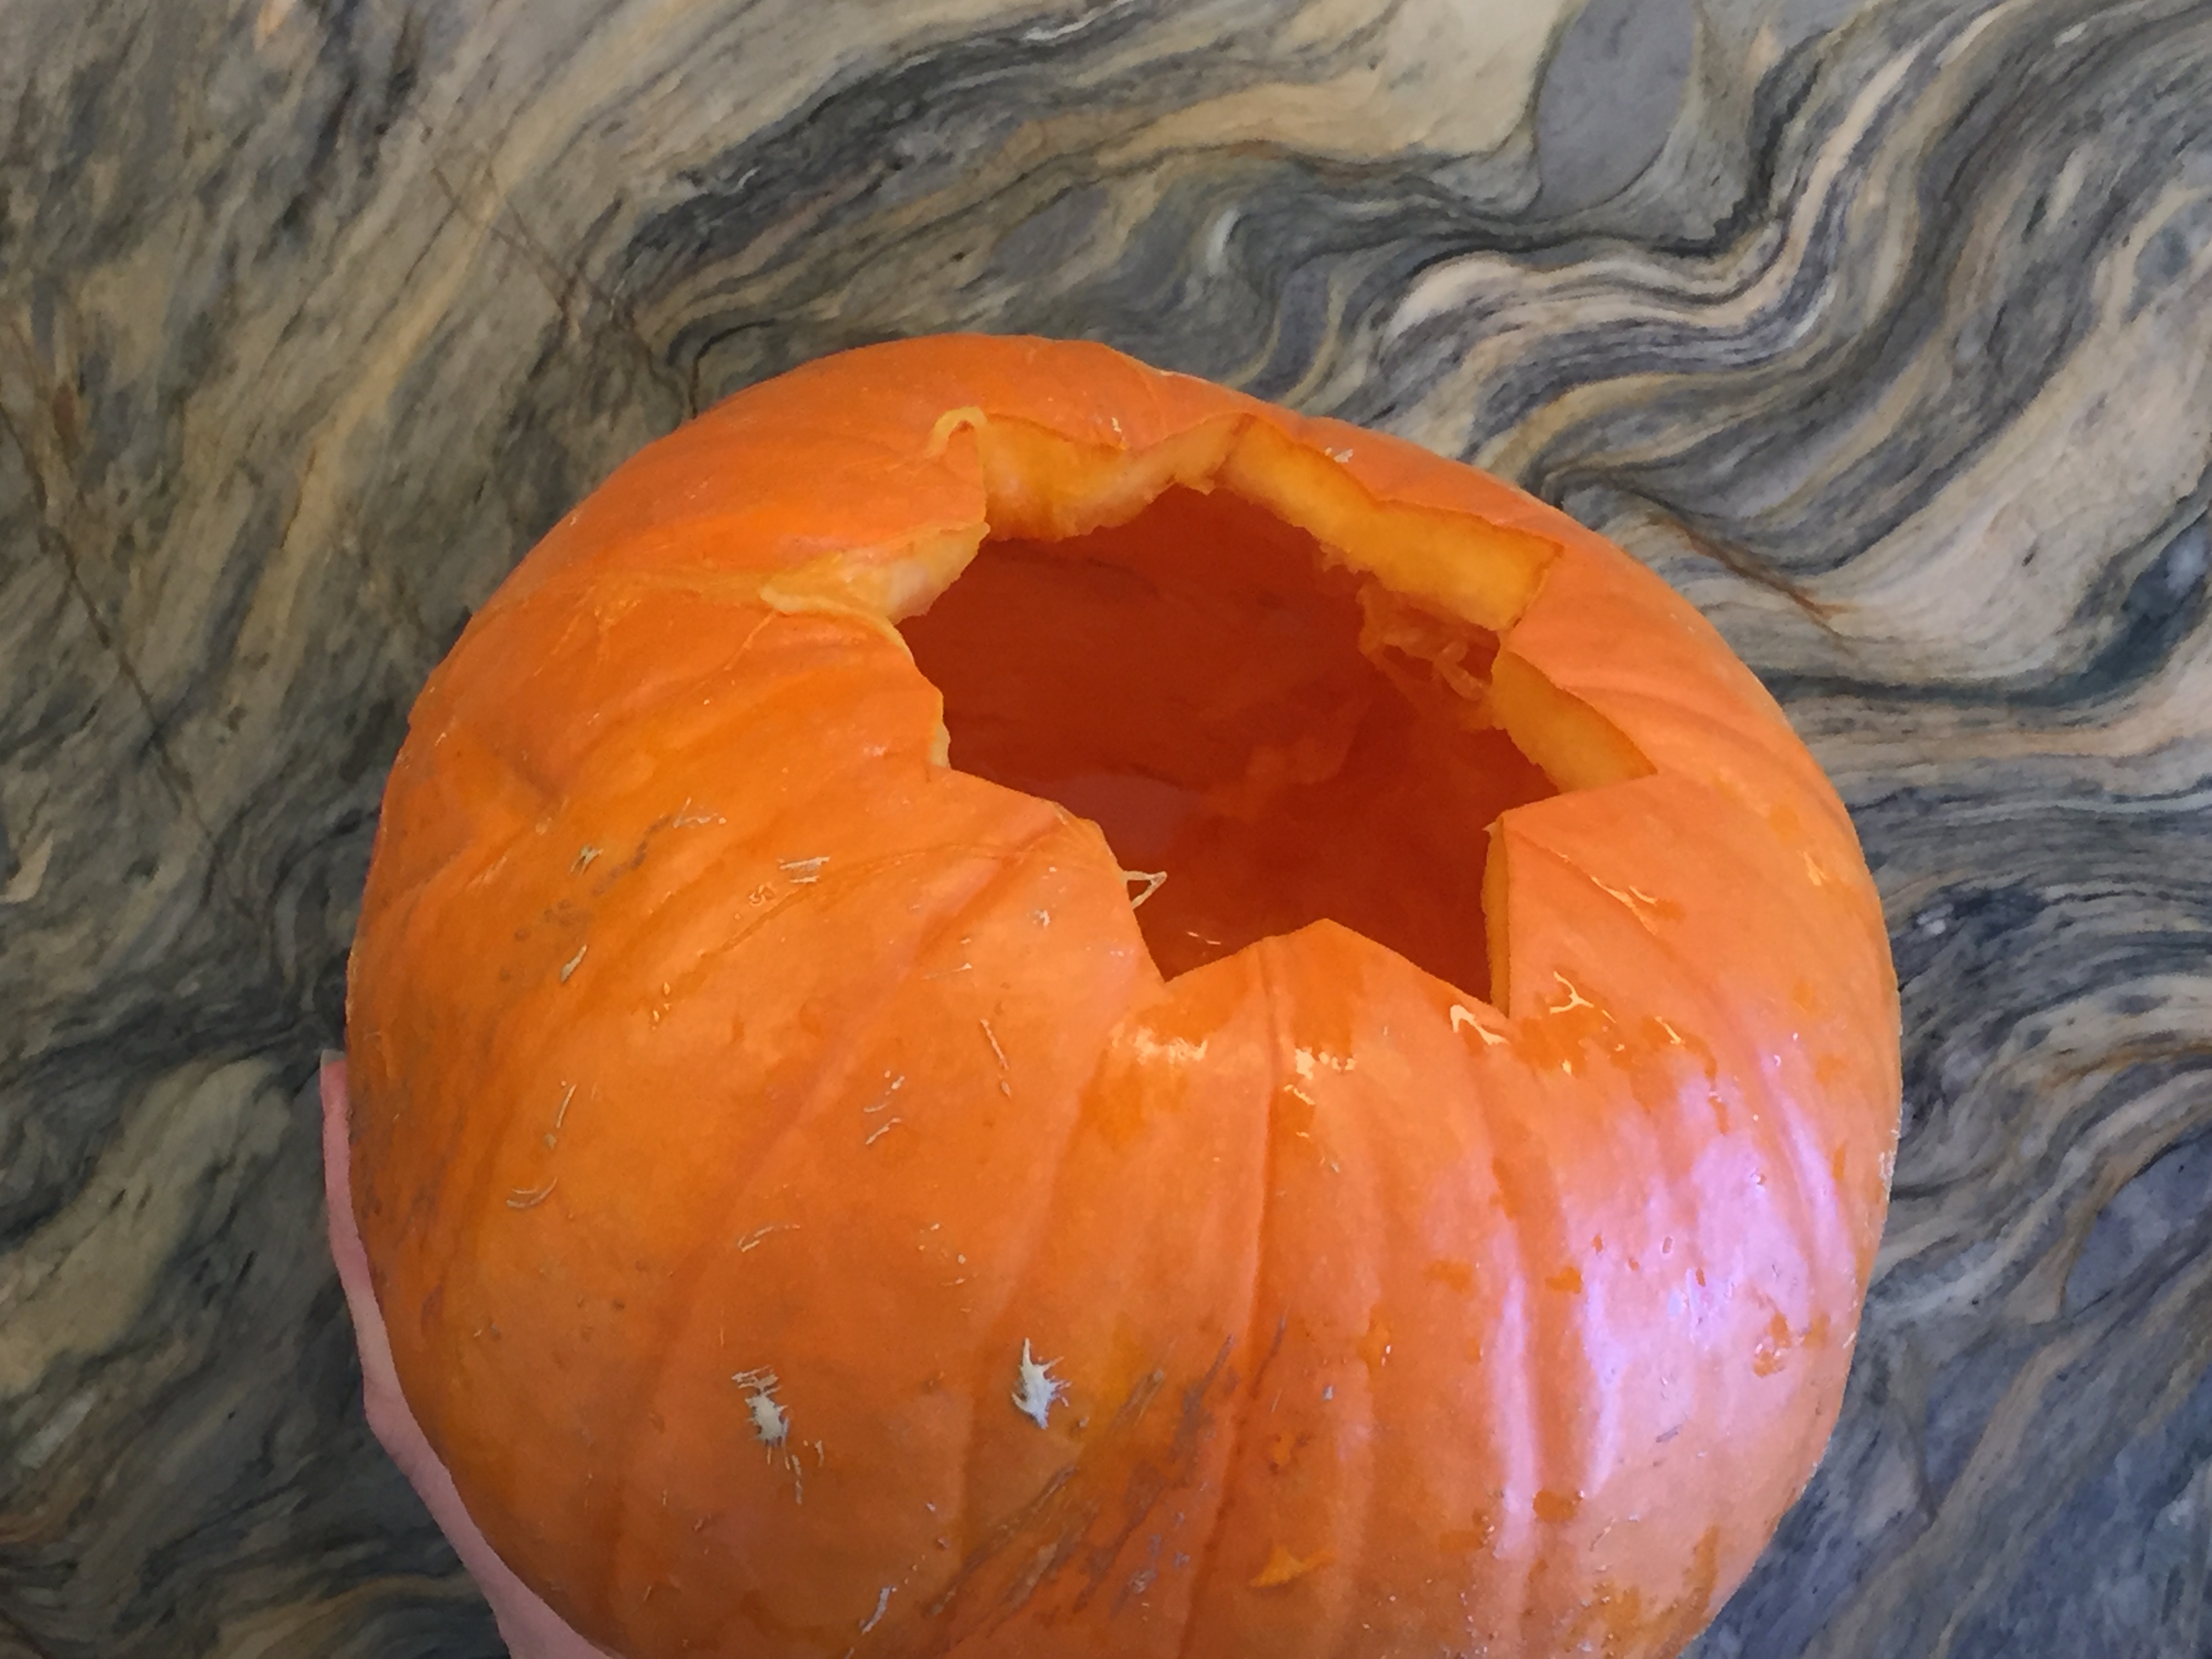
Meanwhile, cut the top off a medium or small pumpkin. Remove the seeds and fibers. Drizzle olive oil and sprinkle salt on the inside, rotating the pumpkin to coat the inside. Add some olive oil to the outside and rub over the pumpkin. Place in a pre-heated 450 degree oven and bake for 25-35 minutes. Don’t overcook the pumpkin or it won’t hold up to the soup.
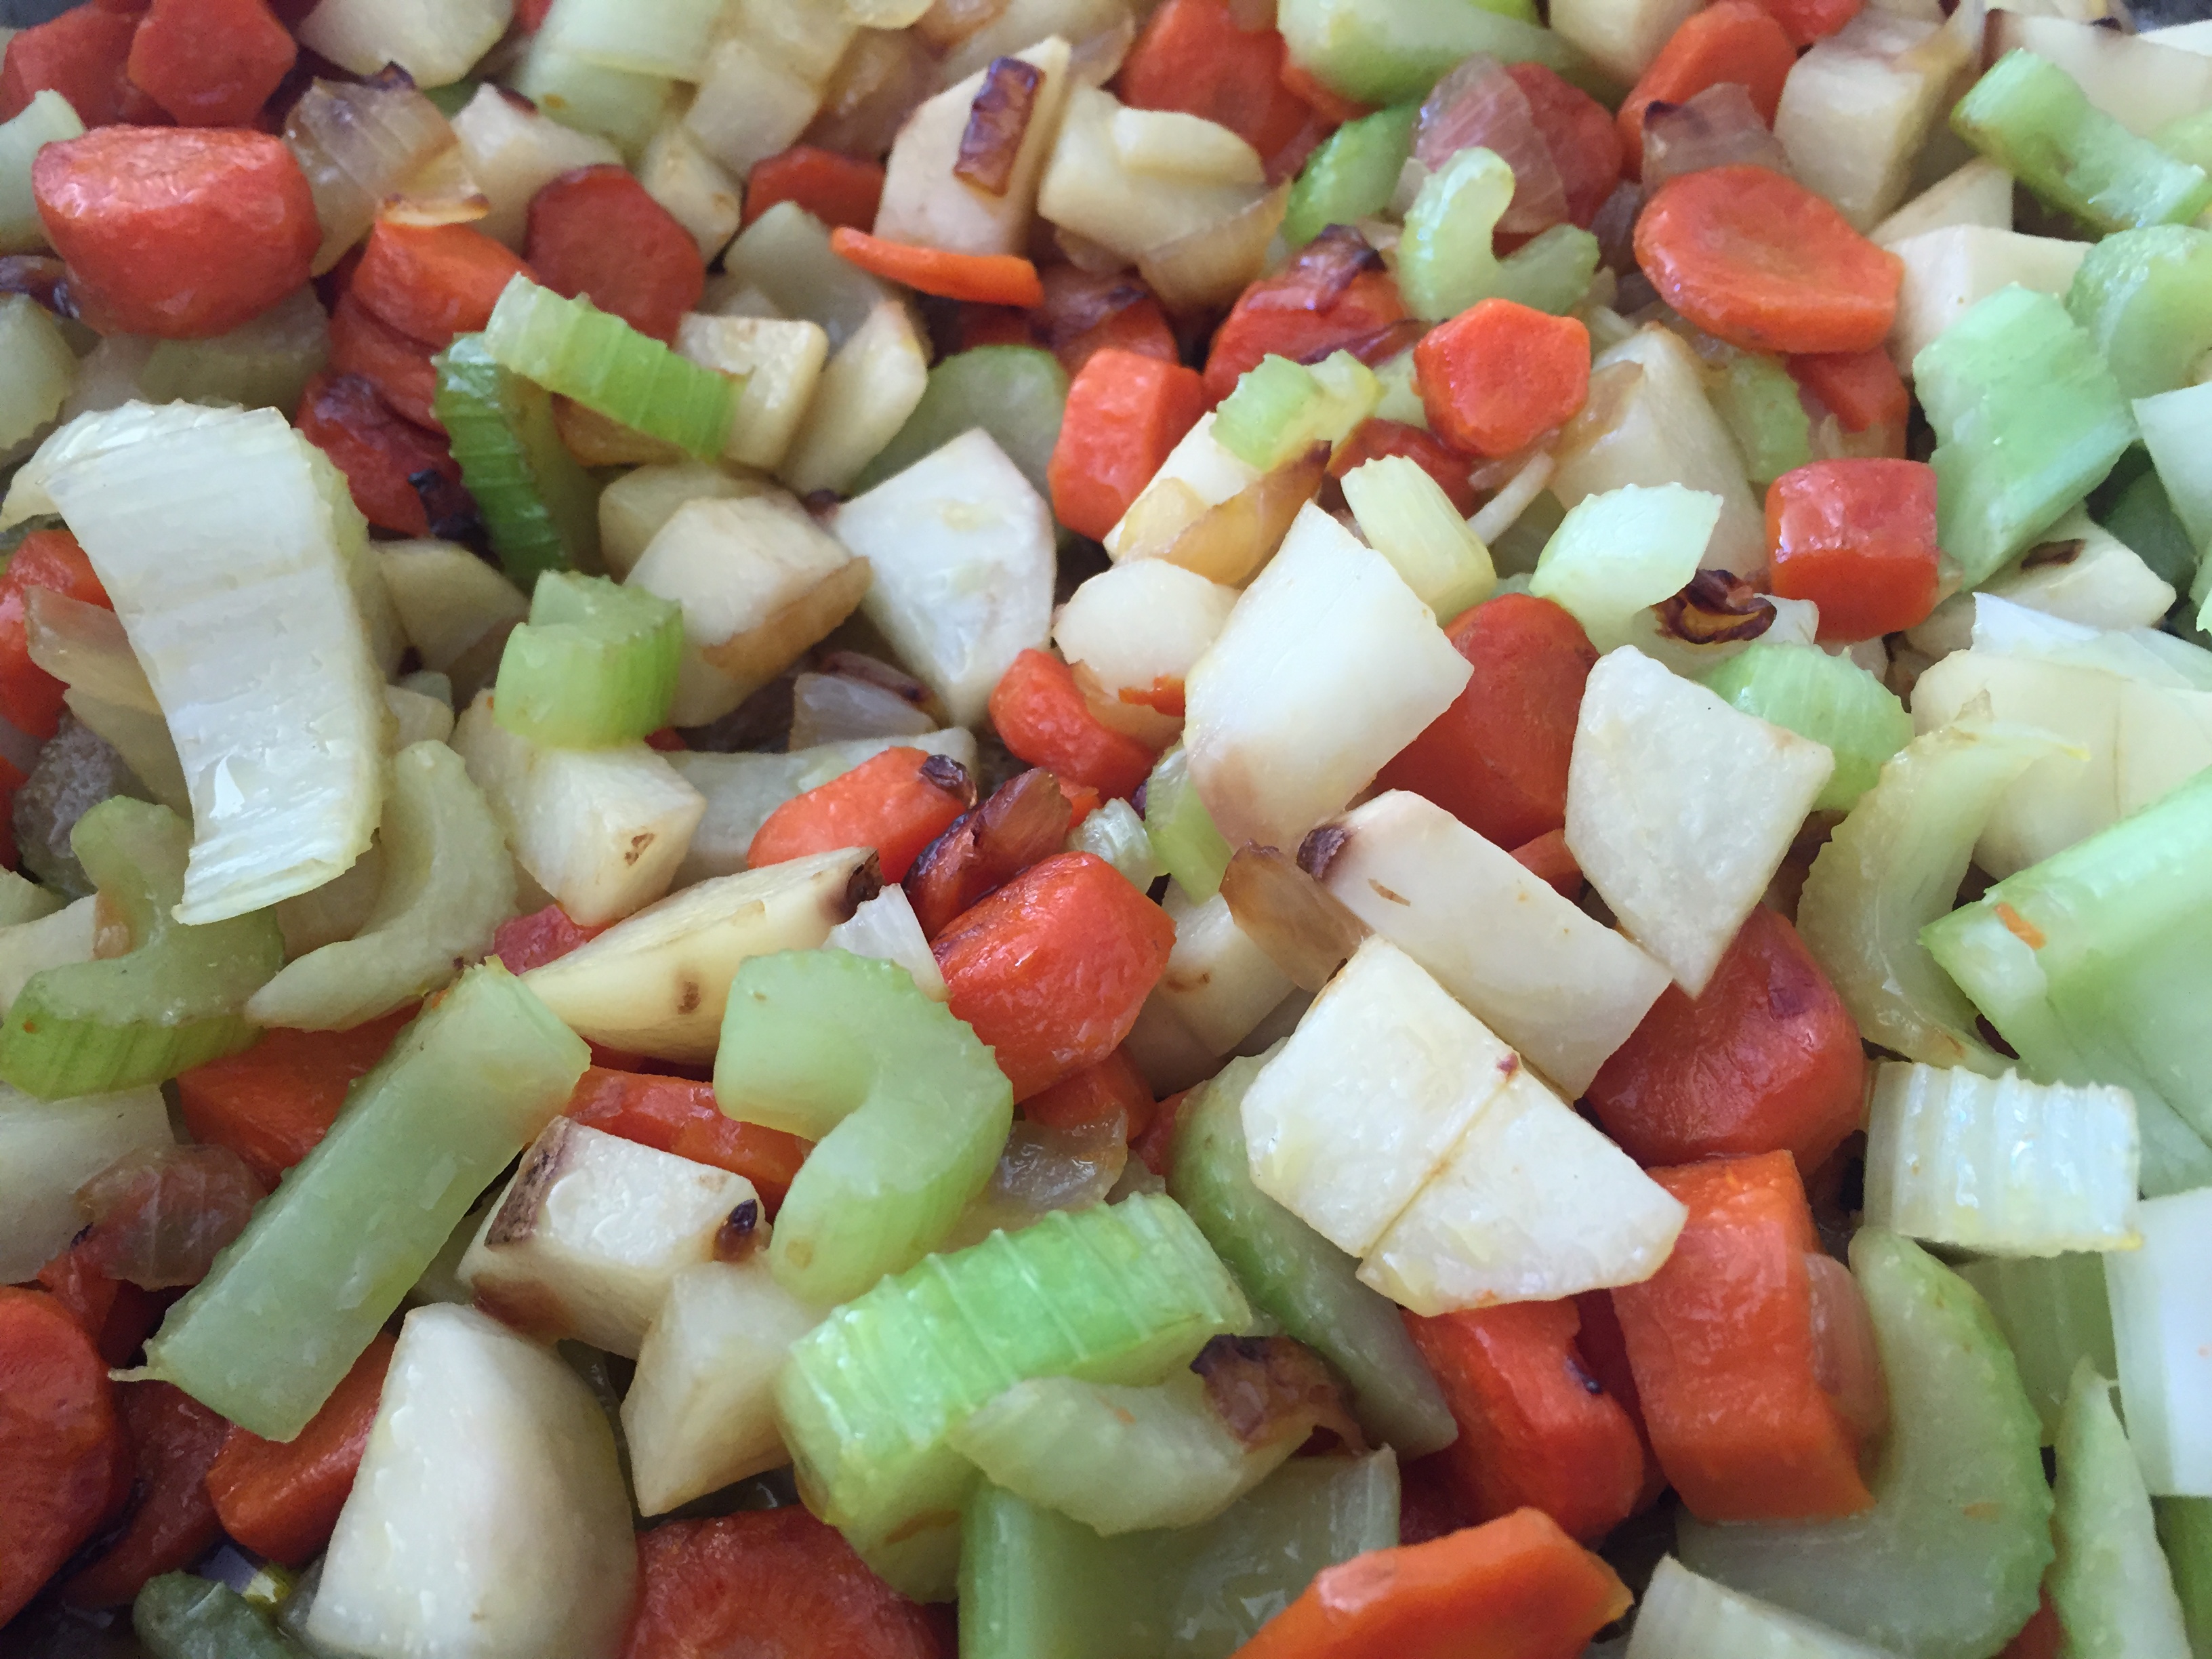
Meanwhile, dice and sauté two medium onions. Lightly brown with olive oil and salt. Add sliced carrots and let cook for a few minutes. To that add sliced celery and continue to sauté for a few minutes. Lastly, add peeled and diced potatoes and cook for a few minutes.
Check on and remove pumpkin from oven if done.
Check on chicken. If it pulls from the bone easily, remove the chicken from the broth and let it cool in a strainer. To the broth, add all the vegetables, the bag of corn and peas and the seasonings. Let cook for about 10 minutes on a medium simmer.
Meanwhile, debone the chicken and add it to the soup.
Prepare pumpkin by placing it on a serving dish and spoon vegetable soup into the pumpkin.
Serve remaining soup in a separate dish. This is a perfect way to use up any uncarved pumpkins from Halloween!
Don’t toss those seeds, though! They can be easily roasted up with salt and olive oil for a tasty healthy snack.
This recipe perfectly accompanies our Colonial Times unit study.


How To Make Candied Orange Peels
We are making our way through our Colonial Times unit study and finding a lot of inspiration from a few activity books we have. Today we are using a recipe from Colonial Kids: An Activity Guide To Life In The New World by Laurie Carlson. The recipe calls for three oranges, but as weren’t sure we were going to like it, we reduced the recipe to one orange and used the single orange on our orange tree.
They turned out so good!! We’ll definitely be making this again.
Recipe:
1-3 oranges (we used 1 orange)
2 cups sugar (we used 1 cup sugar)
1 cup water (we used 1/2 cup water)
Carefully peel orange and slice the peel into stripes. Soak orange peels overnight with 2 cups of water and a tablespoon of salt. Rinse the peels with fresh water the next morning. Add orange peels to water and sugar in a pan. Heat on medium heat for about 20-30 minutes until the water is evaporated and the sugar is thick and syrupy. We left ours on for a bit too long and it became sugar and crumbly. If that happens, add a tablespoon of water.
Remove from heat and remove the orange peels. They are very hot! Be careful. Toss in sugar (optional). They were so delicious, we ate ours before they cooled down completely!
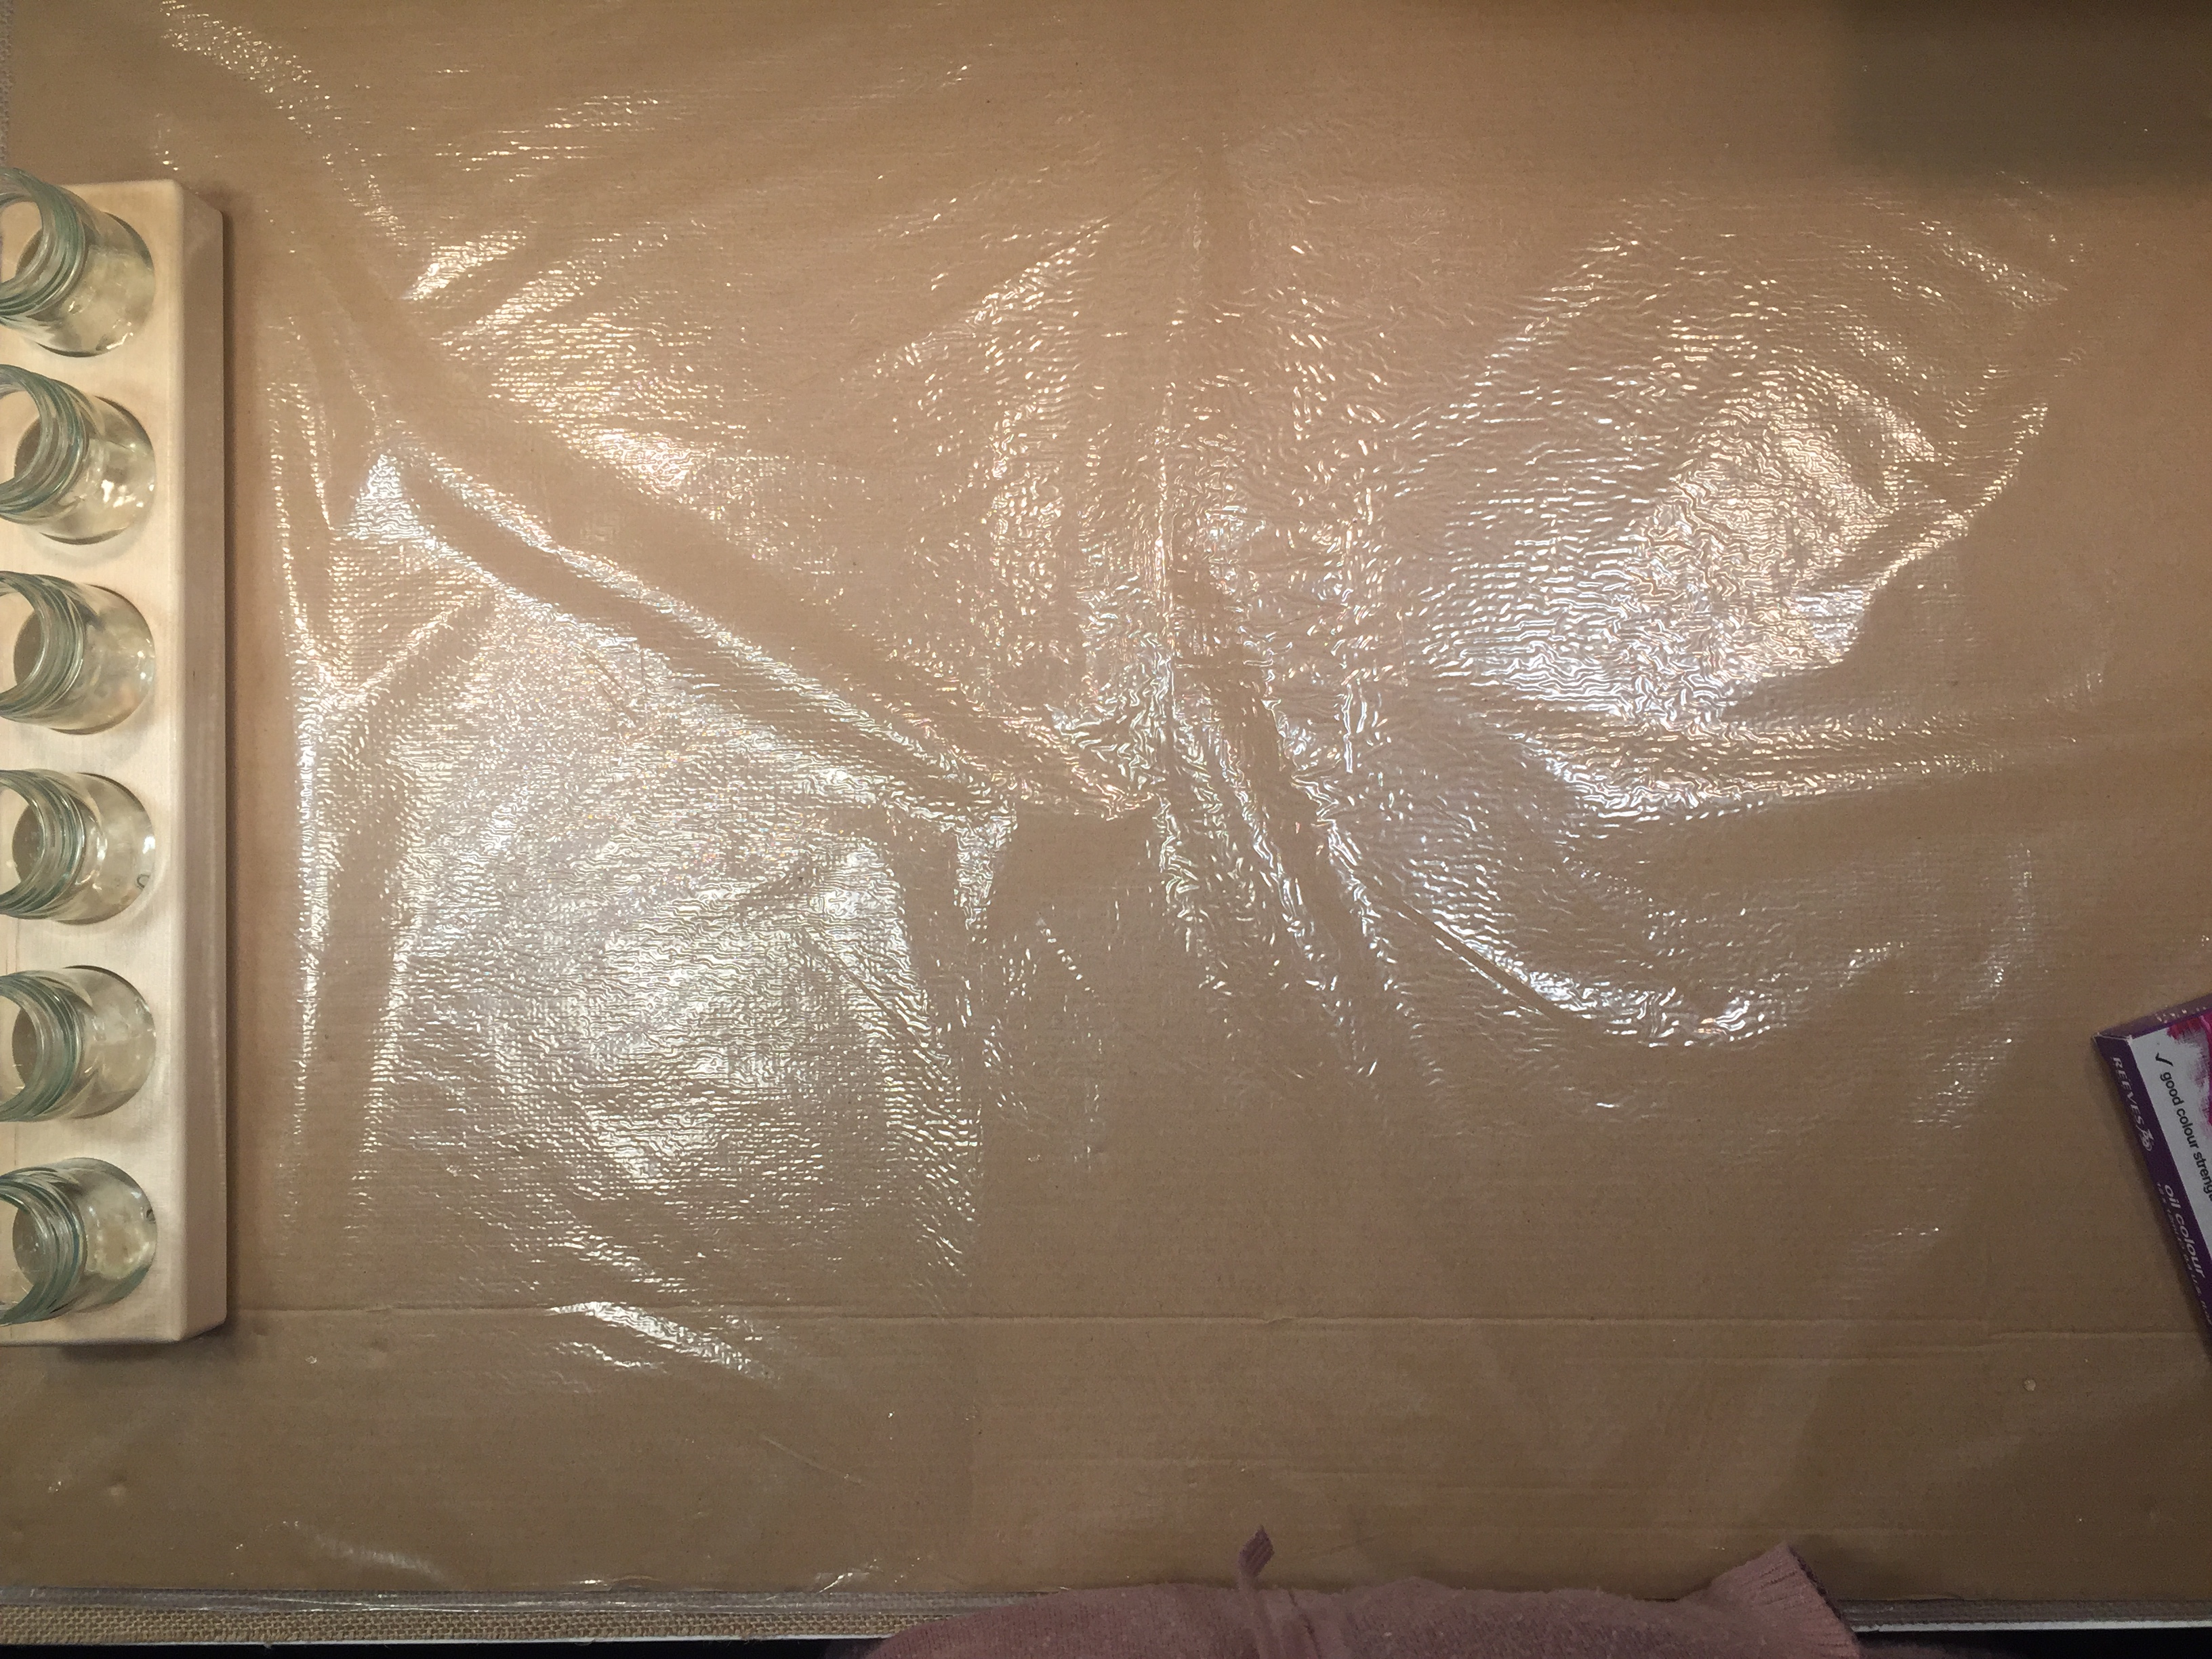
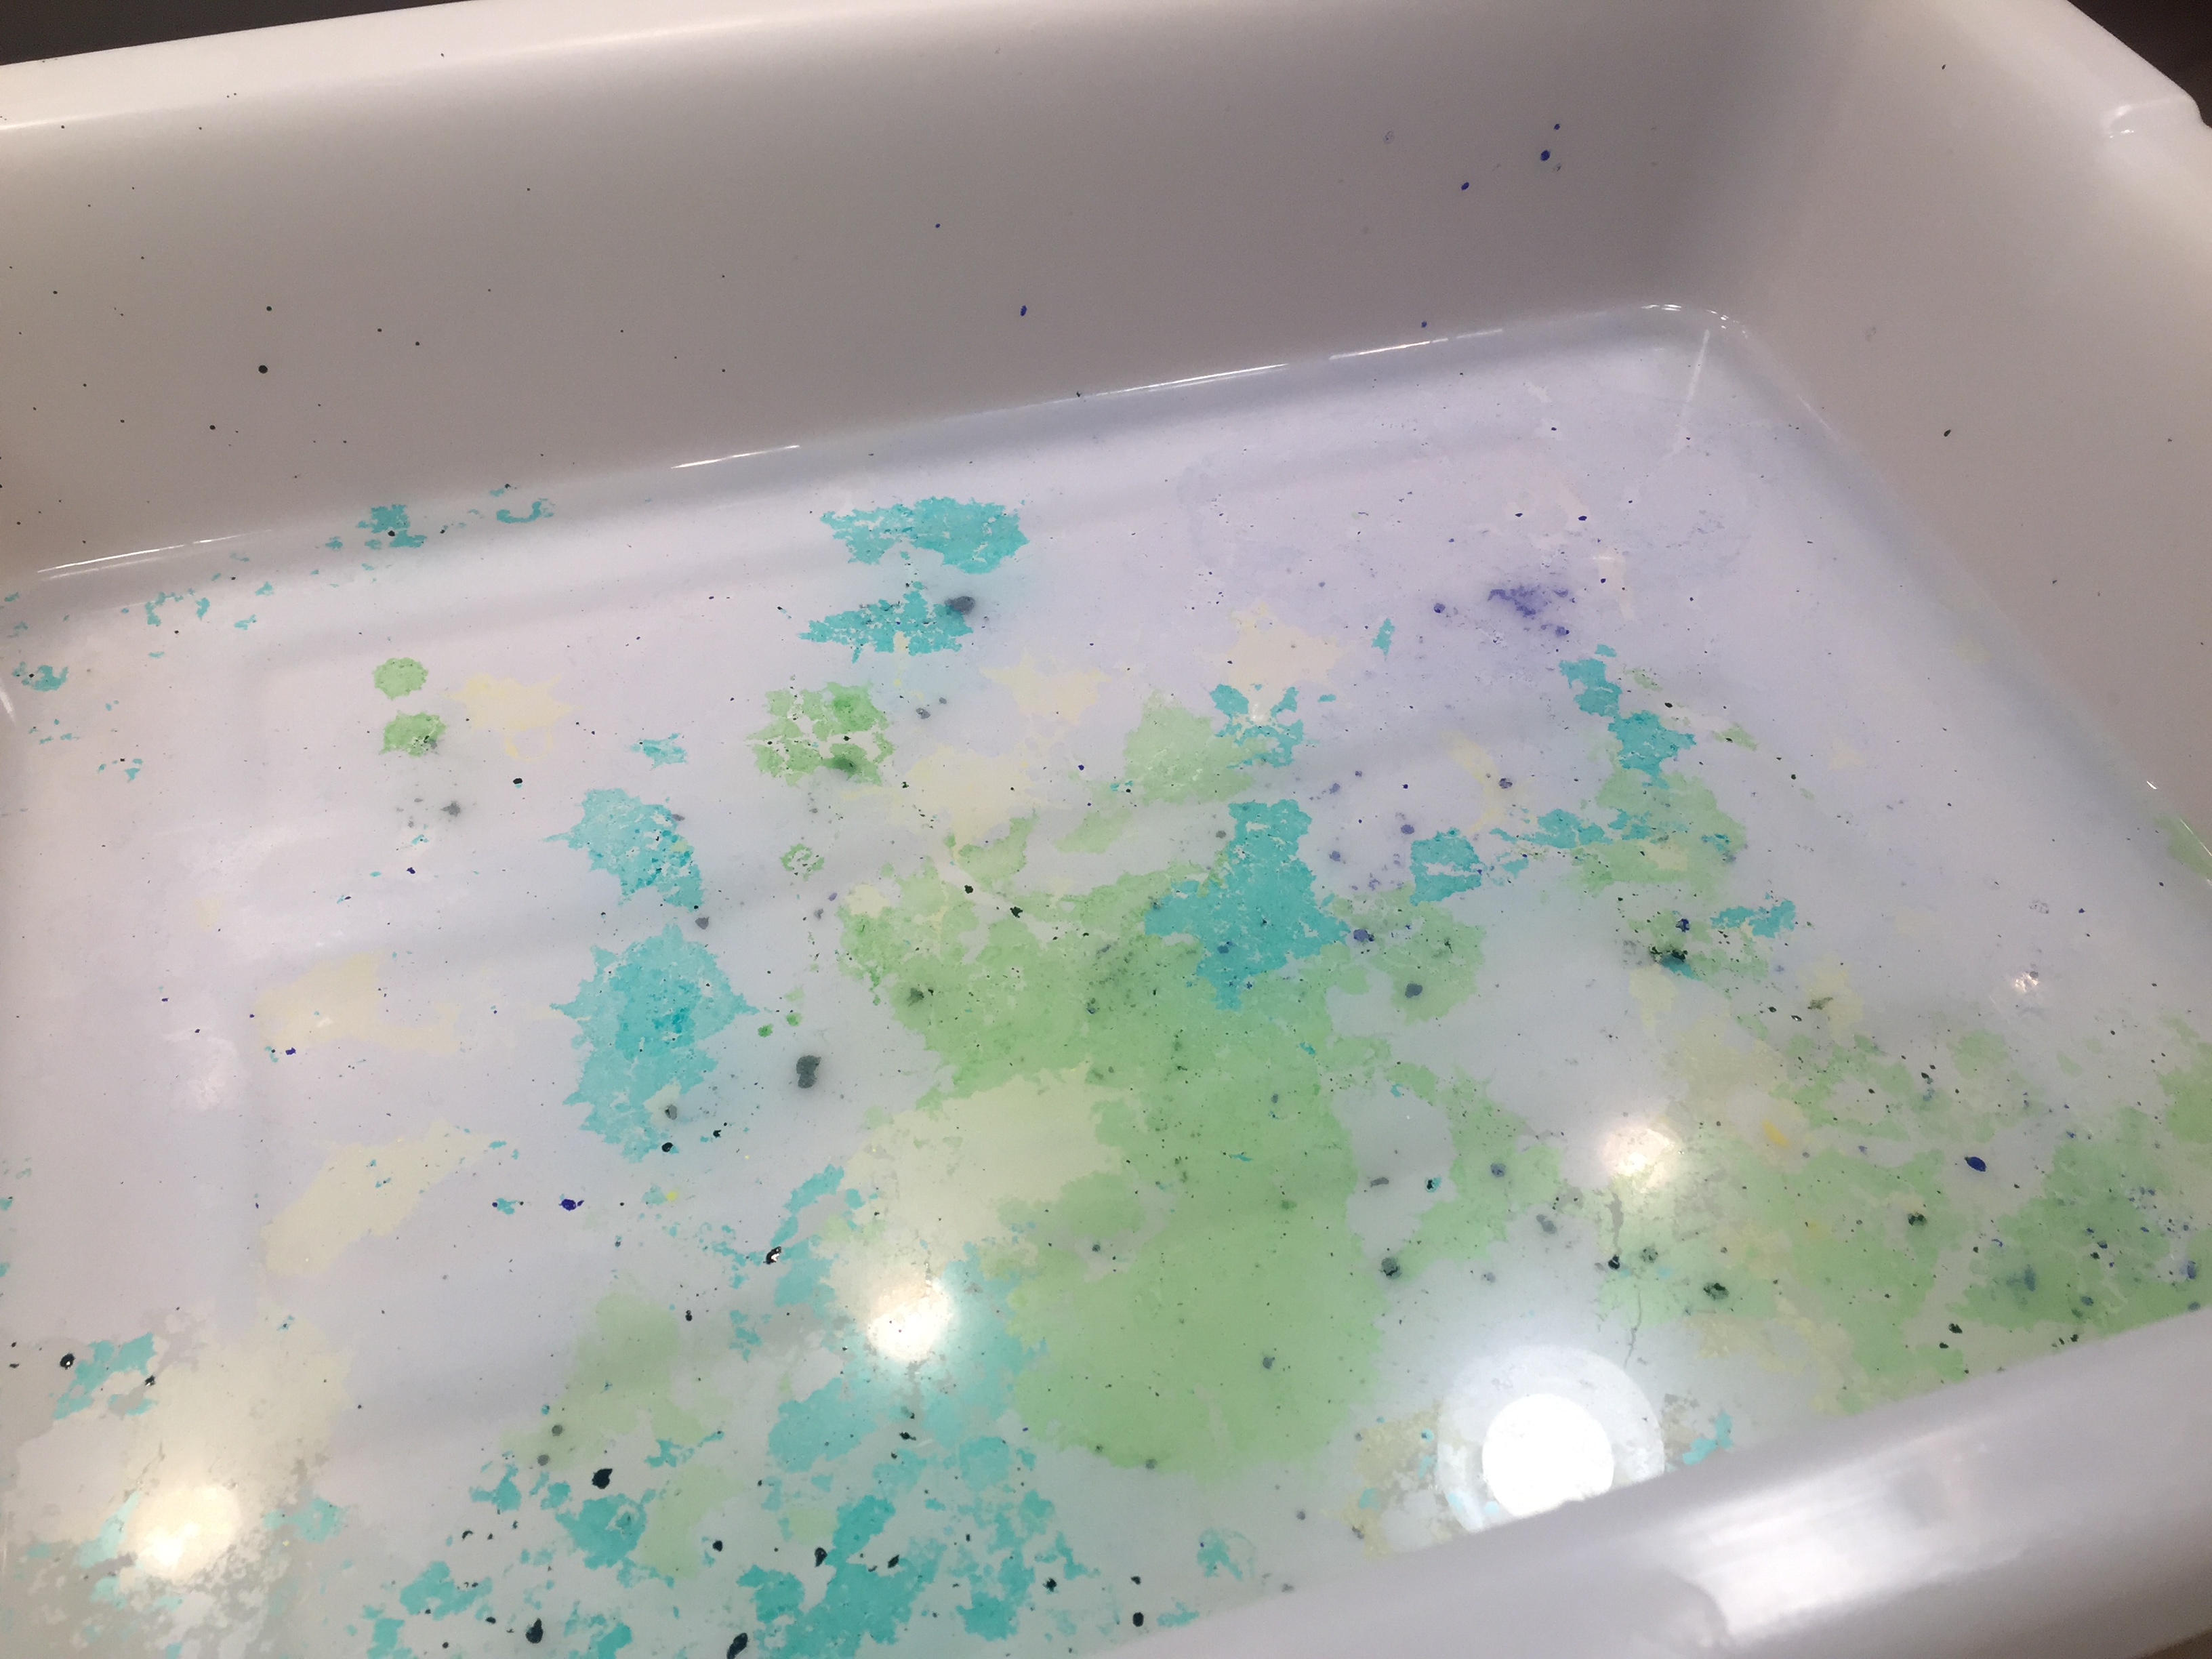
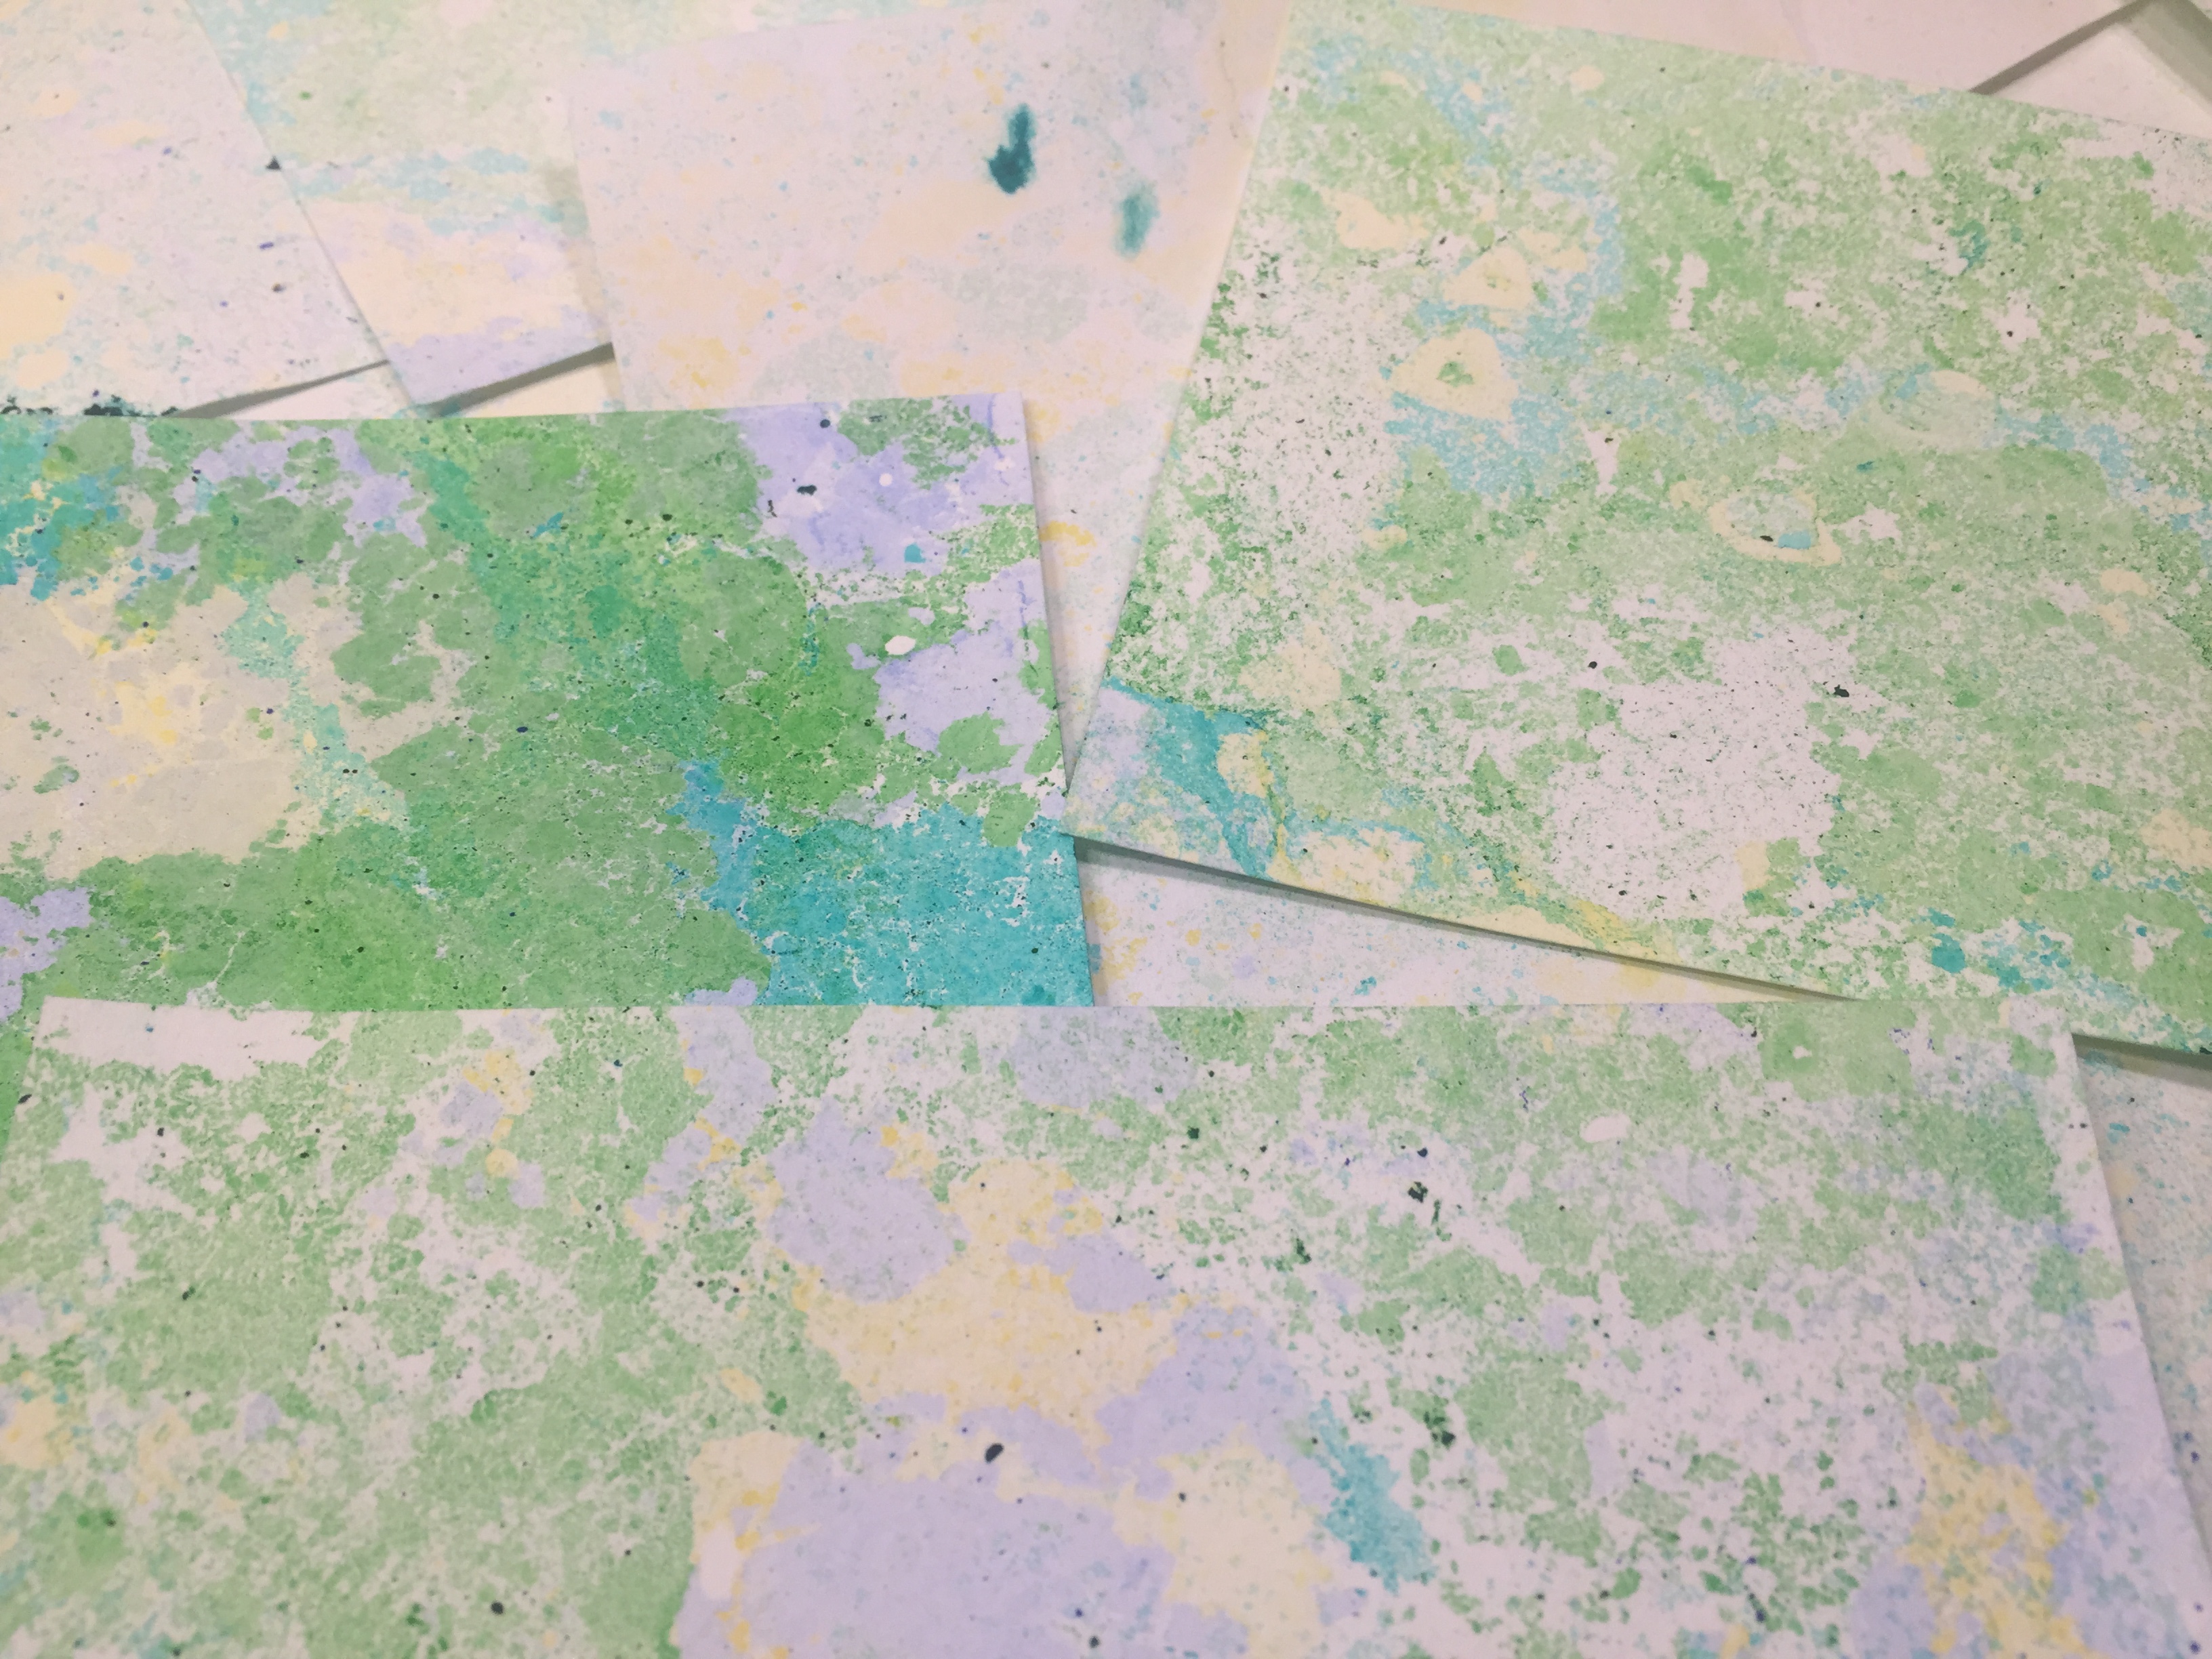
How To Make Marbled Paper
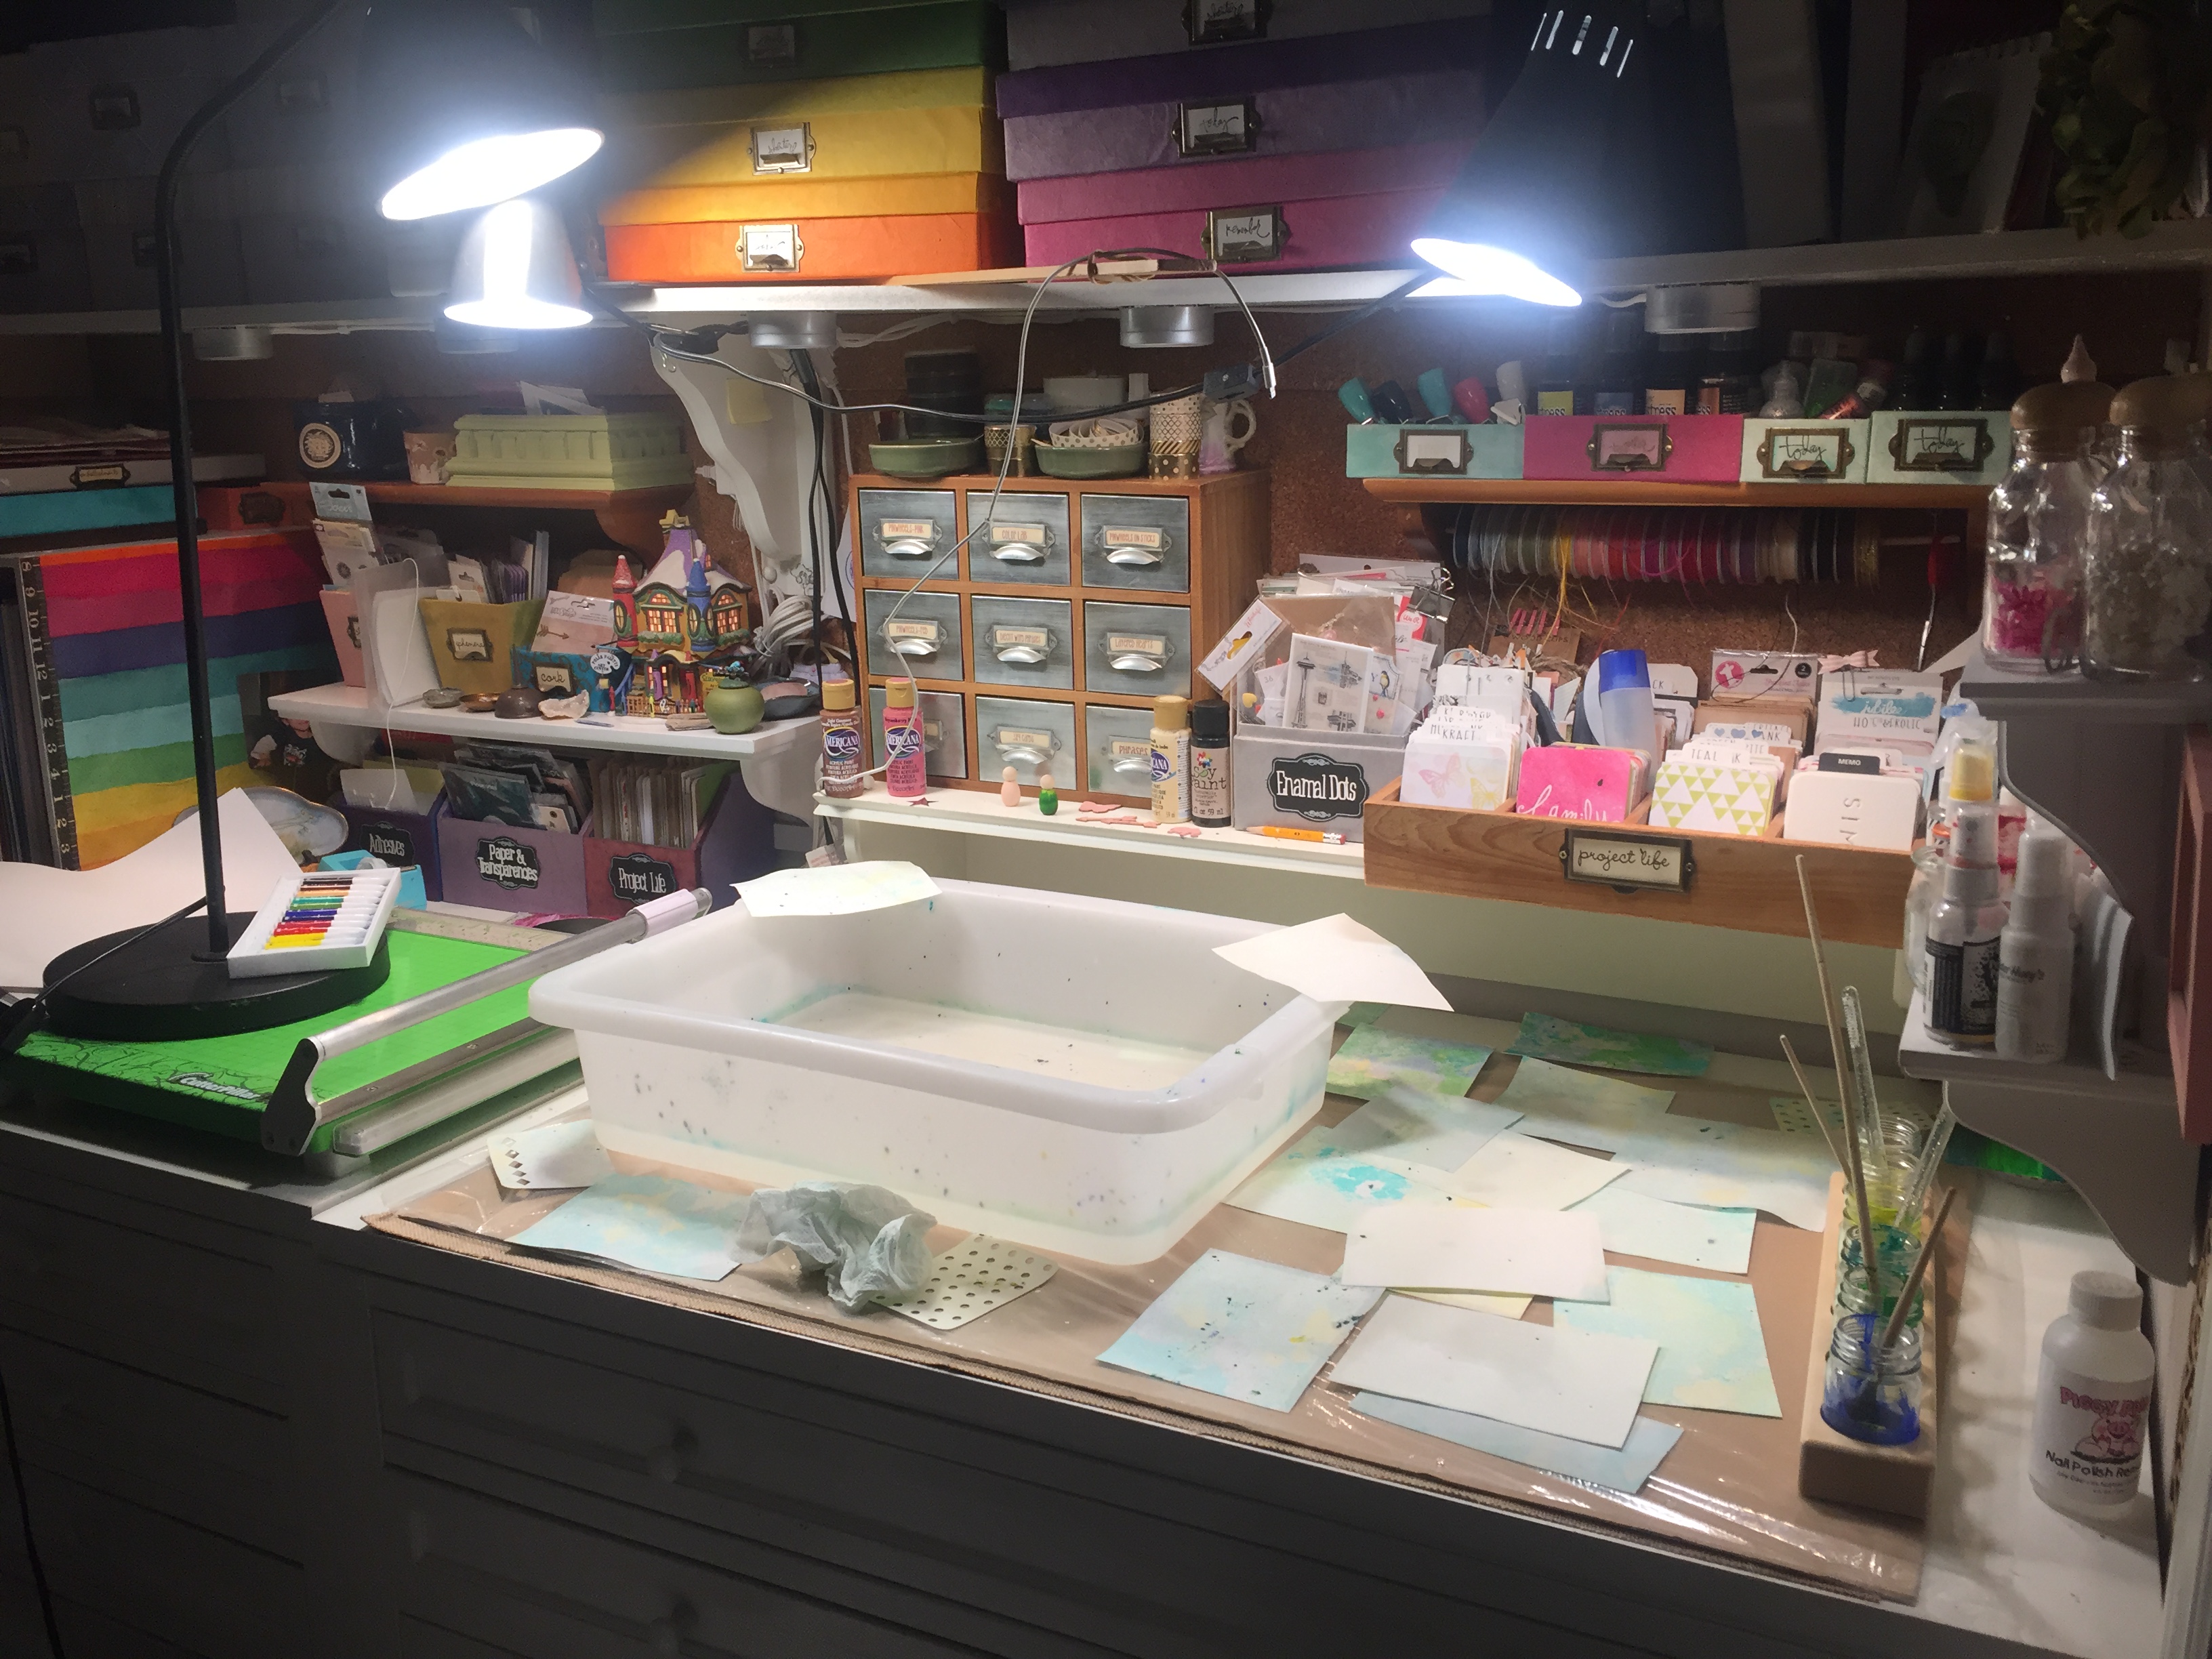
Here’s another project we’re doing for our American History Unit. We got the idea from the book American Kids in History Colonial Days by David King. The project was pretty exciting to do and would make for an lively science discussion on liquids that mix versus ones that don’t. Overall, it was not our favorite project. It was messy and time consuming to clean up. Since we don’t use oil paints, I had to buy them as well as turpentine (for clean up, though it would have made the project itself easier) making the cost of this project very high as compared to other projects in these activity books.
If you already had the materials, I would encourage you to try it. If you didn’t have the materials, I would suggest an alternative.
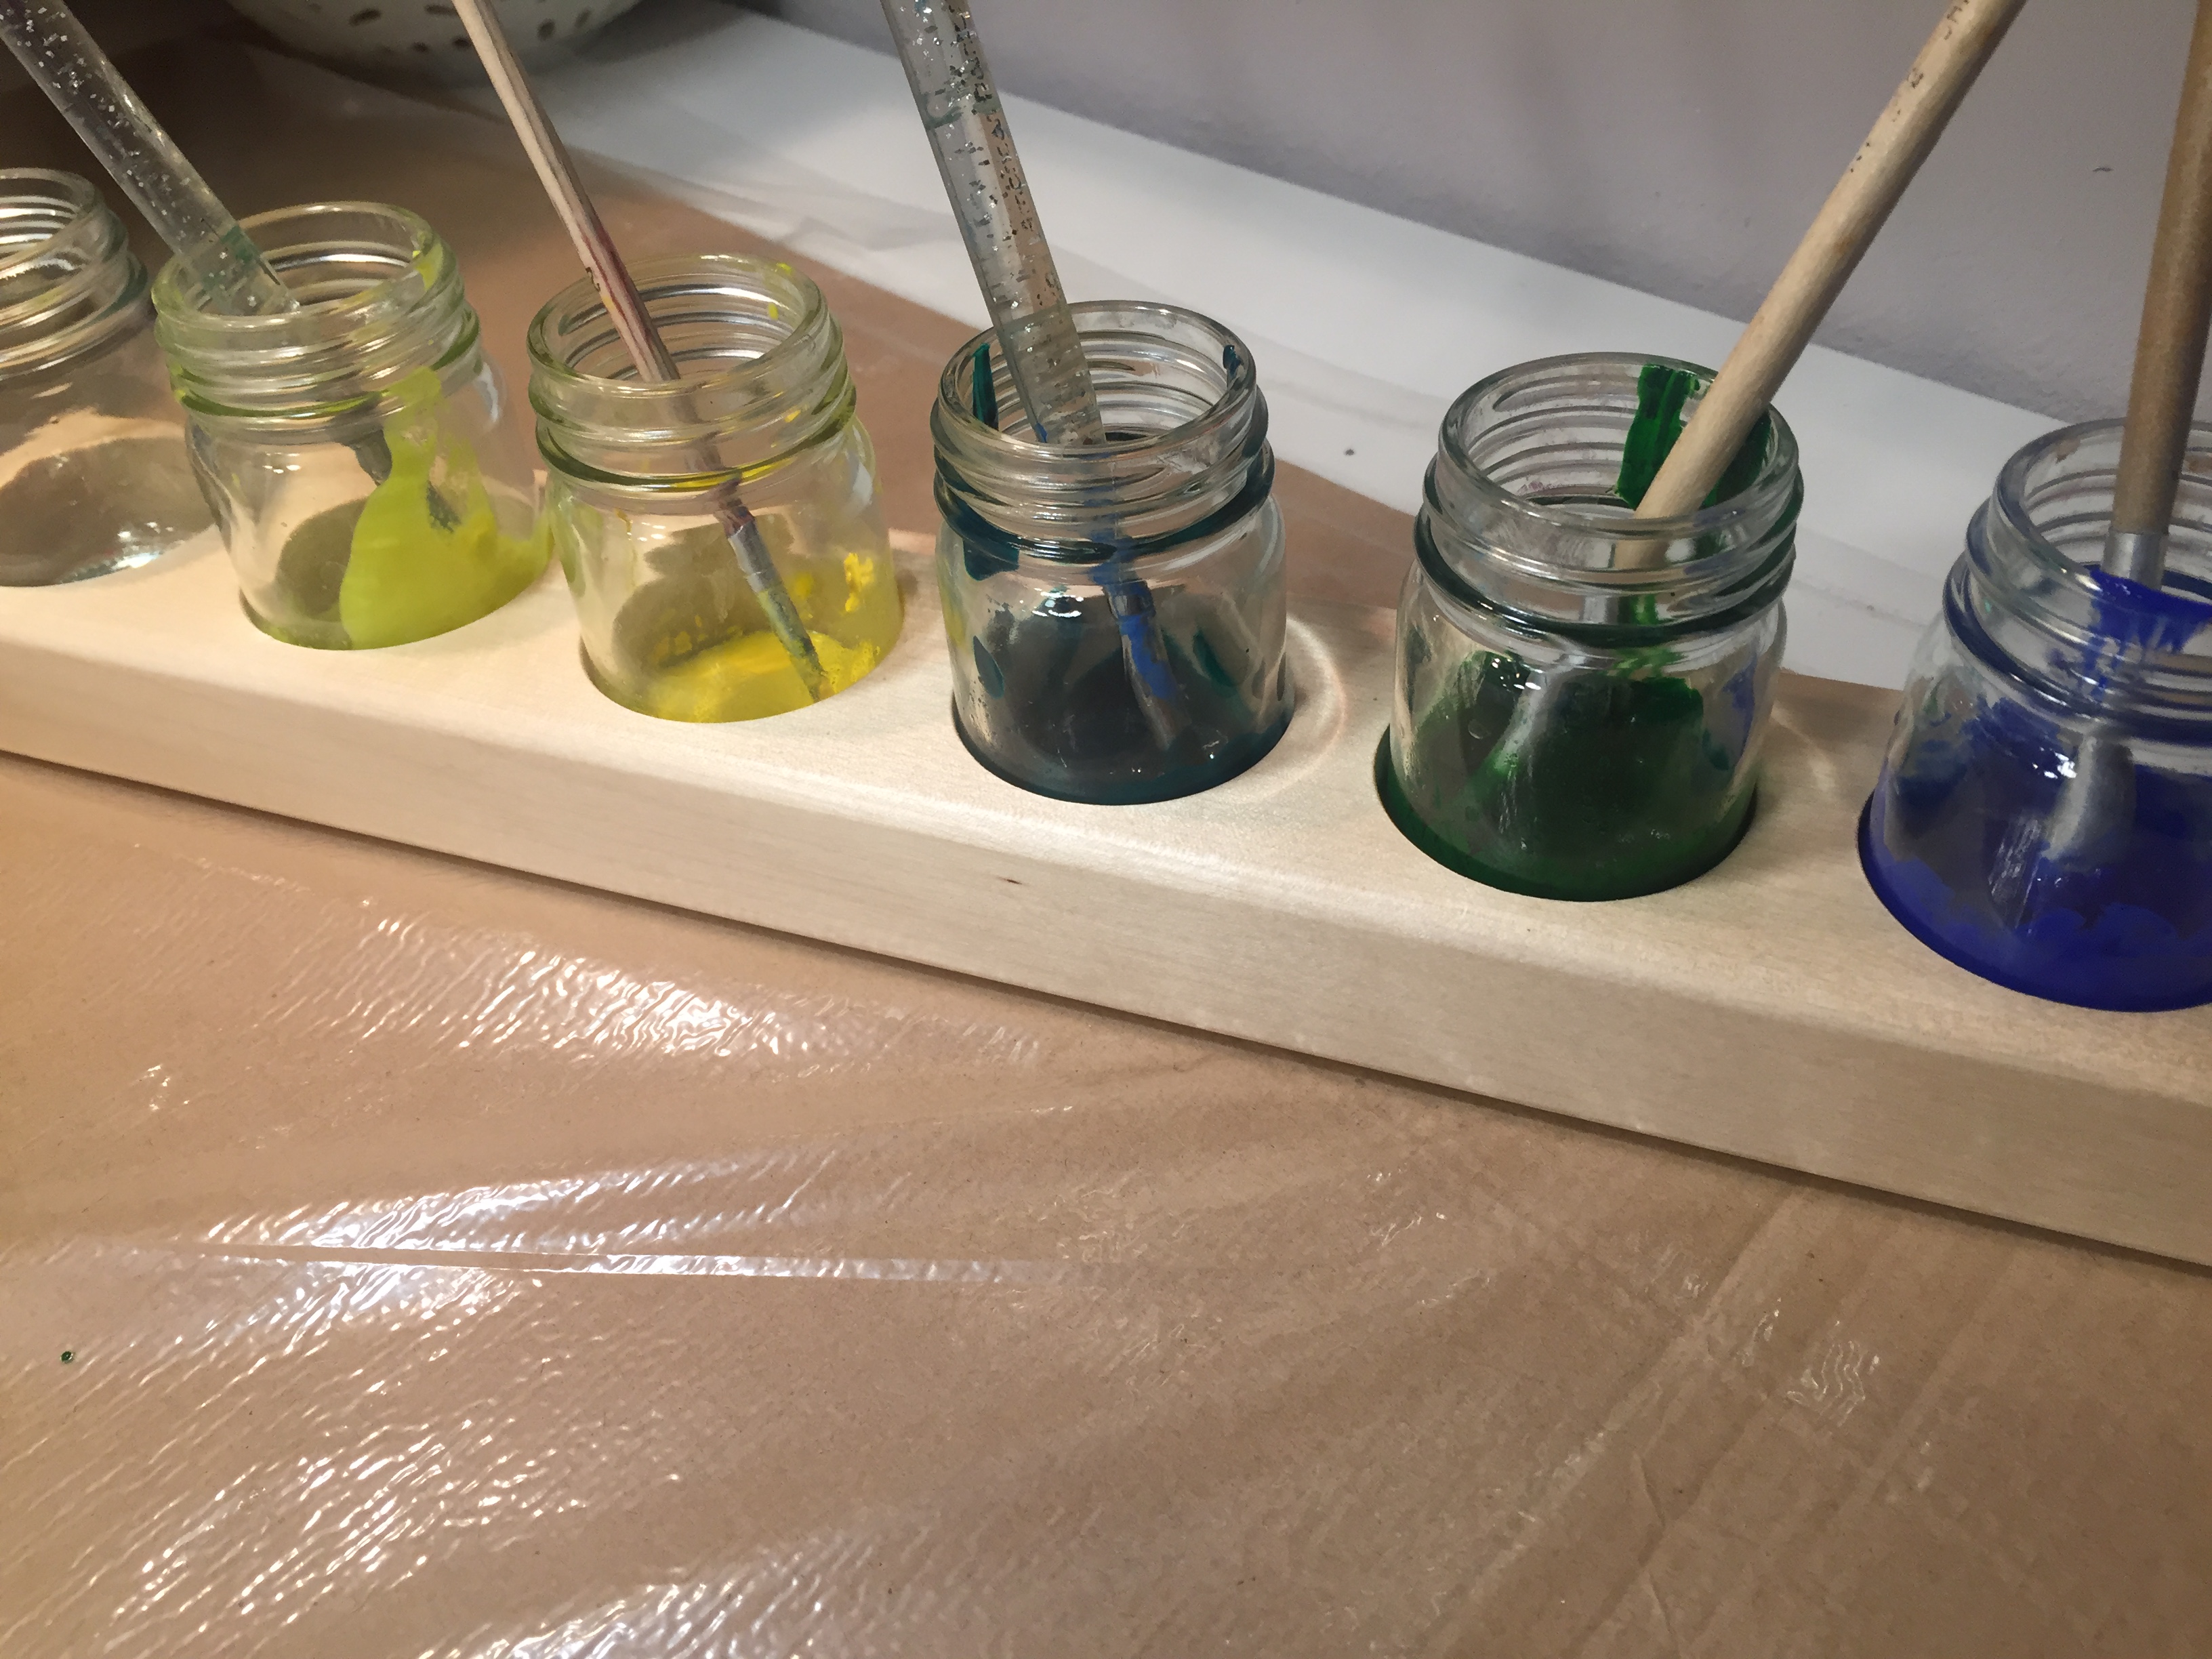
We purchased our oil paints and turpentine from Michaels craft store. The ‘bus boy tray‘ (large shallow container) was purchased from Amazon.
Directions:
Fill container with water. Thin oil paints with paint thinner. Using a paint brush, gentle tap some oil paint onto the surface of the water. You won’t be able to see it well, but it’s there, resting on the top of the water. Next take watercolor paper or thick drawing paper and carefully lay it on the surface of the water. Lift up to reveal your marbled paper.

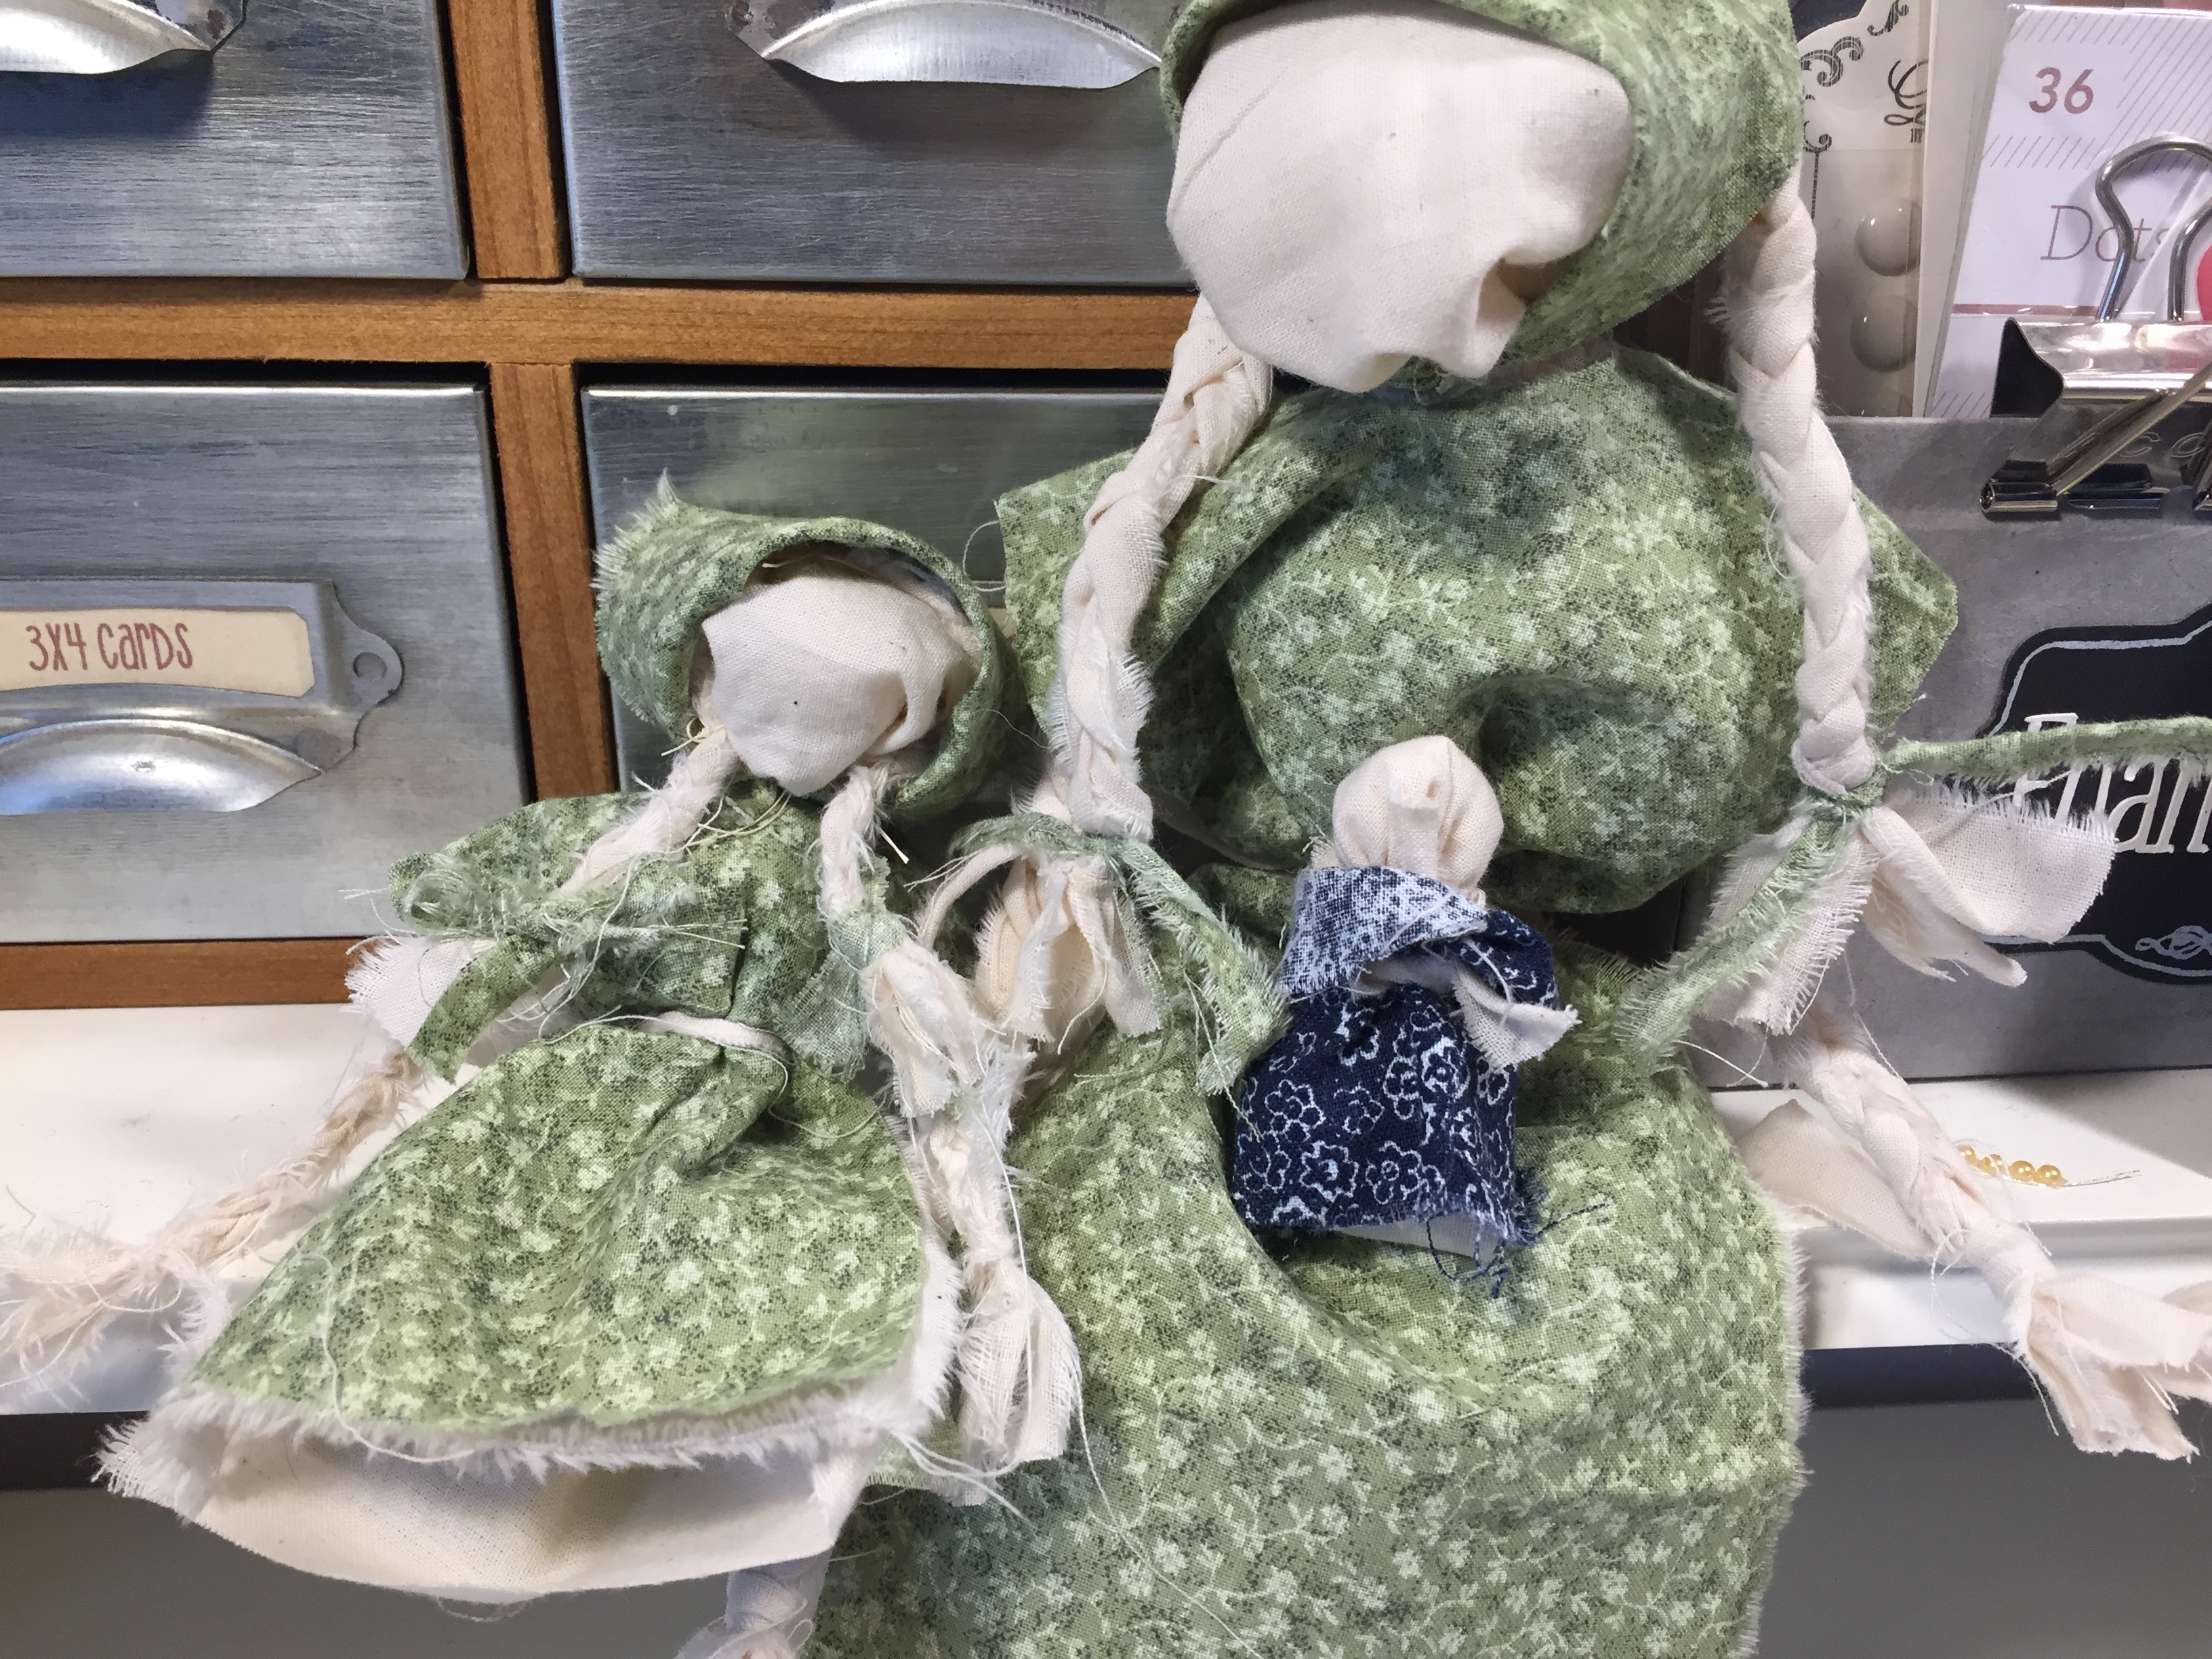
Easy Rag Doll Tutorial
Having had boys for 12 years of my motherhood journey, I never had the need to make these adorable rag dolls. My friend, Megan, taught our kindergarten co-op how to make them, and my five year old daughter loves them! In the tutorial you can see how simple, easy and fast they are to make. I’d like to make a few suggestions now that my daughter has been playing with them non-stop:
- Double knot everything
- Sew the bonnet to the head (two stitches is sufficient)
- Sew the braids to the head (two stitches is sufficient)
- Sew a stitch into the ribbon that ties the braids off
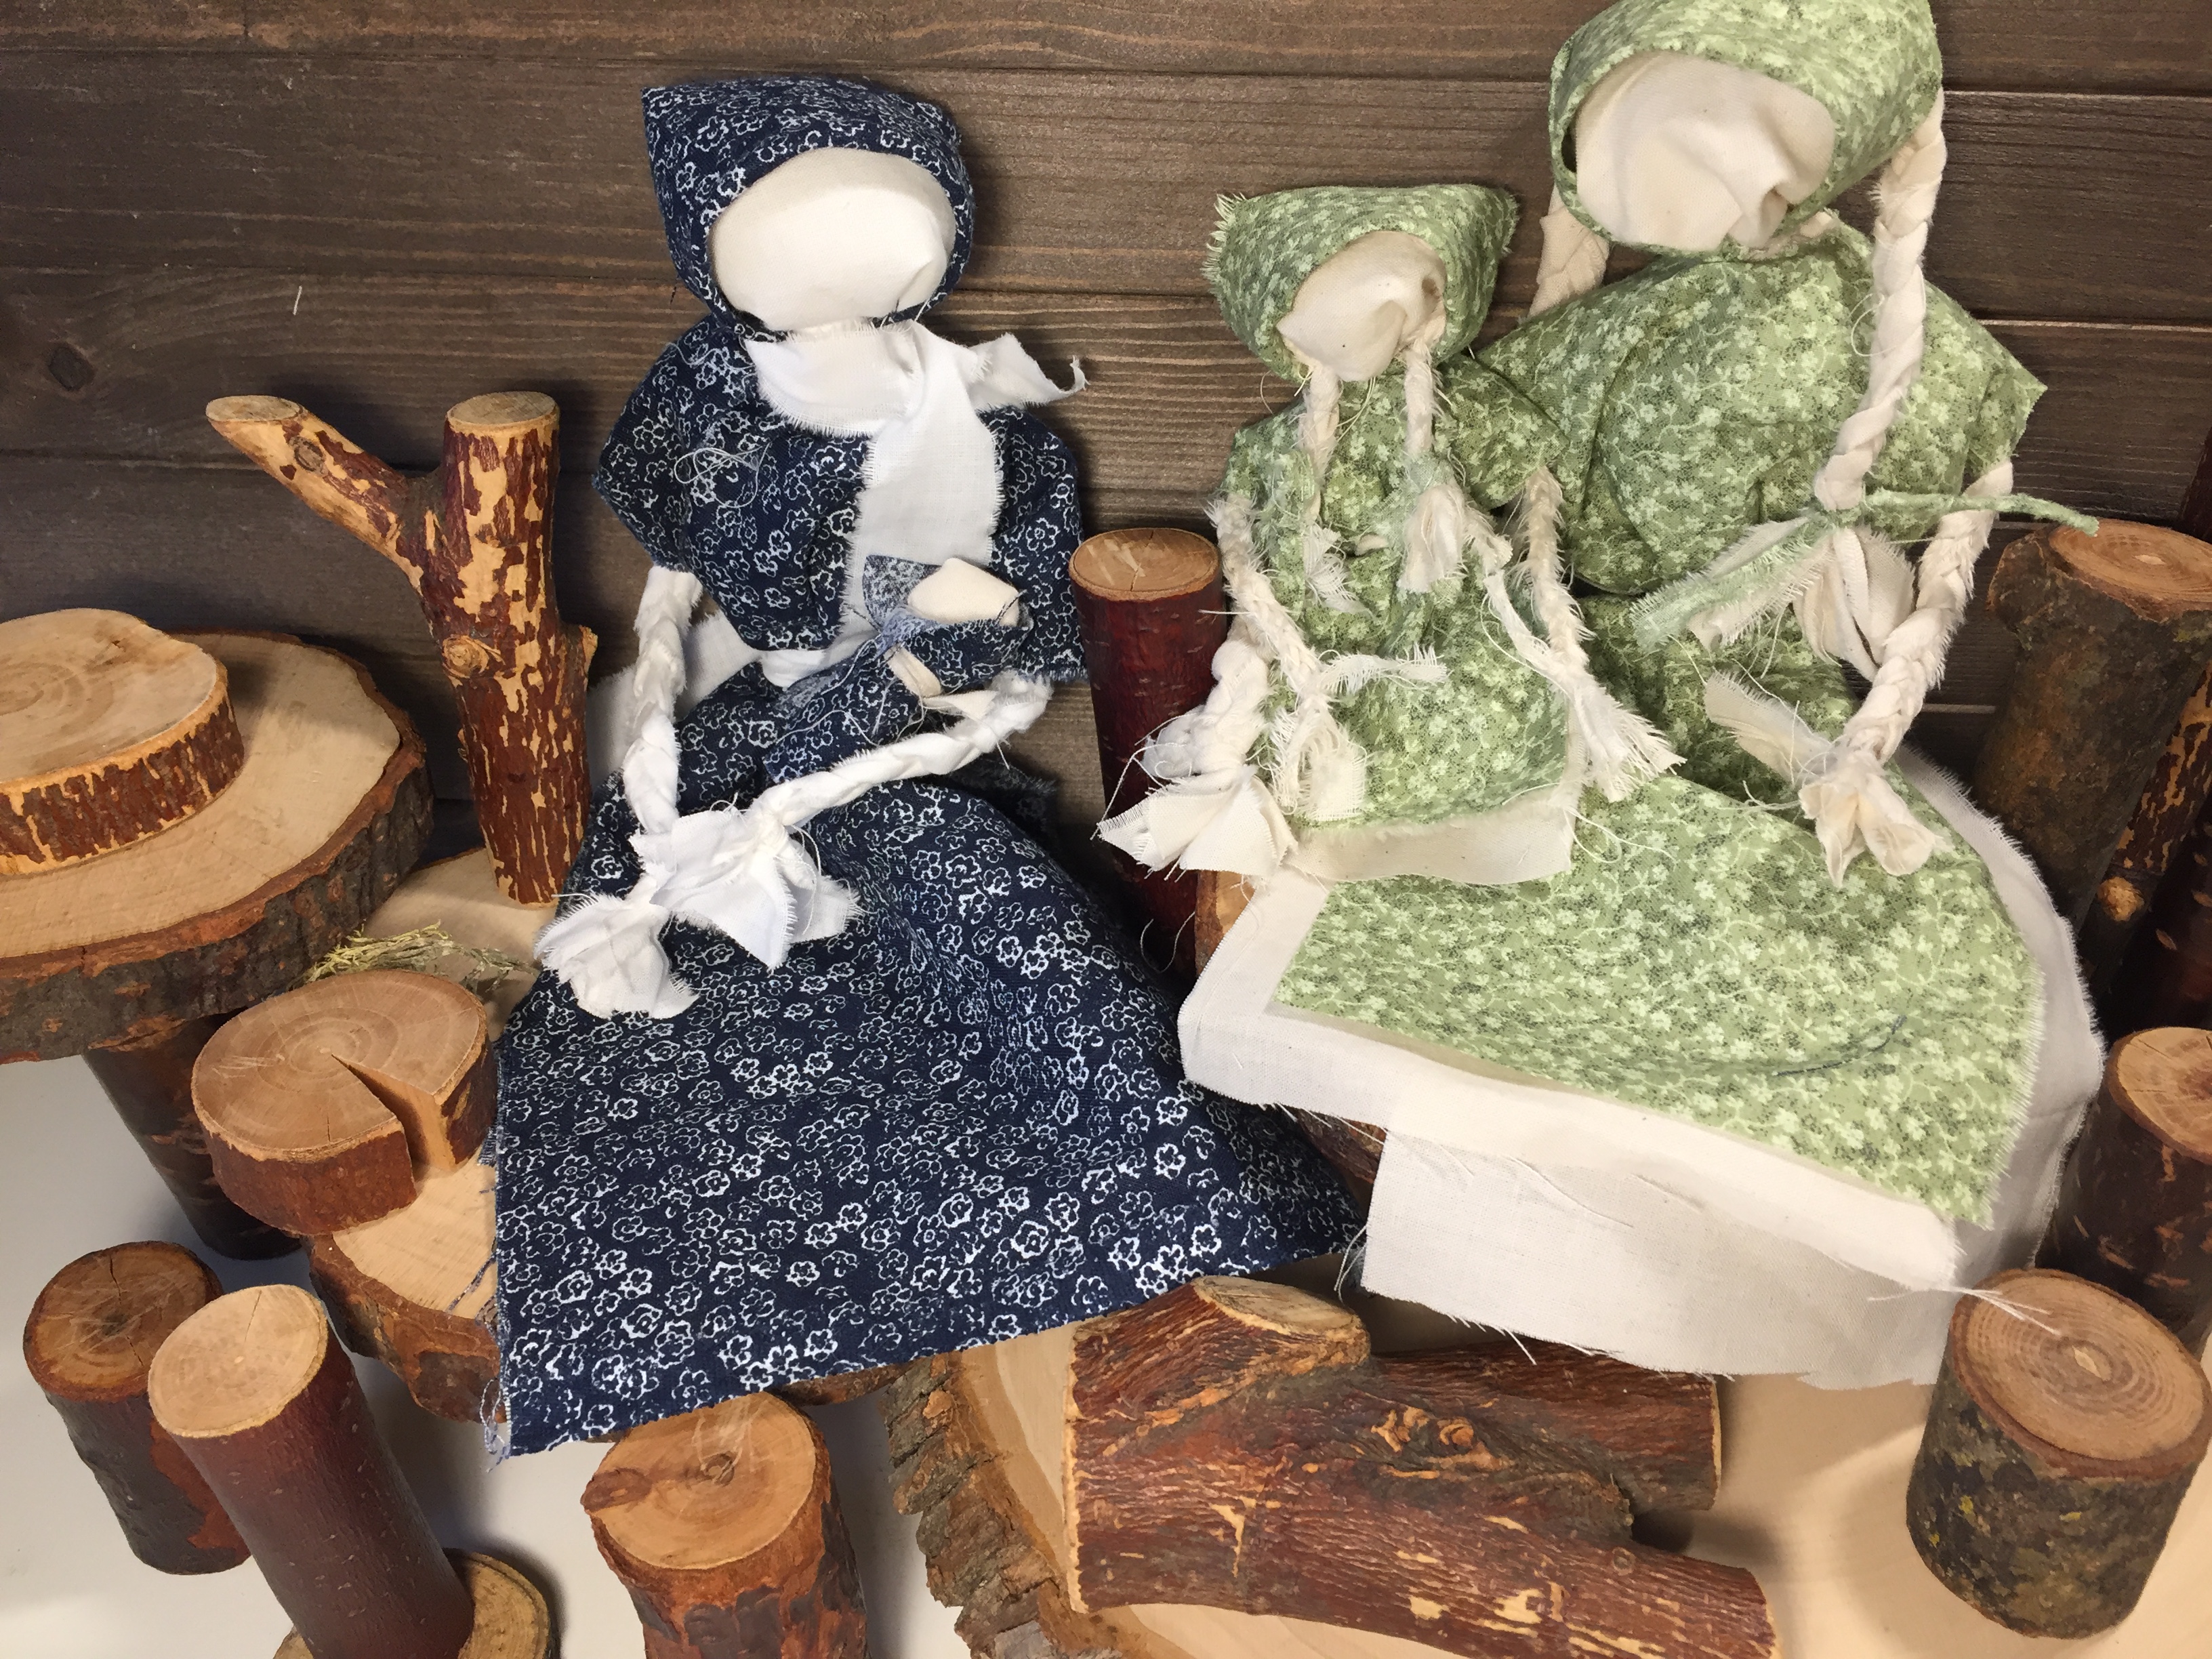
My daughter likes to pretend play a lot. At the root of her pretend play is family. She likes to group her toys into families, she even likes to group her washi tape into families! Yep, I actually buy her washi tape, even though I’m the scrapbooker! So when I had finished making her a rag doll, she was happy, when I finished making her a little girl, another mom and a baby, she was over the moon excited. She’s already put in requests for more! Like another baby for the first mom, a basket and another little girl, oh…and two dads to complete her little family unit. Hmmm…boy rag dolls…I’ll have to experiment.
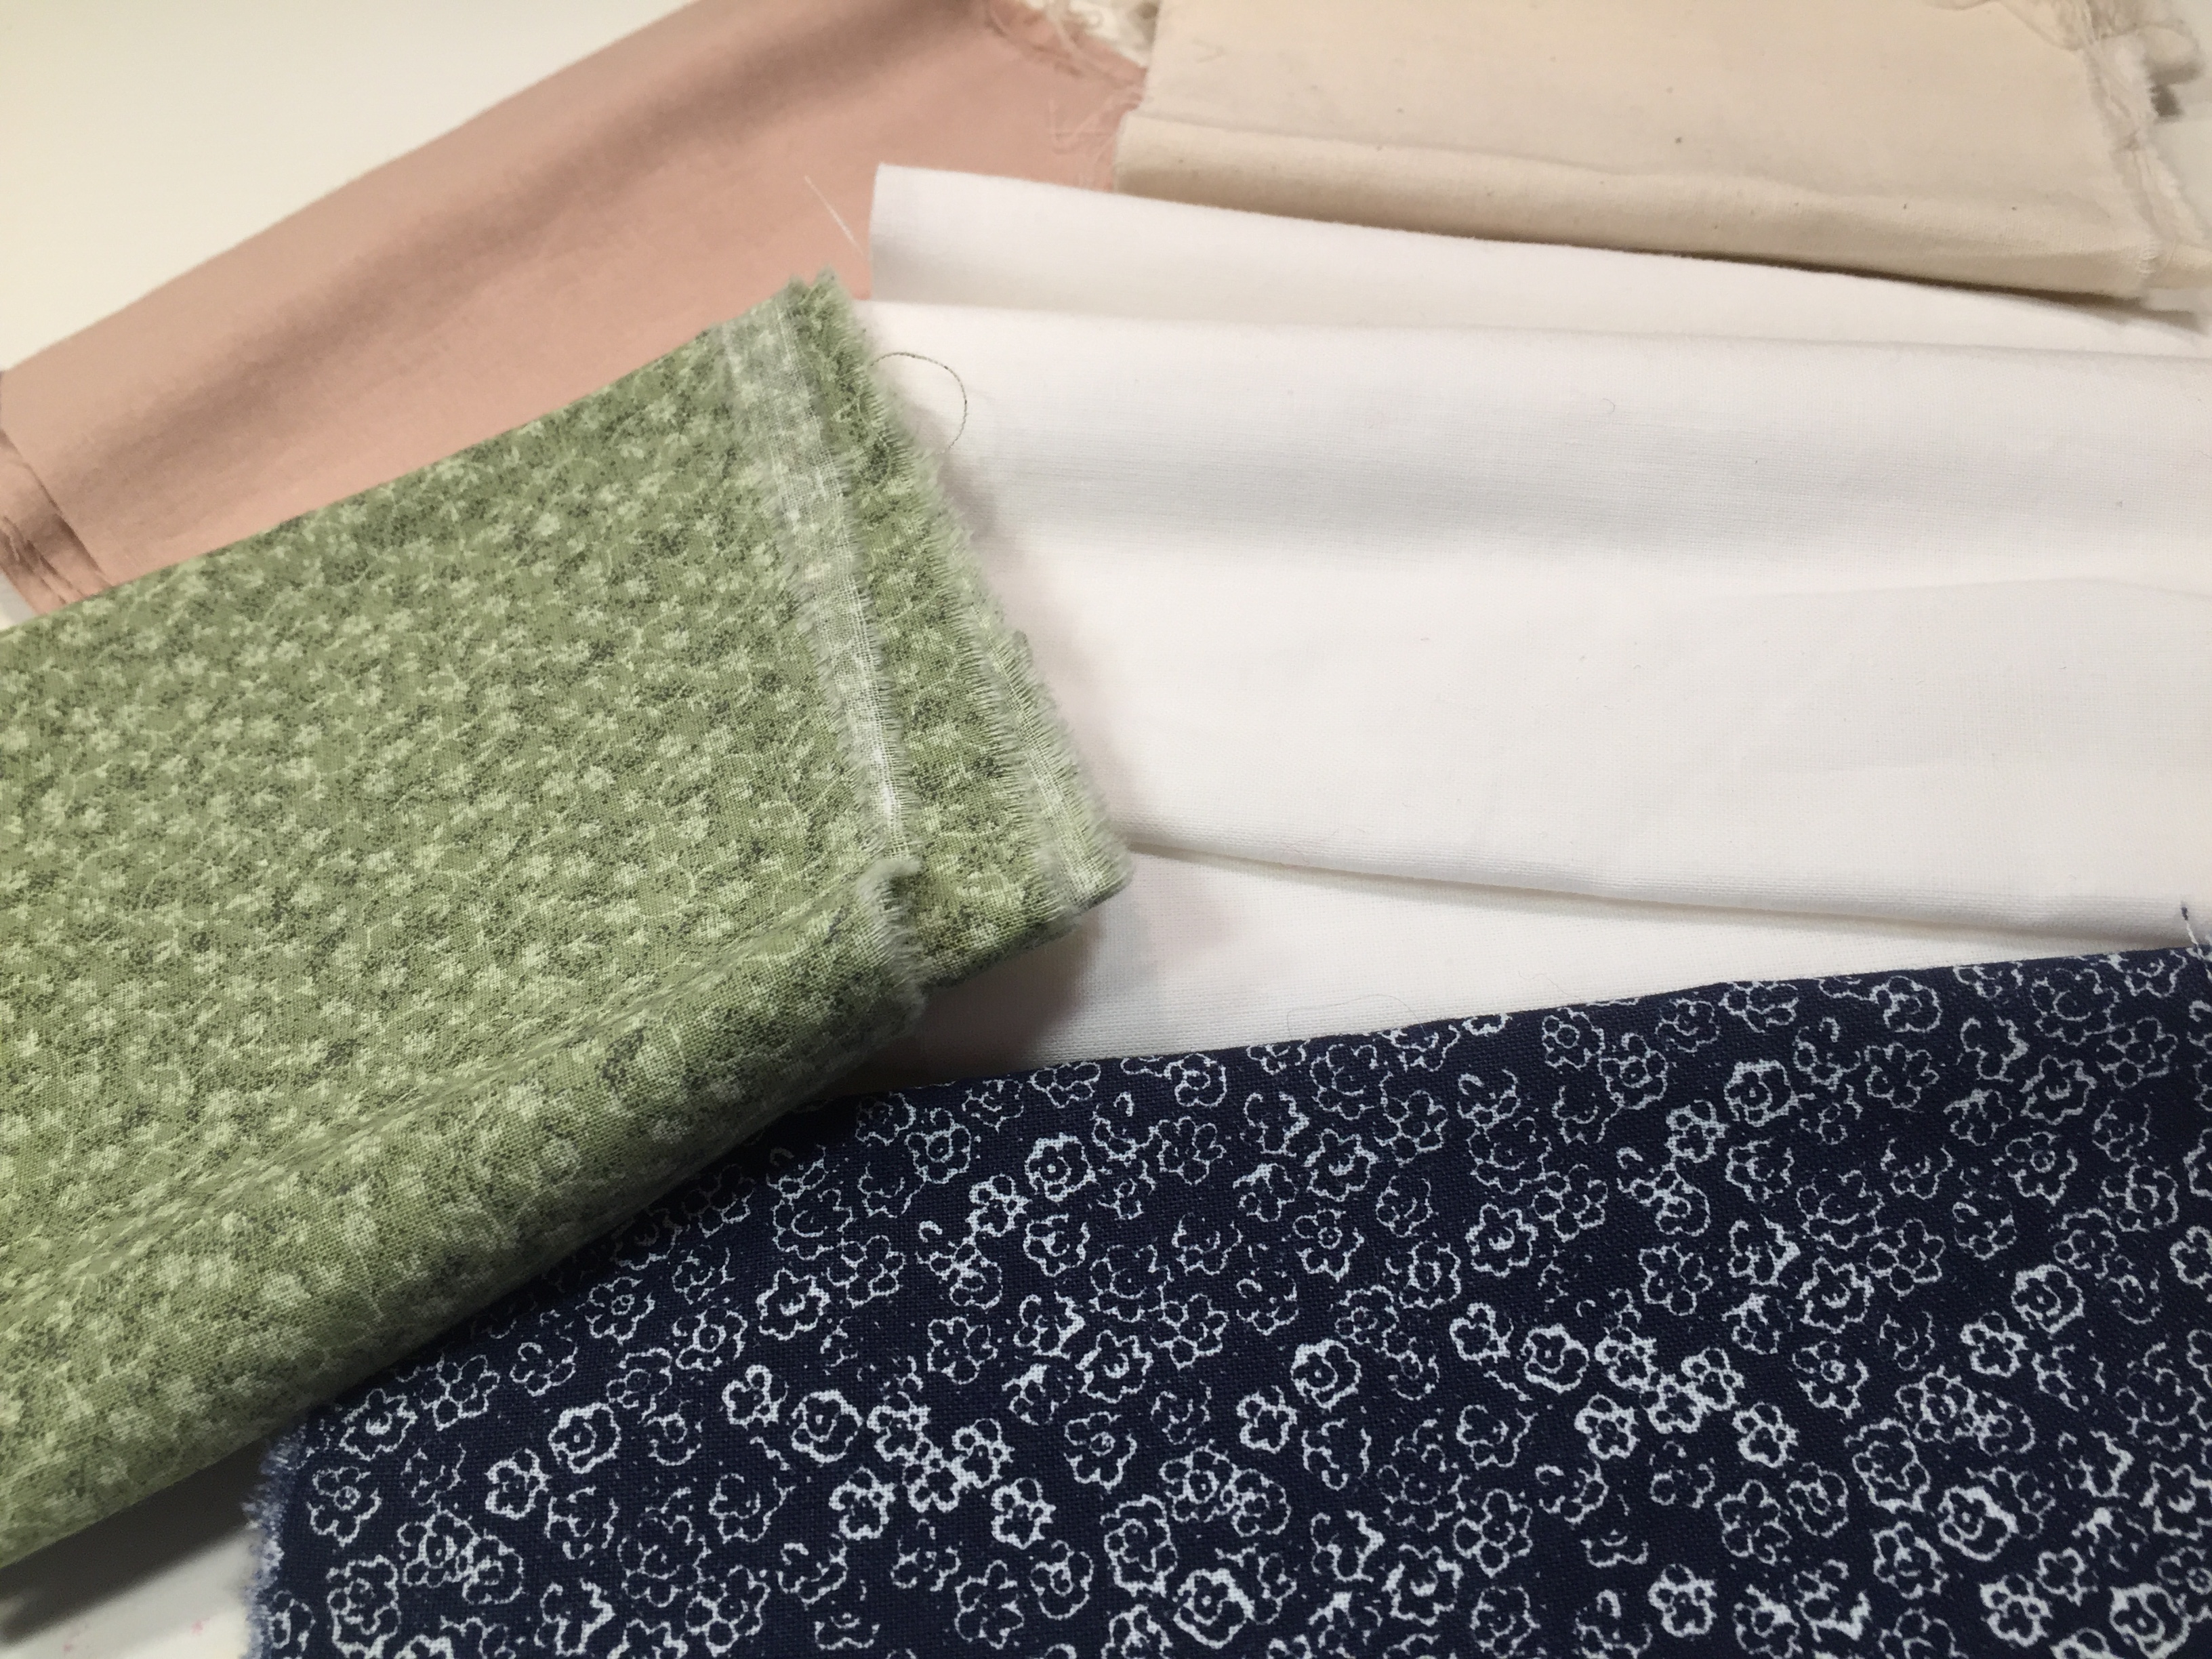
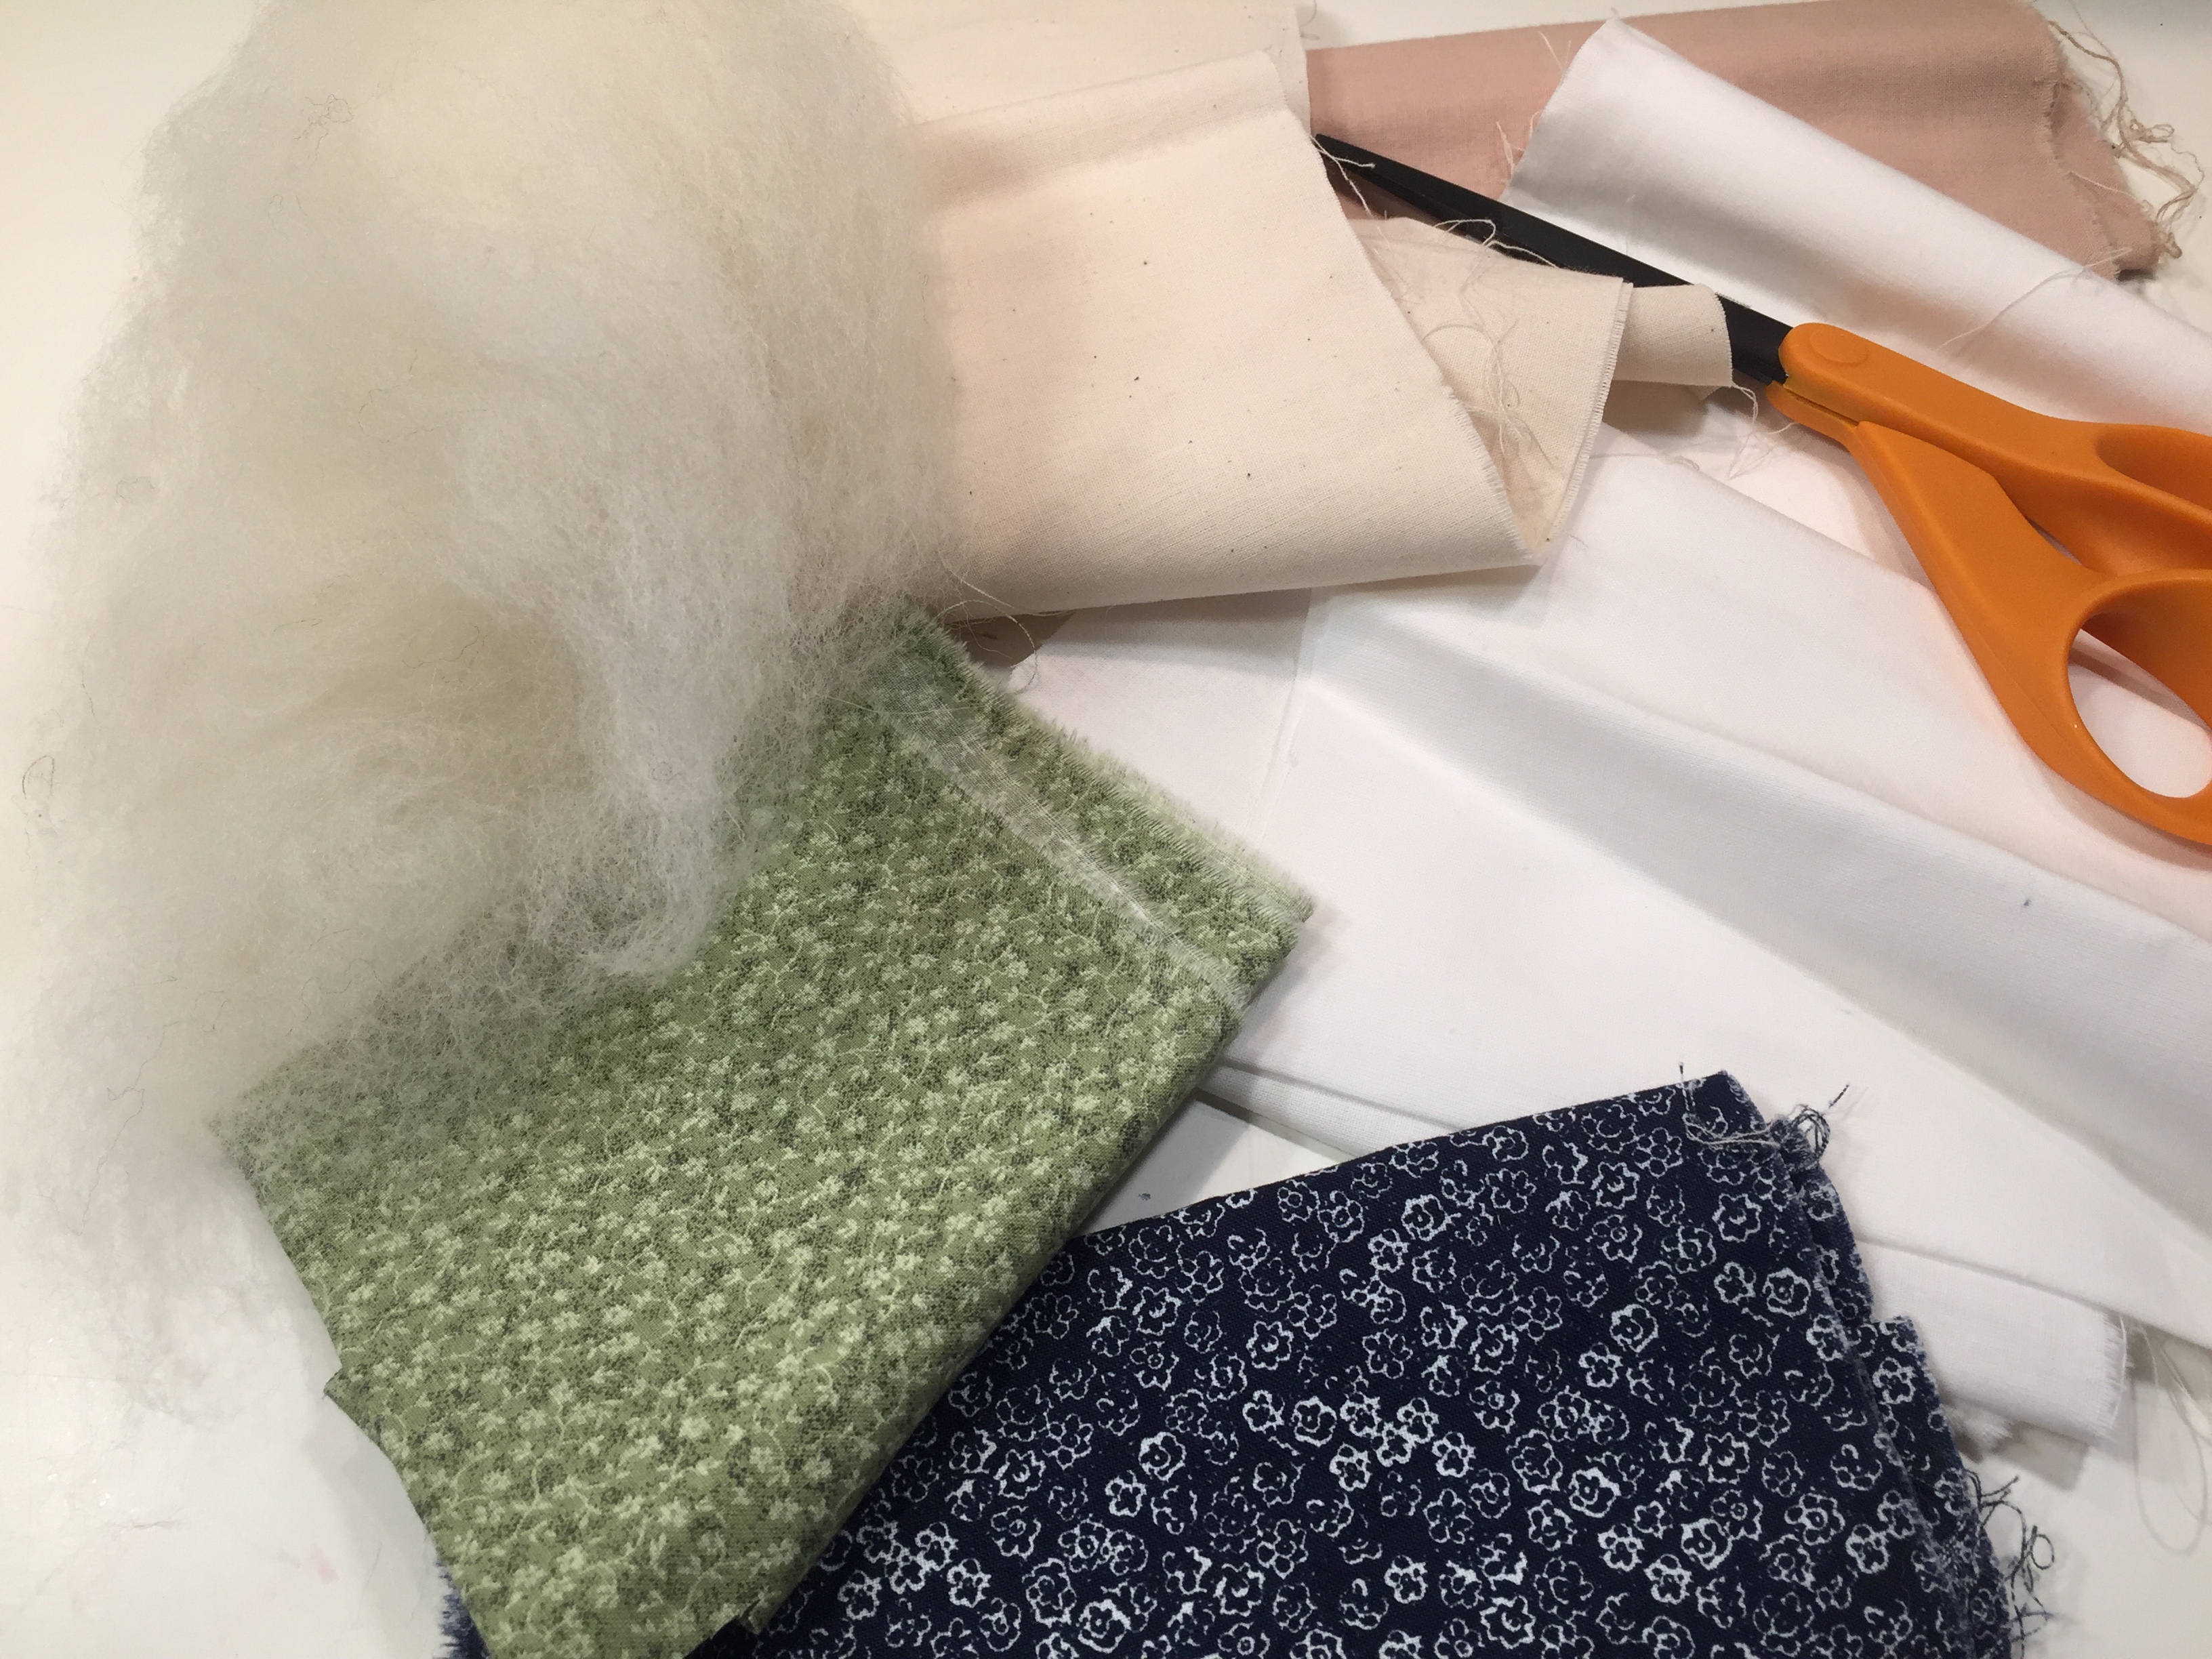
Supplies:
- 1/4 yard of muslin (you can choose from a variety of colors for different skin tones)
- 1/4 yard of calico fabric or any print fabric
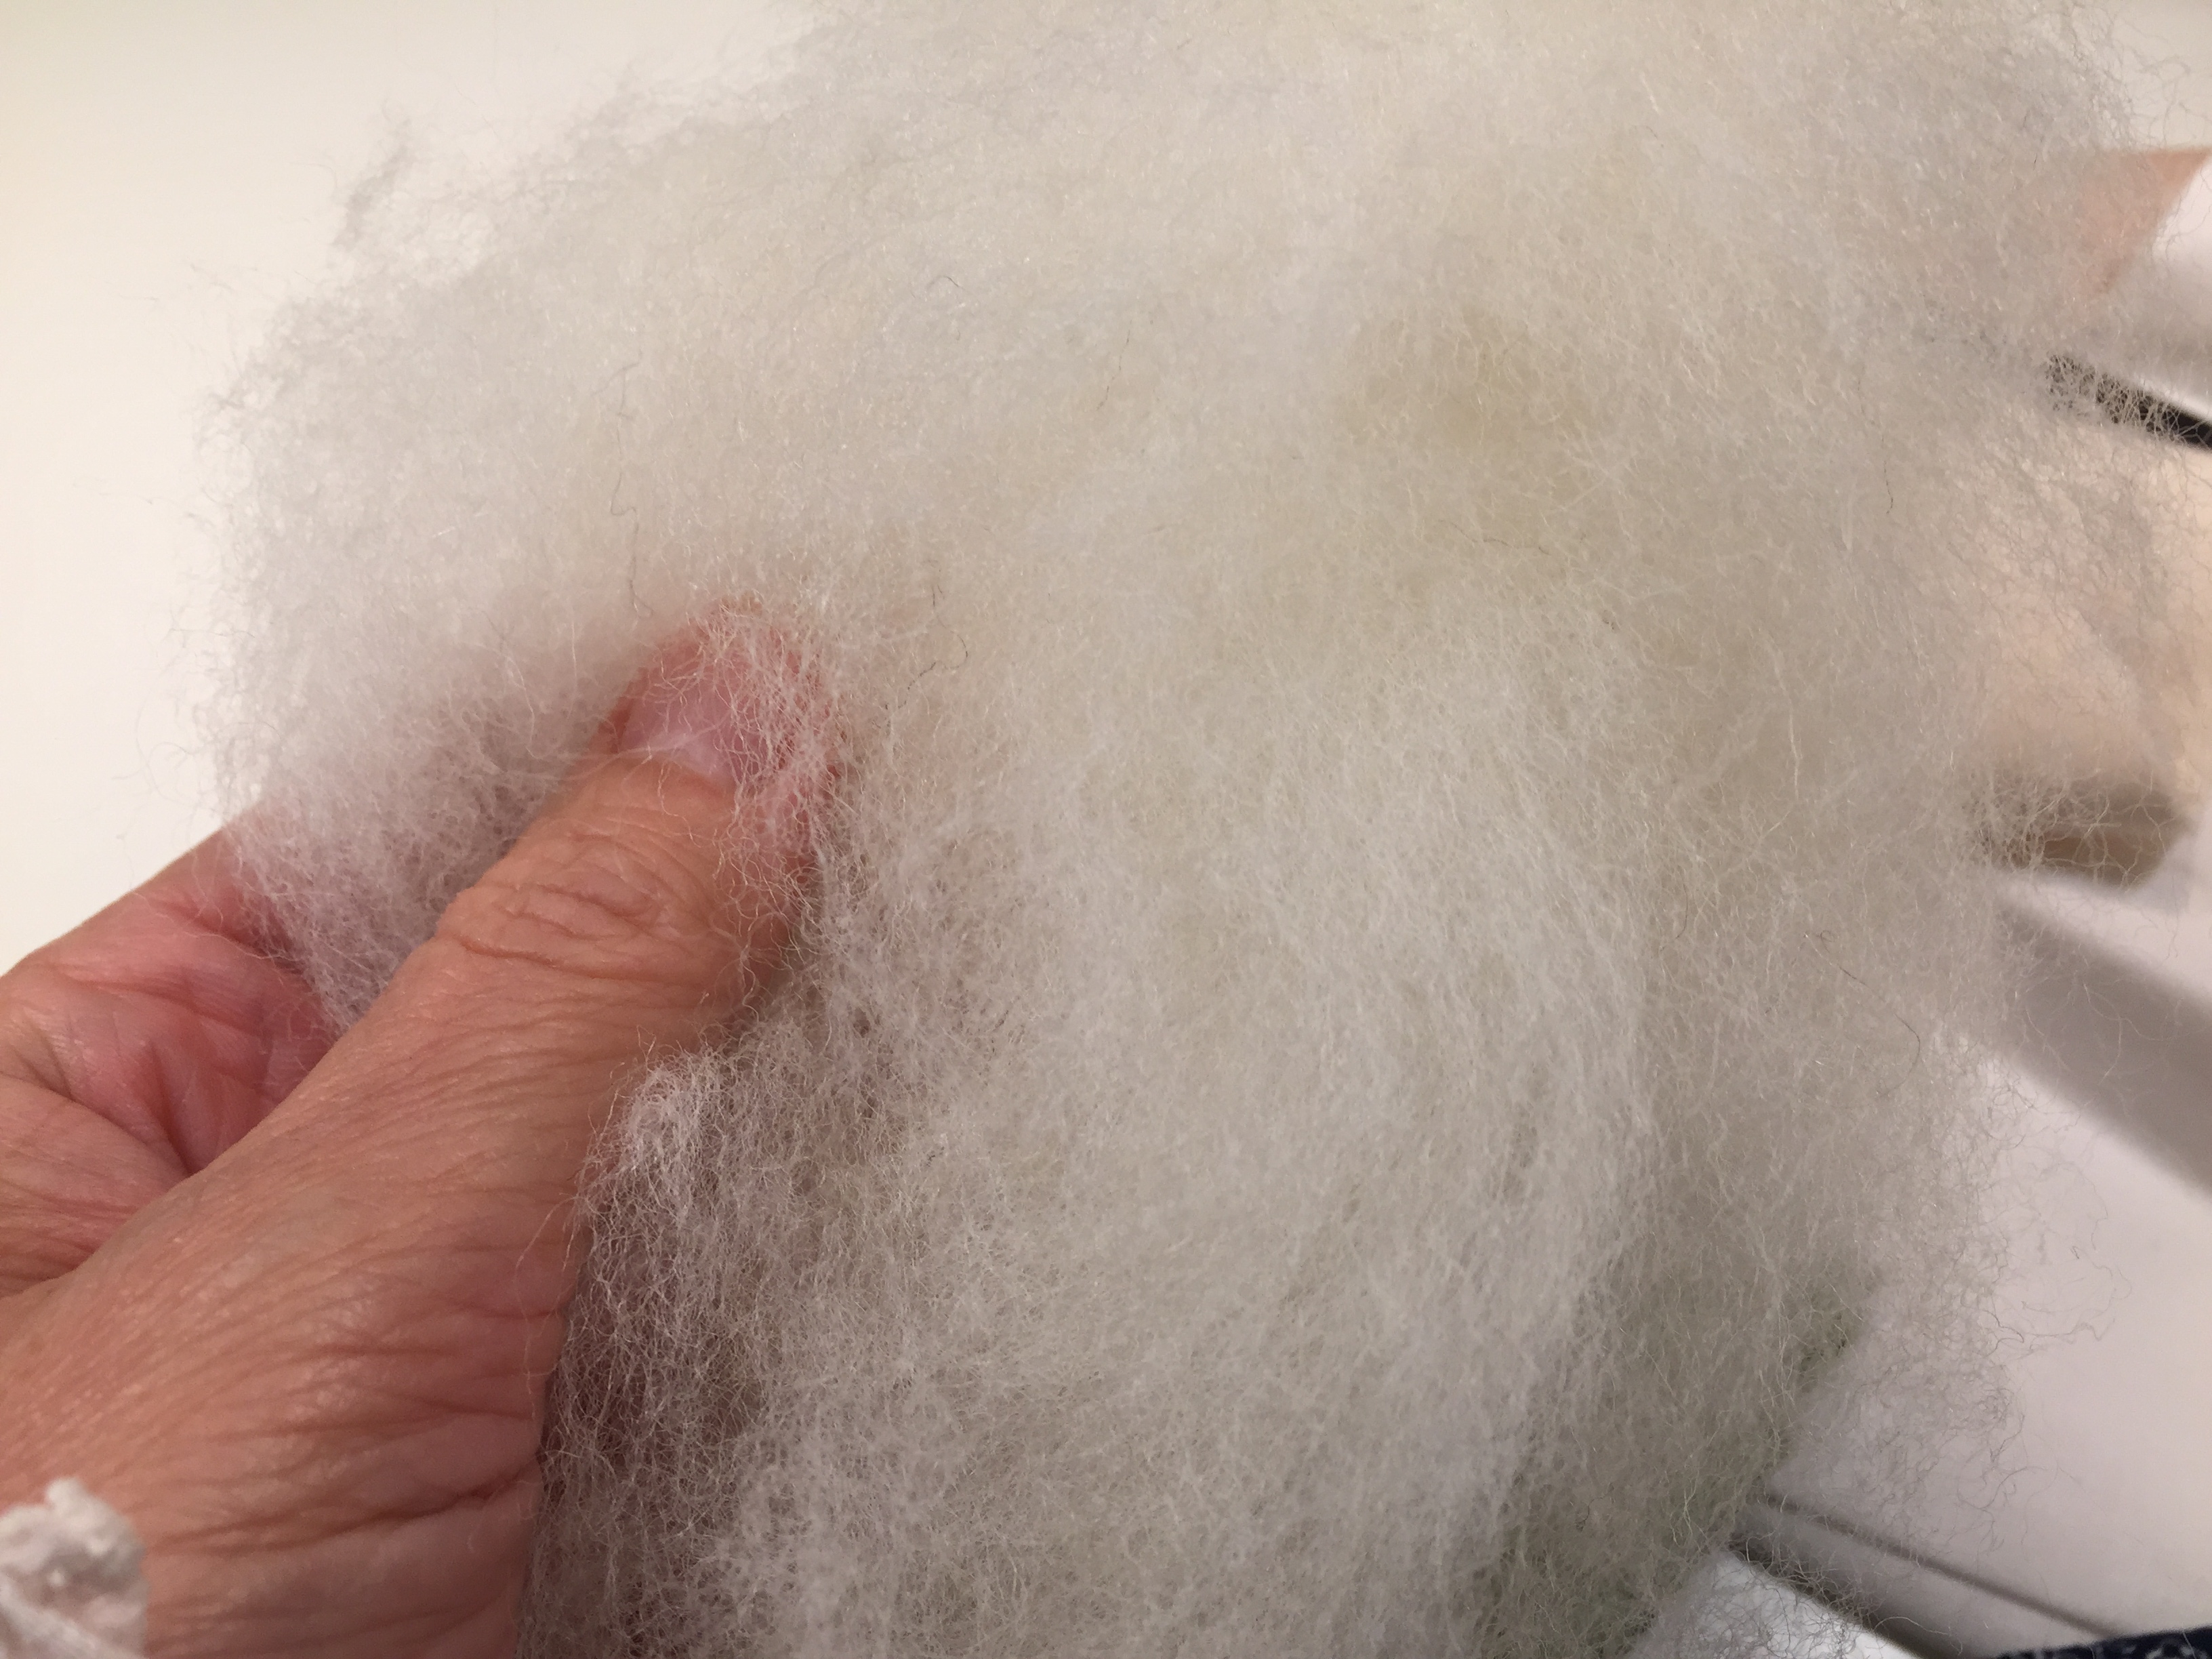
- wool or cotton balls
- scissors
- optional: needle and thread
Directions:
- Cut or rip a strip of muslin to 4″ by 24″
- Cut or rip 4 strips of muslin 1/2″ by about 20″
- Fold long strip of muslin (4″x24″) in half and stuff a little wool in the top for the head
- Tie off head with one strip of fabric (1/4″x20″) keep excess for the belt
- Braid arms and tie off each end with remnant strips of fabric
- Optional: make another set of braids for hair and tie off with printed fabric
- Tie arms to base of neck with the fabric used to tie off the head
- Cut or rip piece of calico or printed fabric about 4″ by 20″ for the dress
- Fold in half then in half again and cut a very small slip where the corners come together (the video will help with this)
- Wiggle head through the opening
- Fill the body with wool (optional)
- Belt the body with remnant piece of fabric and make a bow in the back
- Cut square of fabric about 3″ square and fold into a triangle
- Tie or sew the bonnet on the head (if you are adding braids, sew them in place before putting on the bonnet
- Hand to a little child and watch his or her face light up!
Did you enjoy this tutorial? If so, let me know below!
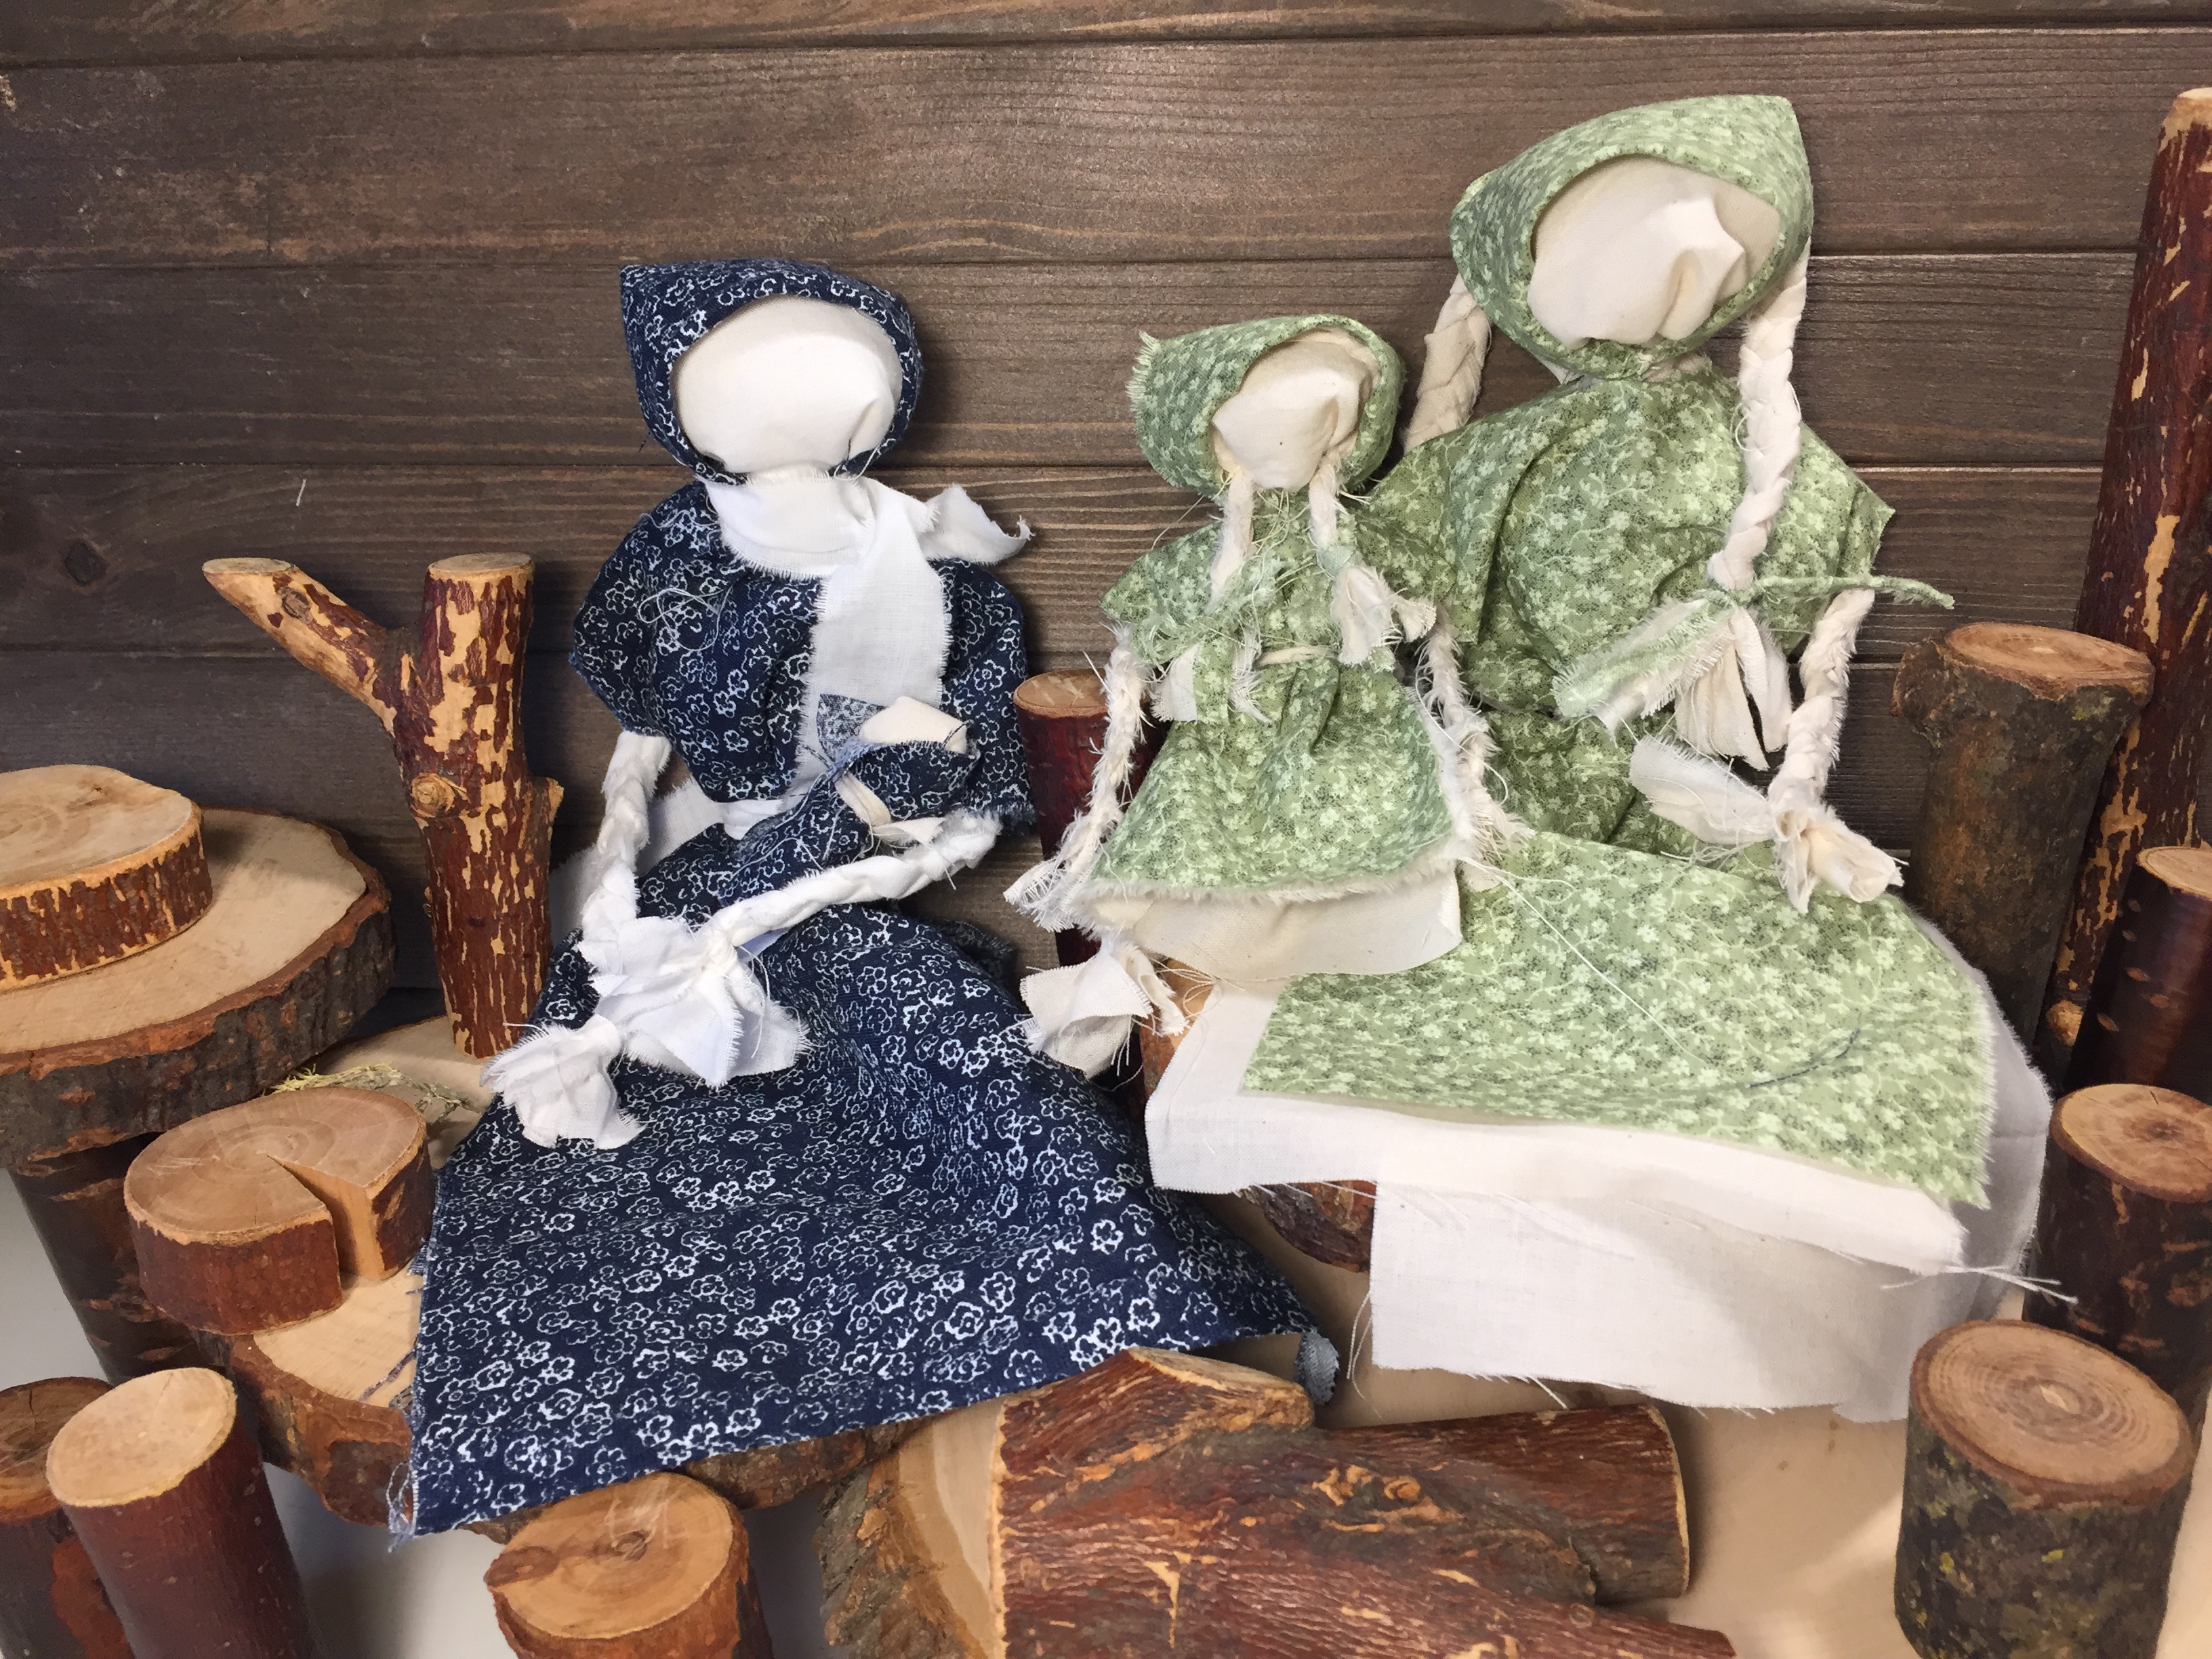
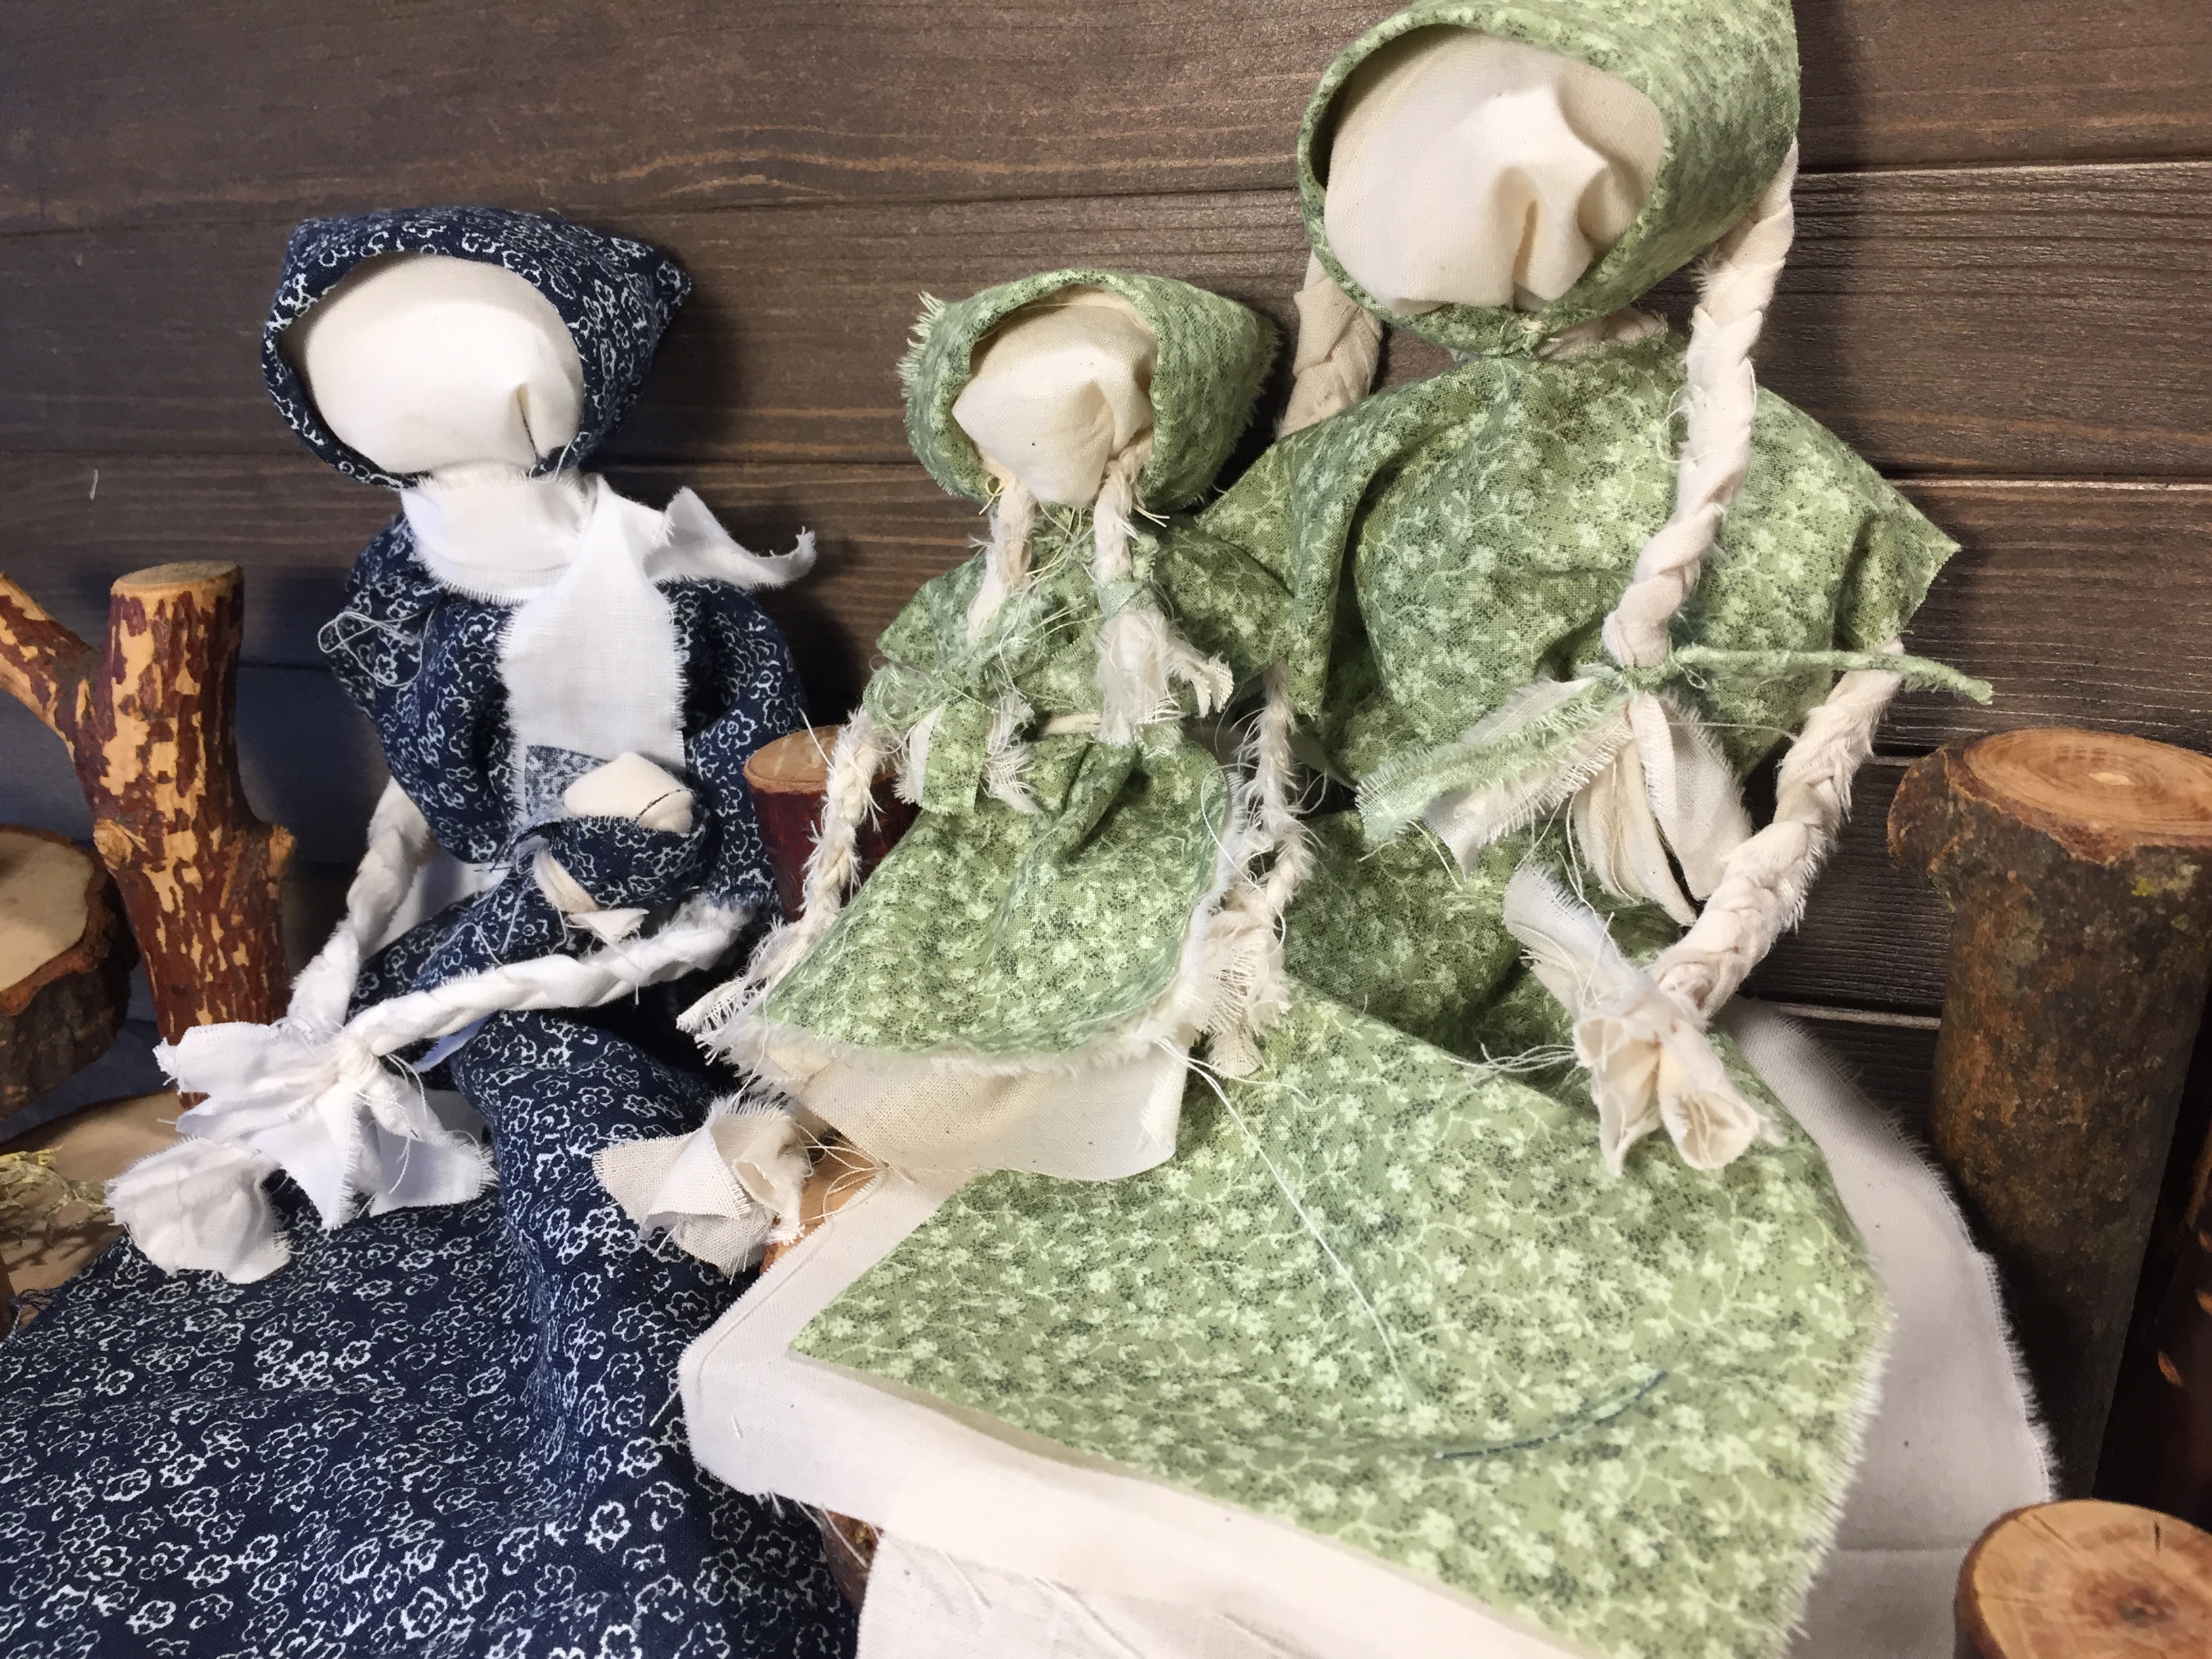
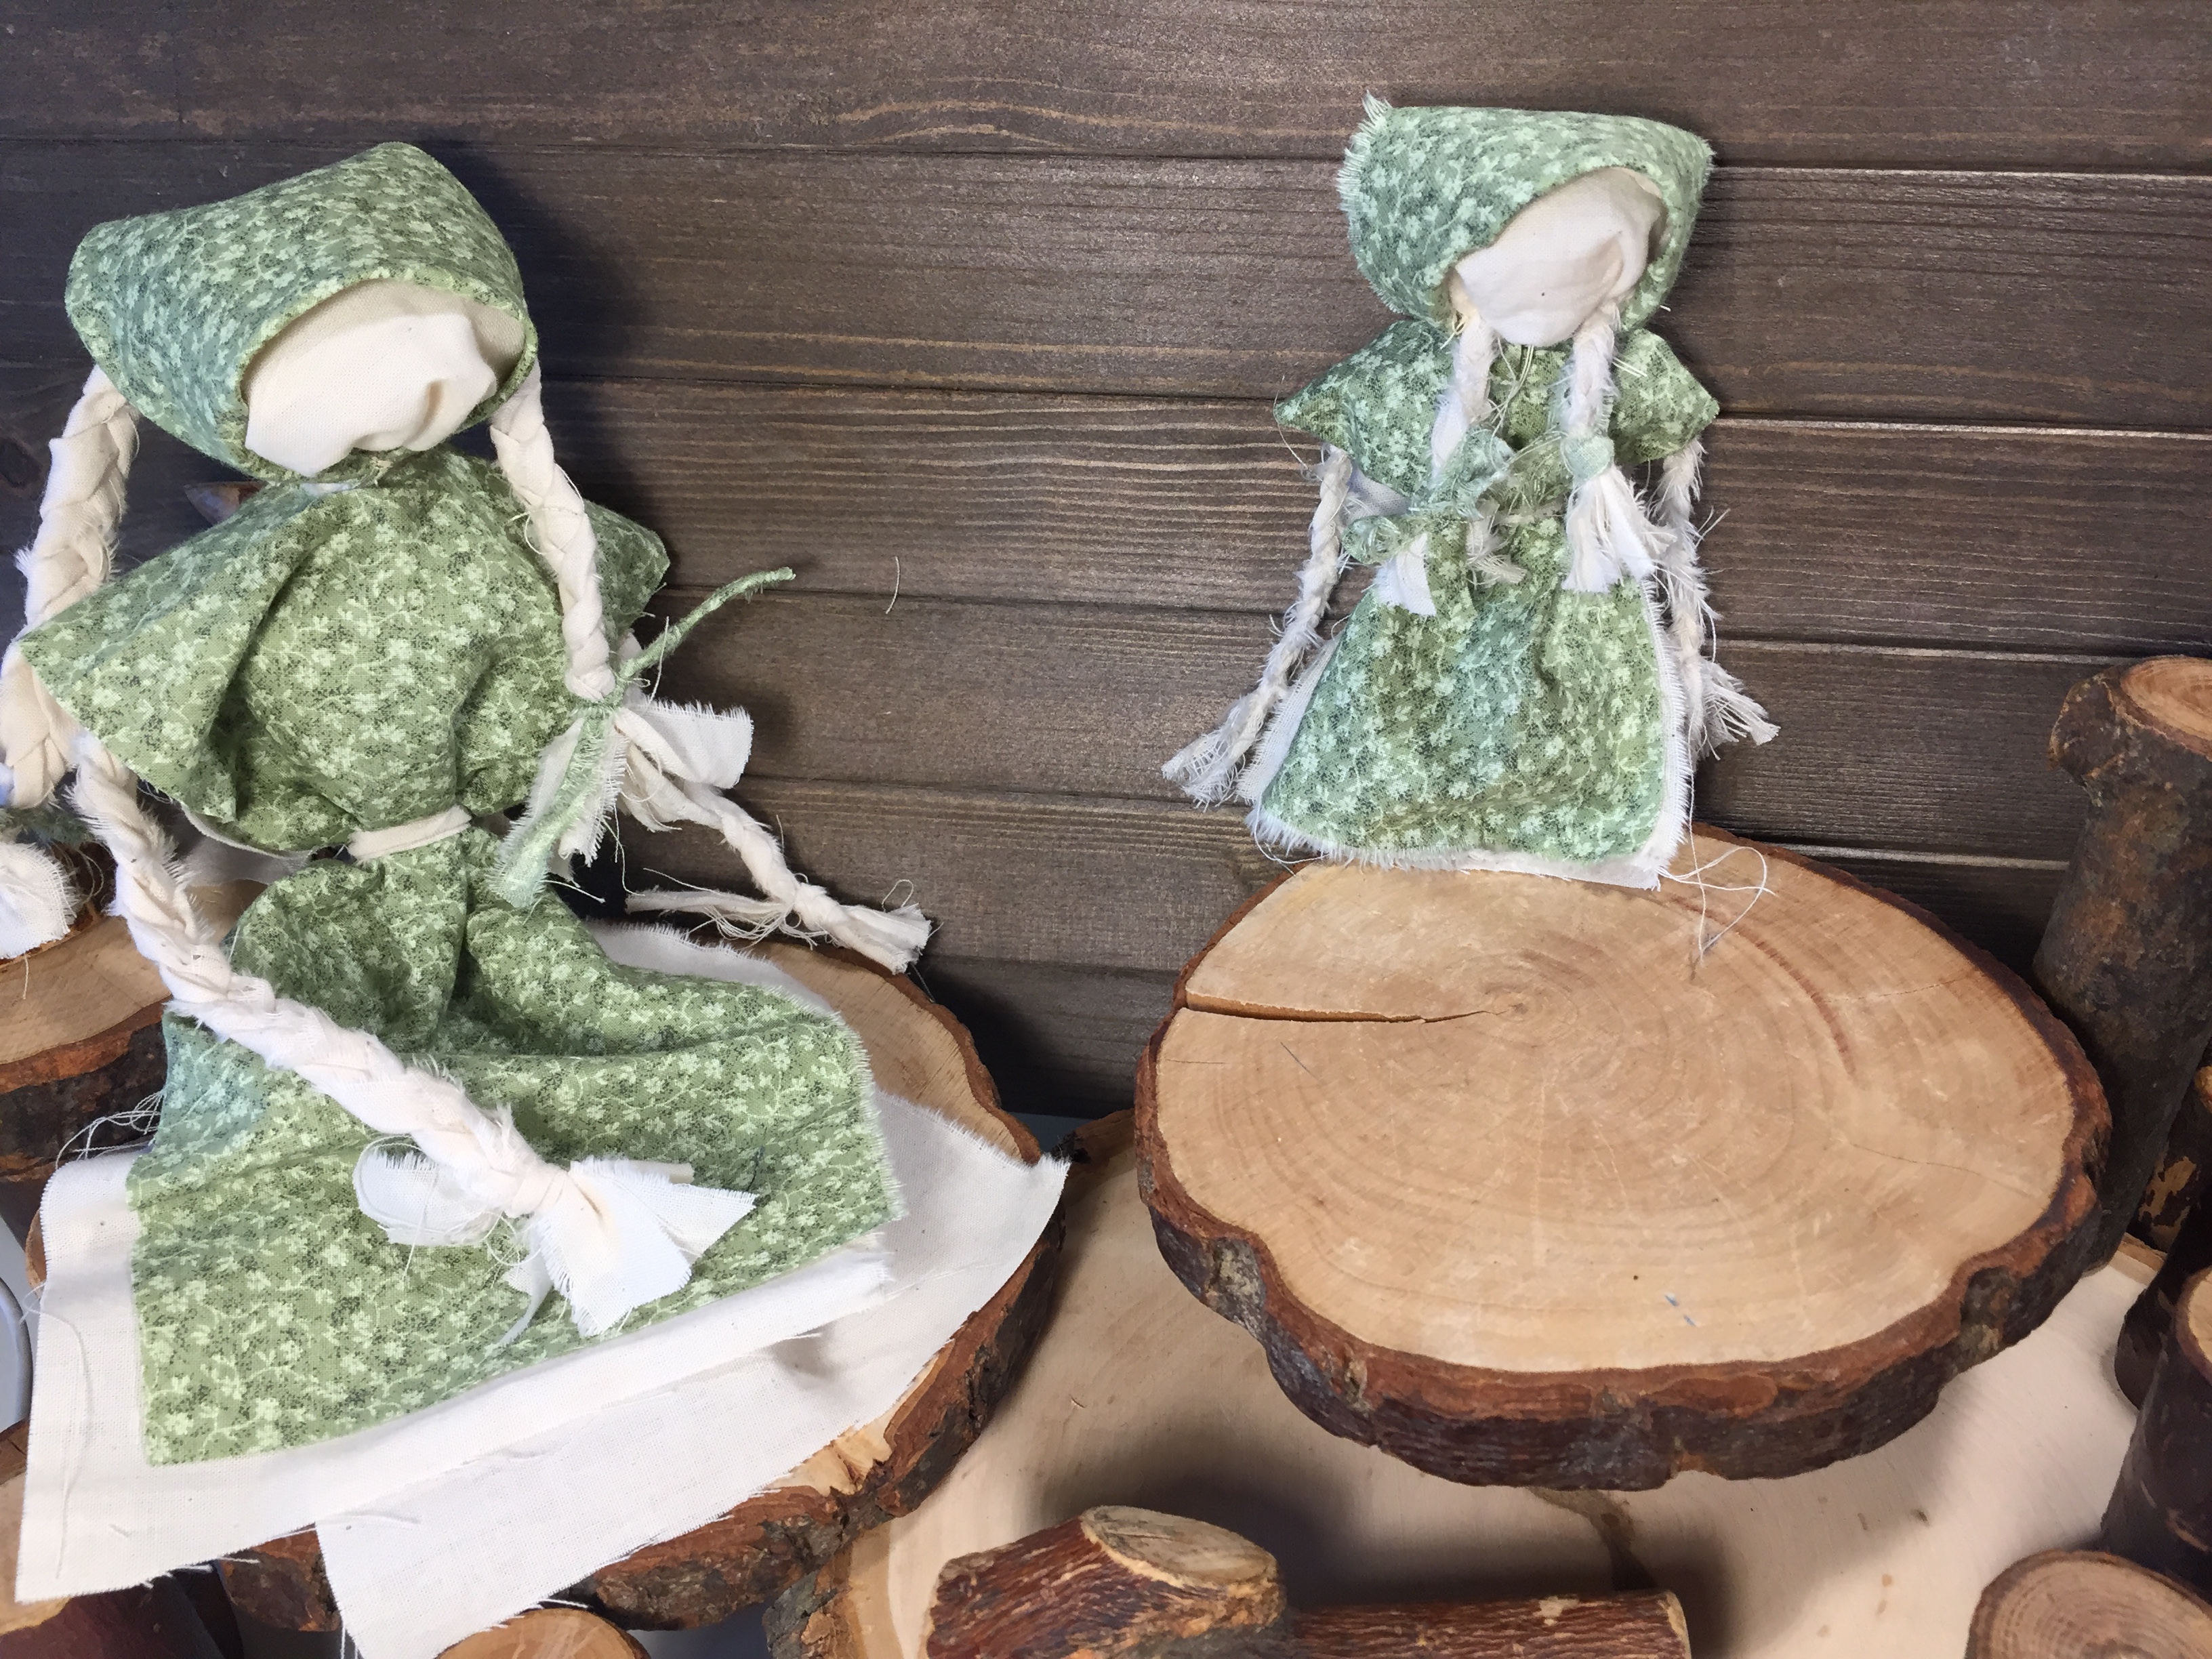
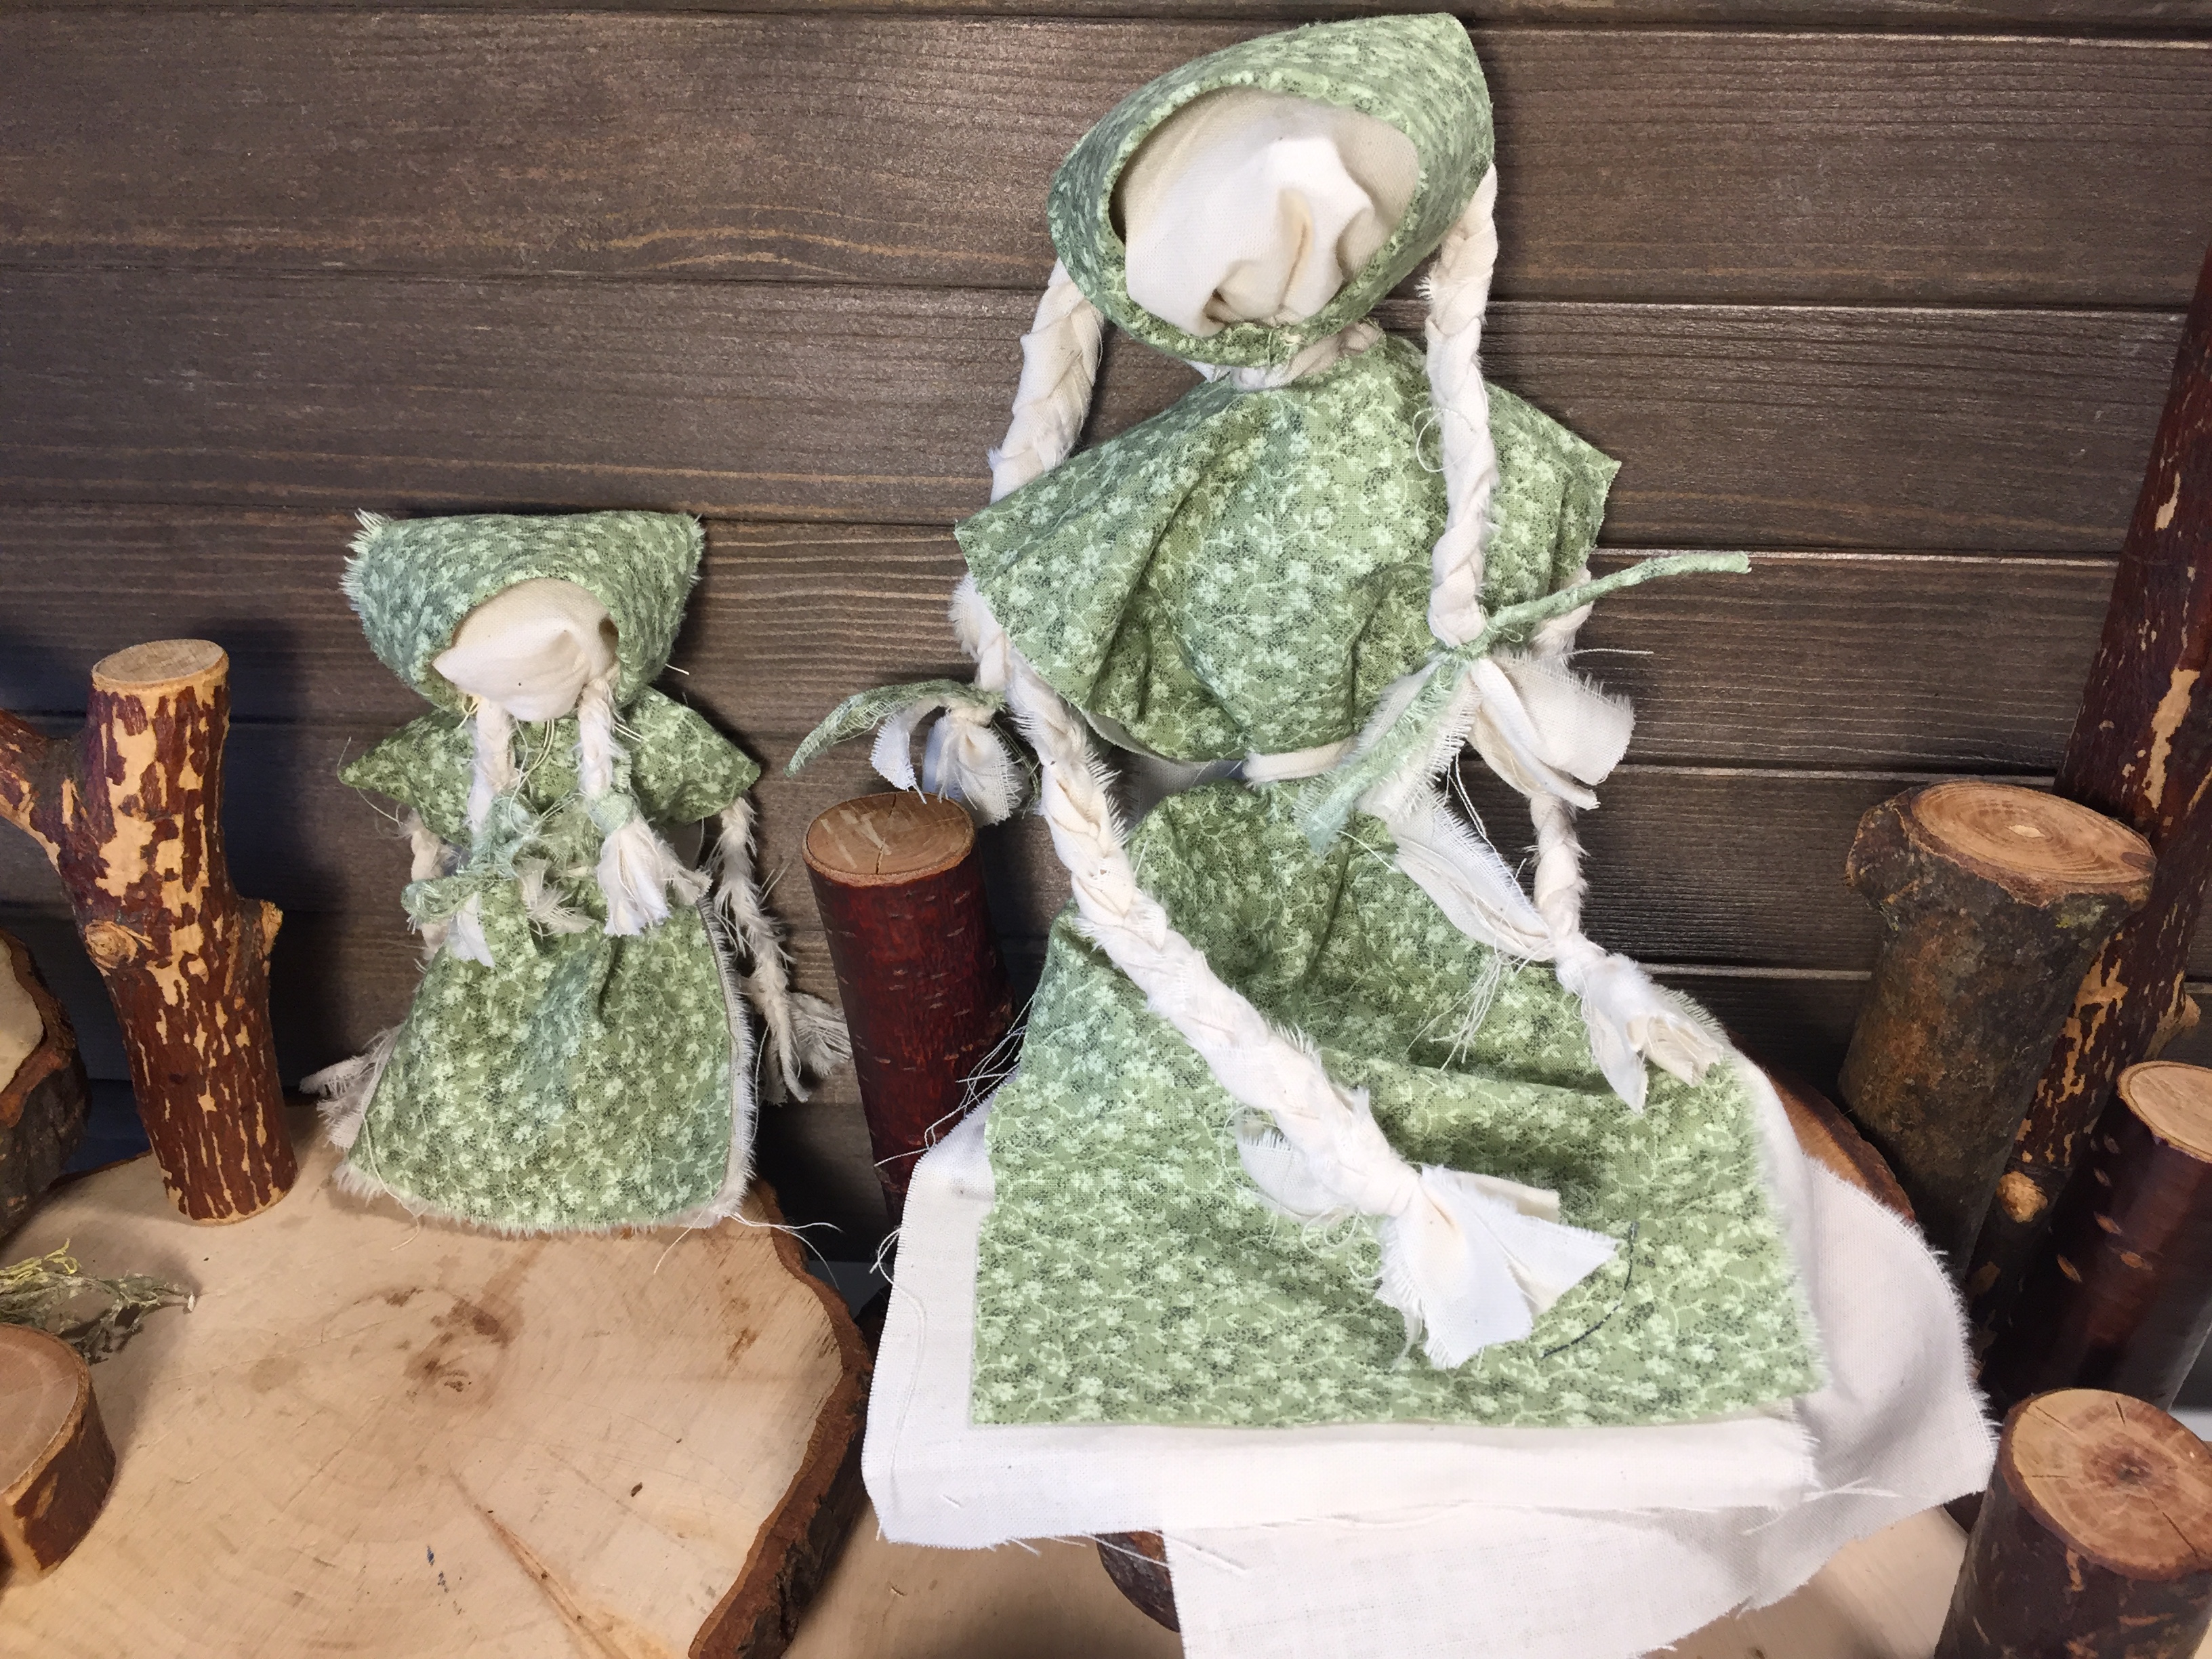
If you’ve never made playthings for your kids, this might be the perfect place to start. It’s easy to make rag dolls, and what’s great about it is that you don’t need many supplies, and even old clothes would work perfectly for this project. We used muslin for the body of the doll, wool batting for the head and body and remnant fabric from a curtain that had been floating around in our pretend play dress-up basic for years. The result was a boy rag doll to complete the rag doll family. My five-year old daughter really likes to pretend play with families: mom, dad, baby and sometimes other members. Having made her several girl rag dolls (mom, baby and young child), she was thrilled to add a ‘dad’ to the mix. I can’t say I actually like the way he turned out, as I prefer the girl rag dolls much more, but she love it and what you already know (if you make playthings for your kids), is that children are so loving, innocent and accepting, that even your worst effort is applauded and loved by your child. So try this project whether you are a seasoned crafter or not; your children will love you all the more for it. And if you do try it, don’t forget to show me your project! Share with me on Instagram and don’t forget to tag your project with #pepperandpine.
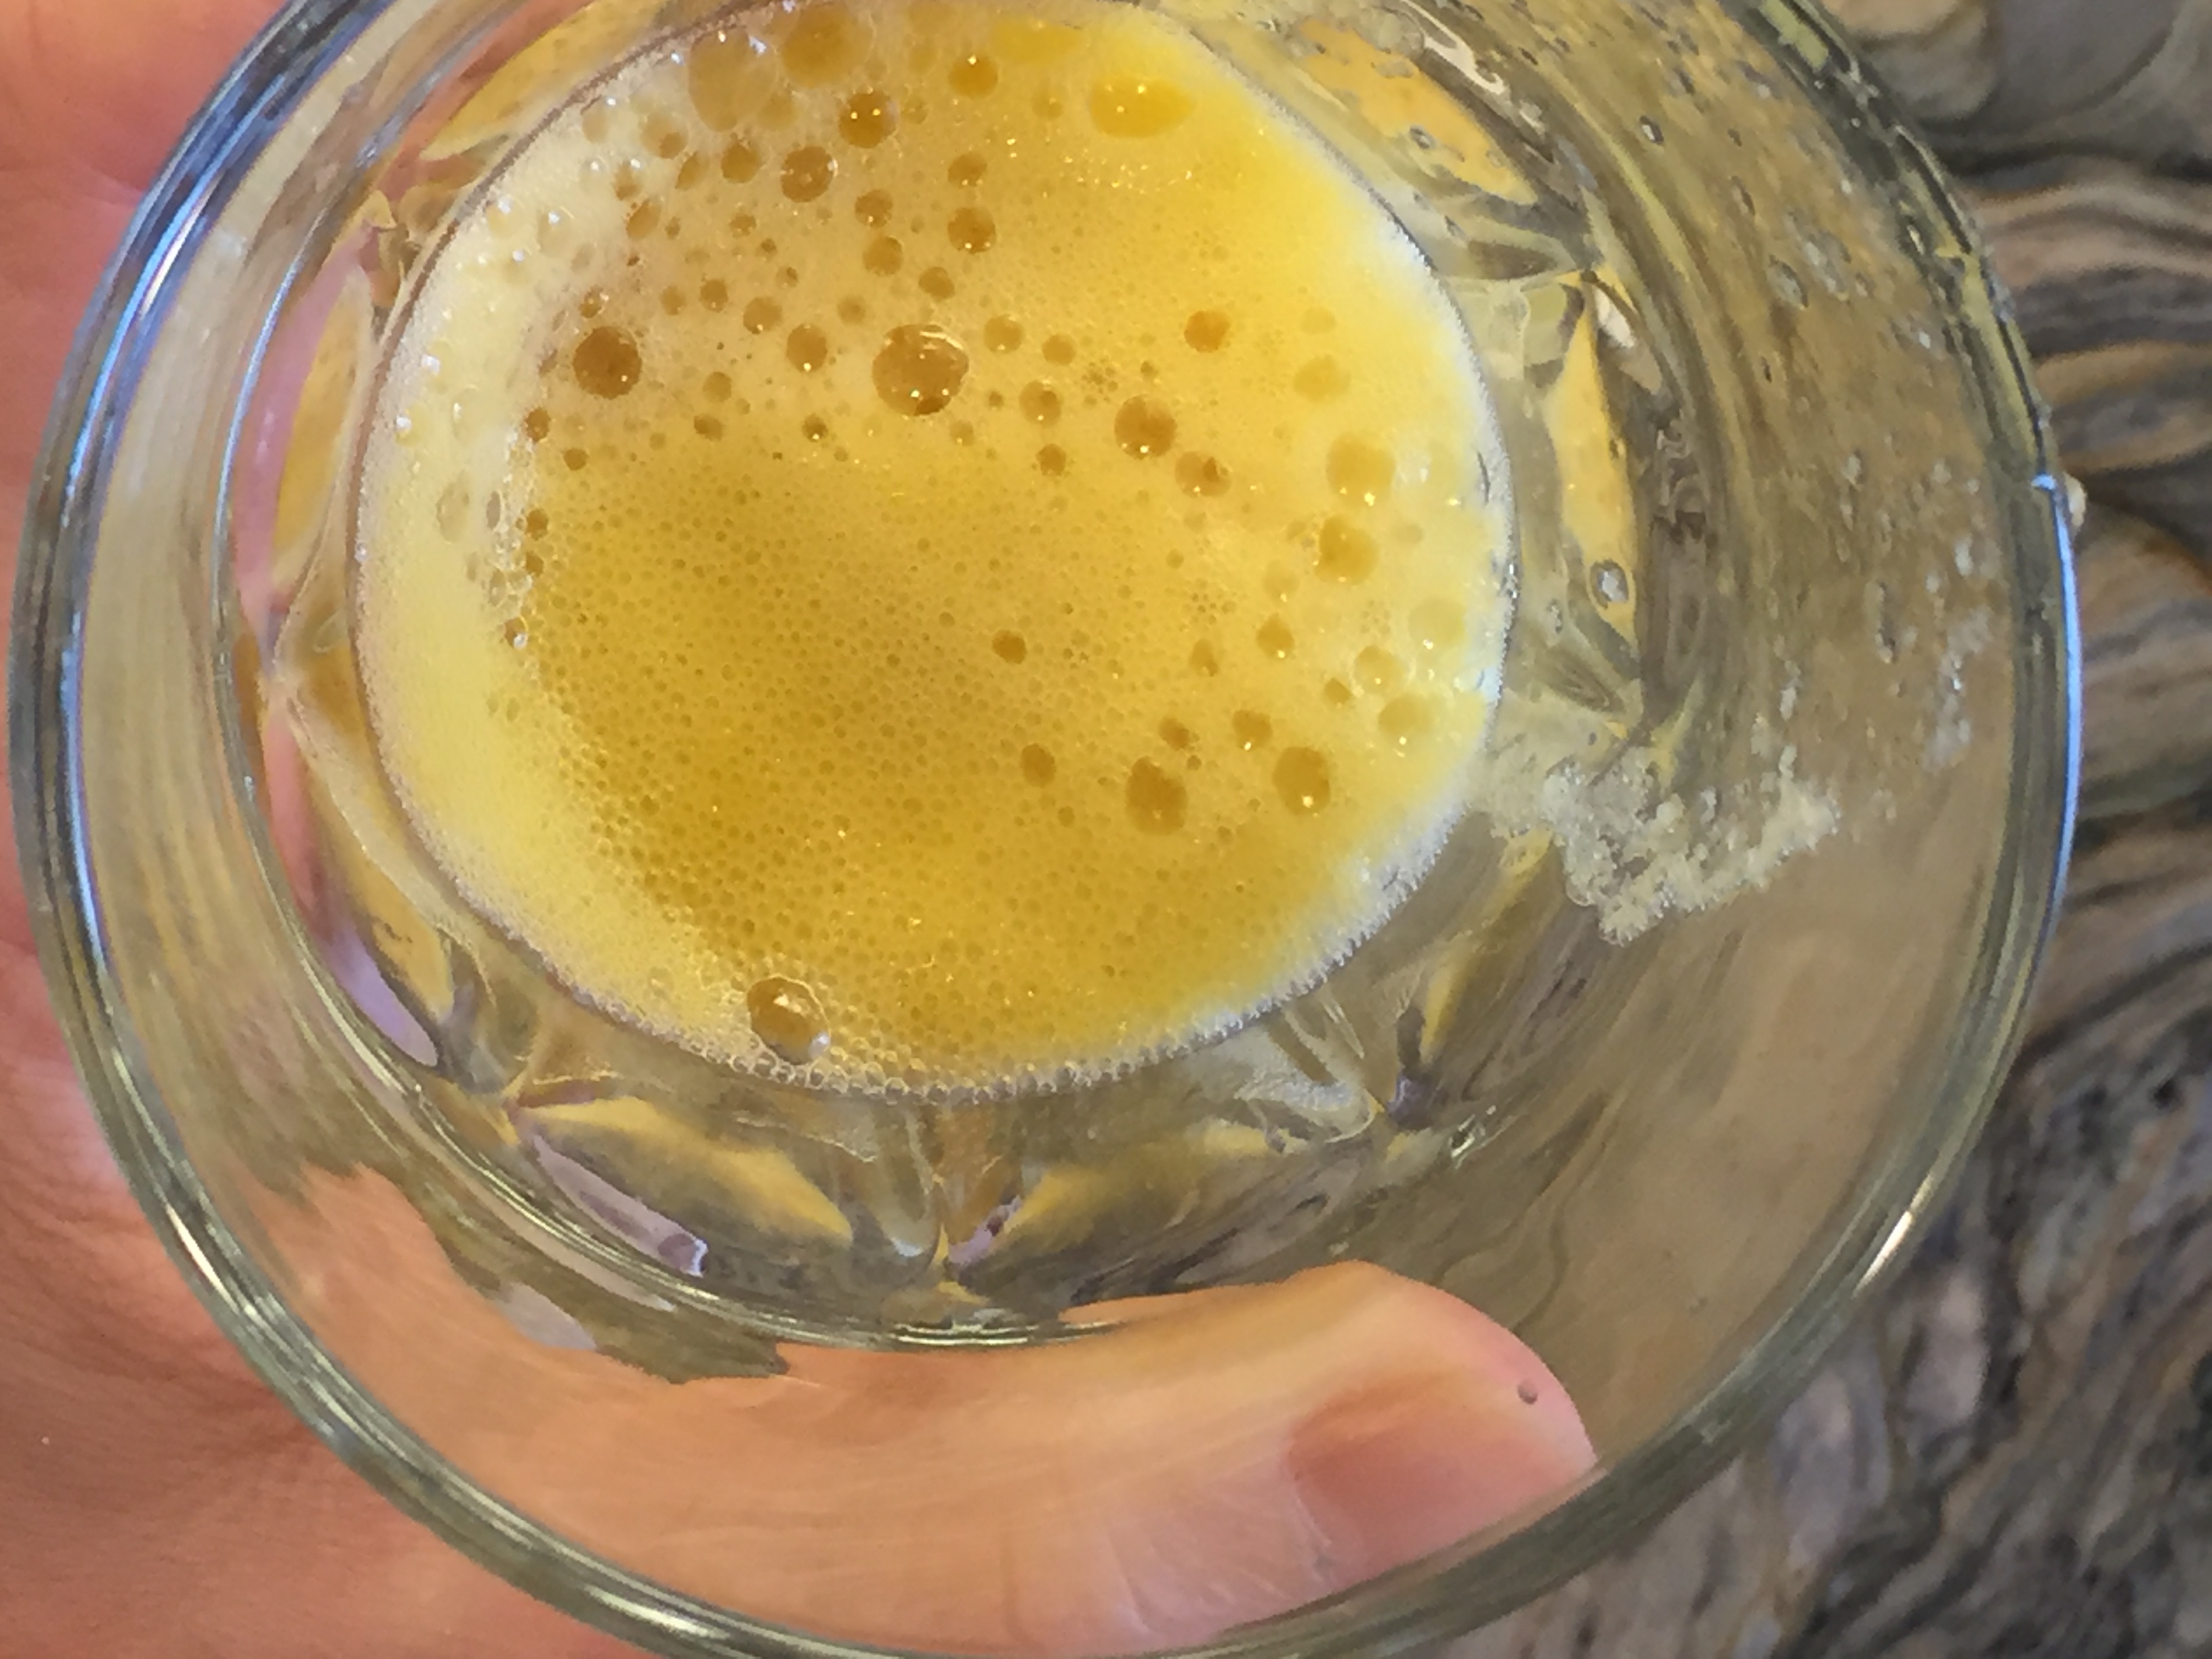
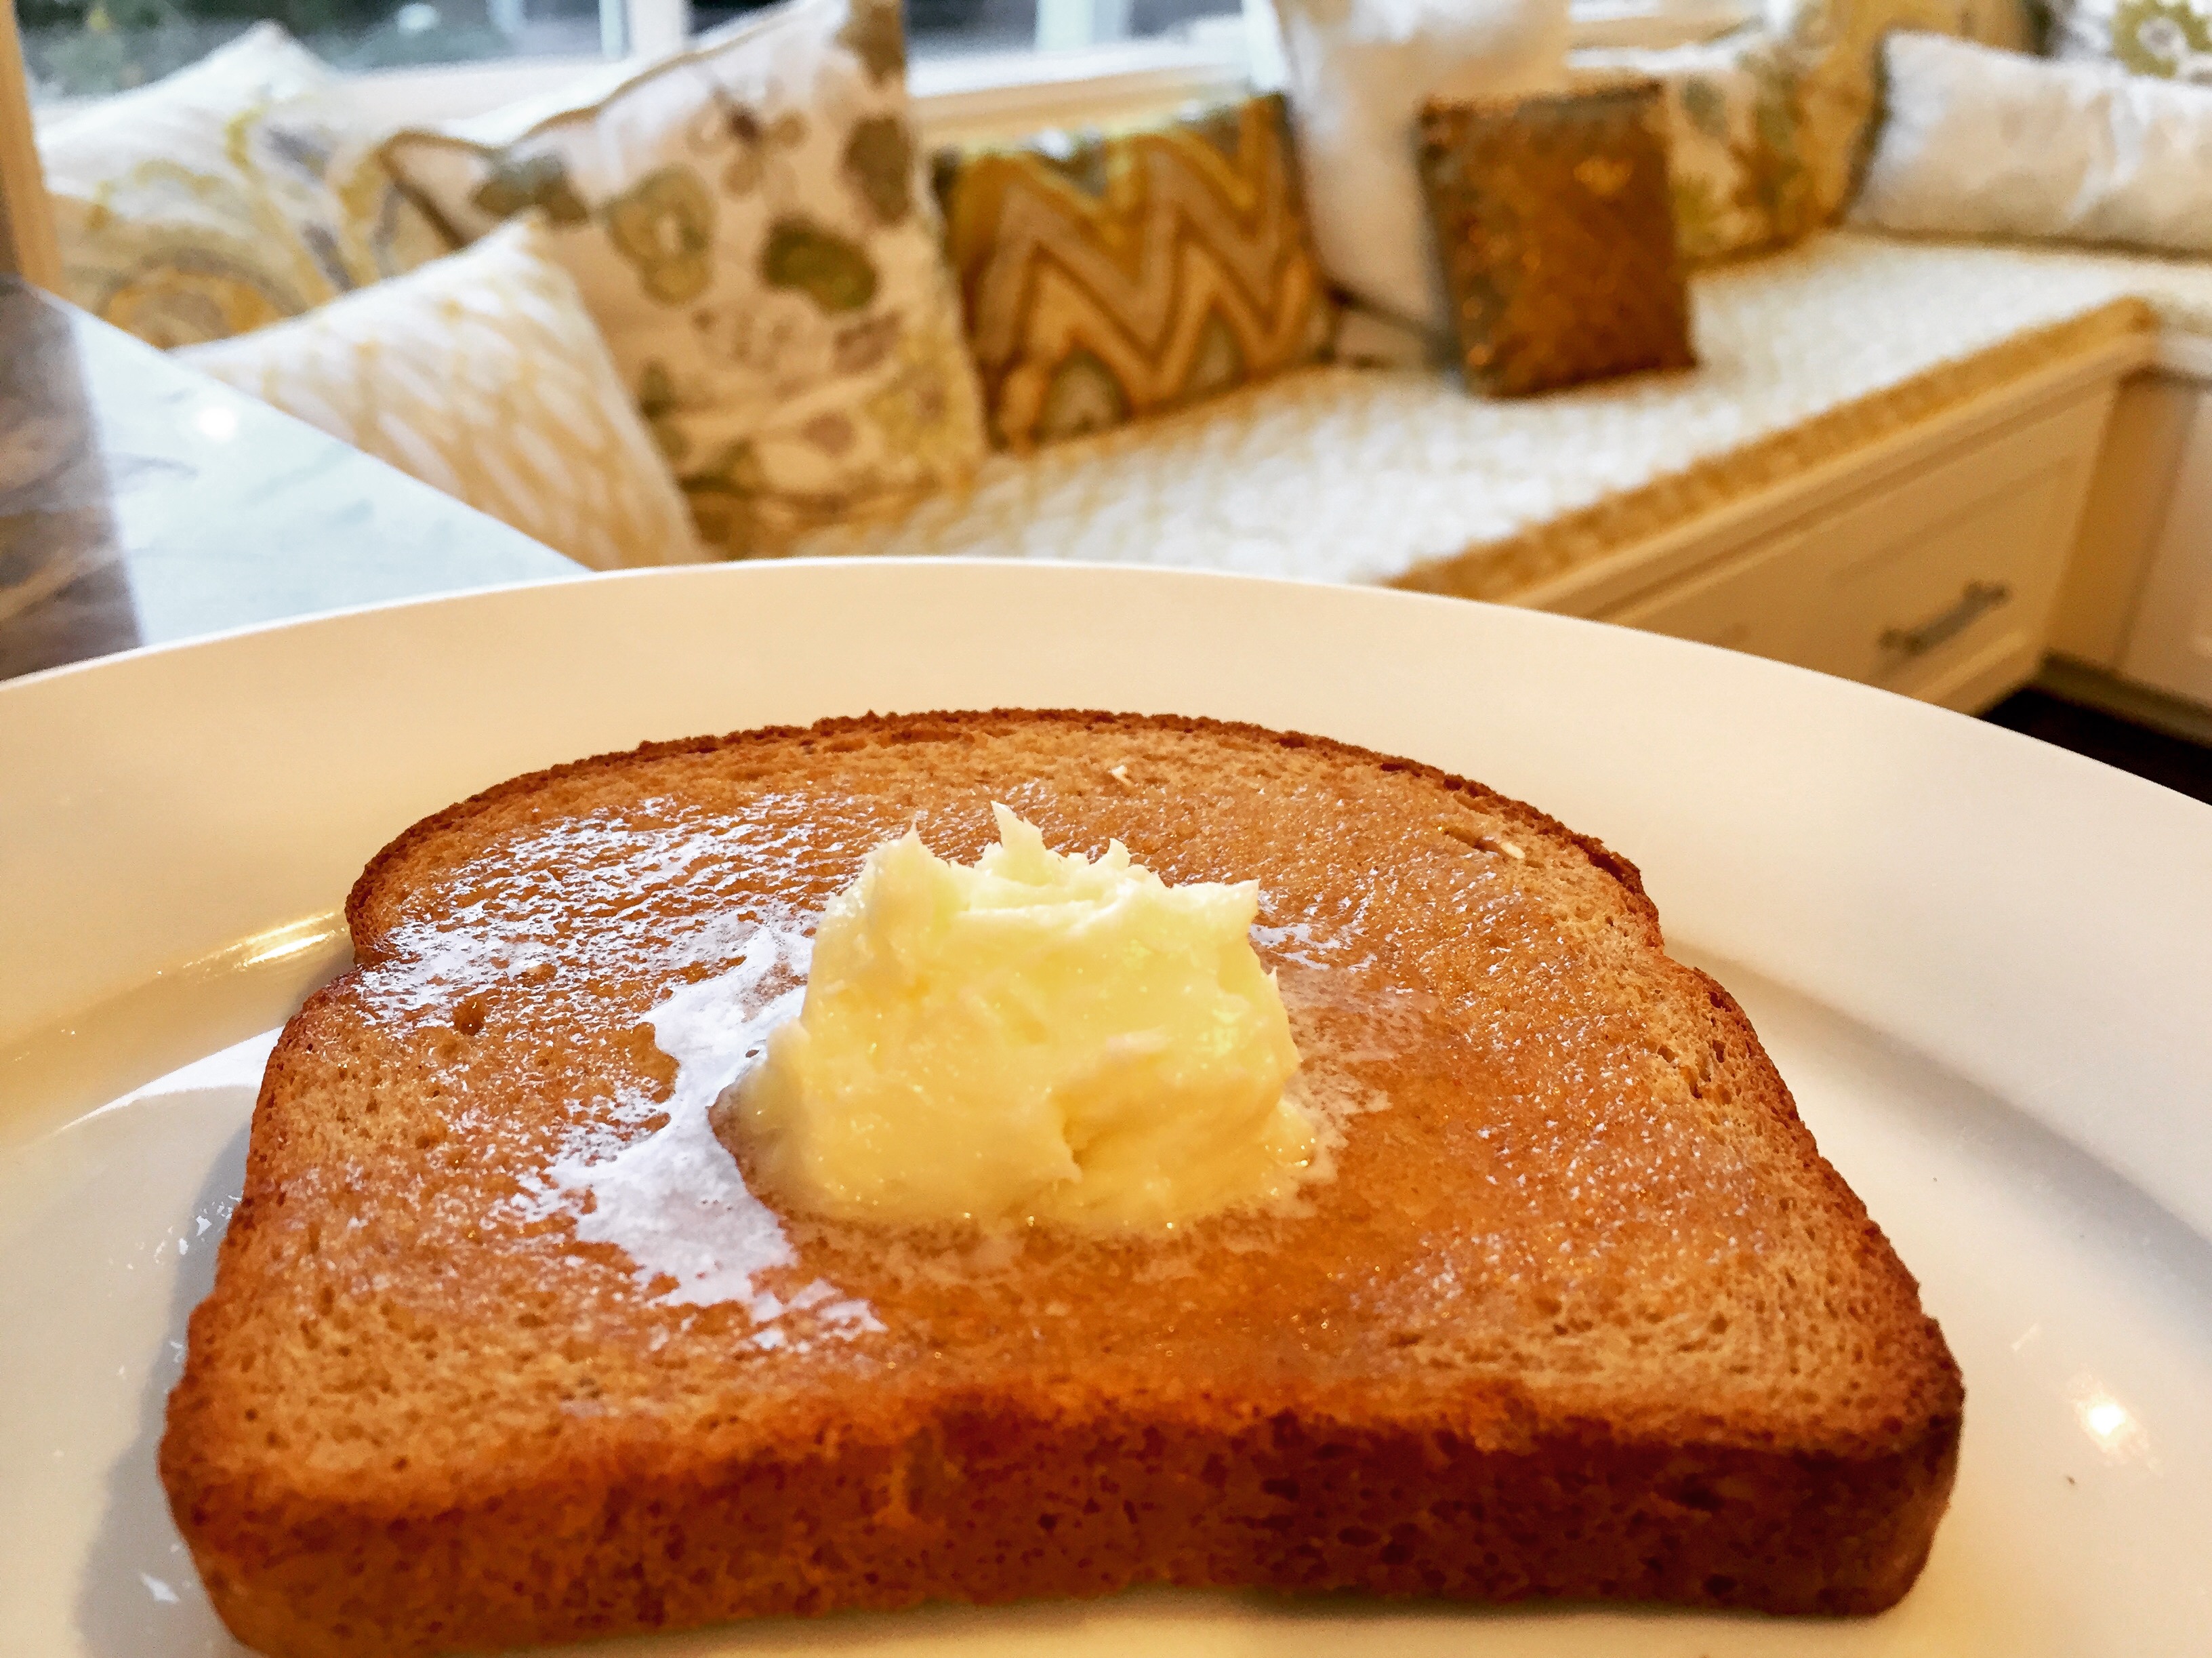
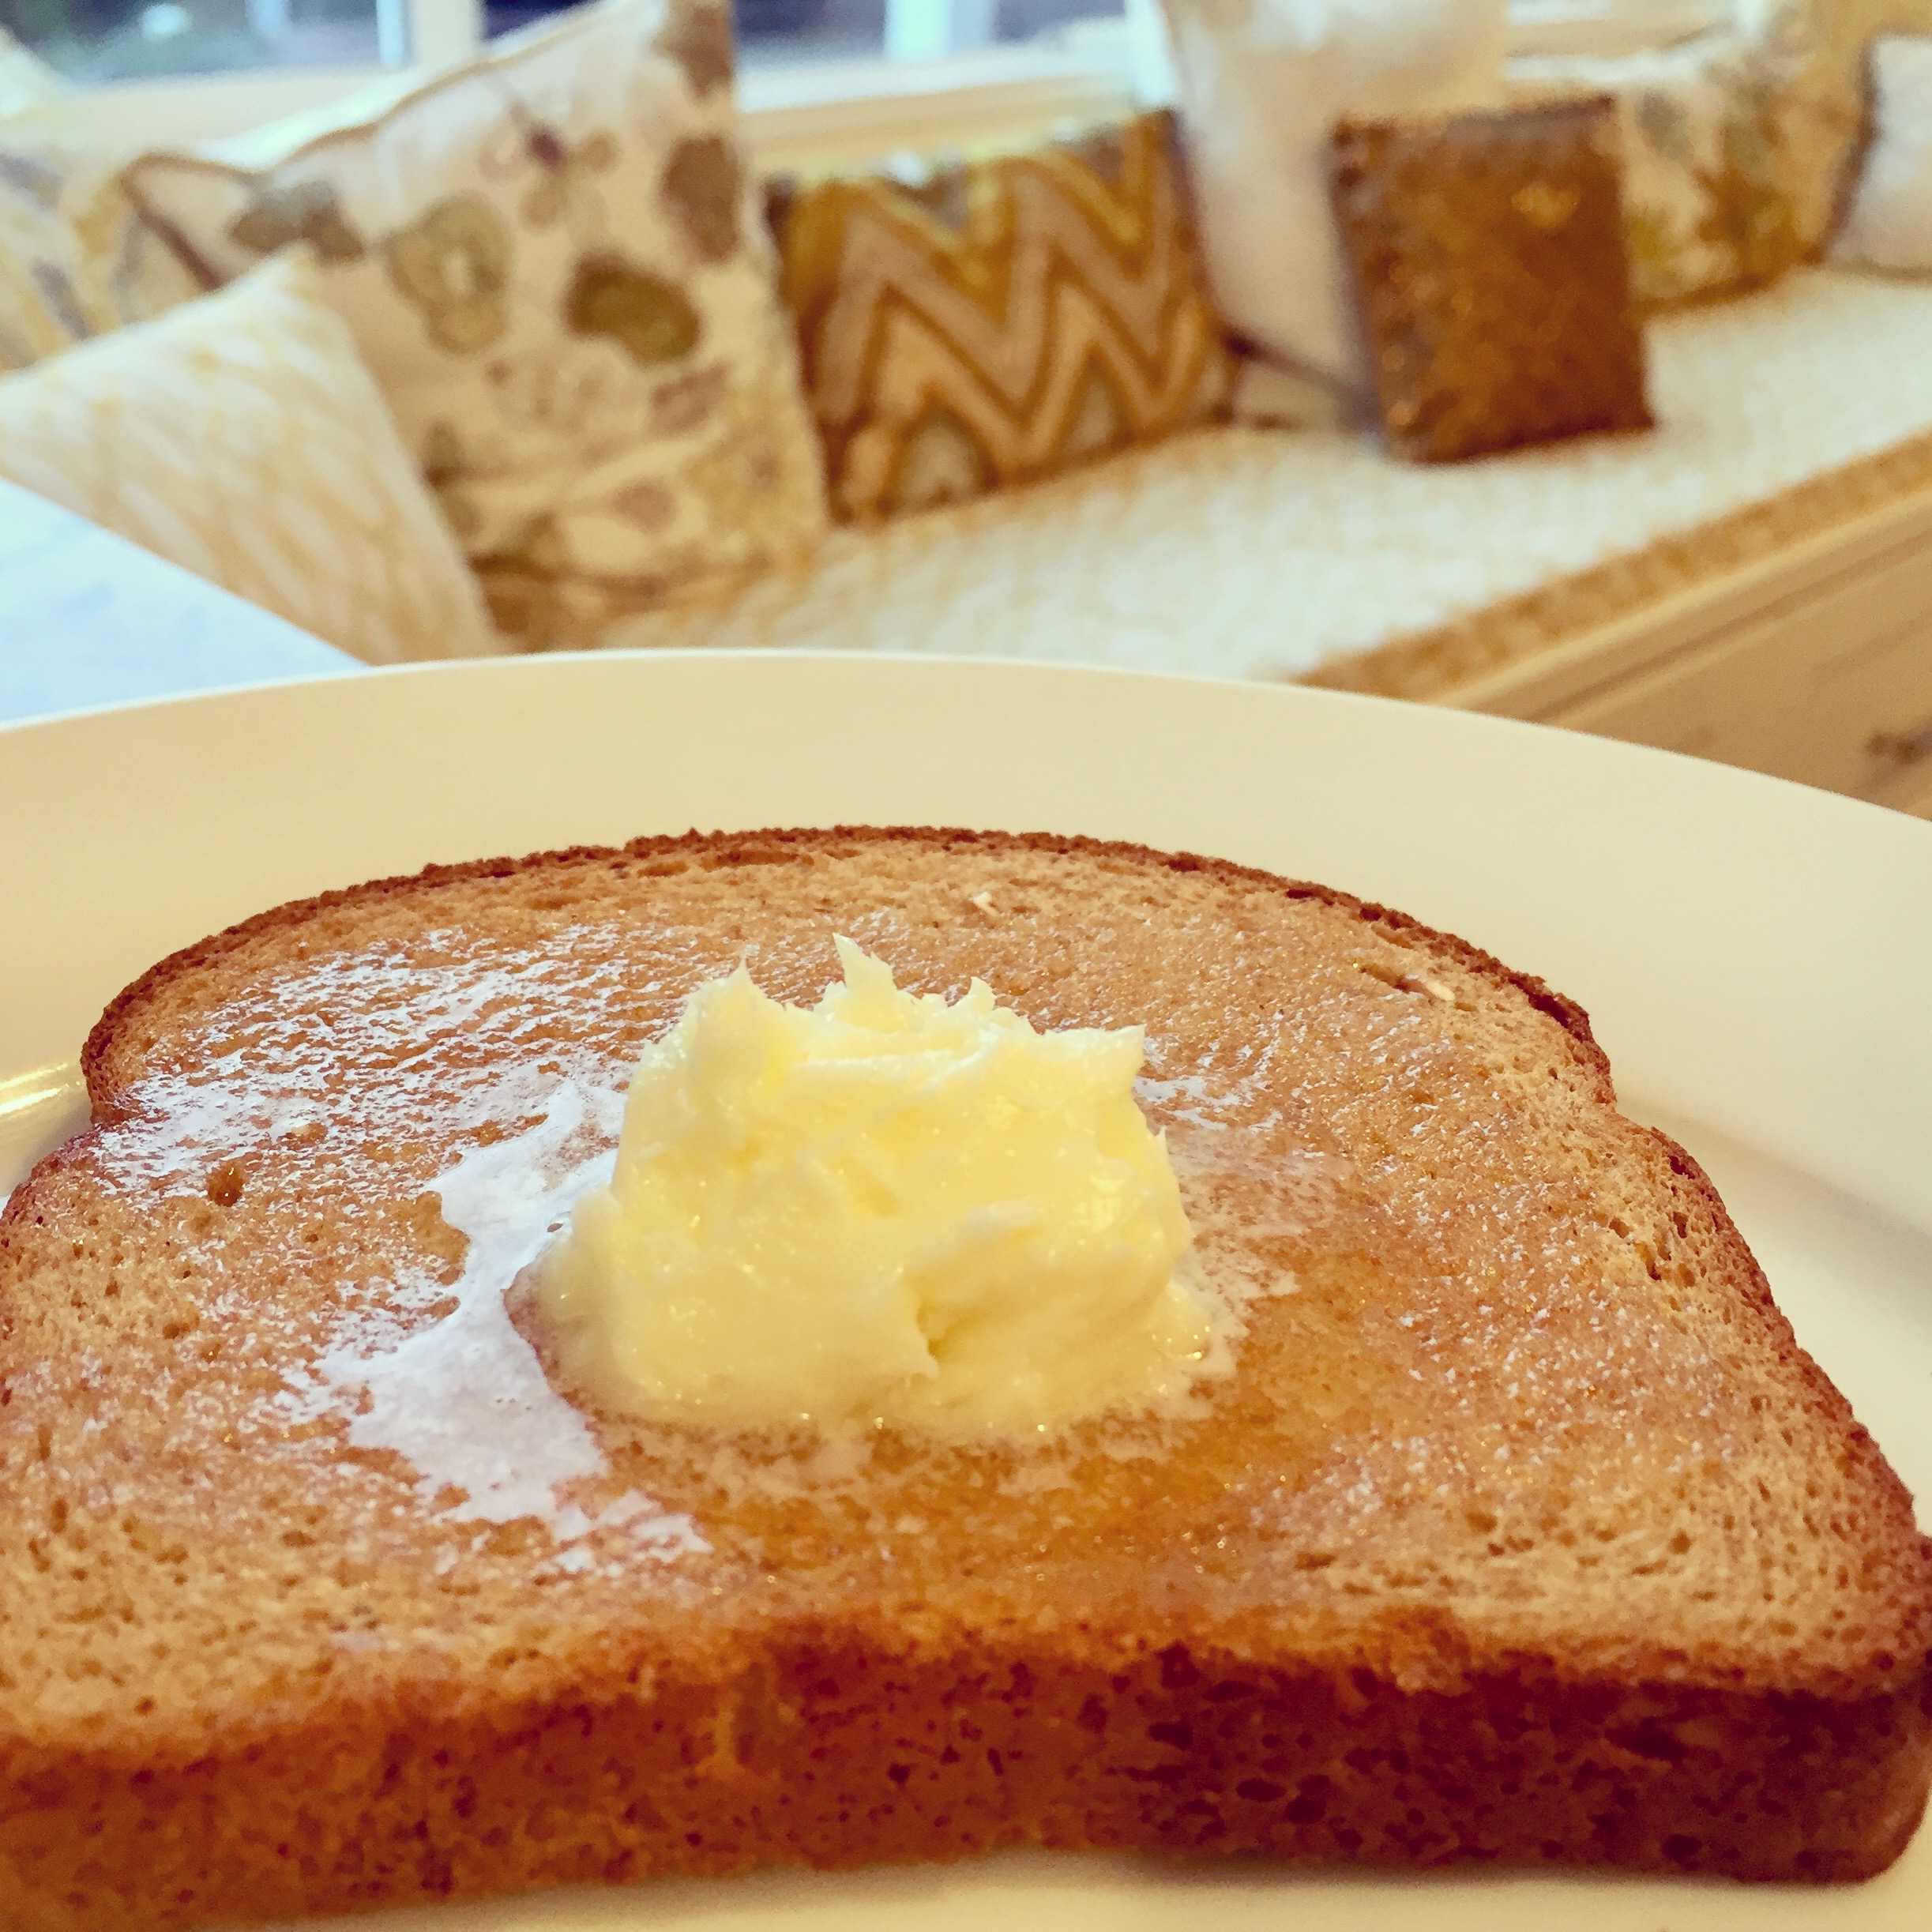
How To Make Old Fashioned Homemade Butter
There’s nothing quite like fresh butter and there’s no better satisfaction than being able to make it from scratch. And when children are able to do this, the thrill of making something like butter, turning a thick liquid into a solid and a thinner liquid is pretty amazing.
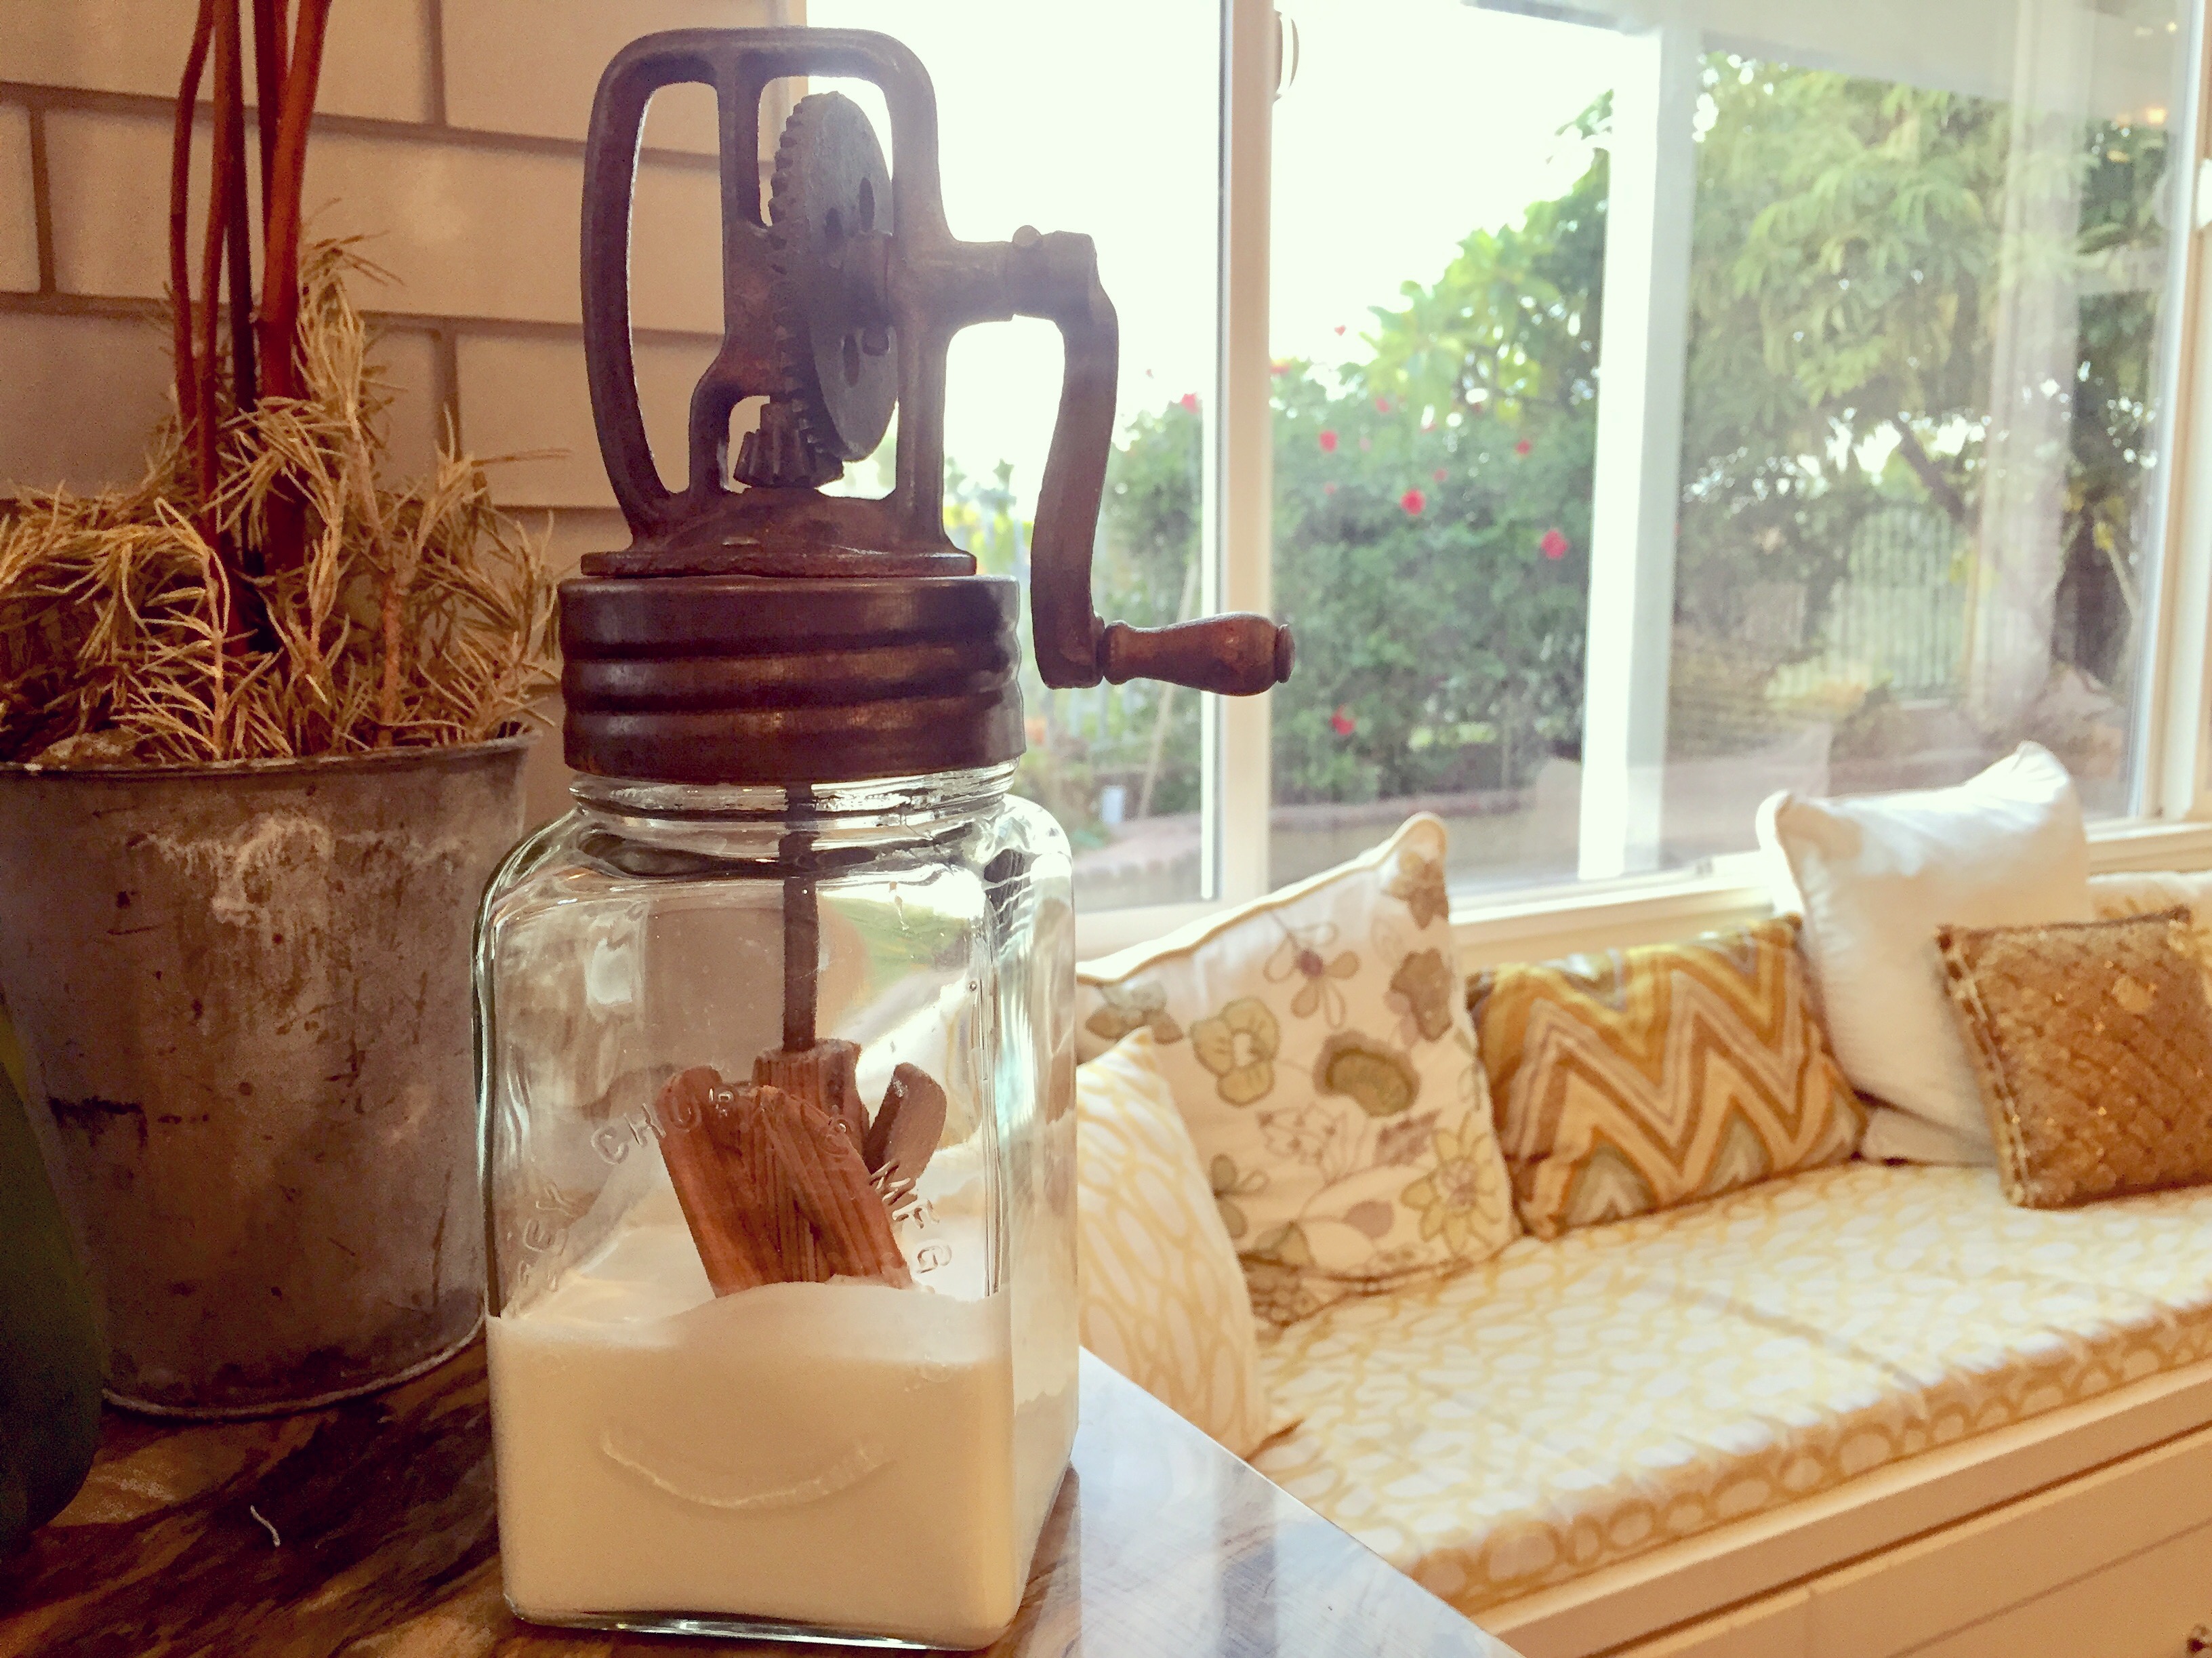
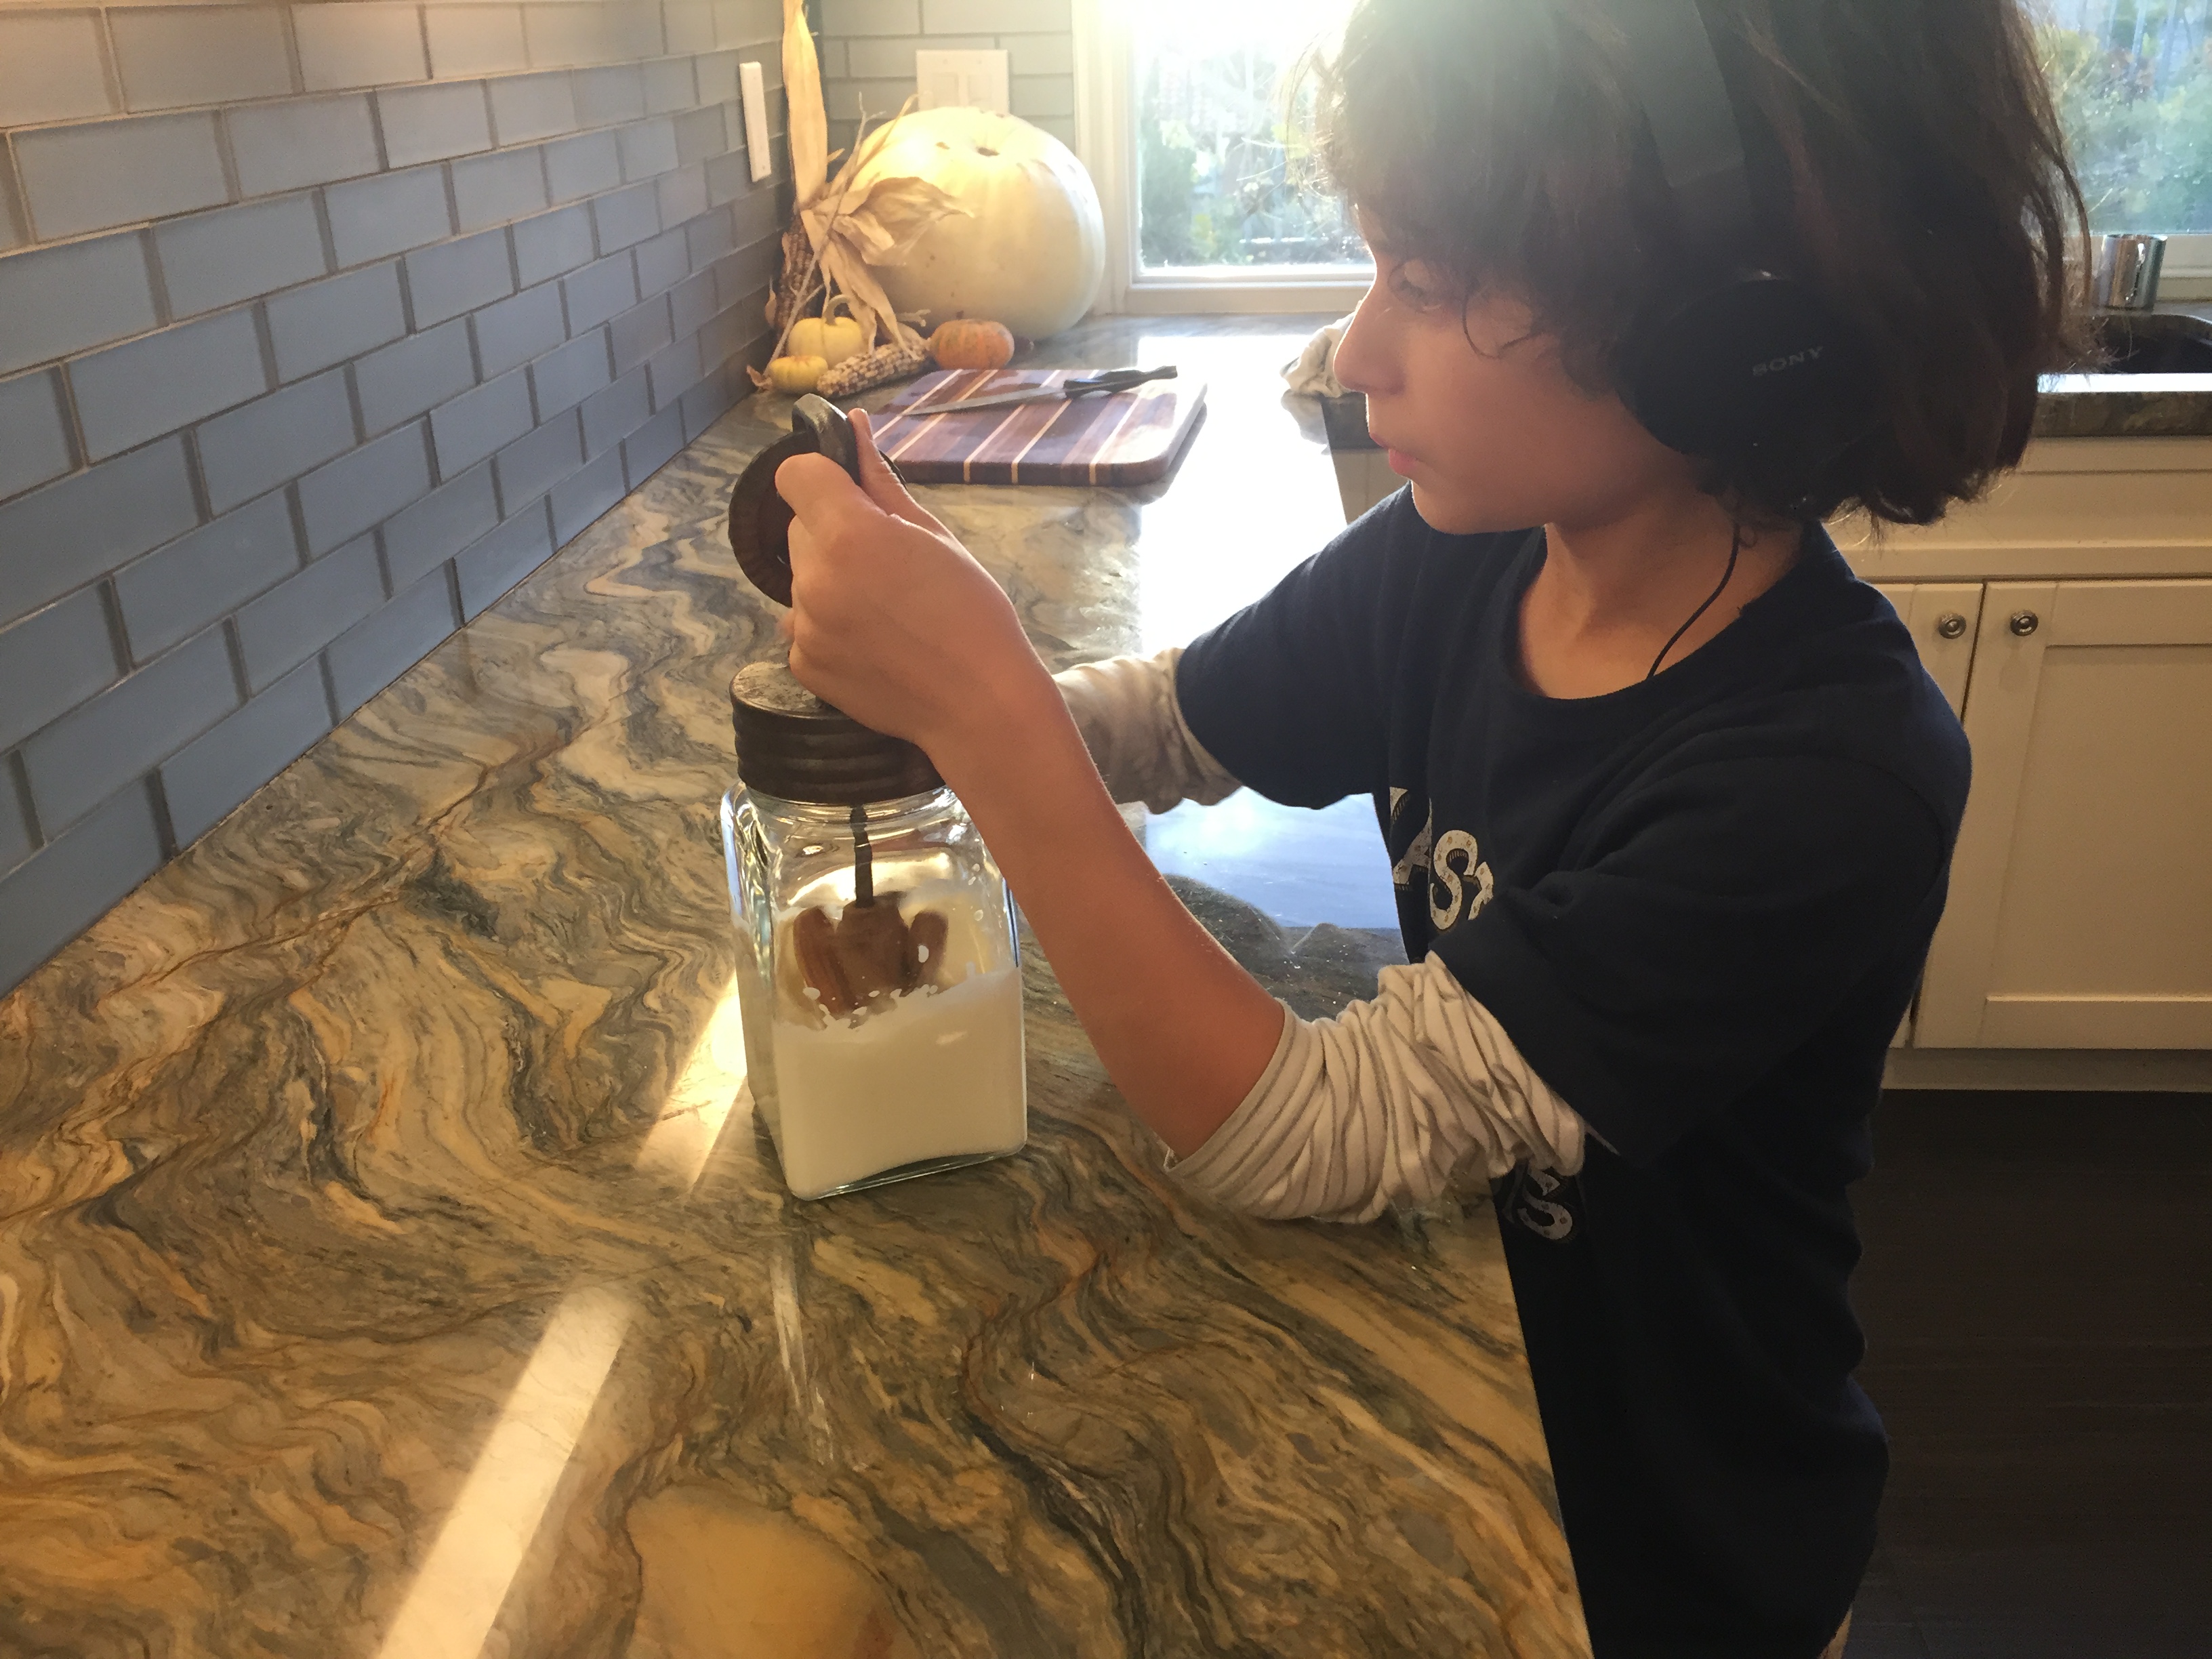
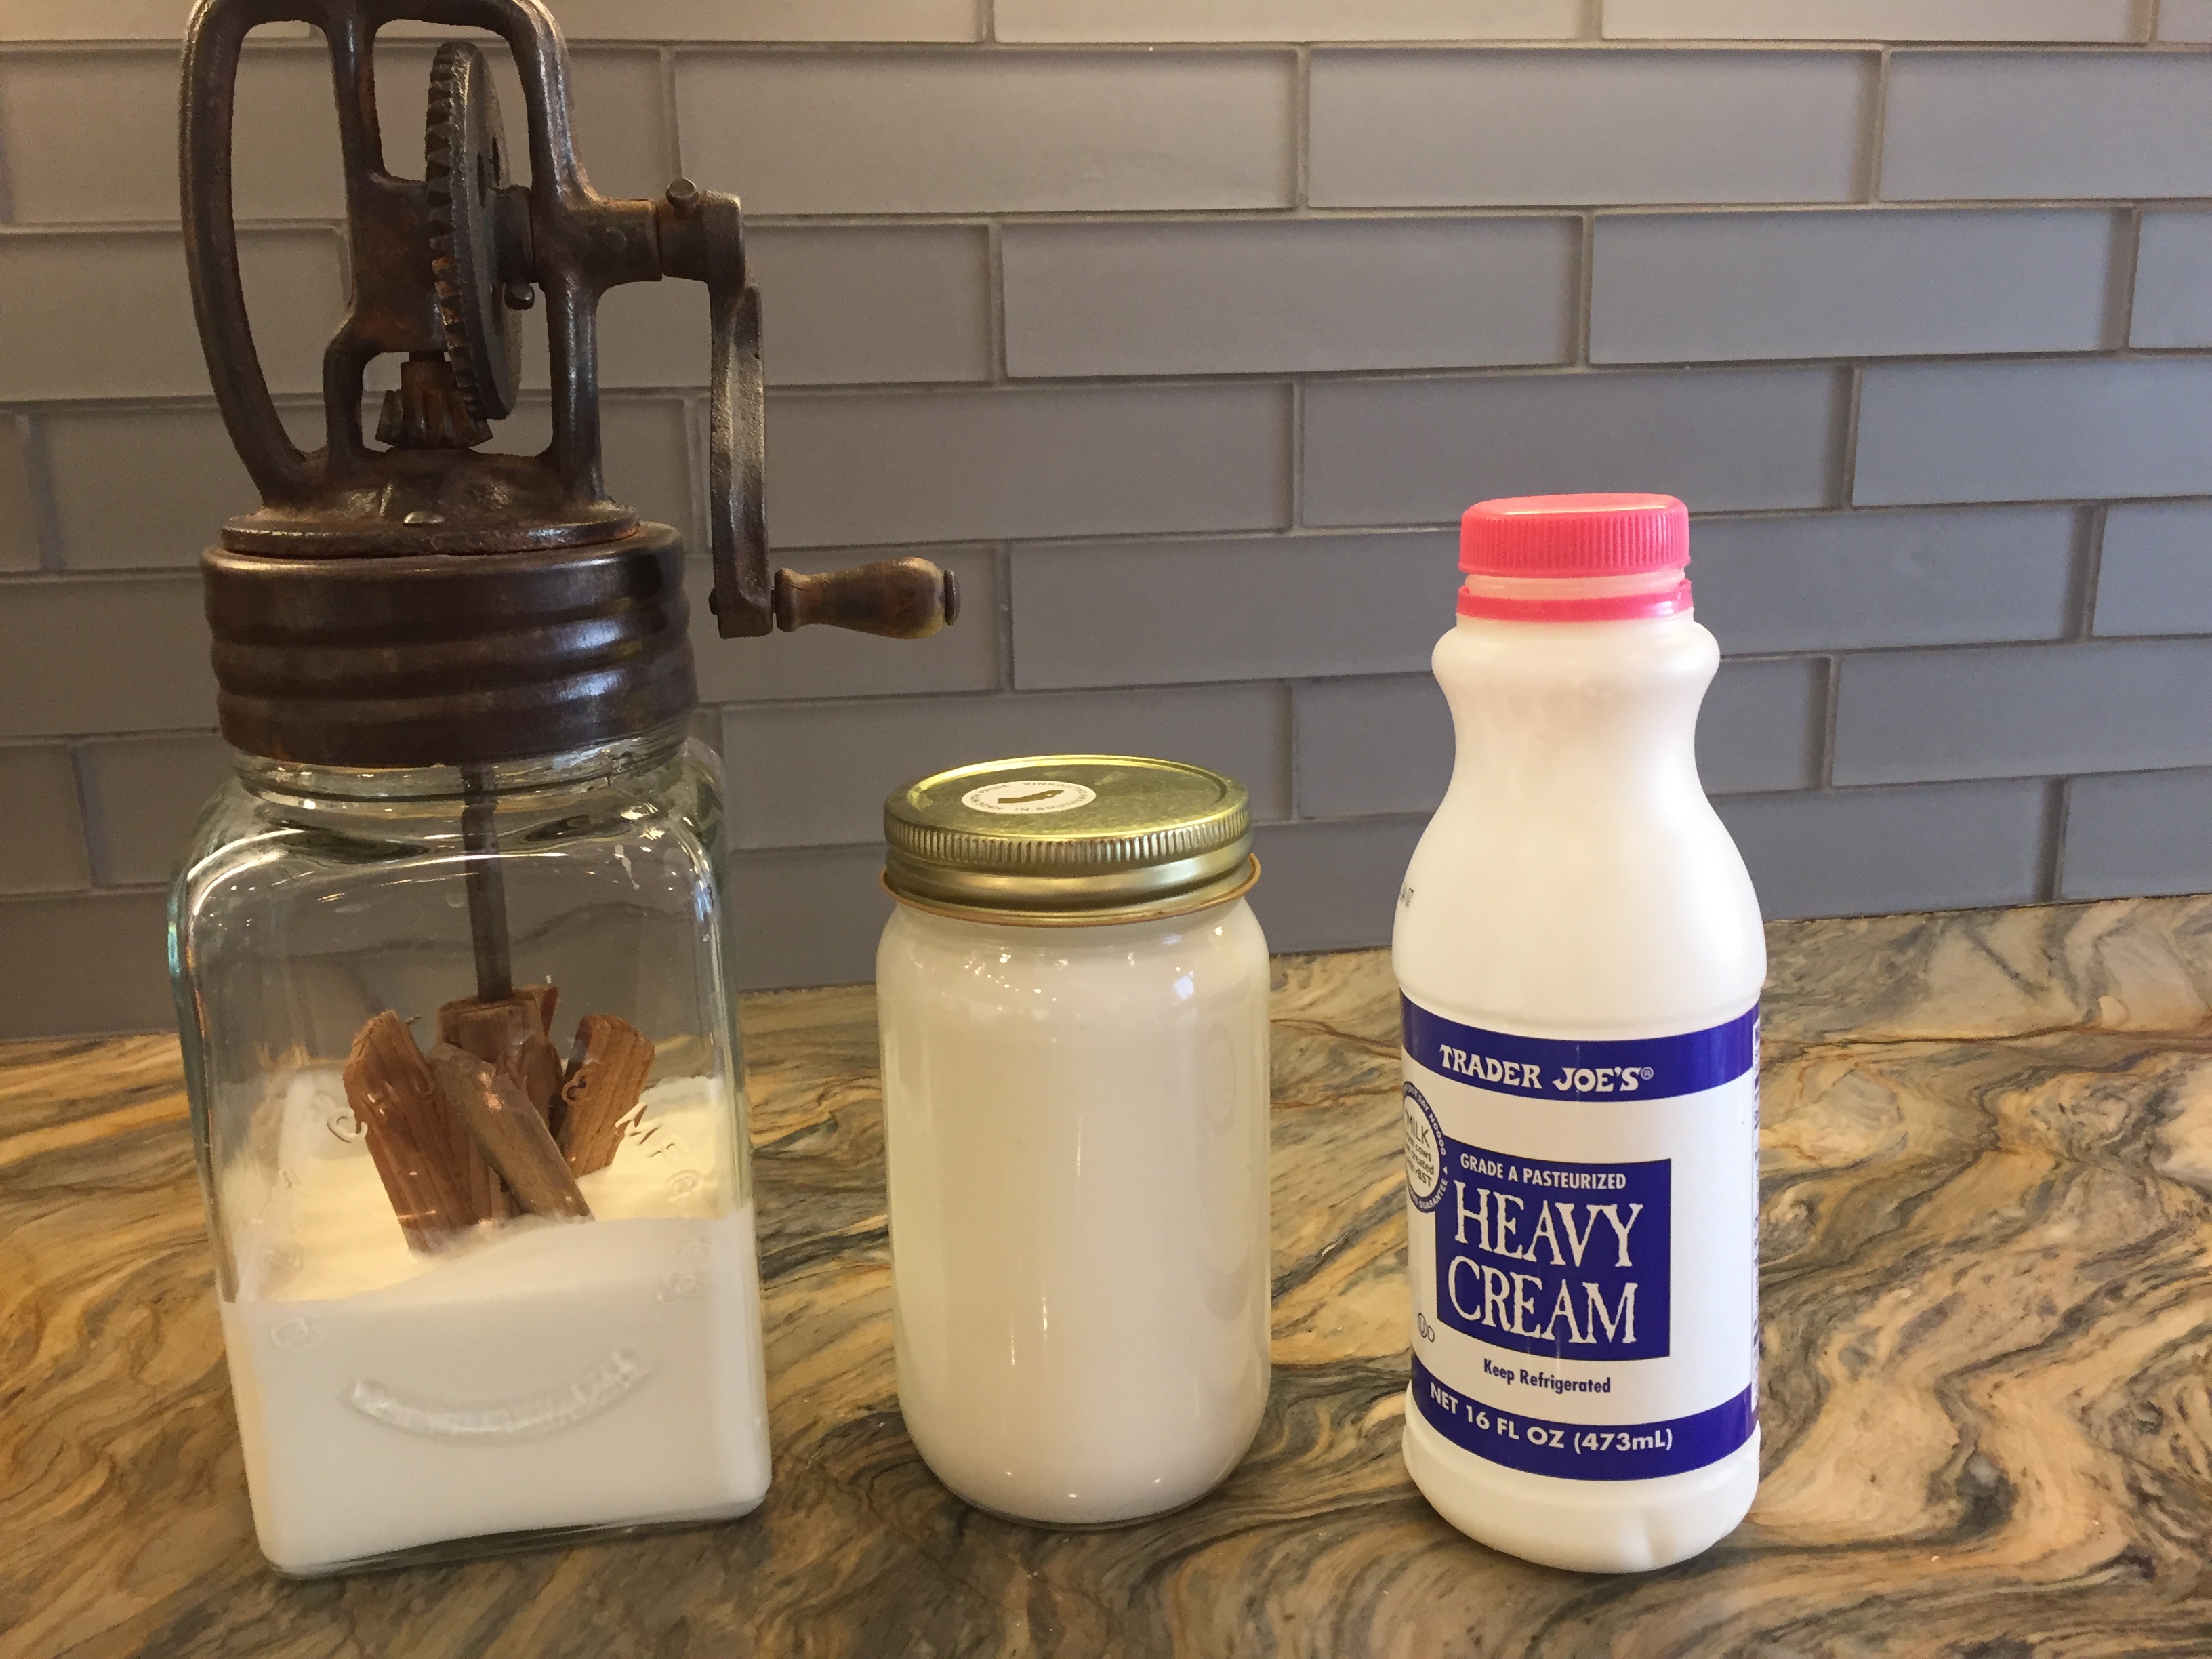
A few years ago, I wanted to buy a butter churn. I searched online and found this antique looking butter churn that was common in the 1800’s. You can imagine my surprised when it arrive, wrapped in newspapers, with cobwebs and silverfish inside…I had unwittingly purchased an antique! After washing it thoroughly, several times, I tried it out. It worked!
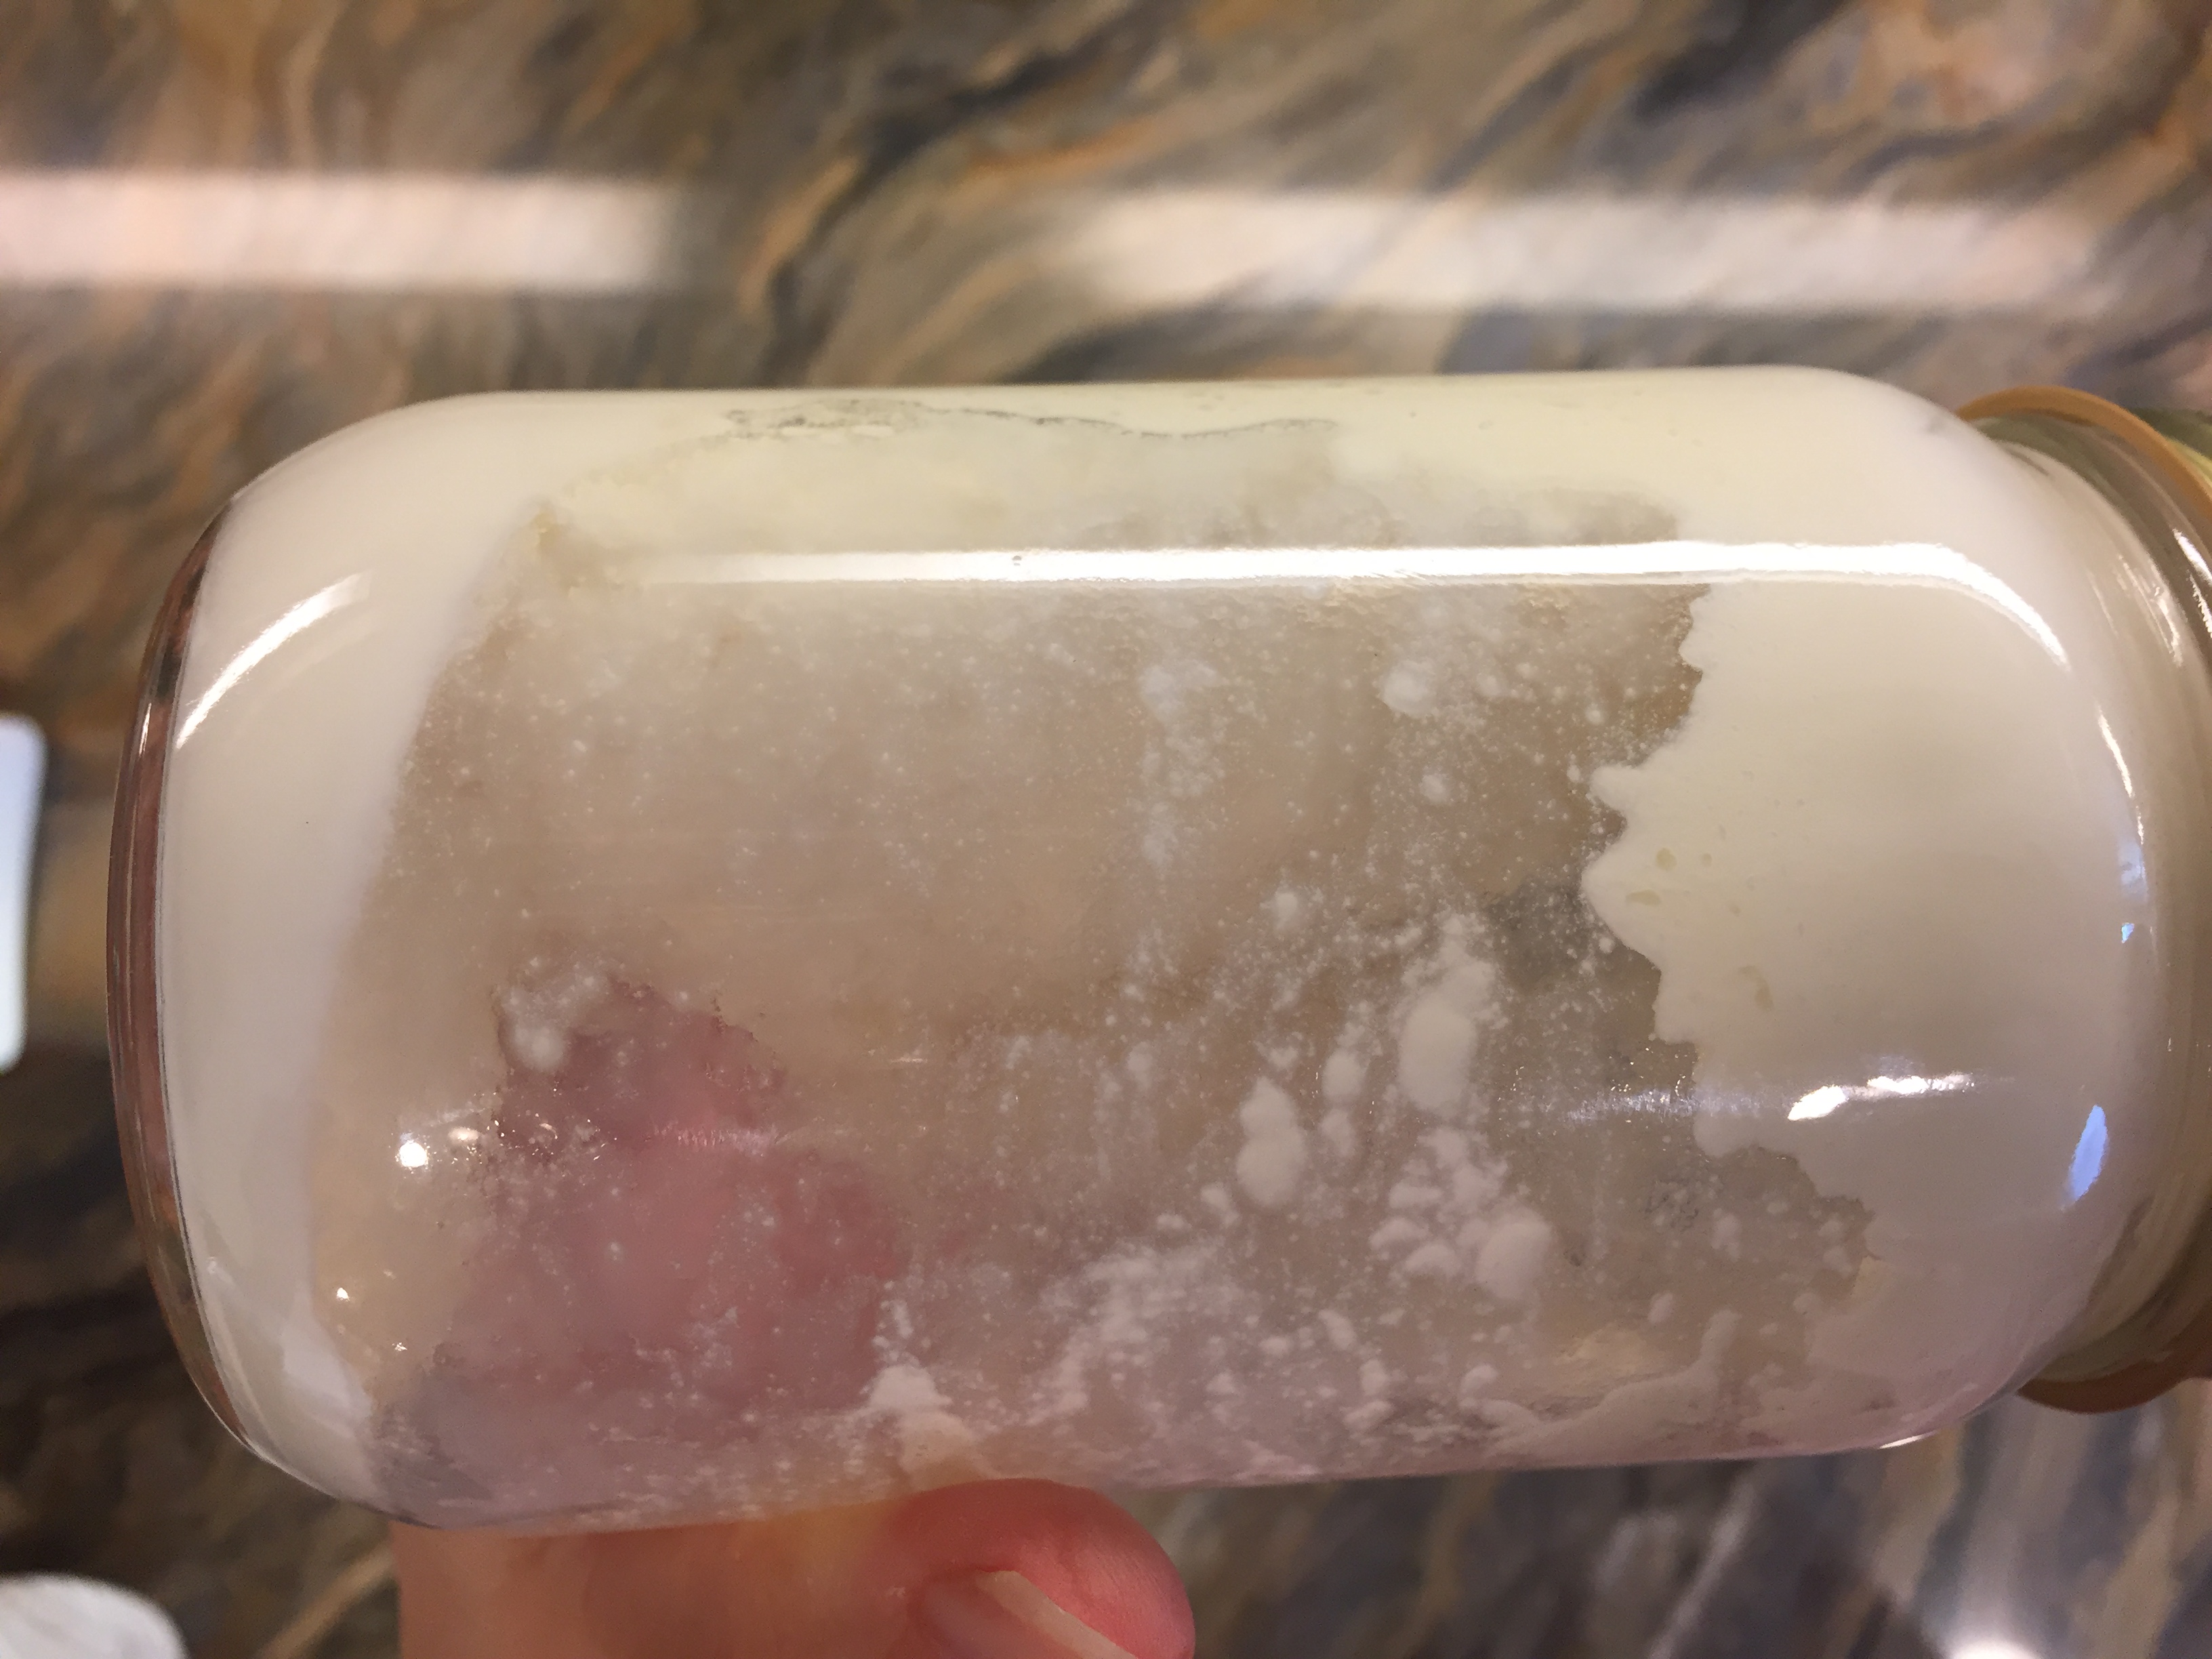
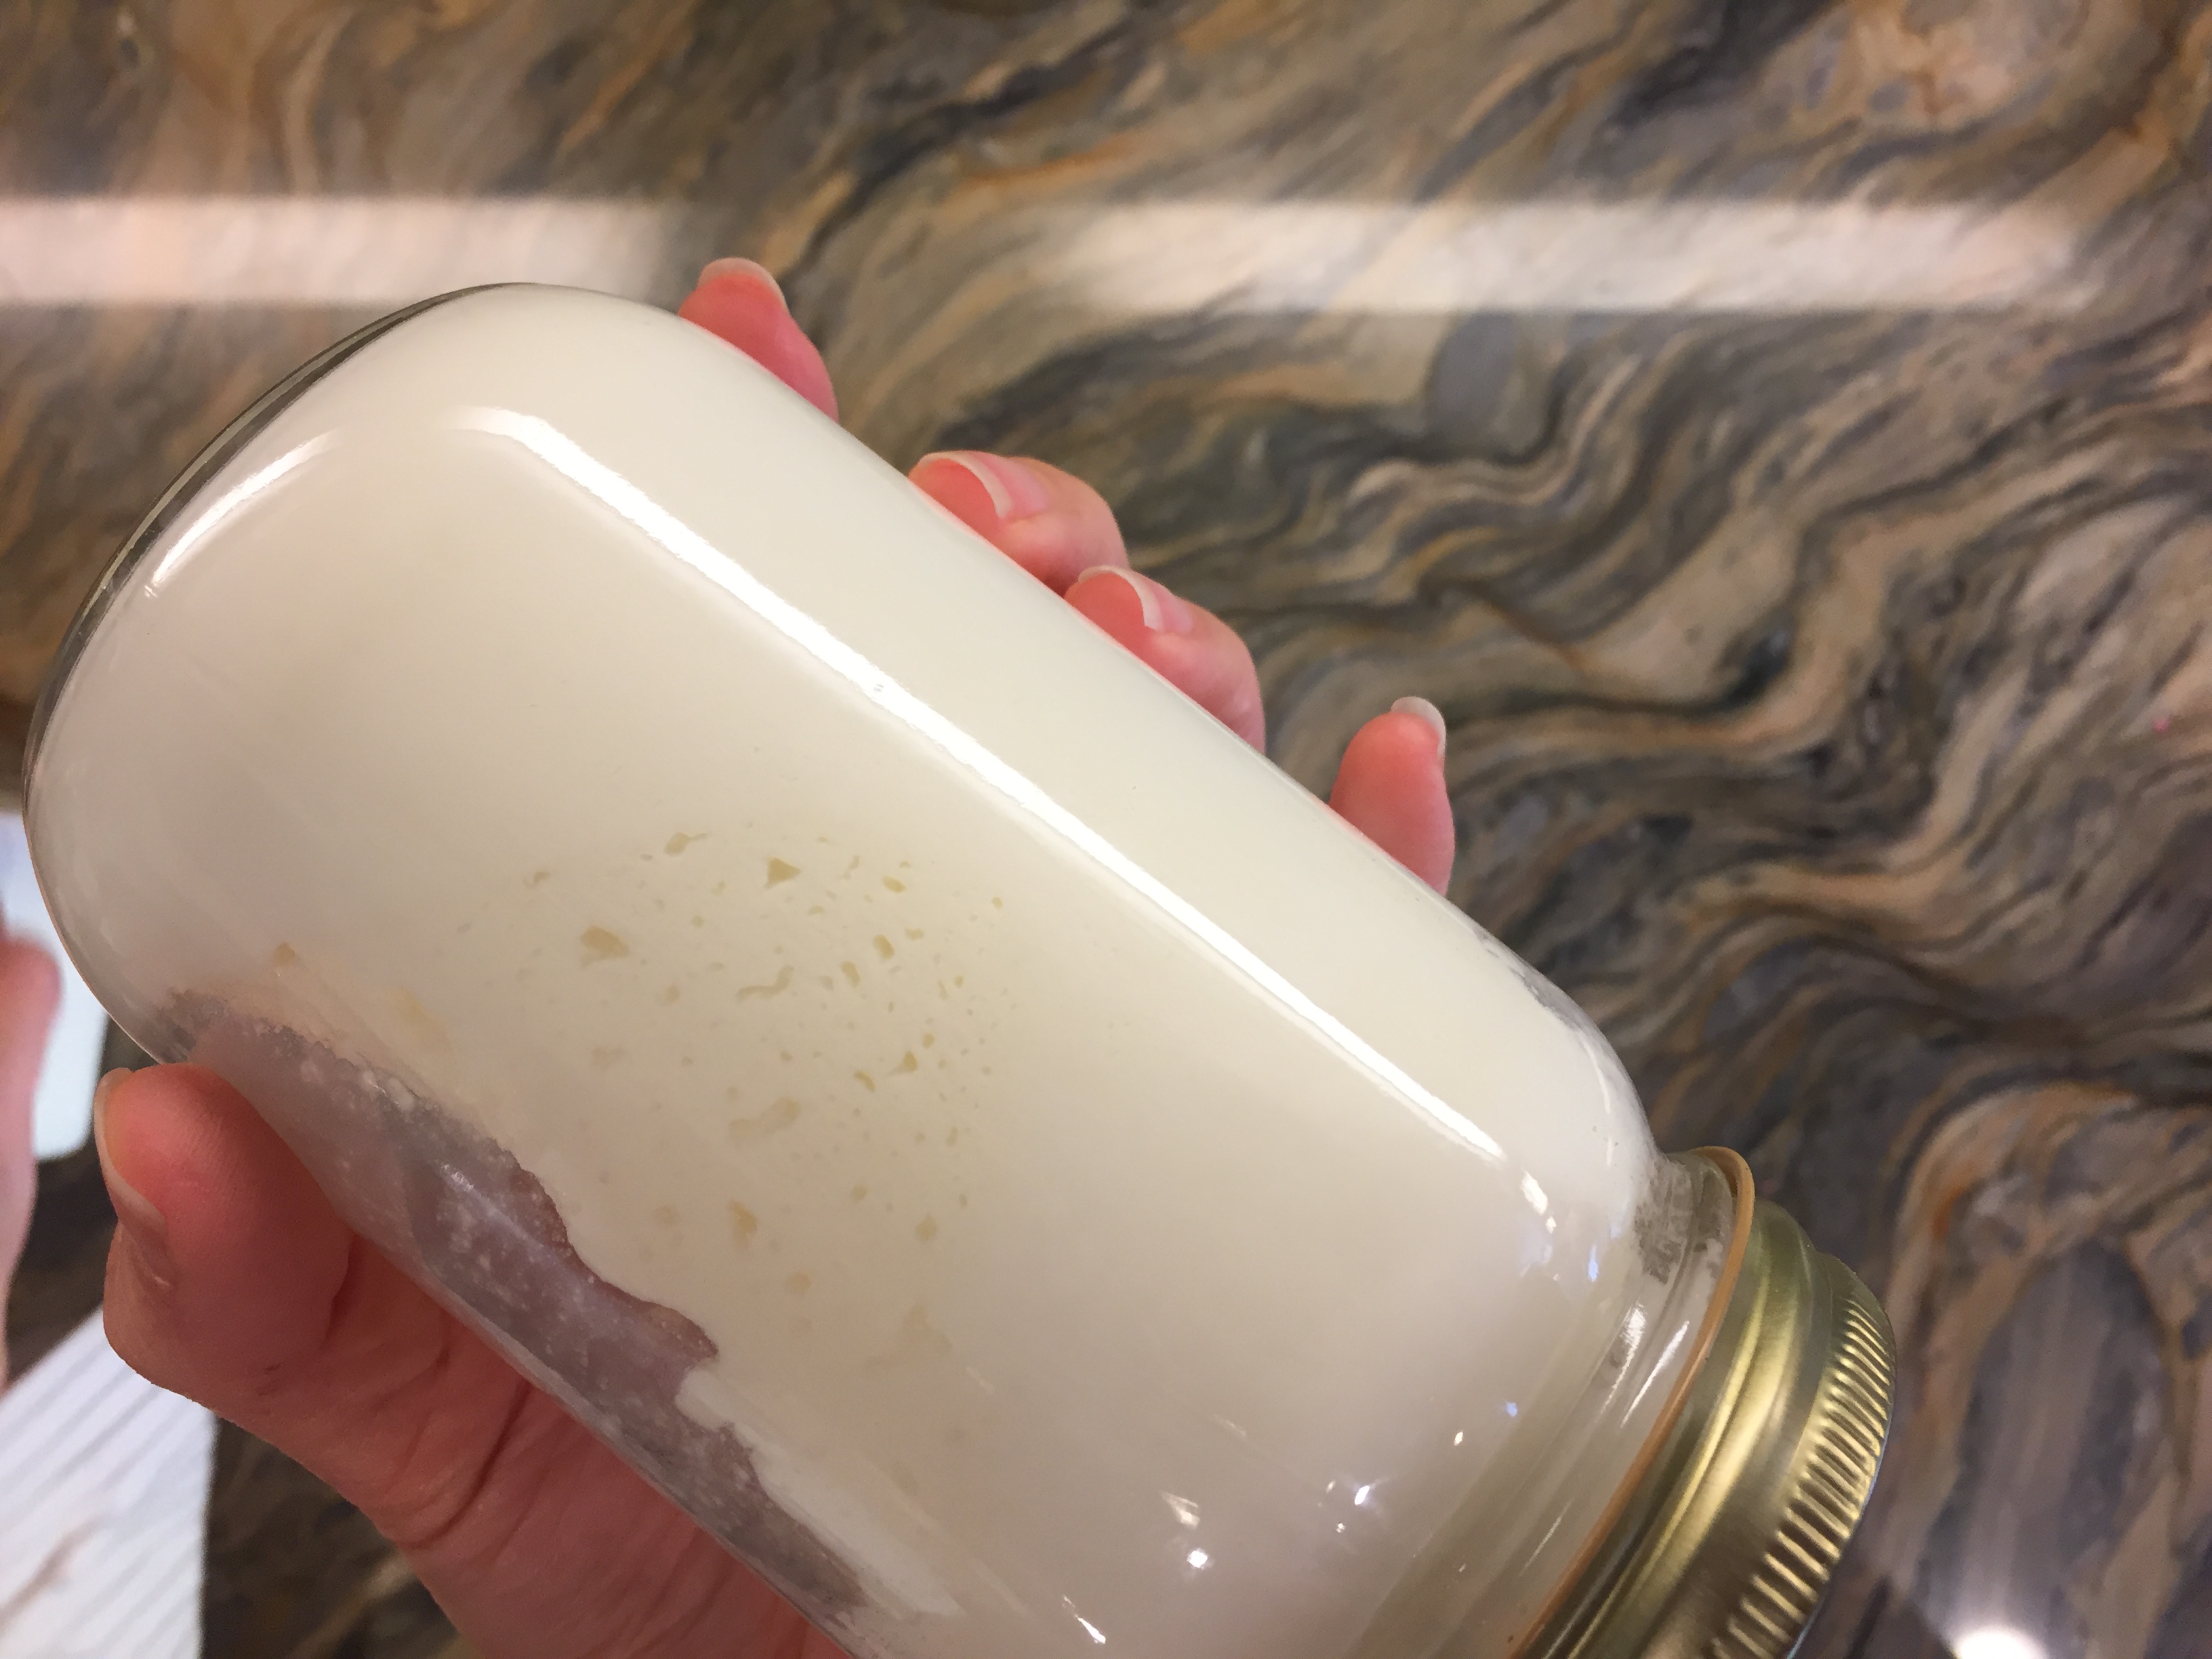
If you are making butter with children, you can definitely show them how a butter churn works, but you can also make butter in a glass jar. All you need is heavy cream. In a small 16-ounce mason jar, add about 3 ounces of heavy cream. Secure the lid and begin shaking. After about five minutes, the contents will become heavy and frothy. Congrats! You’ve made whipped cream. Keep shaking for another 2-3 minutes until you hear liquid sloshing around inside and hear and feel the thud of butter knocking around against the sides and lid.
Remove the butter by straining it in cheese cloth or with a strainer. You can keep the butter milk and use it in lei of water when making bread, or make cultured buttermilk with it. You can salt the butter or leave it plain. Just store the way you would store store-bought butter.
Colonial Feast
Heading to the kitchen for a feast or a new dish has always been some of our most memorable occasions. In this case, it wasn’t what I or my children expected and I admit, I was quite annoyed at the work and prep I put in to this feast which included making butter from scratch, using natural dyes to dye yarn, candle dipping and a handwork project in which we stitched leaves. You can read all about it in this Instagram post.


CURRICULUM REVIEW | AMERICAN HISTORY | COLONIAL TIMES
We completed our Colonial Times unit study from our American History unit. Some books were fantastic! Others were okay, but not worth owning. We did a number of activities inspired by three activity books, but if you had to just pick one, which would you choose? I’ll share my pick and thoughts on why I chose it. We included some games in our unit as well as an audio CD. The instrumental music of the colonial times was the best!! I loved it as did the children. We played it every morning and often listened to the whole CD 2-3 times throughout the day. We started these cooler often cloudy or misty mornings with a candle and the soft colonial times music playing in the background. Often we kept the blinds in the school room only angled open but not raised so the room was darker than usual (more than adequate for doing school work), and turned on our accent lighting but kept the harsh bright overhead track lighting off. We kept other superfluous busy work to a minimum. I only assigned a one worksheet each in math and grammar (review work) and one worksheet daily in fractions for my 5th grader. We held off on spelling practice, mental math, poetry and the seerah (religious studies. My 5th grader often started the day with his worksheets and playtime with his sister who is five years old. later in the morning we would begin reading, but often we wouldn’t start reading until afternoon or evening. We would either sit around the fireplace and read or sit on the couches with hot chocolate and read. For this unit I did three big chalk drawings and my son copied them into his main lesson book. I also did two smaller chalk drawings of which I don’t have videos for. Two entries in his main lesson books were copied from books we read. I penciled an outline and he drew it in and colored it. We alternated between oral and written narrations. Actually we did more oral narrations. My 5th grader read a number of historical fiction on his own. I had intended to turn at least one of those reading assignments into a book report but didn’t. Maybe I still will or maybe I’ll save it for the next unit. Having disliked book reports in school, I have an aversion to assigning them. I think a far better method is simply asking the student about the book and asking who the author is in an organic natural manner. I don’t want to kill the spirit of reading by assigning reports. He’ll likely quit reading so many books for school or cut down on the number. Right now he reads them like they’re for pleasure, and he’s learning so much. For this unit, we did a number of hands-on projects and activities. Since this unit overlapped with fall and Thanksgiving, it was seasonally appropriate to be making pumpkin pie, apple desserts, and spiced apple cider. We churned our own butter using an antique butter churn as well as made it in a jar we shook vigorously. We also made popcorn, vegetable soup in a pumpkin and candied orange peels. We also made a child-sized broom and mop. We marbled paper, made a quill and spun yarn. I loved it all and my children were equally amused and educated in the process.
You can see the complete playlist for our Colonial Times unit study, and see all the materials we used the chalk drawings we made and projects we did.
See the complete list of materials we used for our history units by checking out my free download at Teachers Pay Teachers.