
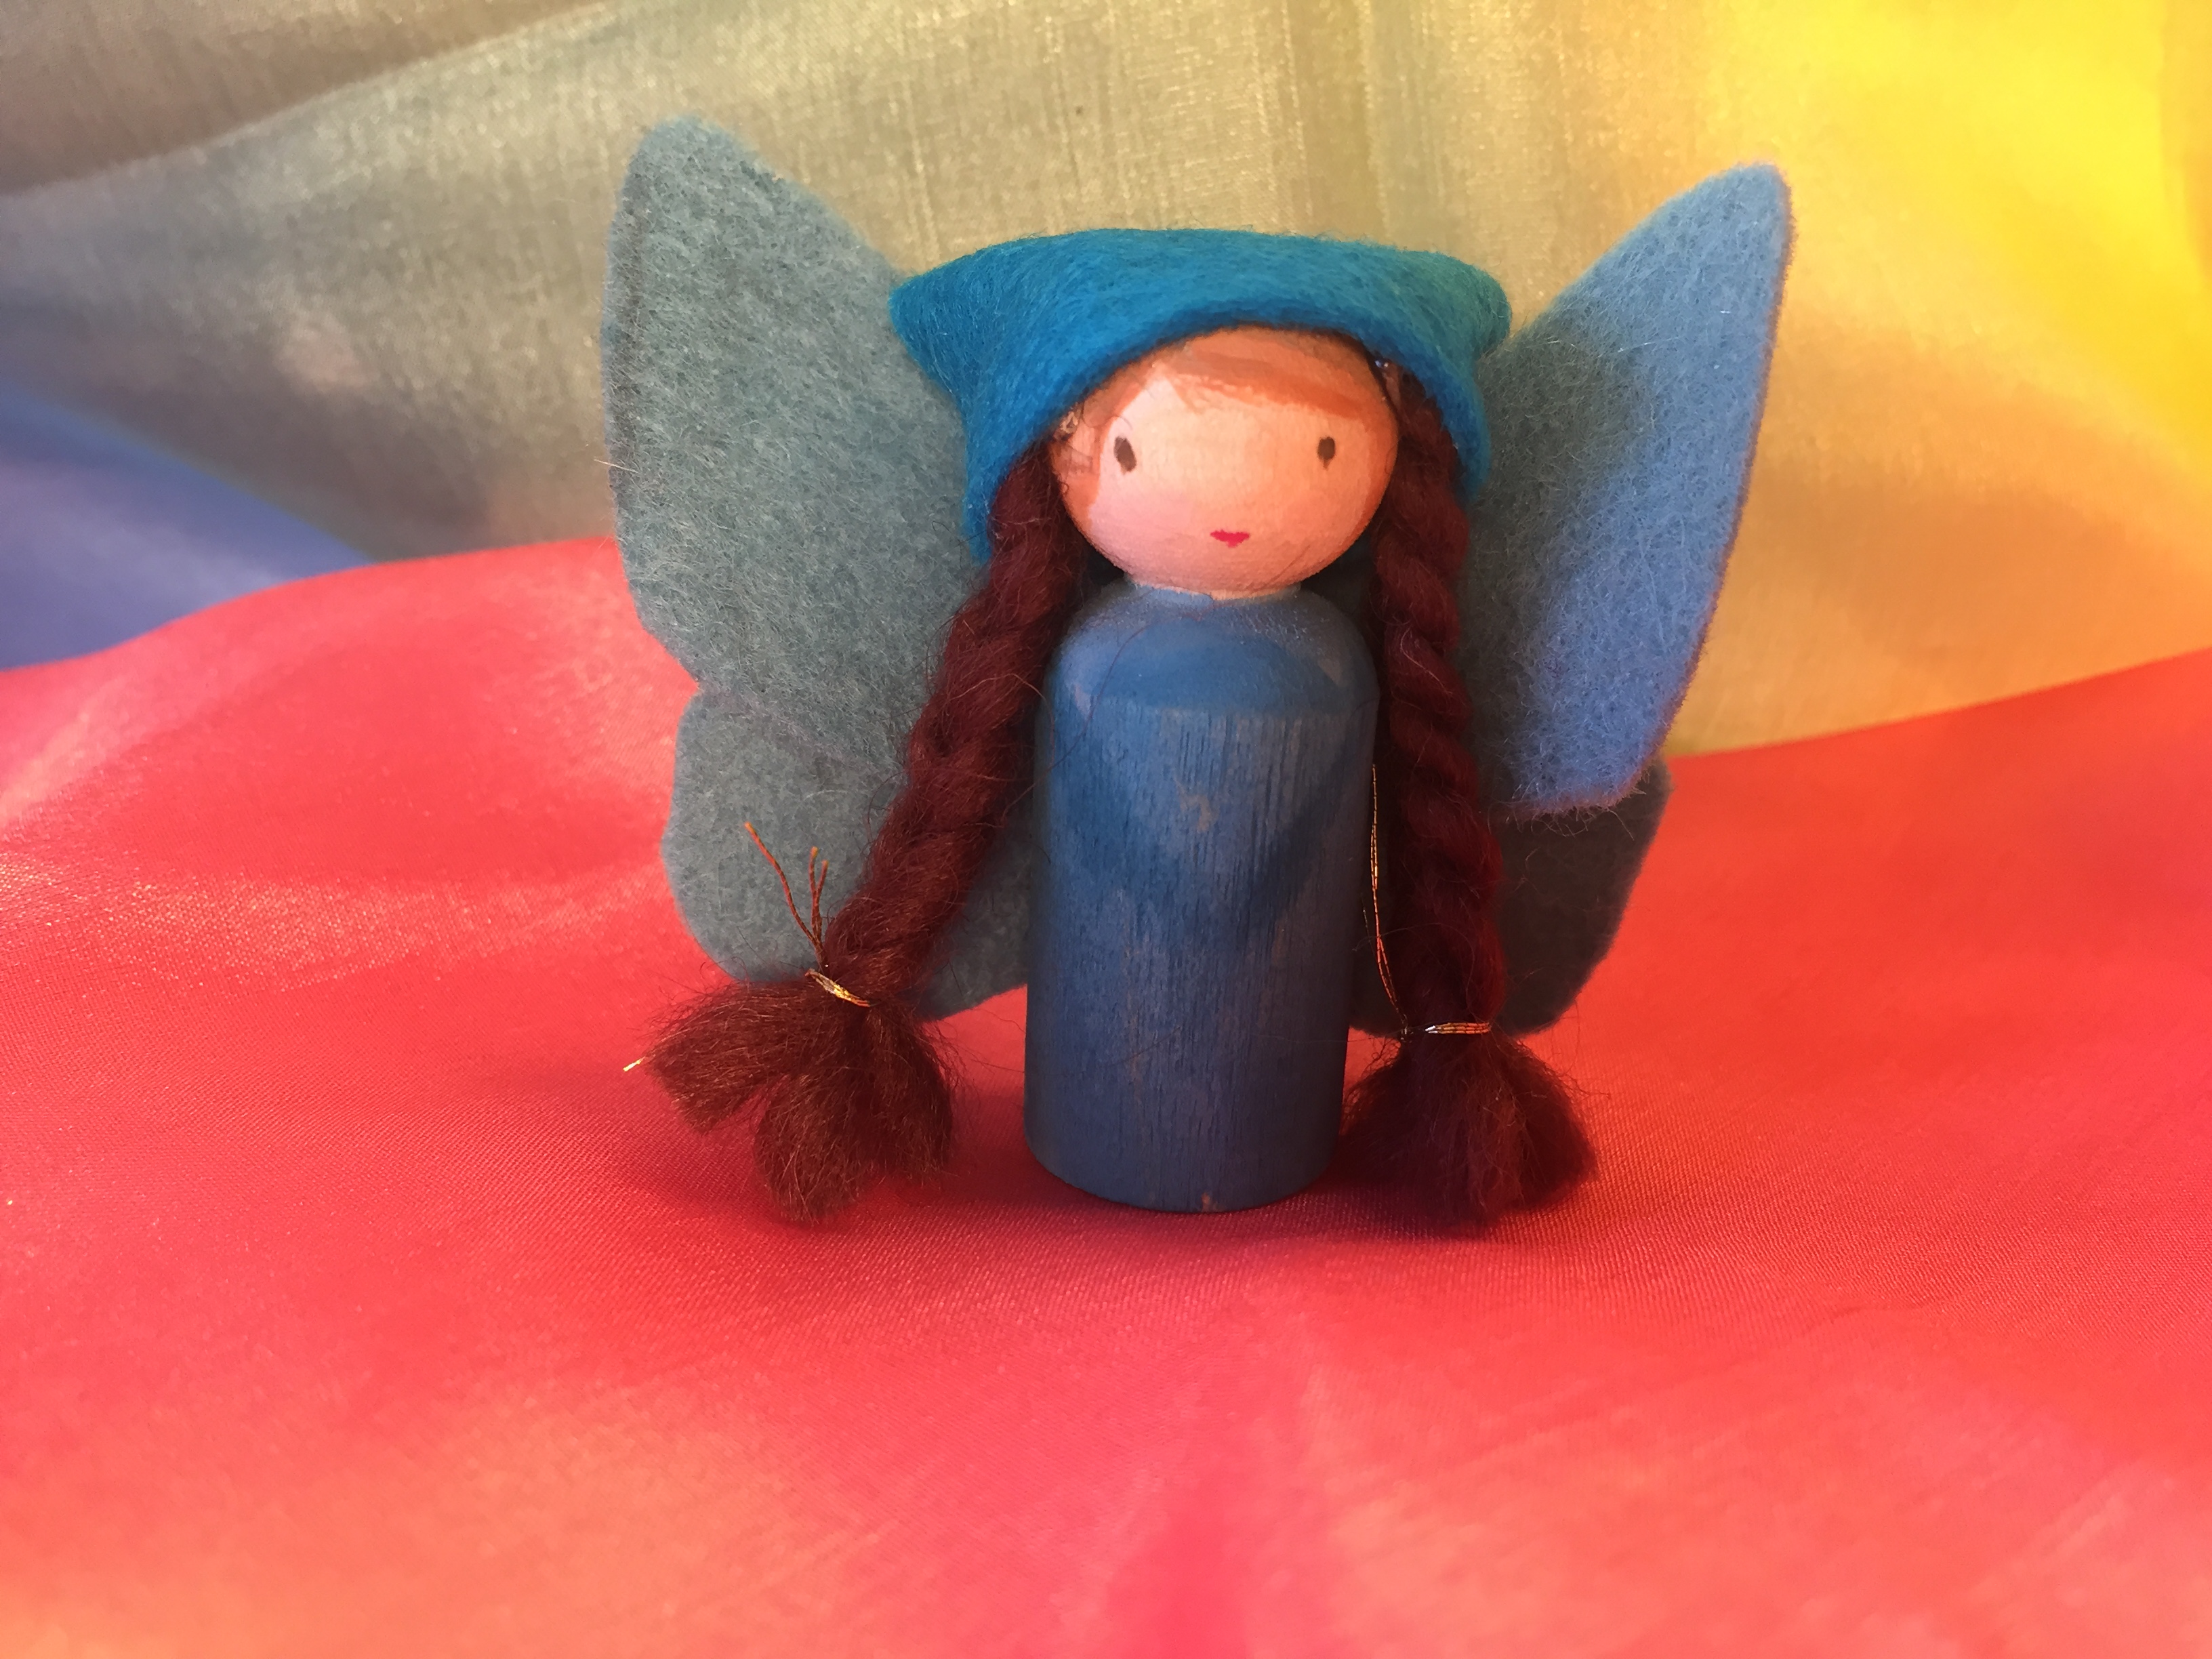
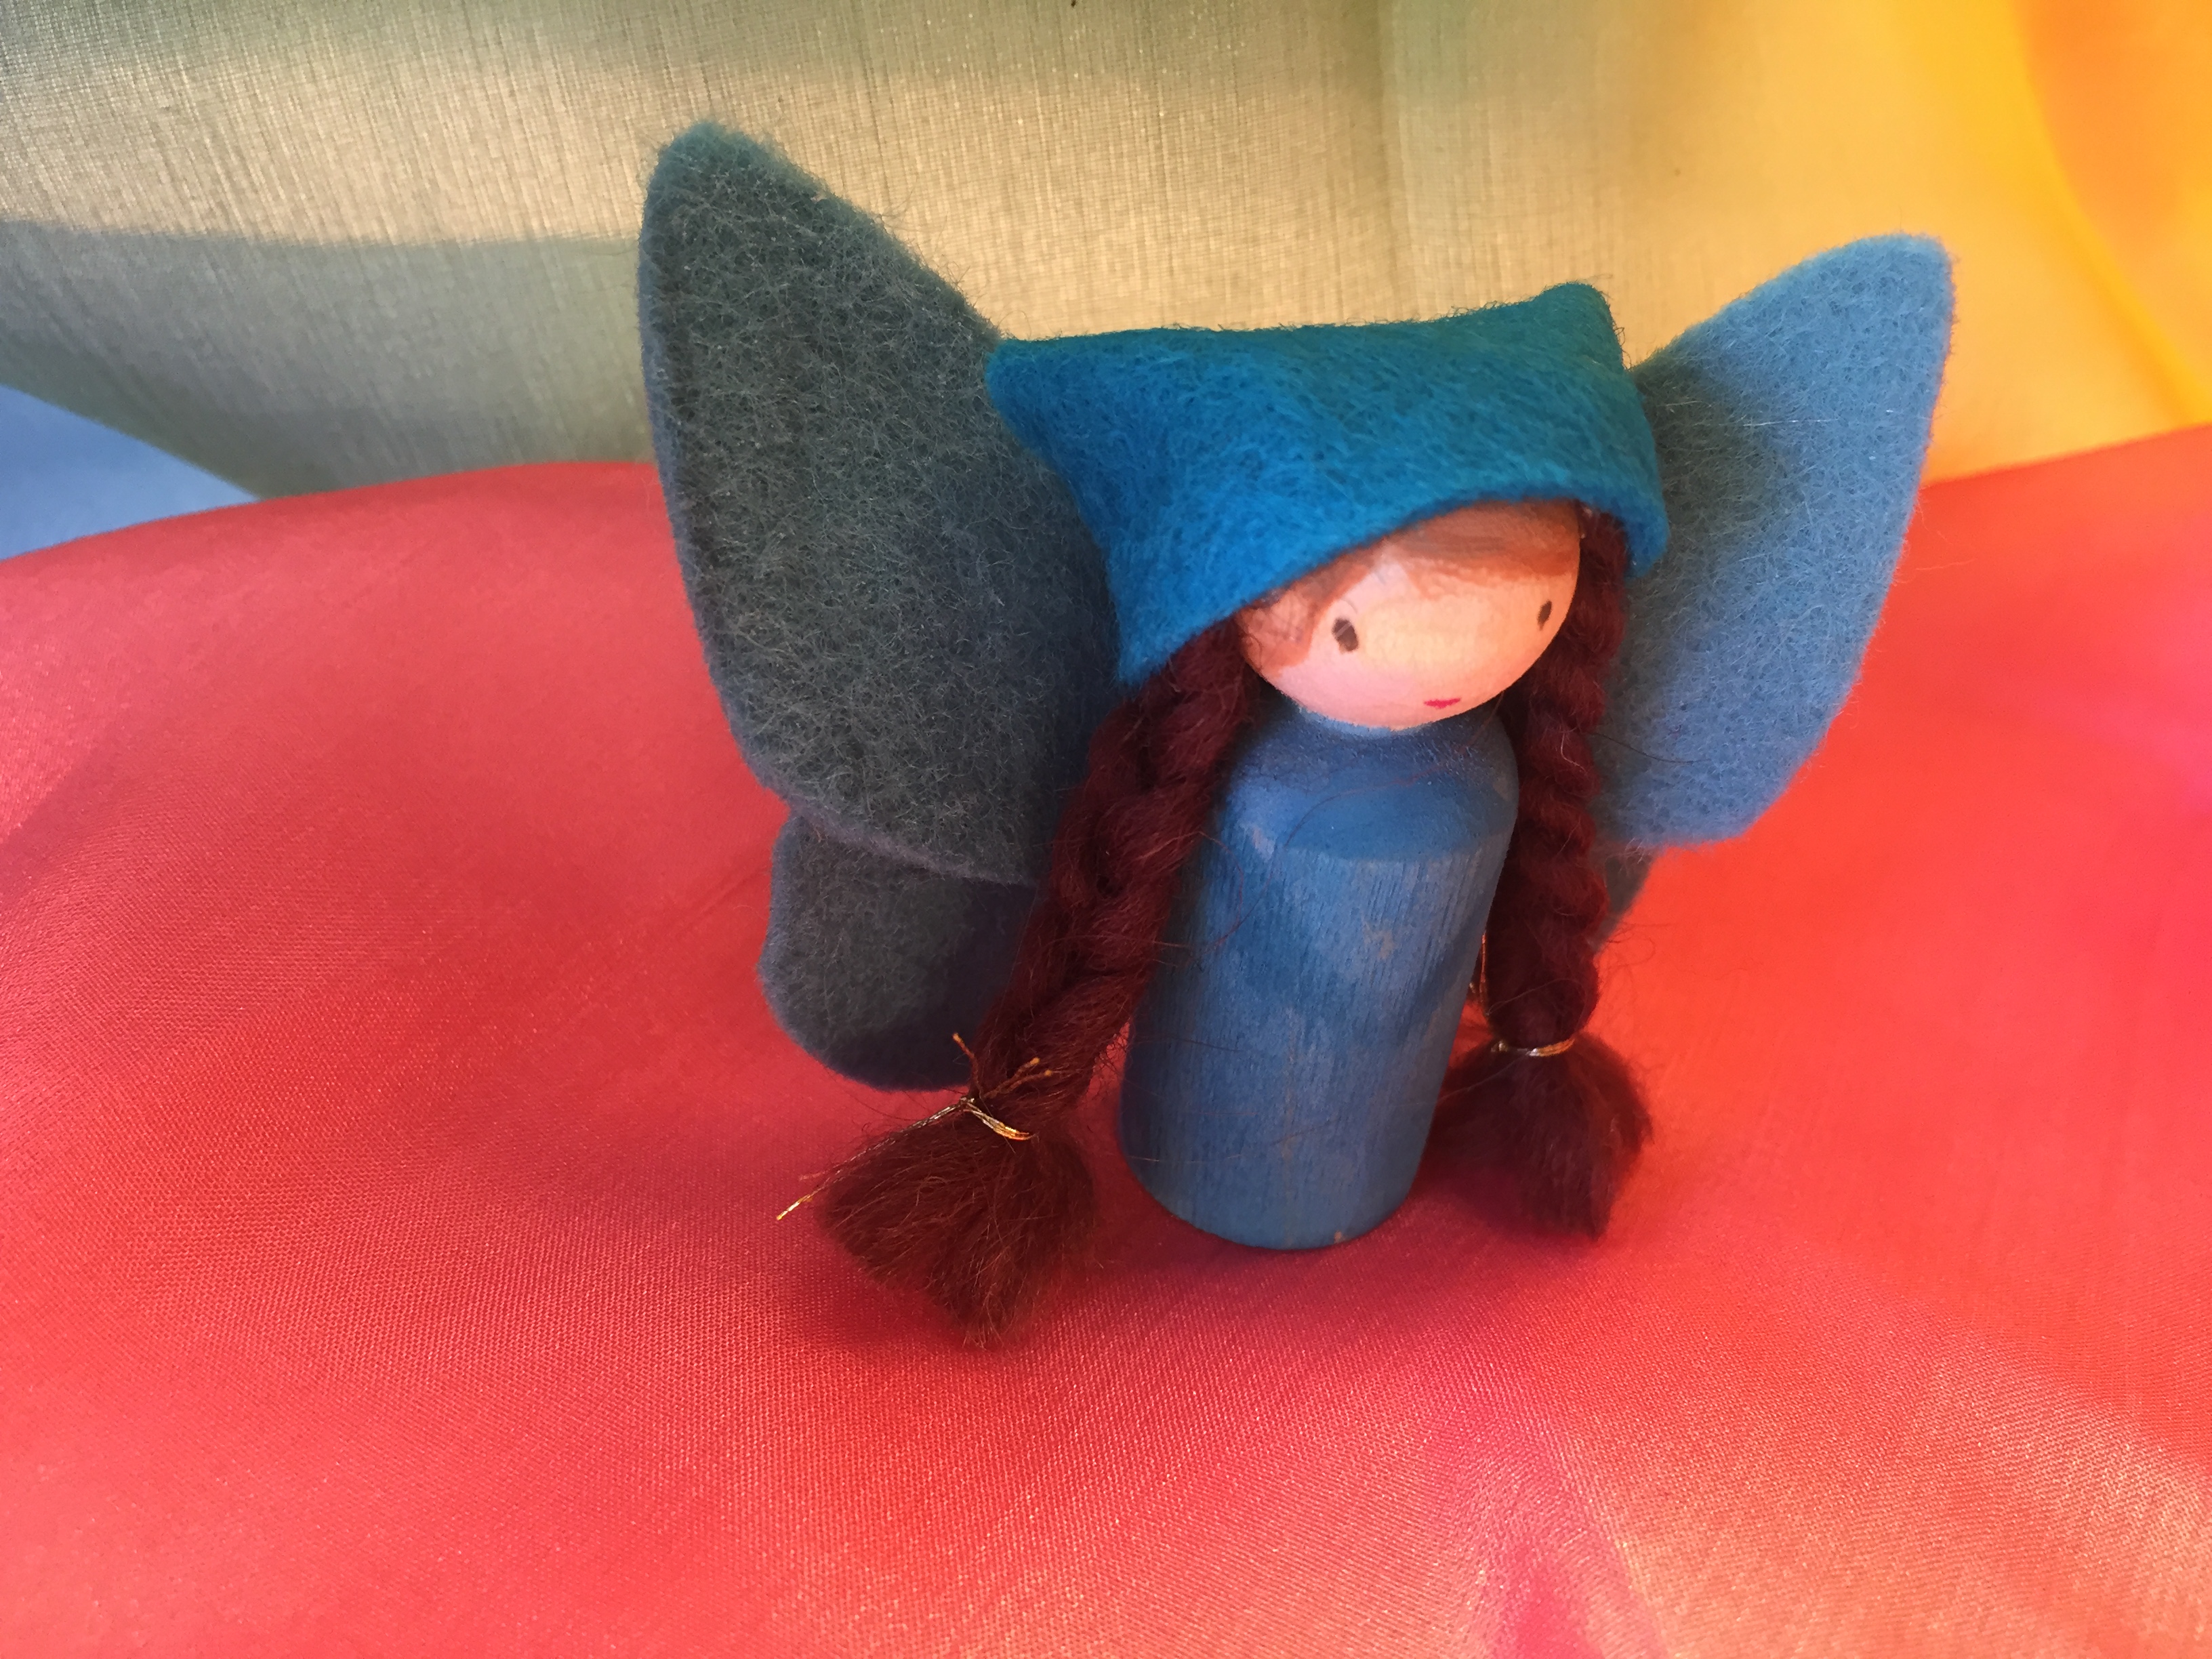
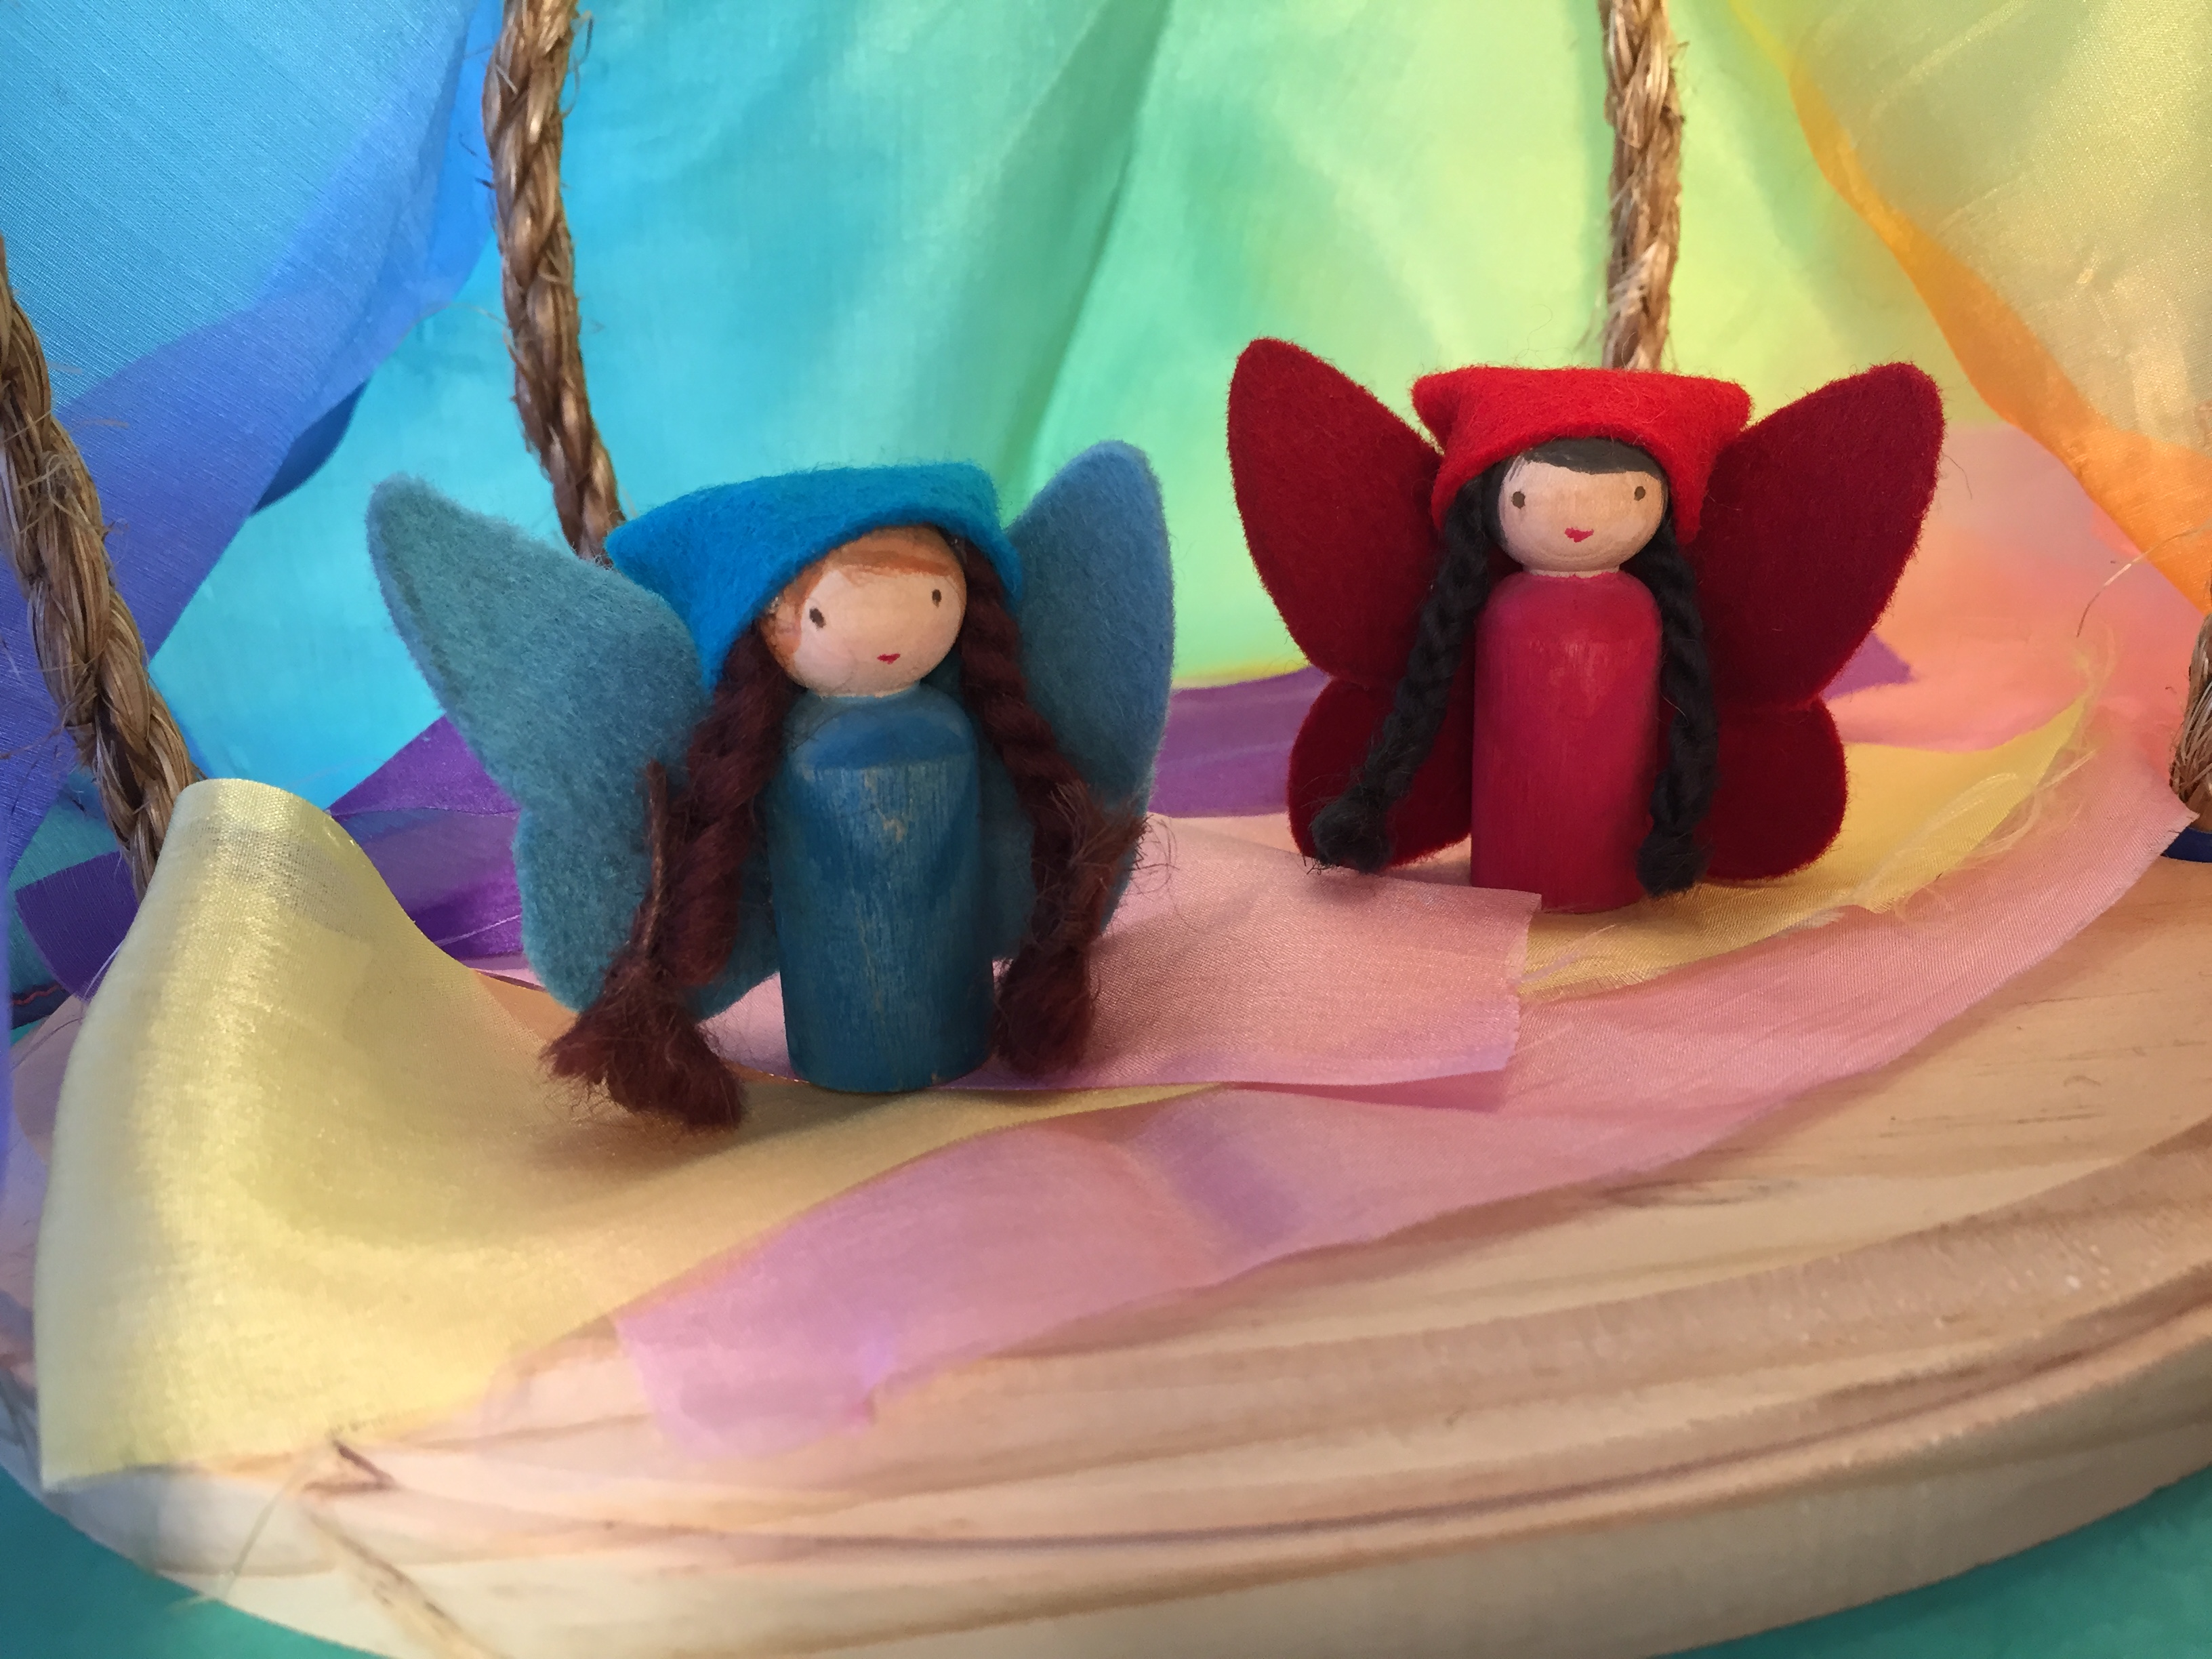
I’m getting better at this tiny little peg dolls, and my girl is loving it! Here are a couple tips: if you are painting in eyes and a mouth, use a thin but slightly firm paint brush, don’t use too much water or the paint will spread in the wood grain, and if you make a mistake or you don’t like it, just stop, trying to fix it usually makes it worse. If you really don’t like it, flip the doll around and make her a new face on the back and cover up the mess-up with hair or a hat.
You can just paint the peg dolls, you don’t have to add felt, but if you want to, you can download the pattern for the fairy peg doll here.
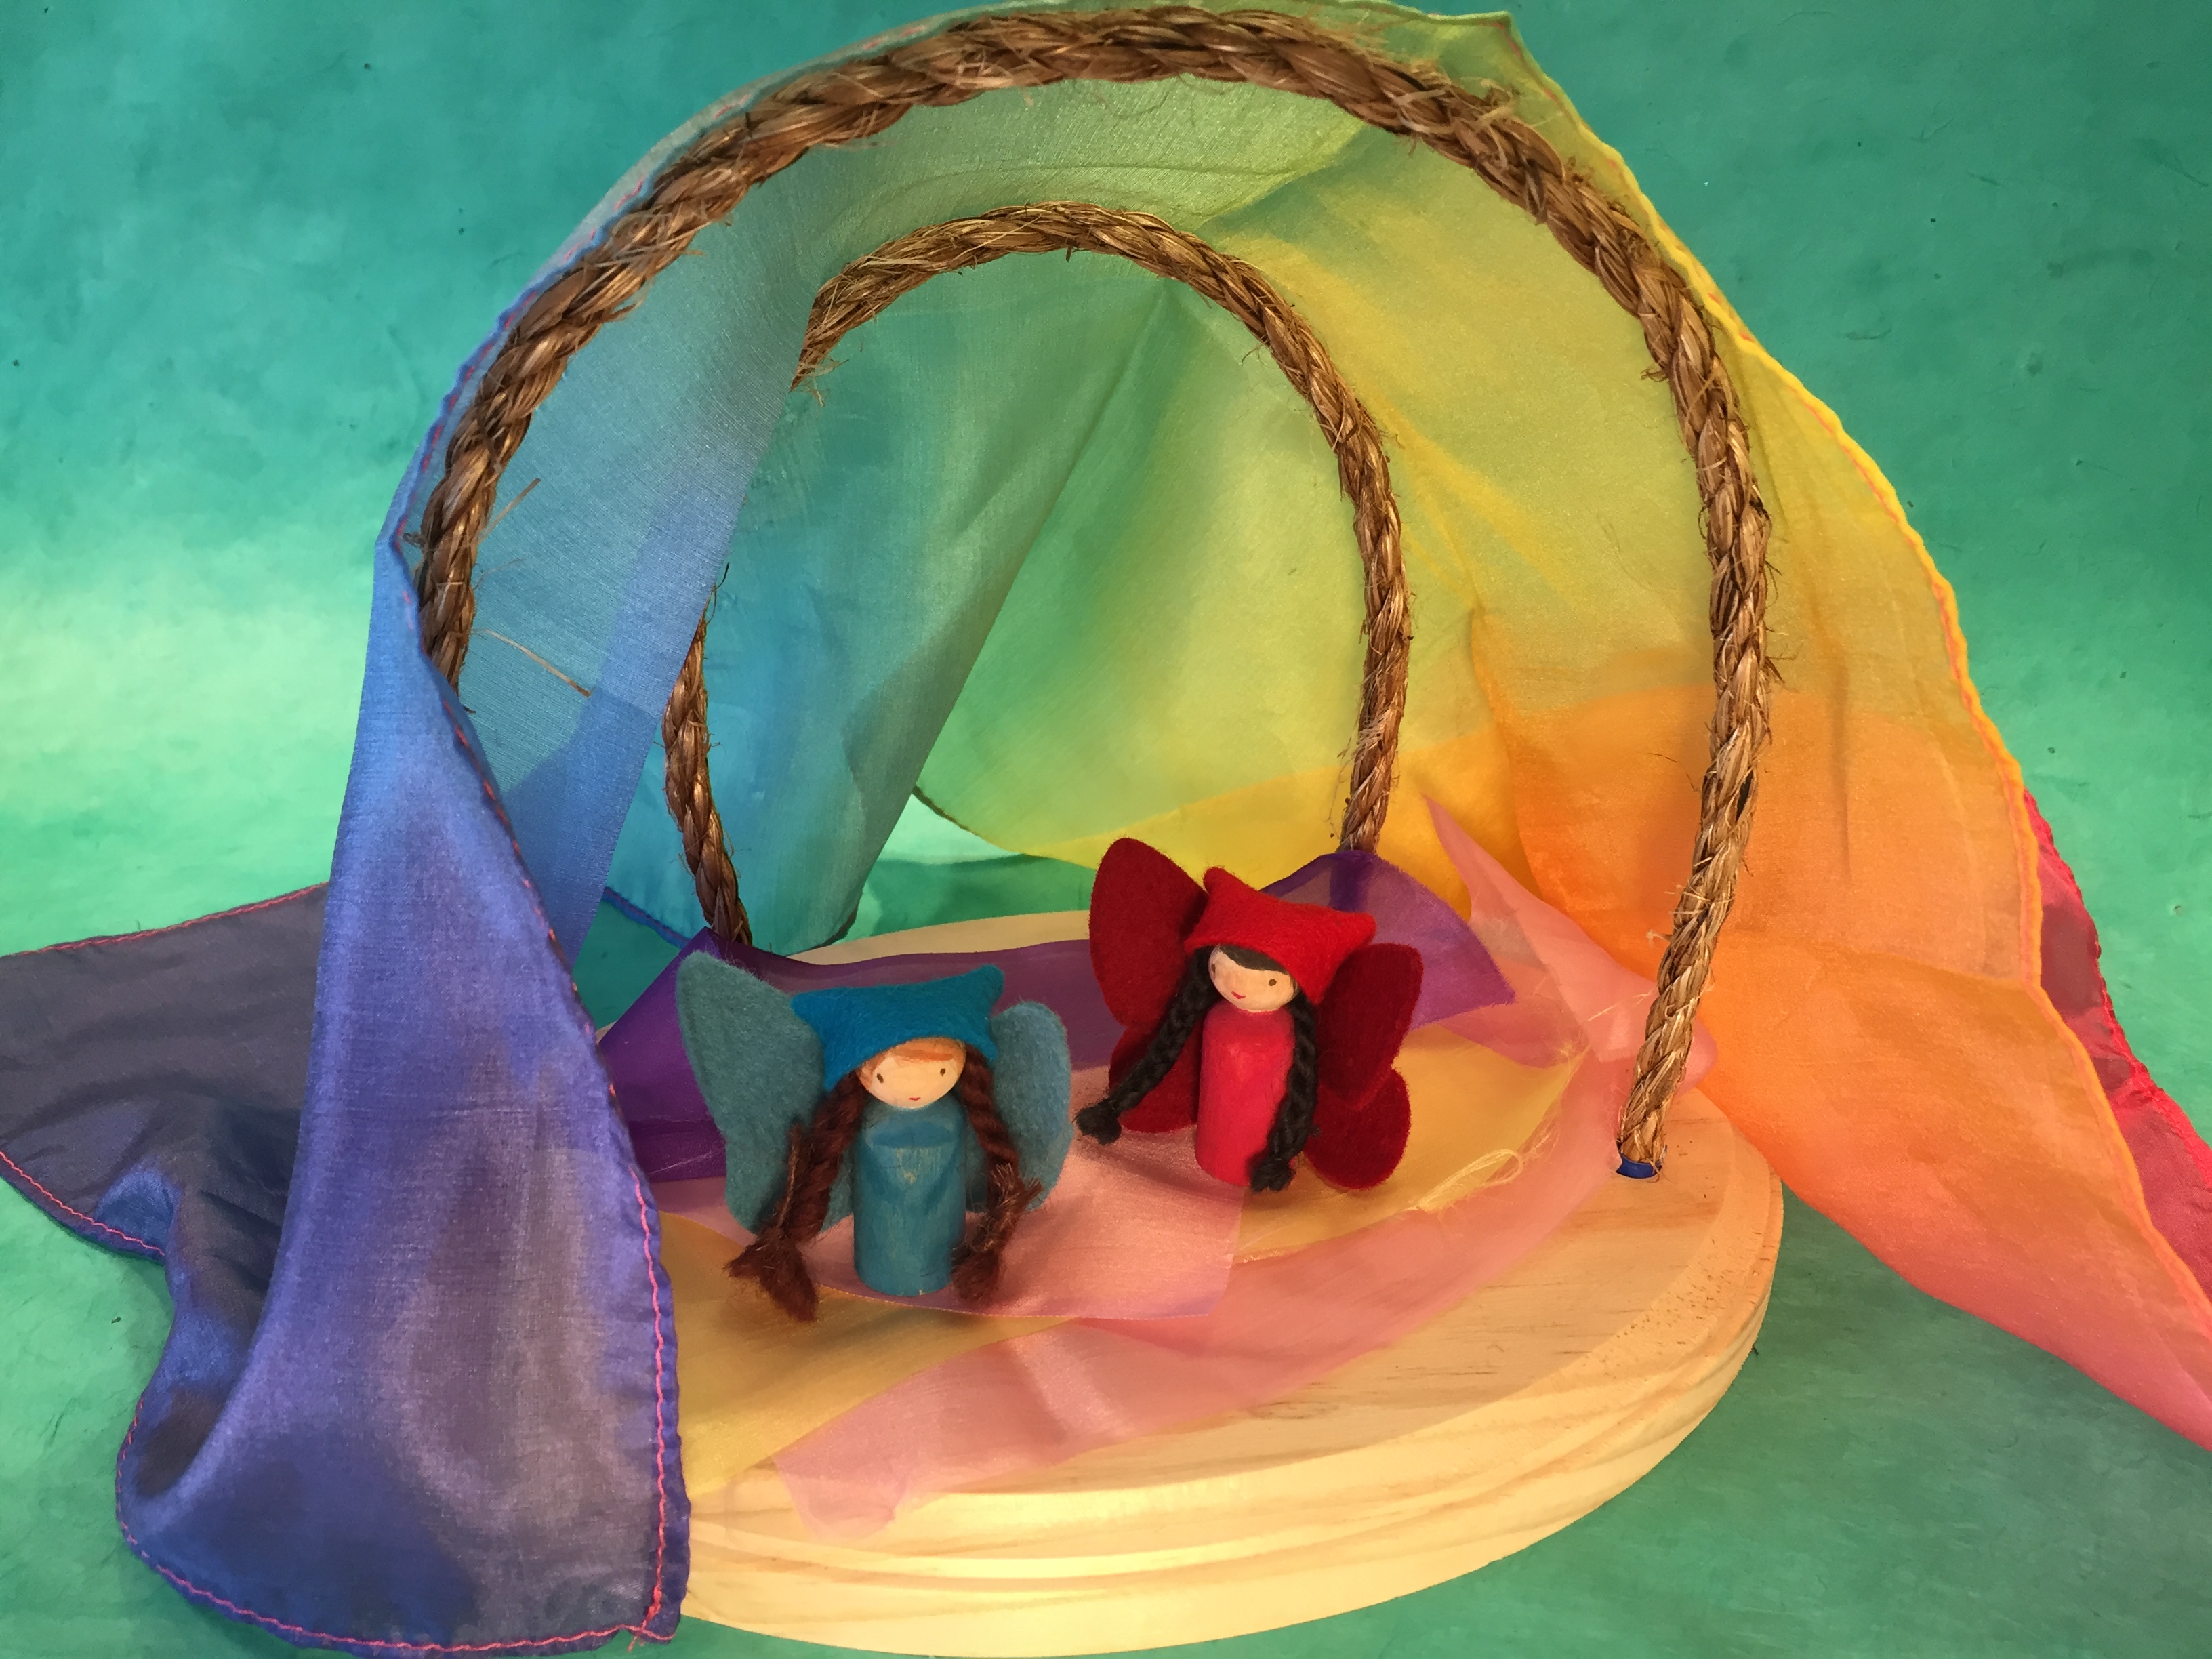
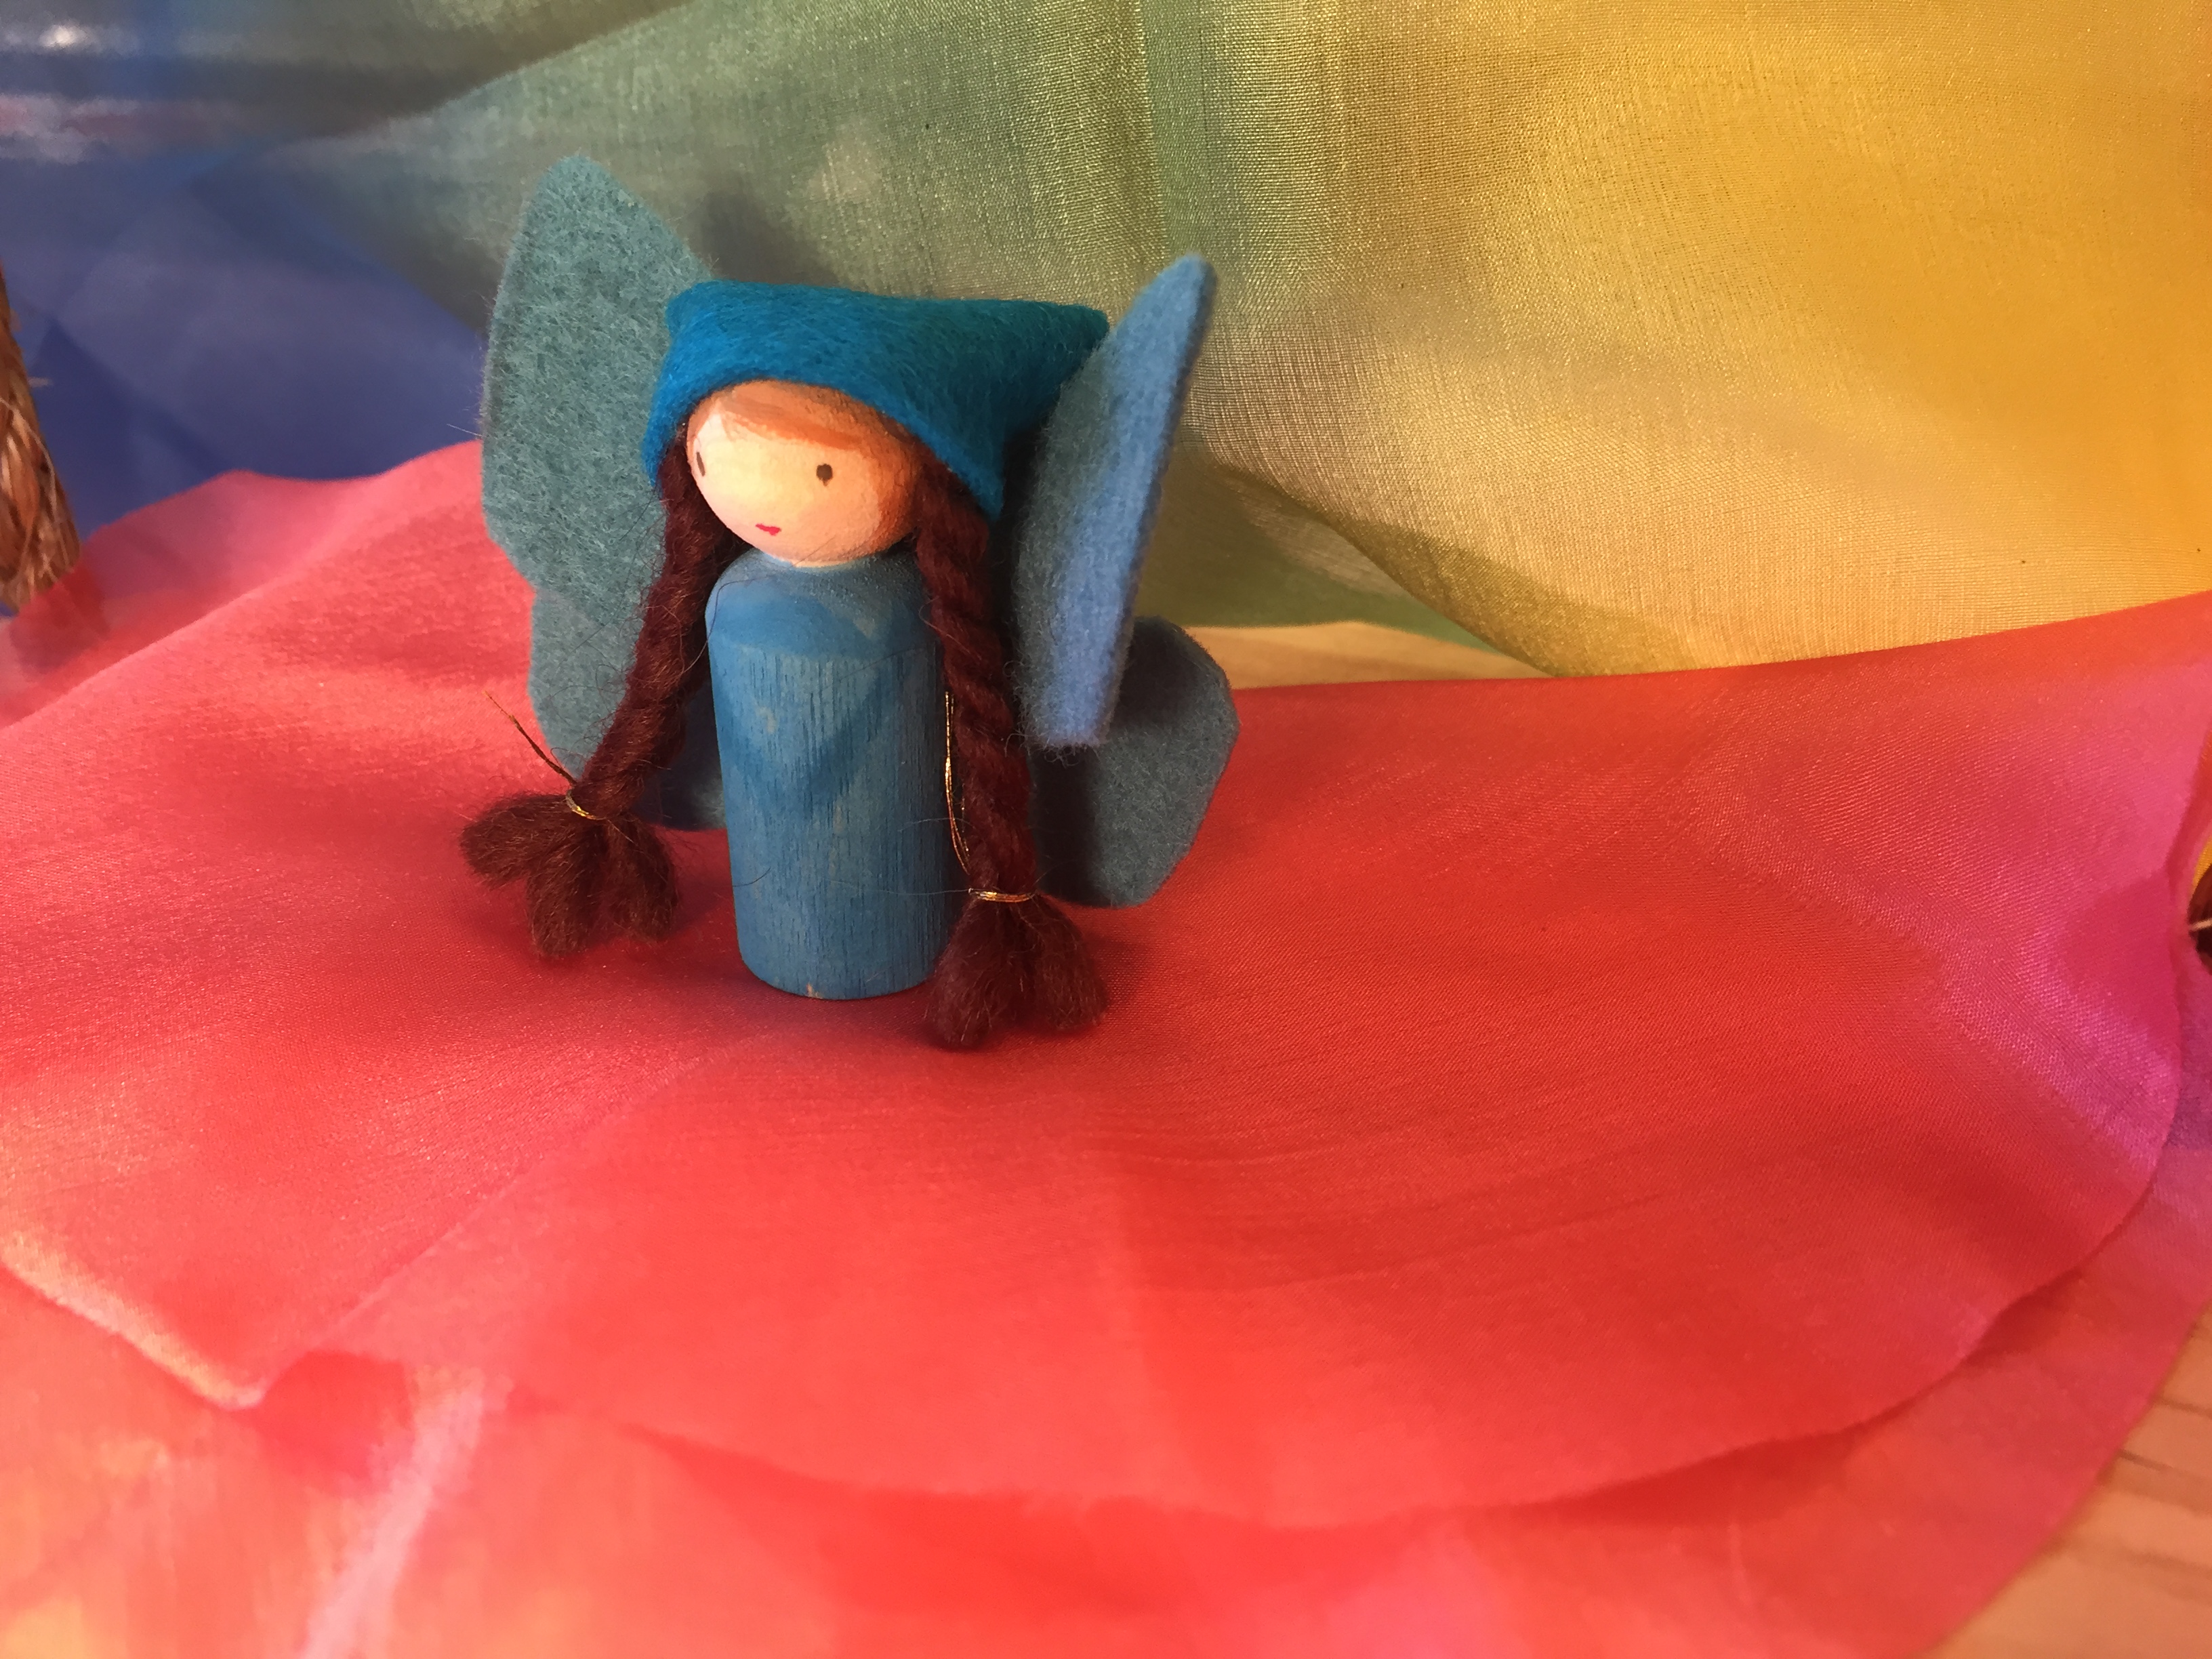
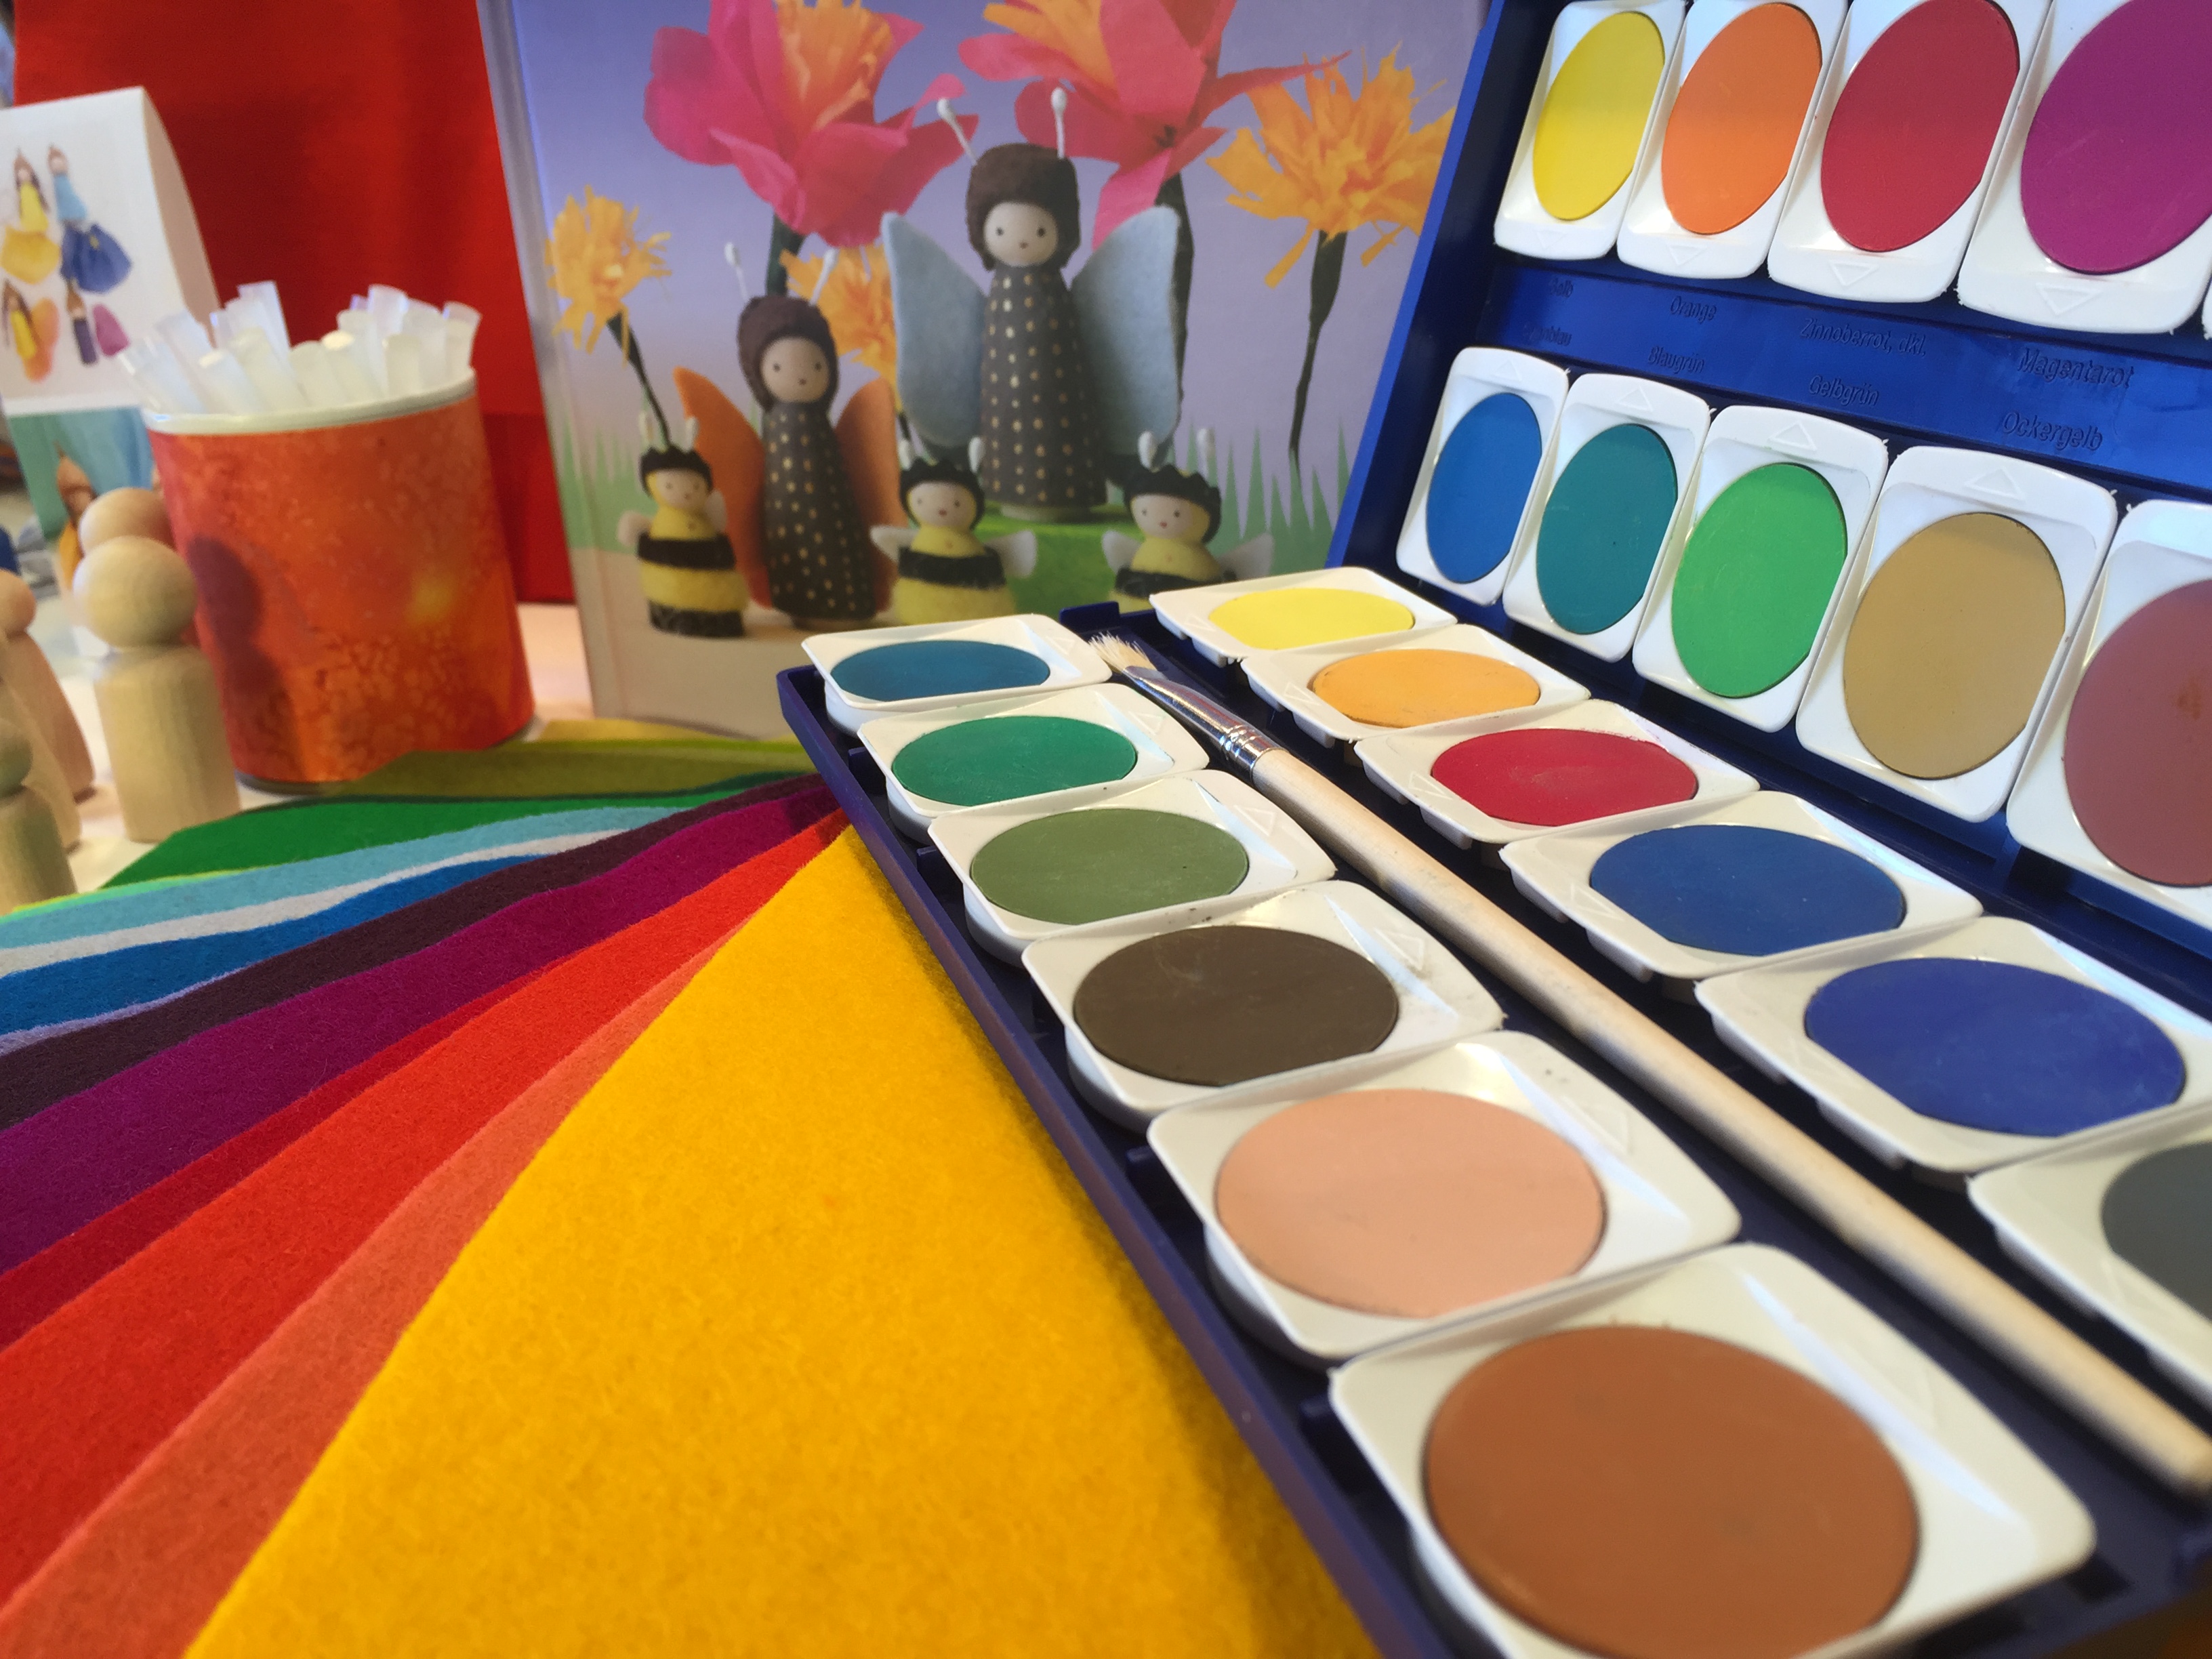
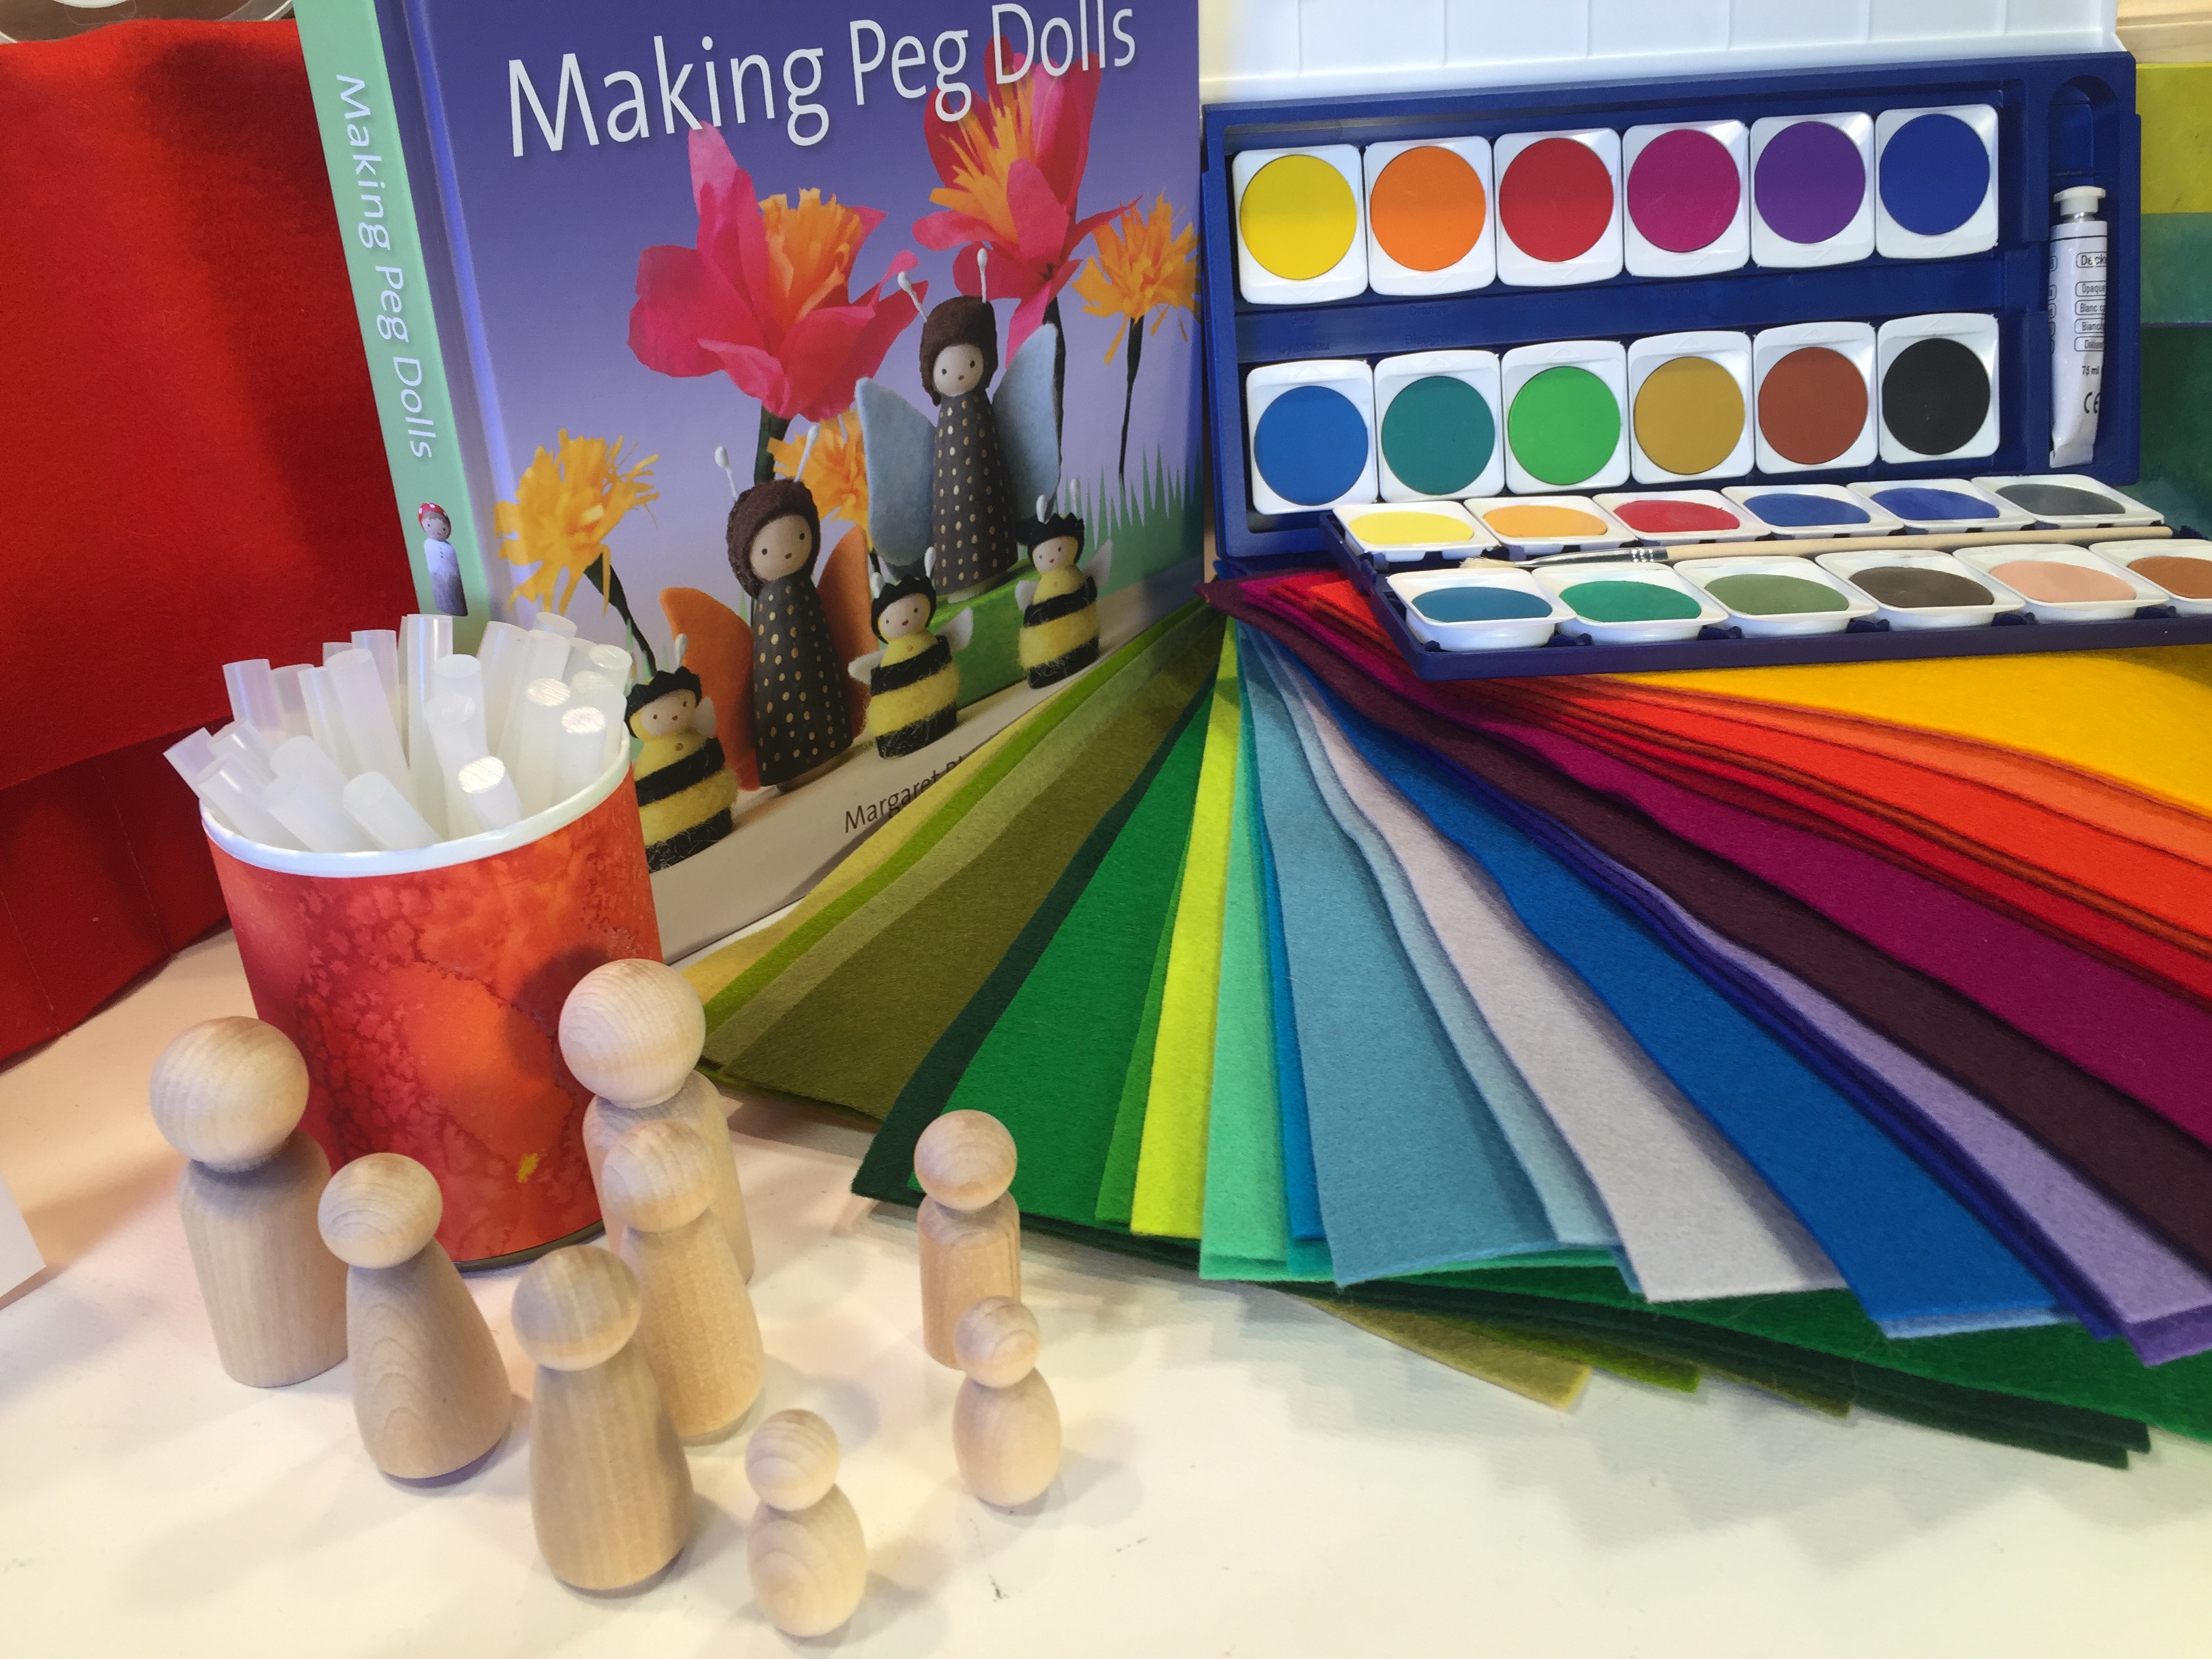
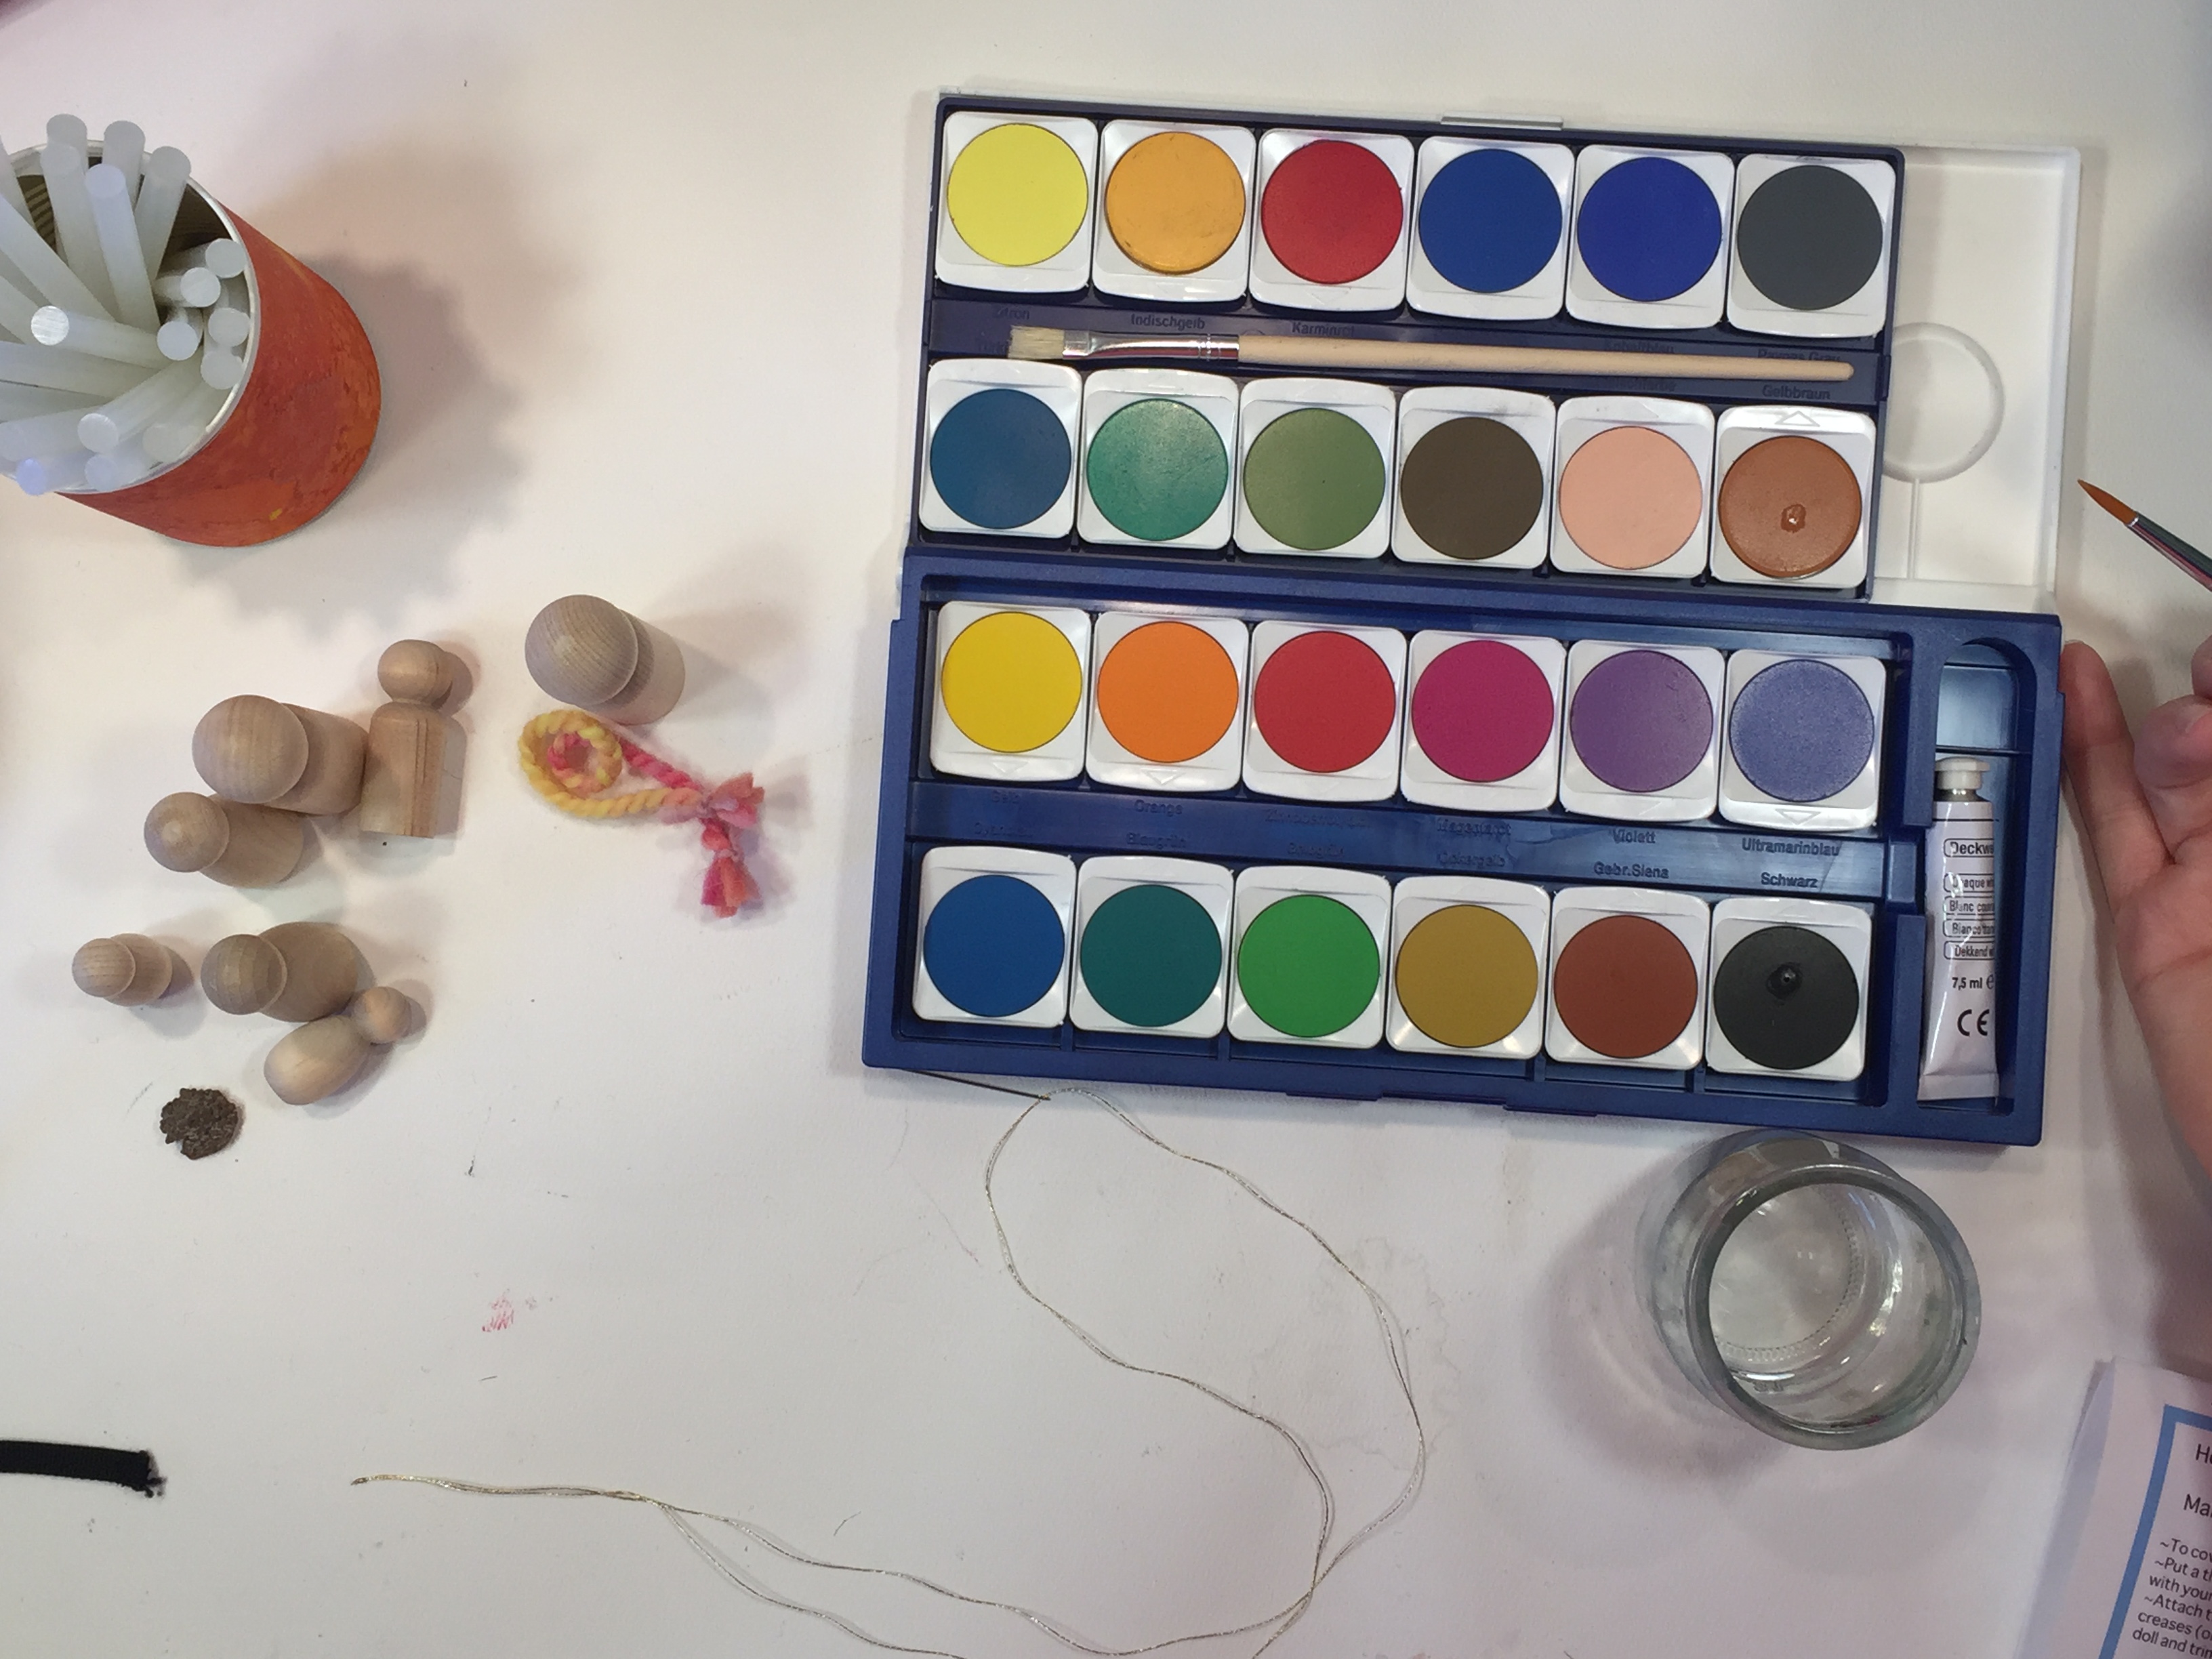
This peg doll goes with Sarah’s Silks Mini Playhouse Kit available at A Child’s Dream. She was suppose to be the boy peg doll shown in the instructions, but I decided to make her a girl doll after I felt her face looked feminine. My recent kindergarten haul shows Sarah’s Silks Mini Playhouse Kits as well as other peg dolls and the Lyra paints I used to paint her face and clothes.
You can see our first two peg dolls now, but soon you’ll be able to see more of my Waldorf inspired crafts in a very special place to be announced soon!
Don’t forget to visit me on Instagram for exclusive links to videos that have yet to be released on YouTube or for special ‘unlisted’ videos! And when you do a project inspired by one of my projects, don’t forget to tell me about it by tagging me and using the hashtag #pepperandpine and #pepperandpinemademedoit (thanks for the hashtag idea Miki!!)
Hi! Where can i access the patterns pls?