
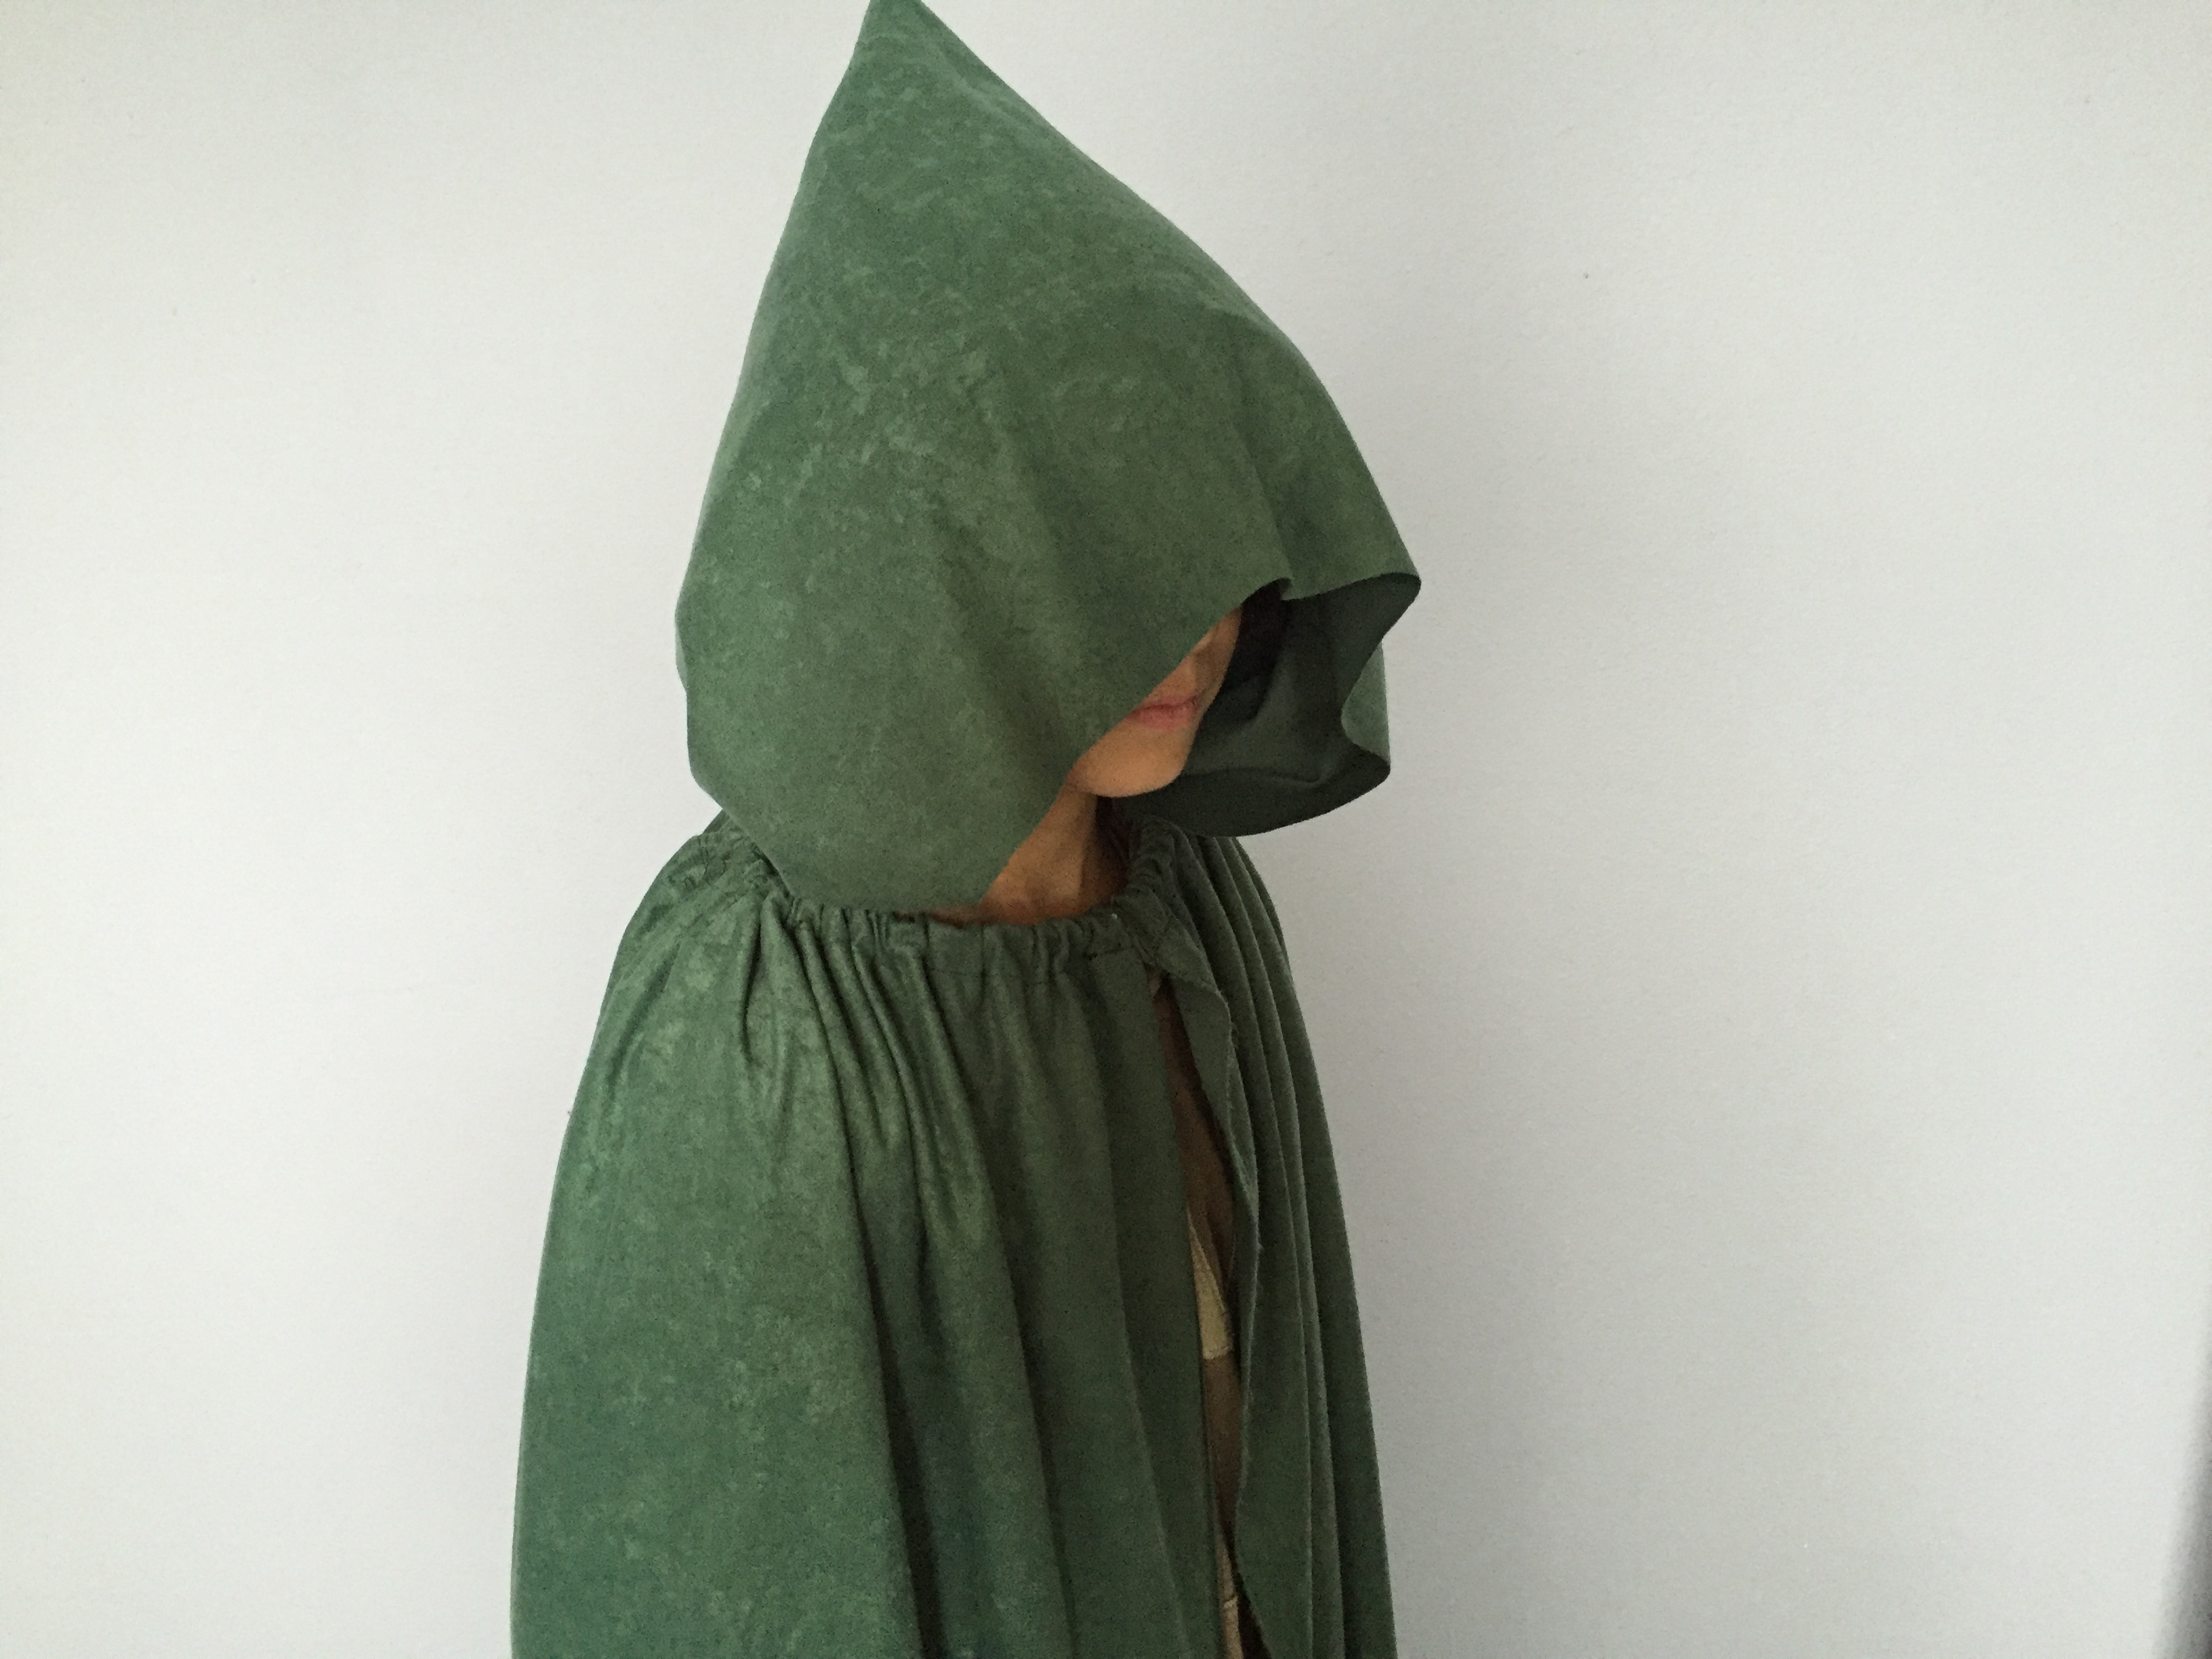
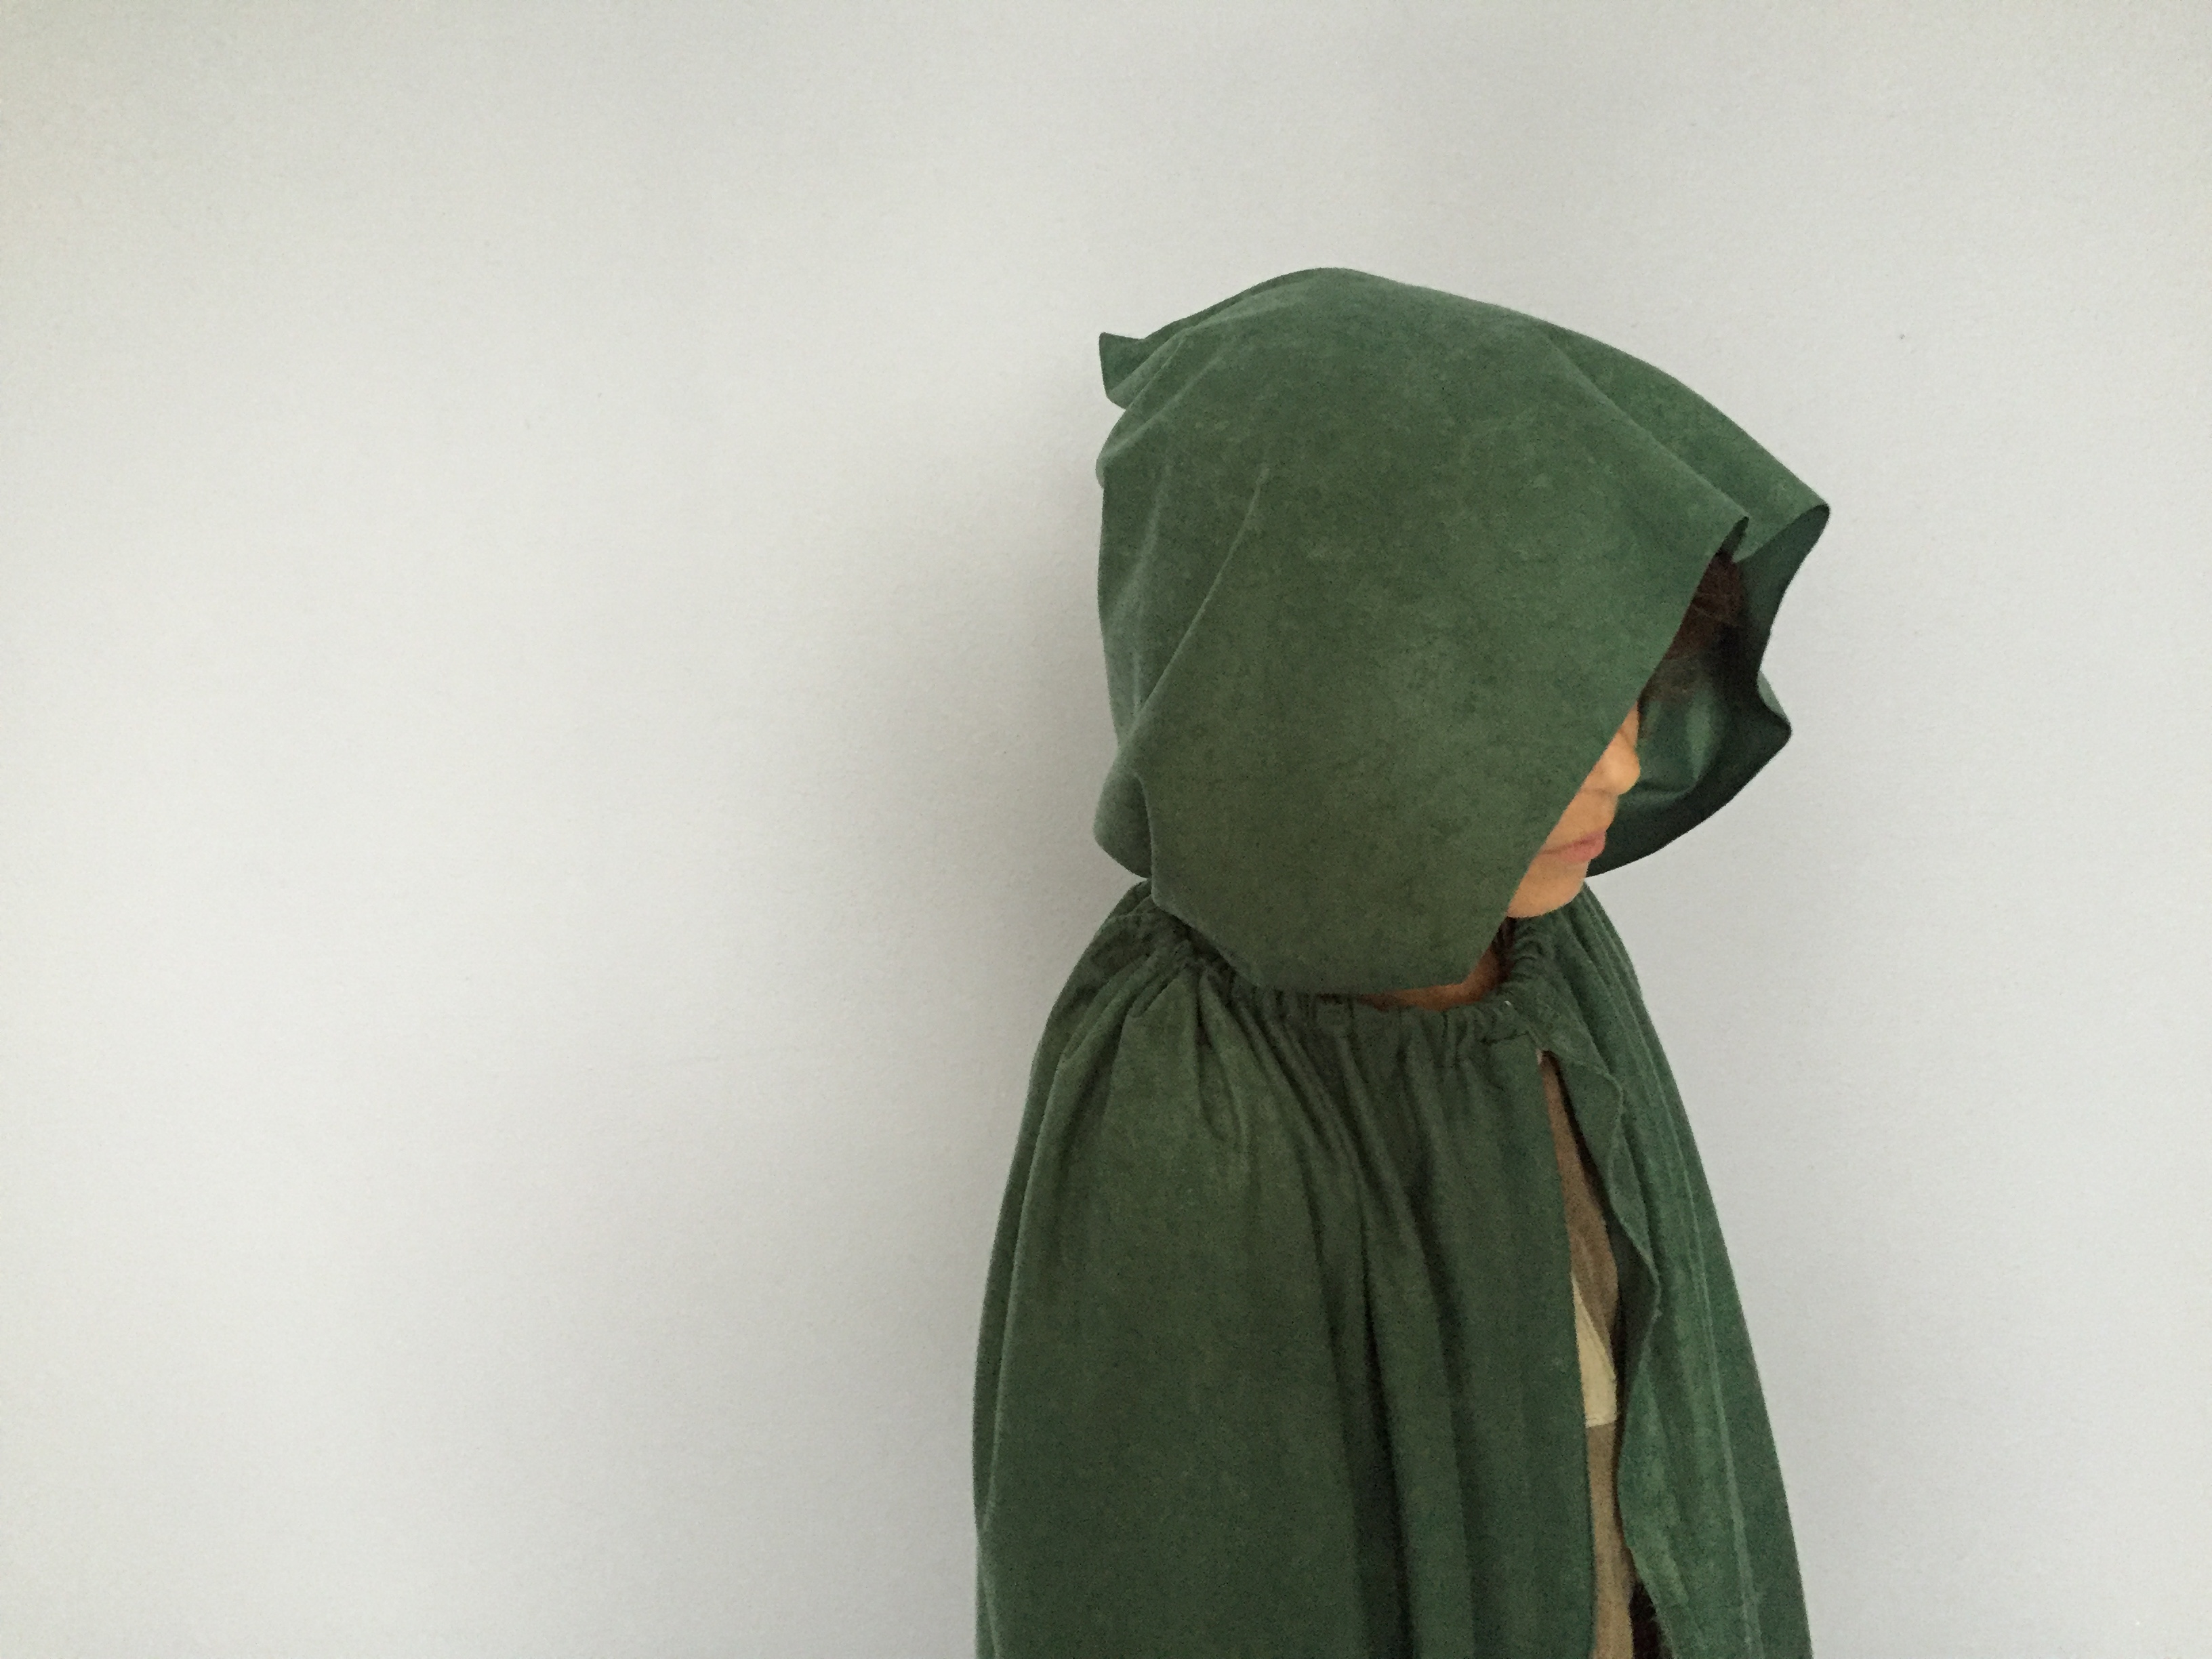
This is one easy cape to make! So easy, someone who can’t sew (me) can make not just one, but many! My nine-year-old son made this one with my help.
Directions:
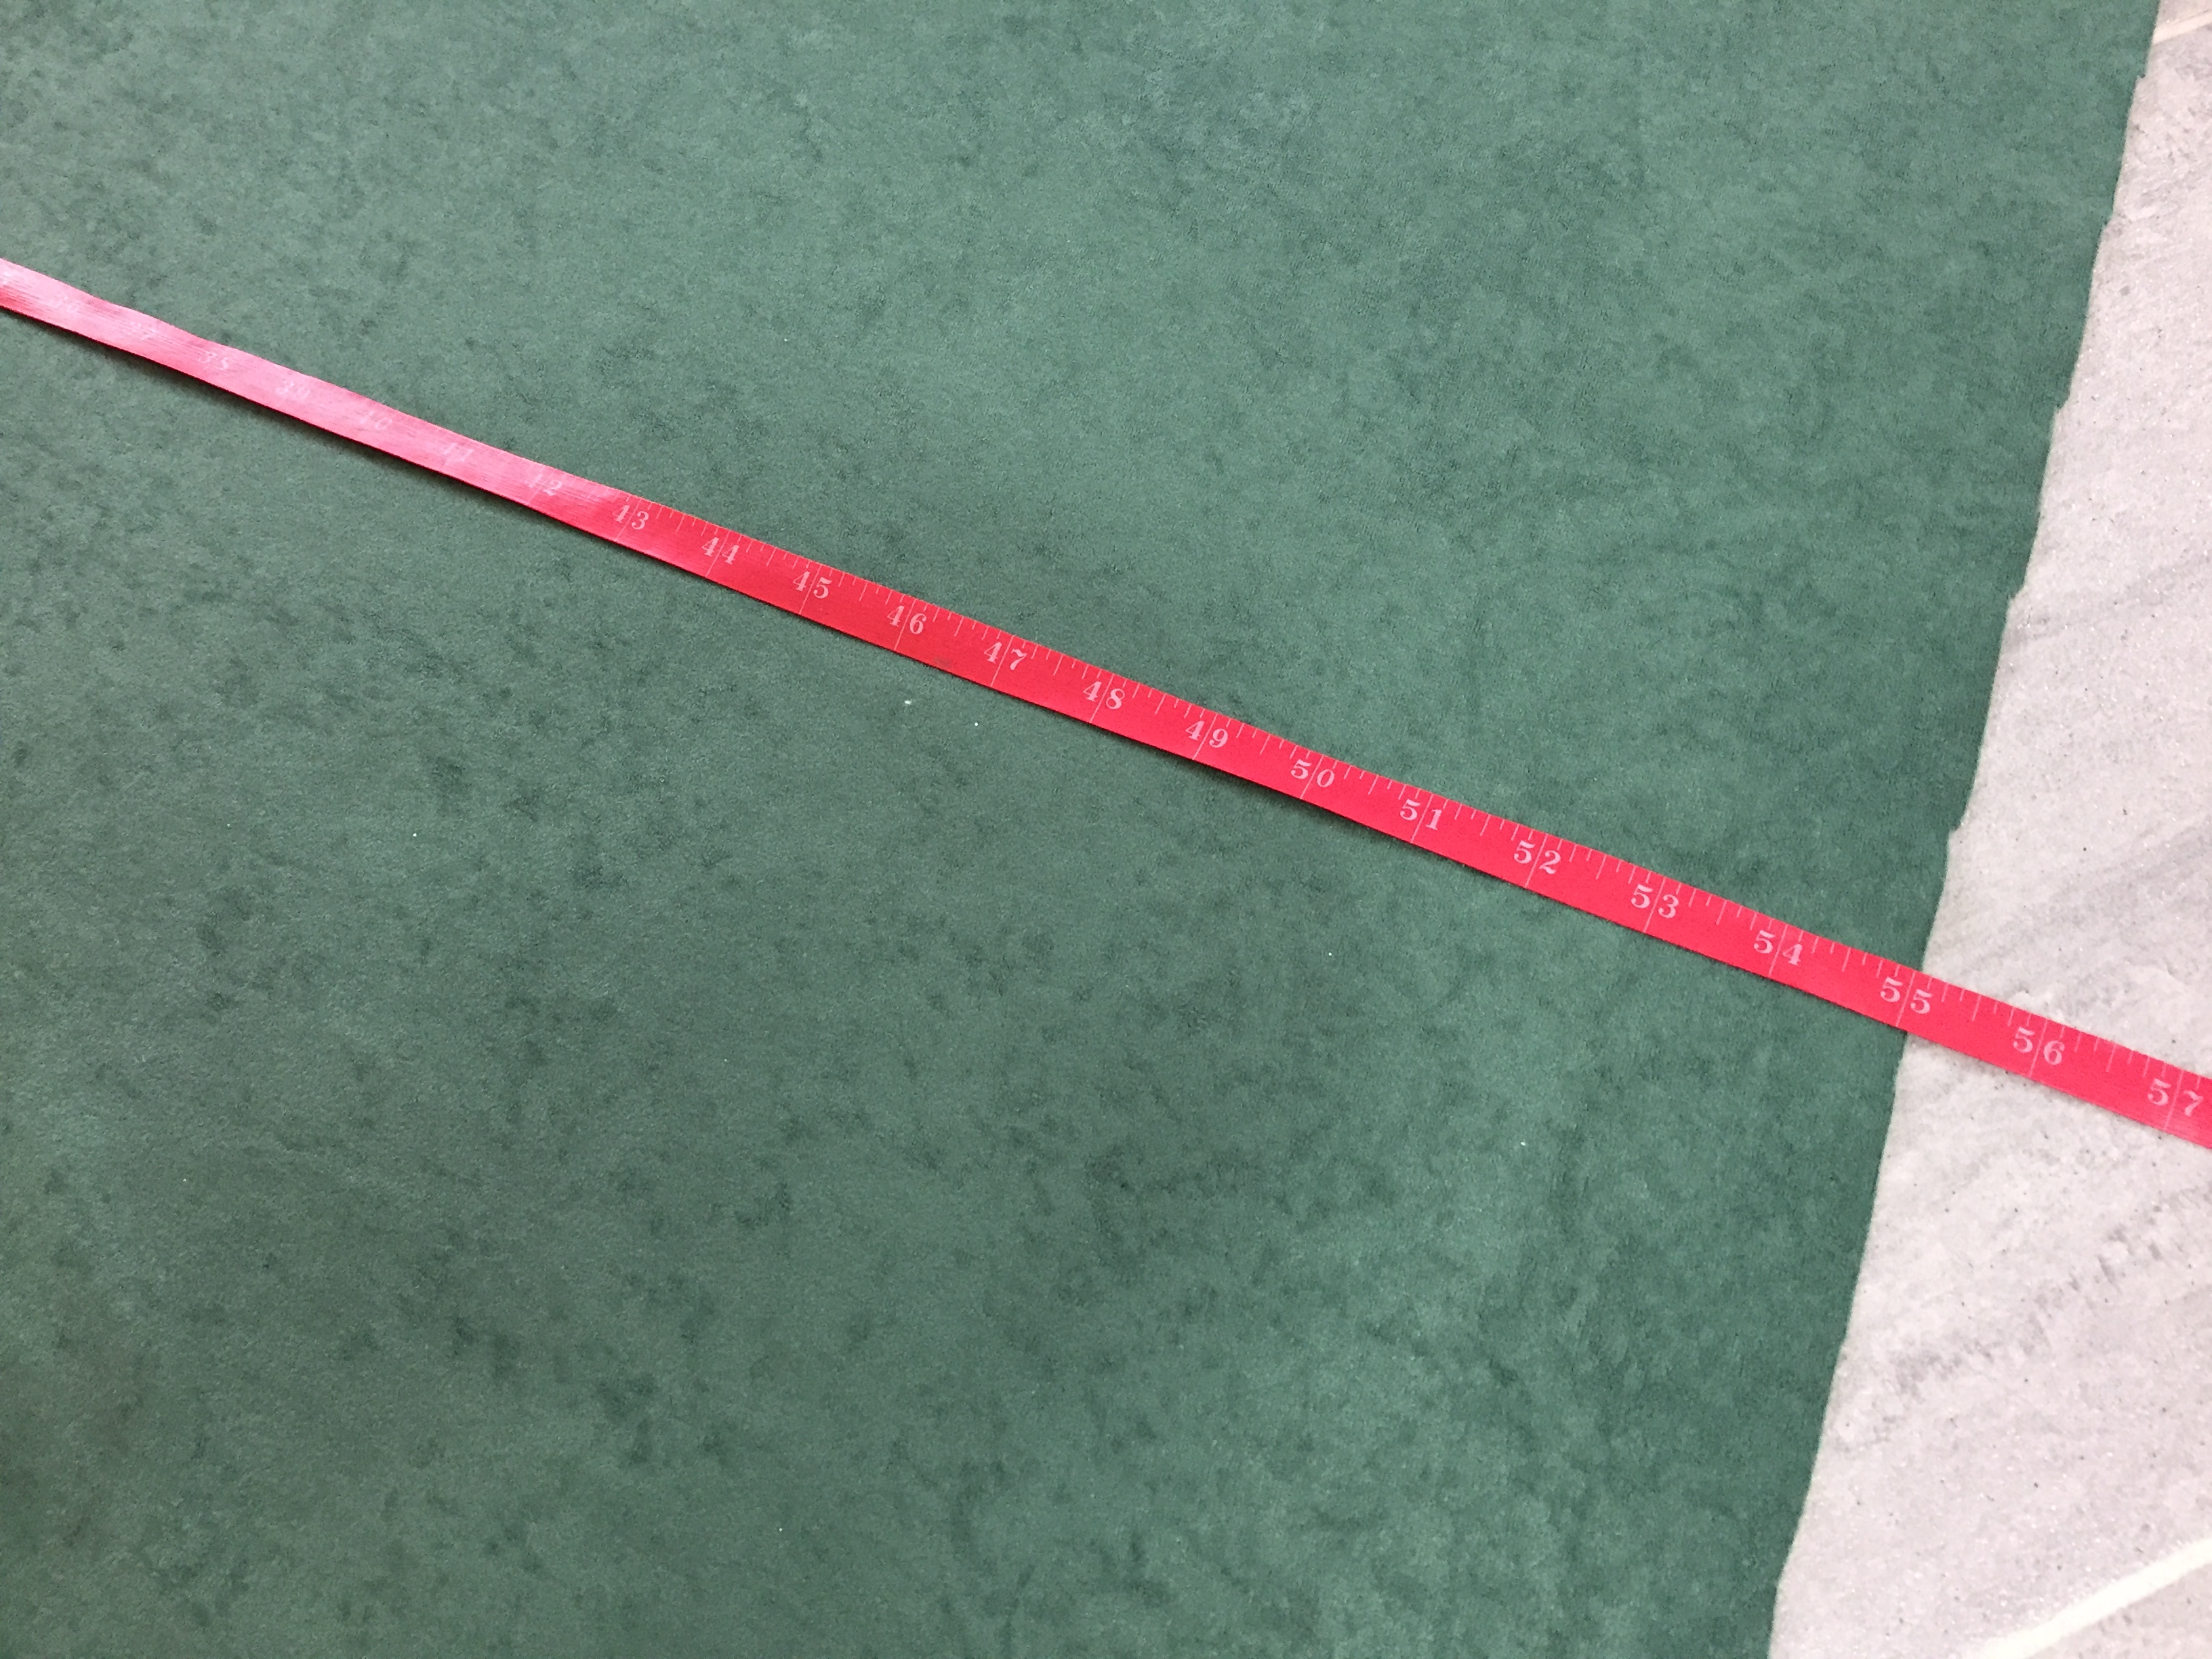
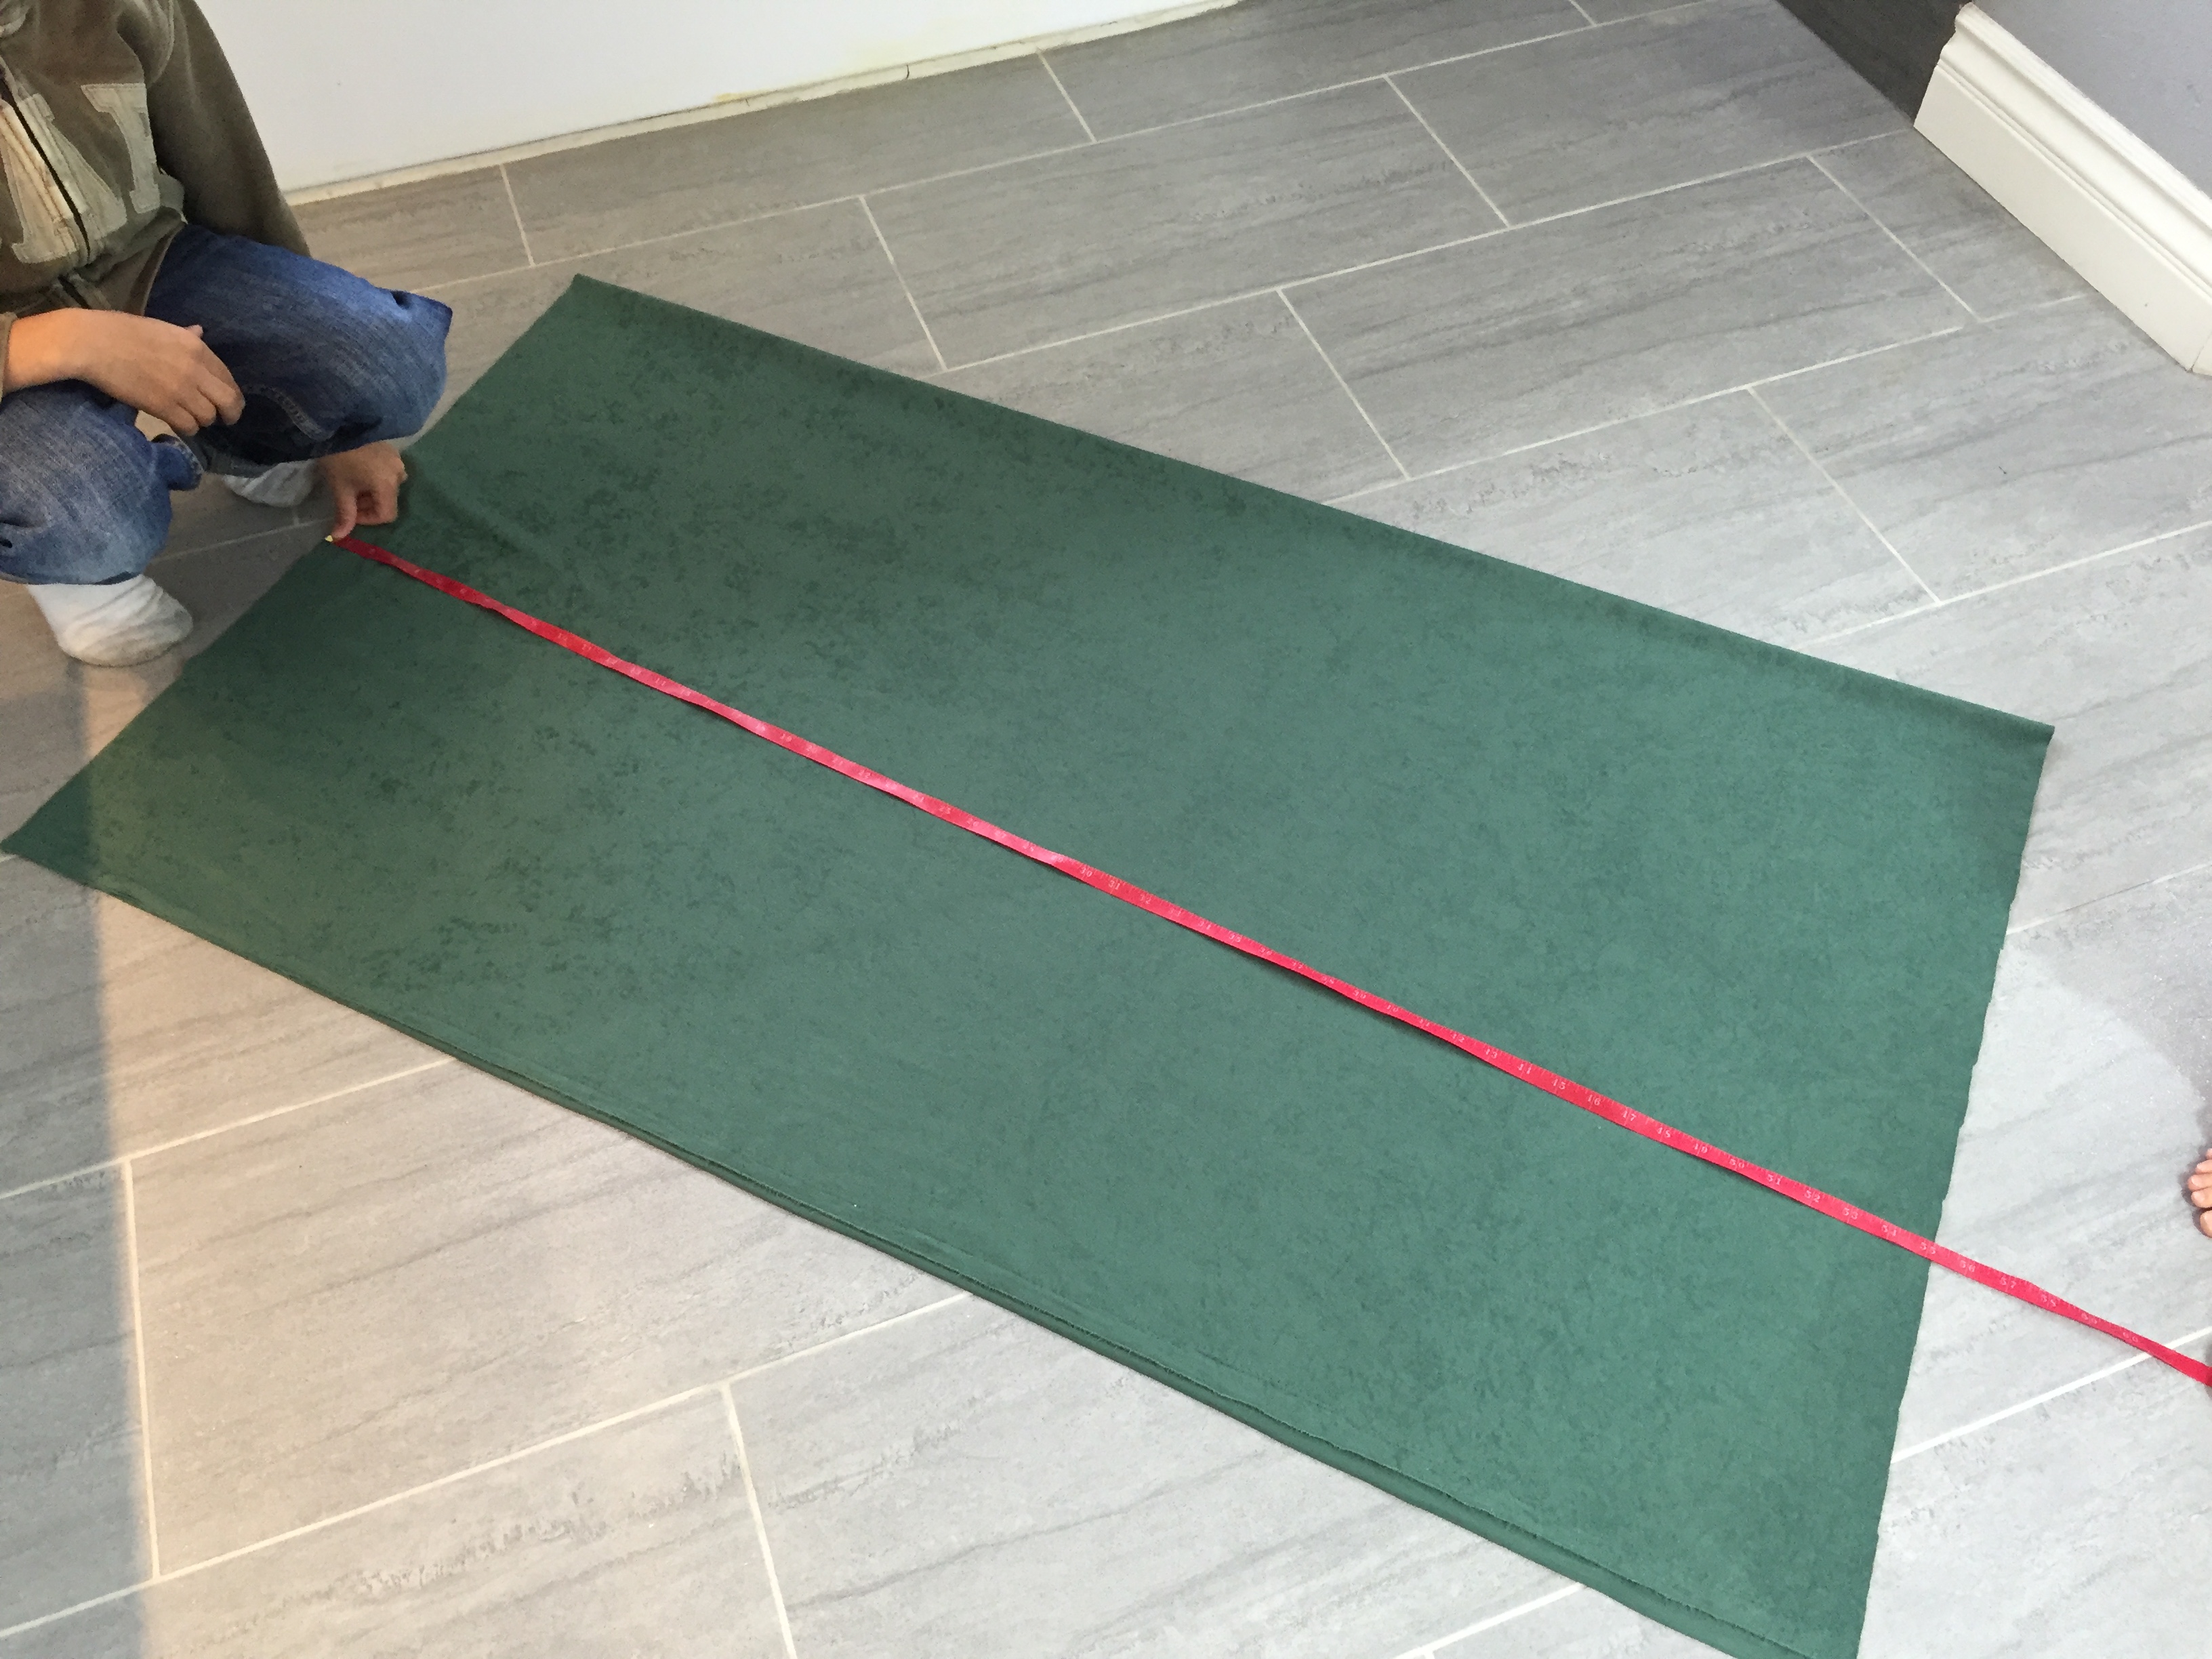
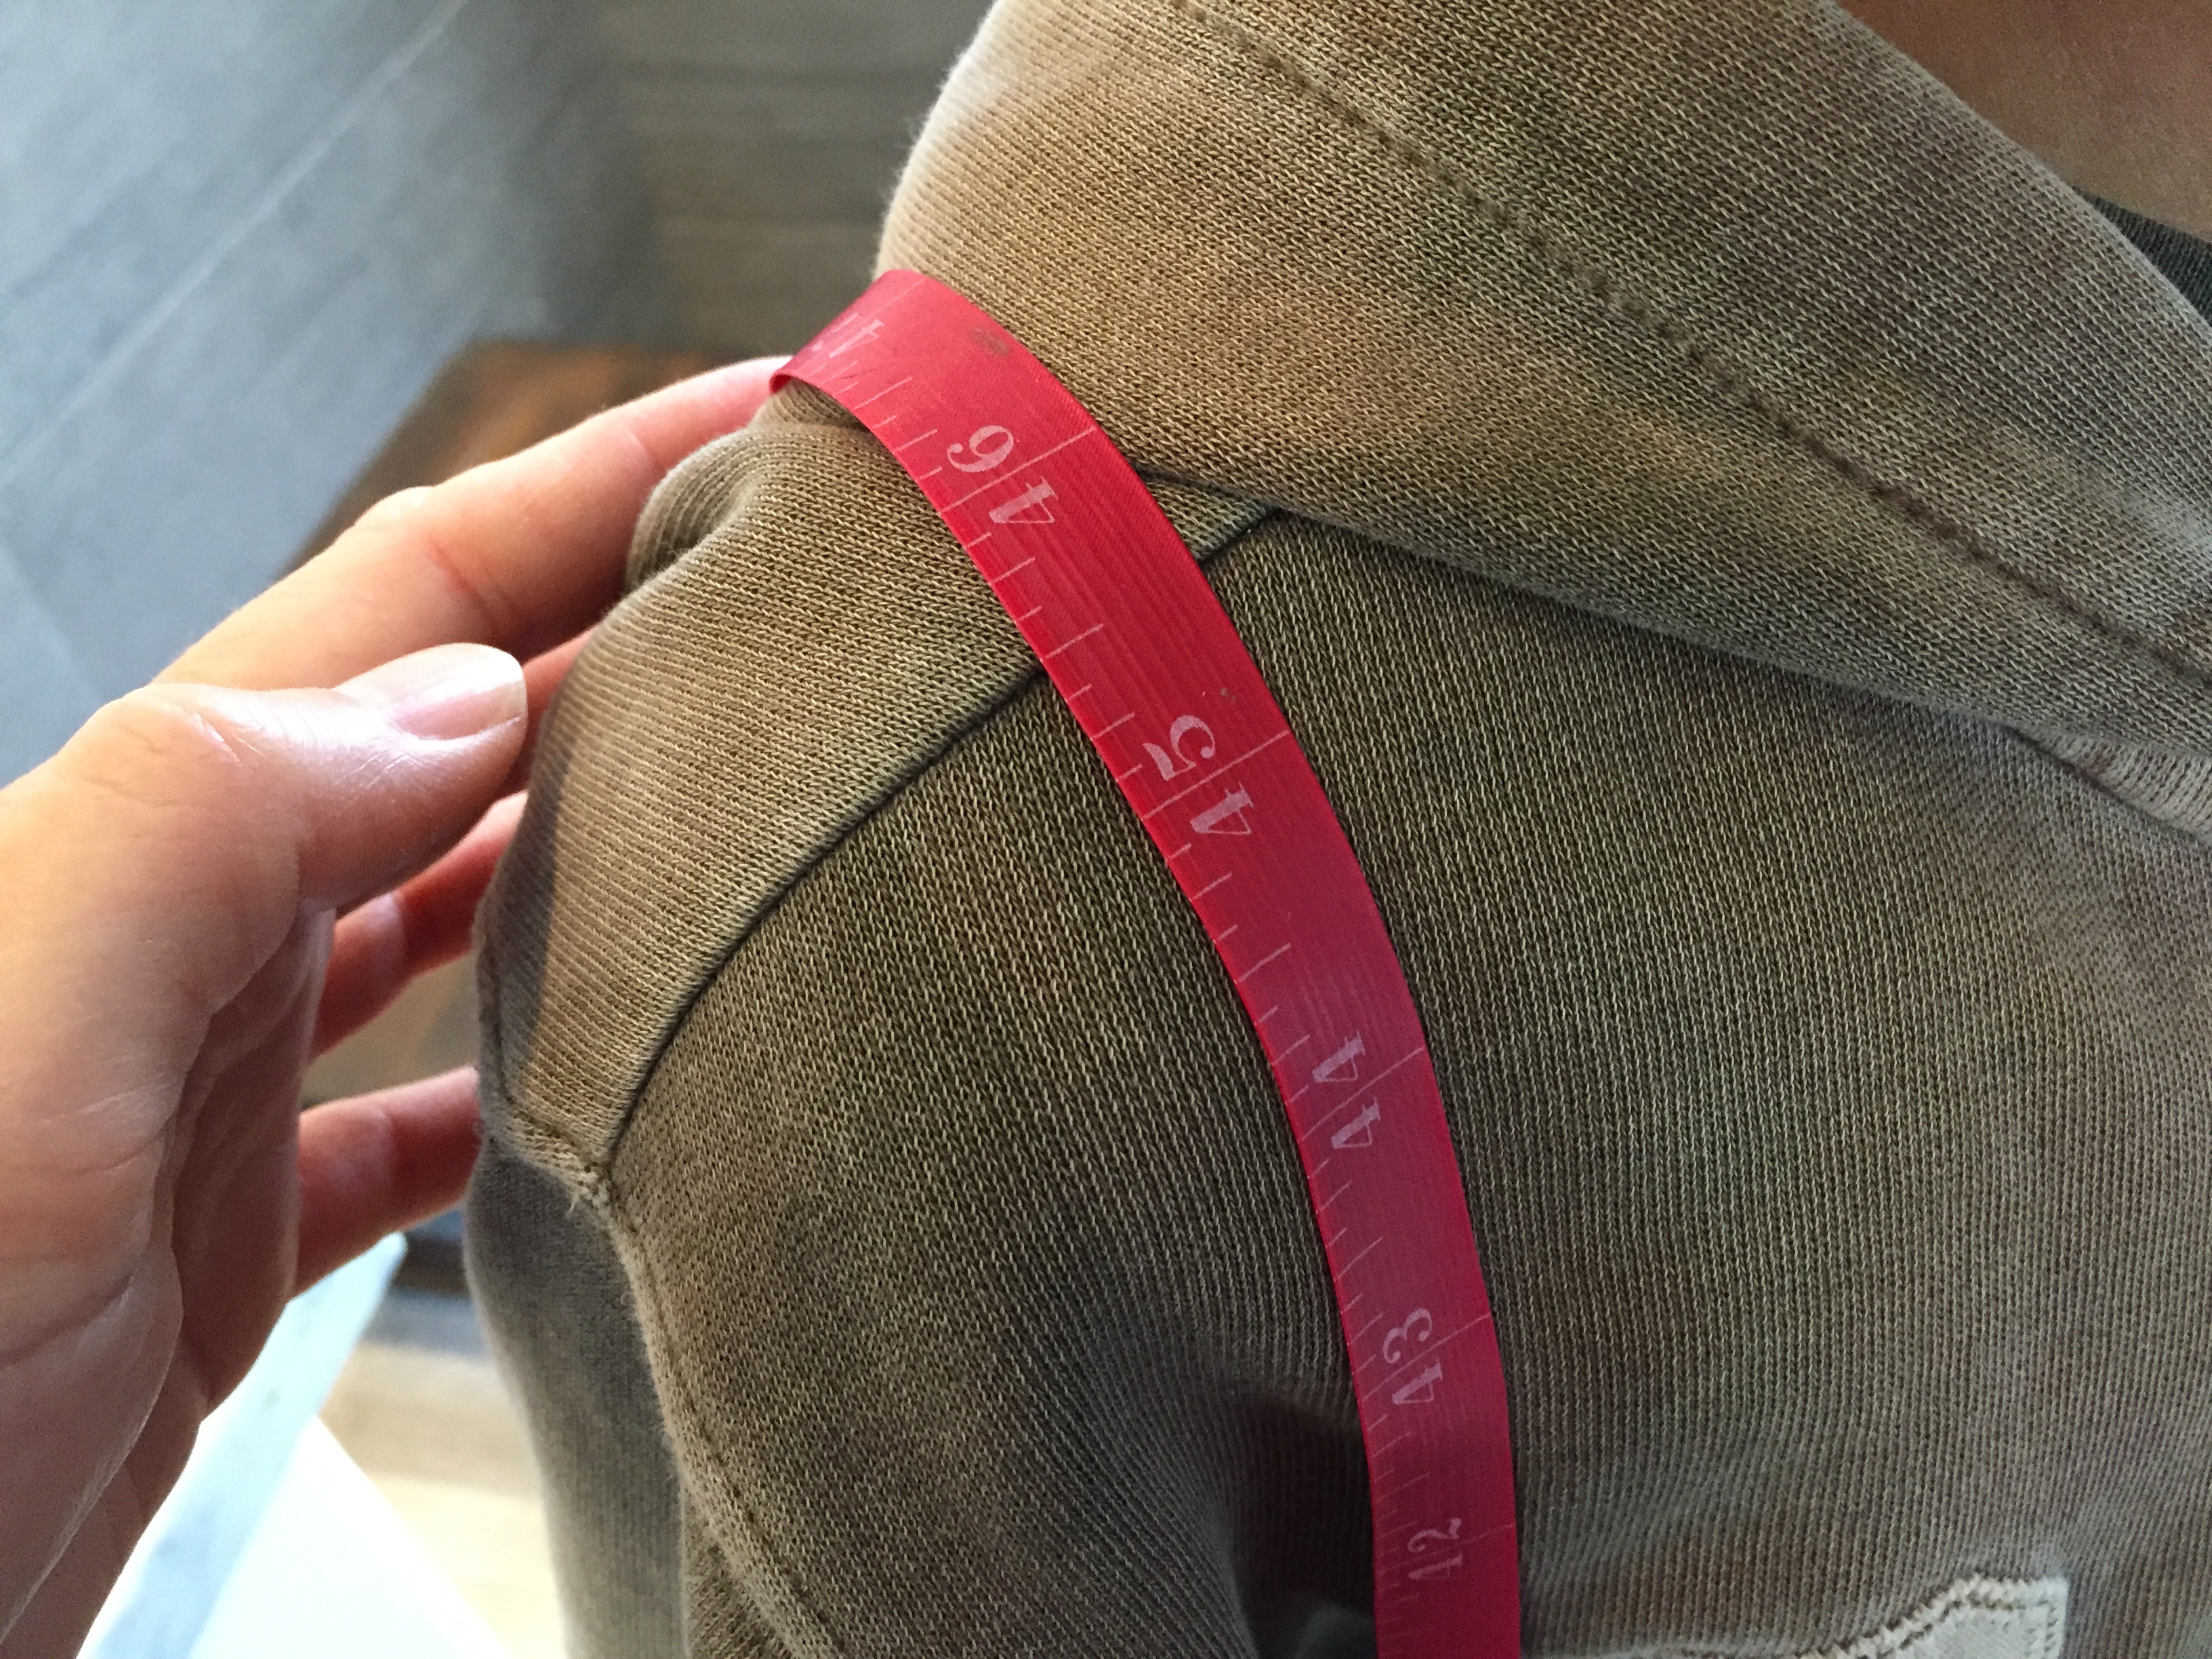
To figure out how much fabric to buy, measure from the shoulders to the ankles and add about 15 inches to that, and that’s how much to buy. I would round up to the nearest 1/6 of a yard to be on the safe side. I recommend 60″ fabric and one that doesn’t fray so you can quickly and easily sew this up. You can tell which fabrics fray by looking at the rough edge when you are shopping for fabric at the fabric store.
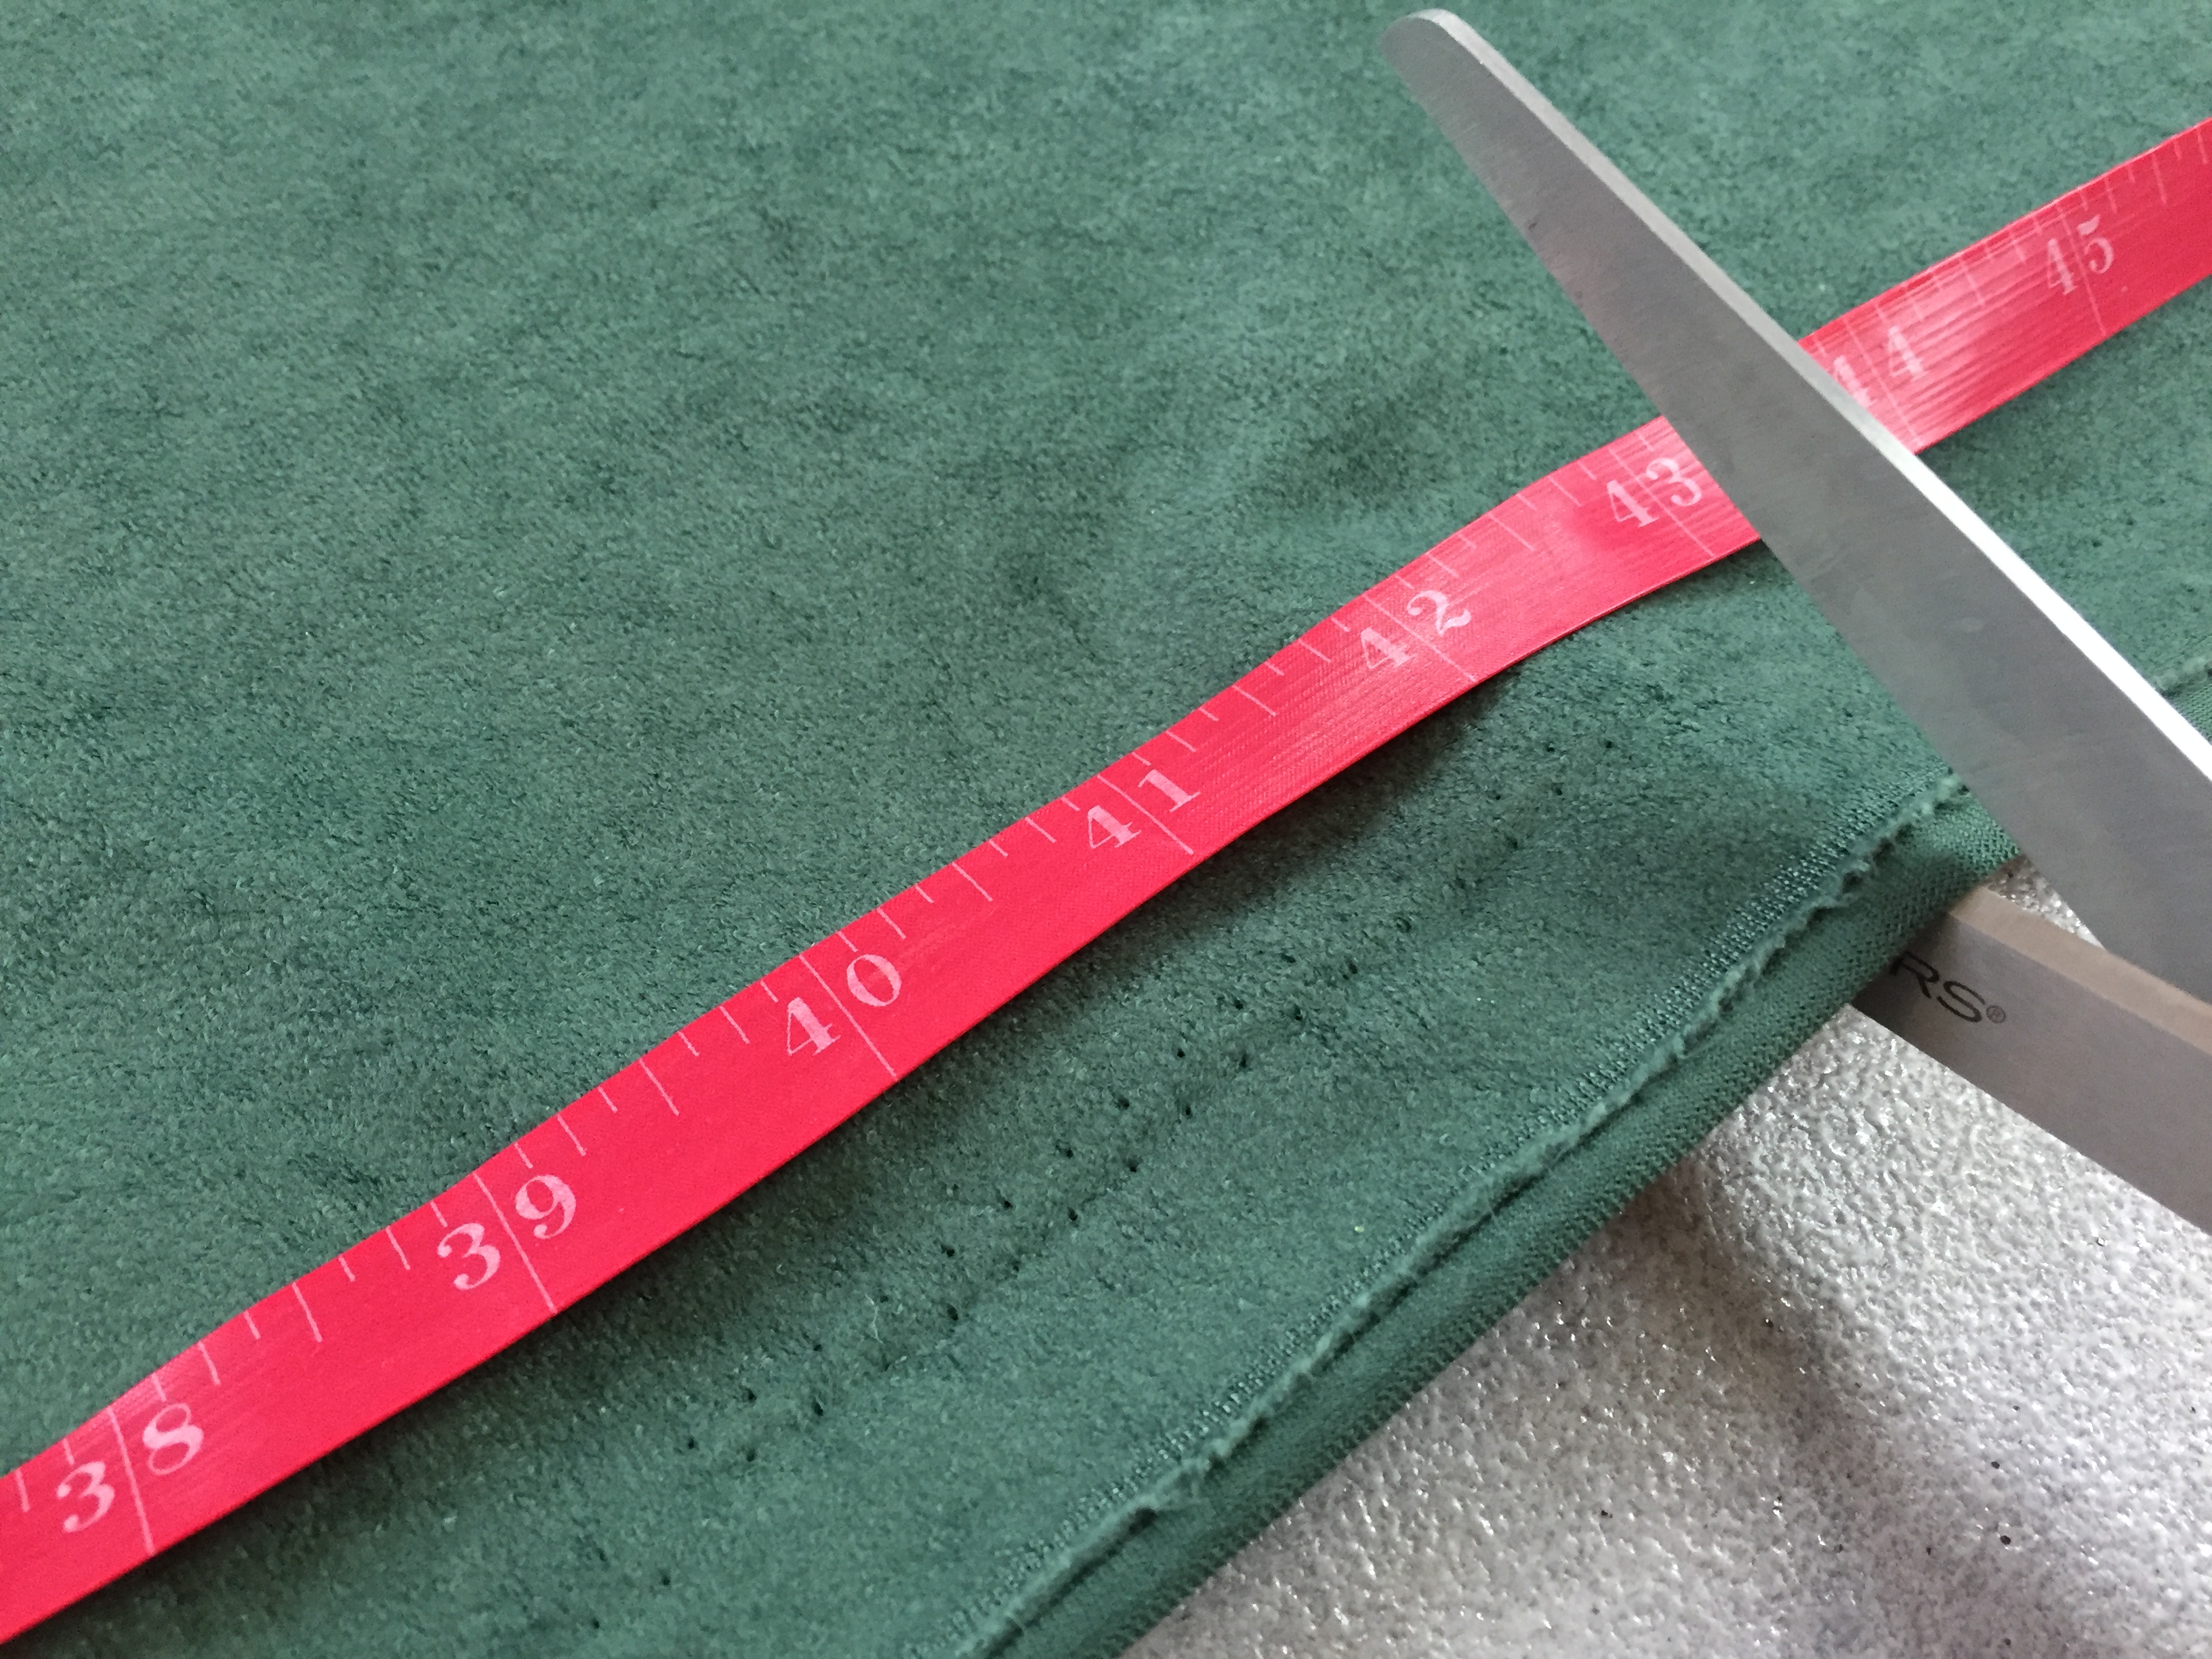
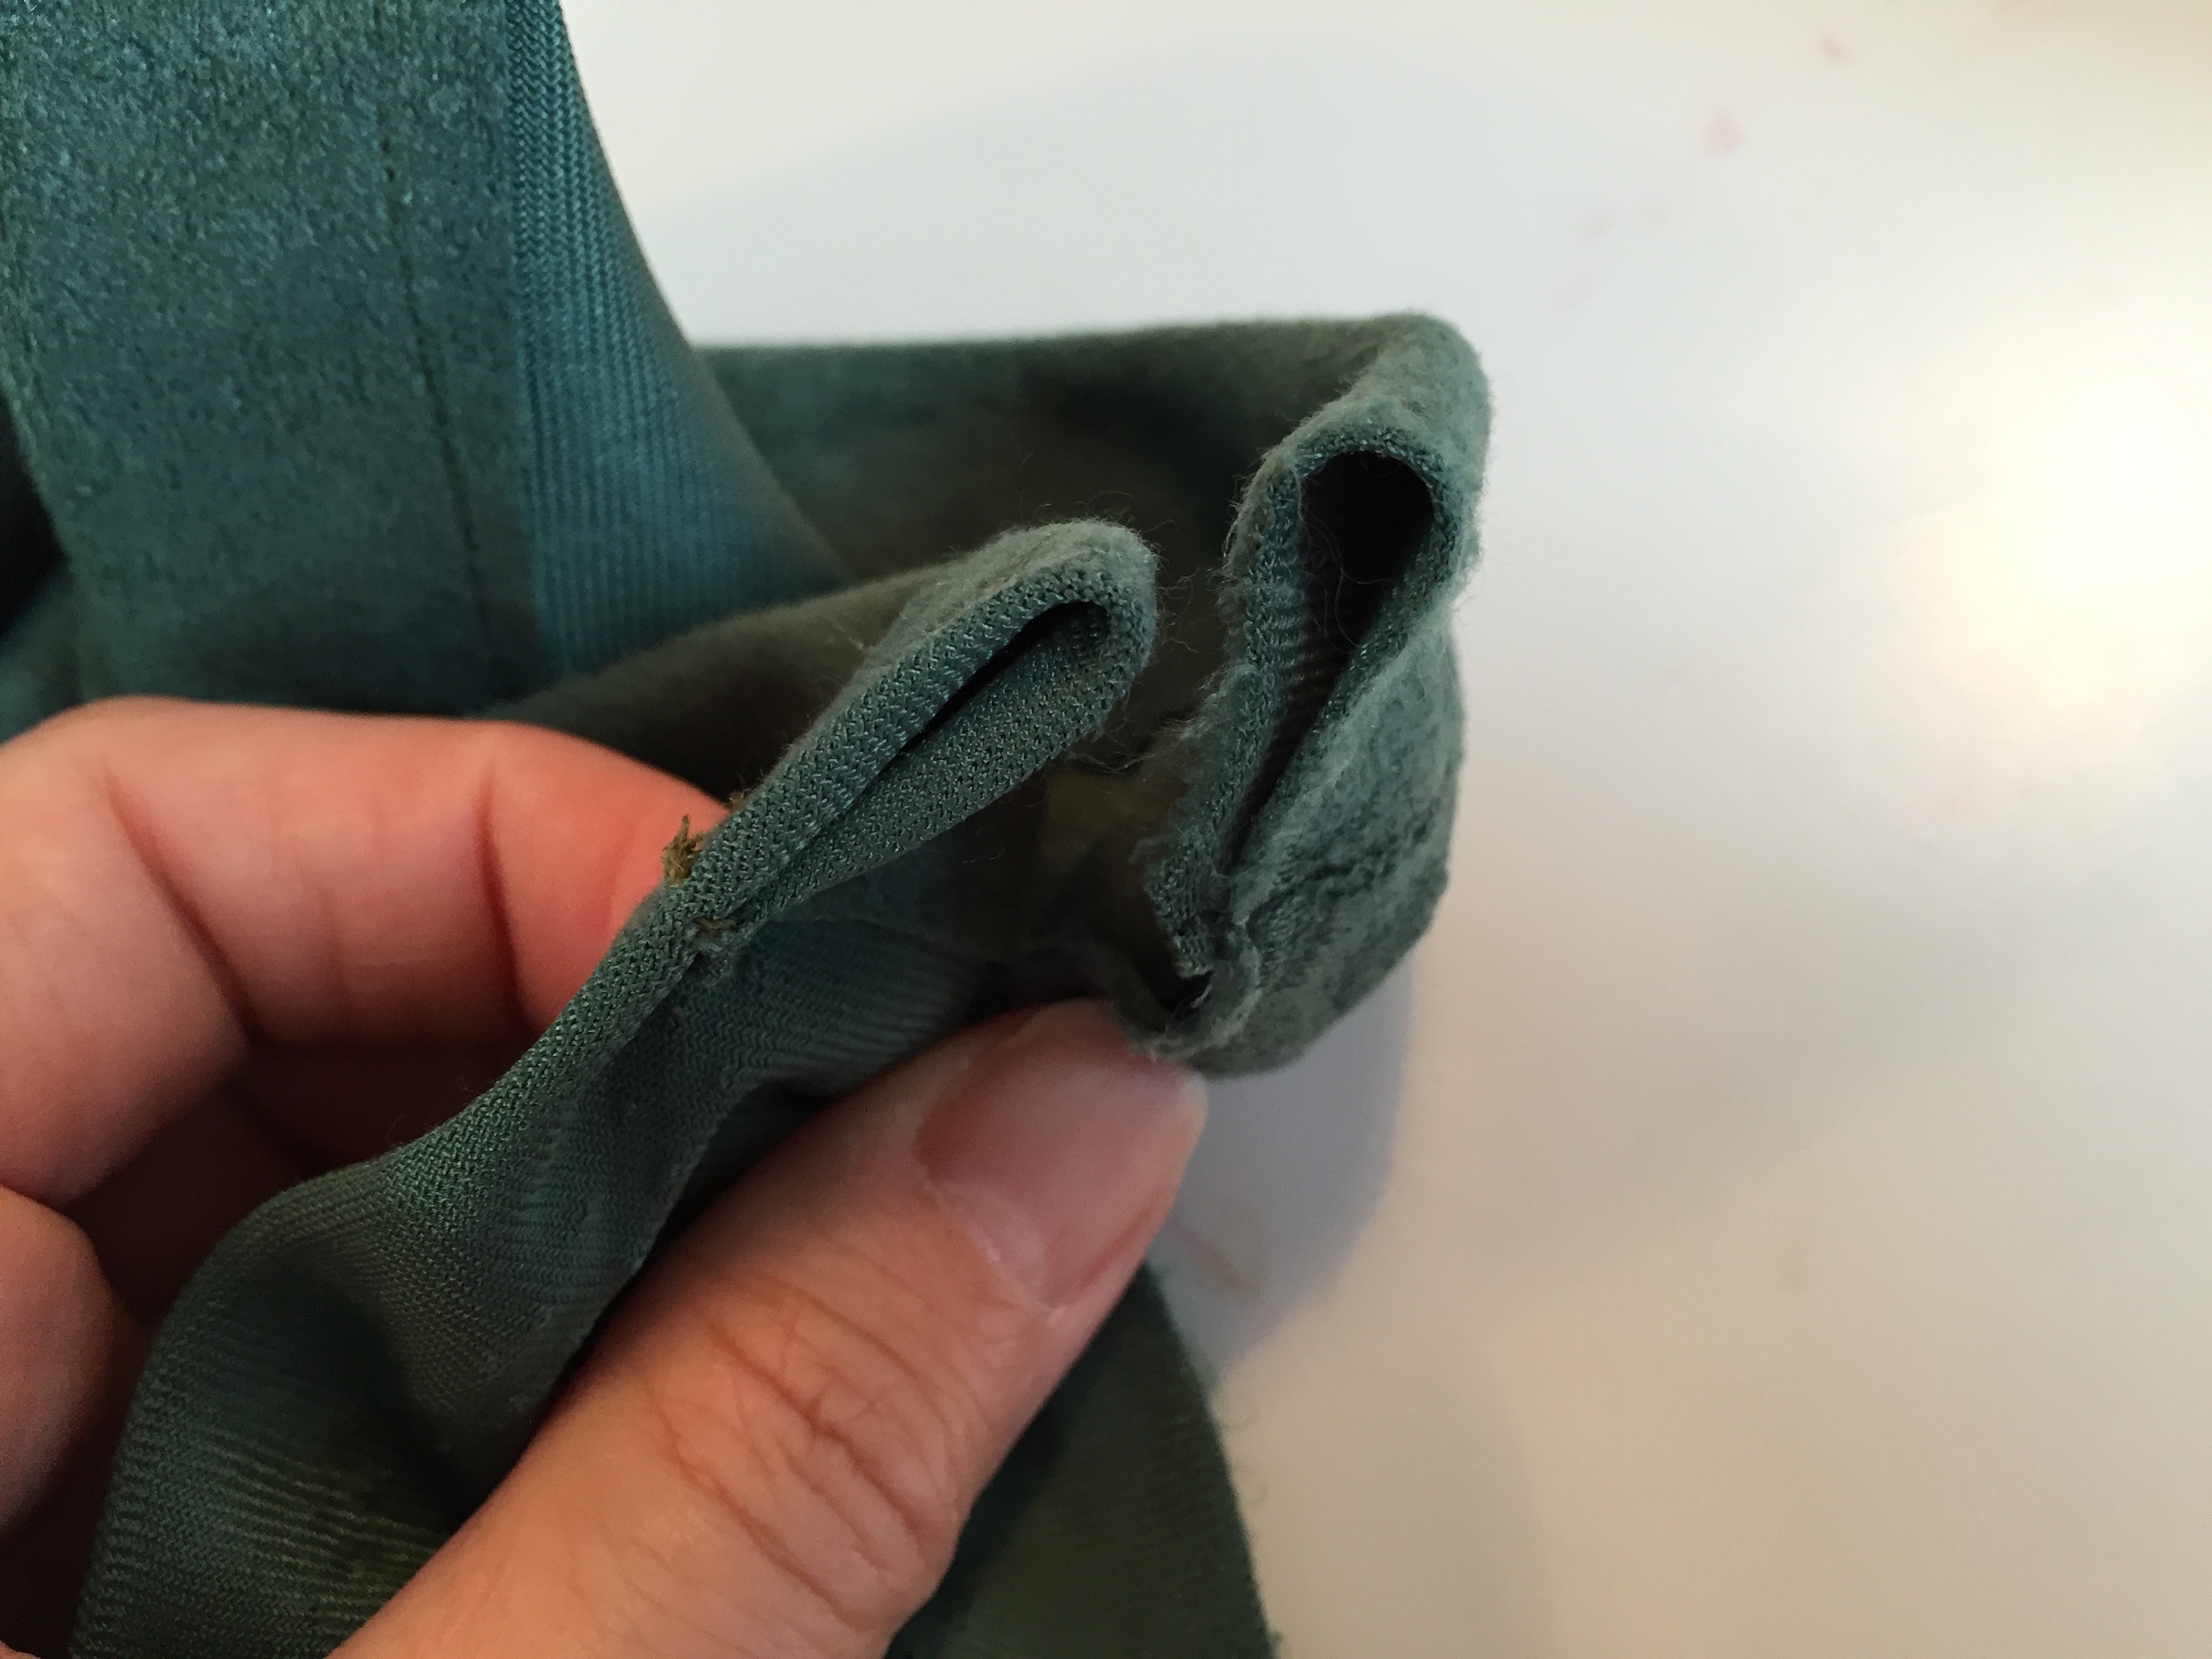
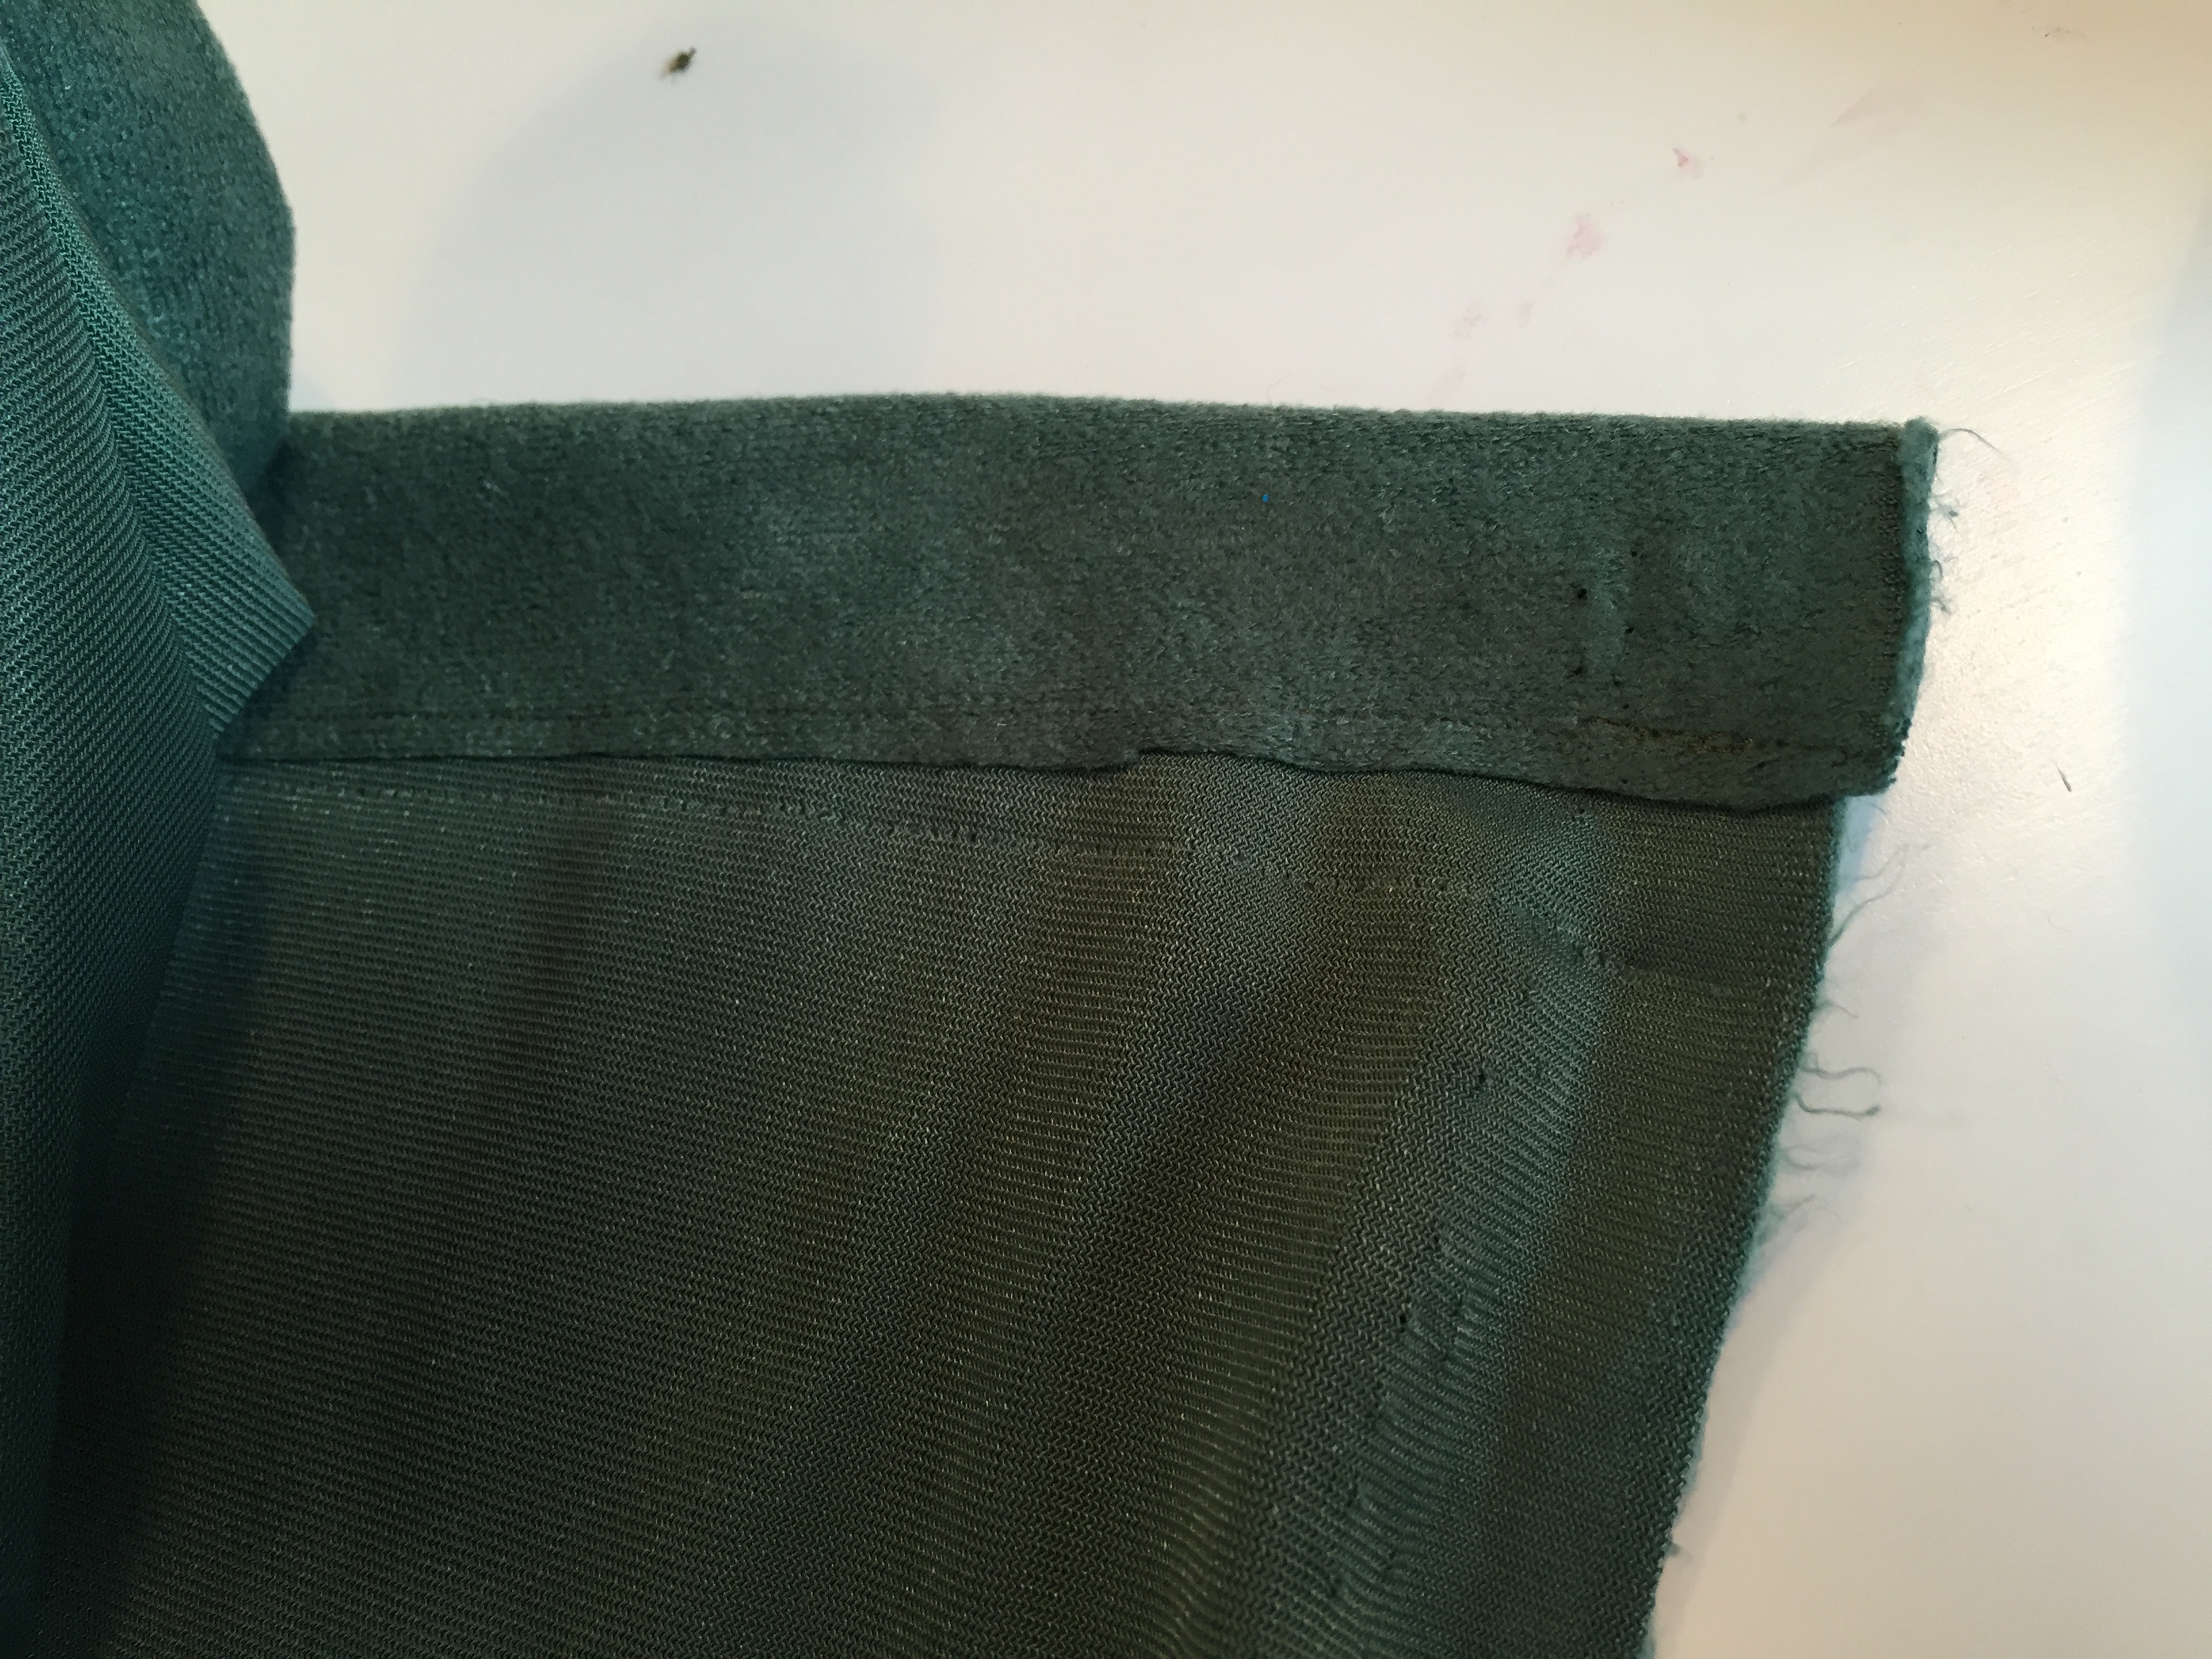
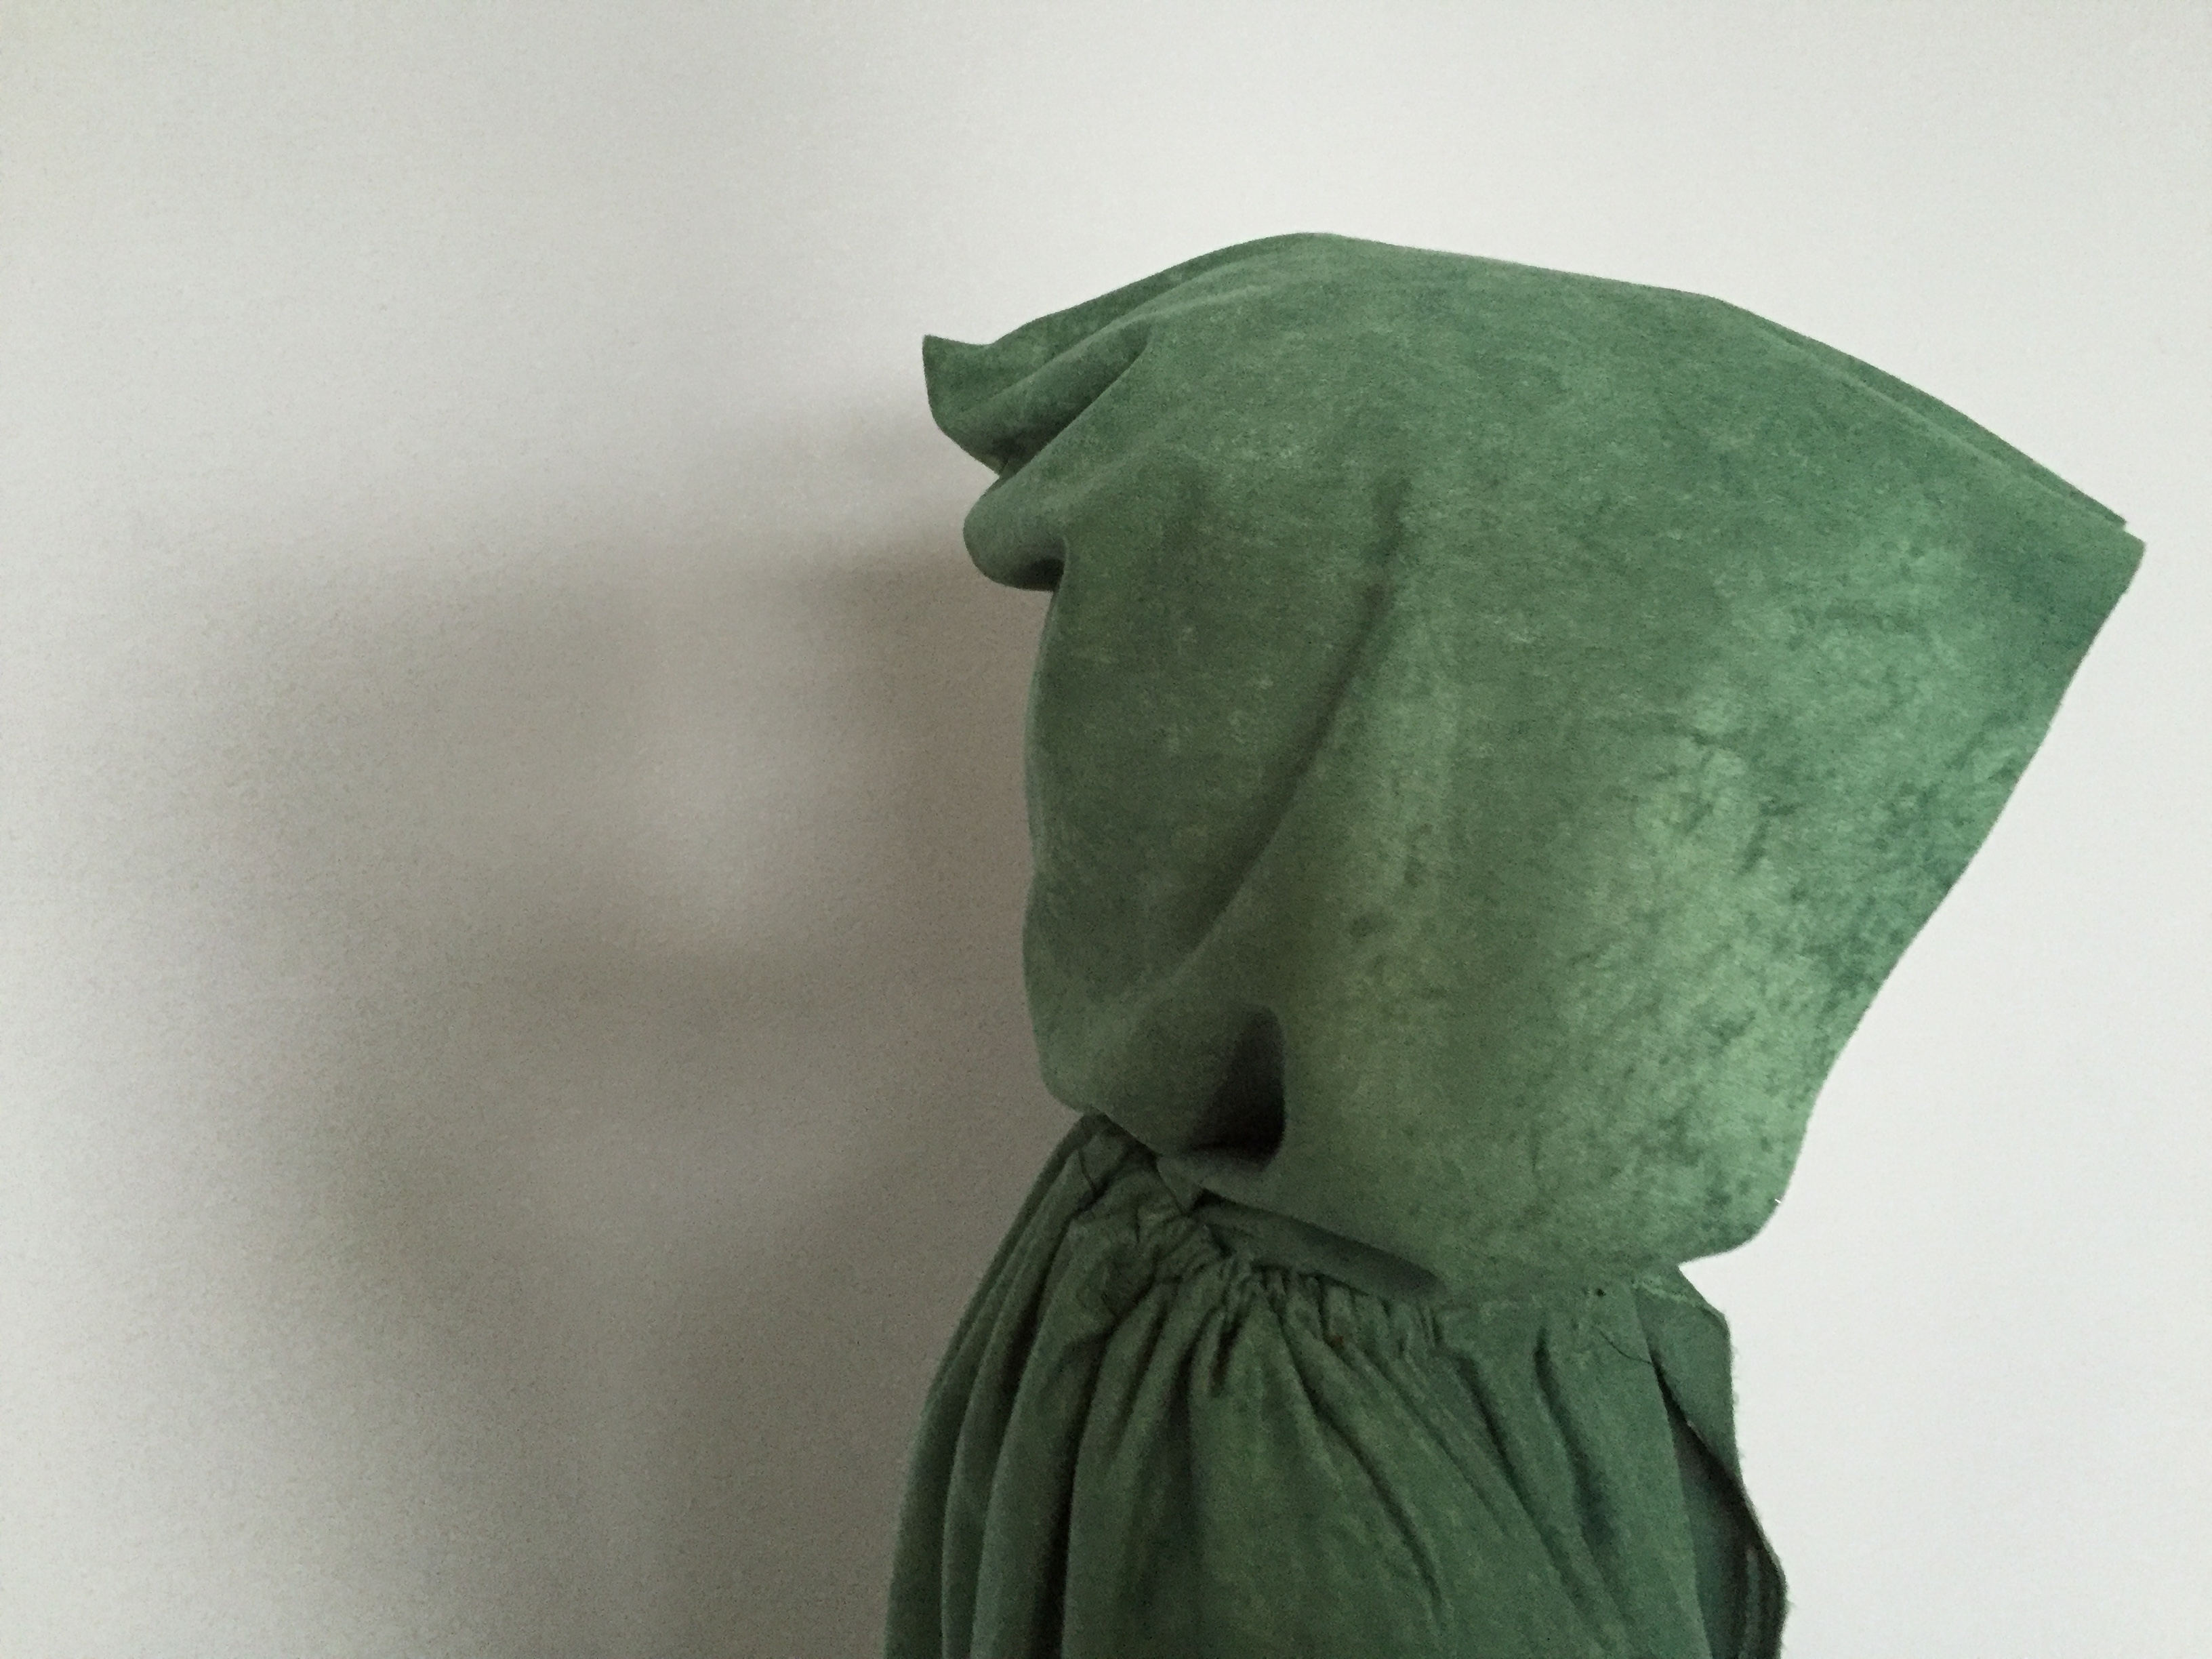
Measure and cut fabric for cape giving yourself about 2 inches extra to sew a casing. After sewing the casing, cut the remnant piece for the hood. For a child sized hood, 15″x30″ is sufficient. Sew along the short side.
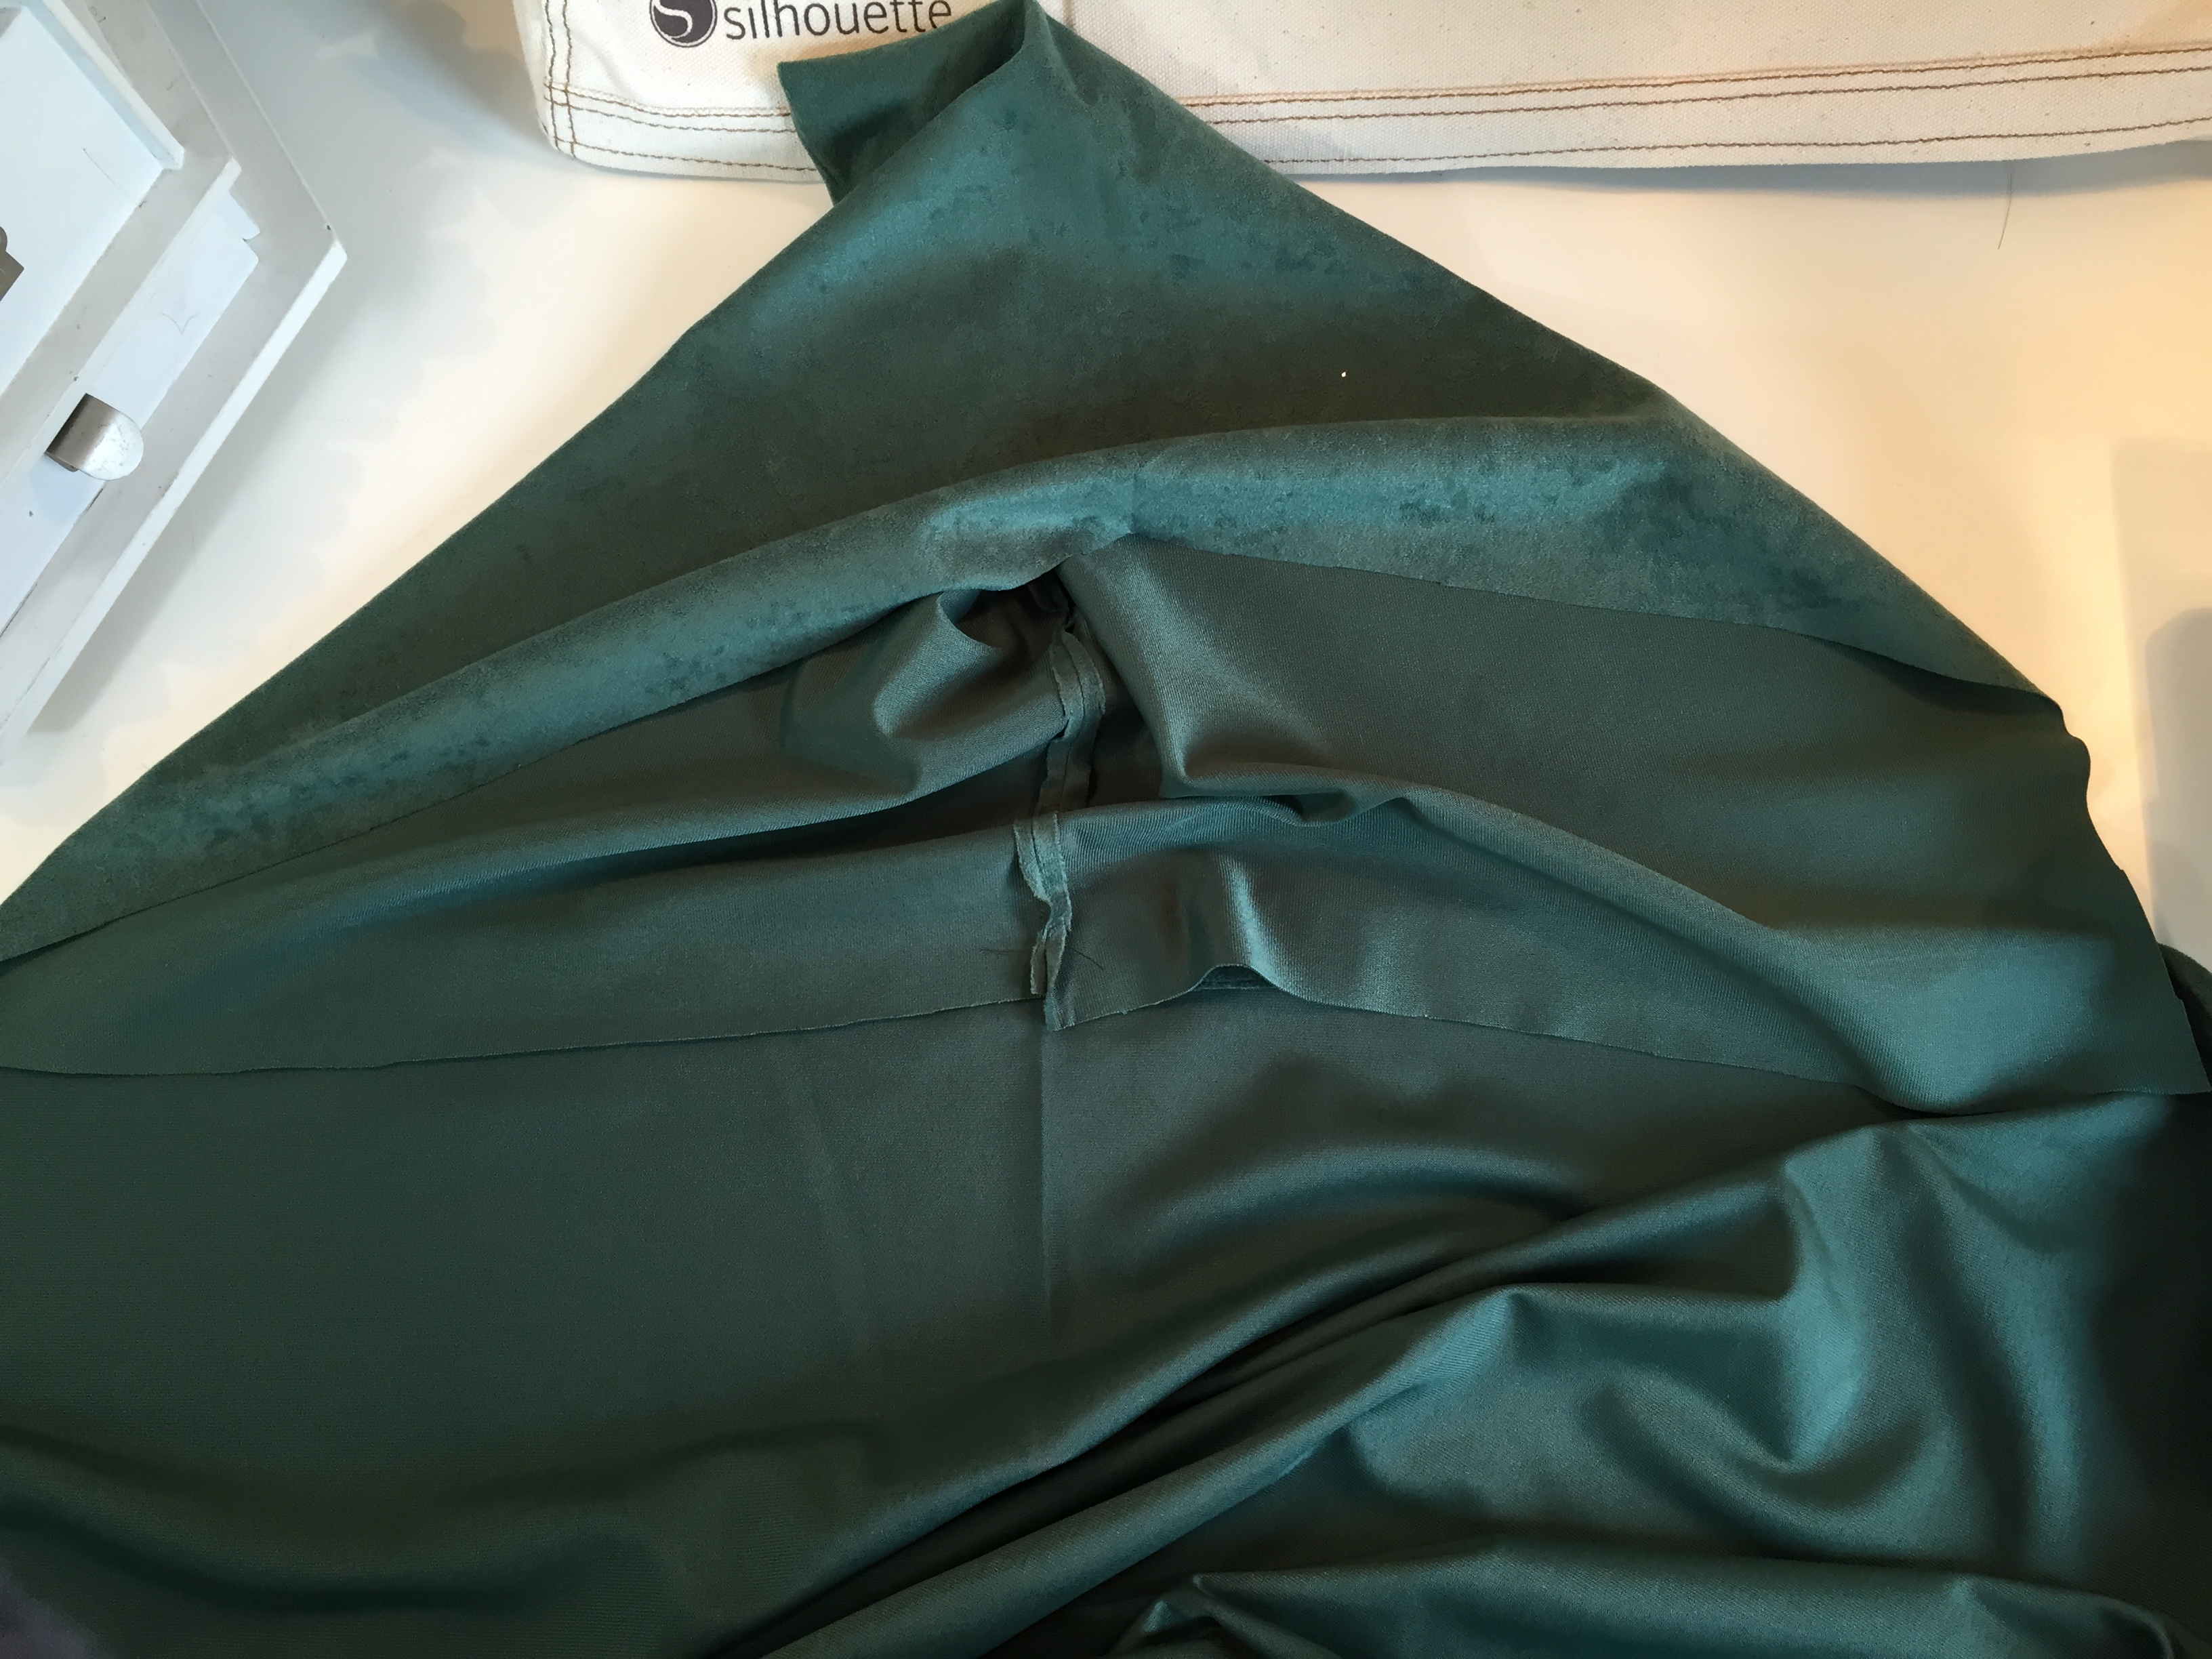
Now it’s time to assemble your cape. Line up the middle of the hood to the middle of the cape. Sew the hood to the bottom of the casing, making sure you don’t sew through the casing.
Thread your elastic through the casing. Cut the elastic to desired length. Sew the elastic to the casing several times on each side first, then sew them together for easy slip on and off.
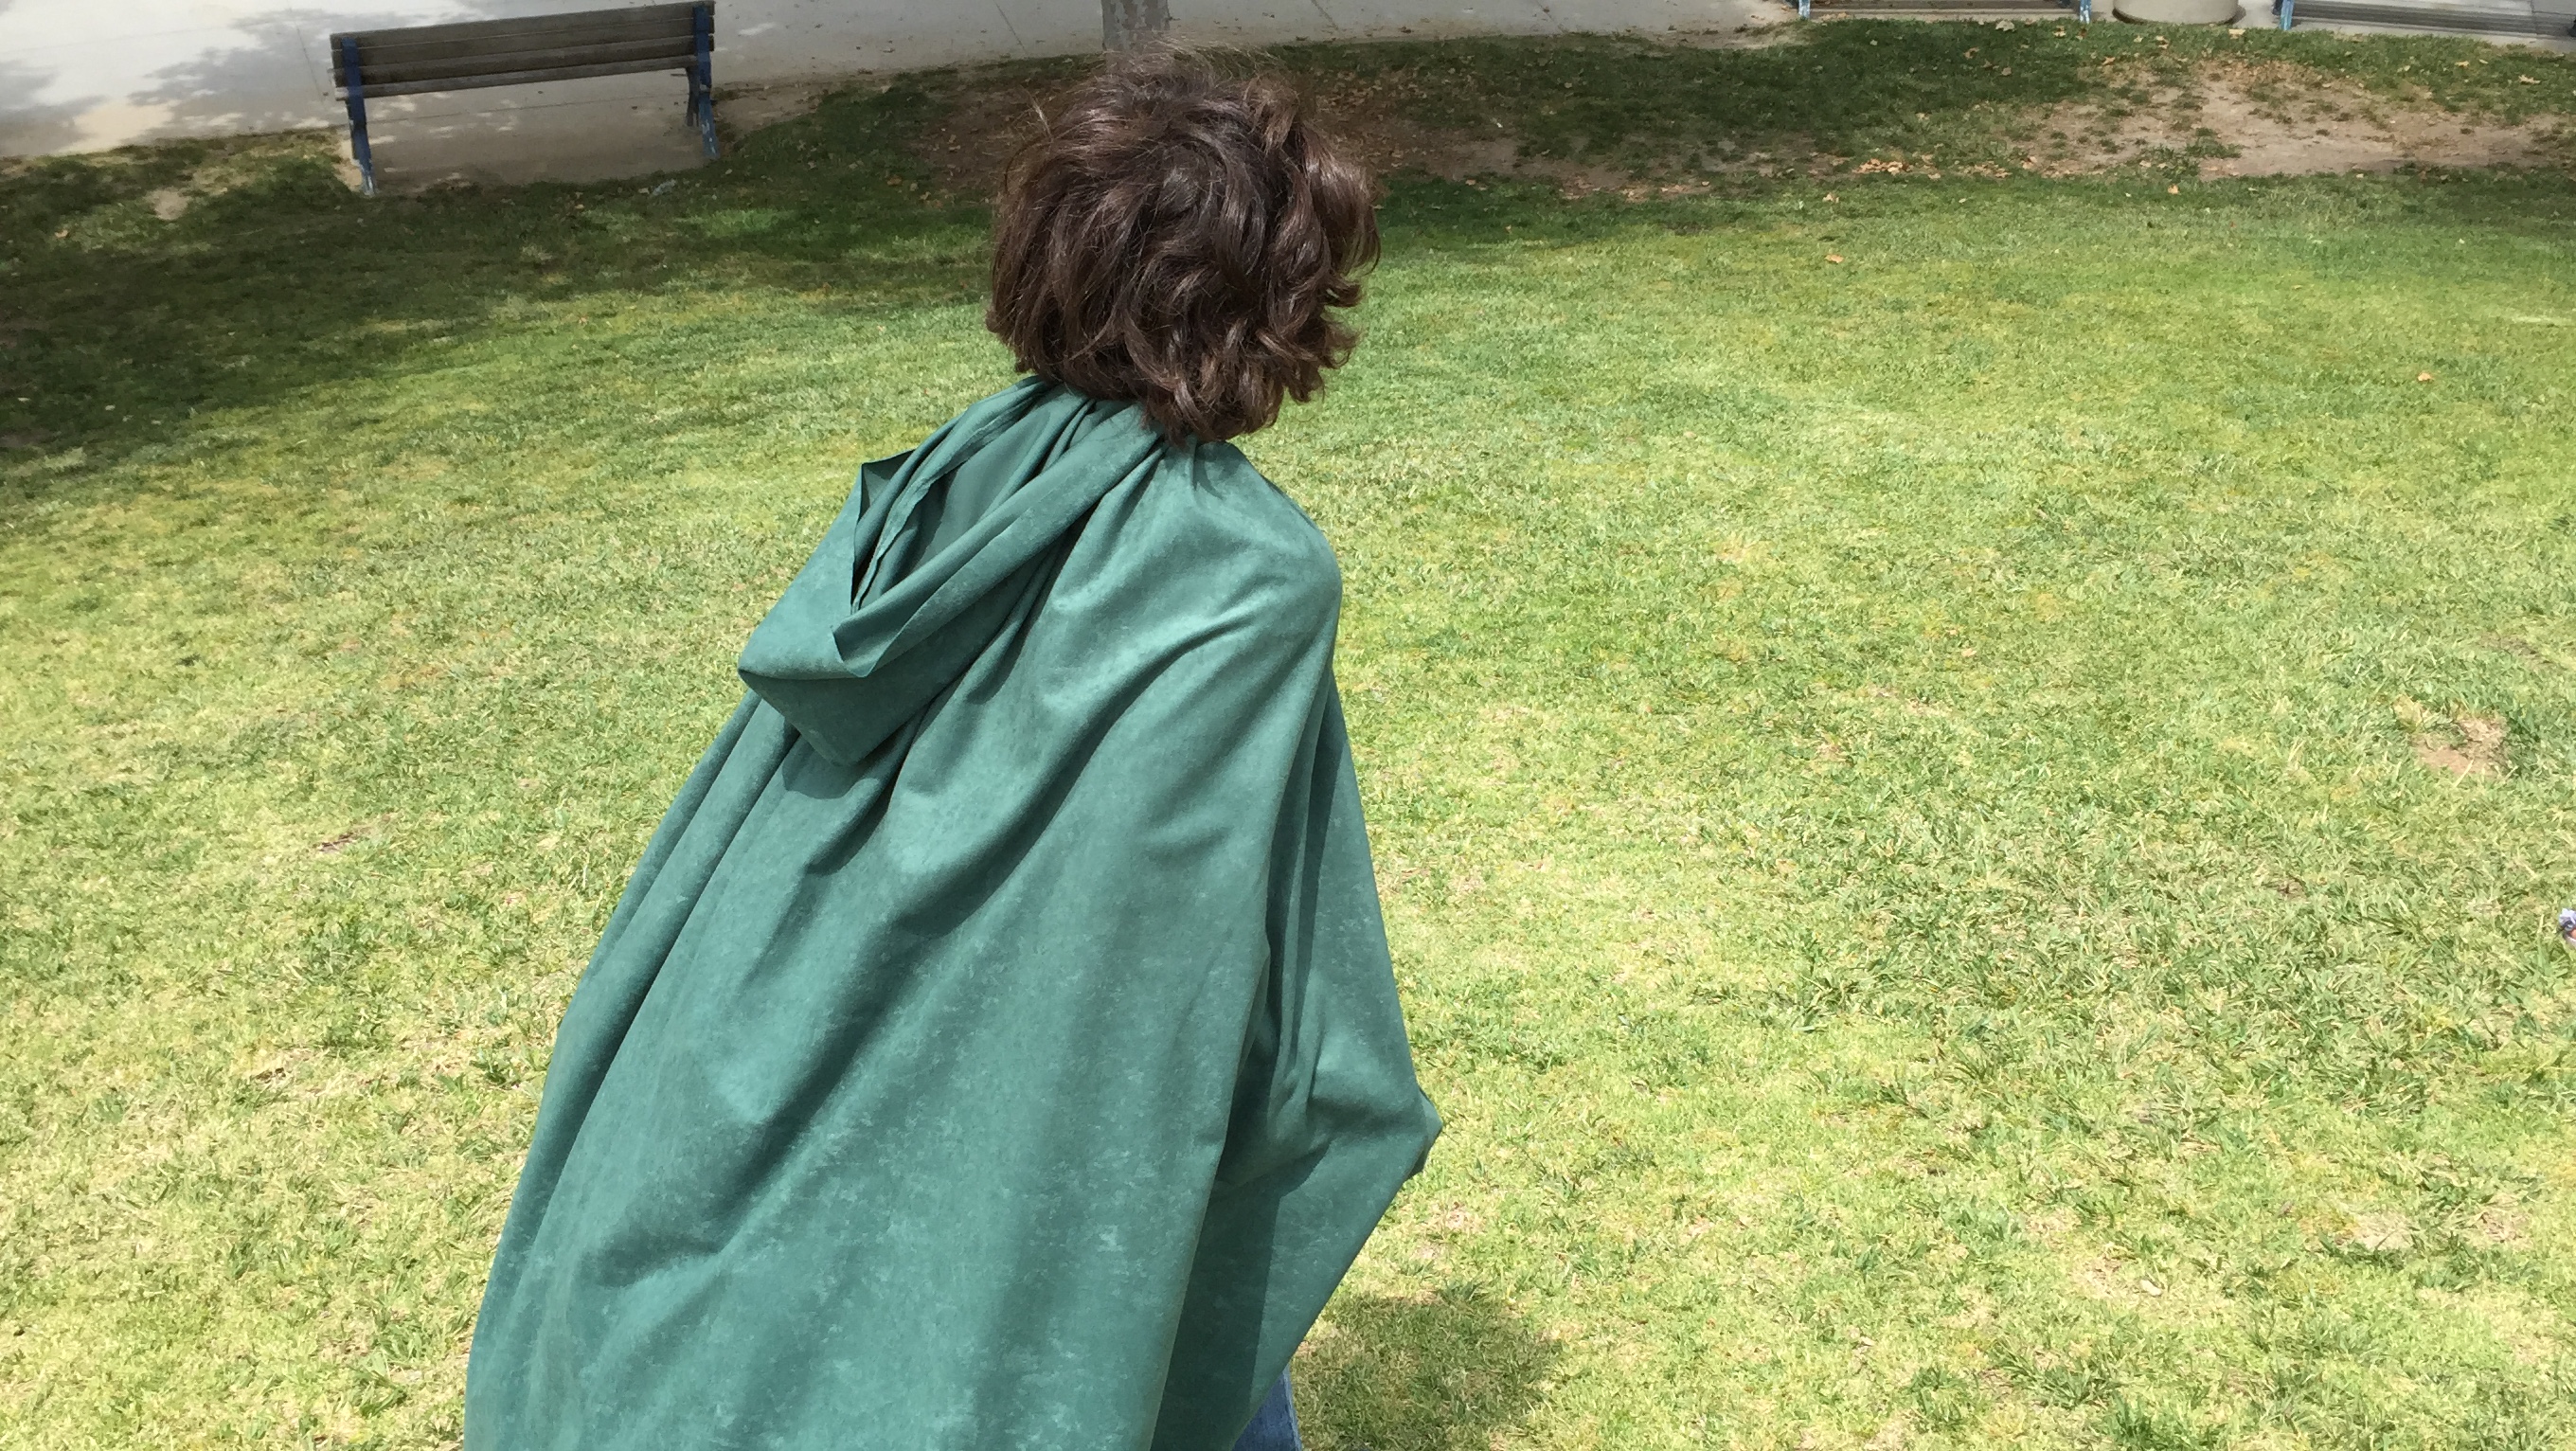
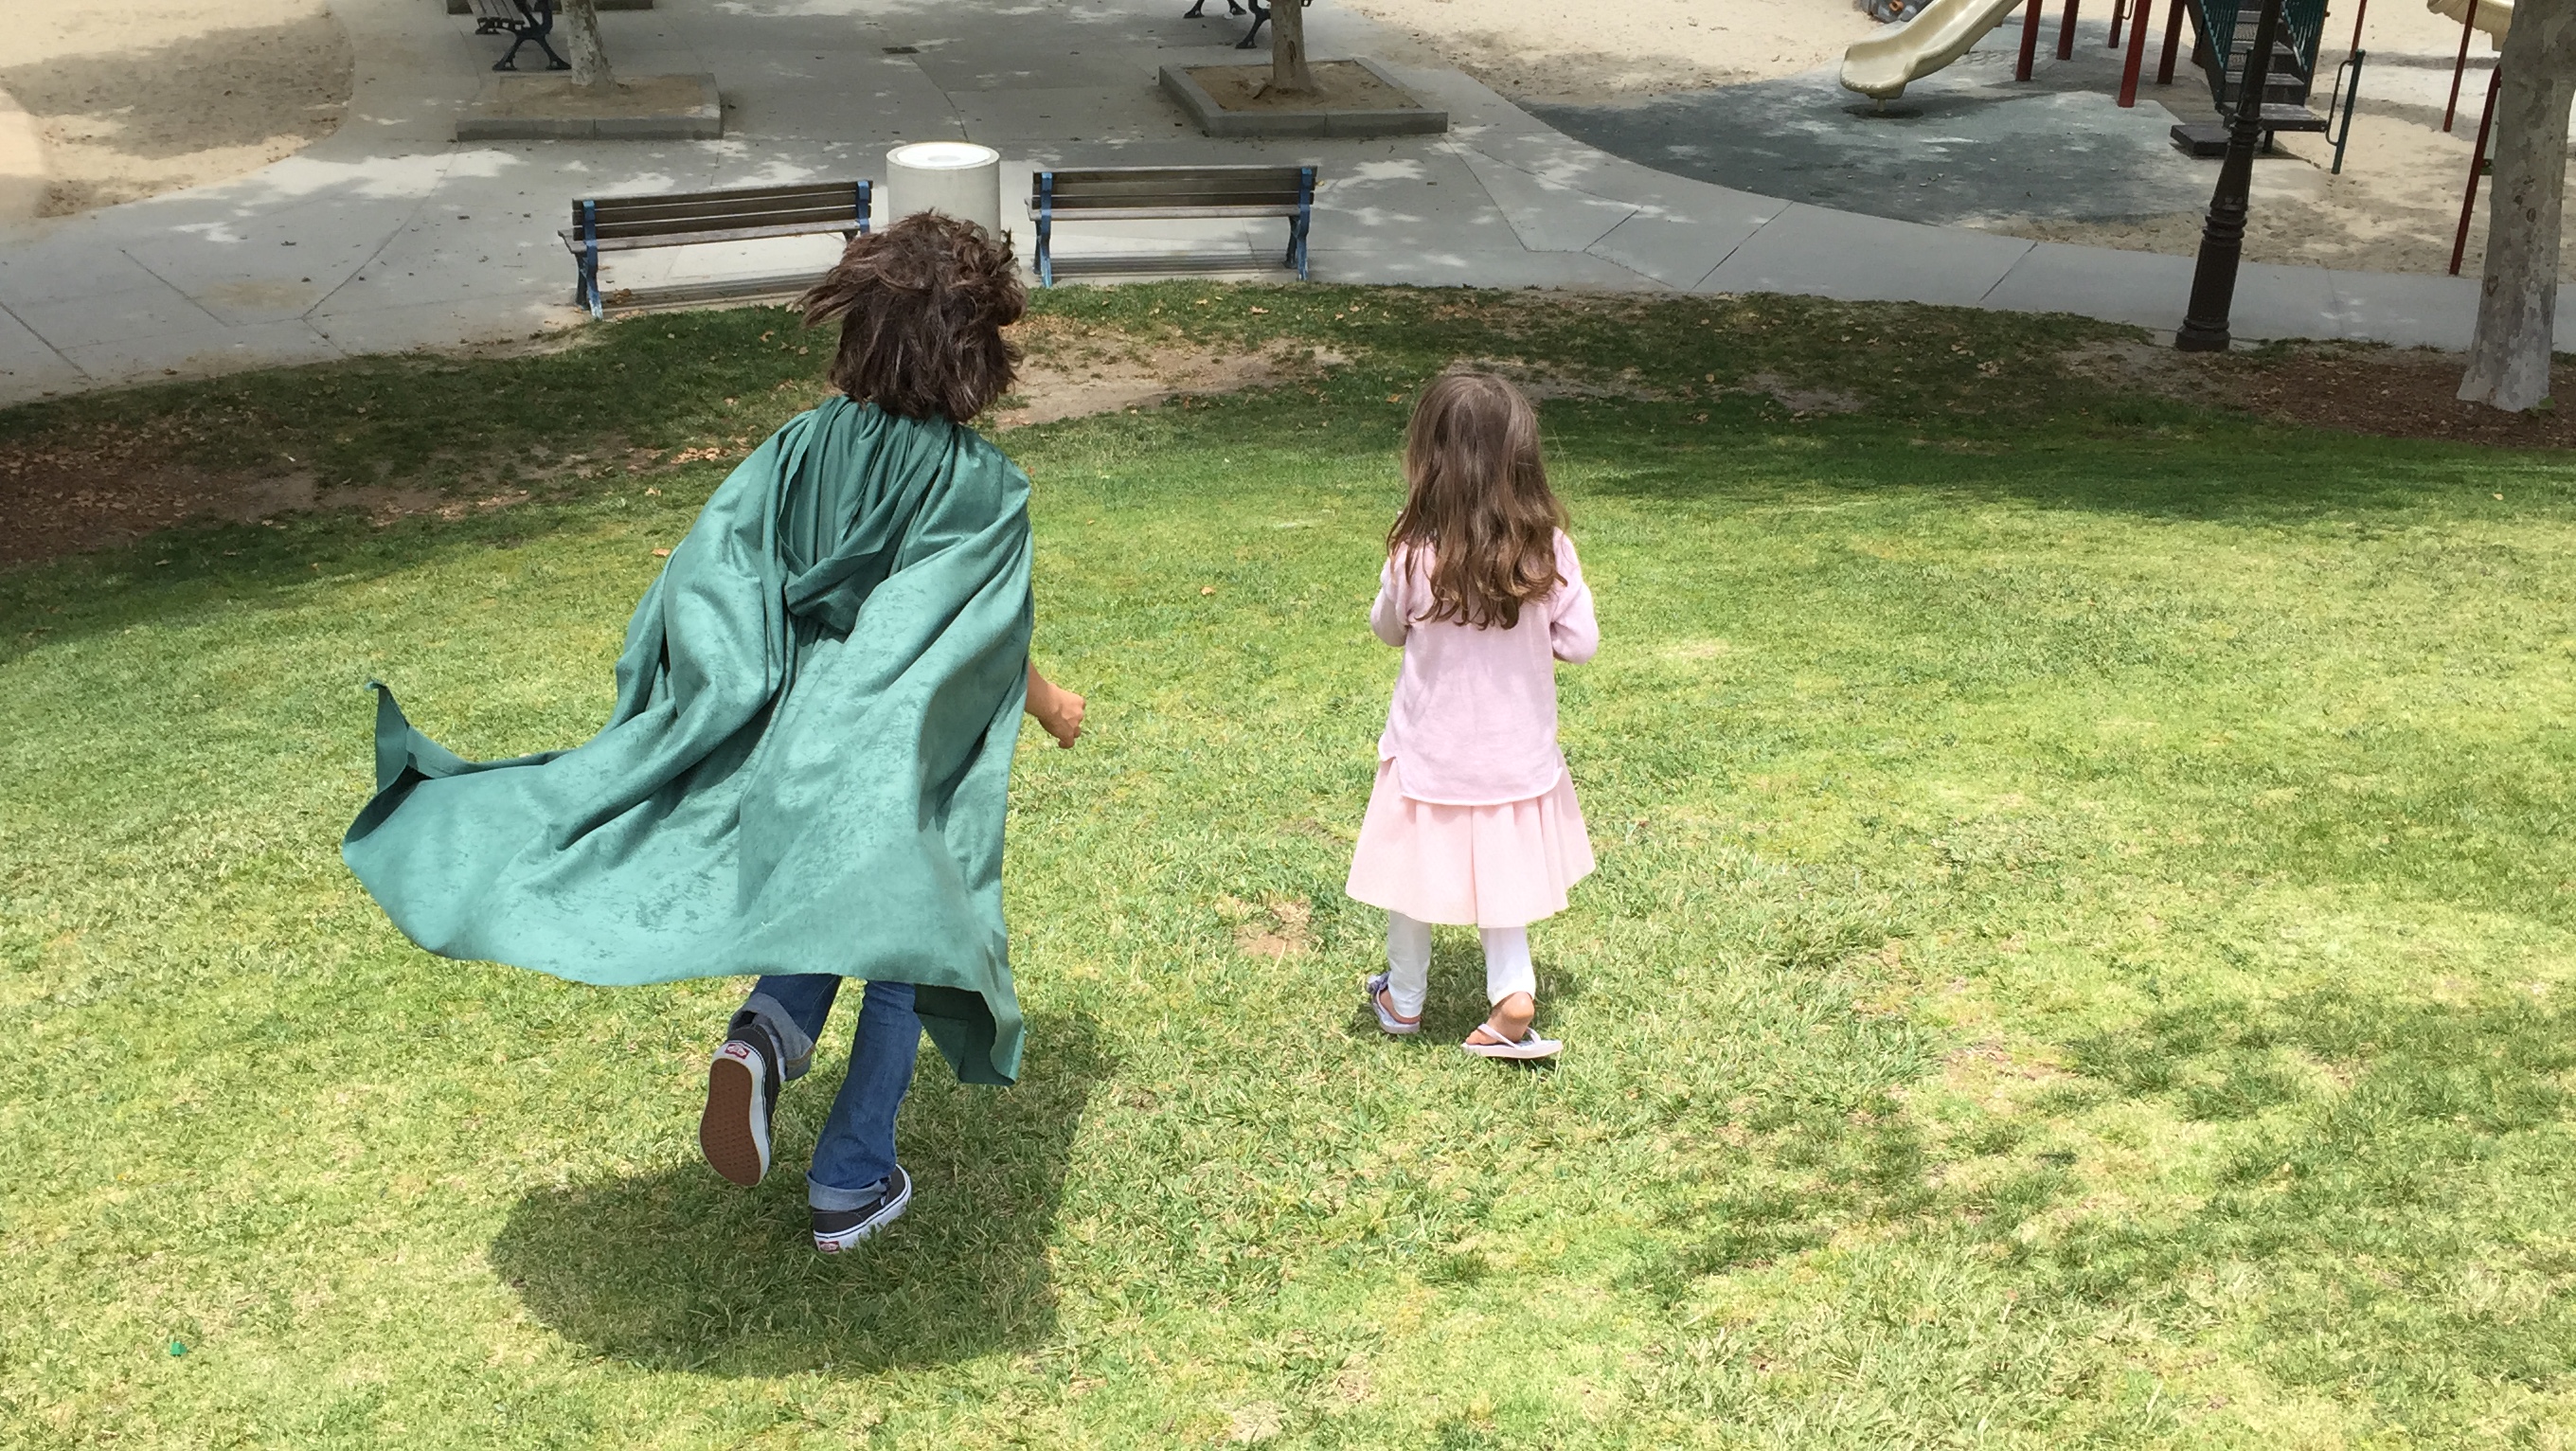
Wear and enjoy!
Don’t forget to share pics with me of your projects inspired by Pepper and Pine on Instragram. Tag them #pepperandpinemademedoit
Pepper and Pine made me do it
Thank you to Miki for the idea!!


Hello! I am all set to make the Hobbit cape, but the video tutorial says it’s unavailable. Is there a way to view it so I can make the cape?
Thanks!!