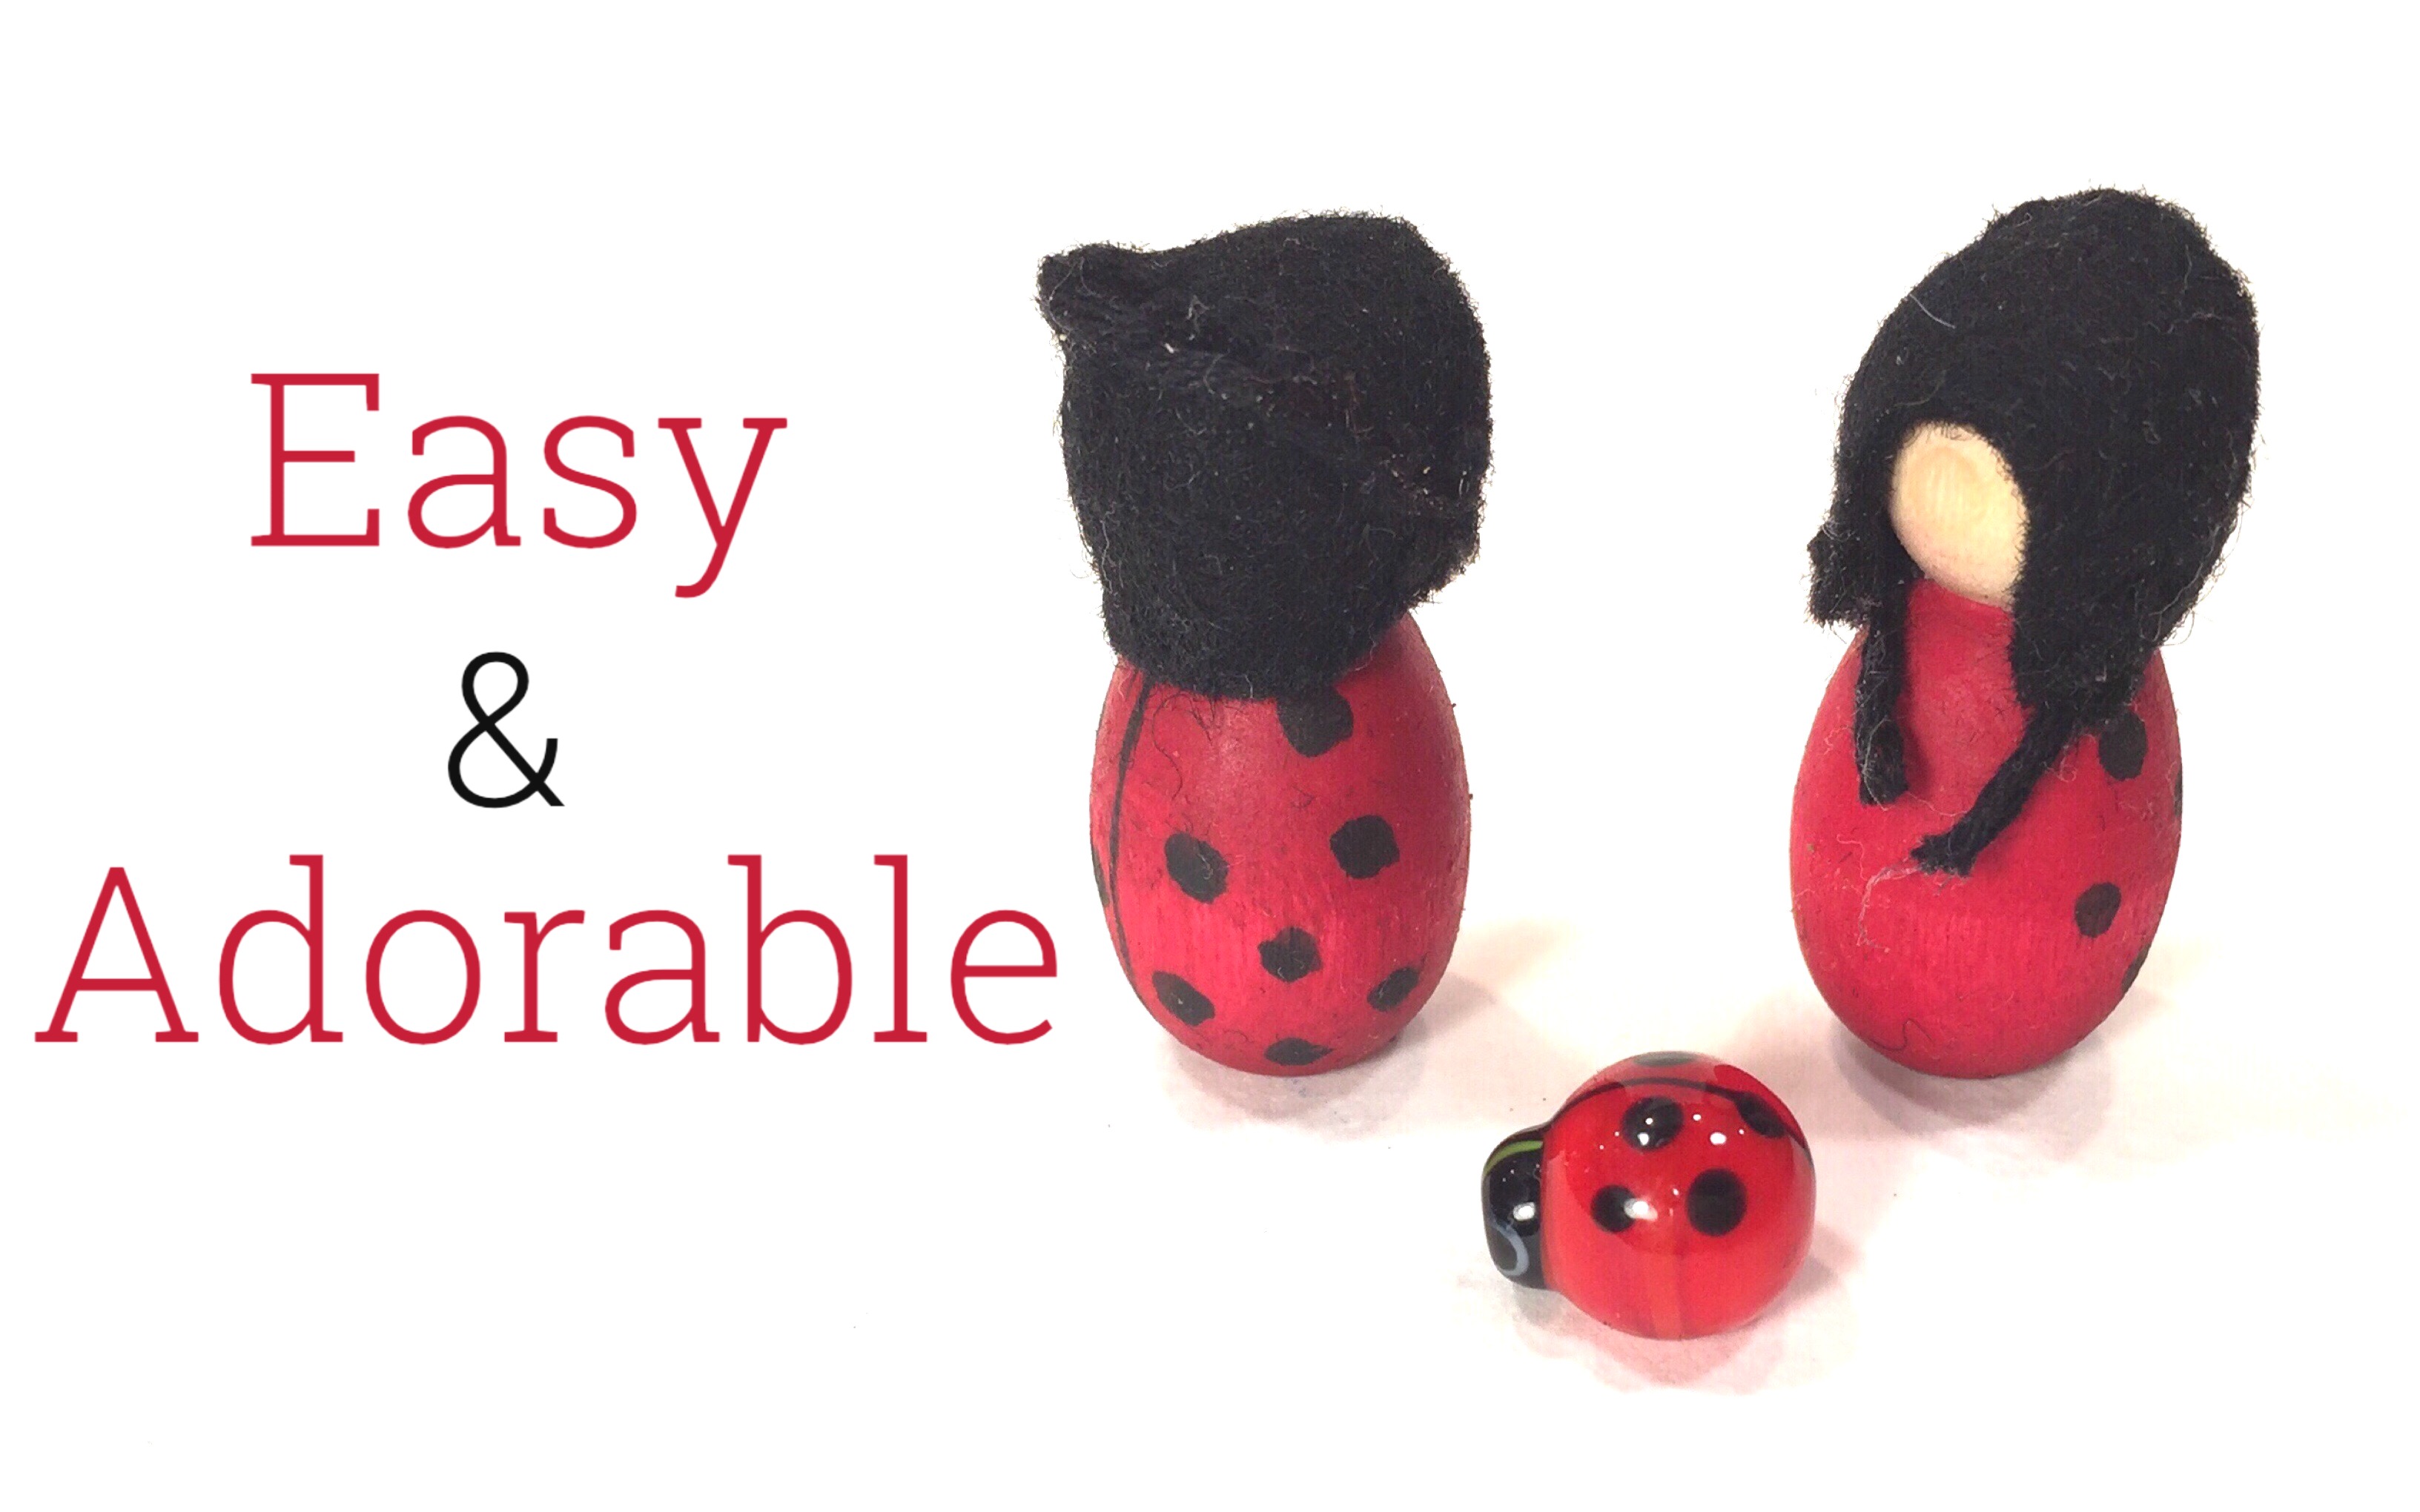
This is my first attempt at making animal peg dolls, and I can tell you, I love it!! These adorable ladybugs were inspired by both a similar design in Margaret Bloom’s Peg Doll book as well as a mini glass ladybug my sister gave me. To get the shiny gloss, I polished them with all natural beeswax polish. I had only intended to make to make one, but I messed up on the face of the first one, so I quickly made another one, and on this one, I left it without a face which actually looks a bit cuter. I did struggle with the little hat which I made myself based on examples in Bloom’s book. The hat is basically two crescent pieces sewn together. I used embroidery floss in black with an embroidery needle and didn’t bother with a fancy decorative stitch because it wasn’t going to show against the black felt. All the supplies were from A Child’s Dream. I used the super cute tiny bunting babies for the ladybugs. The rounded bellies are perfect and mimic the shape of the ladybugs. I used 100% black Holland wool felt, Lyra watercolors and Beeswax polish.
These peg dolls are for our Spring Nature and Seasonal Table. To see how we put together the table and seasonal unit as well as our other Spring projects and activities, you can click here to see the playlist
Level of project: Beginner
Duration: 20 minutes
Skip the hat and use paint and this project can take less than 10 minutes.
Cost: Less than $1 for 2


Find me on Twitter, Instagram and Facebook