
In our family, our main meal of the day is lunch which I serve around 1pm on most days. I am currently cooking for a family of six, which includes three young men plus my husband. Even my young growing daughter is eating more like an adult now. So when I cook lunch, I make sure, that it’s enough for a full and filling lunch with leftovers for a light dinner. Some recipes lend themselves better to this than others. Soups and rices tend to keep well on the stove to be munched on later in the day. Salads and some meats don’t do so well. In our home, I leave the food out until it’s been eaten or it’s the end of the day. The following are some of our family’s favorite meals. You can see what we pair these main meals with by checking out the blog posts on soups, appetizers, rices, desserts and drinks.
Hummus Chicken Bowl
This recipe for a chicken hummus bowl was such a winner in our home, we have since made it often with great success! One thing that will make preparing this dish even faster is to use store bought hummus or make it from a can. I make mine from scratch so I have to plan ahead when I made this. This recipe is from the September 2020 issue of the Eating Well magazine. I made some changes to the recipe as I always seem to do. I added harissa to the spice mix and to the lemon sauce.


How to Cook Ground Lamb
I’ve altered a recipe we love from the Martha Stewart Living magazine which is an herbed rack of lamb that is paired with a pomegranate rice. We love that recipe so much we cook it often. One day, I made the pomegranate rice but didn’t have anything except ground lamb. So, this is the recipe I came up with to pair with the rice. It’s a distance second to the rack of lamb recipe, but good in a pinch.
Bangladeshi Meat Wraps
These meatballs were worth the wait and the mistakes I made. In fact, the biggest mistake/change from the recipe actually made this my favorite “meatball” ever and my children and husband said it was one of the best recipes I ever made (in addition to the coconut rice I made to accompany these meat wraps). I’m not a fan of ground beef, so I don’t care for meatballs or patties anyway. I tend to avoid them, even though I made them for the family often. I was fully prepared to make this recipe as well with ground beef as the cookbook The Silk Road Gourmet by Laura Kelley suggests. However, after I had gotten all the ingredients prepared, I realized I had shaved beef, not ground beef, and a bunch of limes not lemons, and only a red onion, not brown onion. I contemplated making something else or running to the market to get the right ingredients. I’m so glad I stuck with what I had because the results were amazing!
Admittedly, I wasn’t sure about the raisins the recipe calls for, but I thought I would cut down the raisins in half and leave some meatballs without filling. I was so wrong! The kids loved the raisins and said it brought so much flavor. The trick to the deliciousness of these meatballs is to prepare the spices (and there are many), and marinate the meat for hours or even overnight. We marinated for 1 hour as we were anxious to eat.
Here’s how I made them. I added 10 cardamom pods to my mortar and pestle and gently crushed them to release the seeds. I tossed the pods. To that I added 1/4 teaspoon of cinnamon, 10 cloves, 1 tablespoon of chili flakes, 2 teaspoons of salt, 1/2 teaspoon of black peppercorns, 4 small bay leaves, 1.5 tablespoons of cumin seeds and 1 tablespoon of coriander seeds. I grind it up until it’s mostly smooth. If you use an electric grinder, you’ll get a finer powder. To my NutriBullet I’m adding the zest of two limes and the juice of two limes, half a red onion and 2 tablespoons of ginger. Blend that into a paste and then add the spices and blend again.
Marinate the meat with the spice and onion mix, making sure it is well incorporated, then cover and chill. To make the filling, finely dice 1/2 red onion and finely chop a handful of mint. Add the juice of 2 limes and 1/4 cup of raisins. Let that sit for an hour to let those flavors come together.
Now it’s time to fill the meatballs, or in our case, the meat wraps. Take some meat and create a follow to fill with the filling. About 1/2 to 1 teaspoon for each wrap. Cover the wrap with more meat and shape into a ball. Set aside until all the meat wraps are complete. In a pan, heat oil and brown meat wraps on both sides. This takes a couple minutes or less for browning, then cover and let the steam cook the meatballs through. This takes about 10 minutes or less. Eat them hot off the pan for the best flavor, taking care not to burn yourself! I paired it with the coconut lime rice and it was amazing.


Afghan Garlic & Mint Meatballs
This recipe is significant. It’s marks the point when we have had the most success with a cookbook. That cookbook is The Silk Road Gourmet by Laura Kelley. When putting together our history units, I like to find regional cookbooks as a way to include cooking foods from that culture, region or period in time. There are many ways to connect and experience a culture. It could be through art, music, handwork or my favorite: Food! When we taste food from different parts of the world, it is a connection point for me that I like to share and experience with my children. Each of us have a unique set of interests and passions, and for me including food (and handwork) into our homeschool lessons is close to my heart and one of my oldest homeschool goals.
So today I bring you Afghan Garlic and Mint meatballs. I love mint, but mostly in my tea. I don’t usually cook with mint. The Silk Road Gourmet cookbook has changed that. A number of recipes call for mint, and I have been pruning my mint plant to keep up with the demand. These meatballs are also spicy! They call for quite a bit of chilis which my children love.
Usually when I try a new recipe I cut it in half or even more to see how we will like it. Either the portions are smaller in this cookbook, or I have rightful anticipated that my family will love it because I have been doubling and tripling these recipes with great success. While you can find the complete and unmodified recipe in the cookbook The Silk Road Gourmet on page 169, I’ll share my version here.
I made the seasoning mix first adding 1 chopped red onion per 2 pounds of ground beef rather than 2 yellow onions per pound. I grabbed a handful of fresh mint (plus another teaspoon or so of dried mint) and a handful of fresh cilantro from my garden and added that to my NutriBullet to blend. I added a whole head of garlic plus the juice of 3 limes. The recipe calls for less garlic and lemon rather than lime. I added 4 teaspoons of coriander, 1 teaspoon of freshly ground black pepper and 2 teaspoons of salt. I didn’t have any tomatoes, so I used cherry tomatoes in lieu of one tomato. The recipe calls for a 1:1:1 ratio of beef, tomato and onion. When I’ve done that in the past, I end up with a very wet meat mixture which sweats a lot of moisture when cooking. I don’t end up with the nice browned look you get when you barbeque or broil. By chance, because I didn’t have more onions of tomatoes, I ended up liking this mix quite a bit. I still plan to make them in the future with more onions and tomatoes, but I was pleasantly surprised at the outcome.
Once everything was mixed together, I added it to the ground beef and chilled it for an hour. Then I rolled them into meatballs and set them on a tray lined with parchment paper. I broiled them for 10 minutes. I served this with Afghan Carrot and Raisin rice.


Orange Chicken Koresh
I do love adding sweet to savory and even like orange flavored Chinese chicken, but I didn’t seem to like this dish quite as much. However, my 18-year-old son said it was the best chicken I ever made. So the following day, I made the recipe again and cut down on the orange accents. I left off the orange segments which garnished the dish (and of which I used only 1/6 of what the recipe called for), but still I wasn’t satisfied. I think for my next attempt, I’ll skip the boiled chicken (my alteration of the recipe) and stick to chicken breast as the recipe called for. I didn’t have Persian lime powder, so I used two alternatives together to make up for the loss. Overall this recipe was deeply flavorful and textured and was a needed departure from our typical chicken recipes.
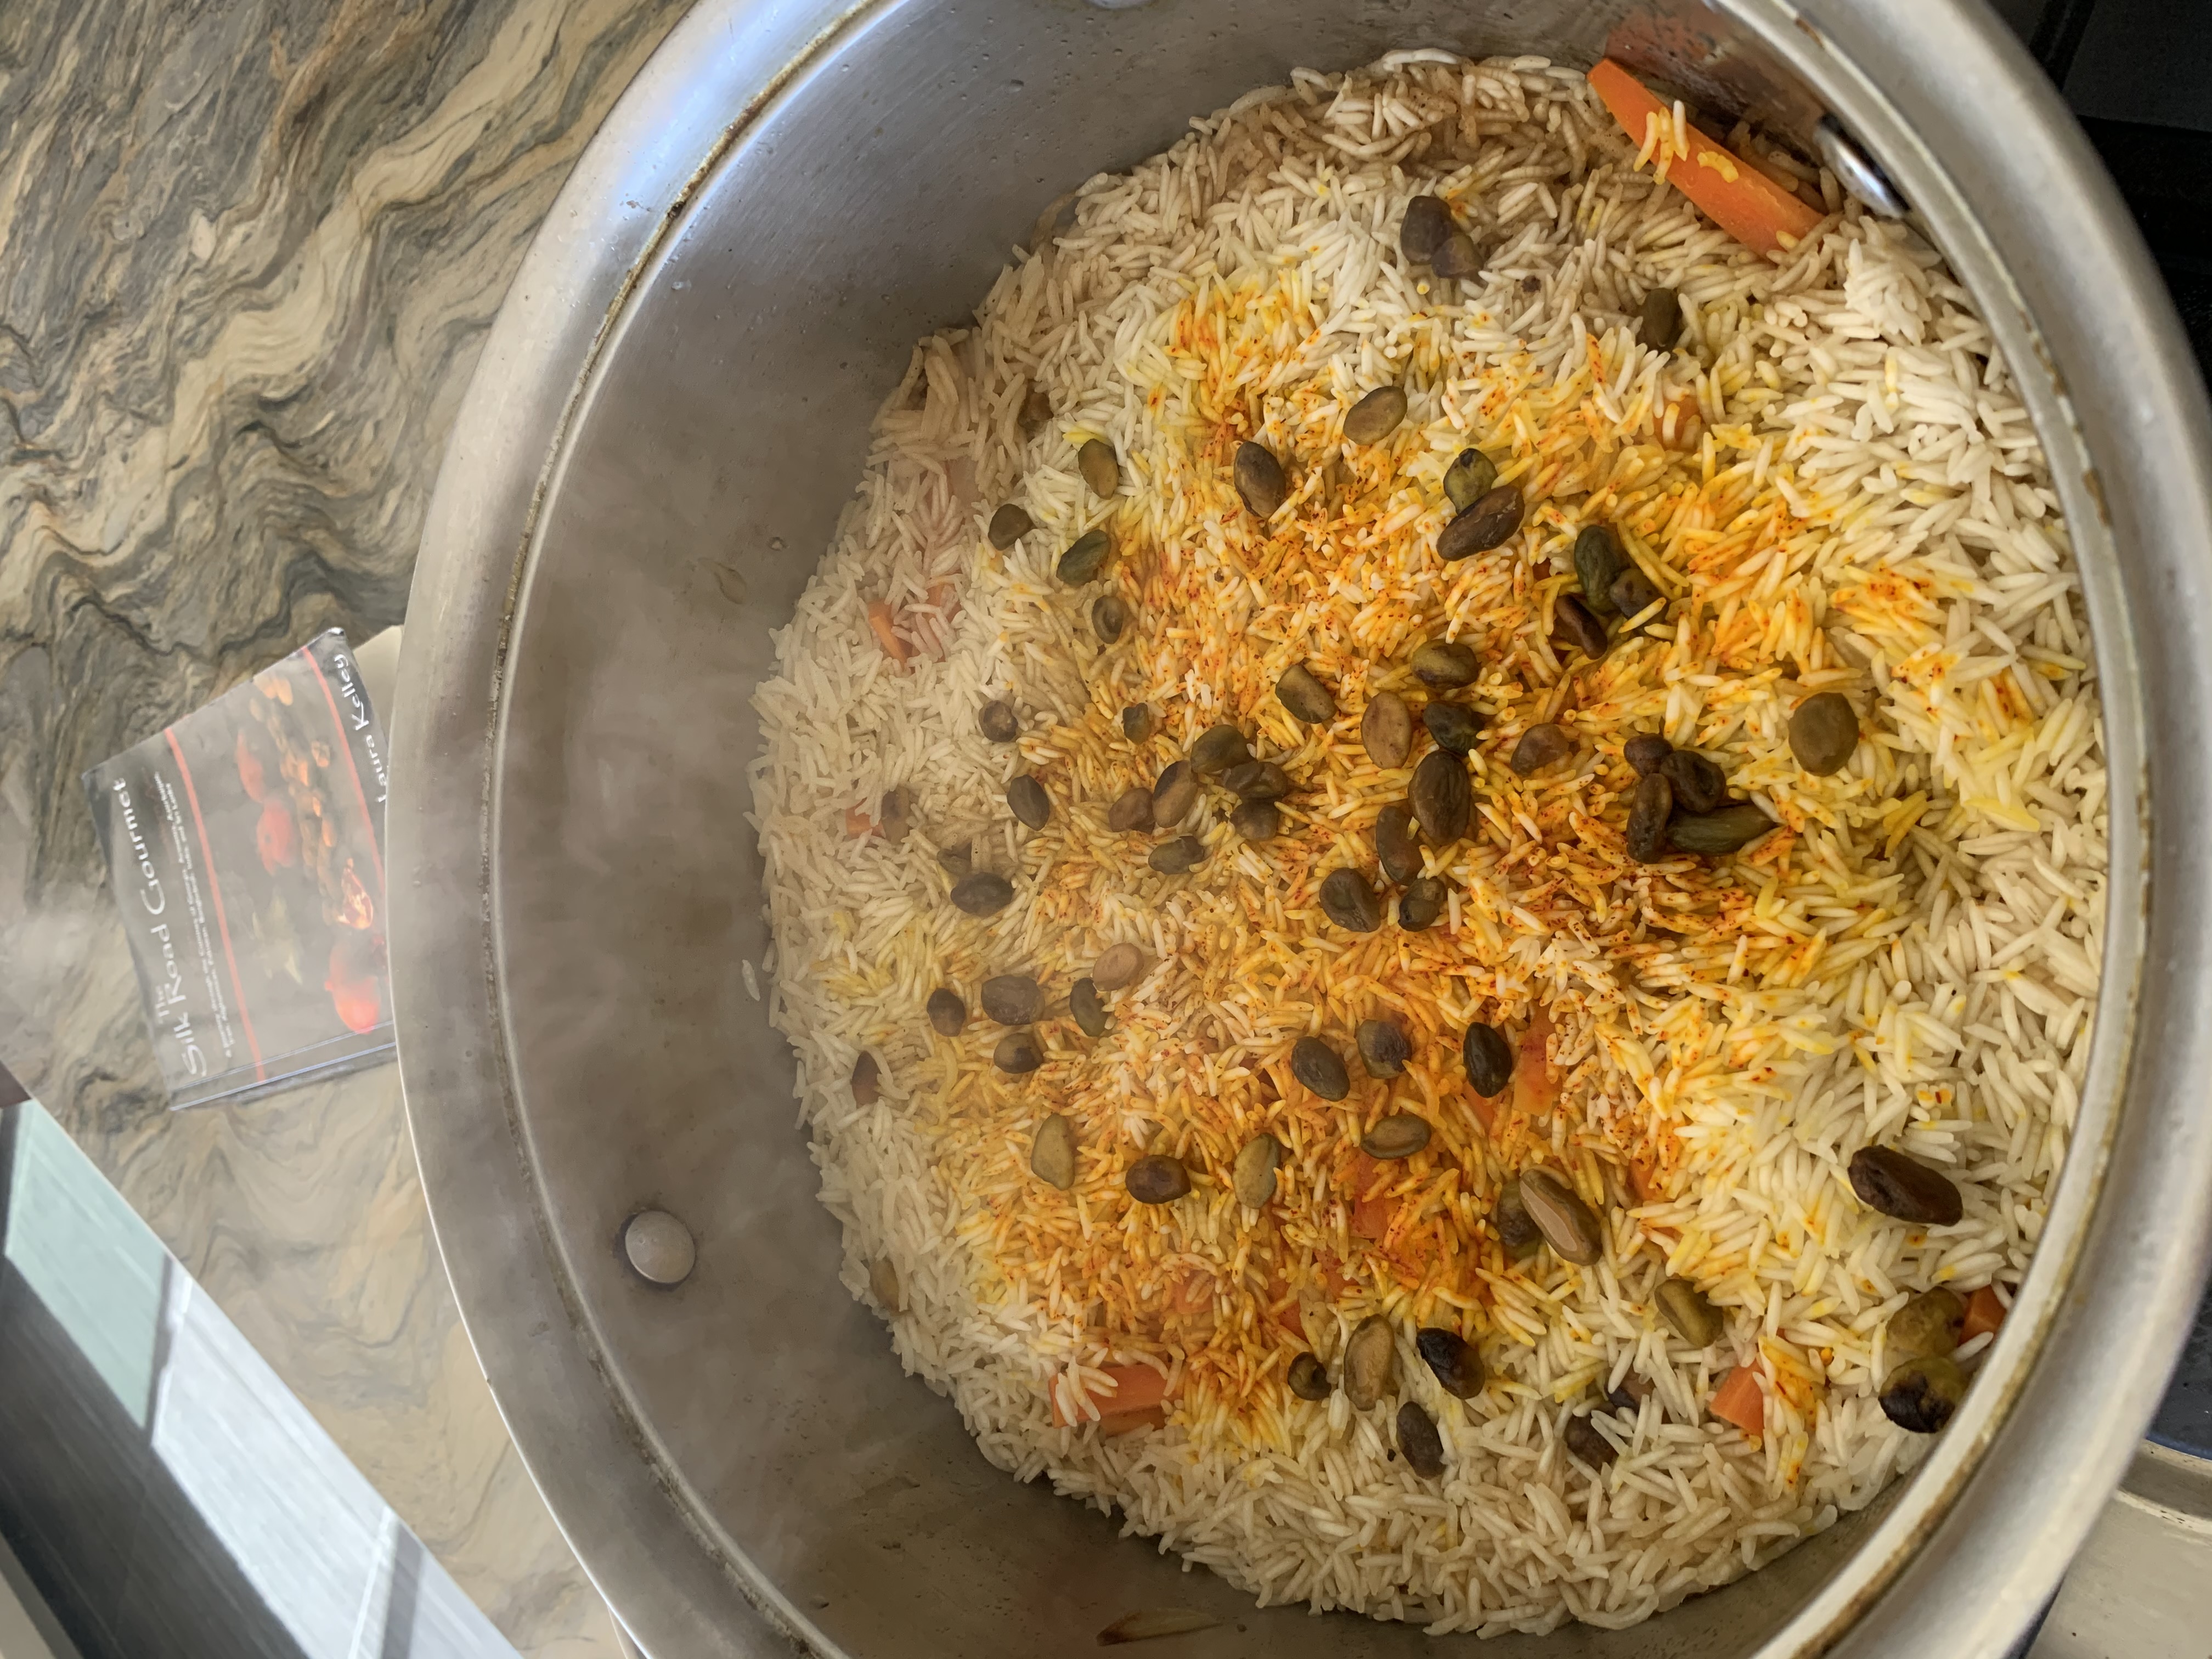
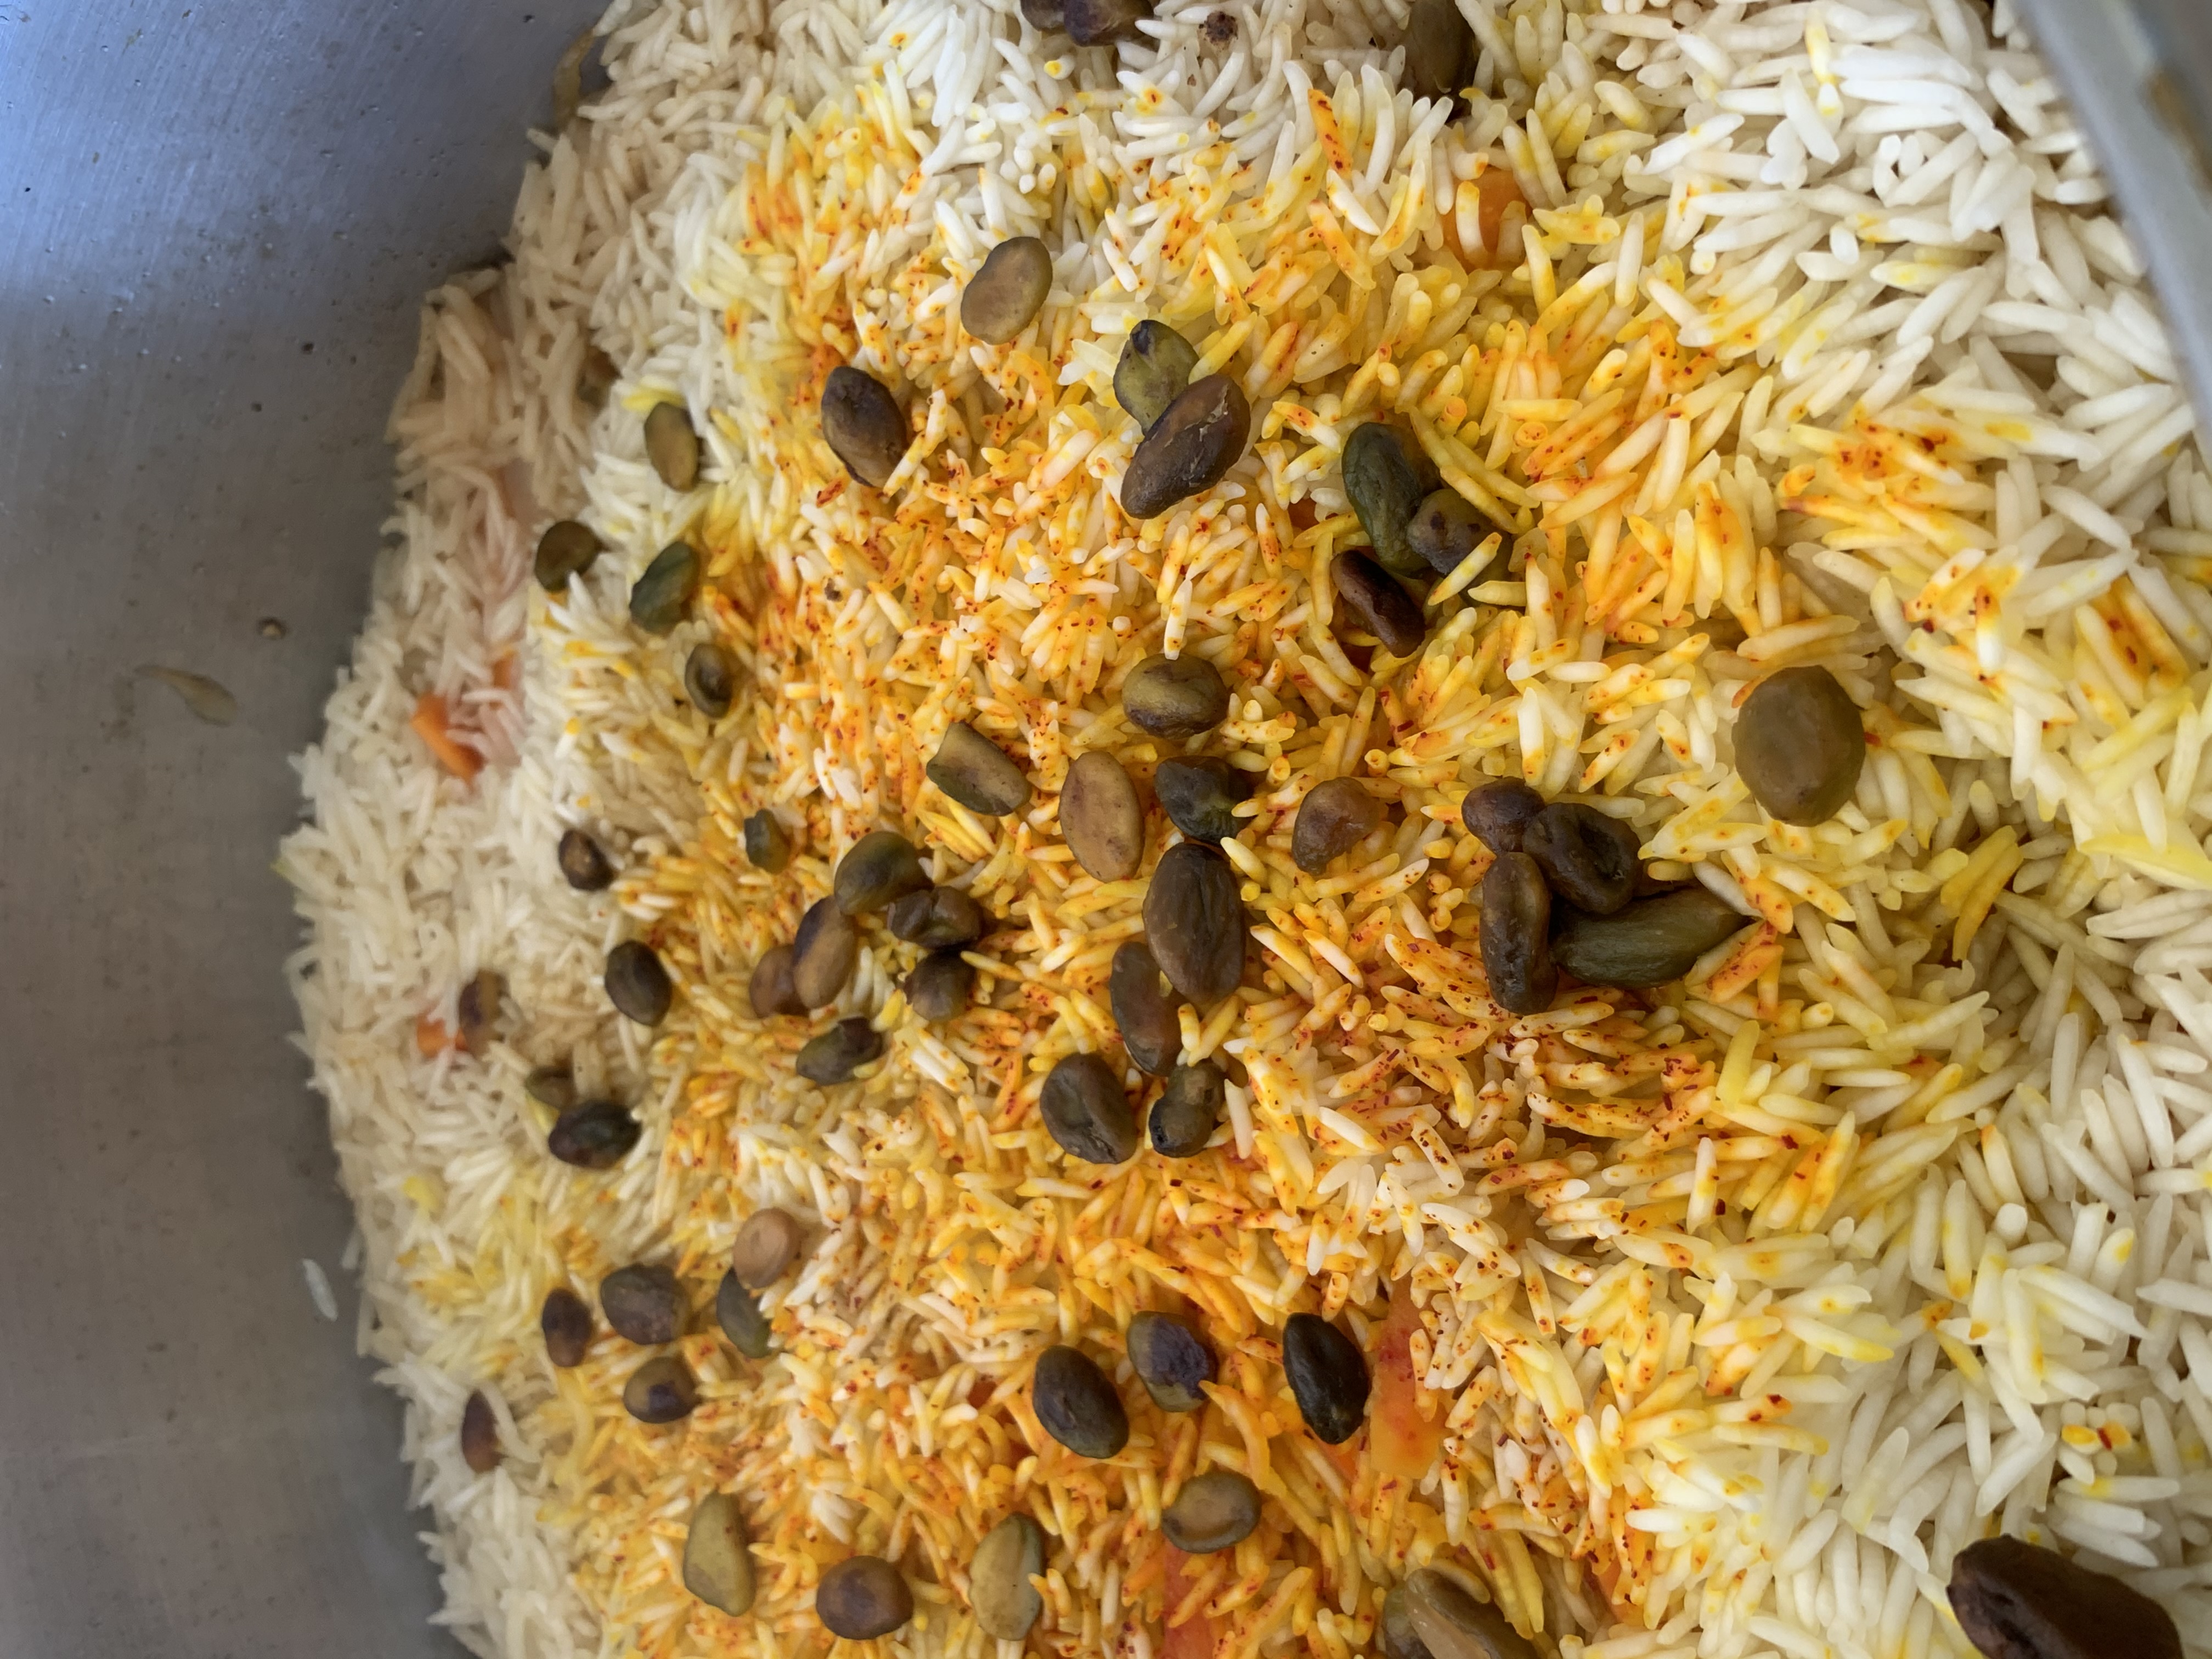
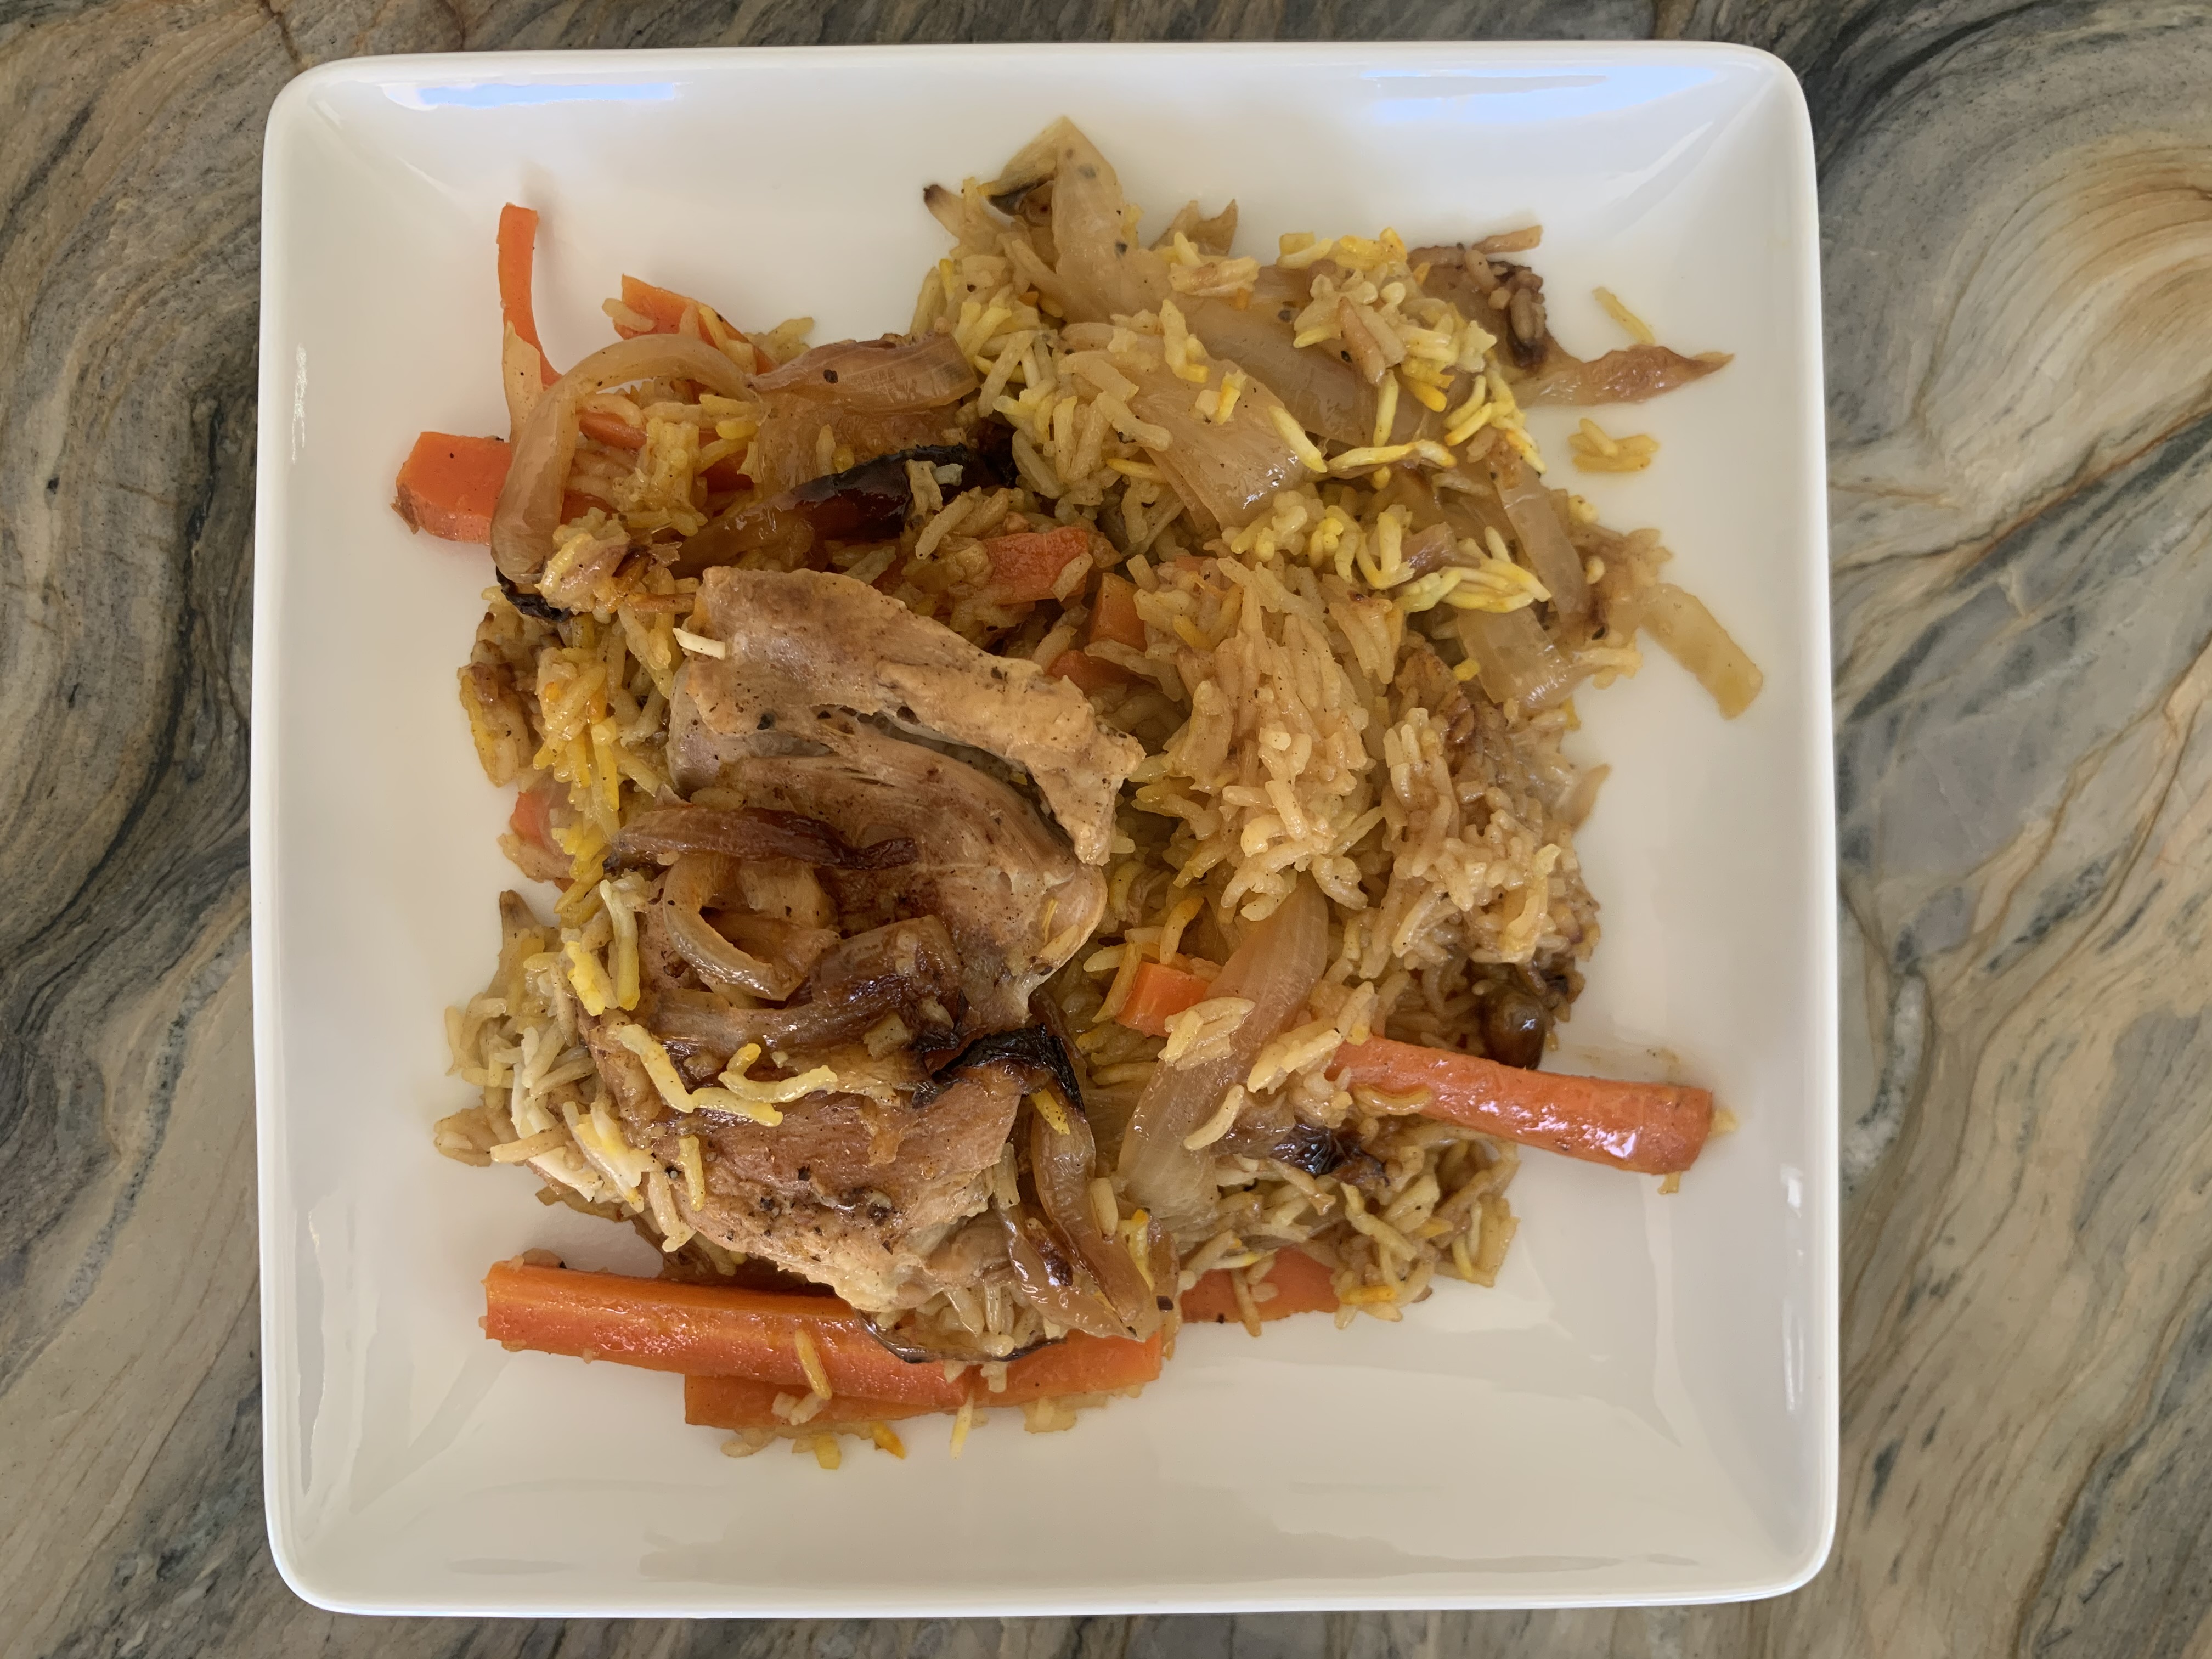
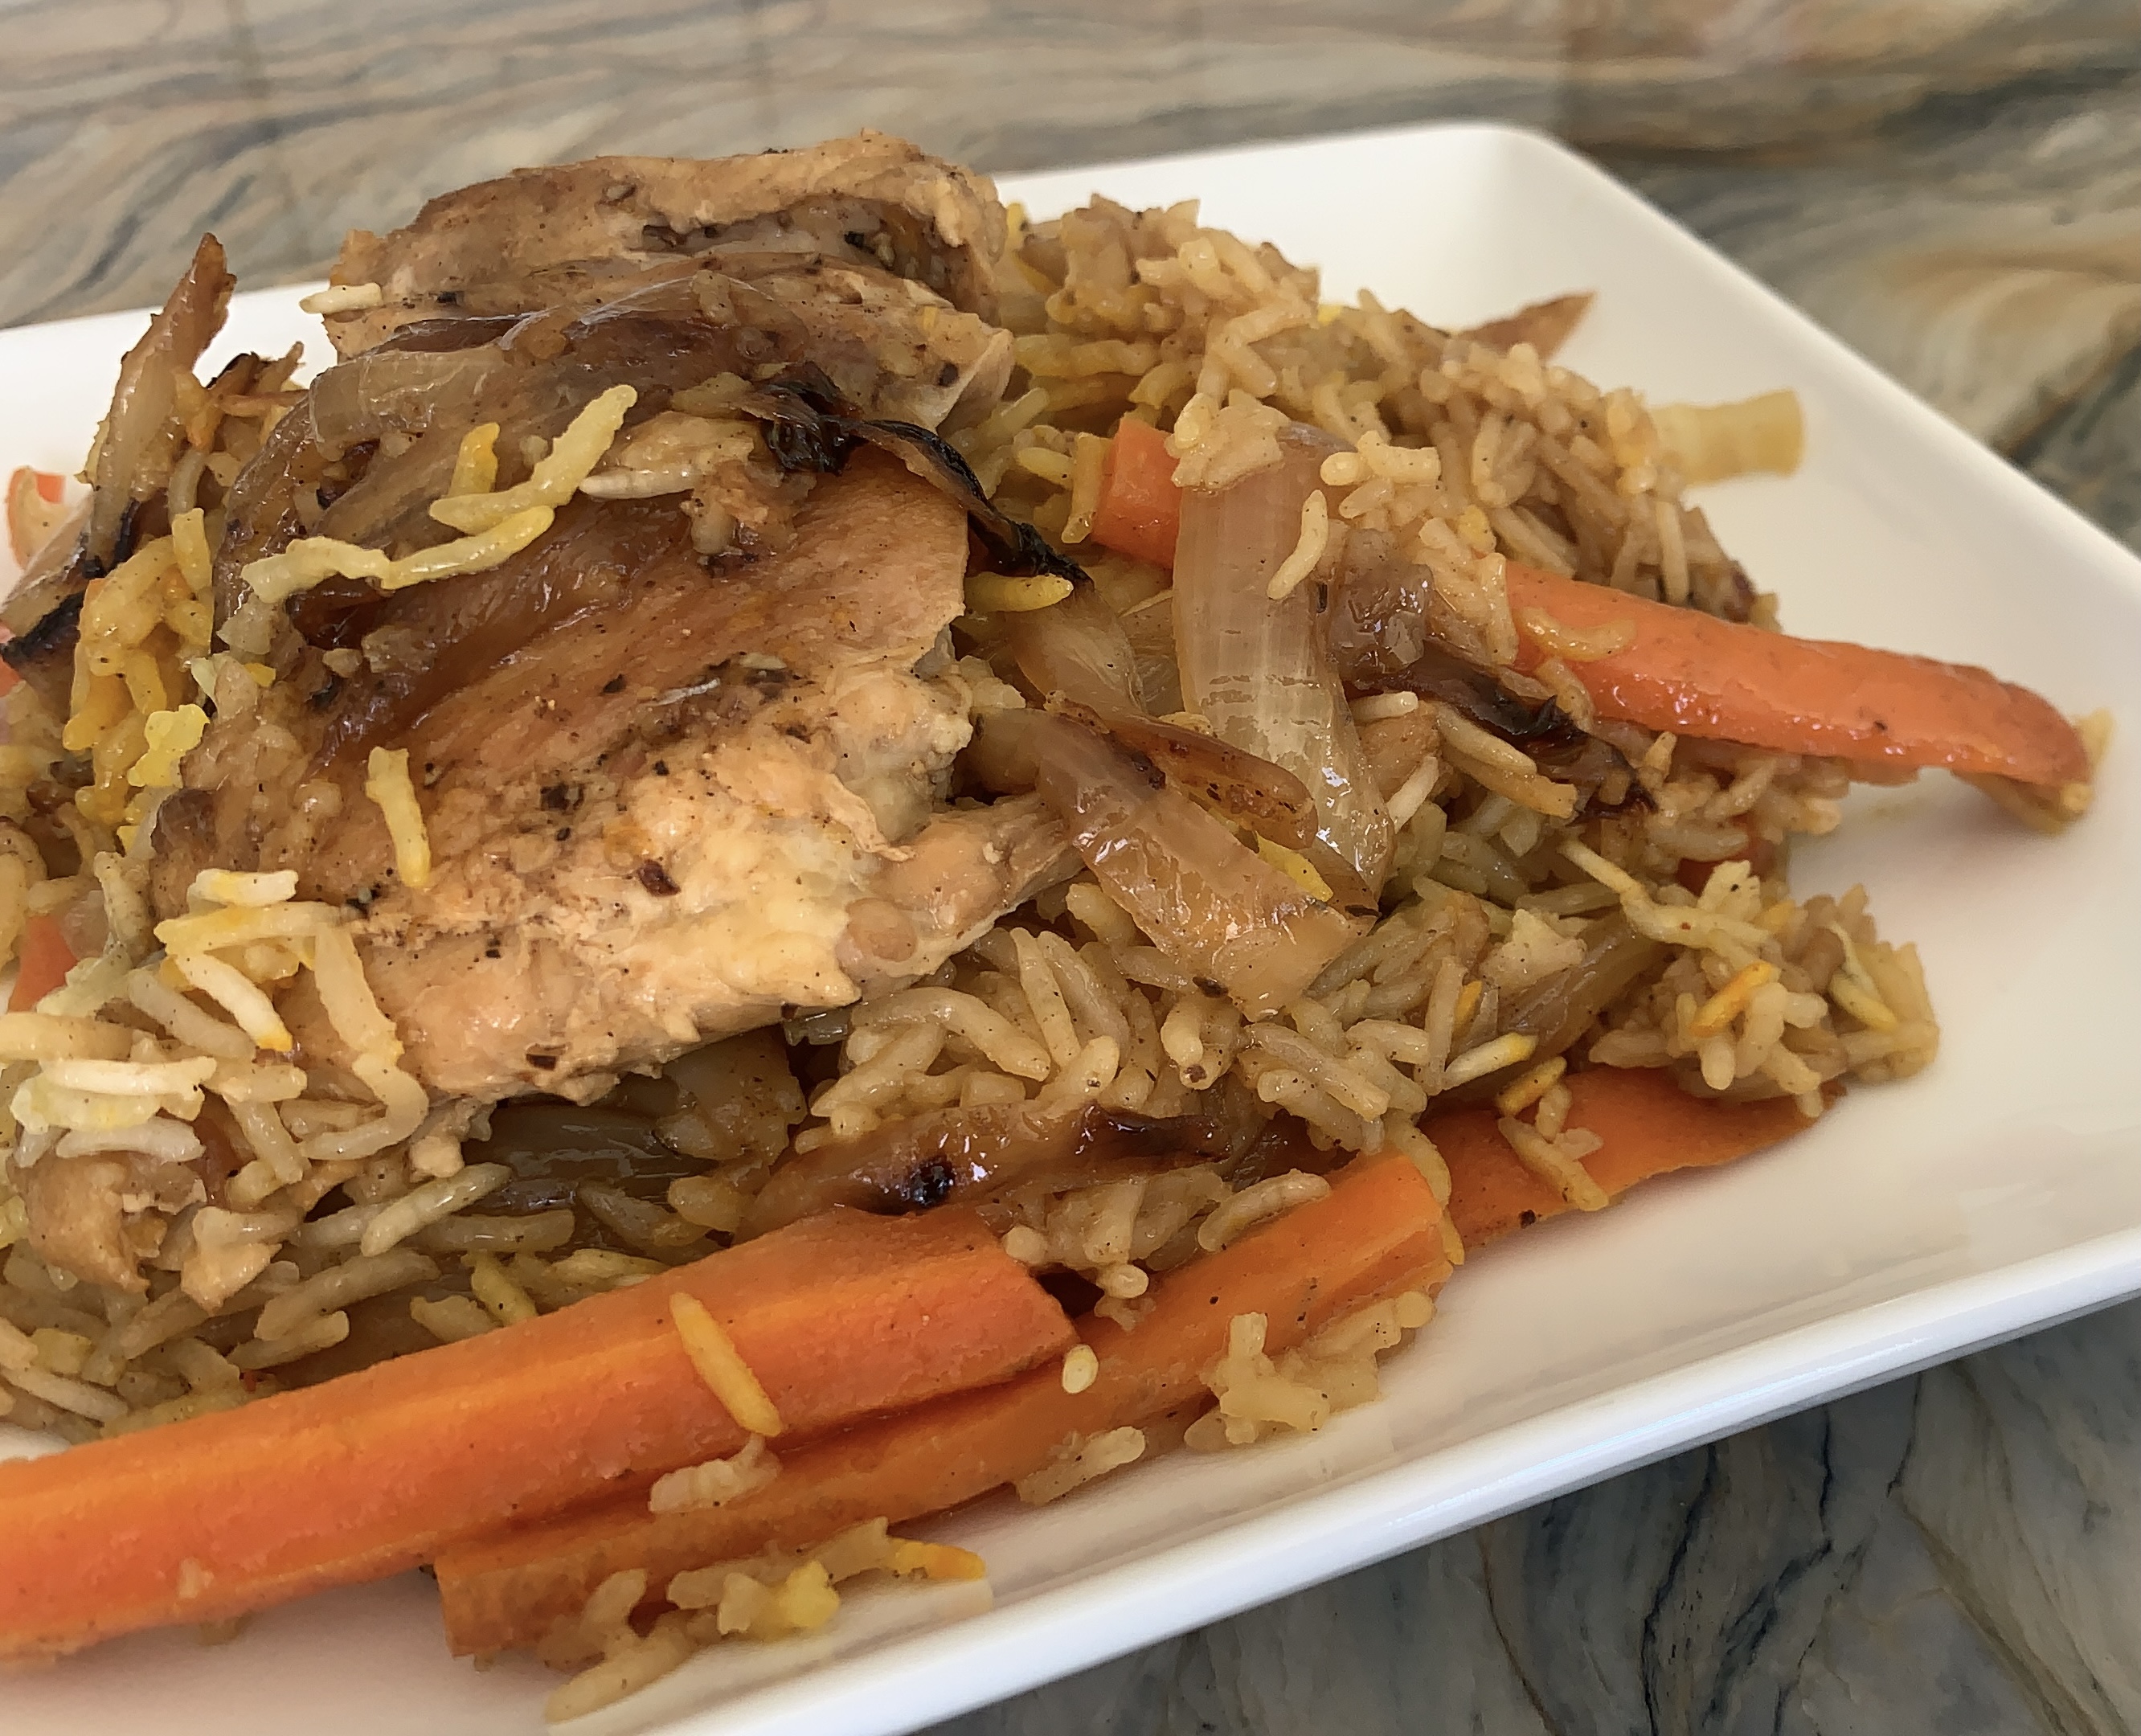
This recipe is from The Silk Road Gourmet by Laura Kelley and we have been using this book as inspiration for our Silk Road main lesson block in homeschool. We love adding regional and historical recipes when doing our history units and this book has been a gem. It covers several countries including Azerbaijan, India, Bangladesh and more. We paired our orange chicken koresh (page 130-131) with another Iranian recipe: Chickpea and Dill Rice Pilaf found on page 111 in the book. While both recipes are flavorful, I feel there would be better paired with plain dishes (plain rice with the orange chicken and plain chicken with the chickpea rice), however my children loved the combination and asked for the chicken again the following day and the day after that. The book didn’t pair these recipes together, it was my own thought to do so. Together, the cooking time was nearly 3 hours to make the chicken and rice dish. The second day I made this, the cooking time was just over an hour. If you use canned chickpeas and chicken breast as the recipe calls for rather than boiling a chicken, I think you could get your cooking time down even further.


I doubled (even tripled in some parts) this recipe. I sauteed 4 onions while I boiled a whole (small) chicken (eventually I moved it to the instant pot to speed cooking). In another pan I seared 5 boneless skinless chicken thighs reserving the pan drippings for sauteing the onions. To the onions, I added the zest of one orange, the cooked chicken and 1.5 cups of fresh orange juice. I brought it to just under a boil and let the liquid cook down. Next I added the spices: 1 teaspoon each of nutmeg, coriander, cumin, cardamom, black pepper, and cinnamon. I added 2 teaspoons of salt and 1/2 teaspoon of lime powder. The recipe calls for more lime powder, but I only had a little bit so I added the zest of one lime, plus the juice of one lime. I added 6 julienned carrots and let them cook so they were soft, but not mushy so they still had crunch to them. In a separate saucepan, I simmered 1/2 cup of saffron water (1/2 teaspoon of saffron soaked in boiling water for 15 minutes), lime juice from 1 lime, and 2 tablespoons of apple cider vinegar (the recipe called for white vinegar) with one orange segmented into pieces. The recipe calls for 3 oranges, and as I was doubling the recipe, I should have used 6 oranges, but I only used one. Just before serving, I added 3 teaspoons of pistachios and chopped almonds. The recipe calls for more though, but I misread it as I was cooking and more would have been better. You can saute them in olive oil and used as a garnish instead of or in addition to the orange segments. Once the chicken is done, you can add the cooked down liquid to it and garnish with the orange segments or mix them in before serving.
Azerbaijan Meat Kebabs
So far these are the best kebabs I’ve made my family. We got the recipe from The Silk Road Gourmet, a cookbook that brings recipes from the Silk Road to the modern cook. The book covers nine different regions: Republic of Georgia, Armenia, Azerbaijan, Iran, Afghanistan, Pakistan, Bangladesh, India and Sri Lanka. This cookbook is packed with recipes and information about the different countries these recipes are inspired from. For today’s kebabs, we are using an Azerbaijan recipe which calls for either ground beef or ground lamb. We are using two pounds of ground beef which is twice what the recipe calls for. My alterations to the recipe are as follows: 2 pounds of ground beef, 4 teaspoons of salt, 2 tablespoons of dried mint, 1 tablespoon of fresh mint, 4 tablespoons of crushed chilli peppers, 2 teaspoons of ground pepper, 1 teaspoon of cumin and 3 tablespoons of red wine vinegar. Use a food processor to mix spices and roughly chop two onions. Combine mixture with meat. Mix well. Form kebabs using about 3 tablespoons of meat. Place on a tray and refrigerate for 2-4 hours. A lot of liquid will come out. Transfer to a tray for baking after the kebabs have chilled. Set your oven to the highest broil temperature and broil the kebabs for five minutes on each side. They will produce a lot of liquid so you may choose to do fewer kebabs on each tray. Serve with rice or seasoned rice immediately and enjoy this mouthwatering super easy recipe.


Rack of Lamb
This recipe is hands down my family’s favorite recipe of all time. There’s never enough even when I double the recipe. It’s just one of those special treats that we can only do once in a while because a rack of lamb is quite pricey. For me too, it’s one of the most delicious recipes I’ve ever had. What takes it over the top is the pomegranate rice that we pair with it. The first rack of lamb recipe in the video is from the Martha Stewart Living magazine and that’s also where I learned how to make the pomegranate rice (which I’ve altered a bit). The rack of lamb is easy: it’s just 2 teaspoons of cumin and coriander seeds which have been heated to release their aromas and crushed to make a dry or wet rub (I used olive oil and heated them on the stove). Season with salt and pepper, and that’s it! Bake at 375 or 400 for about 20 minutes, until the internal temperature reaches 145 degrees Fahrenheit. Watch it! You don’t want to overcook this recipe.
For the second rack of lamb, I used the book The Silk Road Gourmet by Laura Kelley. It is an Afghan recipe which calls for 2 teaspoons of cloves and a teaspoon each of cumin seeds, black cardamom, cinnamon and black peppercorns. I crushed the seeds using my granite mortar and pestle. I seasoned the rack of lamb with cayenne pepper and salt, then coated it with the spice mixture before baking until the internal temperature reached 145 degrees Fahrenheit.


BBQ Moroccan Chicken in the Oven
I’m still kicking myself for overcooking this recipe. Just five minutes less and it would have been just right. So my first tip is mind the grill or oven when you are making this. I opted to broil the chicken in the oven rather than grill them or barbeque them. I was a little rushed so I also decided not to skewer them. I actually like that a lot better because it allows all the yummy marinade to get baked with the chicken. It also saves time since you don’t have to skewer them, and it also produces less waste. While we do have metal skewers, I often use bamboo skewers. I always end up with a splinter or two. Also, since we have children (though now they are nearly all grown), I find skipping the skewers means that children will just take what they need rather than a whole skewer. I also had run out of brown onions so I used a red onion which was a delicious substitution. I hope you try this recipe along with some of the sides we made for our mini Moroccan feast.


How to Make Buried Vermicelli
This recipe, Buried Vermicelli, is from the book Arabesque A Taste of Morocco, Turkey and Lebanon by Claudia Roden. I loved this recipe!! It’s than the Moroccan food I typically make so I was excited to explore pairing orange water with cinnamon and sugar for a slightly sweet take on a pasta and chicken dish. We love adding regional recipes to homeschool unit studies and often, we end up with new family favorites. What distinguishes this recipe from others are the cinnamon and orange water, the sweetness of this otherwise savory dish and the chicken broth and onions that are boiled down for a rich sauce. Overall this recipe is amazing, however, a sweet & savory dish isn’t for everyone. You may need to balance this recipe with a salty savory appetizer or skip dessert!


Moroccan Couscous
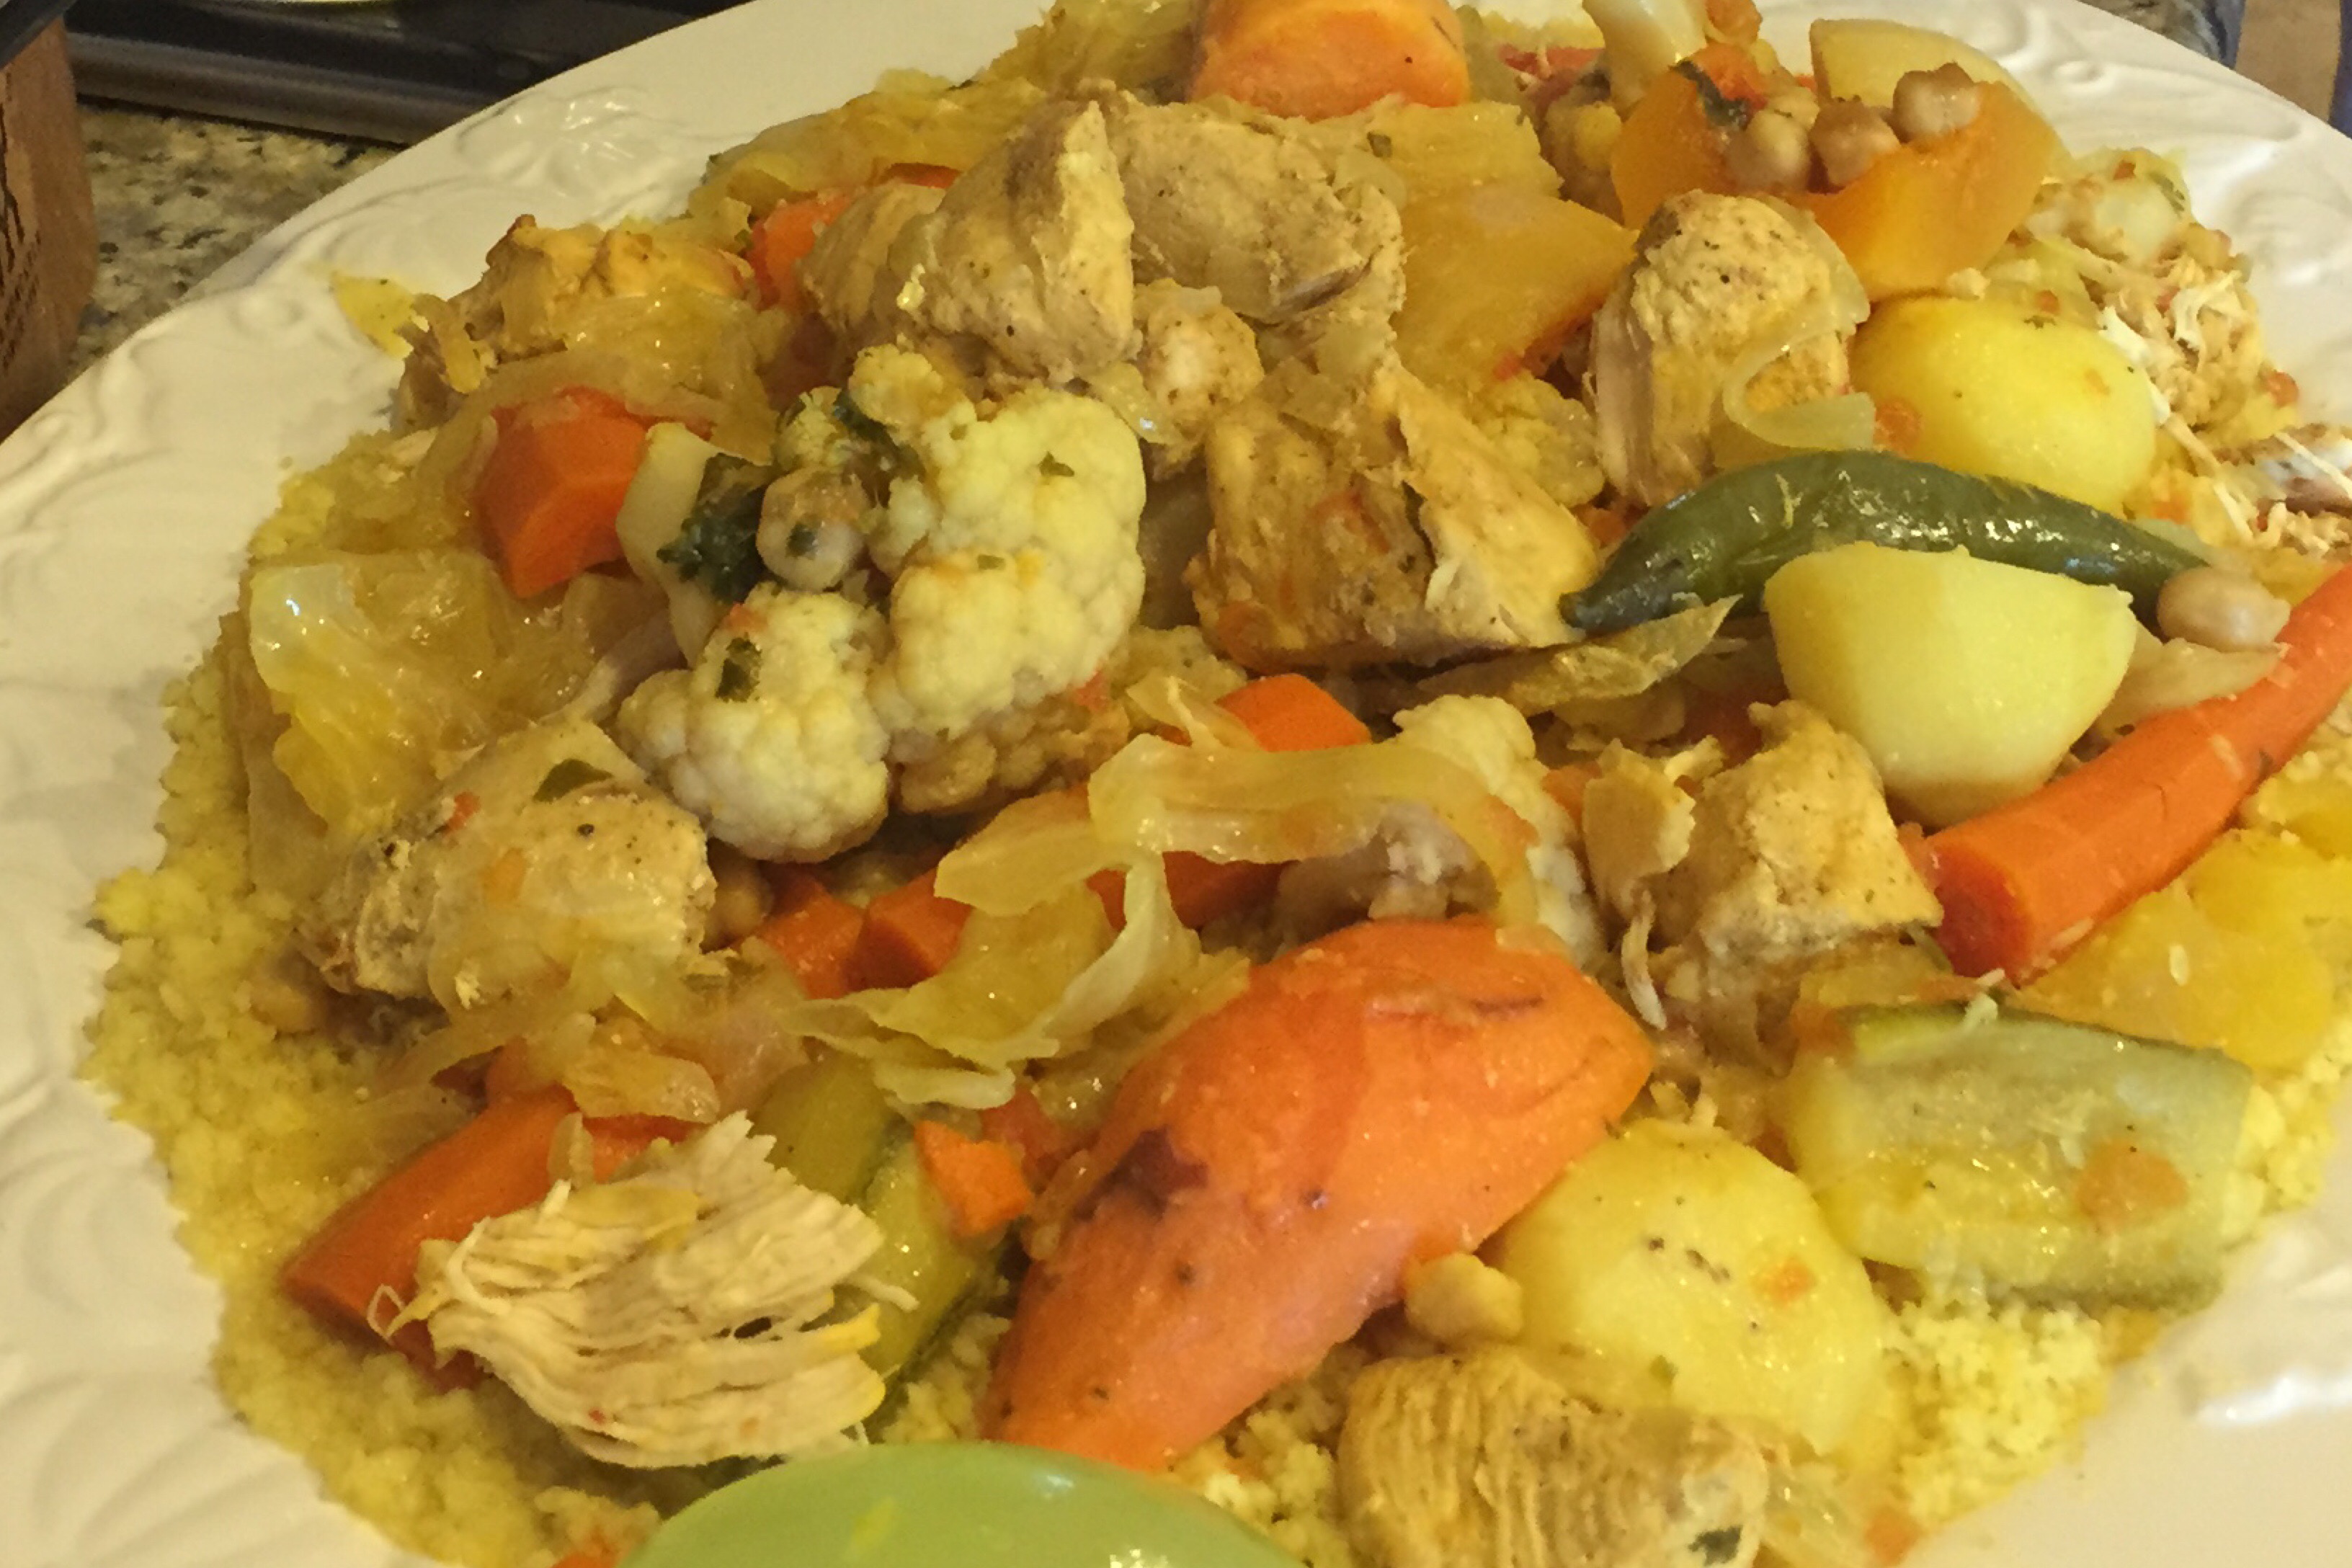
This is my favorite fall recipe of all time! It’s so warming, nourishing and healthy; it’s perfect for cool autumn days or for a cozy dinner with friends. I have my dear friend Laura and her husband to thank for sharing this recipe for me. Though the following recipe is altered from the traditional way Noureddine made his, it still turns out pretty good, but nothing compared to the original! I’d like to point out a couple differences between my version and his: firstly, I repeatedly forget to add cilantro to my recipe, but that is in the original one. Secondly, and more importantly, I make mine more like a soup or stew, whereas the original recipe calls for very little to no water. The vegetables steams as the meat and onions cook, and while releasing their own water, the vegetables then add to the liquid and then in turn add to the steam to finish cooking the rest of the vegetables.
This recipe is naturally dairy free and to make it vegan, simply omit the meat from this recipe. It’s so flavorful as it is, you won’t even miss the meat! To bulk up the protein, I’d recommend adding more garbanzo beans.
The complete is as follows and does differ from the one in the video. Please keep in mind that this is a very forgiving recipe and anything goes! To make the couscous base of this meal, simply follow the directions on the box of couscous. It’s super simple to make.
I love my peeler! Though I accidentally mentioned it was by Martha Stewart, it’s actually by Chef’n and can be found at Bloomingdale’s.
Moroccan Couscous-Chicken
Special thank you to Laura and Noureddine for this recipe 🙂
Ingredients:
1 chicken (whole with skin on or cut into 10 pieces-no skin)
2 onions-sliced
2 jalapenos
1 head of garlic-minced
Ginger (equal to garlic) – minced
1 small can of tomato sauce (8 oz.)
1 butternut squash-peeled and quartered
1 bag of carrots (about 6-8)-peeled
3-4 potatoes-peeled and cut in half long ways
2-3 sweet potatoes or yams-peeled and cut in half
1 acorn squash- peeled and cut in half long ways
1 head of cauliflower-washed and quartered
½ head of green cabbage-washed and quartered into wedges
1 can of garbanzo beans
1-2 boxes of couscous, follow directions of package
Spices: salt, pepper, cumin, turmeric, cayenne pepper
Optional: add other fall vegetables that are in season like squashes and root vegetables
Directions:
If cooking a whole chicken, wash and place it on a baking pan, season lightly with black pepper and salt and bake on 450-500 degrees for 10-15 minutes uncovered until the skin is dark golden brown and crackling. Reduced to 400 degrees, poke the skin of the chicken where the thigh and breast meet to let the juices run, and cover the chicken. Cook for another 45-60 minutes until the chicken is done, but not over cooked.
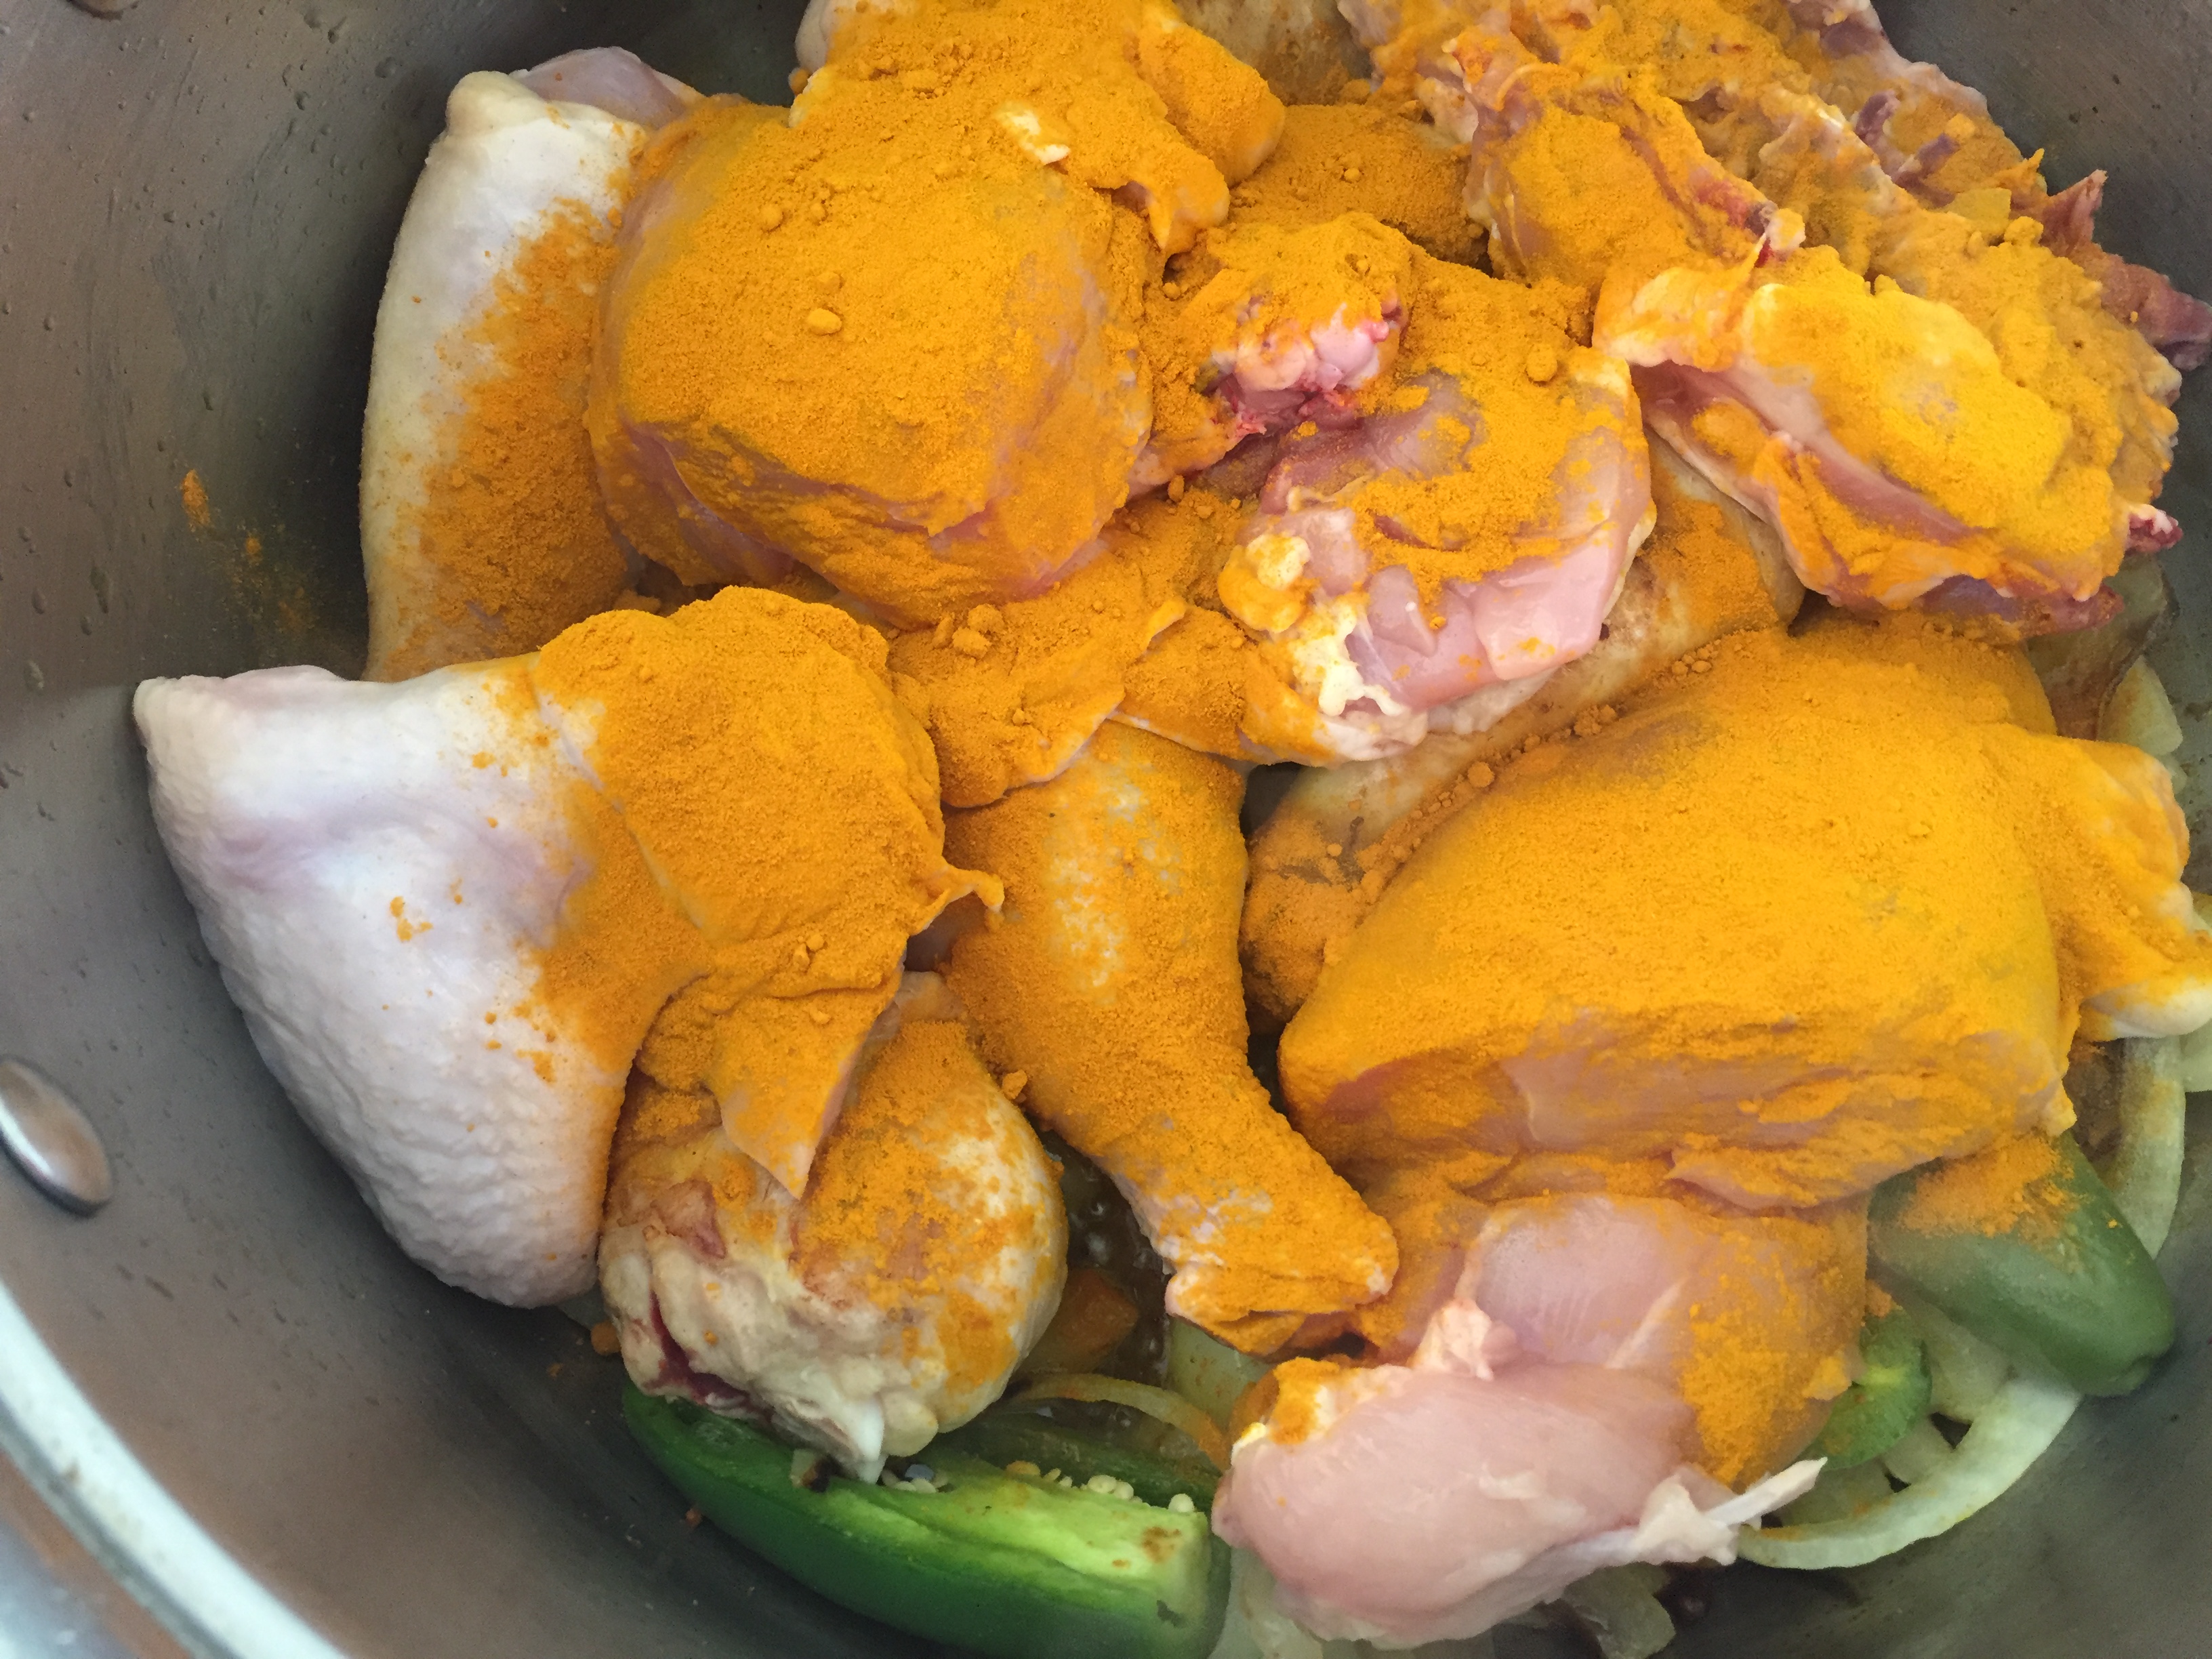
If cooking chicken pieces begin by browning an onion over medium heat, add the jalapeno at this time, trimming off the top if you want it spicier. As the chicken will cook quickly, just brown the chicken pieces before covering with water and bringing the water to a hot simmer. You may choose to heat water earlier in a separate pan, and add it to the chicken hot.
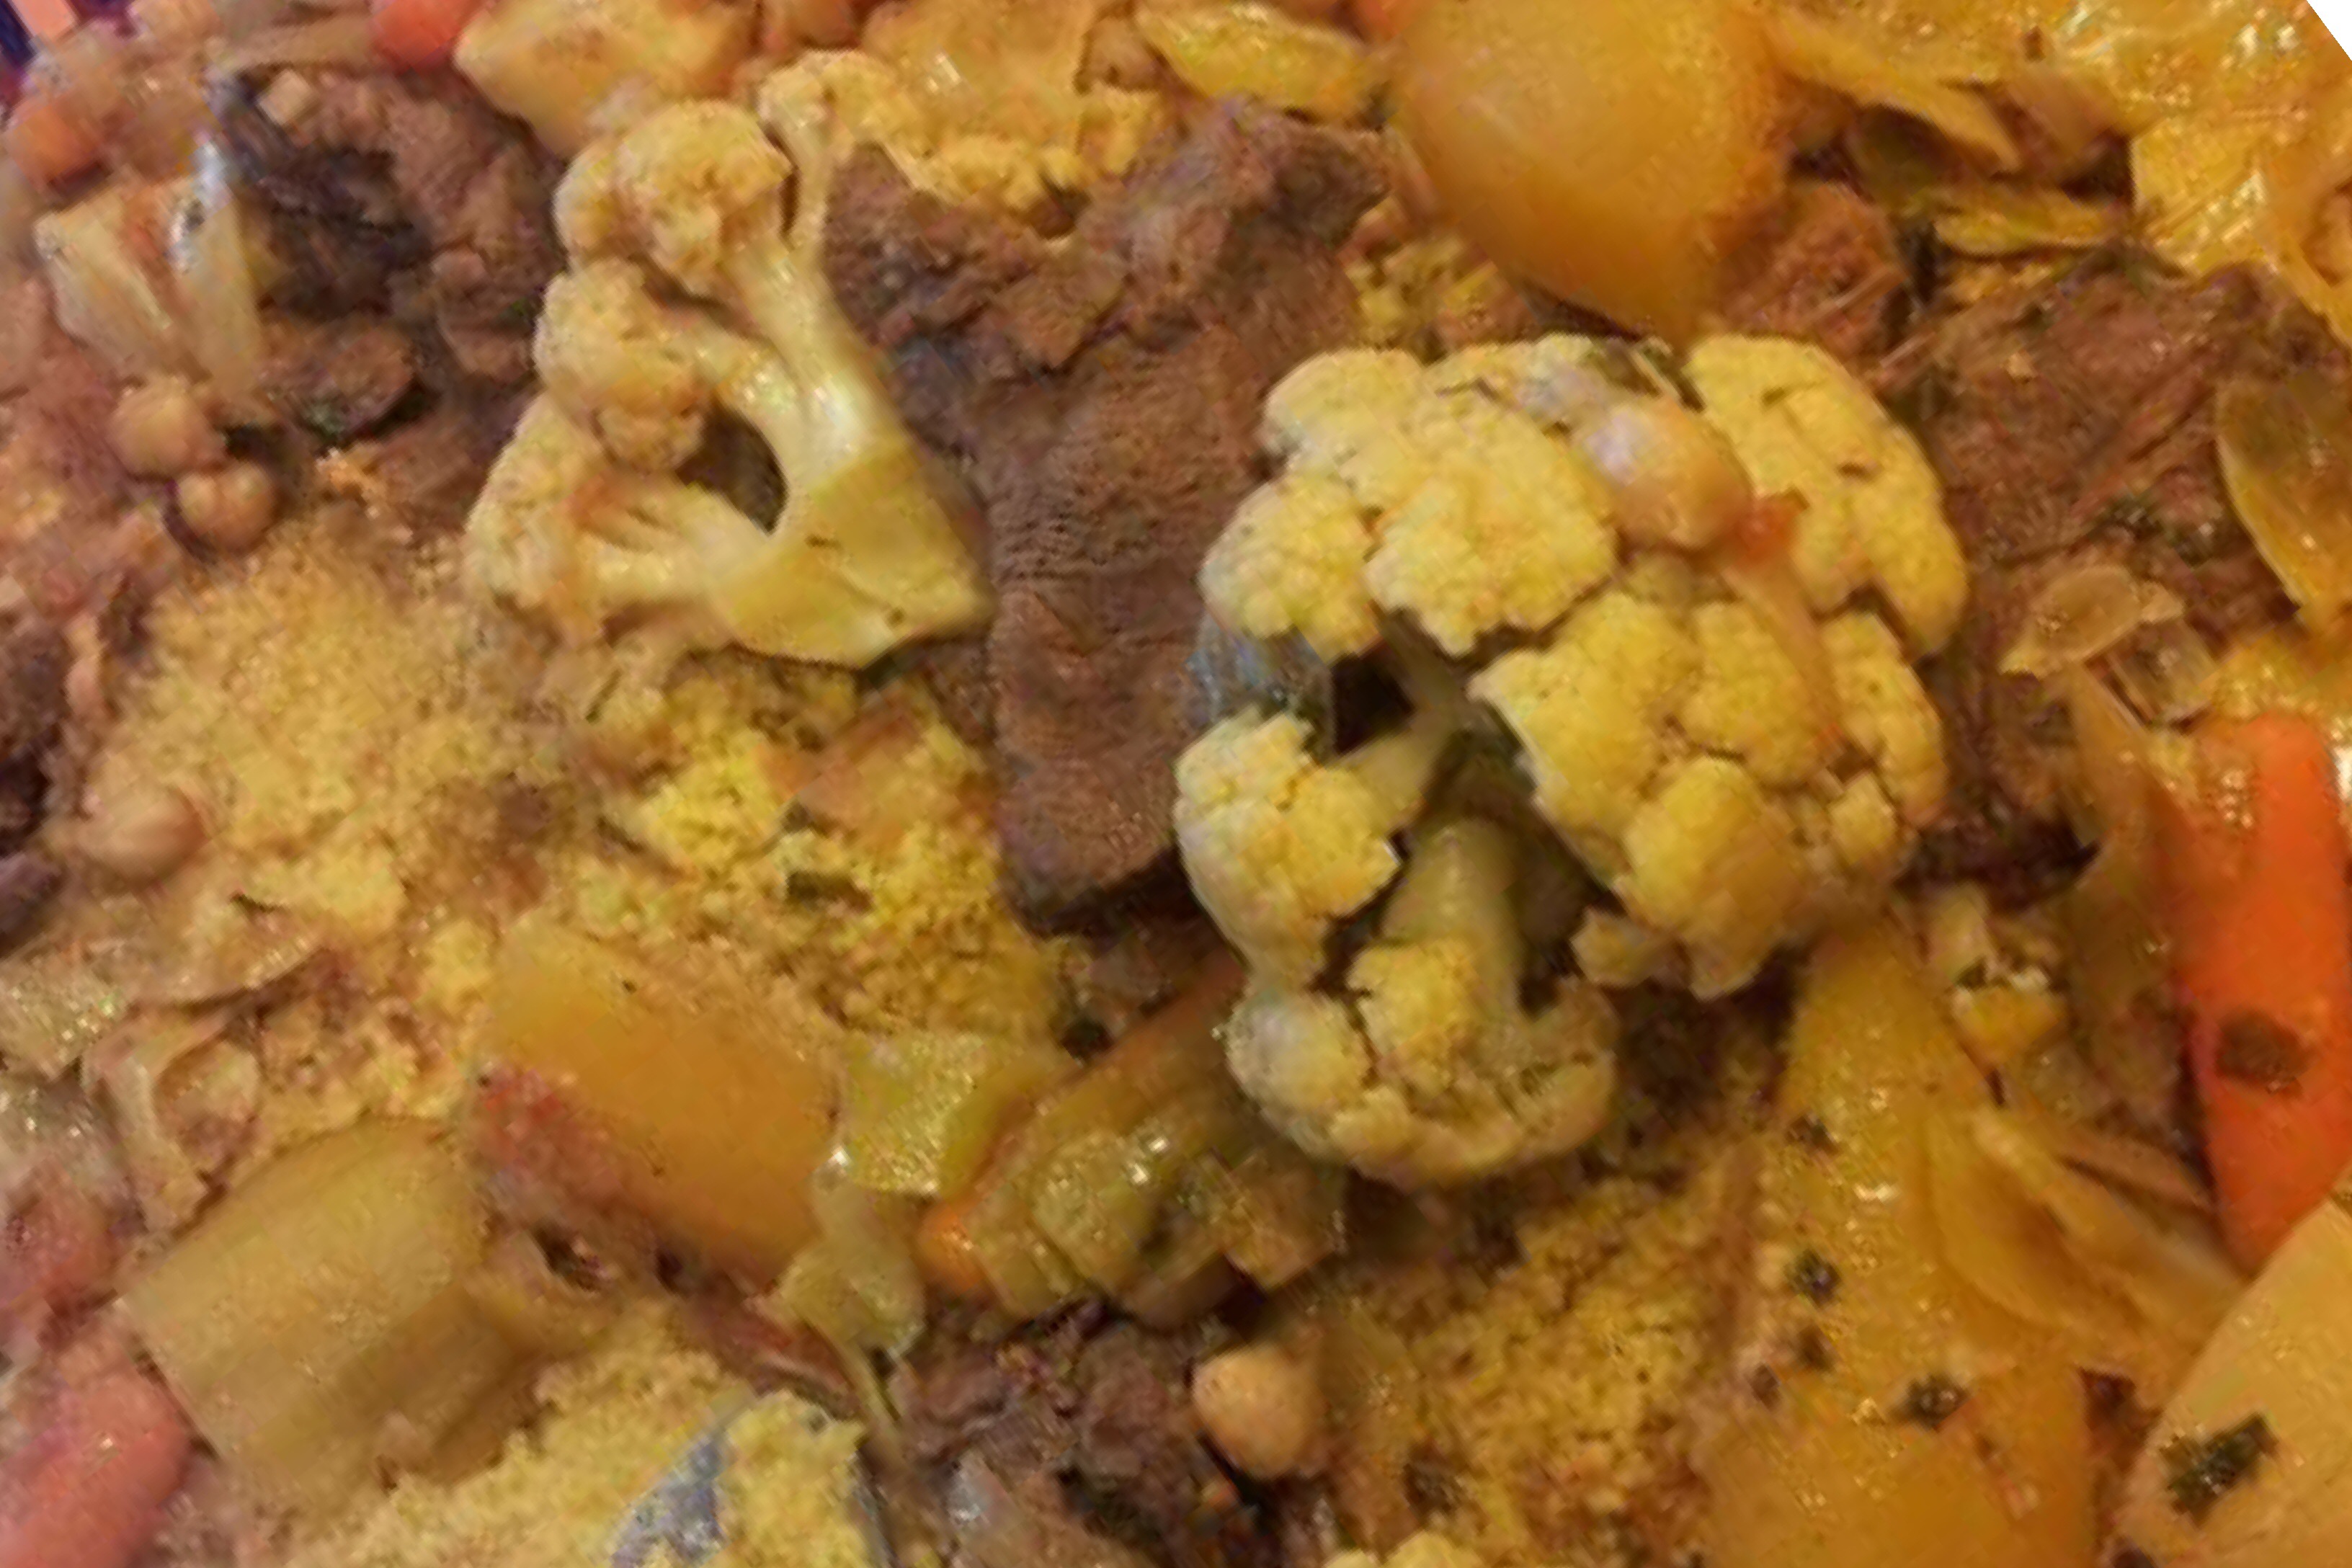
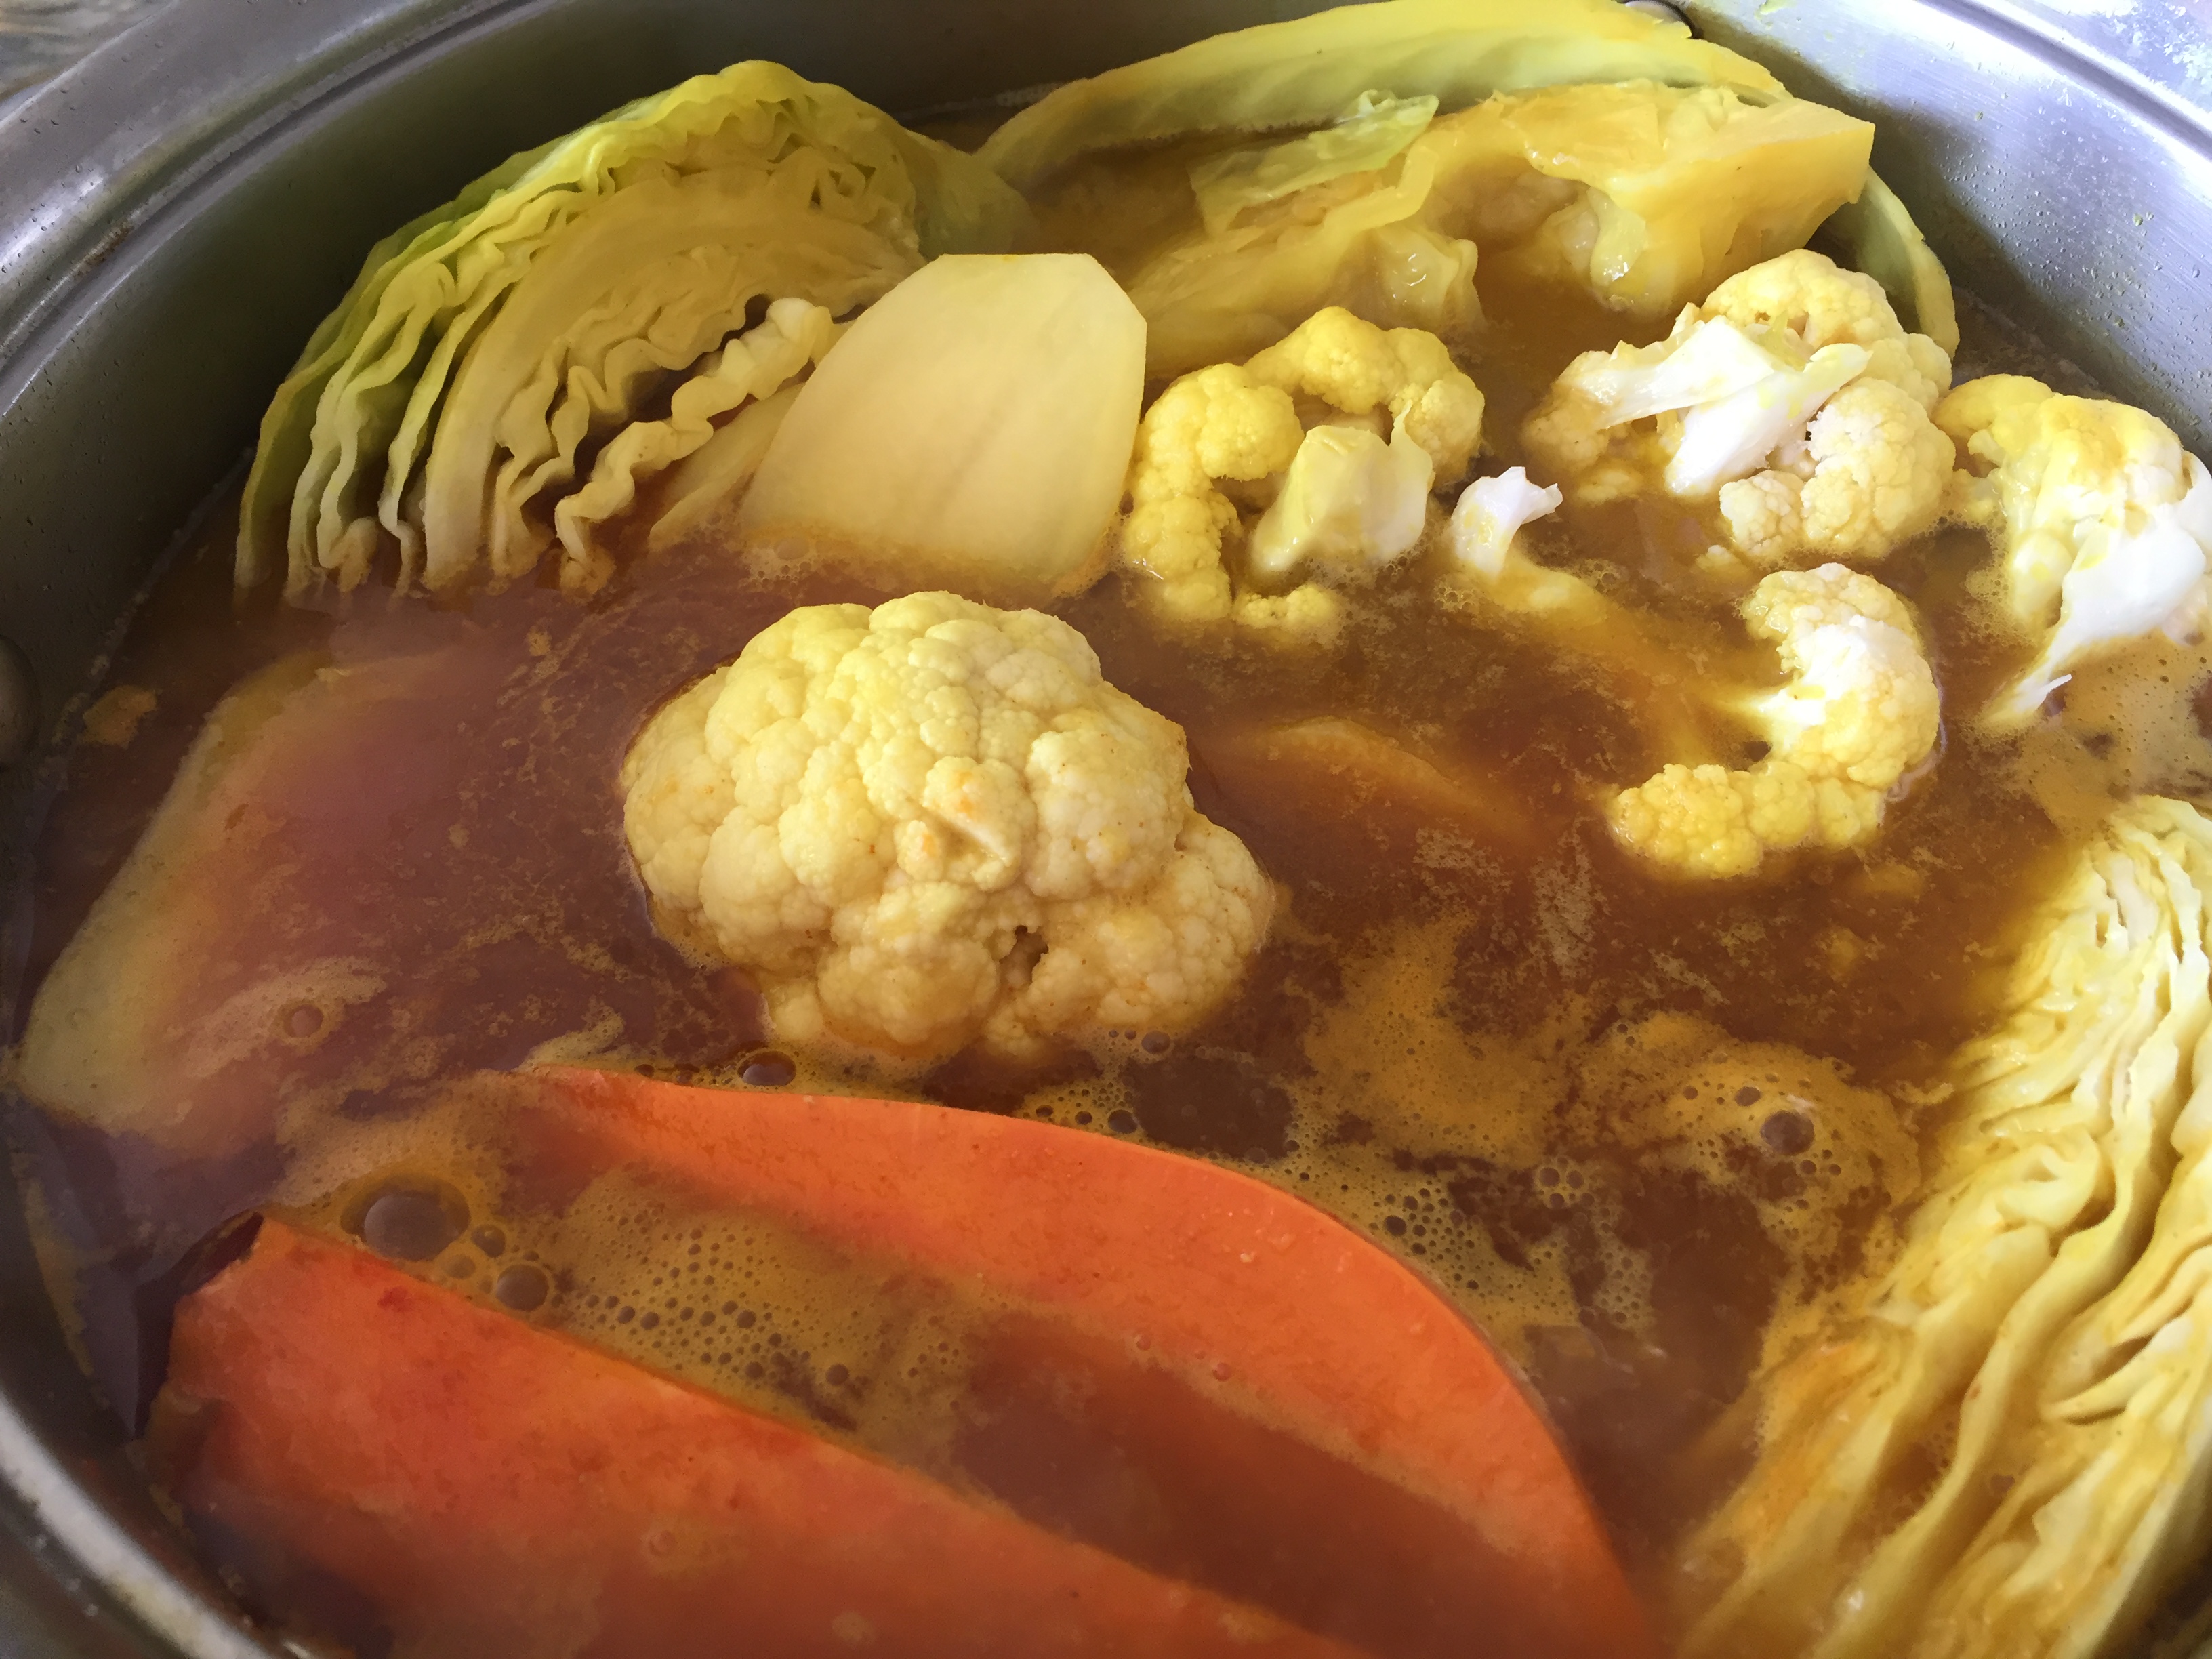
Add garlic, ginger, salt, pepper, a pinch of cayenne pepper, turmeric and cumin, and tomato sauce. Layer in the vegetables starting with the ones that take the longest to cook. I start with the dense squashes and carrots, then add to root vegetables and finish with cabbage and cauliflower on top. Lastly, add the garbanzo beans. Avoid mixing as this breaks up the vegetables, only lightly mix if necessary. I like my couscous soupy so I tend to add quite a bit of water, enough to nearly cover the vegetables. Though this is not traditional, it has become a family tradition and allows extra liquid for making the couscous.
When the vegetables are all tender, turn off the heat and prepare the couscous. Follow the direction of the package.
Presenting the dish is as important as cooking it. In a large shallow serving dish, add a thick layer of couscous, evenly spread the couscous around. Next add the vegetables and chicken pieces, or lay the whole chicken on the bed of couscous and then assort the vegetables around the chicken. Using a strainer, add soup to a bowl to add separately to each plate.
Hana’s Tip: Instead of using water to make the couscous, substitute couscous broth for water for a richer, tastier couscous.


Moroccan Couscous-beef
Ingredients:
2-3 lbs. beef stew cut into bit size chunks
2 onions-sliced
2 jalapenos
1 head of garlic-minced
Ginger (equal to garlic) – minced
1 small can of tomato sauce (8 oz.)
1 butternut squash-peeled and quartered
1 bag of carrots (about 6-8)-peeled
3-4 potatoes-peeled and cut in half long ways
2-3 sweet potatoes or yams-peeled and cut in half
1 acorn squash- peeled and cut in half long ways
1 head of cauliflower-washed and quartered
½ head of green cabbage-washed and quartered into wedges
1 can of garbanzo beans
1-2 boxes of couscous, follow directions of package
Optional: add other fall vegetables that are in season like squashes and root vegetables
Directions:
Over medium heat, brown an onion, take care not to burn the onion add the jalapeno at this time, trimming off the top if you want it spicier. Toss in meat and brown lightly. Cover with water and let simmer on medium heat until meat is nearly tender, this may take 2-3 hours, bear in mind there will still be 45 minutes of cooking to follow, don’t over cook the meat or it will be stringy.
Add garlic, ginger, salt, pepper, a pinch of cayenne pepper, turmeric and cumin, and tomato sauce. Layer in the vegetables starting with the ones that take the longest to cook. I start with the dense squashes and carrots, then add to root vegetables and finish with cabbage and cauliflower on top. Lastly, add the garbanzo beans. Avoid mixing as this breaks up the vegetables, only lightly mix if necessary. I like my couscous soupy so I tend to add quite a bit of water, enough to nearly cover the vegetables. Though this is not traditional, it has become a family tradition and allows extra liquid for making the couscous.
When the vegetables are all tender, turn off the heat and prepare the couscous. Follow the direction of the package.
Presenting the dish is as important as cooking it. In a large shallow serving dish, add a thick layer of couscous, evenly spread the couscous around. Next add the vegetables and meat. Using a strainer, add soup to a bowl to add separately to each plate.
Hana’s Tip: Instead of using water to make the couscous, substitute couscous broth for water for a richer, tastier couscous.

Nigerian Fried Rice
Few family recipes are all around crowd pleasers. There’s usually at least one person who doesn’t like something I cook. Usually that person is me. And yes, I’m not a fan of this dish…well at first that is. I’m not a rice fan (except for Zeresh and Adas Polo and a new pomegranate rice), so biryani and kibsas don’t interest me. This dish is similar to a biryani or kibsa in the sense that it’s a one pot meal in which the rice will cook with the rest of the vegetables and meat. It’s so easy to make, but it does take over an hour to cook. It takes about 15 minutes to brown the onions and add the tomatoes, spices and other ingredients (that also includes prep time as I chop and prep while the onions are cooking), then 30 minutes to cook the chicken, and another 30 minutes to cook the rice with the chicken. But once it’s done (and if you cook it in a pot big enough), you’ve got food for a dozen servings! This recipe was adapted from the book called Nigeria by Patricia Levy. While we did take some liberties with this recipe, I do believe in capturing the essence and spirit of a historic or regional meal. As these are part of our homeschool lessons, the experience is the primary goal, accuracy is secondary and trying new ingredients is somewhere in there! Actually, I love the idea of trying new foods, but sometimes the pain of finding them often means we are using alternatives which are part of our daily diet and that seems to defeat the purpose. For this meal, I used 6 drumsticks and 4 leg quarters. I seasoned with cumin, curry powder, salt, and onion and garlic powder. I used about 7 cups of water and 4 cups of rice. I added 3 large tomatoes (but I would have preferred more), plus two jalapenos which were medium spicy. I think it would have been tastier if I used chicken or vegetable broth, but I didn’t have any. I also used parboiled basmati rice which I find holds up really well to these kinds of dishes where the rice is soaking with the meat or vegetables. I also used my cast iron large oval pot from Le Creuset which helps ensure even temperatures.


Caprese Piadine Recipe
I’d say that a good portion of the recipes I make are inspired by restaurant food we have had and liked well enough to recreate at home. Today’s recipe is inspired by the Caprese Piadine from a northern California Italian restaurant called Tomatinas. While it doesn’t taste exactly the same, it’s so close that you might be convinced it is!
Here’s the pizza dough/bread dough recipe that I’ve been using for ages! The video tutorials are as follows:
Here’s the original bread recipe that I’ve used since 2006. It’s simple and foolproof. It’s a quintessential kindergarten tradition in Waldorf schools to have fresh baked bread.
Since making bread, I’ve found that homemade pizzas were the logical next step, especially since I have a son who has dairy allergies, and by making our pizzas at home, I can make him a dairy free alternative that’s sure to be safe. Over the years, I’ve found that making “Pizza Puffs” are not just crowd pleasers, they’re super easy!
It was my husband who requested a thin crust pizza, and so this fancy adult version was created. I love adding veggies, brie and chicken to our flat thin crust pizza and I also like omitting the traditional marinara sauce for a white sauce or simply olive oil and garlic.
For more recipes, check out my complete playlist for all the recipes that are inspired by others and perfected in my kitchen.
Here’s the recipe for our version of Caprese Piadine with hot steak.
Start with a pizza dough or bread dough. Here’s a quick tutorial. You can also buy pre-made pizza dough or pre-made pre-cooked pizza crust.
Pizza dough recipe:
1 tablespoon sugar (I use brown sugar)
1/2 teaspoon of salt
1/4 teaspoon of yeast
2 cups of warm water
4 cups of flour
Mix ingredients together in a non-metal bowl (ceramic or plastic) with a wooden spoon (don’t use metal).
Add a loose fitting lid (optional, add oil to dough so it doesn’t dry out).
After it has doubled in size (2-4 hours), shape it into medium-sized balls using your hand that have been oiled with olive oil to keep the dough from sticking.
Bake for 12 minutes at 430 degrees on an oiled pan or in a pan lined with parchment paper.
For 6 servings:
3 medium to large vine ripe tomatoes
8 oz mozzarella balls, sliced
1-2 heads of Romain lettuce
1-1.5 pounds of sirloin steak
4 oz of pesto (more is better!)
balsamic vinegar
salt
olive oil
Marinate thinly sliced steak with 2 tablespoons balsamic vinegar, 1 tablespoon olive oil and 1.2-1 teaspoon of salt. Store in refrigerator for 30 minutes to 4 hours.
Thickly slice tomatoes and place on a greased baking tray or on parchment paper. Drizzle with olive oil and sprinkle with salt. Broil on high for up to 20 minutes. Keep on eye on this!! They go from not done at all to burnt in a matter of minutes.
Wash and set aside several stalks of romain lettuce. Slice mozzarella balls.
Roll out about 1 cup of dough onto a floured surface and roll into a thin crust. Place on a parchment paper lined baking tray and bake for 8-10 minutes at 475 degrees. You can bake the dough with a thin layer of pesto or add the pesto after it is baked.
To a hot pan, add a drizzle of oil and cook the marinated steak. You can bring the streak to room temp before cooking. It only needs about 5 minutes. Cover and set aside until ready to assemble.
Layer mozzarella slices, roasted tomatoes, and romain lettuce onto pesto lined piadine. Tops with steak and a drizzle of balsamic vinegar. Fold in half and enjoy!
Did you try this recipe? Use the hashtag #pepperandpine and tag me on Instagram, Twitter or Facebook! I love seeing what you come up with.
Find me on YouTube, Twitter, Instagram and Facebook