https://youtu.be/w4kjKlh6Bqw
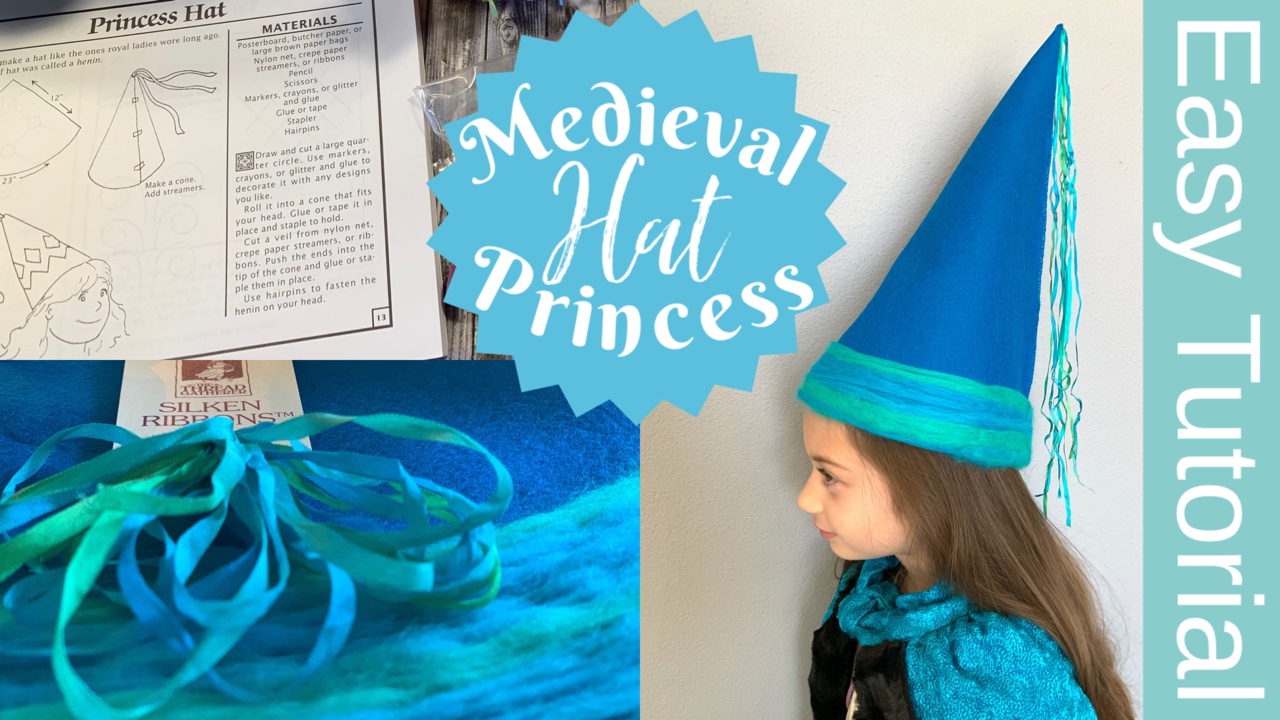
If you don’t know by now, let me just tell you that around here, we like to take our projects up a notch. While this princess hat is super doable either as suggested in the book Days of Knights and Damsels an Activity Guide by Laurie Carlson, I think the modifications we made turn this otherwise disposable craft into a timeless keepsake. With just some construction paper and markers, you can make a simple princess hat. The directions in the book are easy to follow and with a bit of assistance, young children can complete this task on their own. If you wish to make this project out of a more durable material, I suggest using felt and stitching the hat together. You can stay on budget by using acrylic felt and polyester ribbon from our local craft store, or you can take this project to a whole other level and use 100% Merino wool felt, 100% wool top and 100% silk ribbon for the tassel.
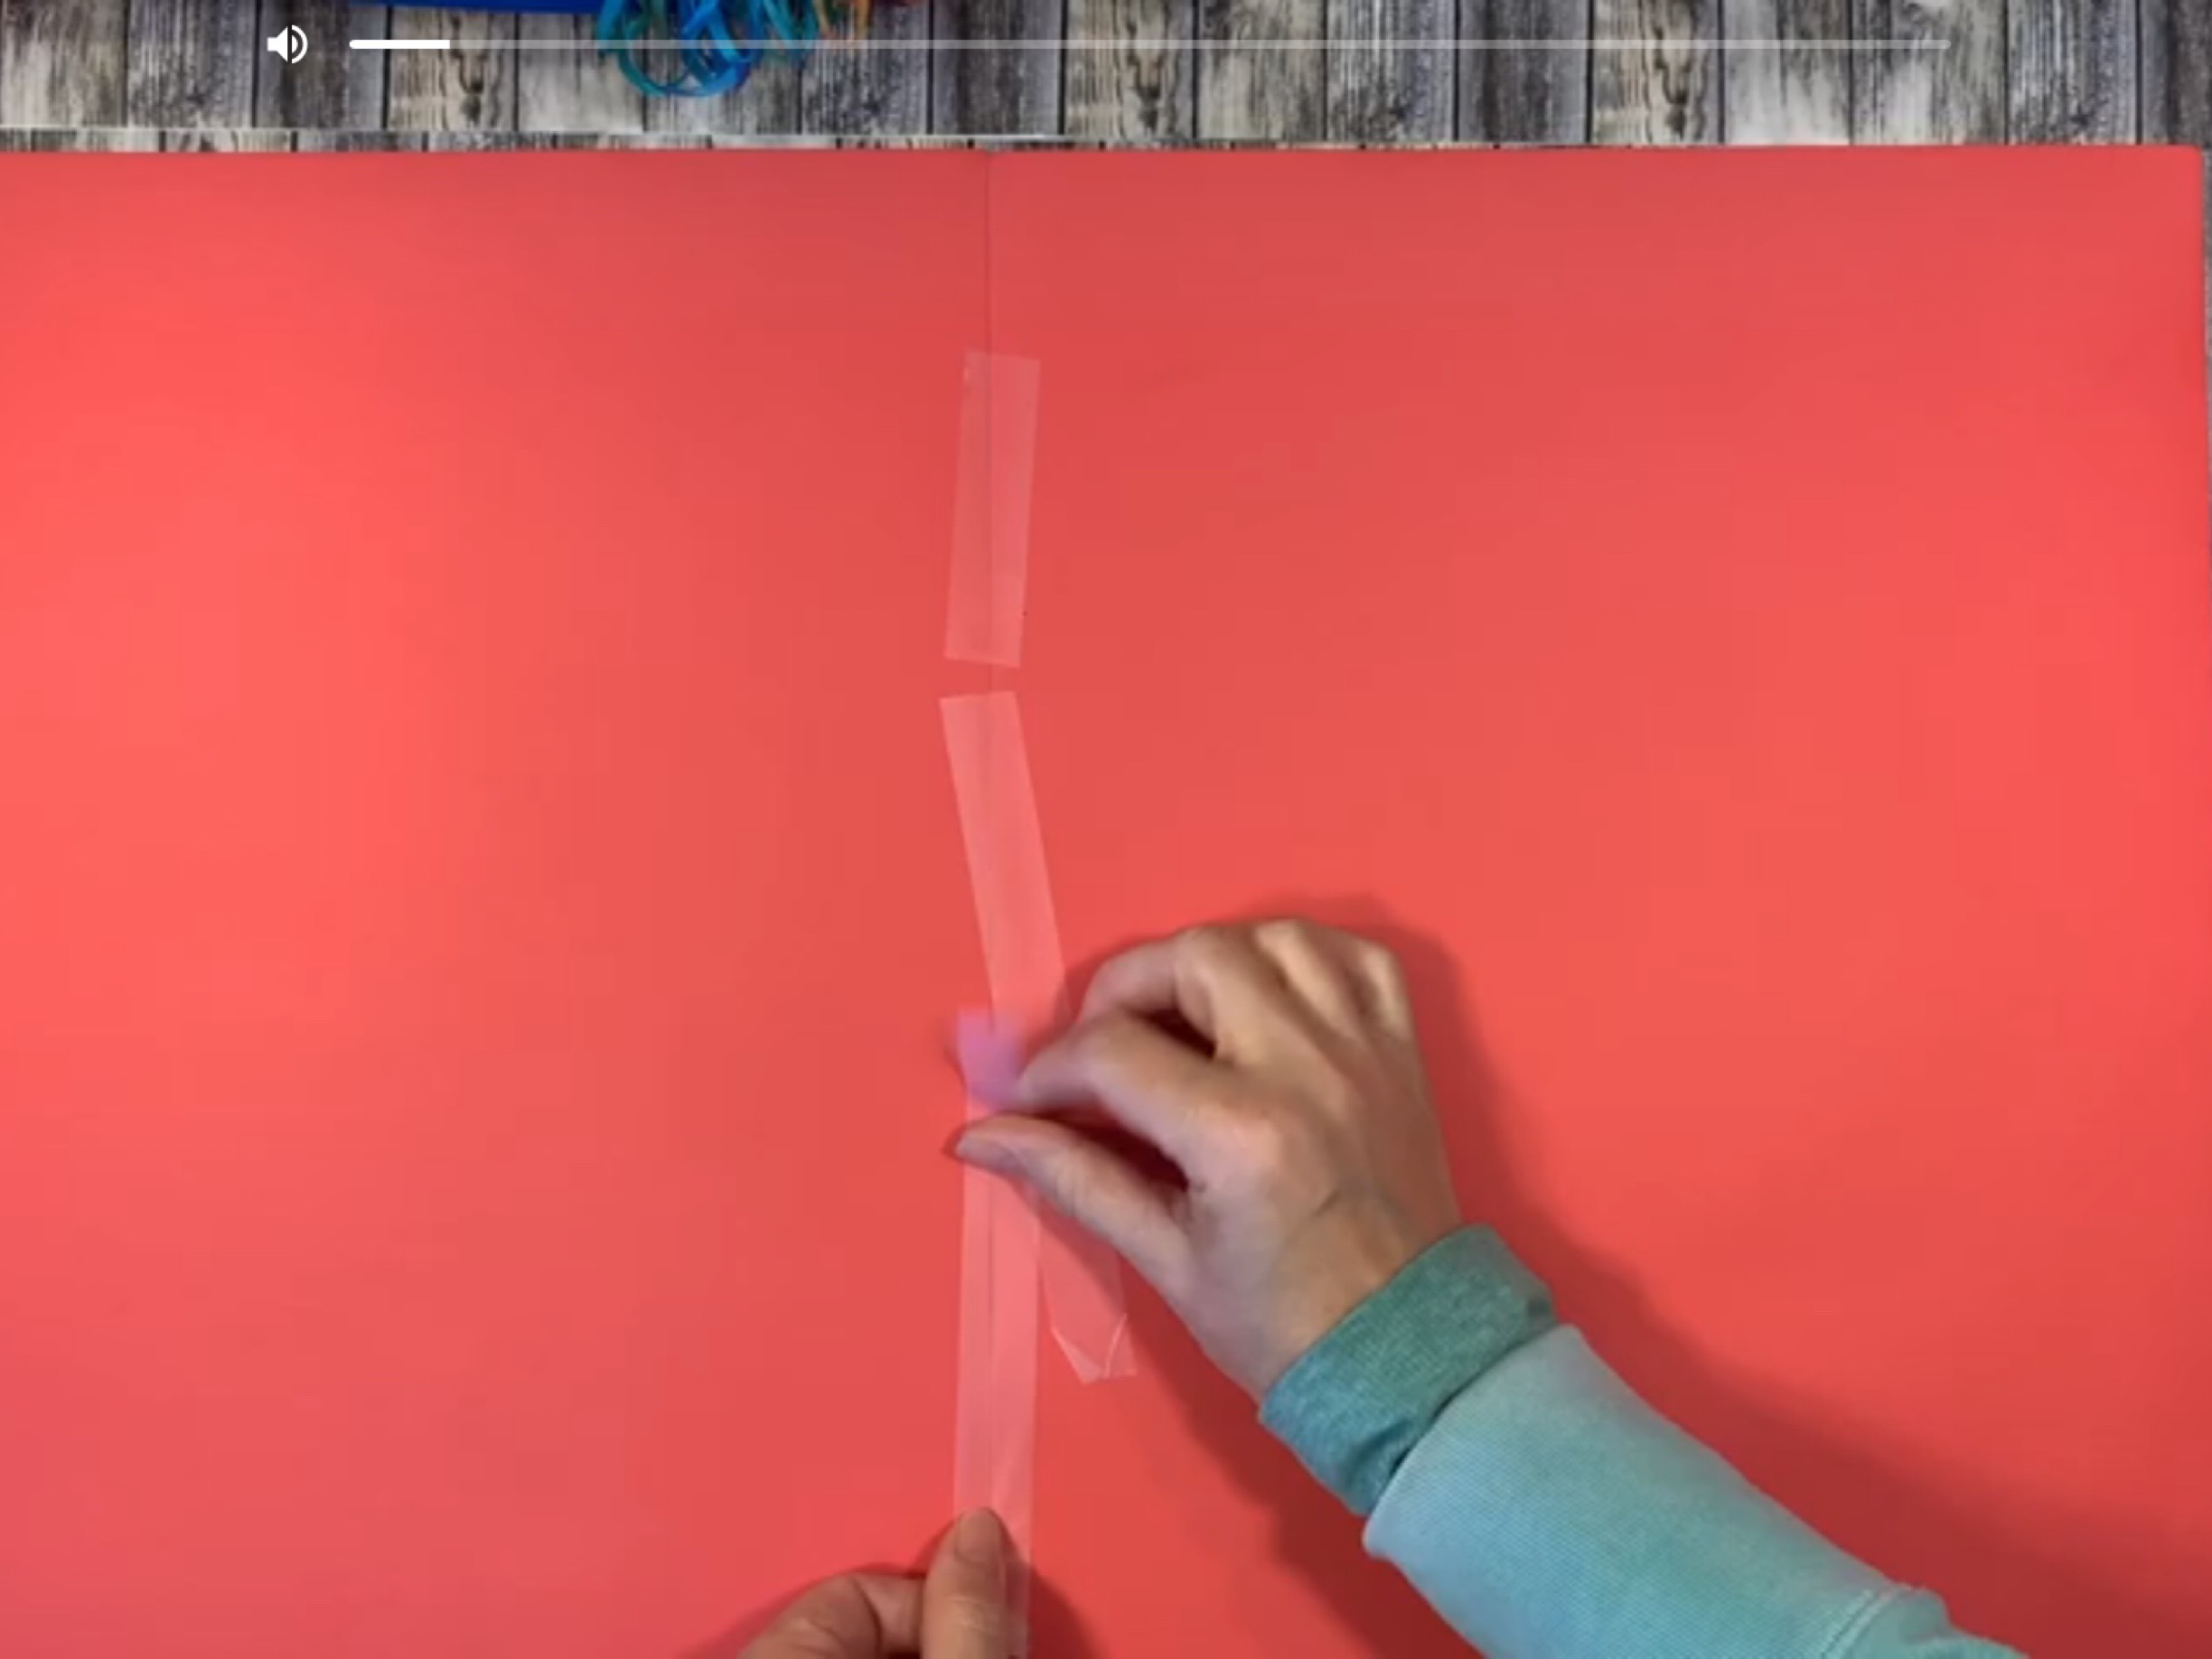
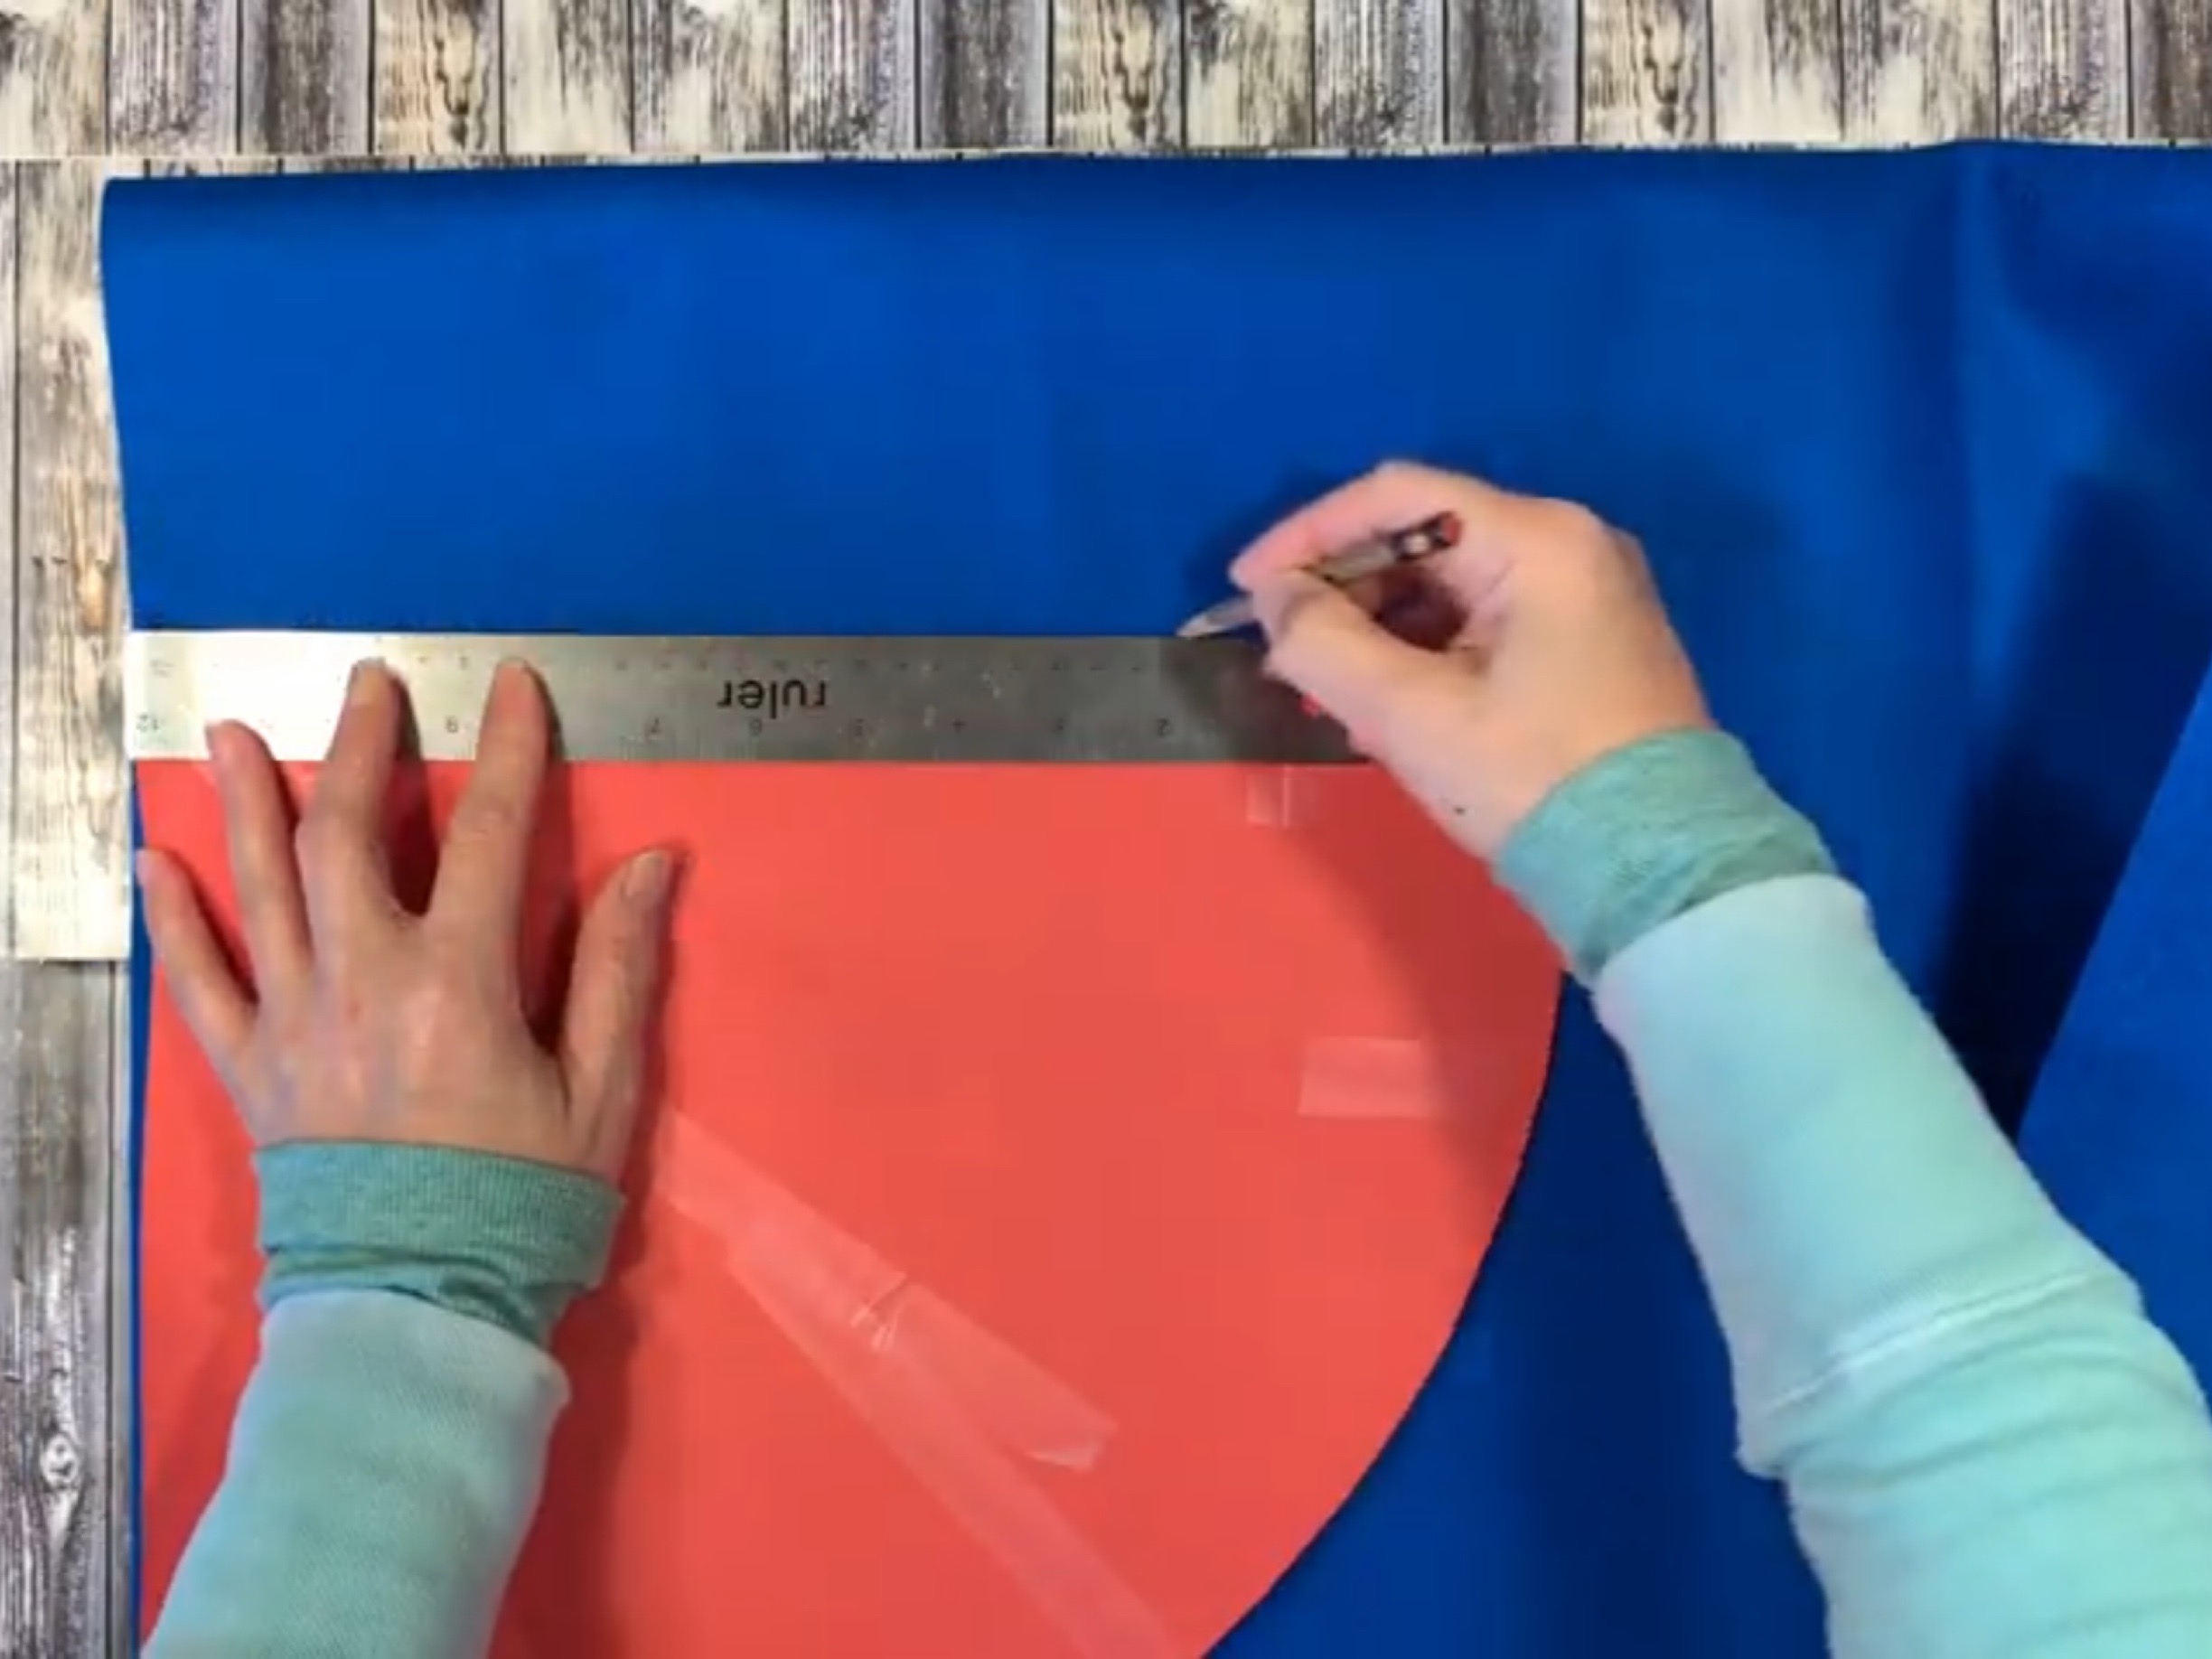
Tape two pieces of construction paper together to get a piece that’s about 18″x24″.
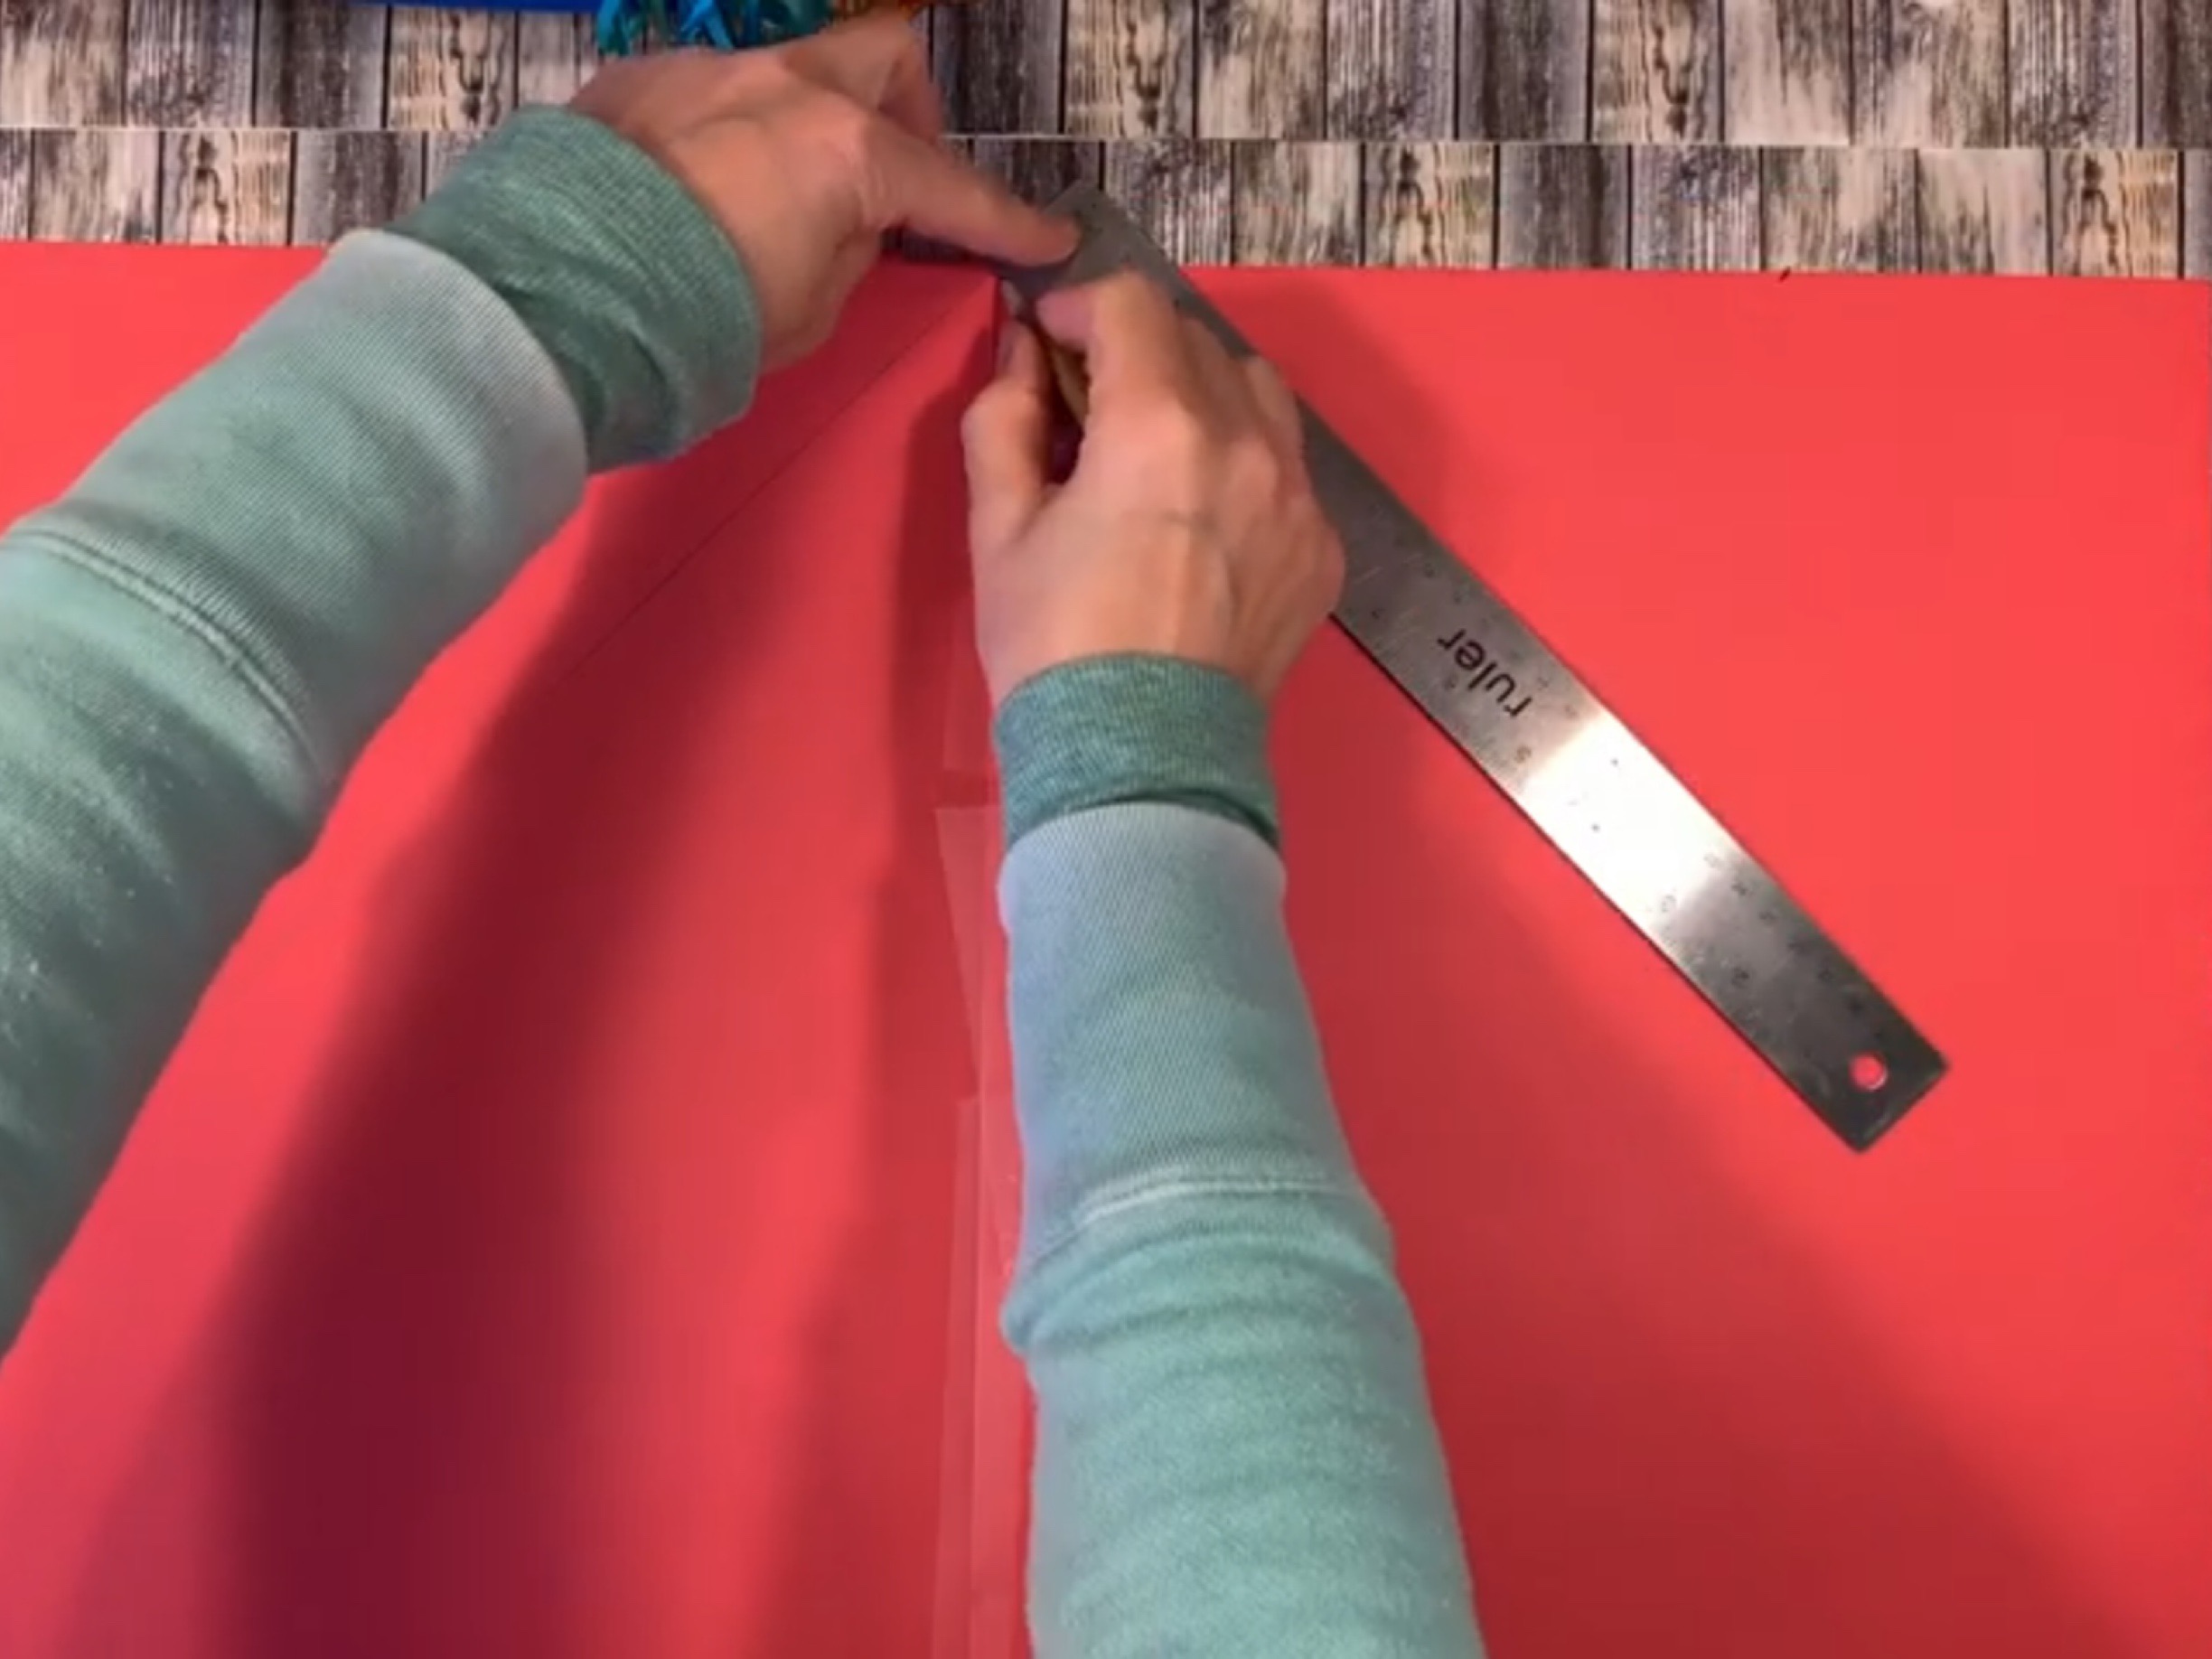
Measure and draw two lines that are 90 degrees apart and 12″ long. Connect the two lines in an arc that measures about 23″.
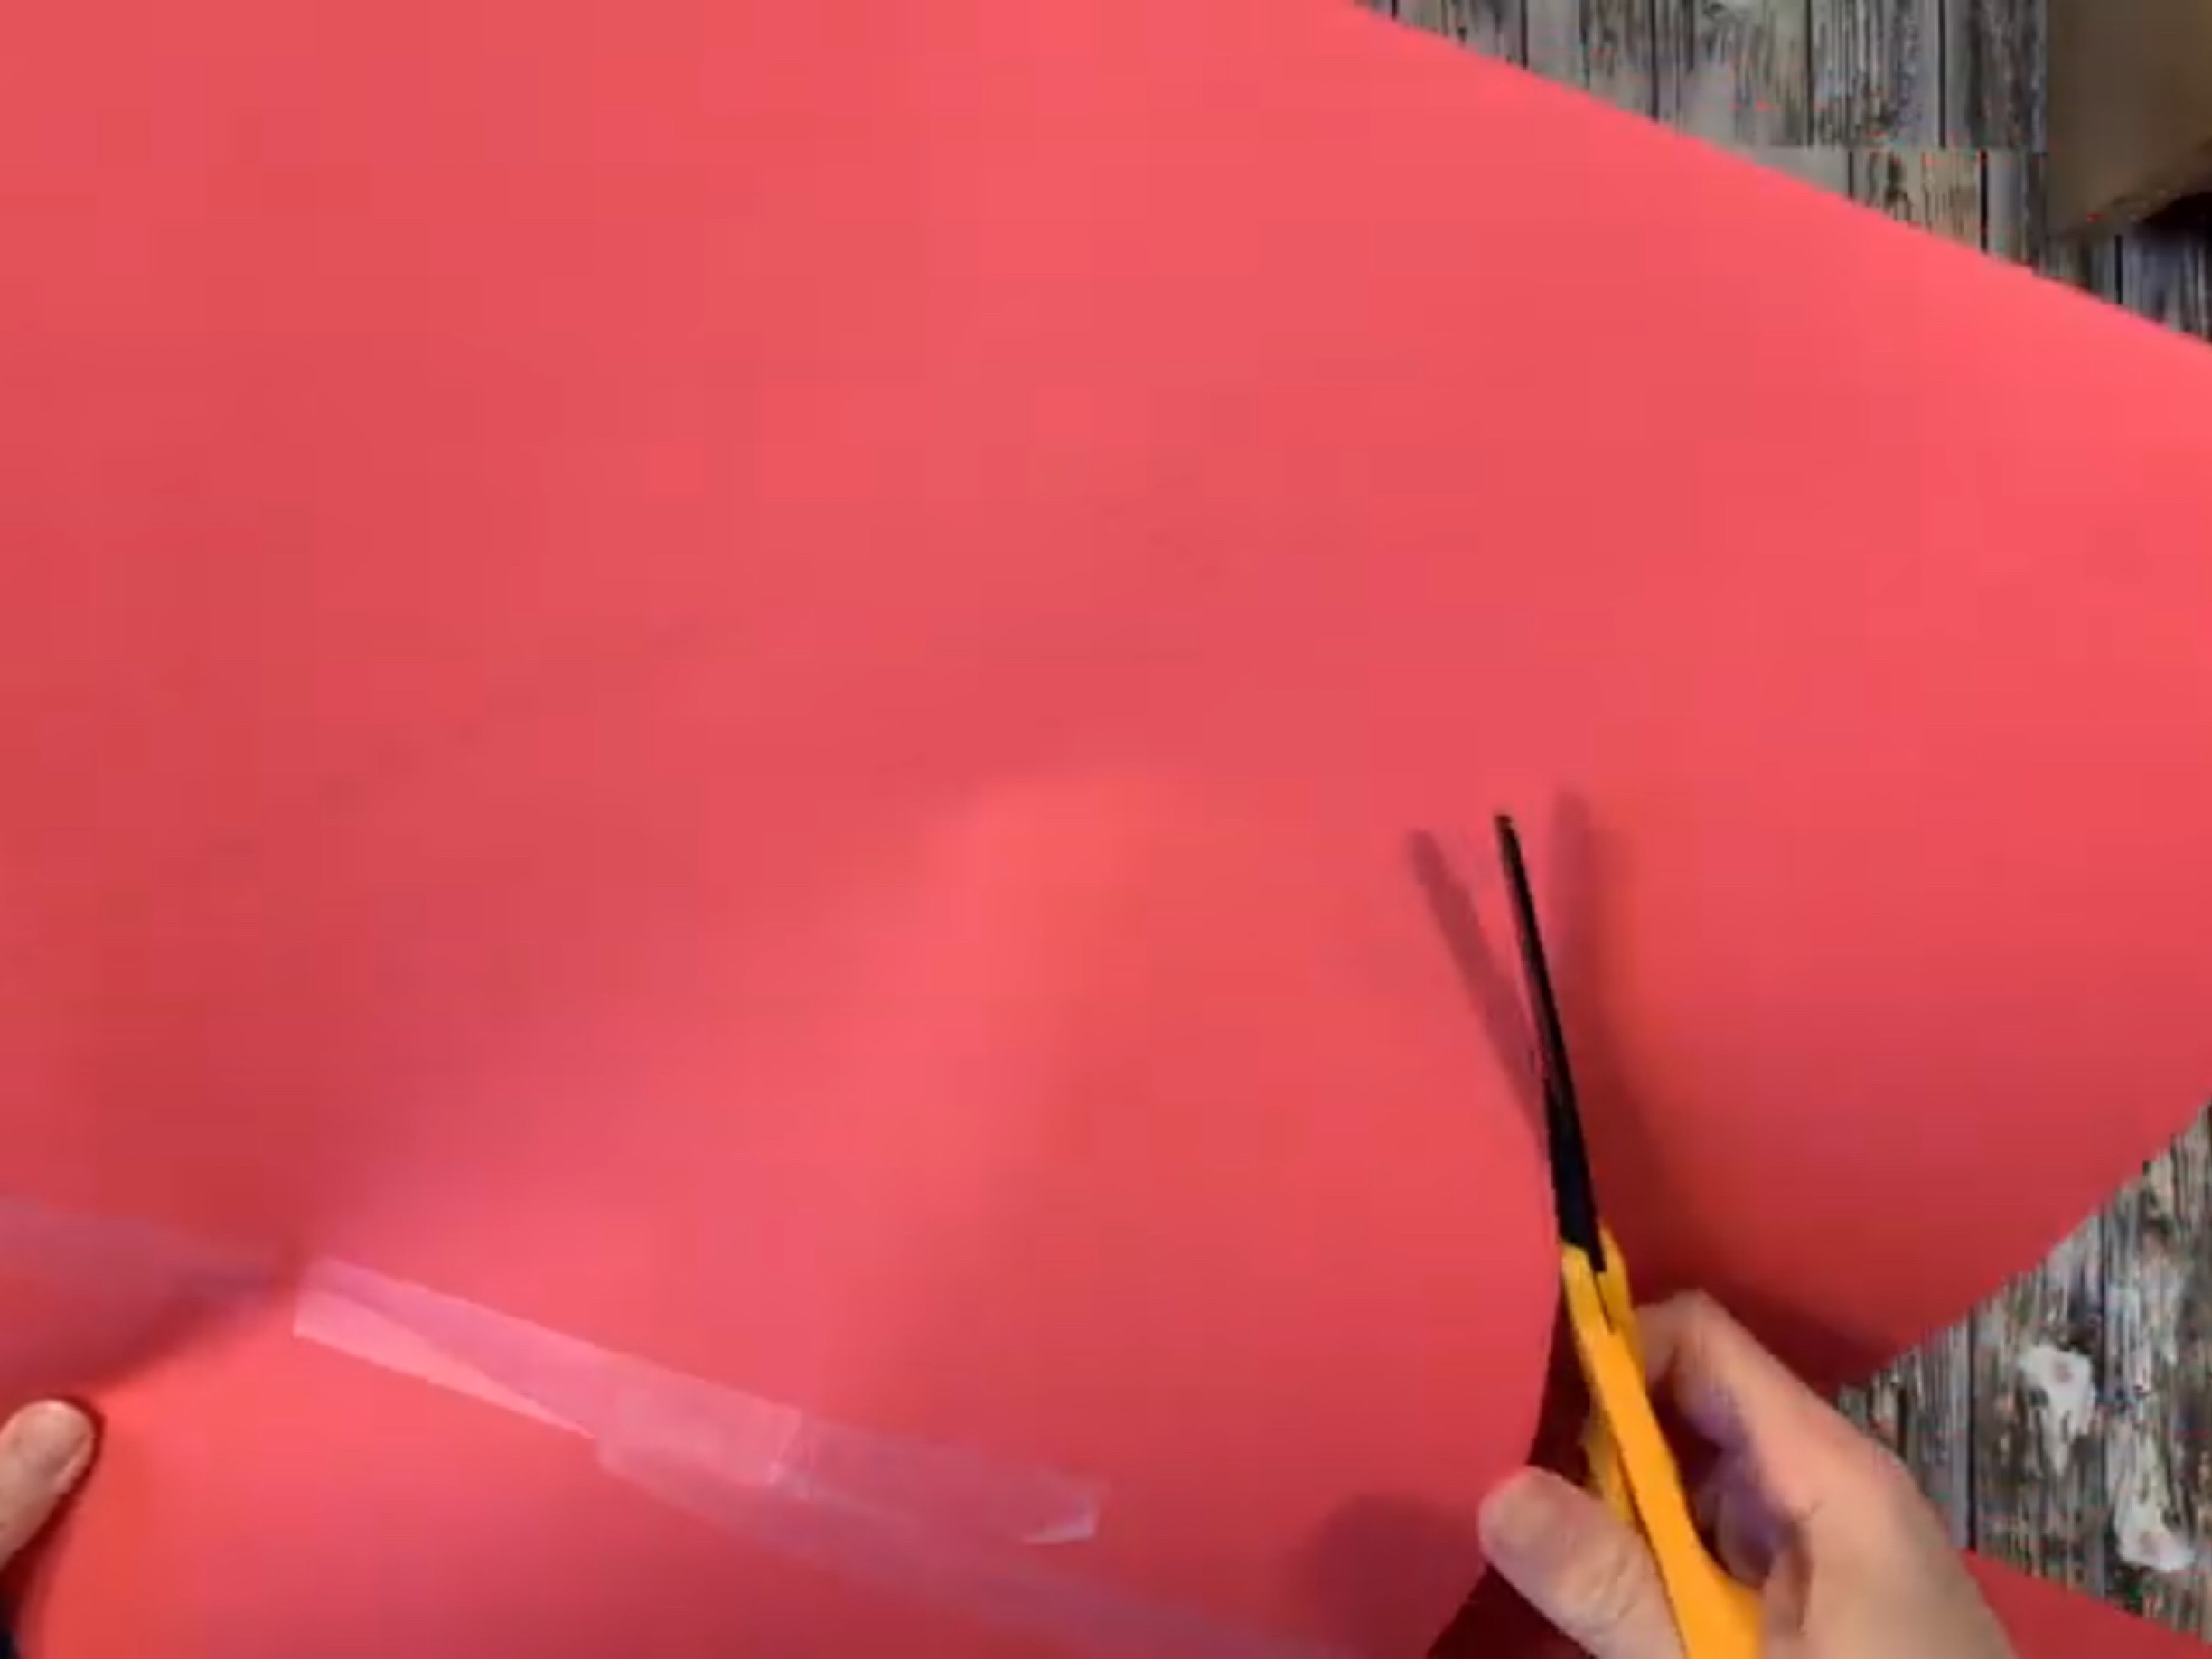
Cut your template. You may use this for the hat or use it as a template to cut this shape out of fabric.
Tape your template together and trim the circumference if needed. You can stop here and decorate it.
Cut open your template and trace on your felt with a pencil or chalk pencil.
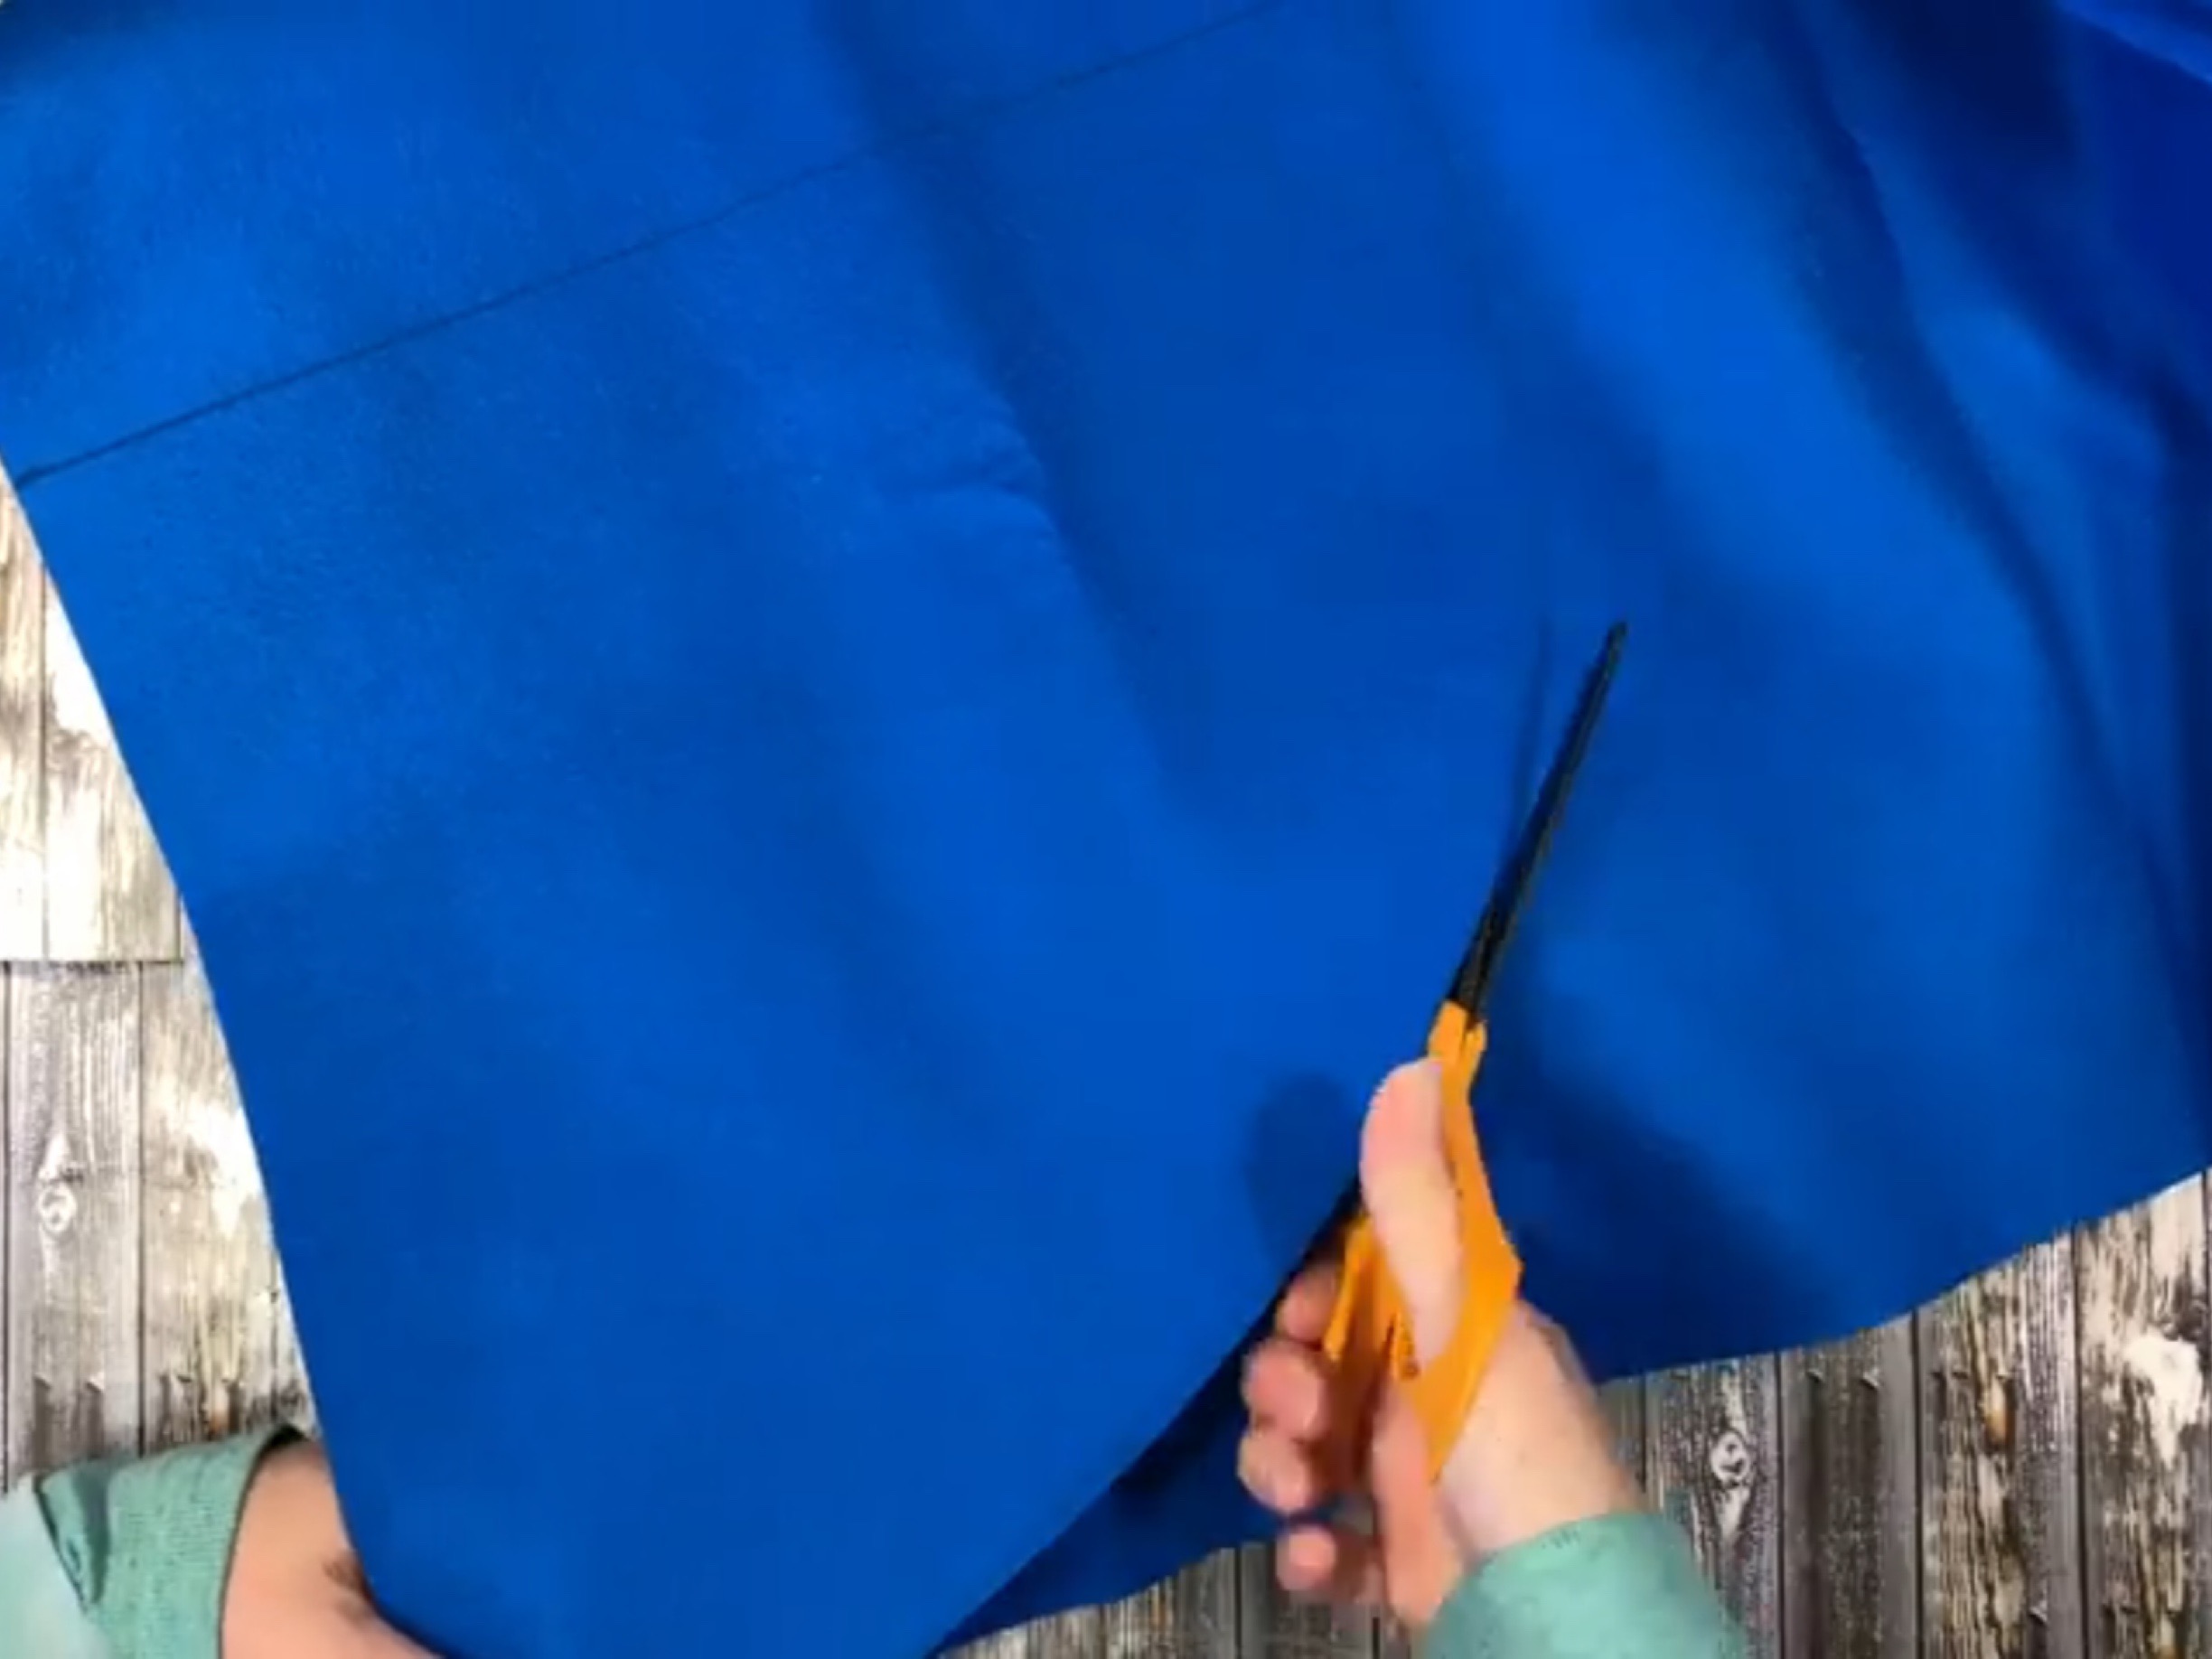
Cut the felt along the pencil line.
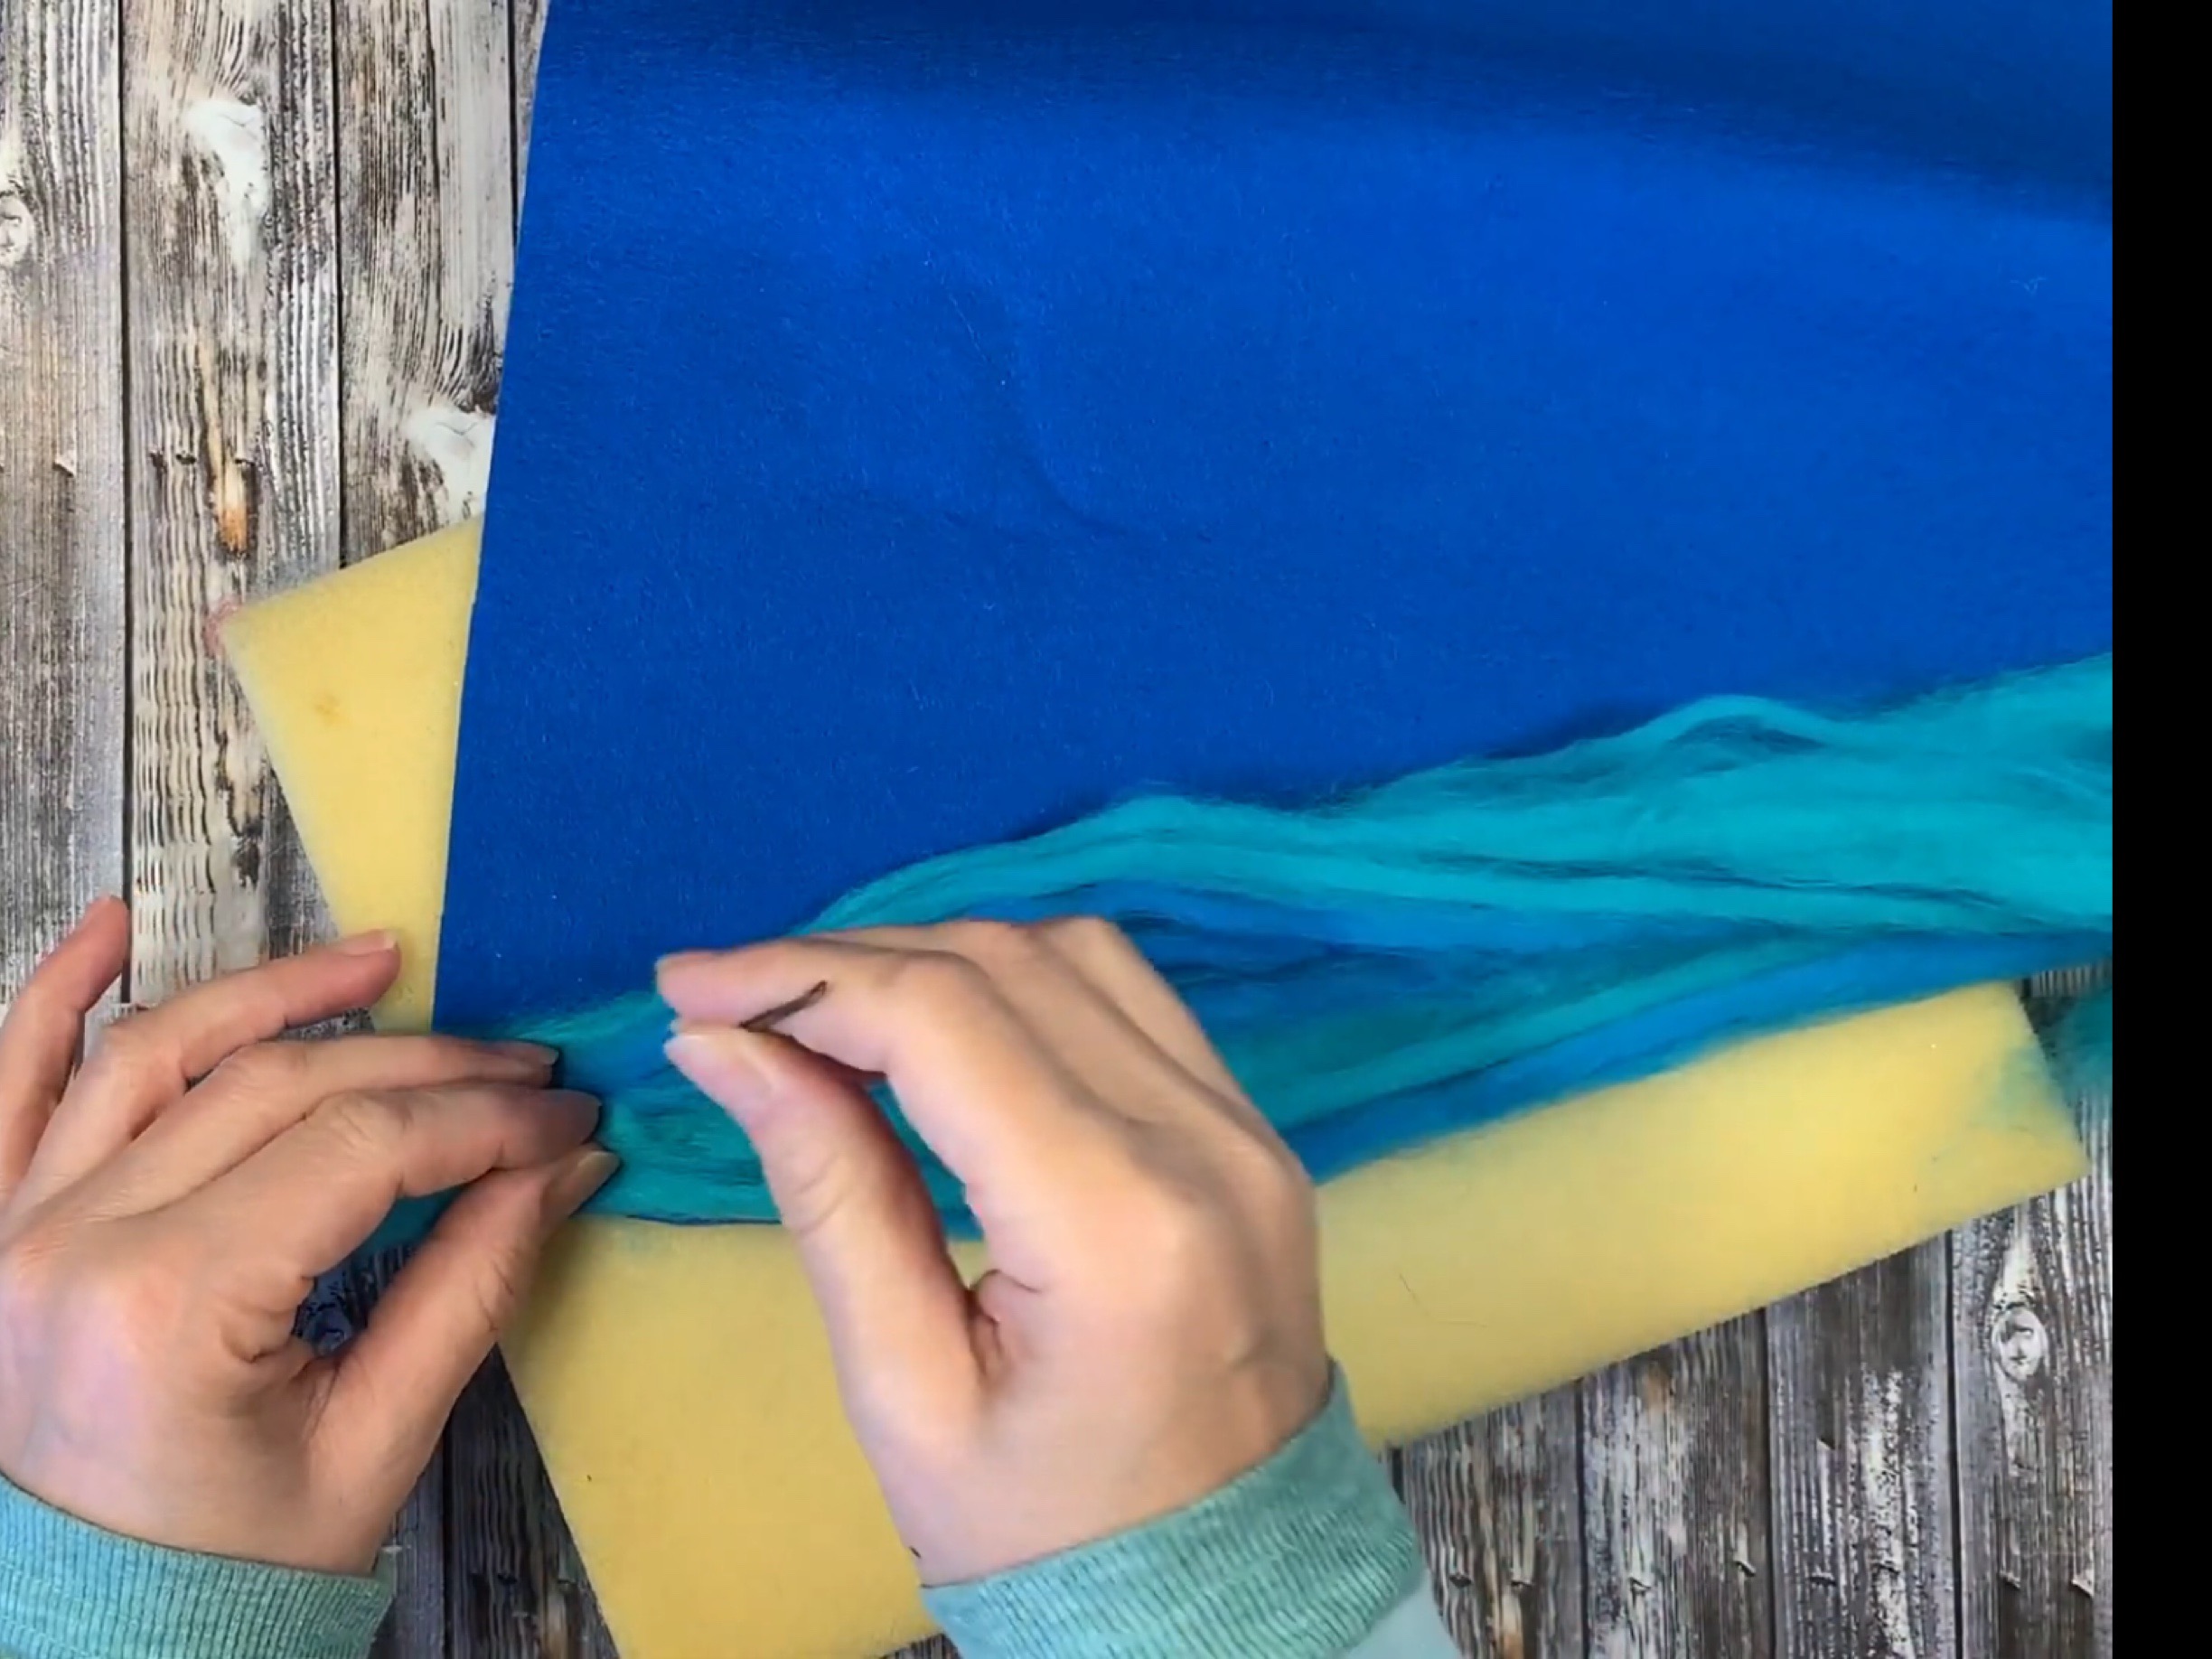
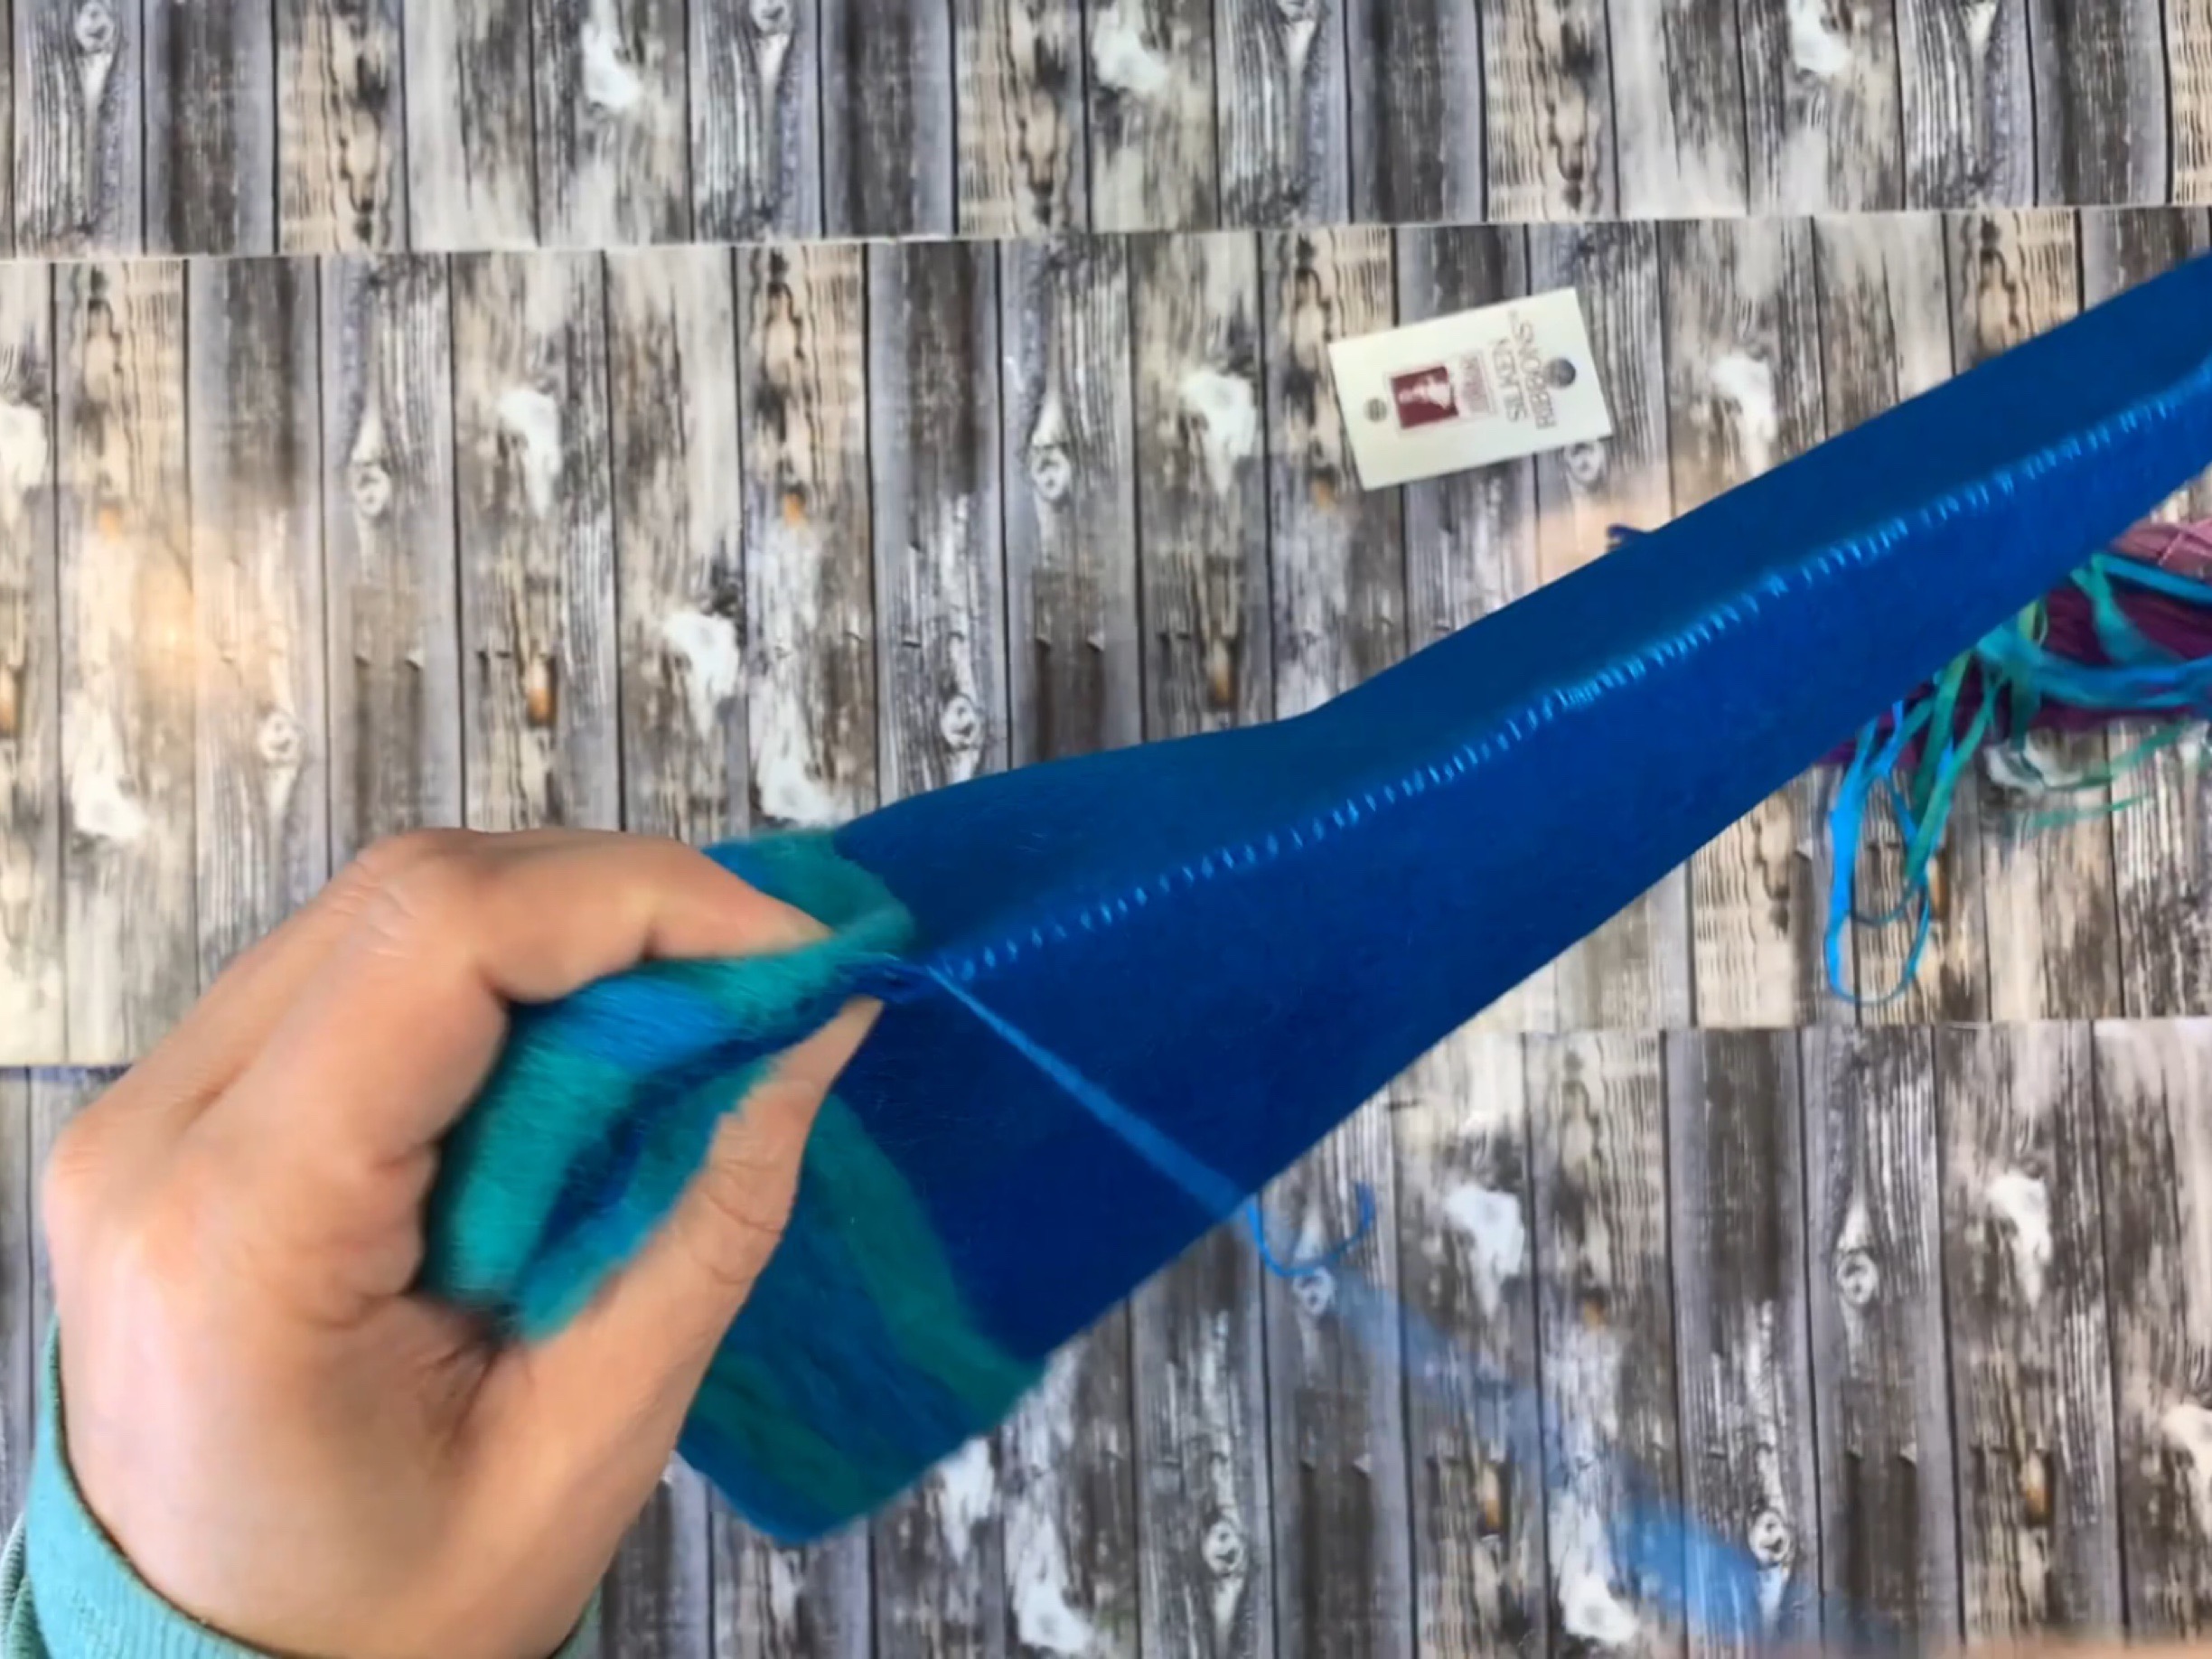
Needle felt the wool top along the arc of the felt. You can choose the width.
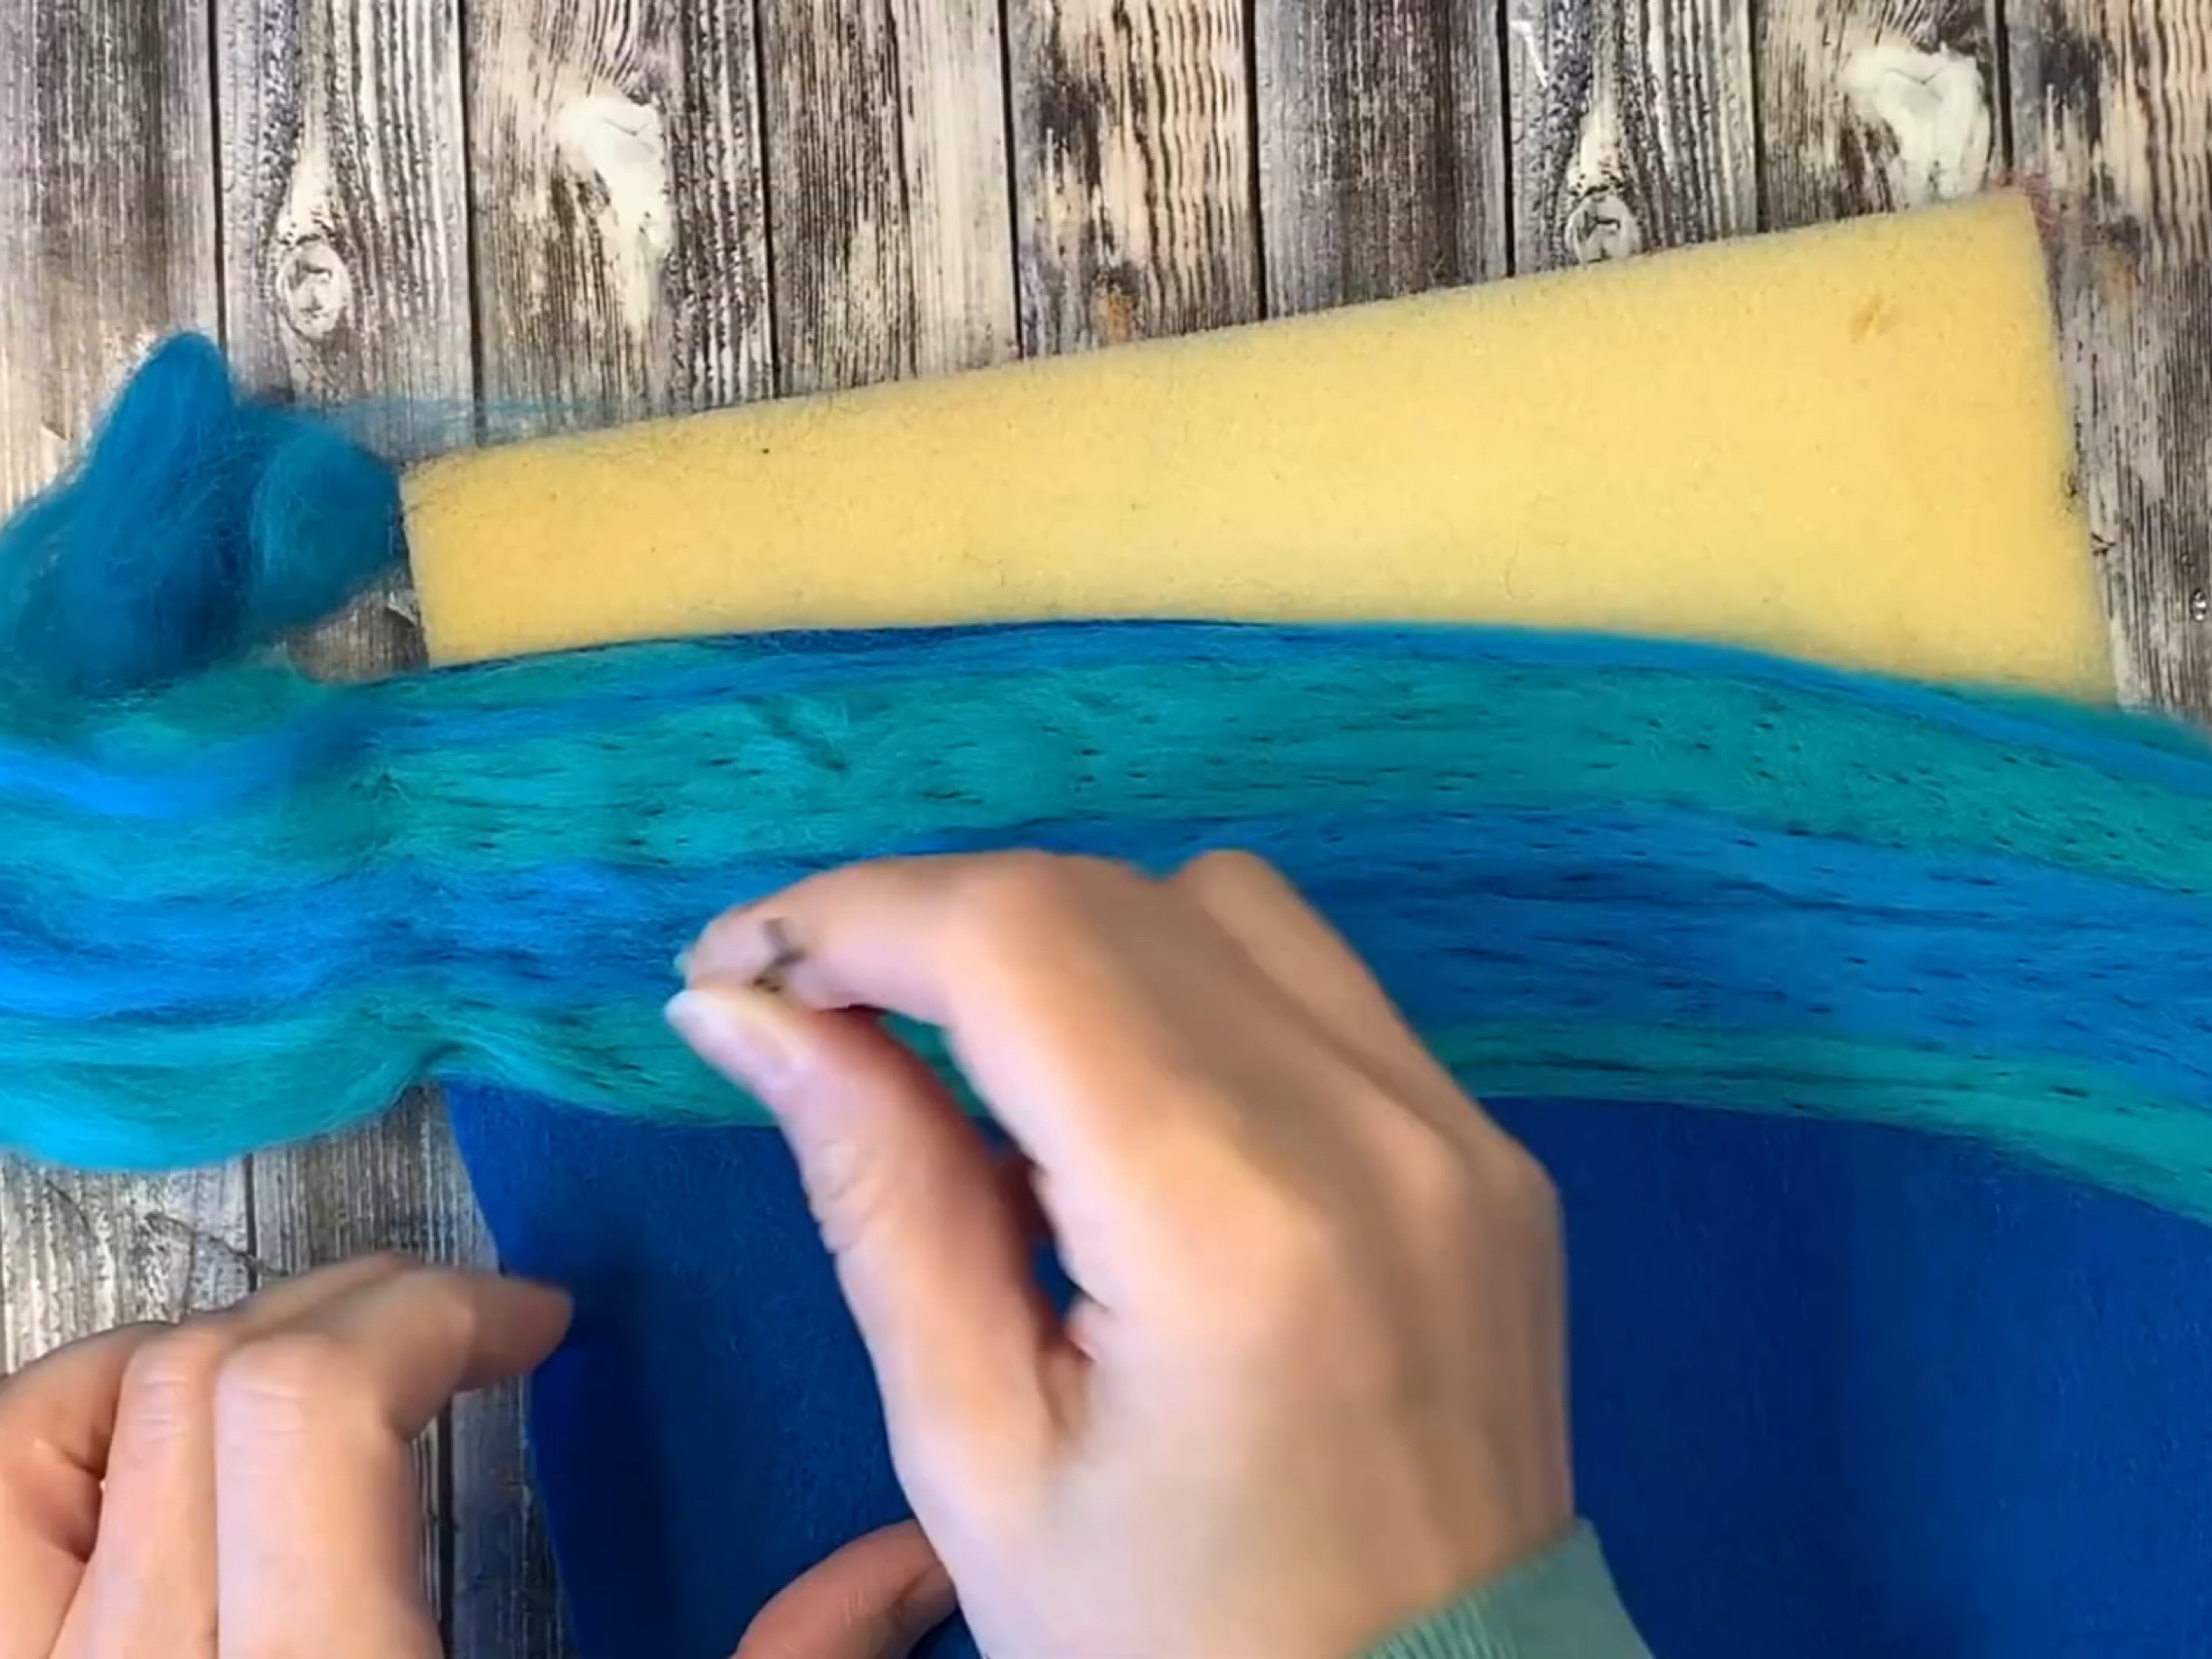
Continue felting all the way around.
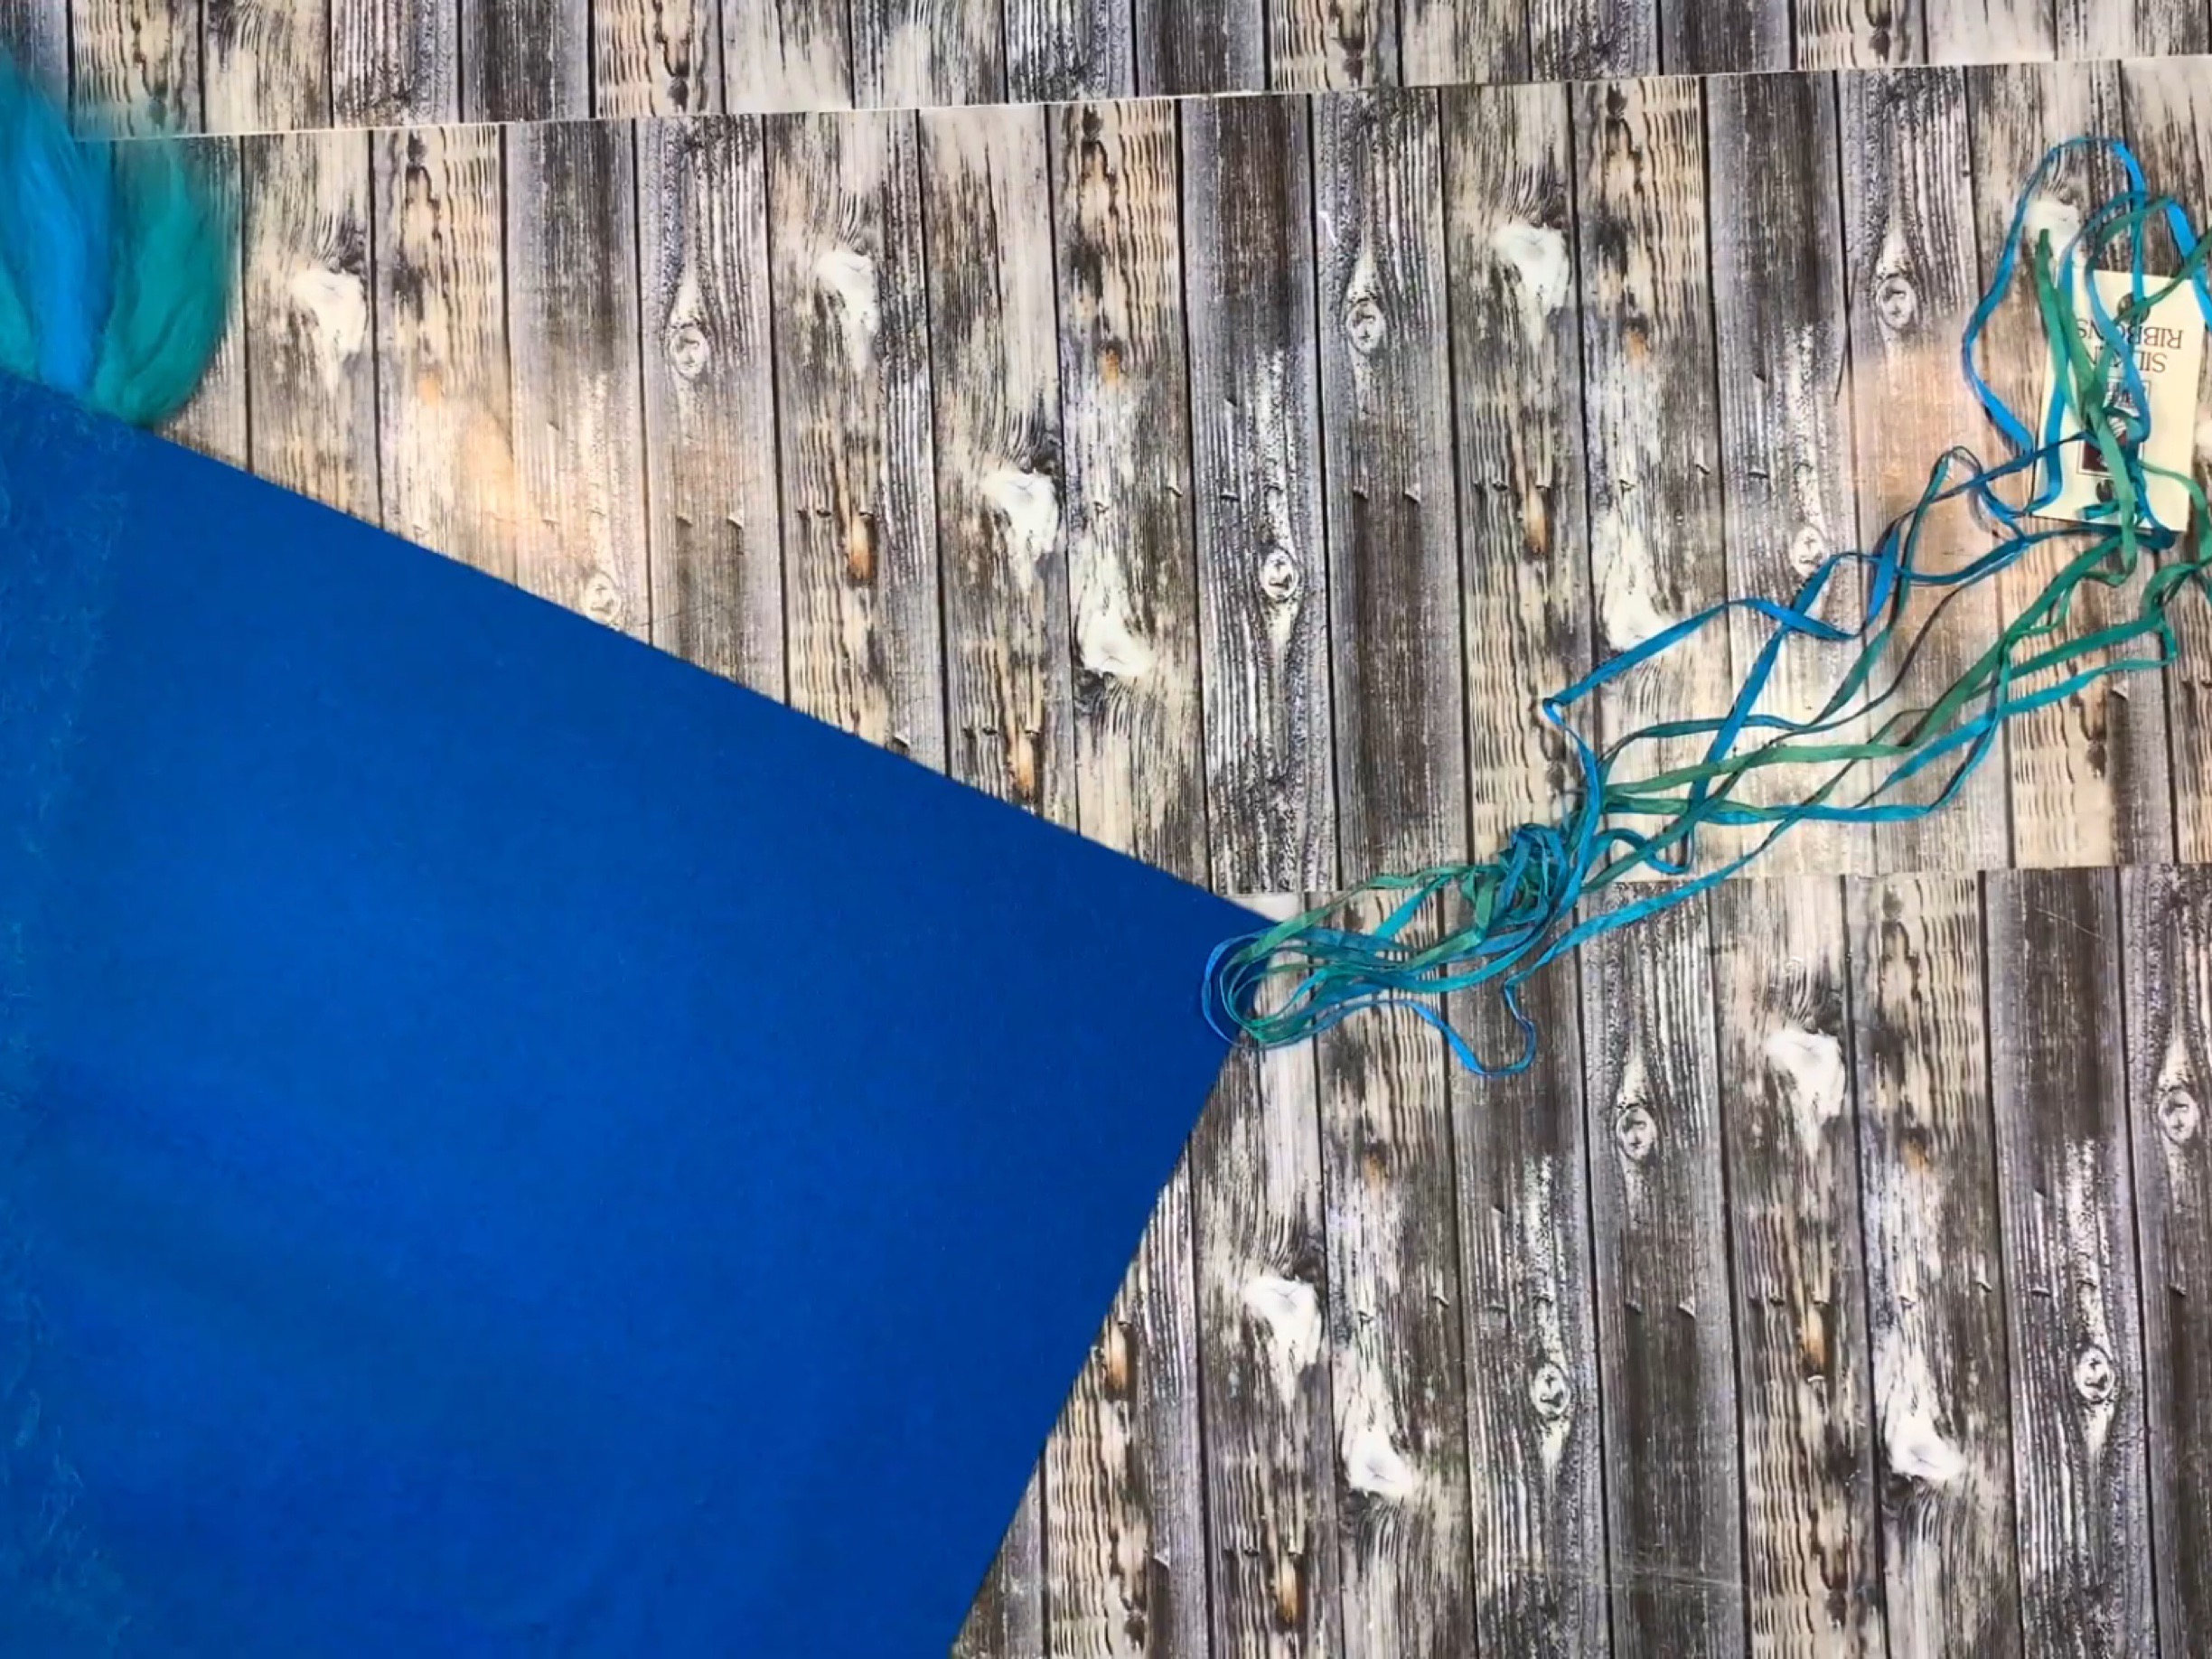
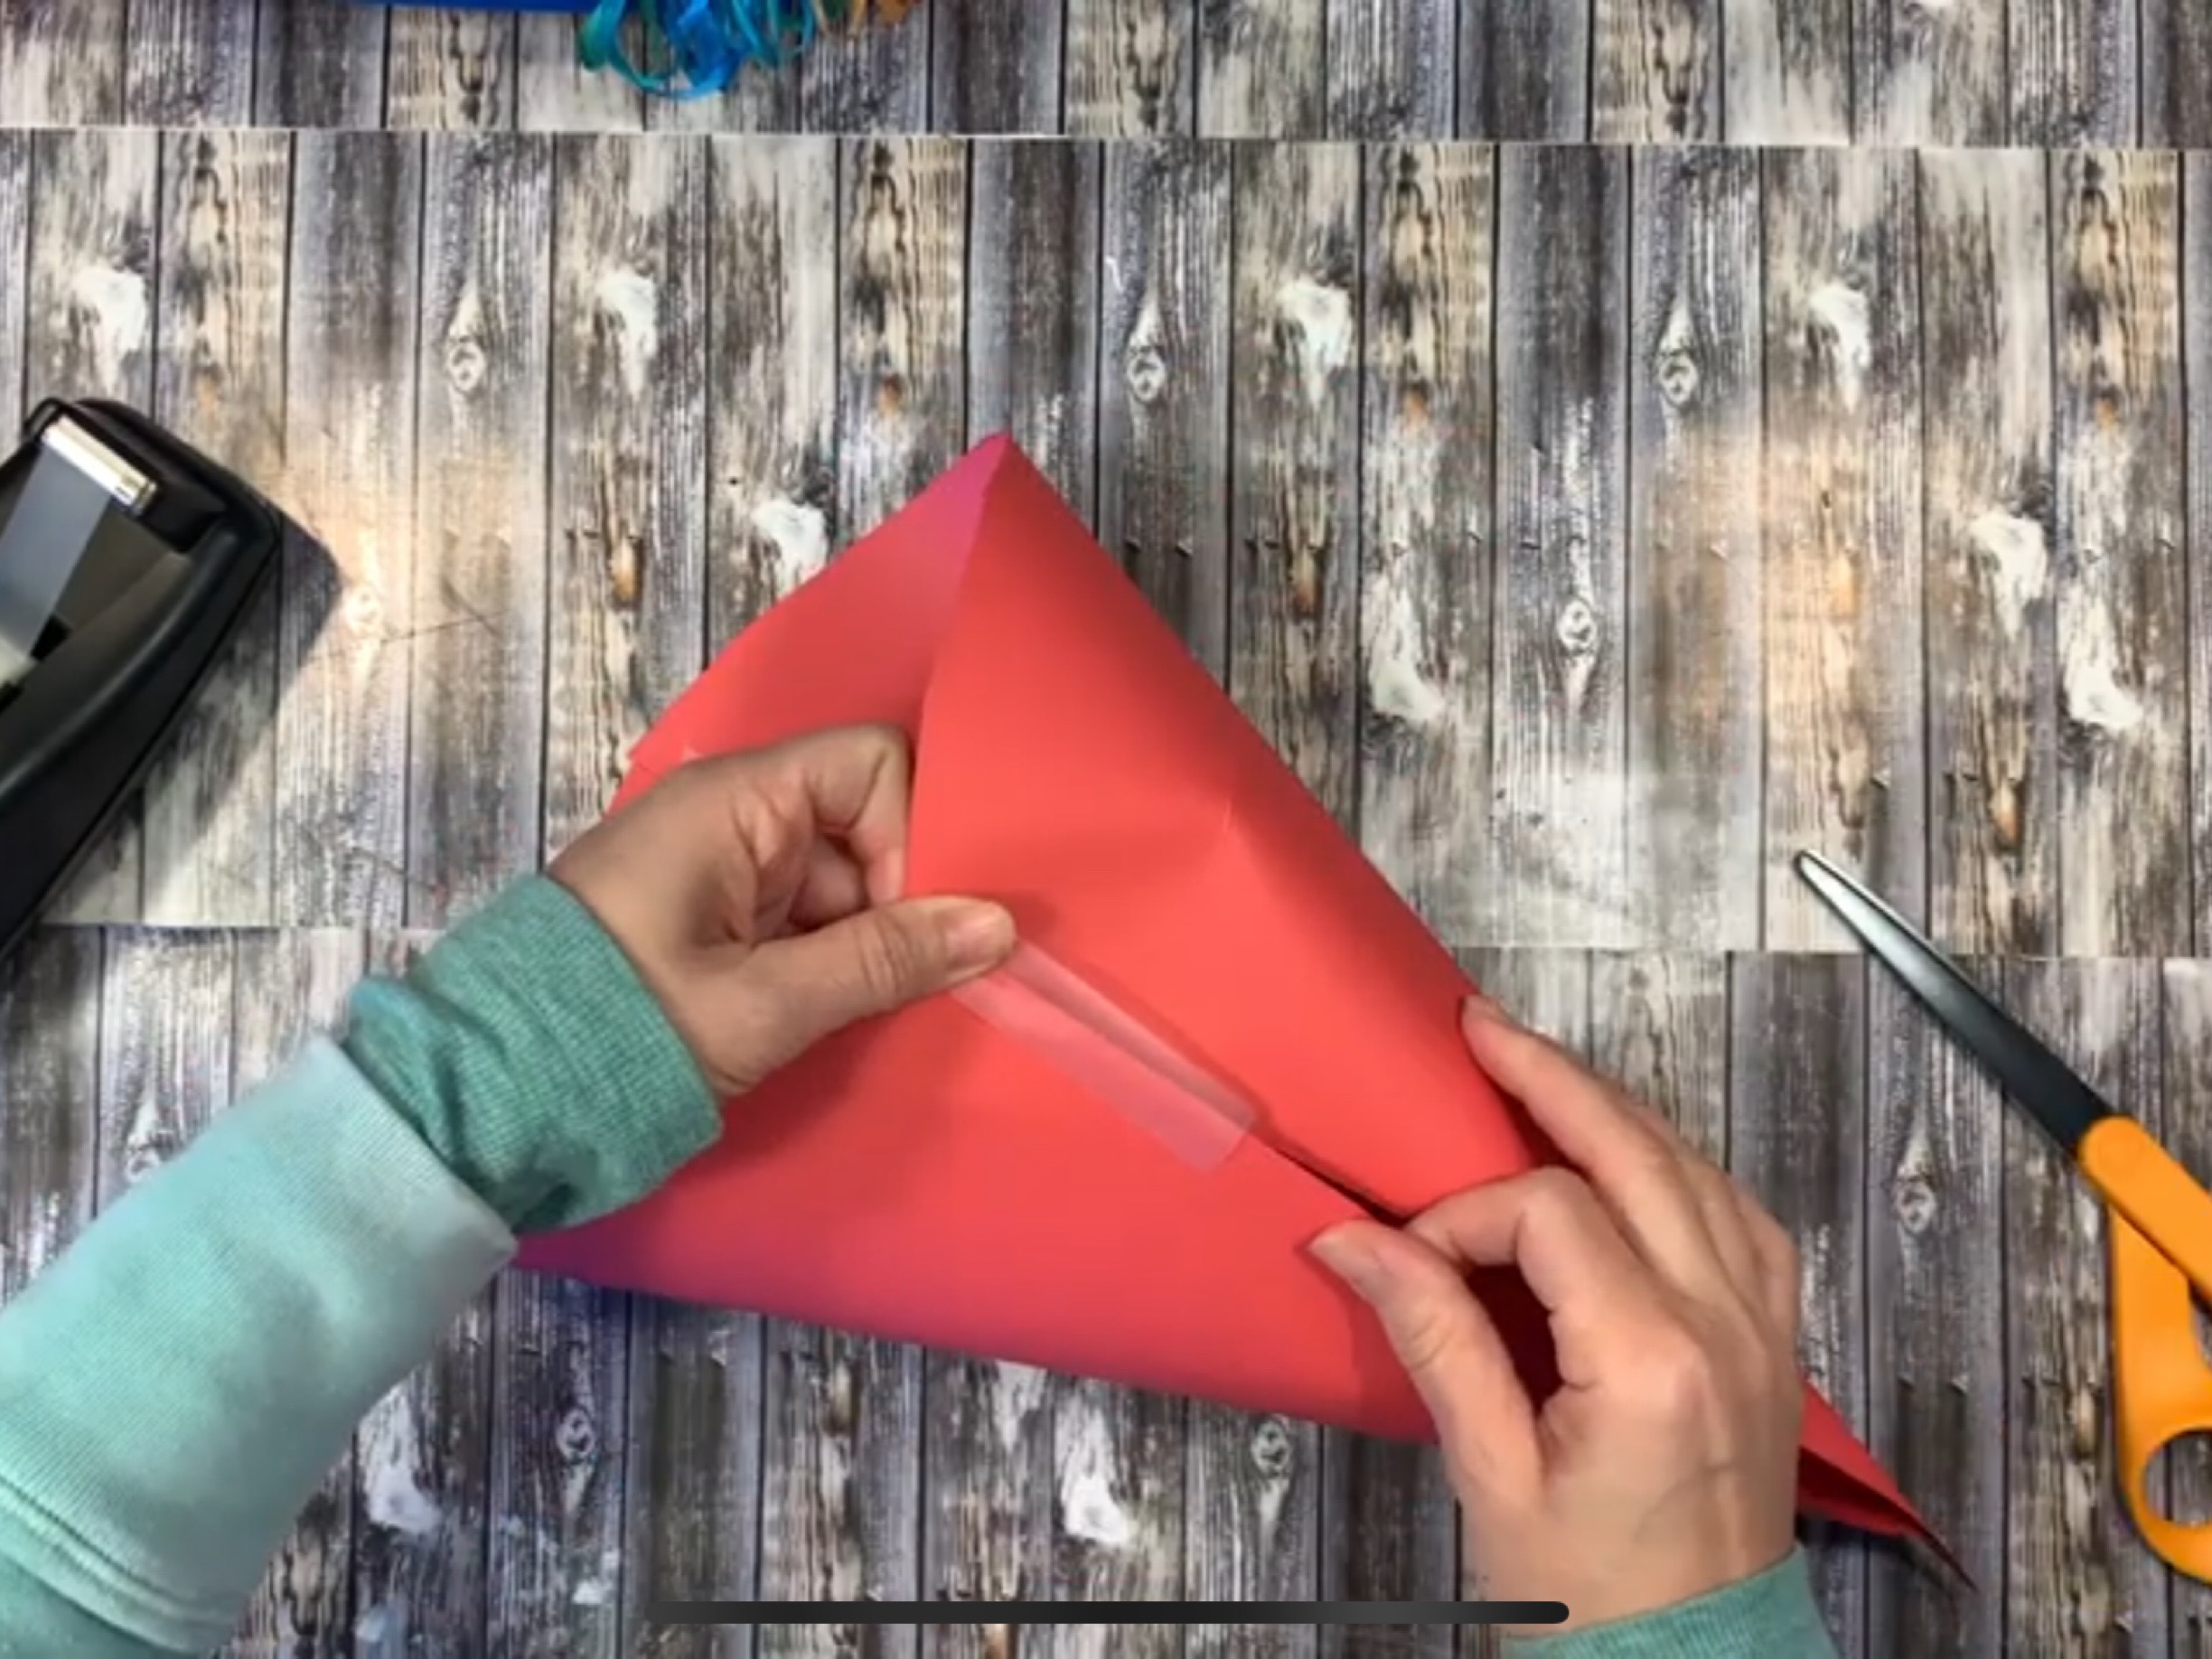
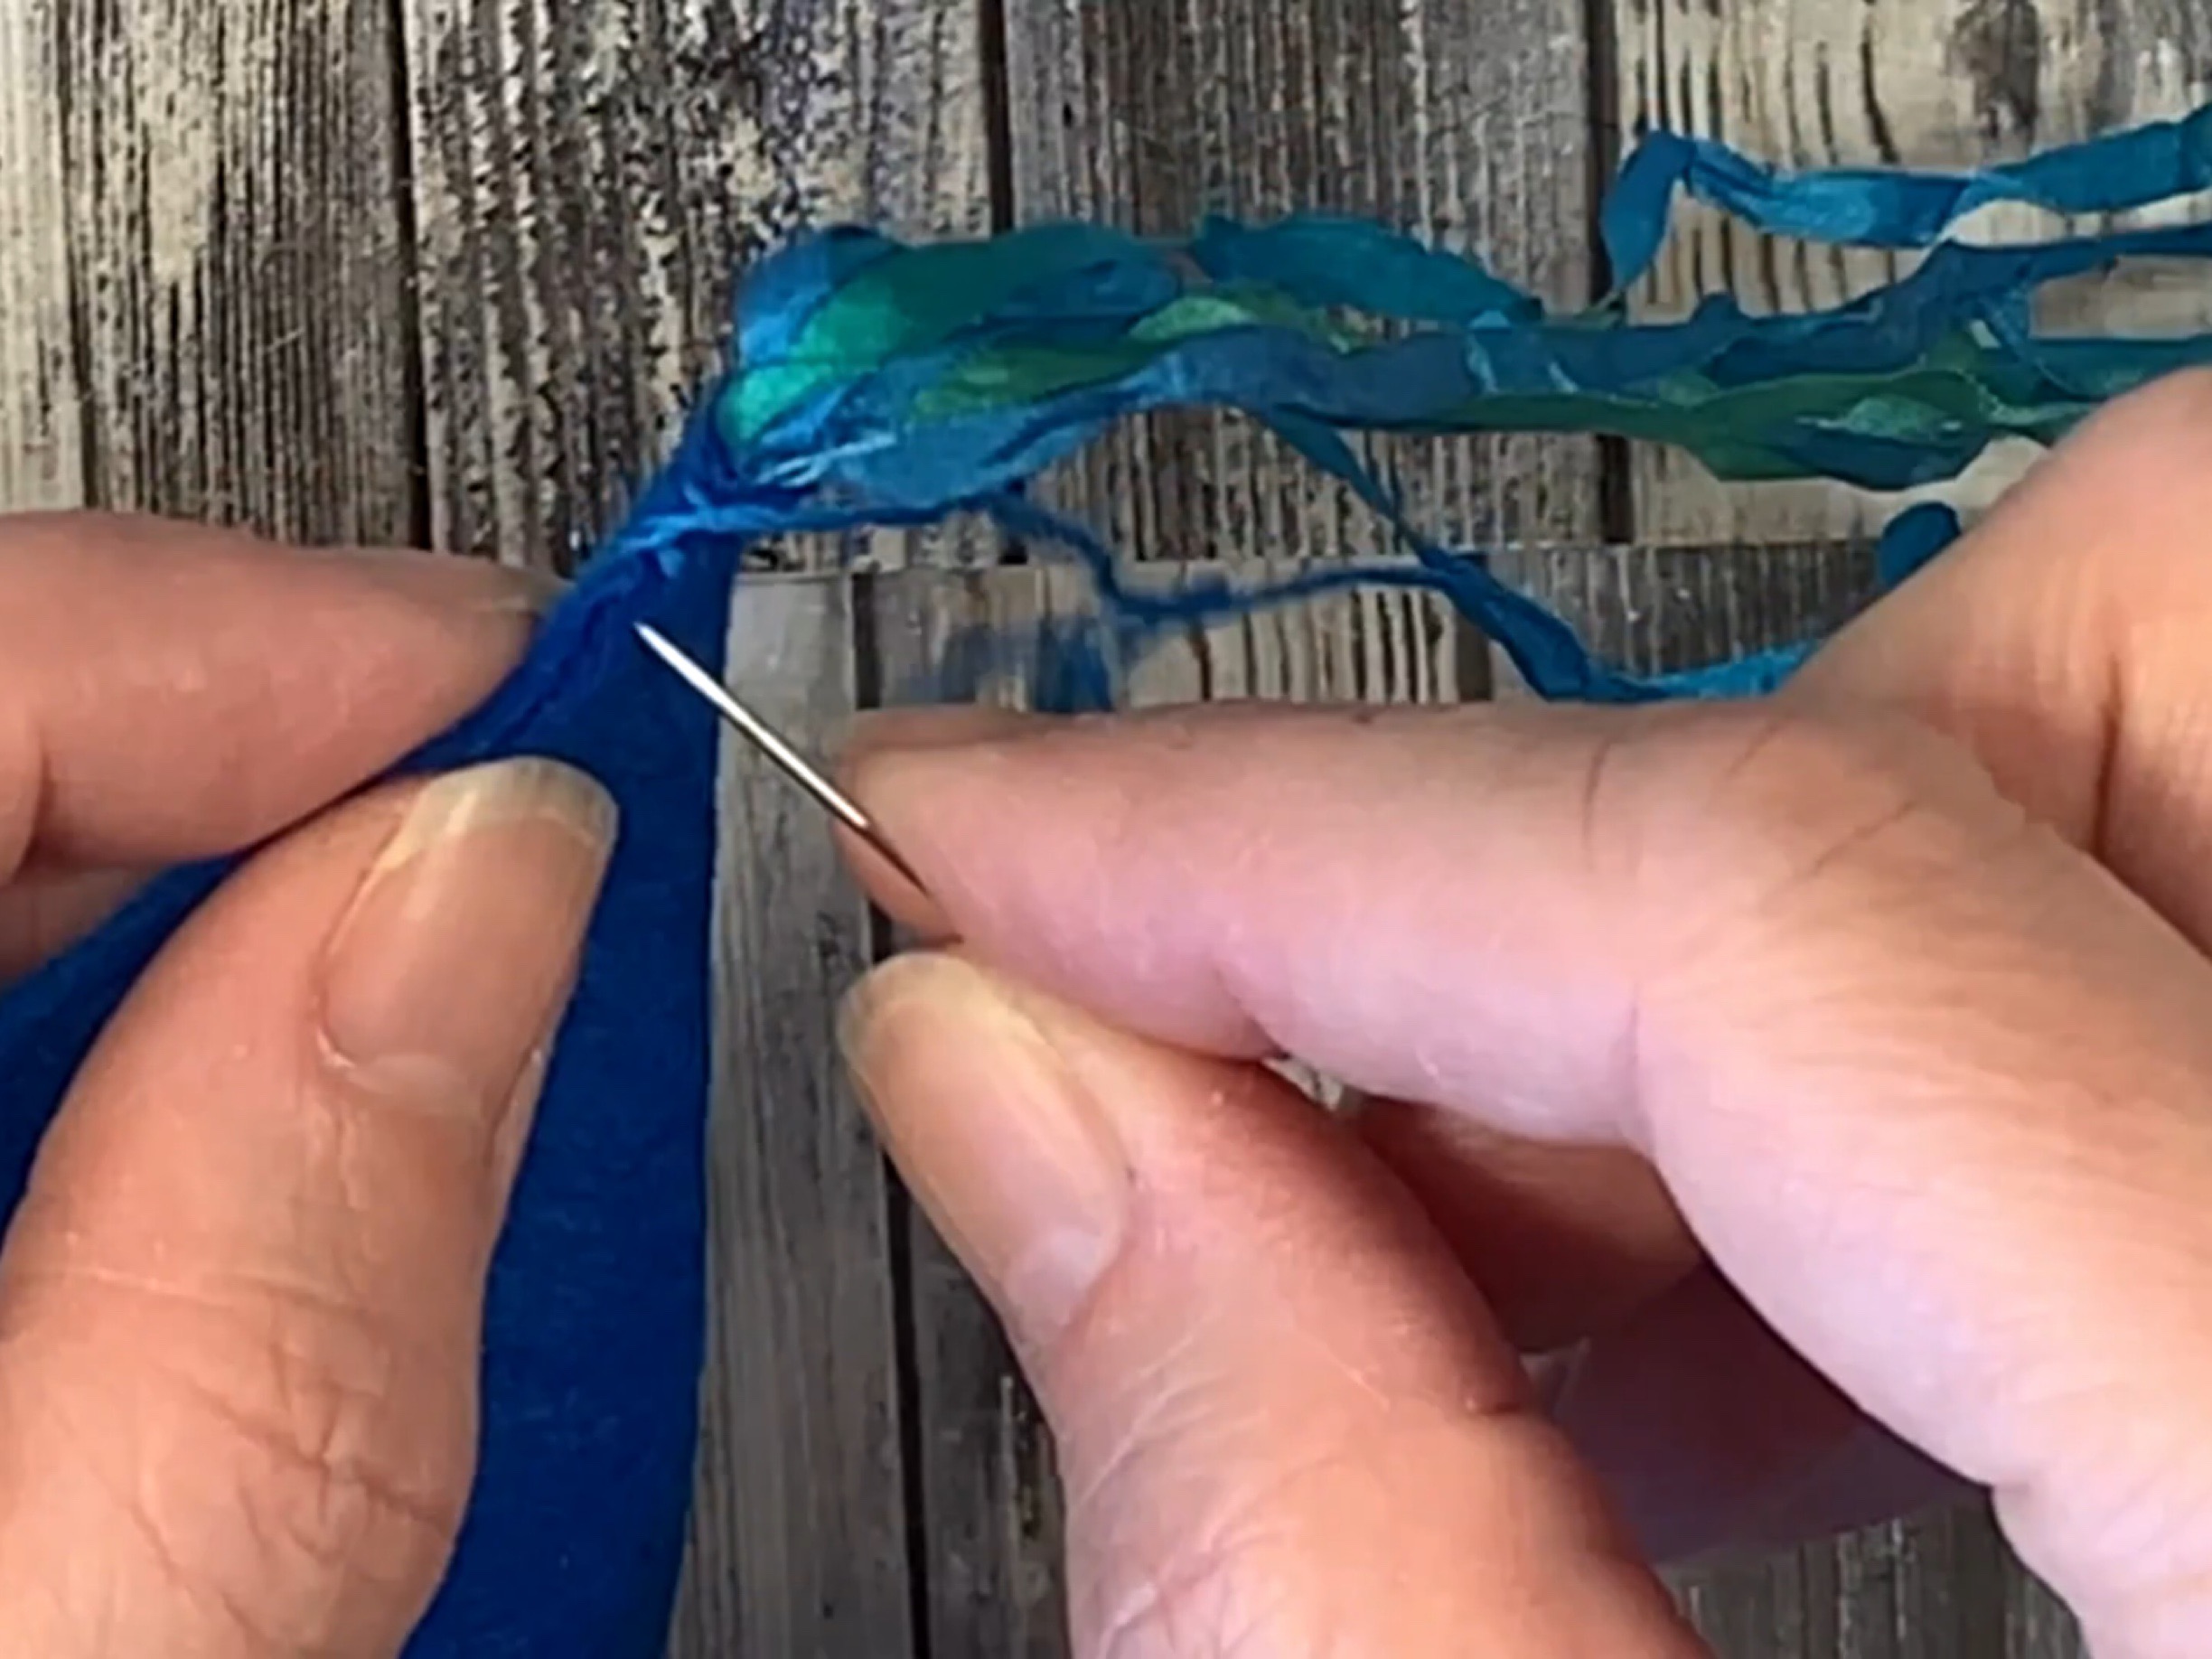
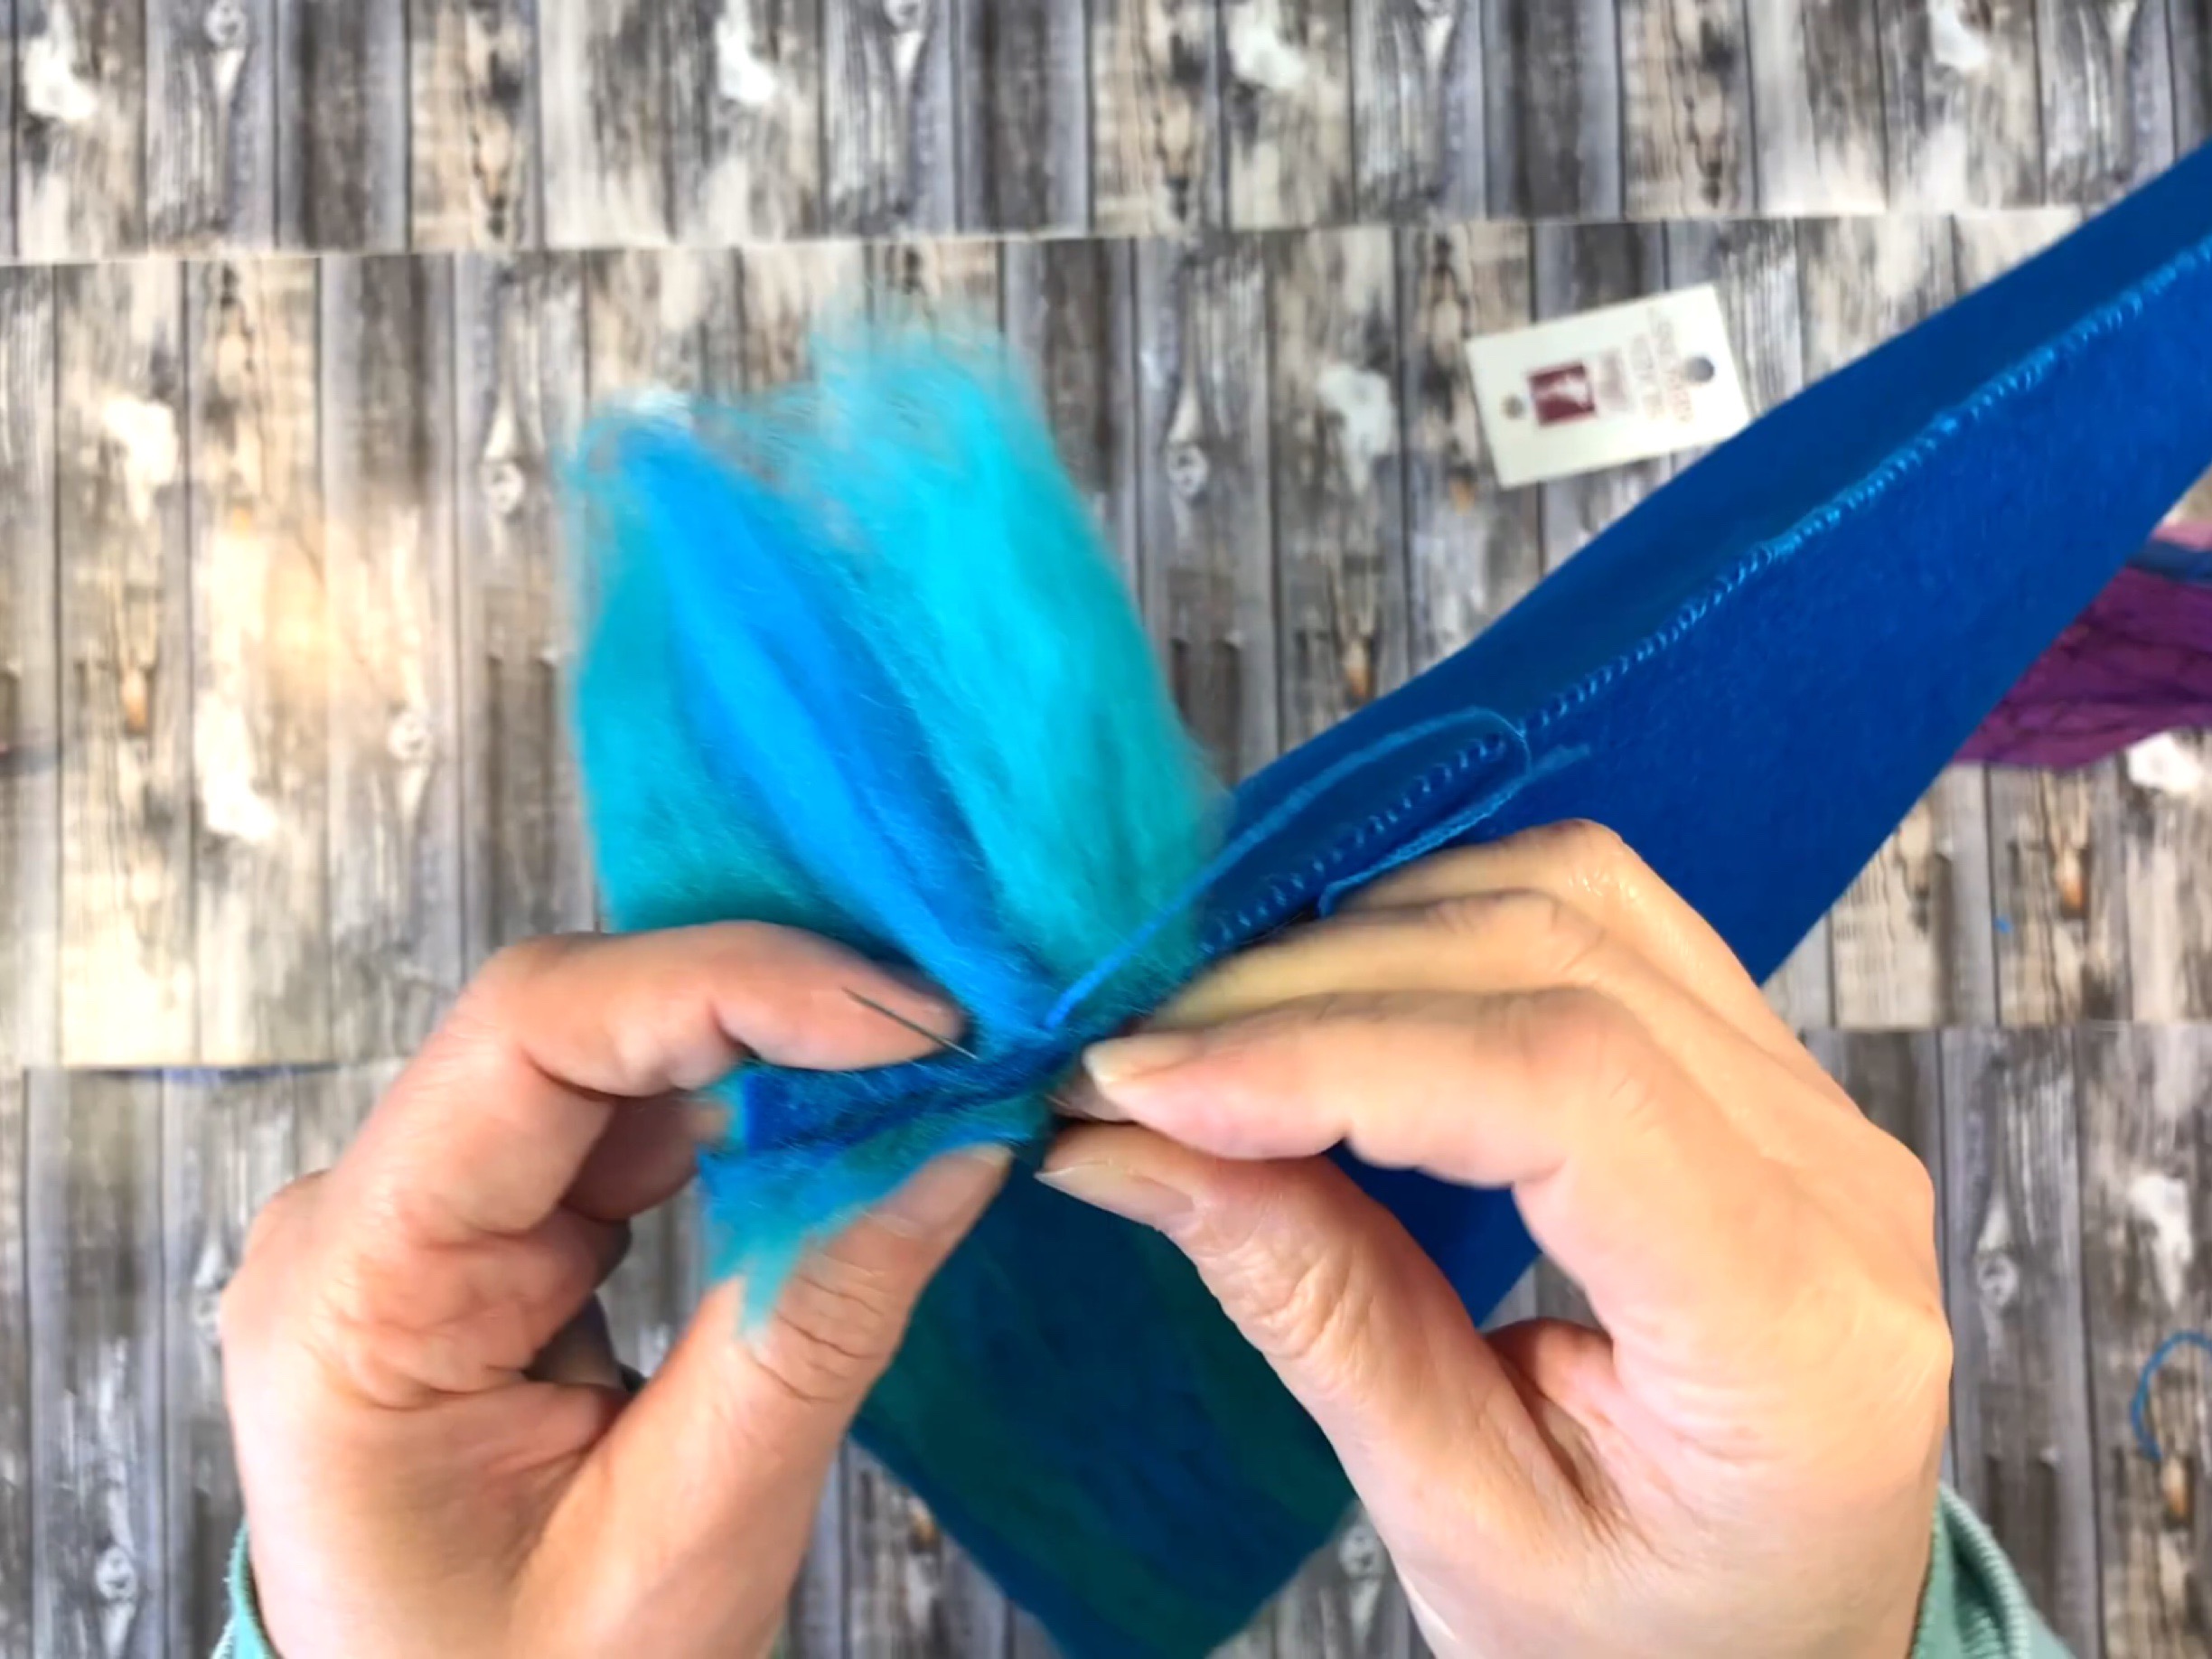
Add tassels to the pointy end of the hat.
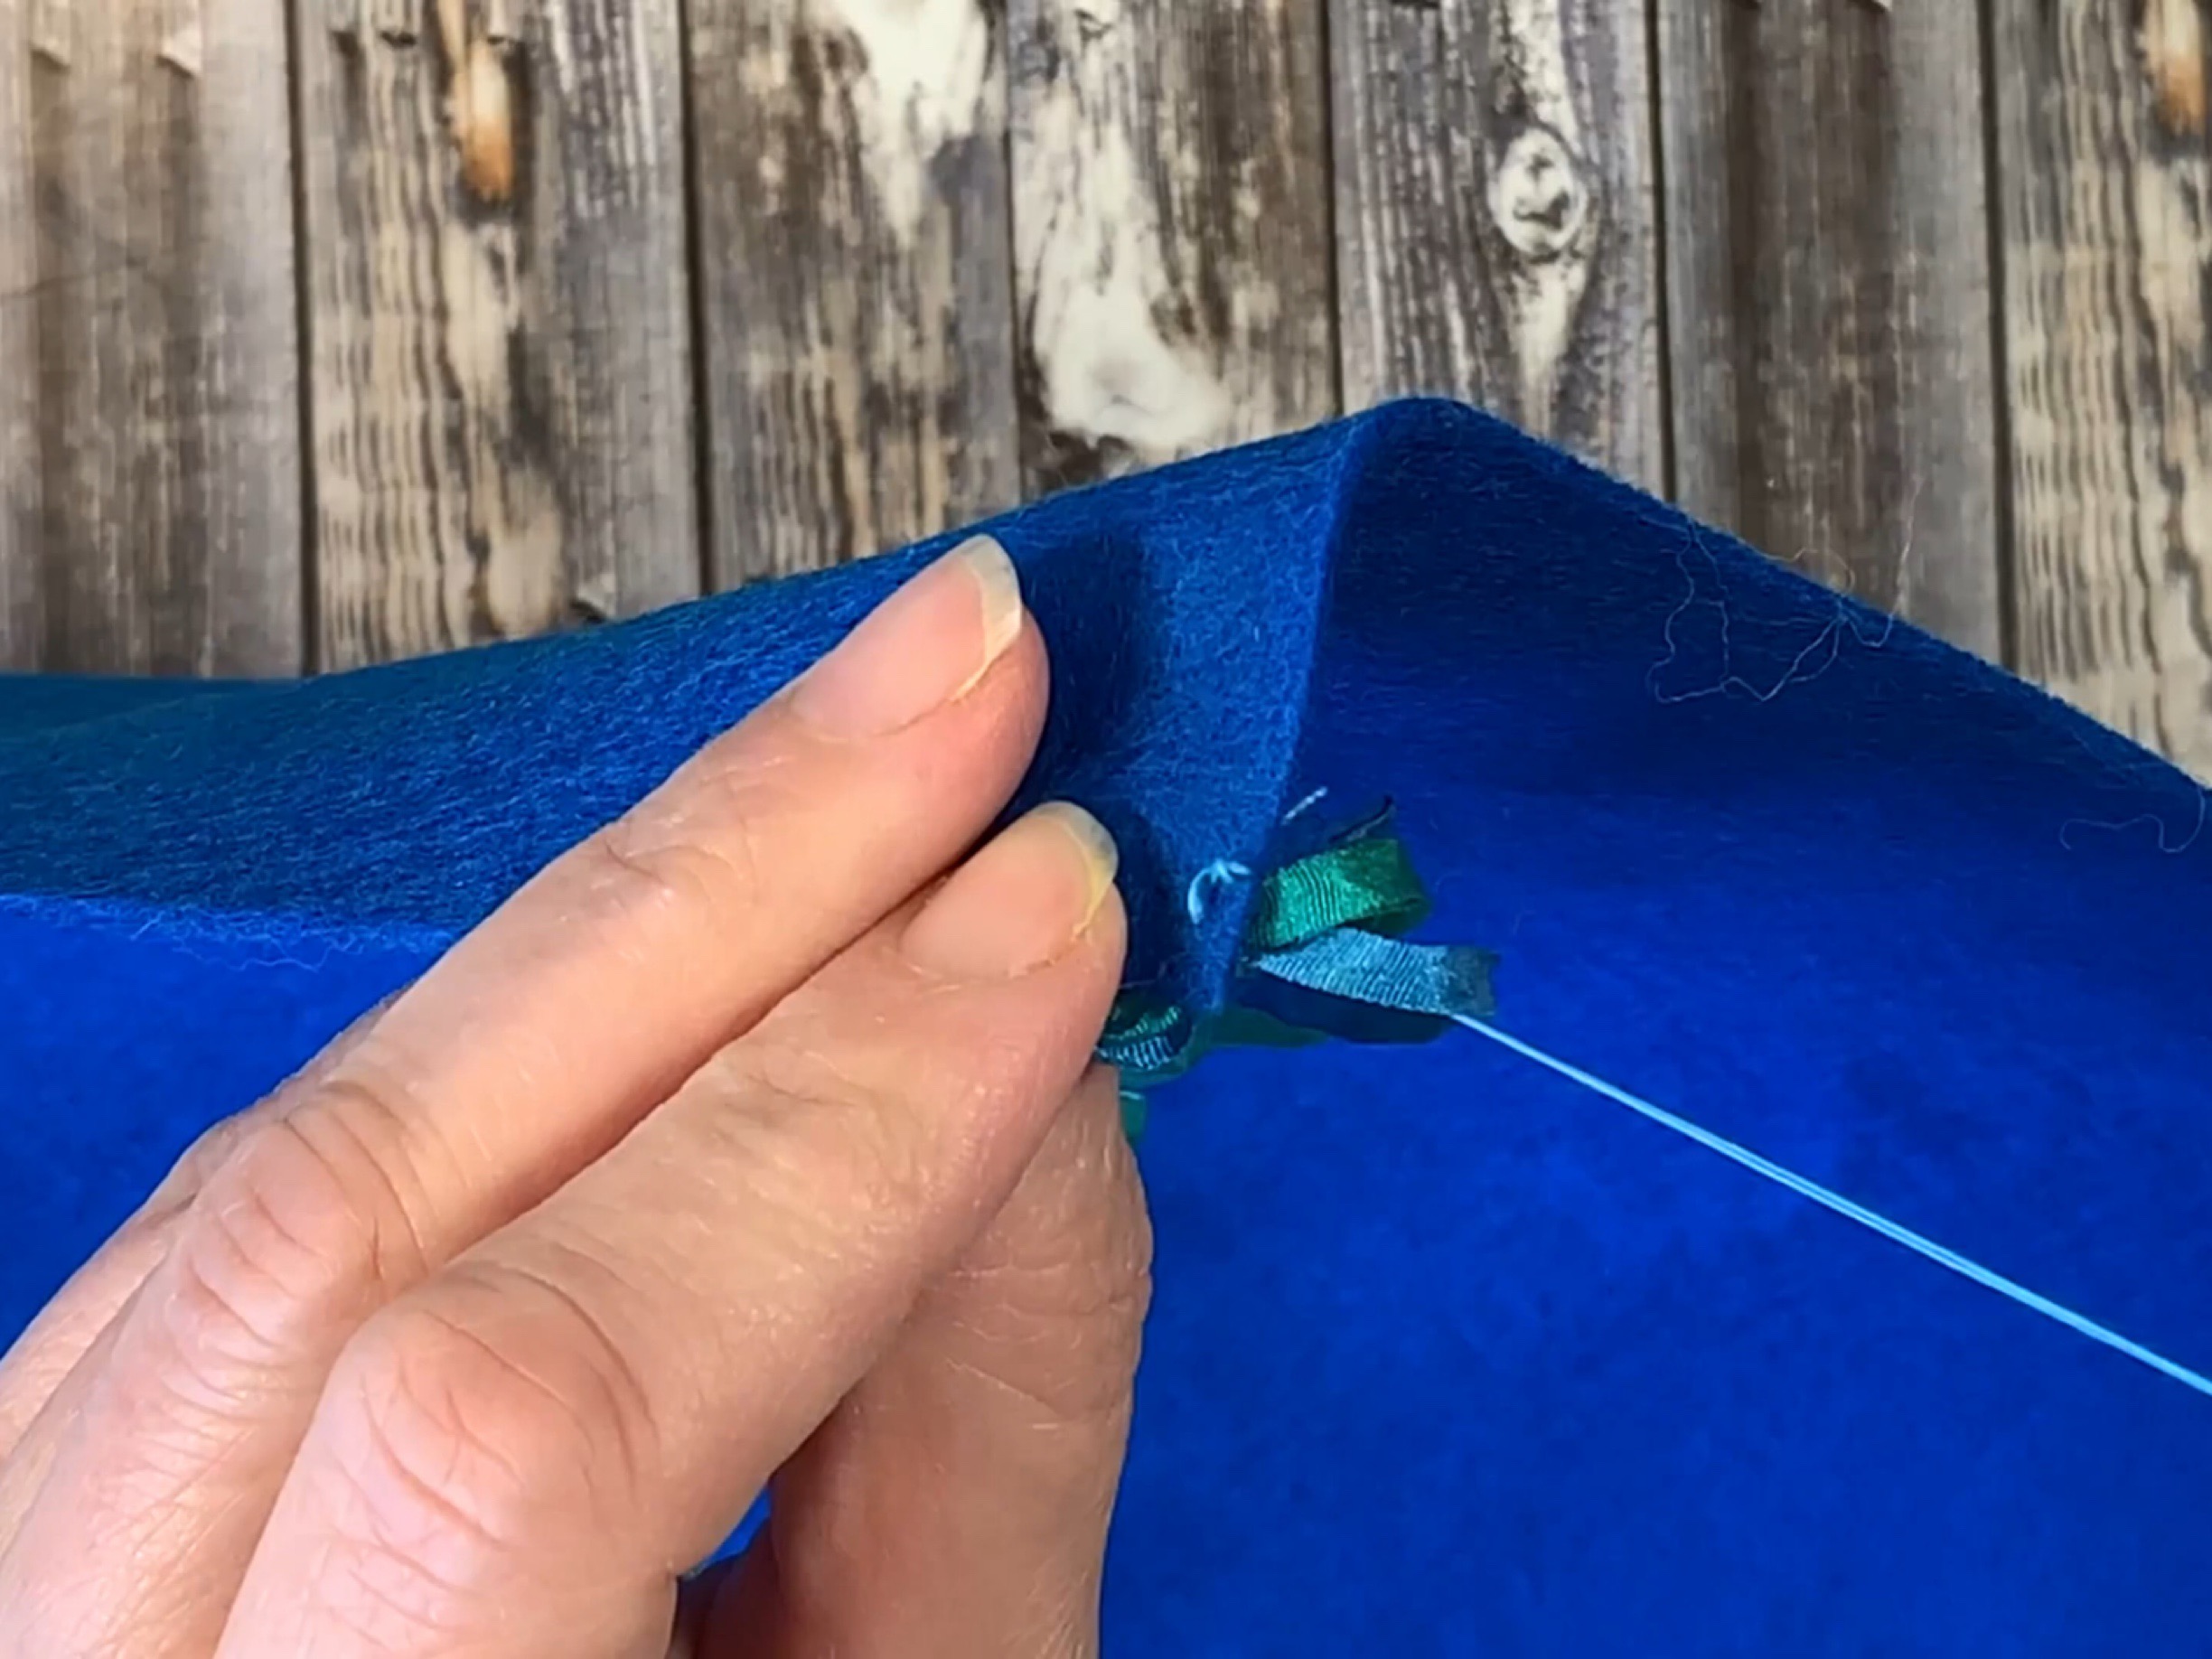
Sew the tassels with needle and thread. Try to sew it at the very tip top.
Use a loop stitch to sew the hat together.

This is an easy way to stitch, so children can help. If you prefer, you can overlap the felt and do a running stitch as an alternative.
We made tight stitches all the way until we reached the wool top.
You can make loose stitches when we get wool top border.
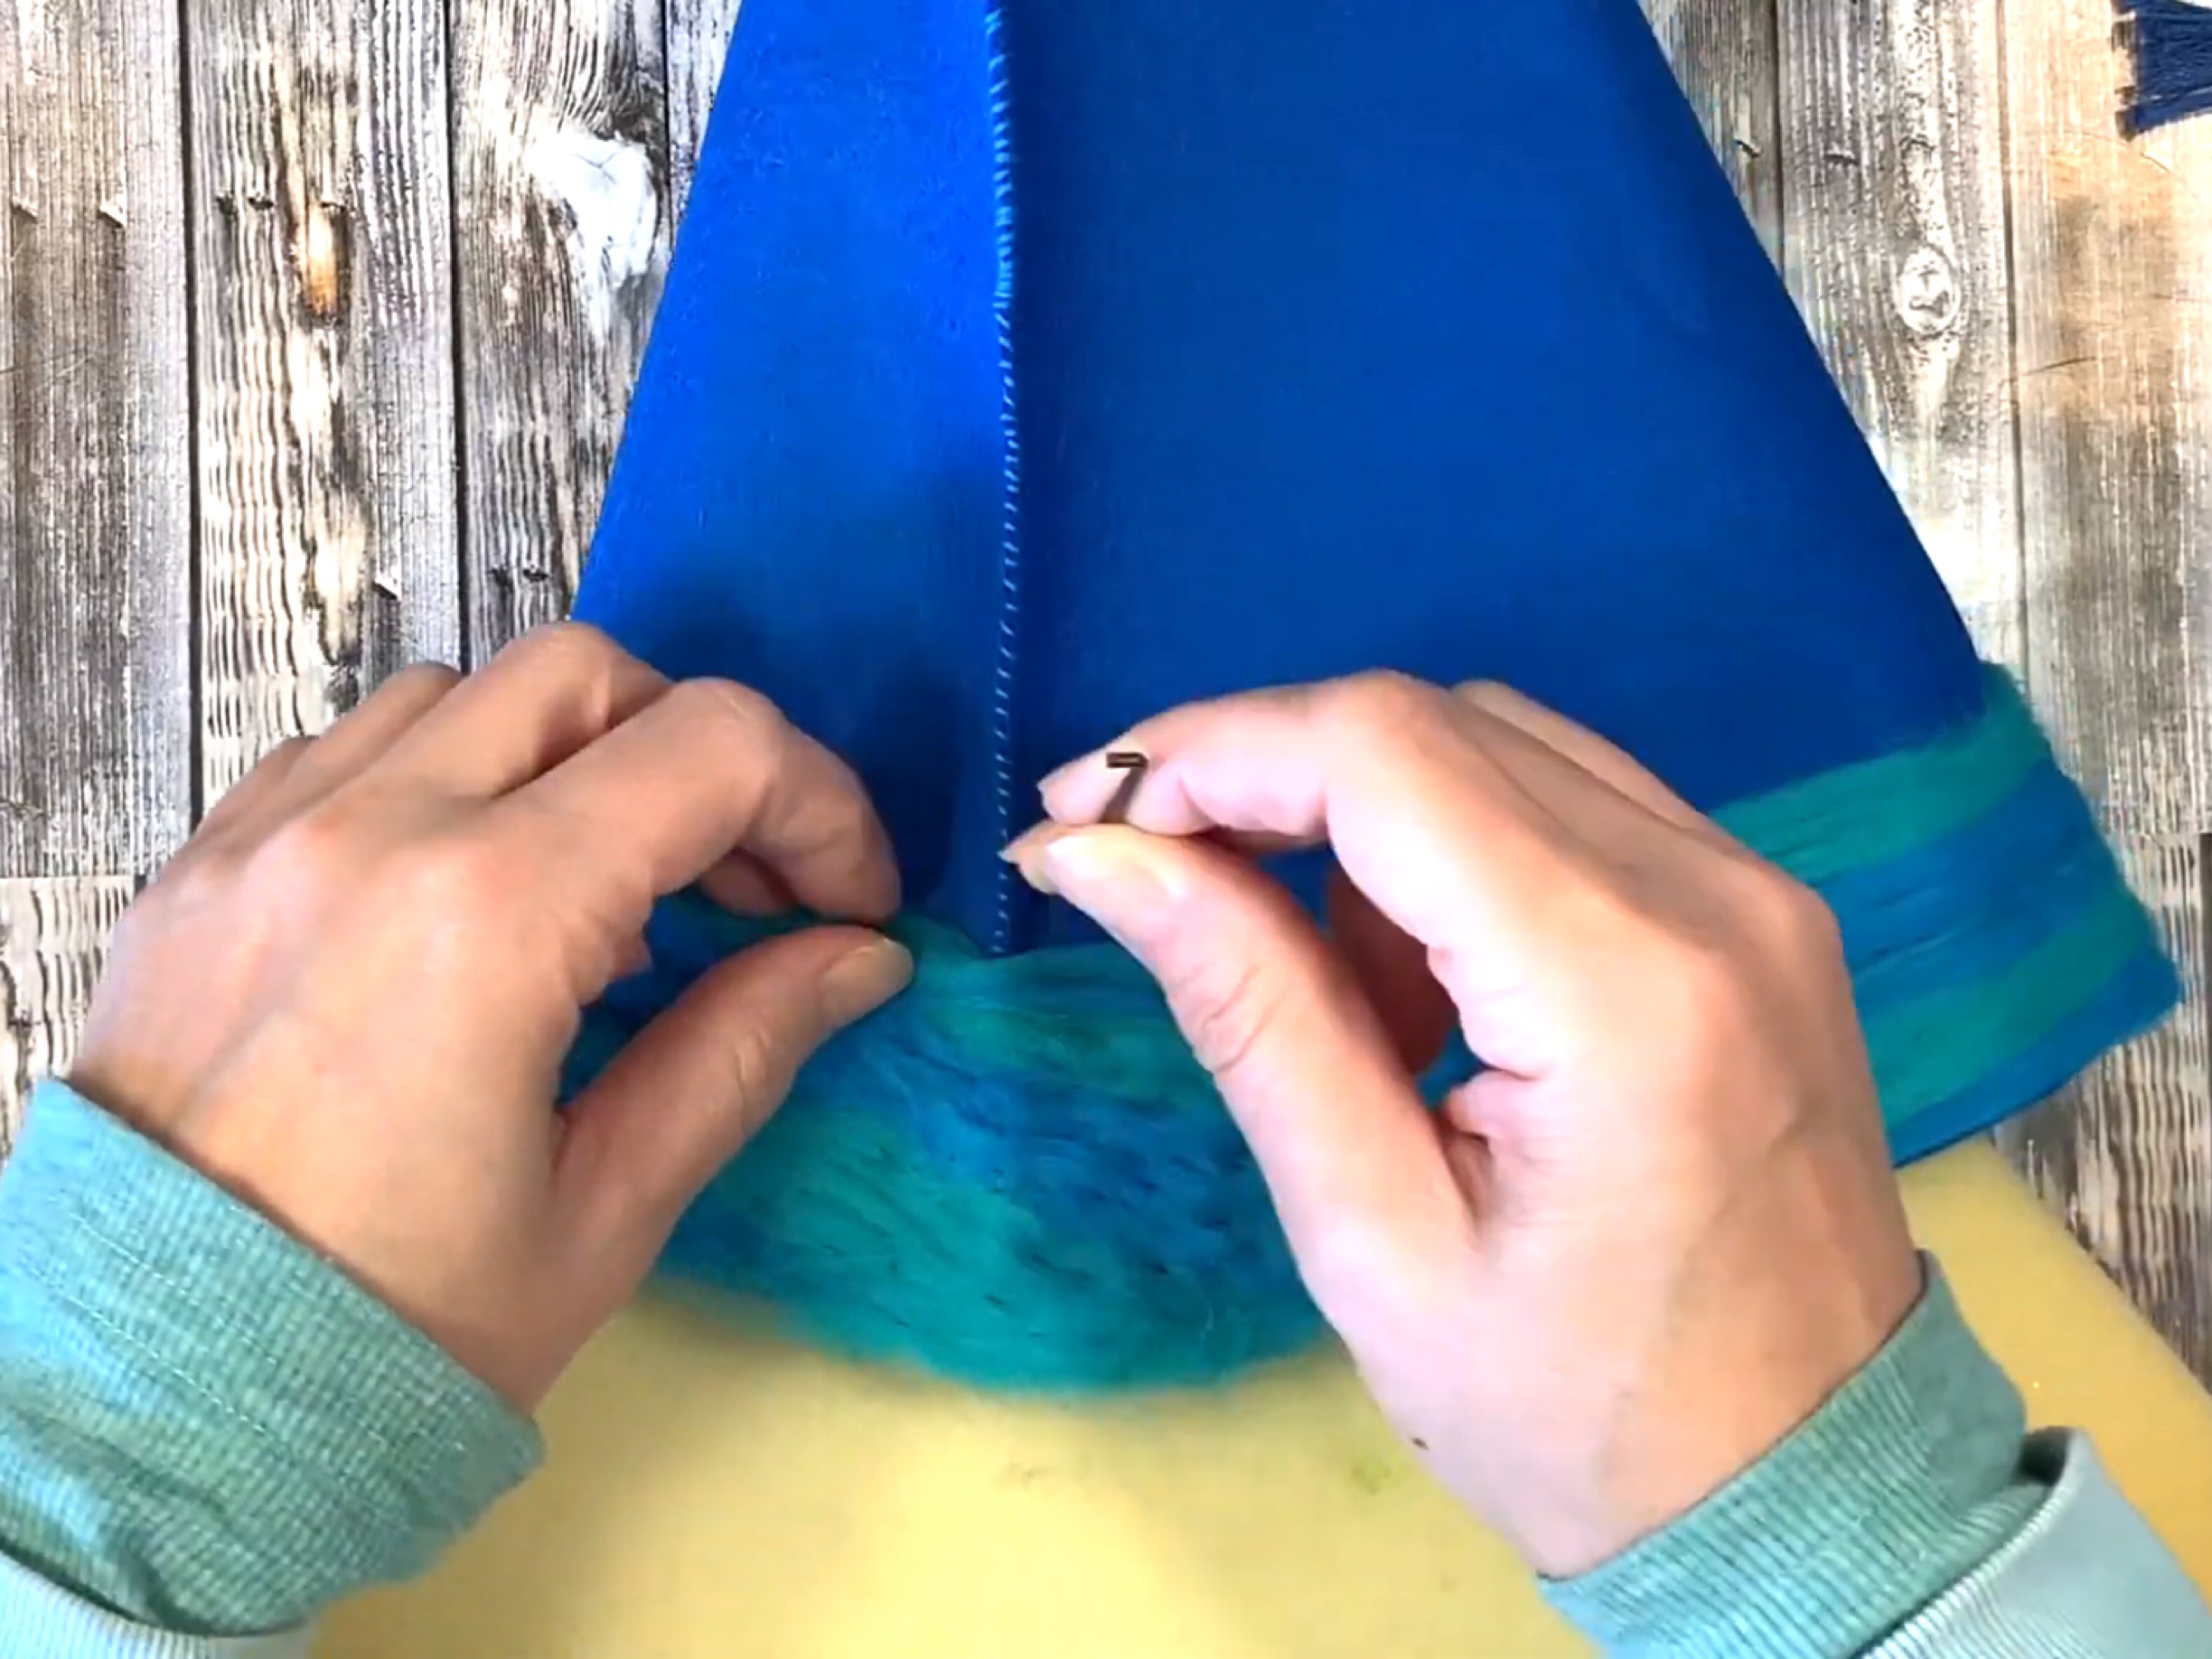
Take some of the felt and overlap it onto the other side of the hat and needle felt it over the stitching.
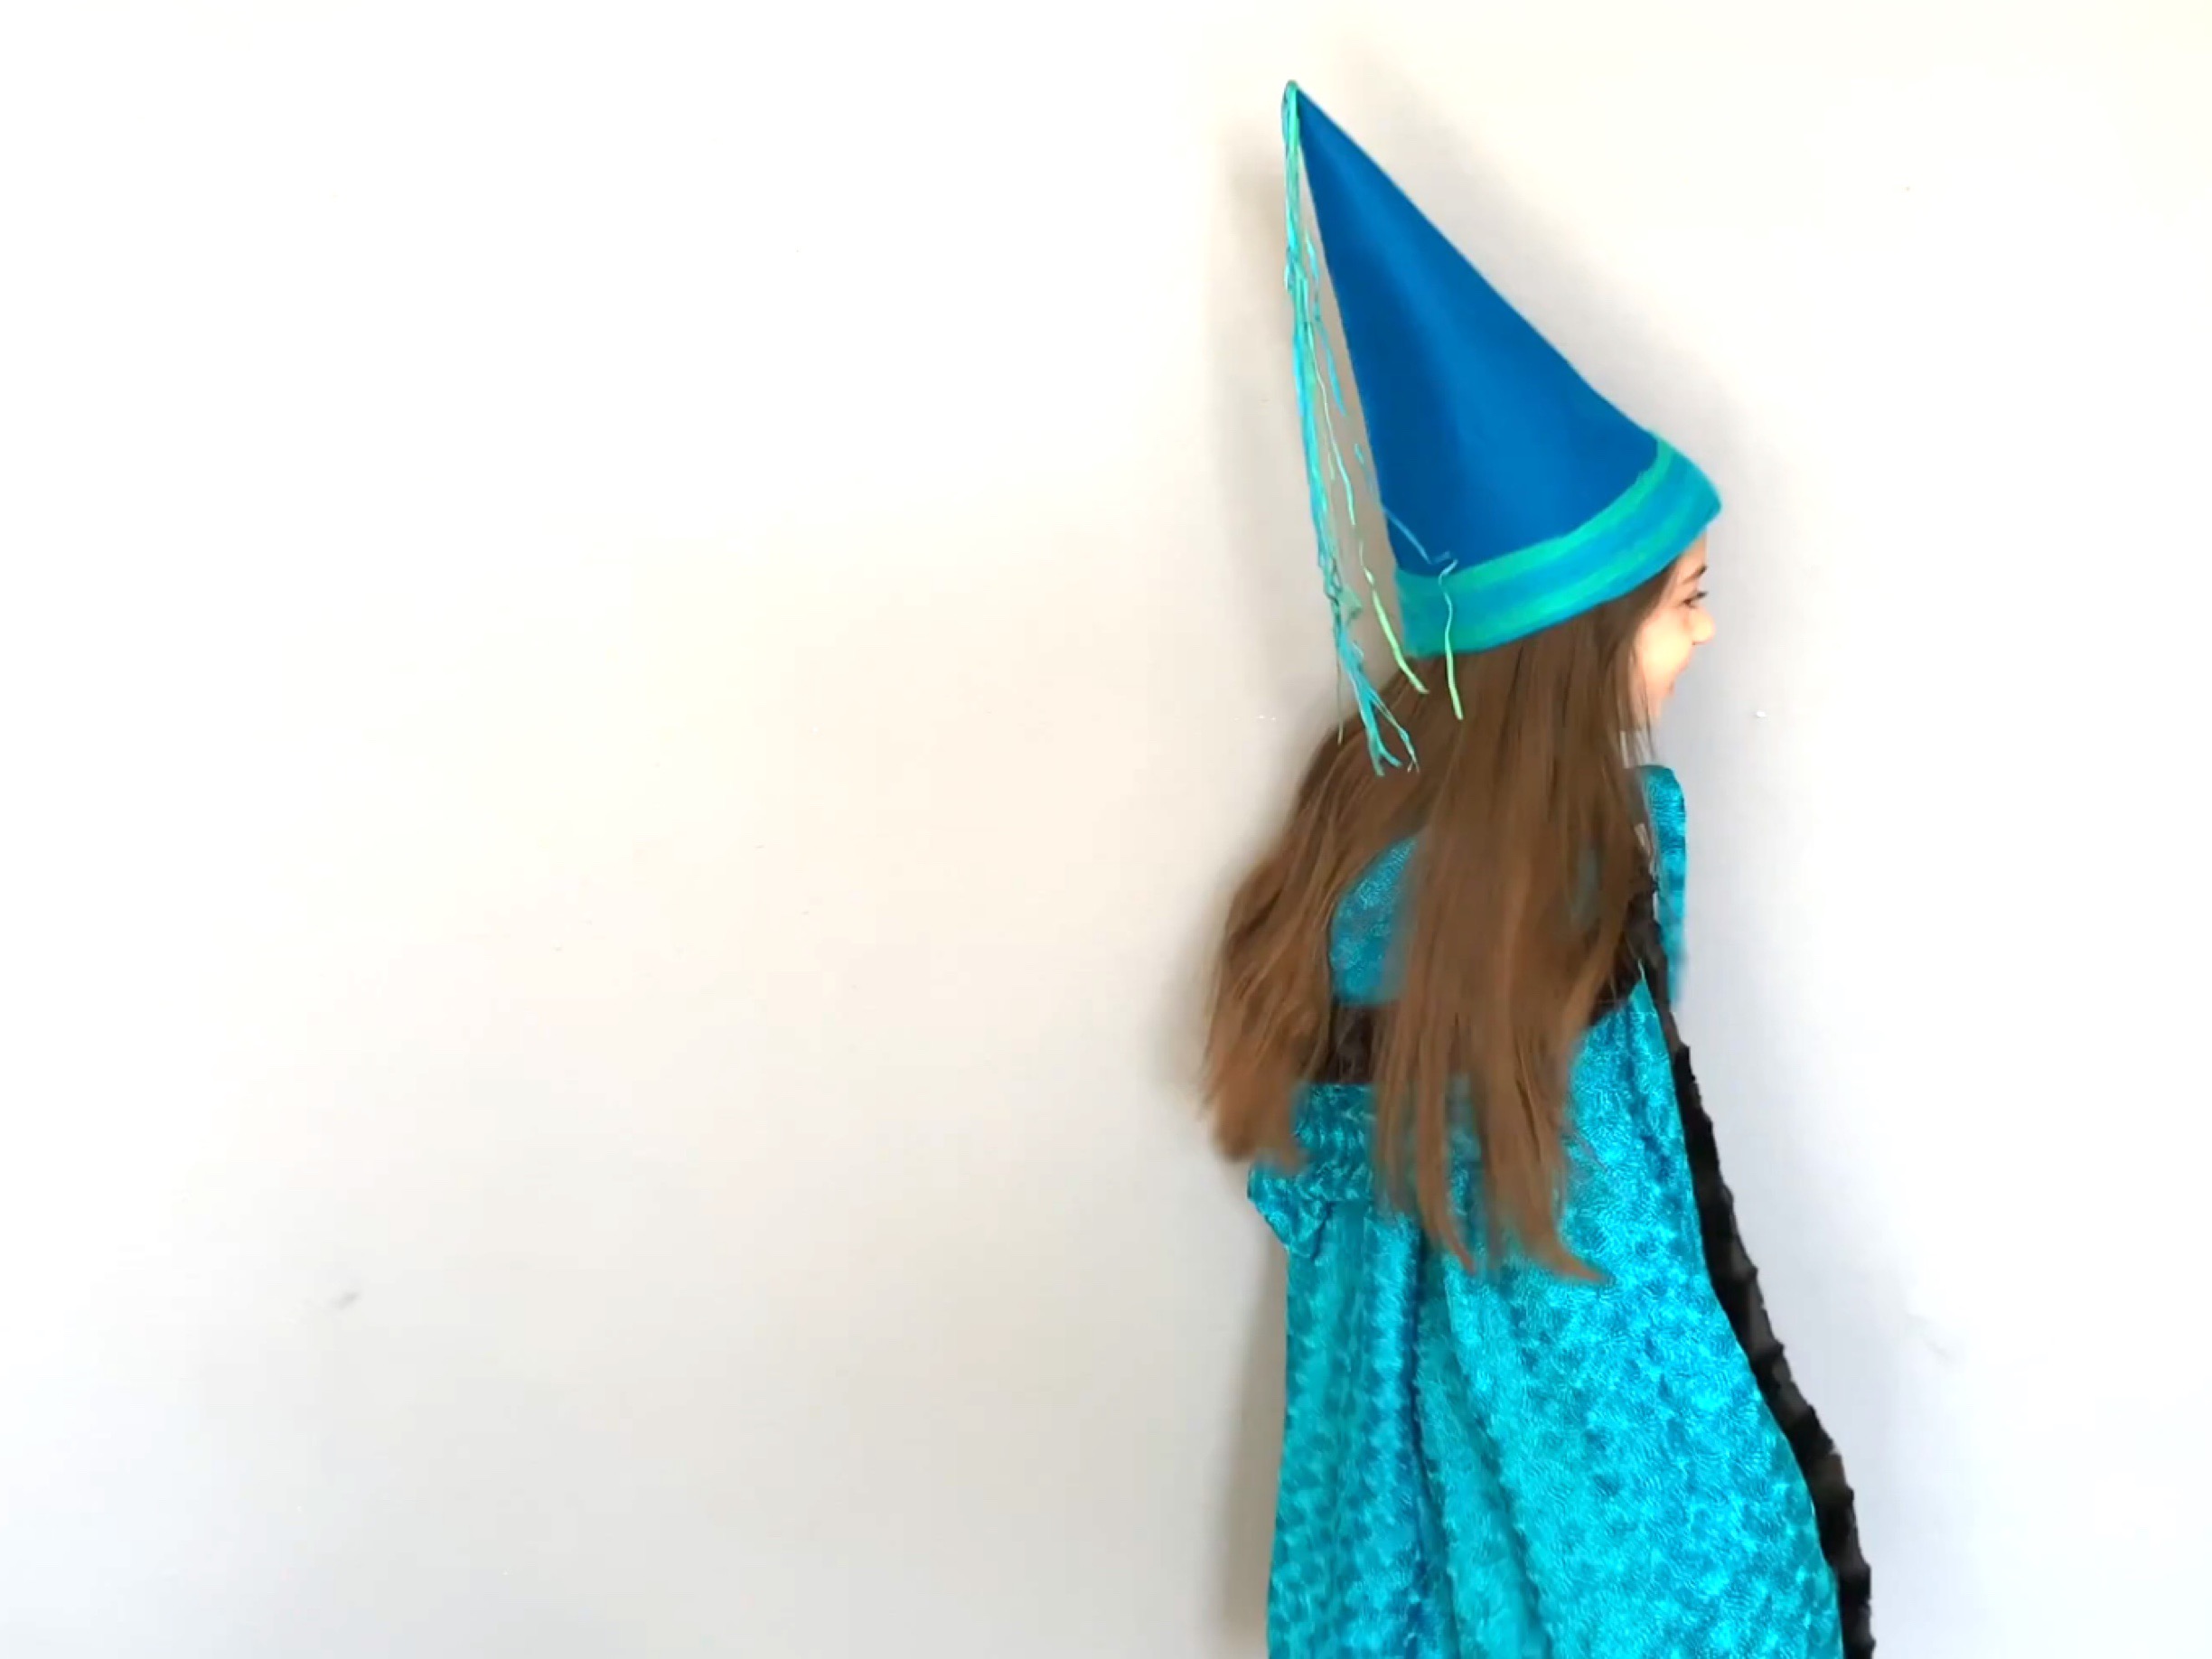
All done! Pair with a cape or princess dress.
For links to this book as well as all the materials we used, check out this blog post Everything You Need to Know About the Middle Ages.
This princess hat would looks great paired with a cloak. Here’s a simple tutorial on how to make a cloak with hood.
The book used for this project was purchased from Rainbow Resource.
The handwork material for this project was purchased from A Child’s Dream.
https://youtu.be/UUBYXjwbTNM
We love the activity books by Laurie Carlson because the activities and projects are easy to do with materials you probably already have around the house. The book Days of Knights and Damsels an Activity Guide by Laurie Carlson has a simple floral garland project that we did using materials from a floral arrangement that got ruined when I washed it in the washing machine. It had gotten really dusty in the kitchen and I thought the best way to thoroughly clean it was to wash in the washing machine. While it did get super clean, washing it did rip the stems off the flowers. No worries! I turned the beautiful flowers into a garland. I did purchase copper wire for this project, but you can use any metal wire. I just suggest using a higher gage than what I used. I also recommend using floral tape to wrap around the wire, but as I didn’t have any, I used washi tape which worked okay.
While the idea for this hat is easy and straightforward, it wasn’t as easy to make as I thought. First, I used the template from our previous princess hat.
Once you have a template, you can test it out to make sure it fits your child (or you!). Next, place it on your felt and cut it out. I began this hat by sewing the tassels on the tip of the hat first. Next I used the same embroidery floss (separated so it was just three of the six strands) to stitch the hat together. I folded one piece of felt over the other and sewed done the side starting at the top. I did a loose sloppy stitch because it’s going to be completely covered, so I didn’t worry about being neat.
Next, I covered the whole hat with multi colored corriedale wool in pastel colors. All the supplies for this project were purchased from
A Child’s Dream.

I needle felted the wool from the tip of the hat and wrapped them in a swirling fashion all the way around the hat. I did cut my foam mat to make it work. I slipped the foam mat into the hat and needle felted from the top down. I had to readjust often, and this did take longer than I expected, but I love the final look. In all this project probably took an hour from start to finish including set up and clean up.
You can see the other tutorials for our Middle Ages unit including projects, meals and more!
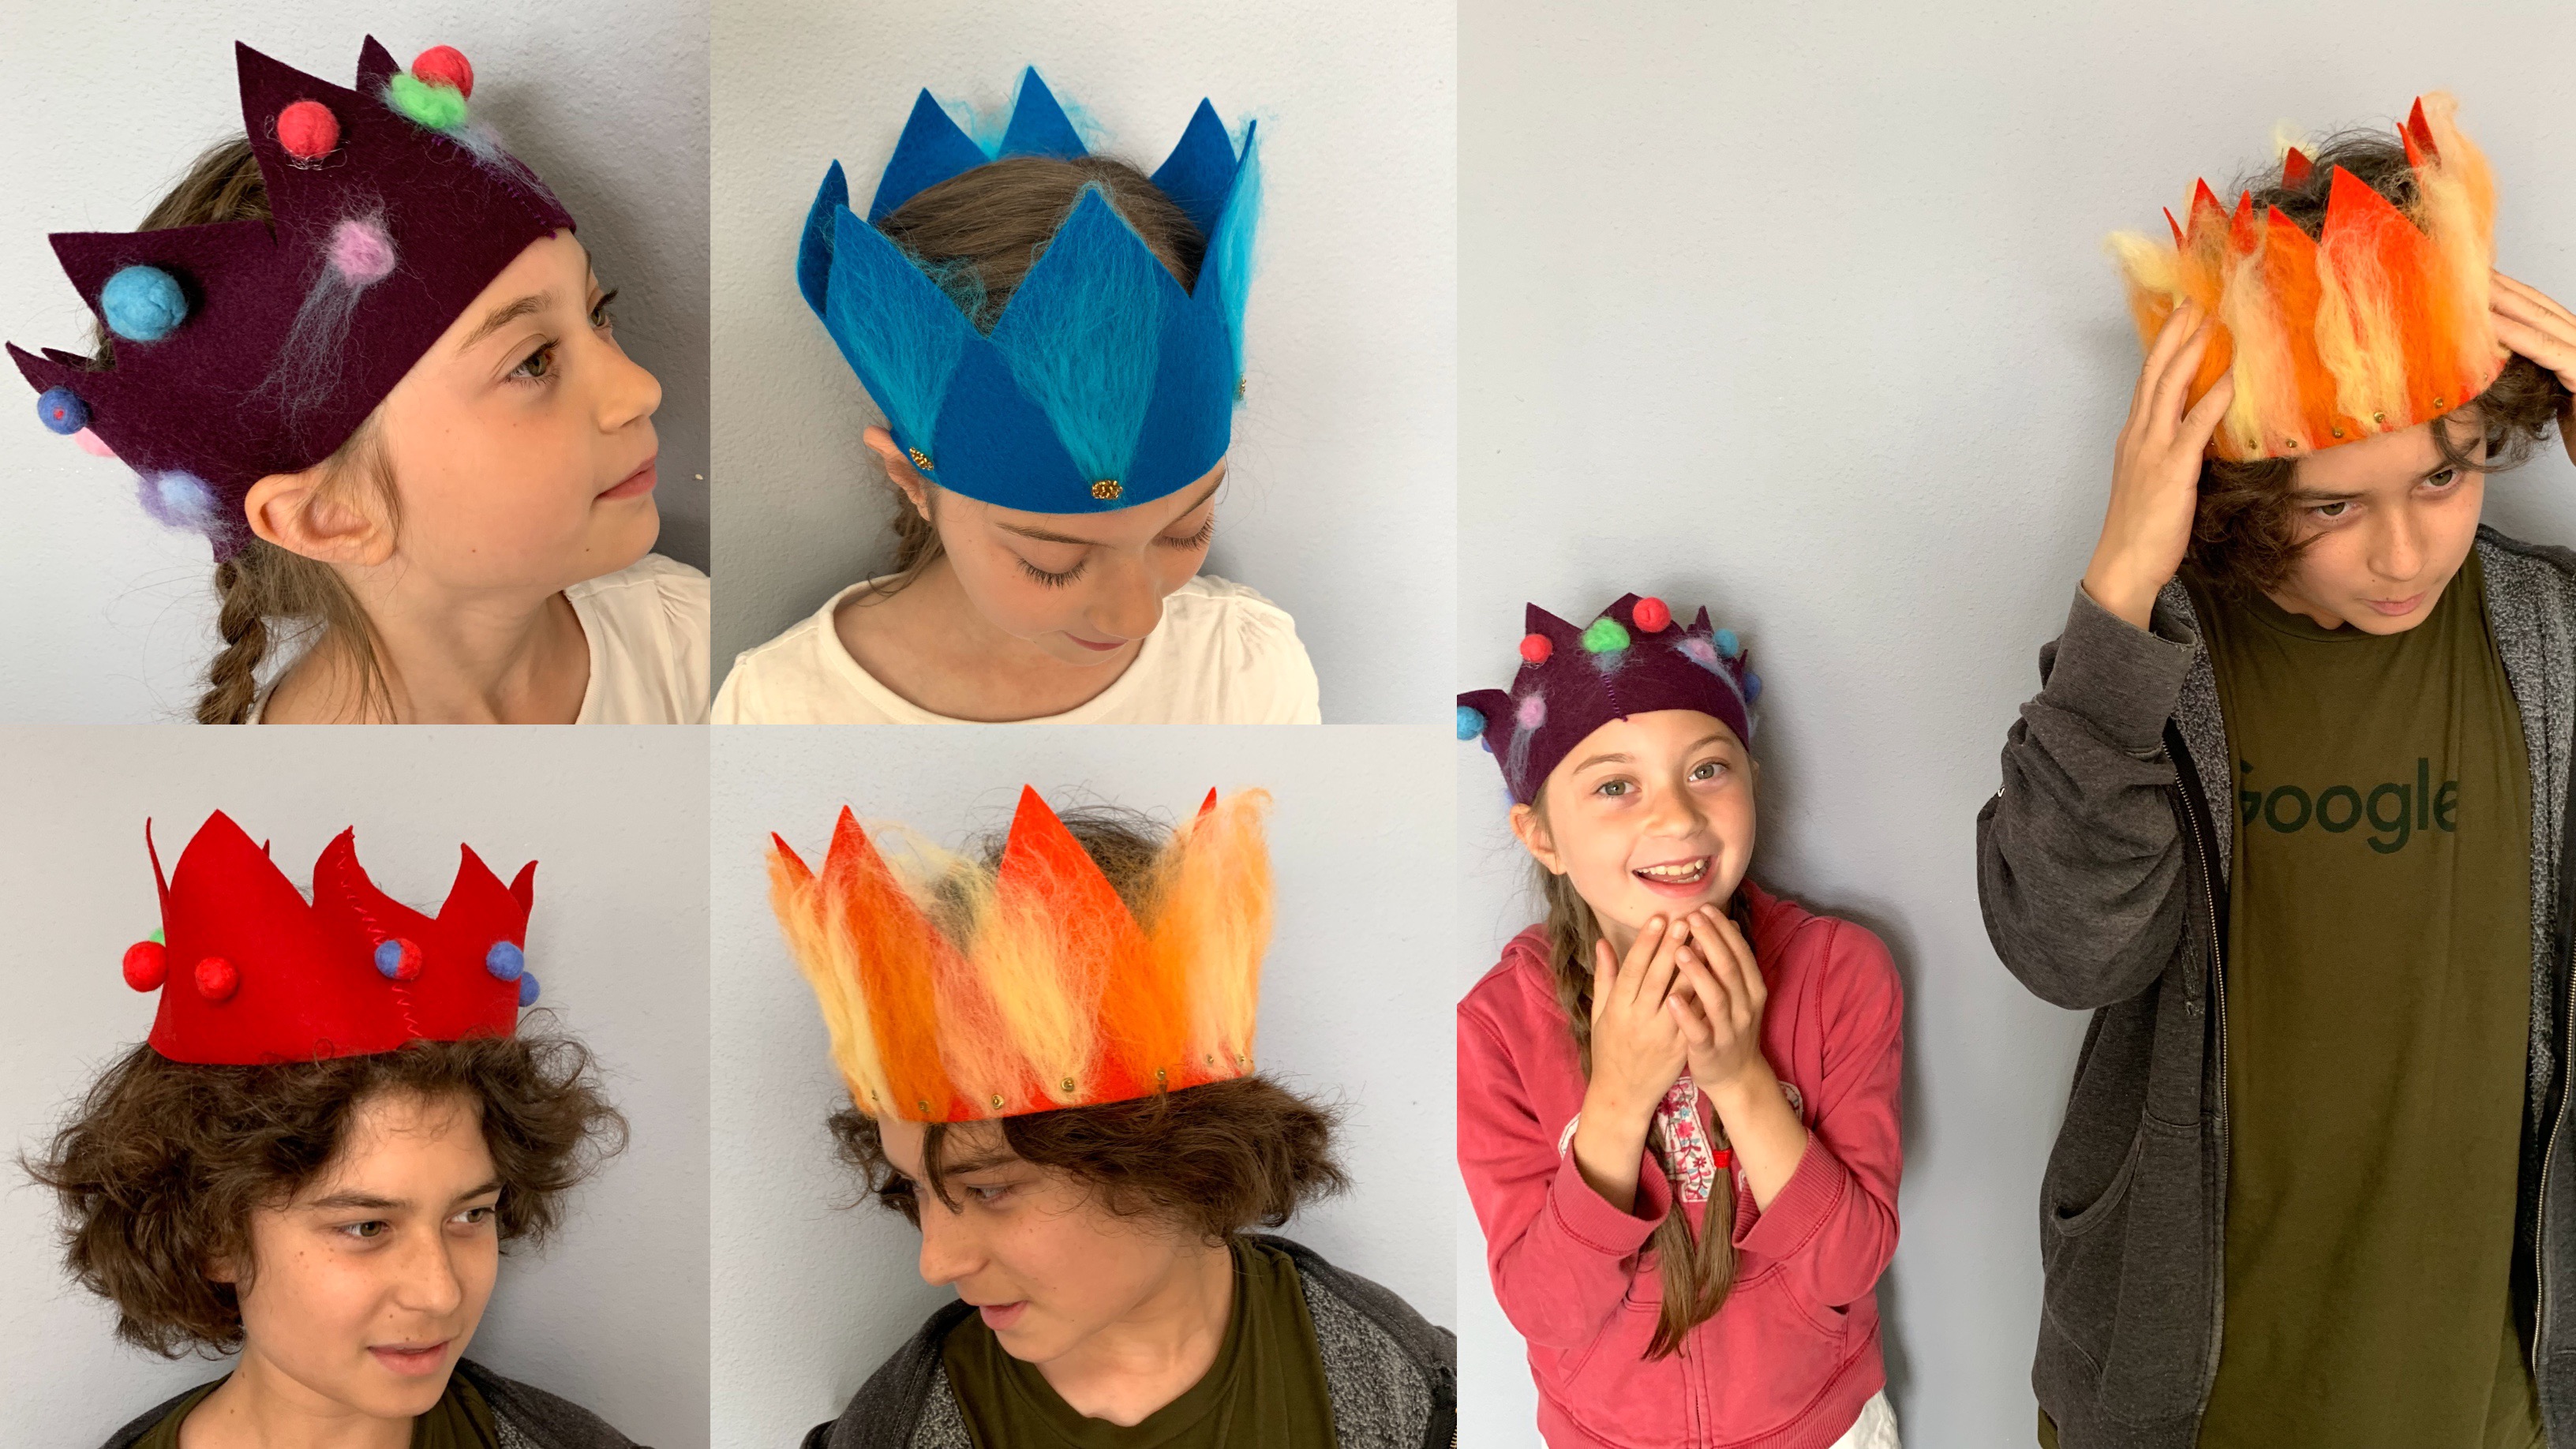
We turned a simple activity into a weeks long handwork project, but you don’t have to! You can make these crowns during an afternoon with supplies you probably already have on hand like construction paper and embellishments. This project was inspired by an activity in Days of Knights and Damsels an Activity Guide by Laurie Carlson.
In the meantime, I made a quick pattern for the crowns. I measured my children’s heads so the crown would fit them snug. Then I freehanded a design on the 100% Merino wool felt with pencil. The kids cut the crowns on their own. I showed them how to sew the crown together because it was in two pieces. Then came the fun, creative part. They got to sew or glue on their balls and embellish in other ways.
For our project, we wet felted mini balls to use as embellishment. While that was a fun handwork project, it was terribly time consuming and more difficult than anticipated. I think making balls that are small versus large are more challenging. The wet wool was hard to felt into balls, and if you messed up early on, you’d end up with a deformed ball that was nearly impossible ot remedy. Also the small size easily shifted in our wet soapy hands and made it hard to keep in place to form. Once these balls were done, they needed to dry for a couple days.
They were not as pleased with their finished creations as they hoped. So I made a crown for my girl, and she loved it! My son looked on longingly, so I quickly made him one, too. I cut the same pattern out of a larger piece of wool that didn’t need to be stitched together. I put wisps of wool batt along the front and needle felted it in place. I glued some glass beads along the base of the crown, and called it done! This version took less time, and I think they turned out really nice.
Check out our other Middle Ages Projects!