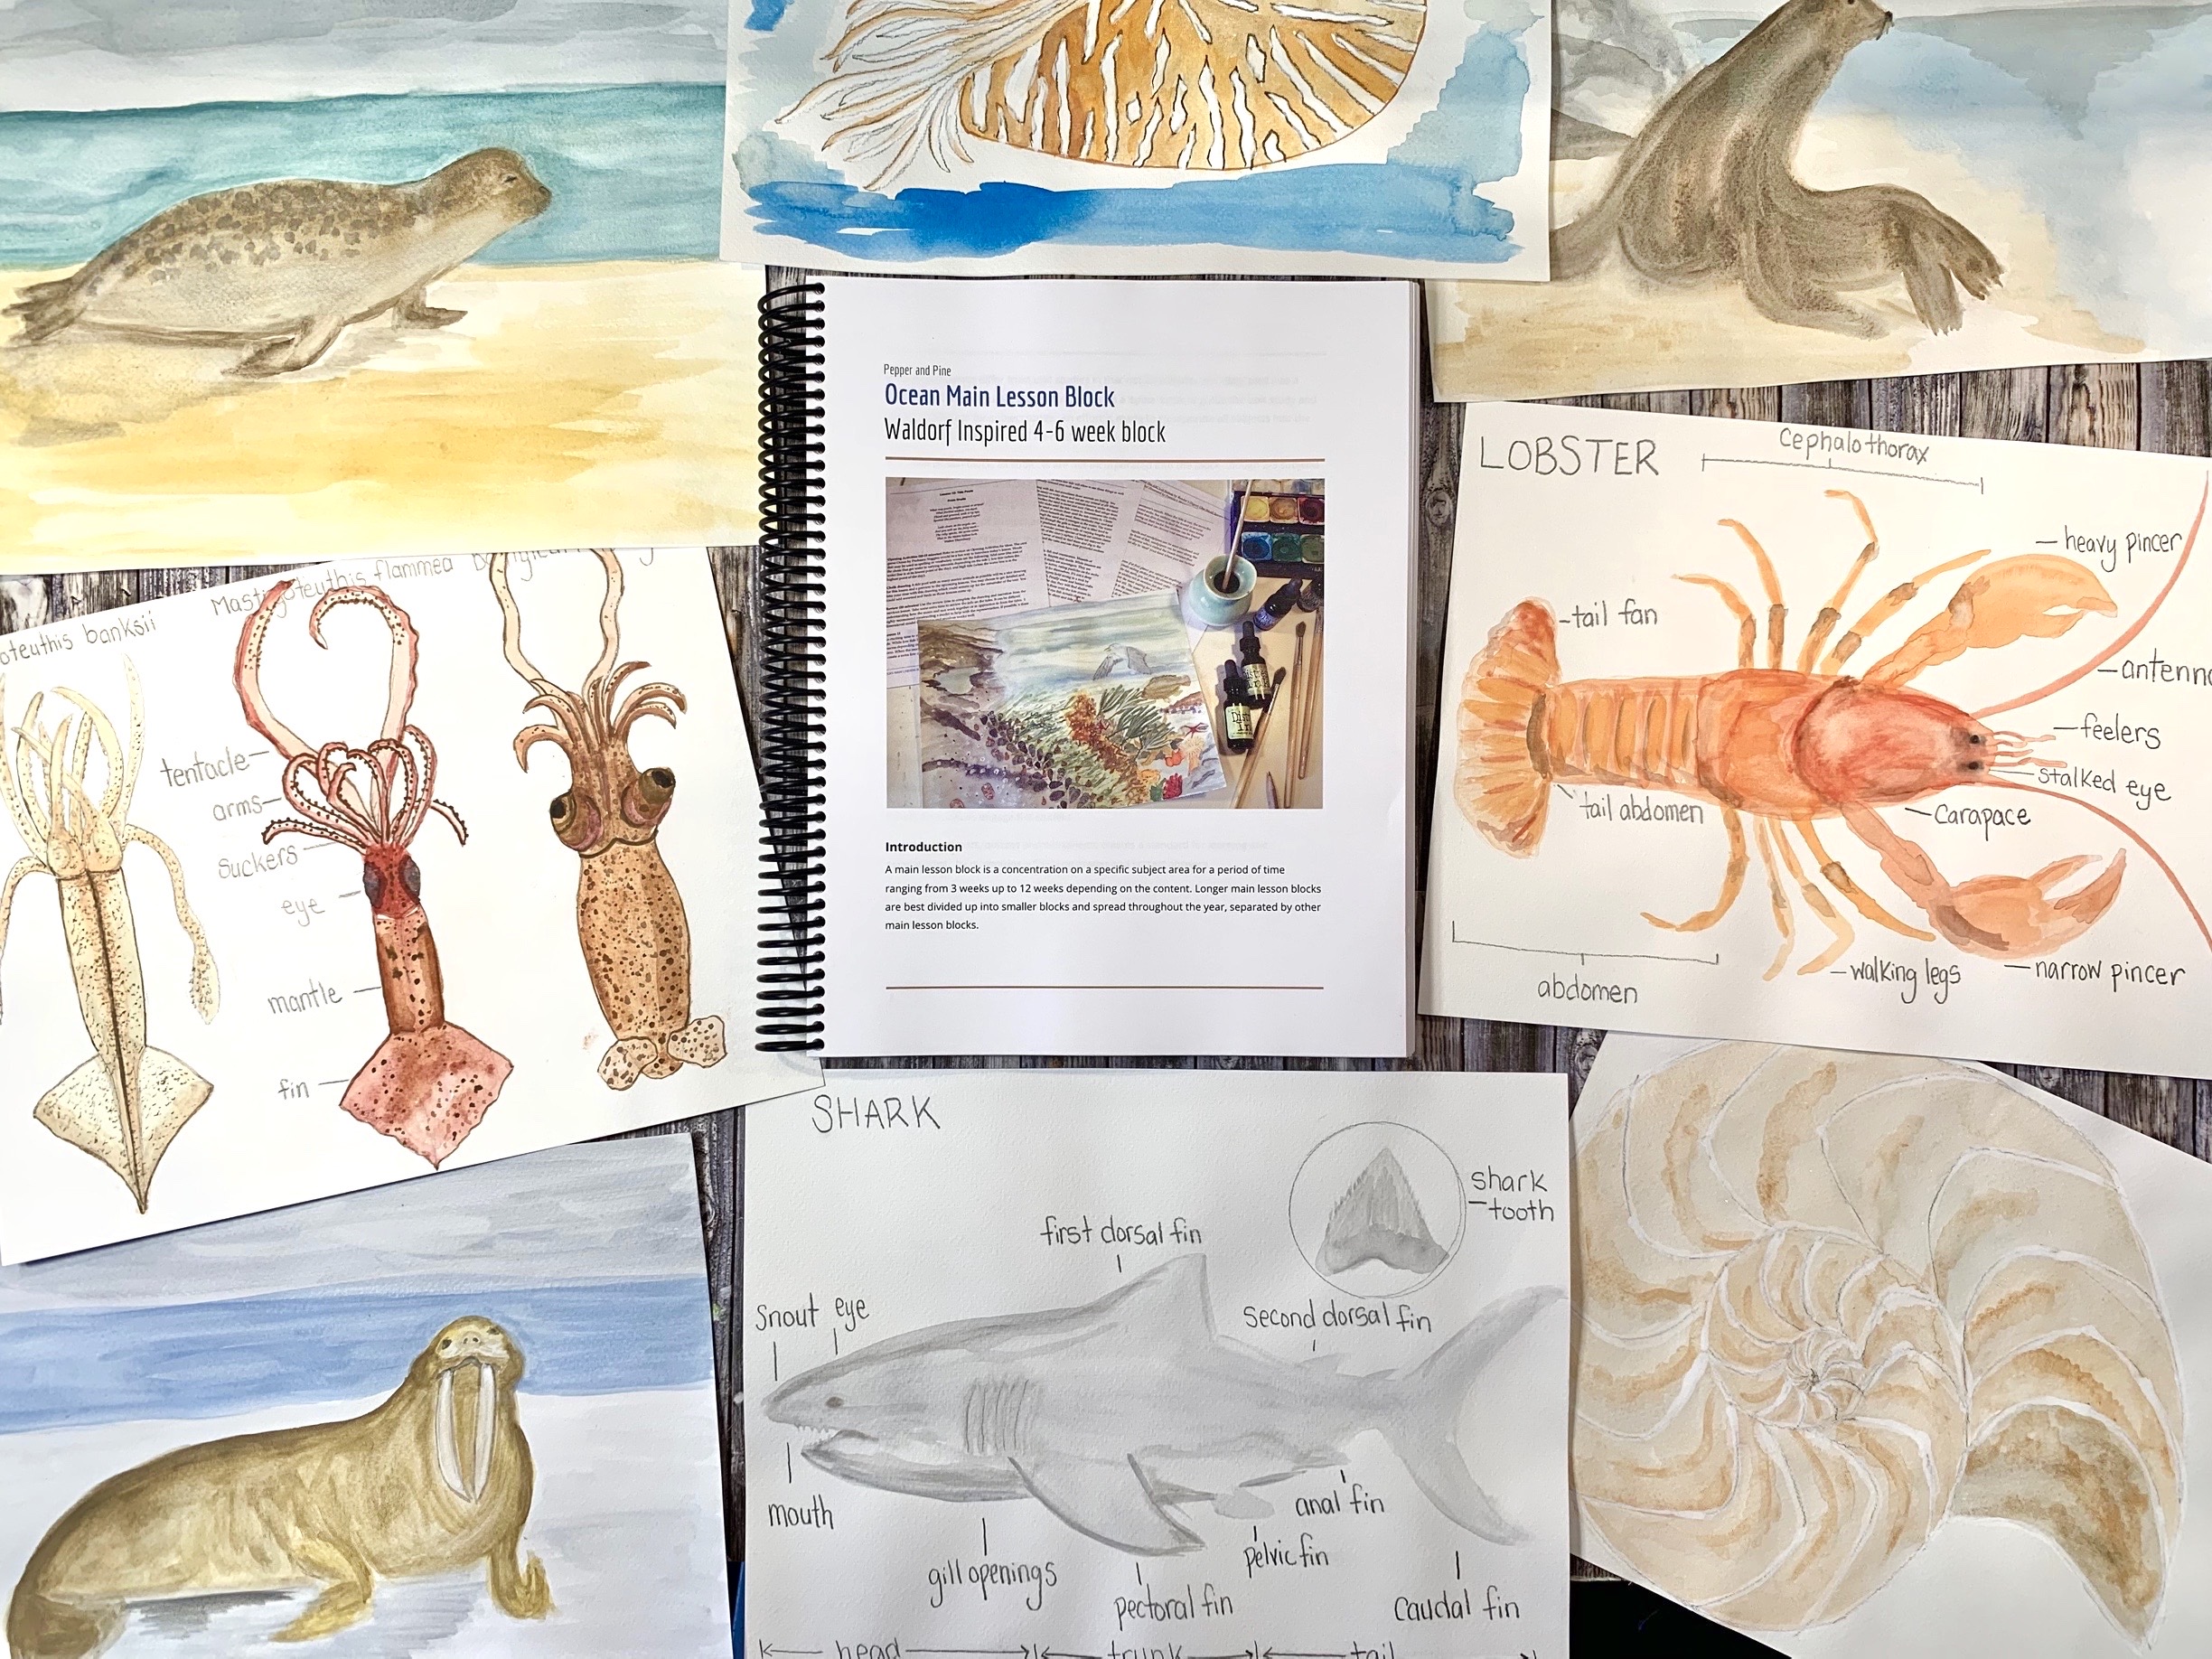
It’s time to start a new unit and this time around I’m writing my own main lesson block for a study on the ocean. Ocean study is broad, so I’m focusing our work on local coastal plant and animal life, tide pool, tides, the Native American Indians of the region, and the explorers who first discovered the Pacific coast. I’ve made this main lesson block both broad and specific, encompassing science, history, geometry and poetry.
Though I’ve shown you many resources and materials I’ll be using for this unit, I have not shown you the poetry books, audio books, novels and history books I’ll be using.
For a complete list of topics being covered and the lesson plans for this unit, you can find them on Homeschool Panda
Check out our complete Ocean Main Lesson Block with videos on how we put this unit together, the resources we used and the projects we did. You can also check out our smaller Whale Unit Study and Sea Turtle Unit Study which includes more projects and resources. We used our Distress Inks for many projects in this unit. You can see all the projects we’ve used Distress Inks for in a complete playlist. Enjoy!
Find me on YouTube, Twitter, Instagram and Facebook
A Homeschool Lesson | Ocean Main Lesson Block
Here’s a little snippet of our homeschool day. We are working through our Live-Education waldorf inspired curriculum for our Botany Main Lesson block and took a little detour. We were inspired by the lesson on algae and seaweed and decided to do a little unit on ocean plant and animal life. We liked it so much, it’s becoming its own main lesson block for the late summer, just as we are starting our new school year.
We pulled a variety of resources which you can see on the table. We have books, games and hands-on activities. We completed our main lesson book entry to the day, then turned to other lesson enhancements like Professor Noggins Seashore game and a GeoCentral excavation kit.
You can see the complete playlist for our Botany Main Lesson block.
Check out our complete Ocean Main Lesson Block with videos on how we put this unit together, the resources we used and the projects we did. You can also check out our smaller Whale Unit Study and Sea Turtle Unit Study which includes more projects and resources. We used our Distress Inks for many projects in this unit. You can see all the projects we’ve used Distress Inks for in a complete playlist. Enjoy!
Find me on YouTube, Twitter, Instagram and Facebook
Montessori Inspired Self-Directed Learning Trays for Ocean Study
Wait till you see what I do with this Seashell Bracelet kit from Nature-Watch! I even surprised myself. After I arranged this kit in a printer’s tray I use for scrapbooking, I emptied out two more trays to use for other kits and materials. I love the way it’s displayed and how inviting it is for the kids to use.
Making these seashell bracelets and learning about the animals of the shore and tide pools is part of our Ocean Main Lesson block for homeschool, and I’m doing my best to replace the unit studies I assemble myself with main lesson blocks that reflect the Waldorf philosophy more accurately.
Here’s the printer’s tray I used.
I can’t tell you how much I like it and plan to empty my other scrapbooking supplies out of my trays and bring them into the homeschool room. It’s such an inviting way to display materials.
Check out our complete Ocean Main Lesson Block with videos on how we put this unit together, the resources we used and the projects we did. You can also check out our smaller Whale Unit Study and Sea Turtle Unit Study which includes more projects and resources. We used our Distress Inks for many projects in this unit. You can see all the projects we’ve used Distress Inks for in a complete playlist. Enjoy!
Find me on YouTube, Twitter, Instagram and Facebook
How To Display Shells | Activities for Visual Learners
This is a stunning way to decorate a classroom space and provide inspiration for learning. I can easily take this display board to the desk for observation and identification while we work on a lesson. It’s great for organizing loose items so they stay in one spot and look beautiful, and it’s also a fantastic solution for freeing up surface space as these display boards can hang on the wall.
It’s super easy to make, but it does take about 20 minutes or so. You can hot glue any number of specimens. I’ve done rocks, gems, forest specimens and shells. I plan to do more! There’s no limit to what you can have as a visual display for your homeschool space.
I made this with things we already had around the house and I upcycled the backing of paper pads for this project. The thicker the chipboard, the better.
I got the shells from Nature-Watch, and this is for our ocean main lesson block.
Check out our complete Ocean Main Lesson Block with videos on how we put this unit together, the resources we used and the projects we did. You can also check out our smaller Whale Unit Study and Sea Turtle Unit Study which includes more projects and resources. We used our Distress Inks for many projects in this unit. You can see all the projects we’ve used Distress Inks for in a complete playlist. Enjoy!
Find me on YouTube, Twitter, Instagram and Facebook
How To Make An Excavation Kit
DIY excavation kits are super easy! All you need is some Plaster of Paris, a mold and some treasures to hide. We’ve been using these store bought kits in our homeschool for several years now, and I’m thrilled to be finally making them ourselves.
You’ll need quite a bit of Plaster of Paris for this project. One box should be sufficient for a homeschool family, but I would recommend having 2-3 boxes just in case. You’ll also need a silicone mold or sturdy cardboard boxes you can cut away. I used a soap mold from Amazon. It worked really well, and I could make six at a time. While it worked perfectly for us, I think slightly larger would have been better. We also used Mixing Beakers from Acorn Naturalists. While I like the reusable nature of using these beakers, I did have to clean them thoroughly. You DON’T want to clean these in the sink. You may clog the sink with hardened plaster, so wipe it down with a paper towel, or better yet, wait until it completely hardens and gently squeeze your container and the plaster will crack and fall off. If you use paper cups, use a clean one each time you mix plaster. And finally, you need treasure! We used the shells (from a bracelet kit and from shells ‘by the pound’), rocks (rocks from excavation kit, rocks from rock kit or rocks from a mixed kit) and arrowheads from these three Nature-Watch kits.
You can definitely have fun making your own excavation kits, but you can also buy them. We love these types of kits and have used the Mummy kit and the Sarcophagus kit for our Ancient Egypt Unit, and the Crystal kit, Rock Excavation kit and Volcano kit for our Mineralogy Unit.
The mini excavation kits were so much fun to excavate!
Check out our complete Ocean Main Lesson Block with videos on how we put this unit together, the resources we used and the projects we did. You can also check out our smaller Whale Unit Study and Sea Turtle Unit Study which includes more projects and resources. We used our Distress Inks for many projects in this unit. You can see all the projects we’ve used Distress Inks for in a complete playlist. Enjoy!
Find me on YouTube, Twitter, Instagram and Facebook
Wet on Wet Watercoloring | Octopus
While working on our Ocean Main Lesson block, we ended up doing a lot of watercoloring for the main lesson book. When working on main lesson book entries, we use 90lb. 9″x12″ watercolor paper by Fabriano, but when we want to do some wet on wet watercoloring, we pull our the good stuff! Today, we are working with 140lb. Strathmore watercolor paper that’s 14″x17″. The heavy weight allows you to get the paper wet without the paper soaking through and tearing. Are are also using our Stockmar Watercolor Paints. These are concentrated and need to be diluted before use. I have a tutorial video showing how we dilute ours. We also like our Lyra Watercolor paints, our Distress Sprays which we used for this project and our Heidi Swapp Color Shine Spray. We also added Perfect Pearls to our watercolor sprays and paints for that nice shimmer effect. We try a variety of watercoloring techniques. See if you can find one that works for you!
How To Stitch a Sea Star | Ocean Unit Study
This is a very easy beginner’s stitching project. You can free hand a sea star or download a pattern for this project. I used Holland felt in 100% wool in the color Tea Rose. Cut two sea star shapes. Line them up so they are the same. Use embroidery thread in a the color of your choice to stitch the edges using a blanket stitch. You can separate the embroidery thread for it to be thinner. After stitching one arm you can beginning filling it with filler. I used wool, but you could use anything from fill from an old pillow to cotton balls. Alternatively, you could add some details to one side of the sea star before stitching it together. I found this to be quite time consuming and had my kids skip this step. My 11-year-old son opted to do it anyway, but only did some bumpy stitching around the center.
Sea star stitching:
Level: beginners
Grade: 4th grade and up
Cost: less than $5 for high quality items or less than $1 for affordable items
Duration: 30-60 minutes
Check out our complete Ocean Main Lesson Block with videos on how we put this unit together, the resources we used and the projects we did. You can also check out our smaller Whale Unit Study and Sea Turtle Unit Study which includes more projects and resources. We used our Distress Inks for many projects in this unit. You can see all the projects we’ve used Distress Inks for in a complete playlist. Enjoy!
How To Stitch a Sea Horse | Waldorf Handwork
Try your hand at pattern making! For simple silhouettes, this project is great for beginners and intermediate crafters and as an intro to making your own projects. Watch as I work my way through this project while giving you tips. See how I fix little mistakes and make alterations on the spot. The results are darling in the end, so I know you can achieve success, too!
For this project, I hand sketched a silhouette of a sea horse. I referred to images online for help and made some changes to make it easier.
I gave my pattern a rough cut and then pinned it to my felt and cut both pieces of felt and the pattern at the same time. It actually worked really well! And it ensured that the patterns were exactly the same.
Next, I stitched on Holland wool felt in salmon, using embroidery floss (I separated three of the six strands out) in color DMC 352 and an embroidery needle all around the perimeter using a loop stitch. I filled with wool batt as I stitched. I finished off with two black eyes and the project was complete! I store my embroidery floss on plate rack for displaying decorative plates. You can also use a wooden dowel.
We tend to do a lot of projects in our homeschool. Check out the complete playlist here! I usually only use 100% wool felt, but recently I’ve learned of some other options. Over The River Felt has a nice selection of 100% wool felt, wool blends and acrylic wool at reasonable prices. ThreadFollower is another vendor I like. They carry original kits made by their designer. Each kit is complete with instructions, materials and even some extras to squeeze out more than one project sometimes.
Find me on YouTube, Twitter, Instagram and Facebook
Check out our complete Ocean Main Lesson Block with videos on how we put this unit together, the resources we used and the projects we did. You can also check out our smaller Whale Unit Study and Sea Turtle Unit Study which includes more projects and resources. We used our Distress Inks for many projects in this unit. You can see all the projects we’ve used Distress Inks for in a complete playlist. Enjoy!
Find me on YouTube, Twitter, Instagram and Facebook
Octopus Watercolor
Can you guess what we were trying to draw? Midway through this project it looked great! Then it slowly changed and didn’t look how I envisioned. Ah well, it was an experiment in using two resist mediums to achieve a watercolor barrier. Here’s how we did it. I cut a circle out of stamp material using my Silhouette Cameo. I stamped octopus ‘suckers’ along the paper using Perfect Medium. I sprinkled white Zing! embossing powder over it and taped off the extra. I embossed it using my heat tool. Once that was about halfway done, I used a fineliner resist medium to separate the tentacles from the water. Lastly, I painted everything using our Lyra Watercolor paints, our Distress Sprays and our Heidi Swapp Color Shine Spray. We also added Perfect Pearls to our watercolor sprays and paints for that nice shimmer effect. I used Strathmore 140lb. watercolor paper and a variety of simply paint brushes.
When working on main lesson book entries, we use 90lb. 9″x12″ watercolor paper by Fabriano, but when we want to do some wet on wet watercoloring, we pull our the good stuff! Today, we are working with 140lb. Strathmore watercolor paper that’s 14″x17″. The heavy weight allows you to get the paper wet without the paper soaking through and tearing. We try a variety of watercoloring techniques. See if you can find one that works for you!
Check out our complete Ocean Main Lesson Block with videos on how we put this unit together, the resources we used and the projects we did. You can also check out our smaller Whale Unit Study and Sea Turtle Unit Study which includes more projects and resources. We used our Distress Inks for many projects in this unit. You can see all the projects we’ve used Distress Inks for in a complete playlist. Enjoy!
Find me on YouTube, Twitter, Instagram and Facebook
Freshwater Vs. Salt Water
What’s your guess? Will ice melt faster in freshwater or saltwater? With a few drops of food coloring, you can really see the process and it’s awesome! I like demonstrations like this because they are educational, profound, lasting and best of all, super affordable. With things you already have around the house, you can do this demonstration for any science unit.
Inspiration for this project came from the book Ocean Currents Teacher’s Guide by Catherine Halversen.
Check out our complete Ocean Main Lesson Block with videos on how we put this unit together, the resources we used and the projects we did. You can also check out our smaller Whale Unit Study and Sea Turtle Unit Study which includes more projects and resources. We used our Distress Inks for many projects in this unit. You can see all the projects we’ve used Distress Inks for in a complete playlist. Enjoy!
Find me on YouTube, Twitter, Instagram and Facebook
How adorable is this little octopus?! What’s great about it, it that it’s super easy, easy enough for a brand new knitter. In fact, if you don’t know how knit, I walk you through the basics, from one novice knitter to another 😉
For this project, I’m using bulky weight Lamb’s Pride yarn in Cranberry Swirl. It’s gorgeous and you can find it at A Child’s Dream.
I’m using size 10 needles. I’m using a large blunt needle for sewing the octopus together, wool batt for stuffing and black yarn for the eye.
Direction:
Cast on 15 stitches
knit 30 rows
bind off
Sew the top and side together to form a tube
Fill the top 2/3 with wool batt or top
Sew around the tube so you have a spherical head with a ‘collar’
Twizzle four pieces of yarn about 12-18 inches long (ply them together)
Sew the twizzles to the collar
Stitch eye and you’re done!
See more projects for first grade!
Check out our complete Ocean Main Lesson Block with videos on how we put this unit together, the resources we used and the projects we did. You can also check out our smaller Whale Unit Study and Sea Turtle Unit Study which includes more projects and resources. We used our Distress Inks for many projects in this unit. You can see all the projects we’ve used Distress Inks for in a complete playlist. Enjoy!
Find me on YouTube, Twitter, Instagram and Facebook
Ocean Main Lesson Block Curriculum Review
Want to see what worked and what didn’t for our Ocean Main lesson block? I’ll share the resources we used, the projects we did and even show you the main lesson book my son completed.
This unit was scheduled for 4 weeks, but it took nearly 7 weeks to complete. In large part it was because I was writing the curriculum as I went. I would research the topic we planned to study, then wrote out two pages of text as well as opening activities and projects as well as listed out the resources materials used for each lesson. That curriculum will be available soon!
If you want the lesson plans, you can access them for free at Homeschool Panda. Create a free account, then import the lesson plan using this link.
Here are some of the resources we used for this block:
20, 000 Leagues Under the Sea Audiobook
20, 000 Leagues Under the Sea Abridged book by Classic Starts
First Nations of North America California Indians by Liz Sonnerborn
The Secret Voyage of Sir Francis Drake by Samuel Bawlf
Sir Francis Drake His Daring Deeds by Roy Gerrard
Whales The Gentle Giants by Joyce Milton
The Waldorf Book of Poetry Edited by David Kennedy
The Waldorf Book of Animal Poetry Edited by David Kennedy
Pagoo by Holling Clancy Holling
Whales by Scholastic
Sir Francis Drake Audiobook by Joy Paige
Seashore by Eyewitness Books
Ocean Currents Marine Science Activities grade 5-8 Teacher Guide by Laurence Hall of Science
Shells by DK Eyewitness Books
Under the Sea by Discoveries
Professor Noggins Game Ocean
One Small Square Seashore by Donald M. Silver
One Small Square Coral Reef by Donald M. Silver
Nature-Watch Classroom Kit Seashell Bracelet
Nature-Watch Seashell poster
Nature-Watch Seashells
ABCs of Nature by Reader’s Digest
GeoCentral Ocean Life Excavation Kit
DIY Excavation Kit
GeoCentral Handy Science Kit Water
Mac’s Field Guide for California Coast
DK Practical Naturalist by Audubon
Oceans in Motion science kit by Delta Education
Commotion in the Ocean by Giles Andreae
Curious Critter Marine by David Fitzsimmons
Whale Shines by Fiona Robinson
Island of the Blue Dolphins by Scott O’Dell
Check out our complete Ocean Main Lesson Block with videos on how we put this unit together, the resources we used and the projects we did. You can also check out our smaller Whale Unit Study and Sea Turtle Unit Study which includes more projects and resources. We used our Distress Inks for many projects in this unit. You can see all the projects we’ve used Distress Inks for in a complete playlist. Enjoy!
Find me on YouTube, Twitter, Instagram and Facebook
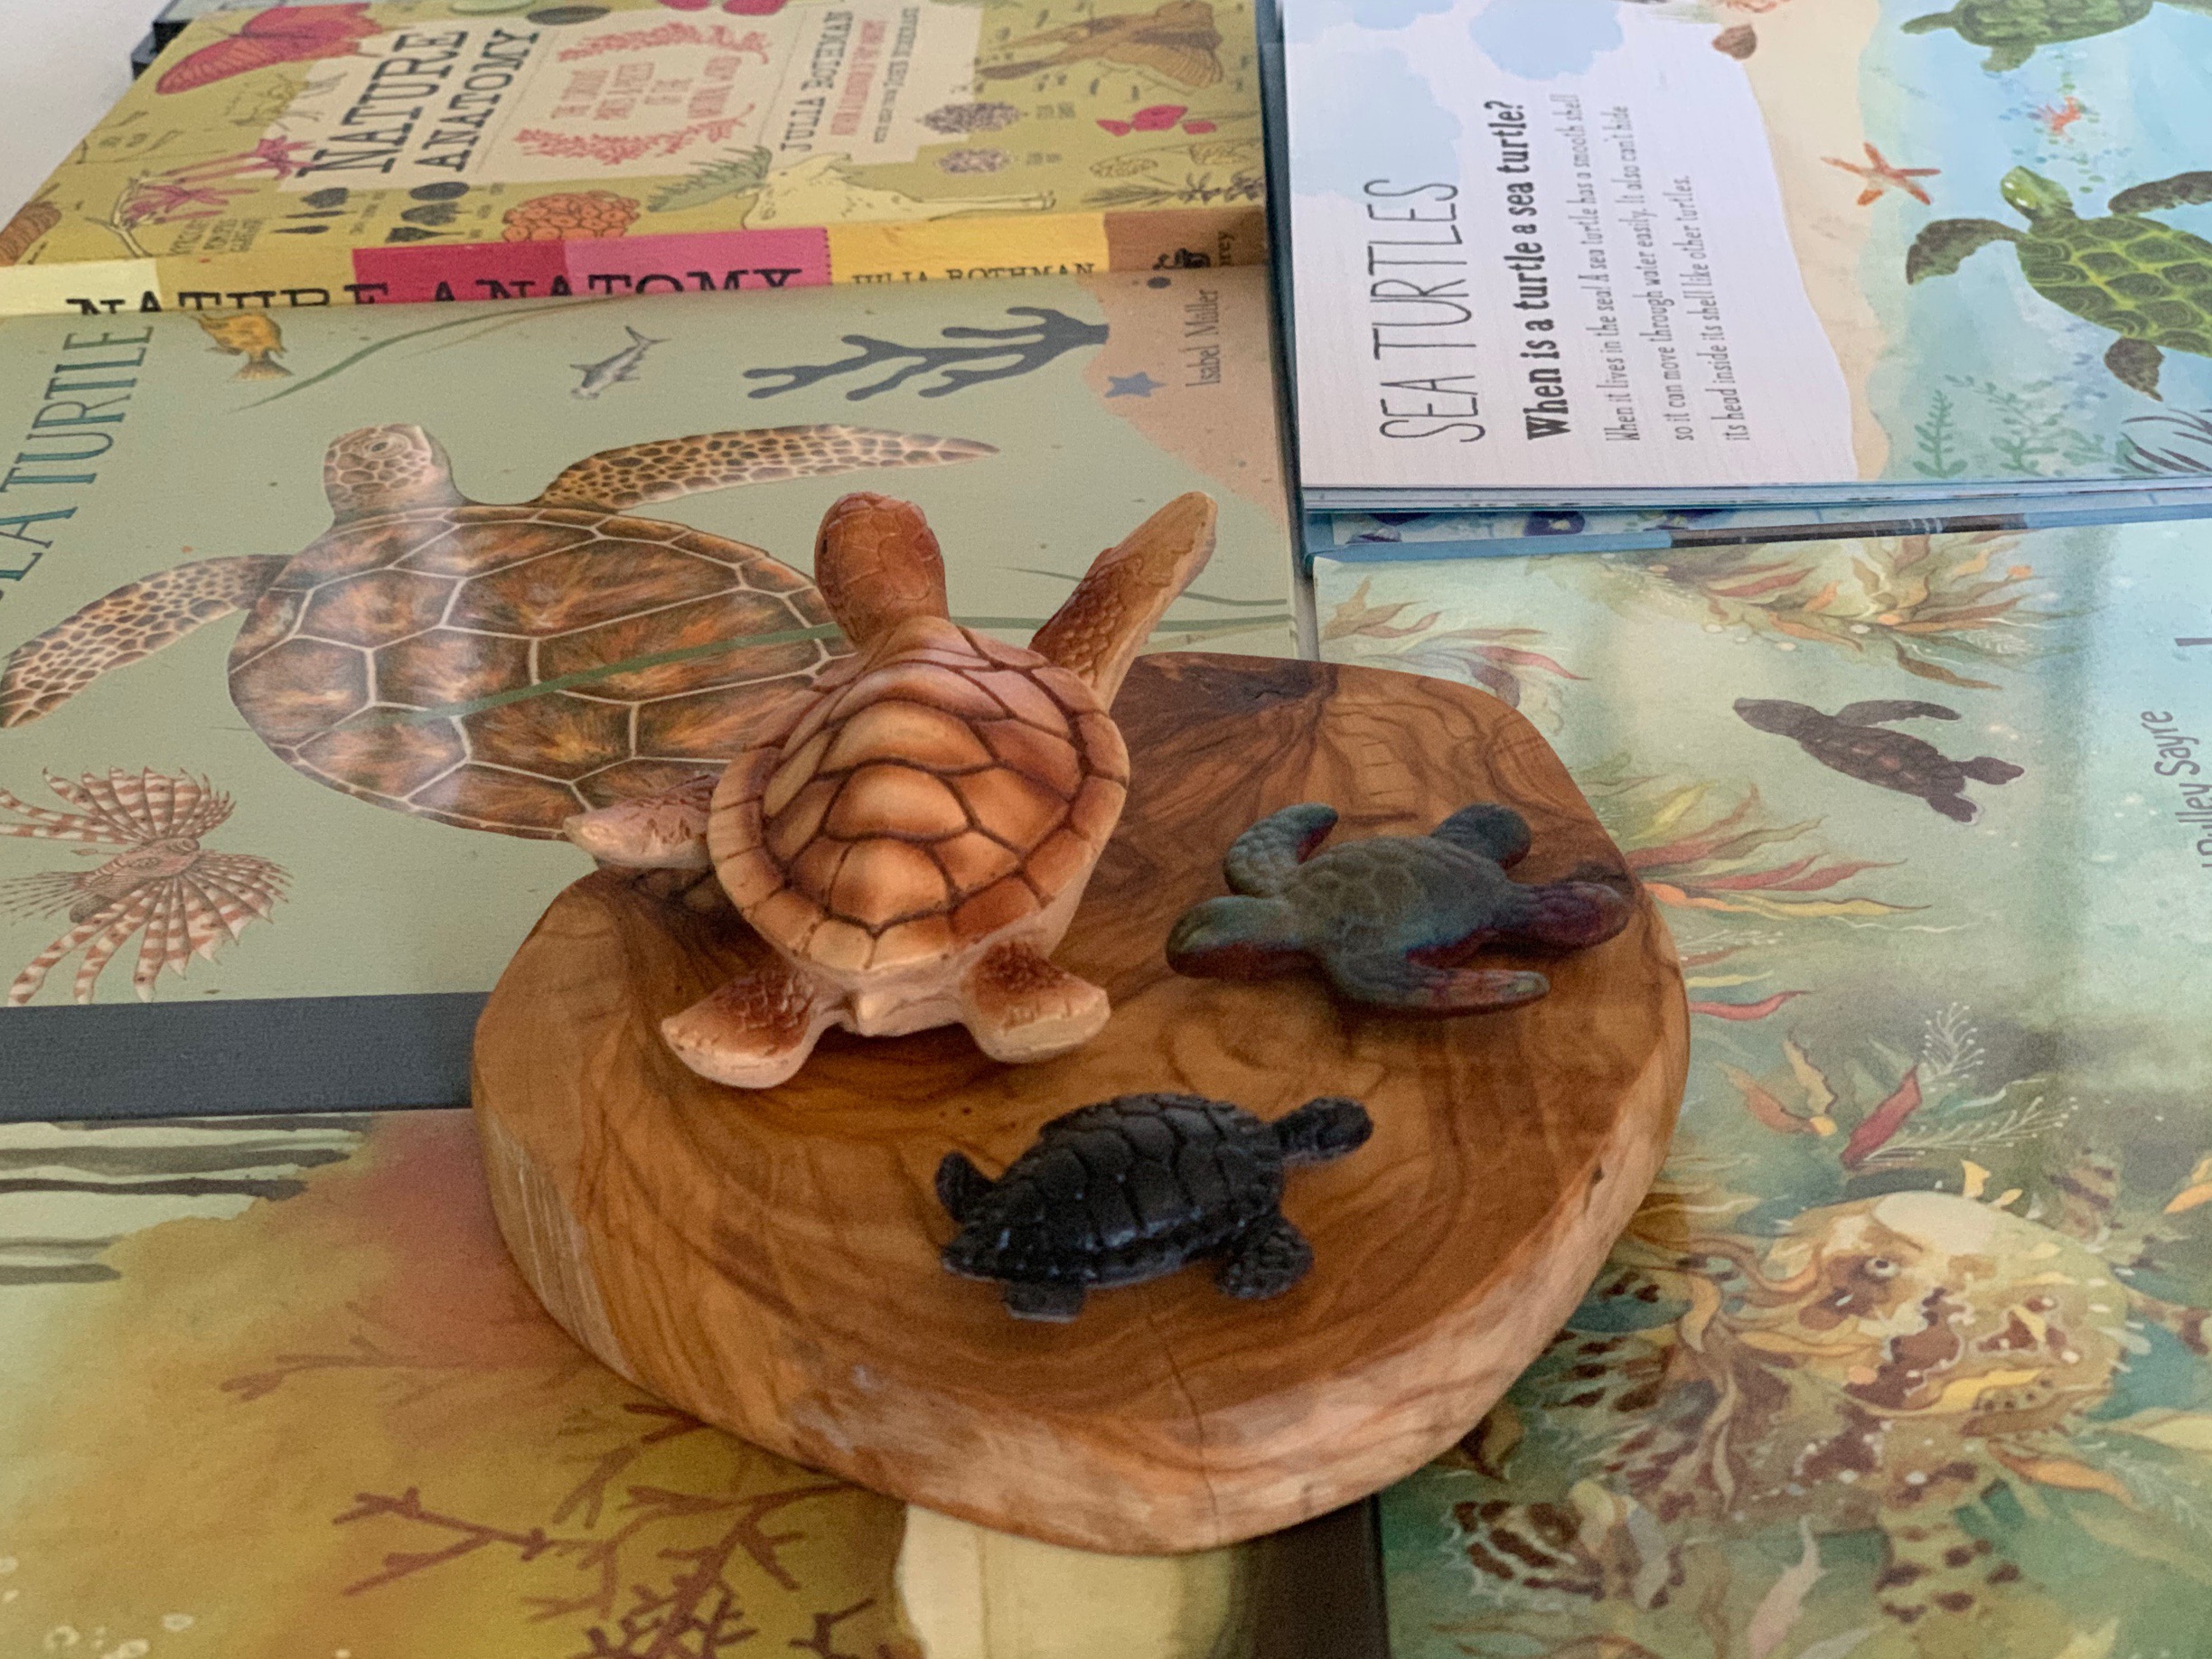
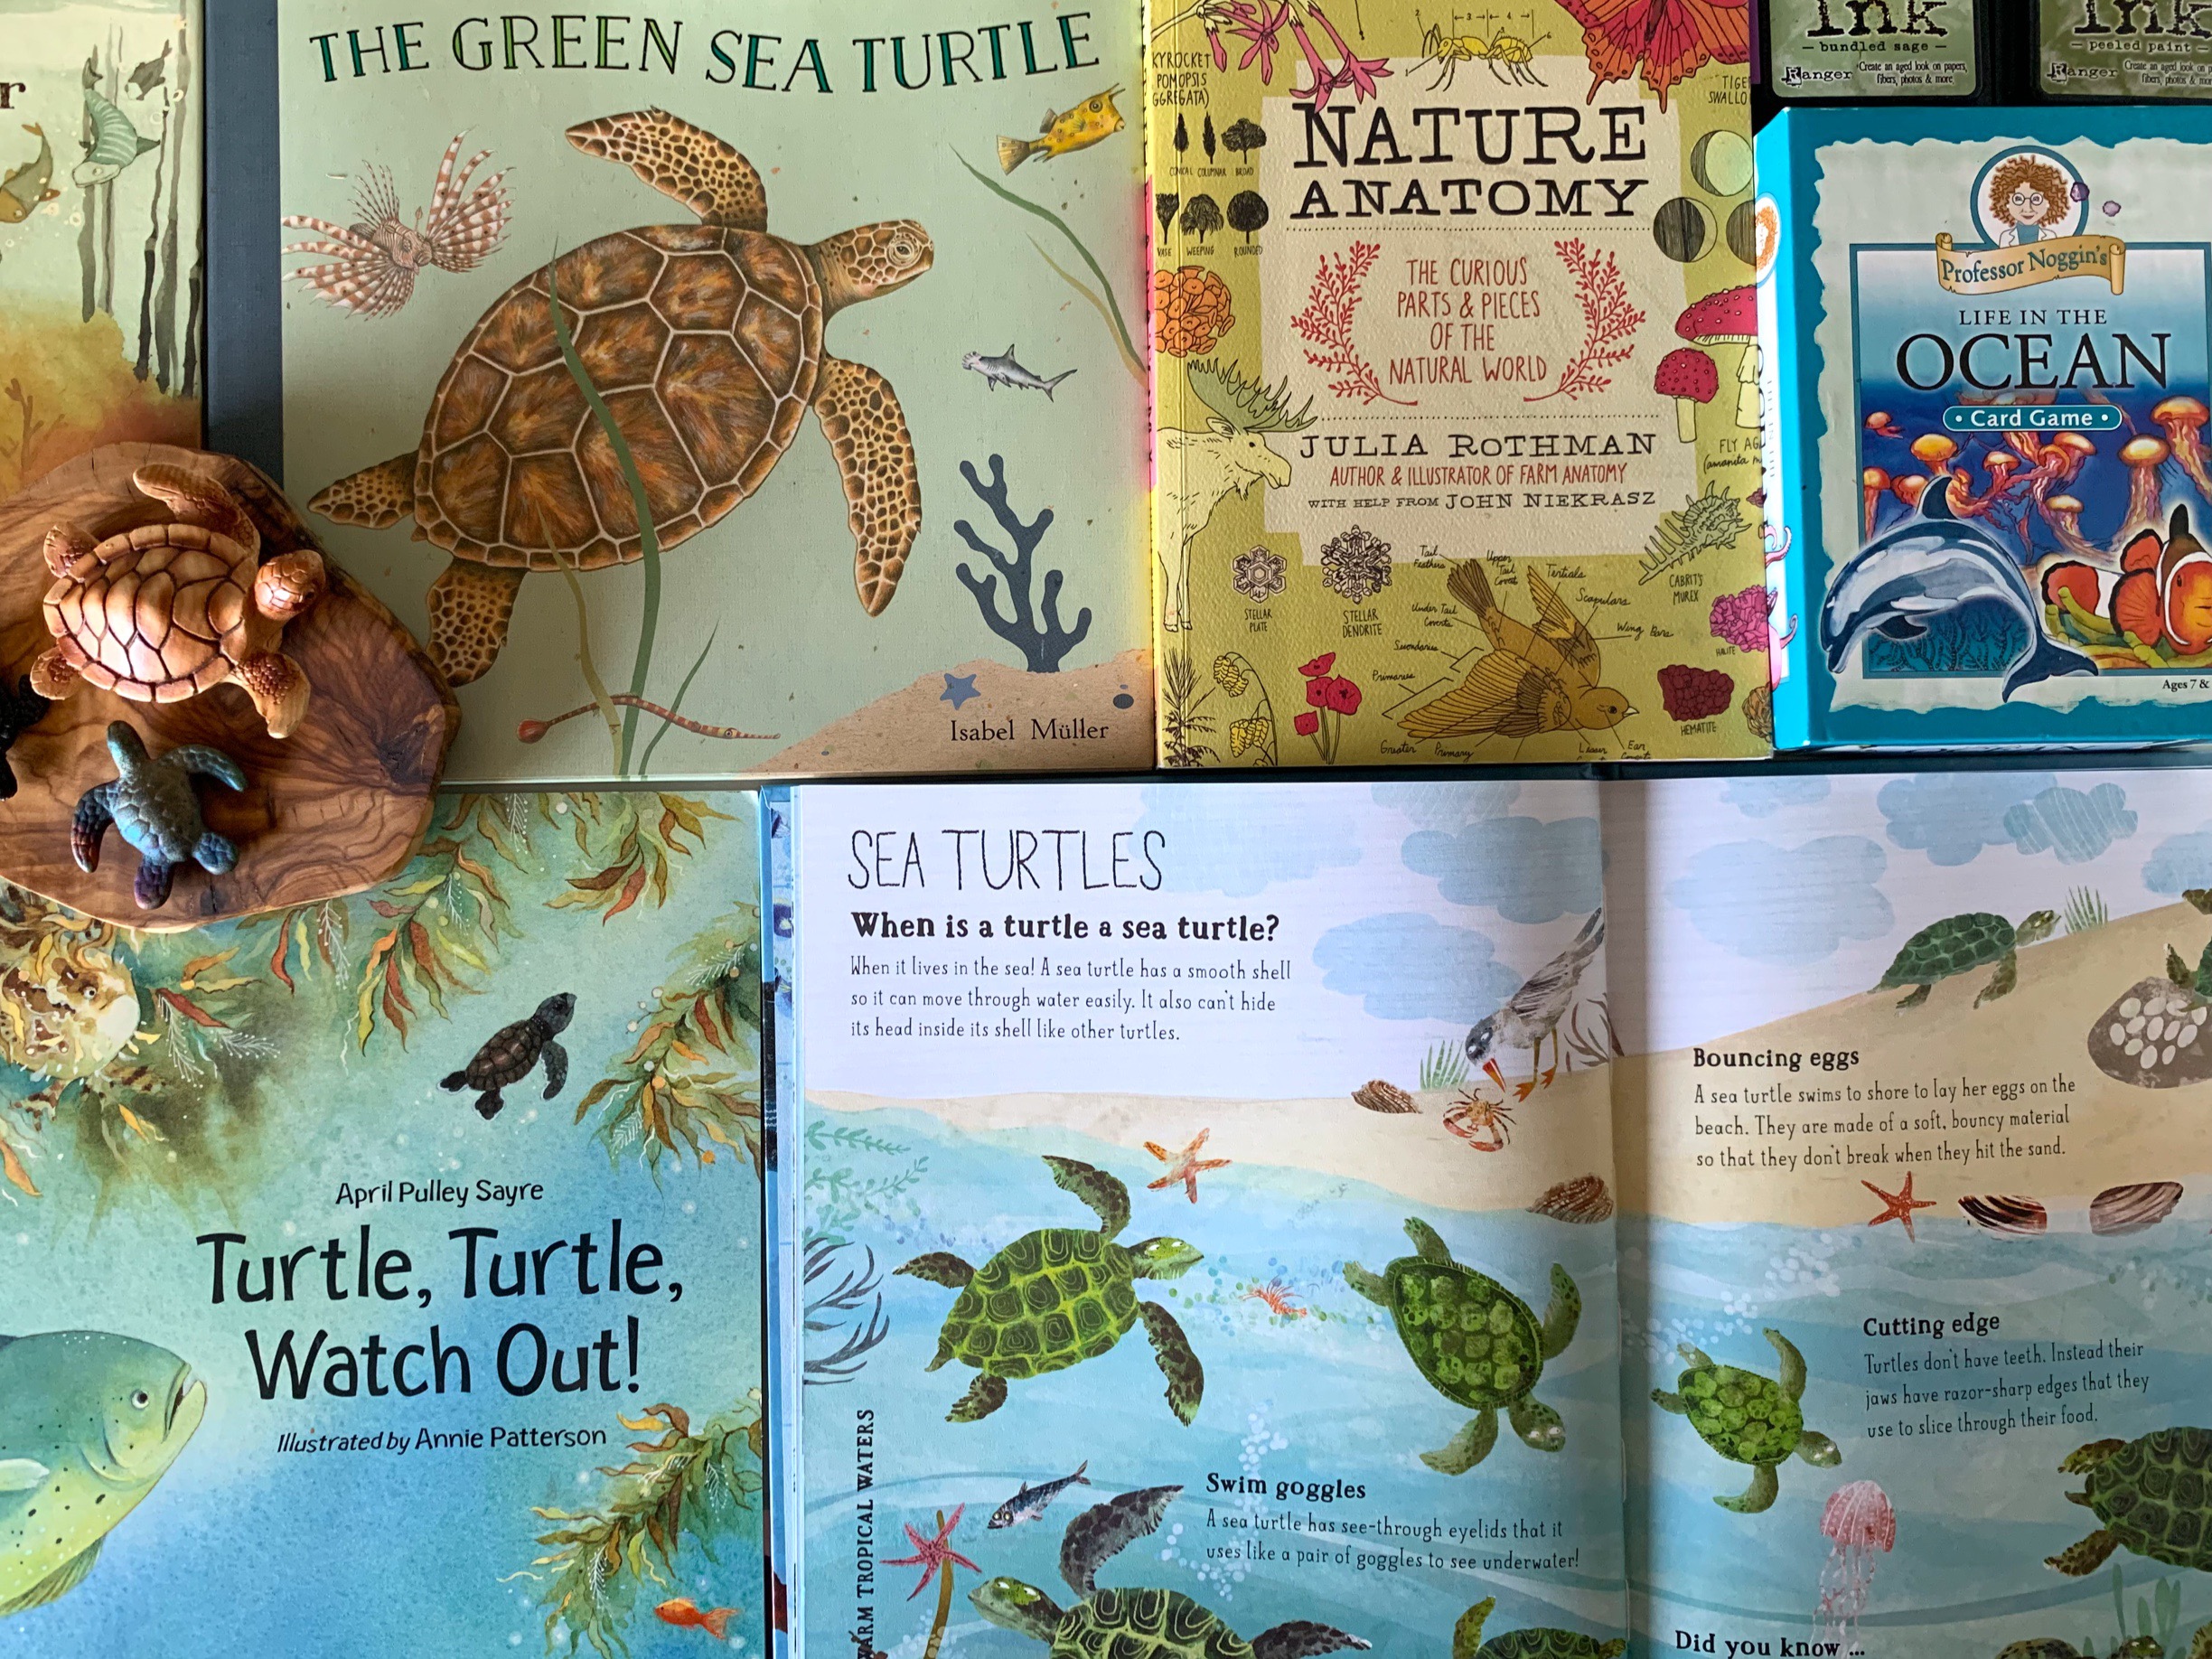
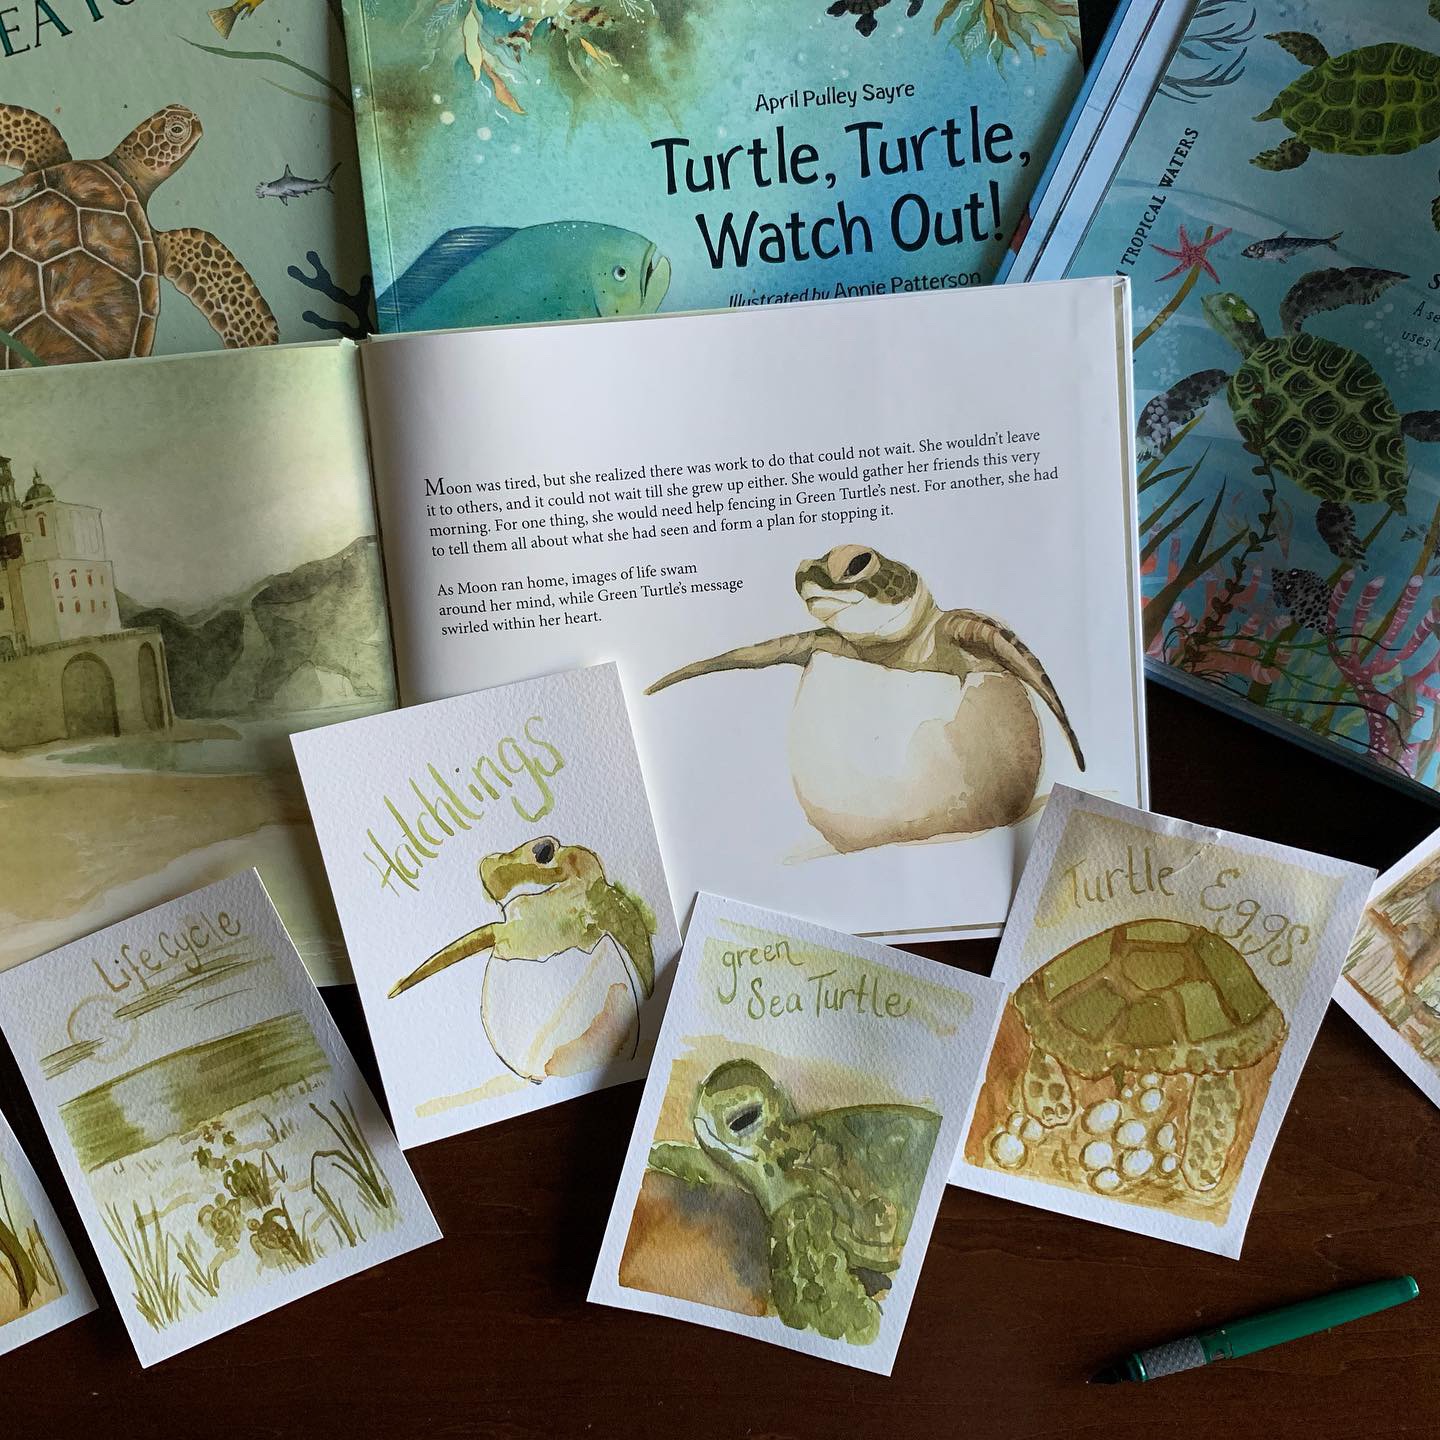
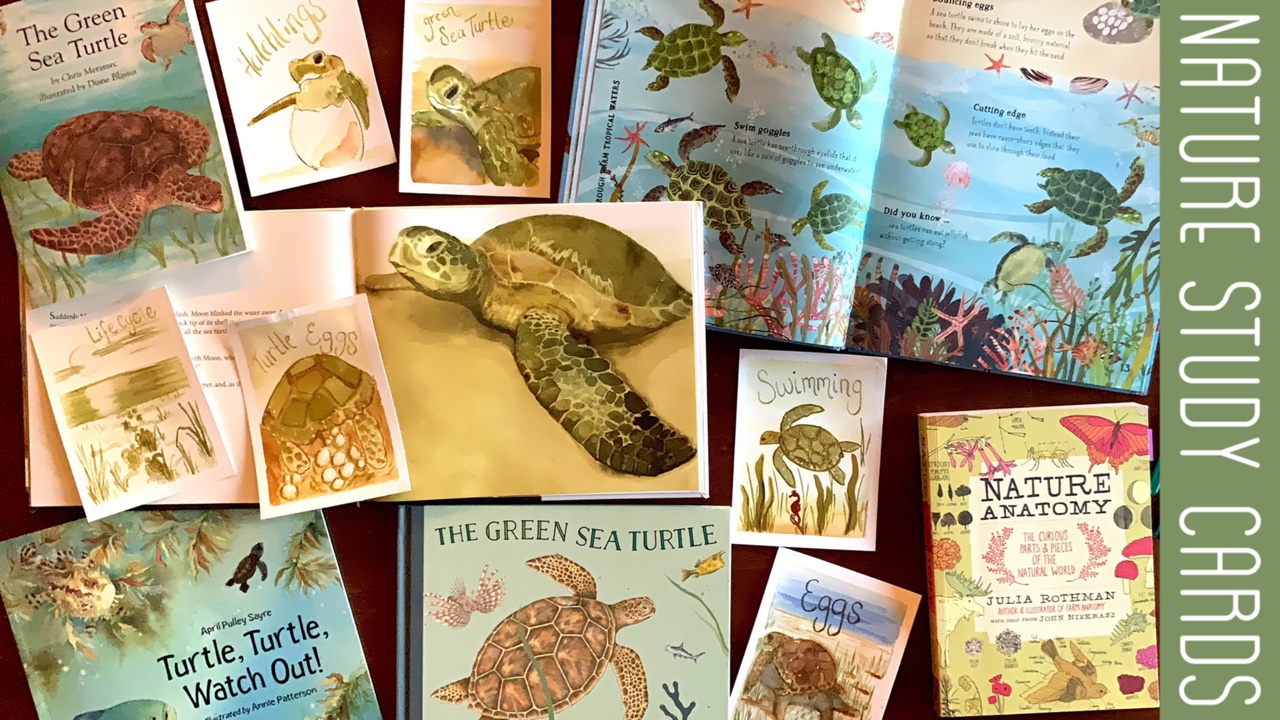
Sea Turtle Unit Study

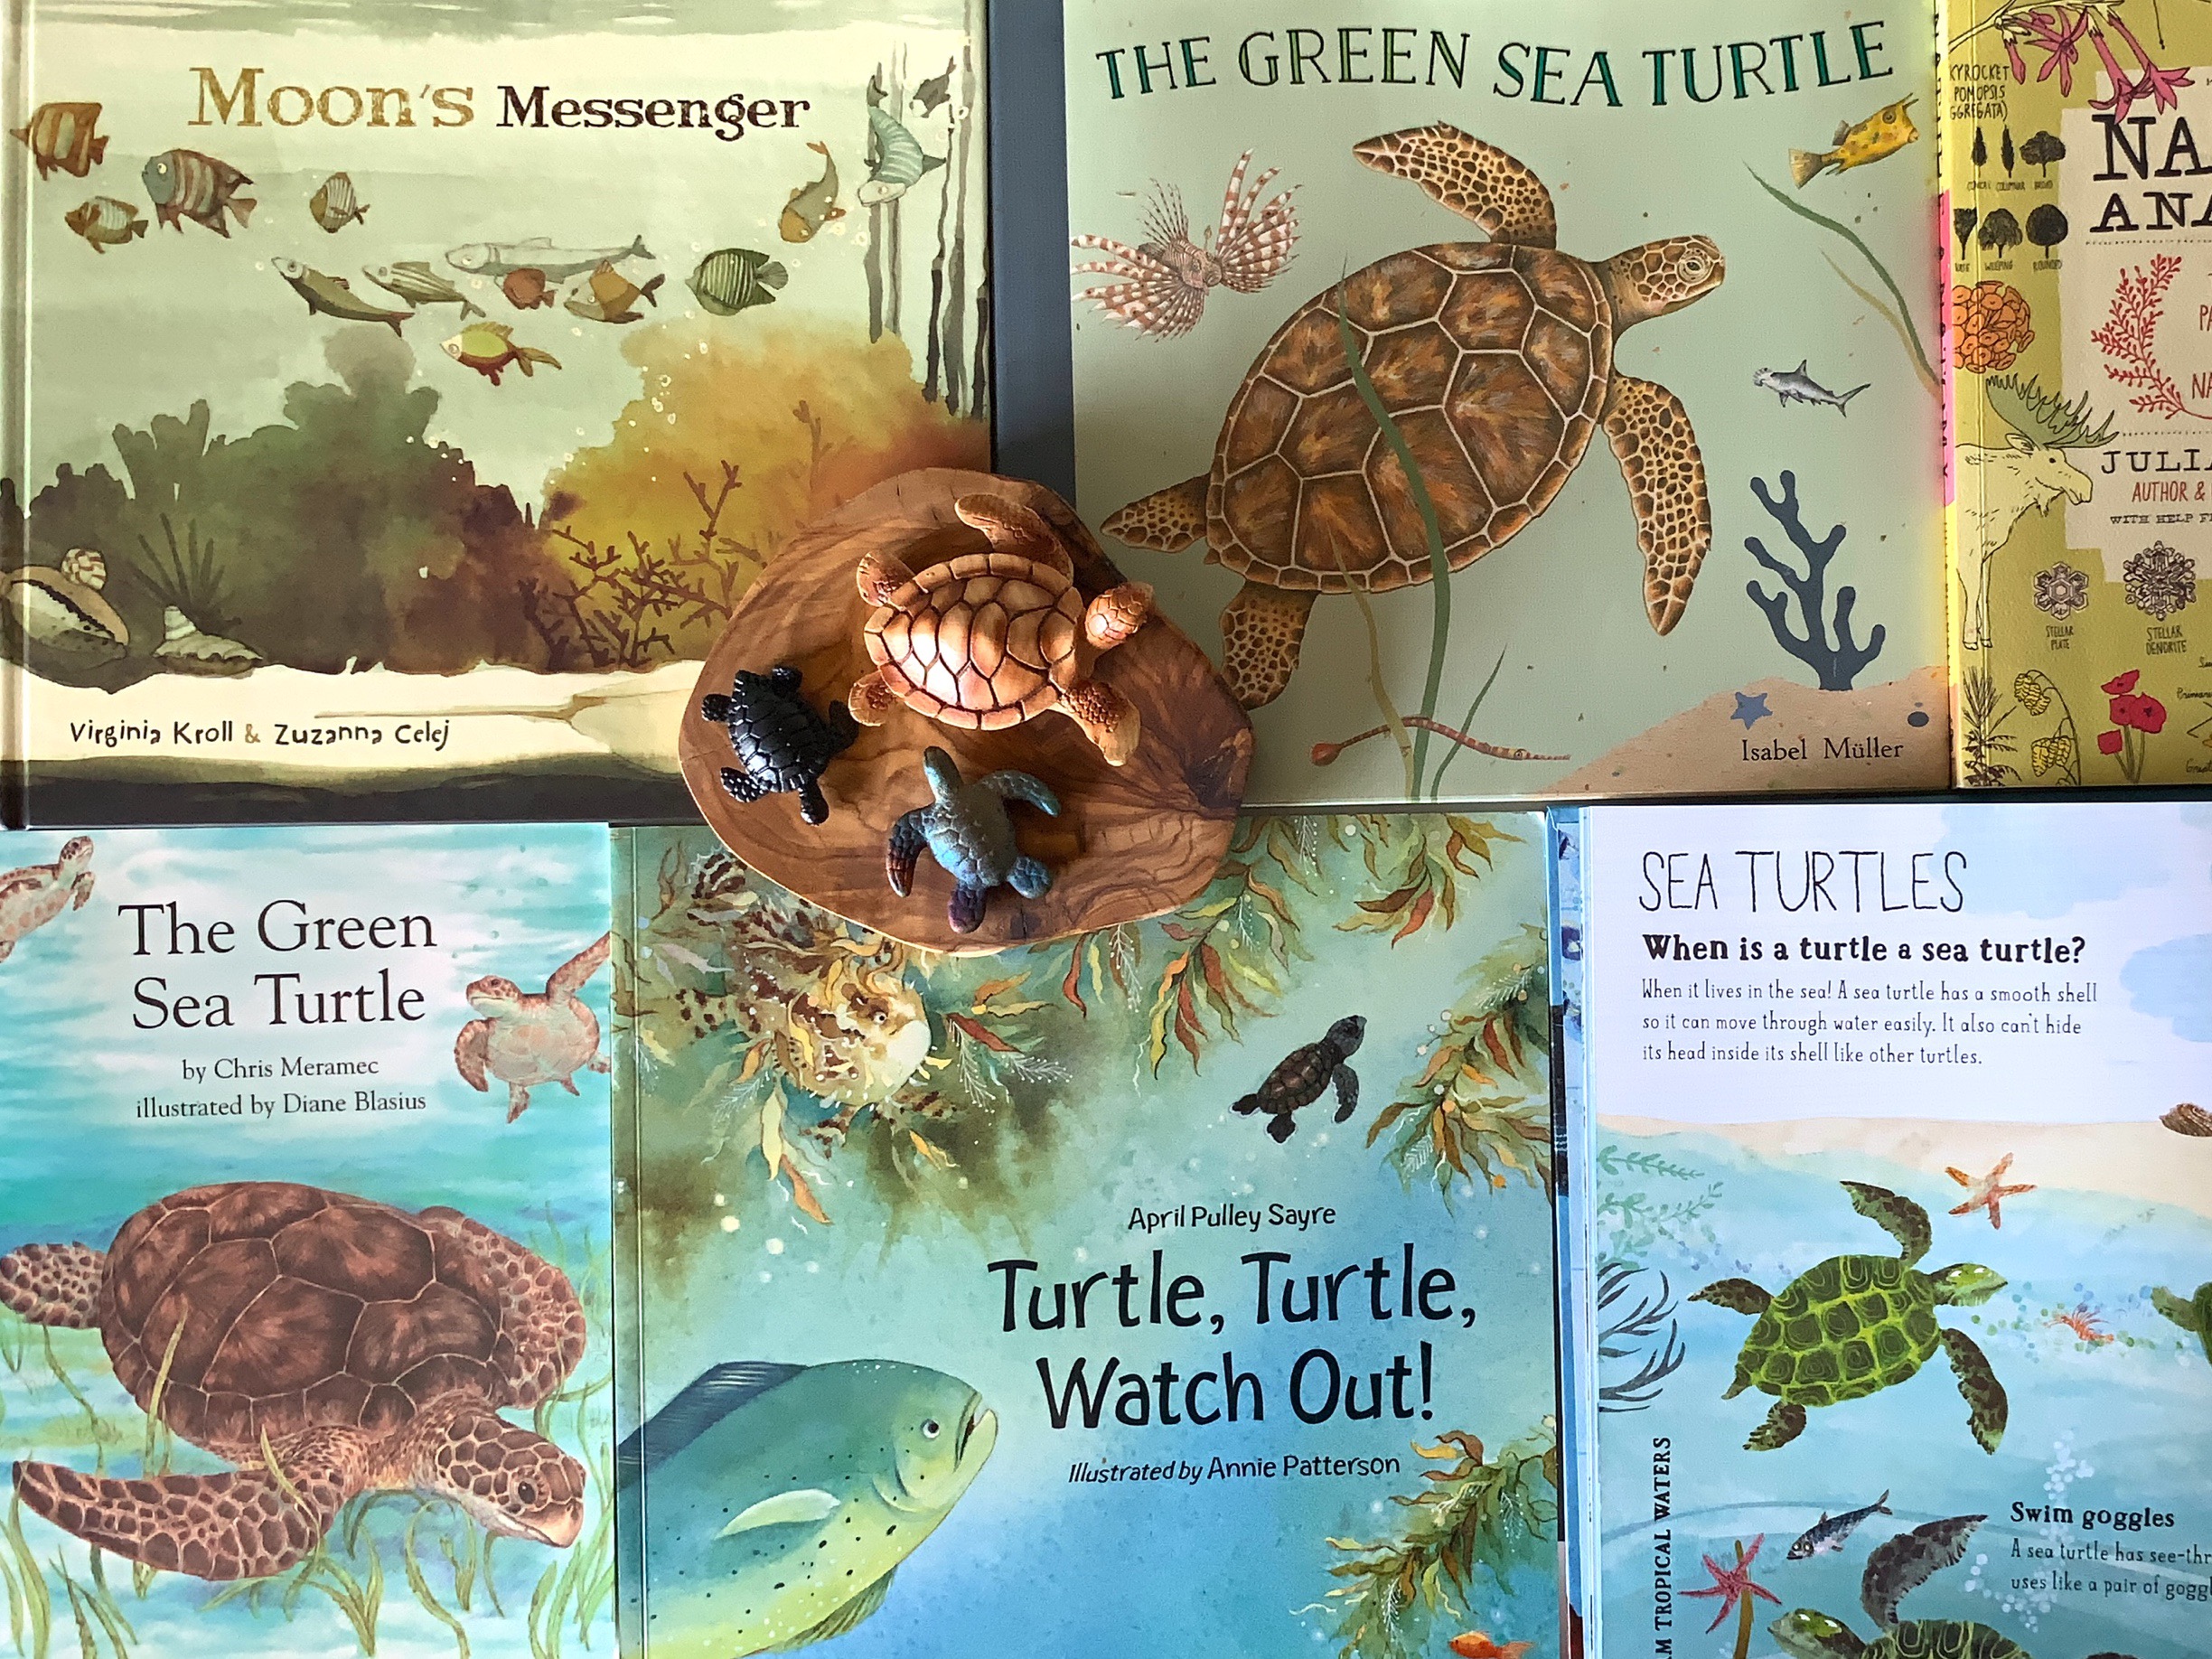
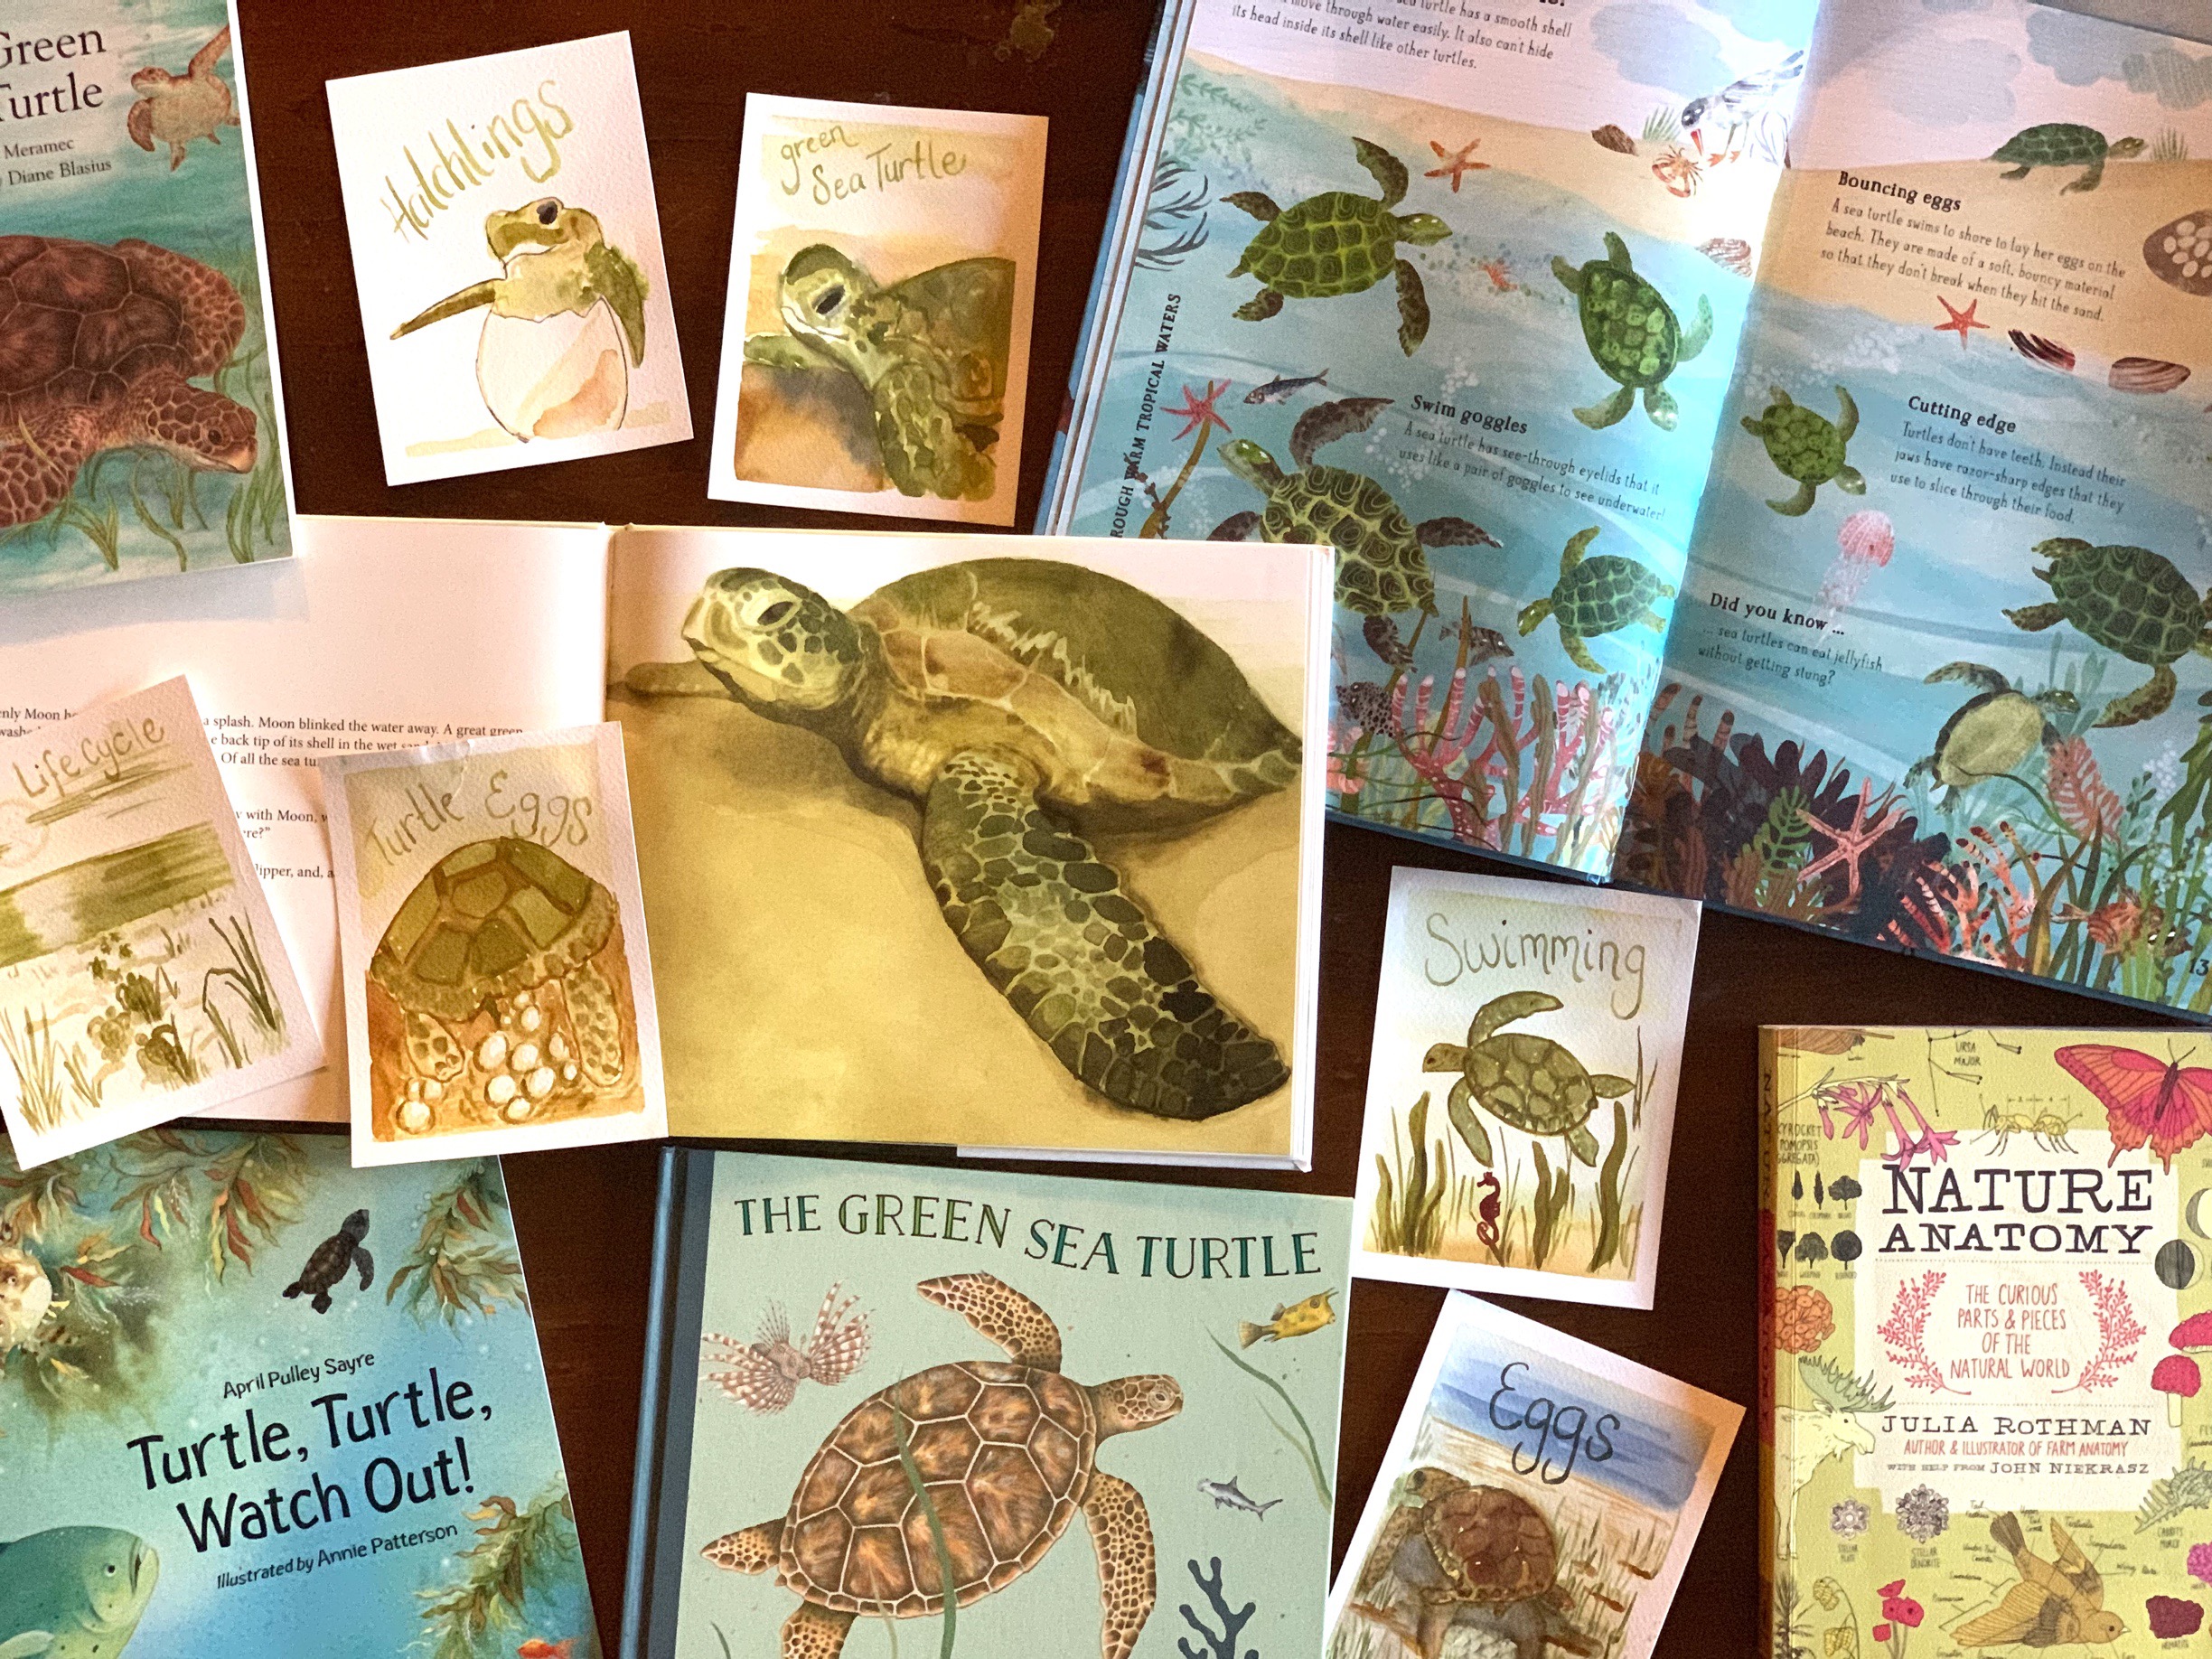
Welcome to our mini unit on Sea Turtles. This was truly a mini unit lasting less than a week and specifically only 2 days. We used four picture books specifically on Sea Turtles and a few other resources that mentioned this topic on 1-2 pages of the book. We used the Professor Noggin’s Ocean Trivia Card Game as well as intend to make our own version of this game with a Sea Turtle theme. We only have 1-2 other projects planned for this unit as it is so short, there isn’t enough time to do more.
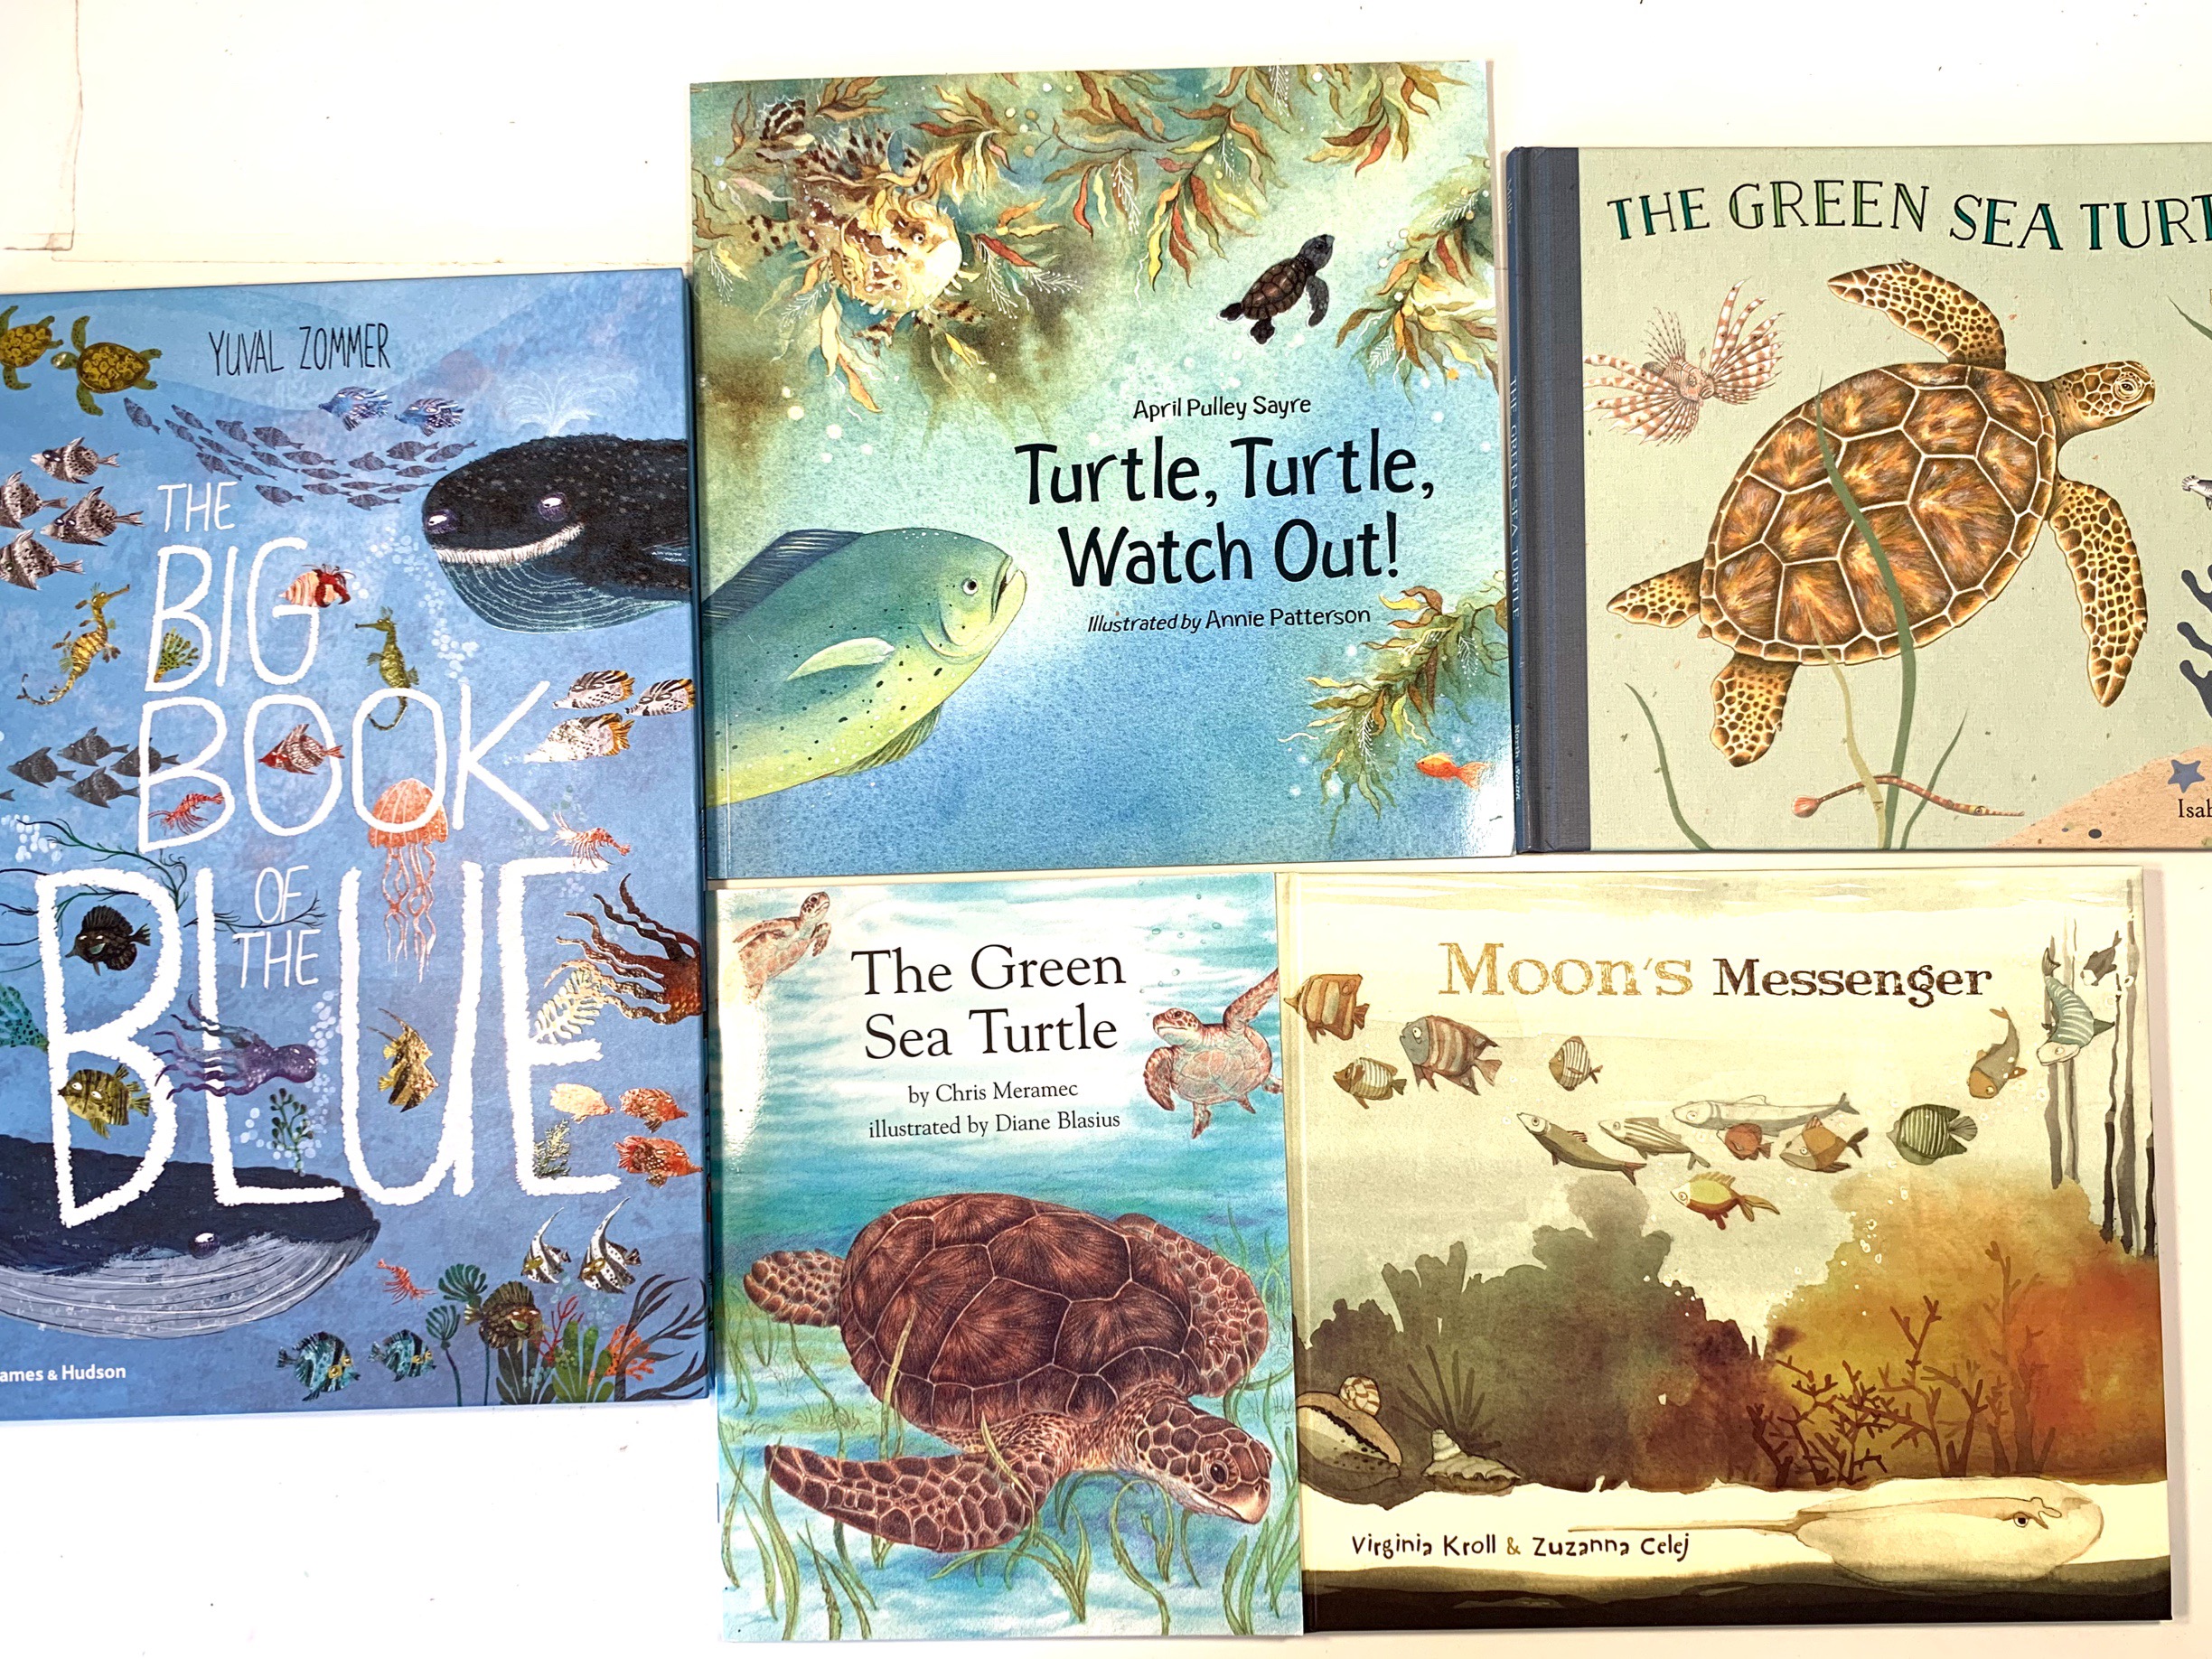
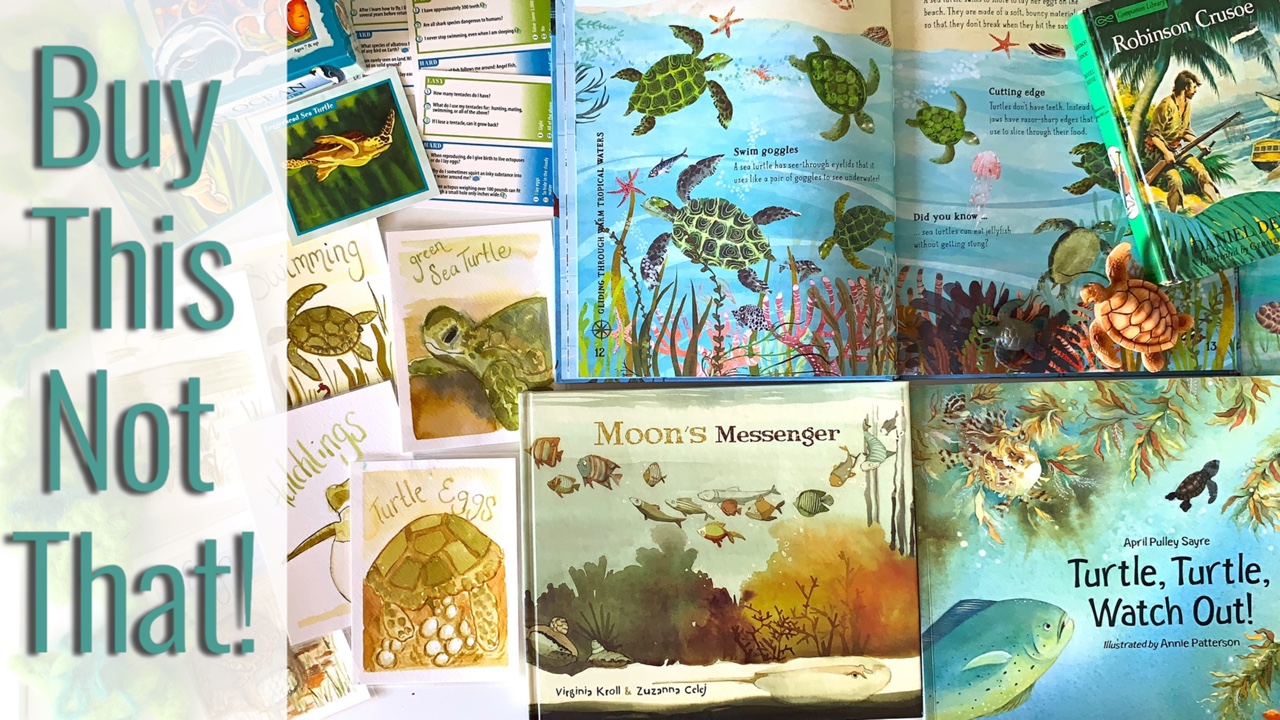
For this unit, we enjoyed reading Moon’s Messenger by Virginia Kroll (Author), Zuzanna Celej (Illustrator), Turtle Turtle Watch Out by April Pulley Sayre (Author), Annie Patterson (Illustrator), The Green Sea Turtle by Chris Meramec, and The Green Sea Turtle by Isabel Müller (Author).
Check out our complete Ocean Main Lesson Block with videos on how we put this unit together, the resources we used and the projects we did. You can also check out our smaller Whale Unit Study and Sea Turtle Unit Study which includes more projects and resources. We used our Distress Inks for many projects in this unit. You can see all the projects we’ve used Distress Inks for in a complete playlist. Enjoy!
How To Make A Closed System | Water Cycle
For the past four billion years, the water on this planet has remained the same. It’s been recycled: evaporating from the seas and oceans, forming clouds and finally precipitating out as rain or snow. We recreated a simple closed system to show the water cycle. Using a clear glass bottle, soil and some seeds, we recreated a simply closed system. While we did see a fair amount of condensation, it was hard to really observe the whole water cycle with a basic project like this.

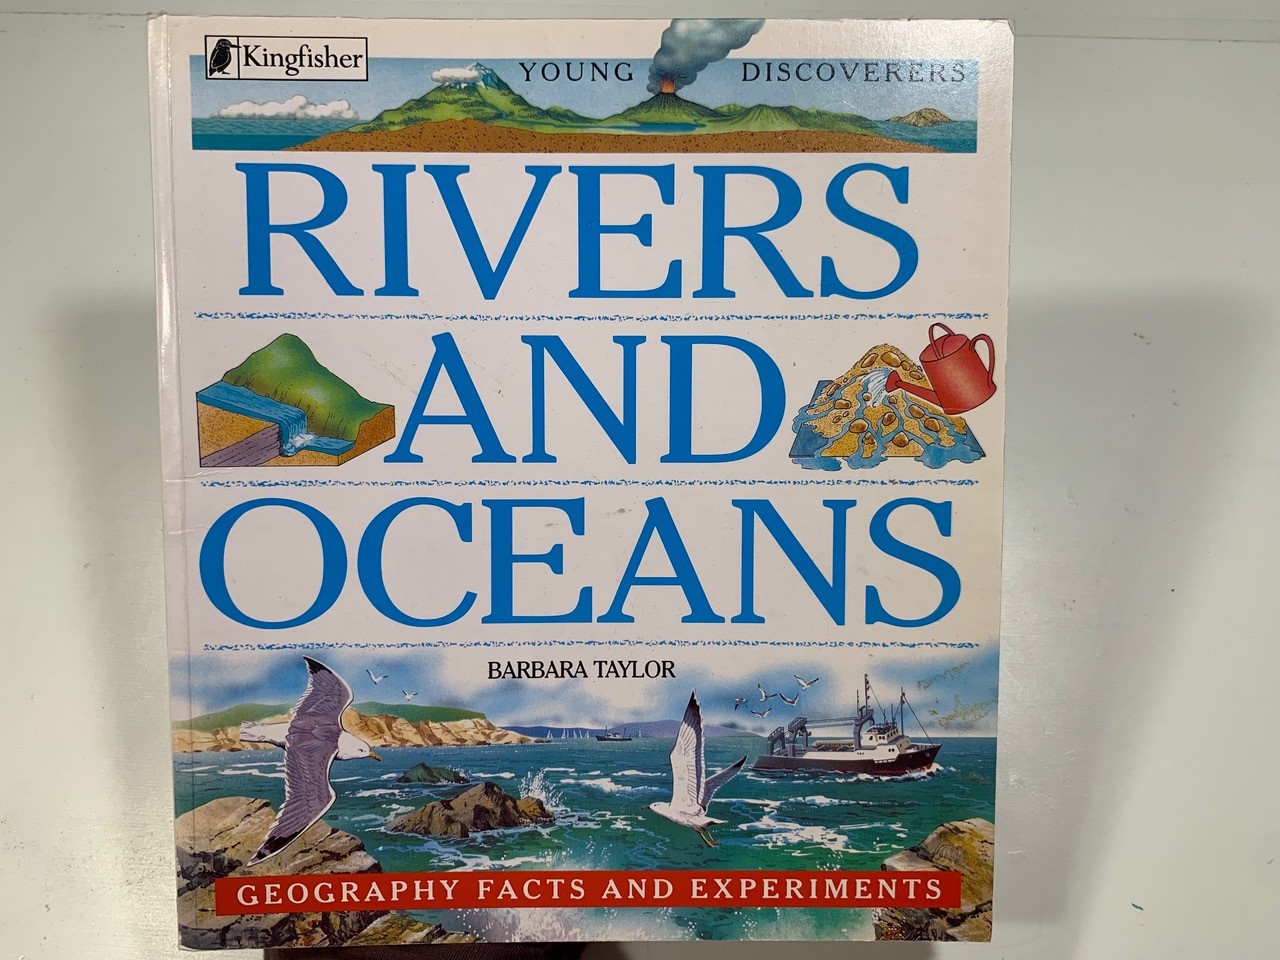
This project is from the book Rivers and Oceans by Barbara Taylor by Kingfisher publications.
Find me on YouTube, Twitter, Instagram and Facebook
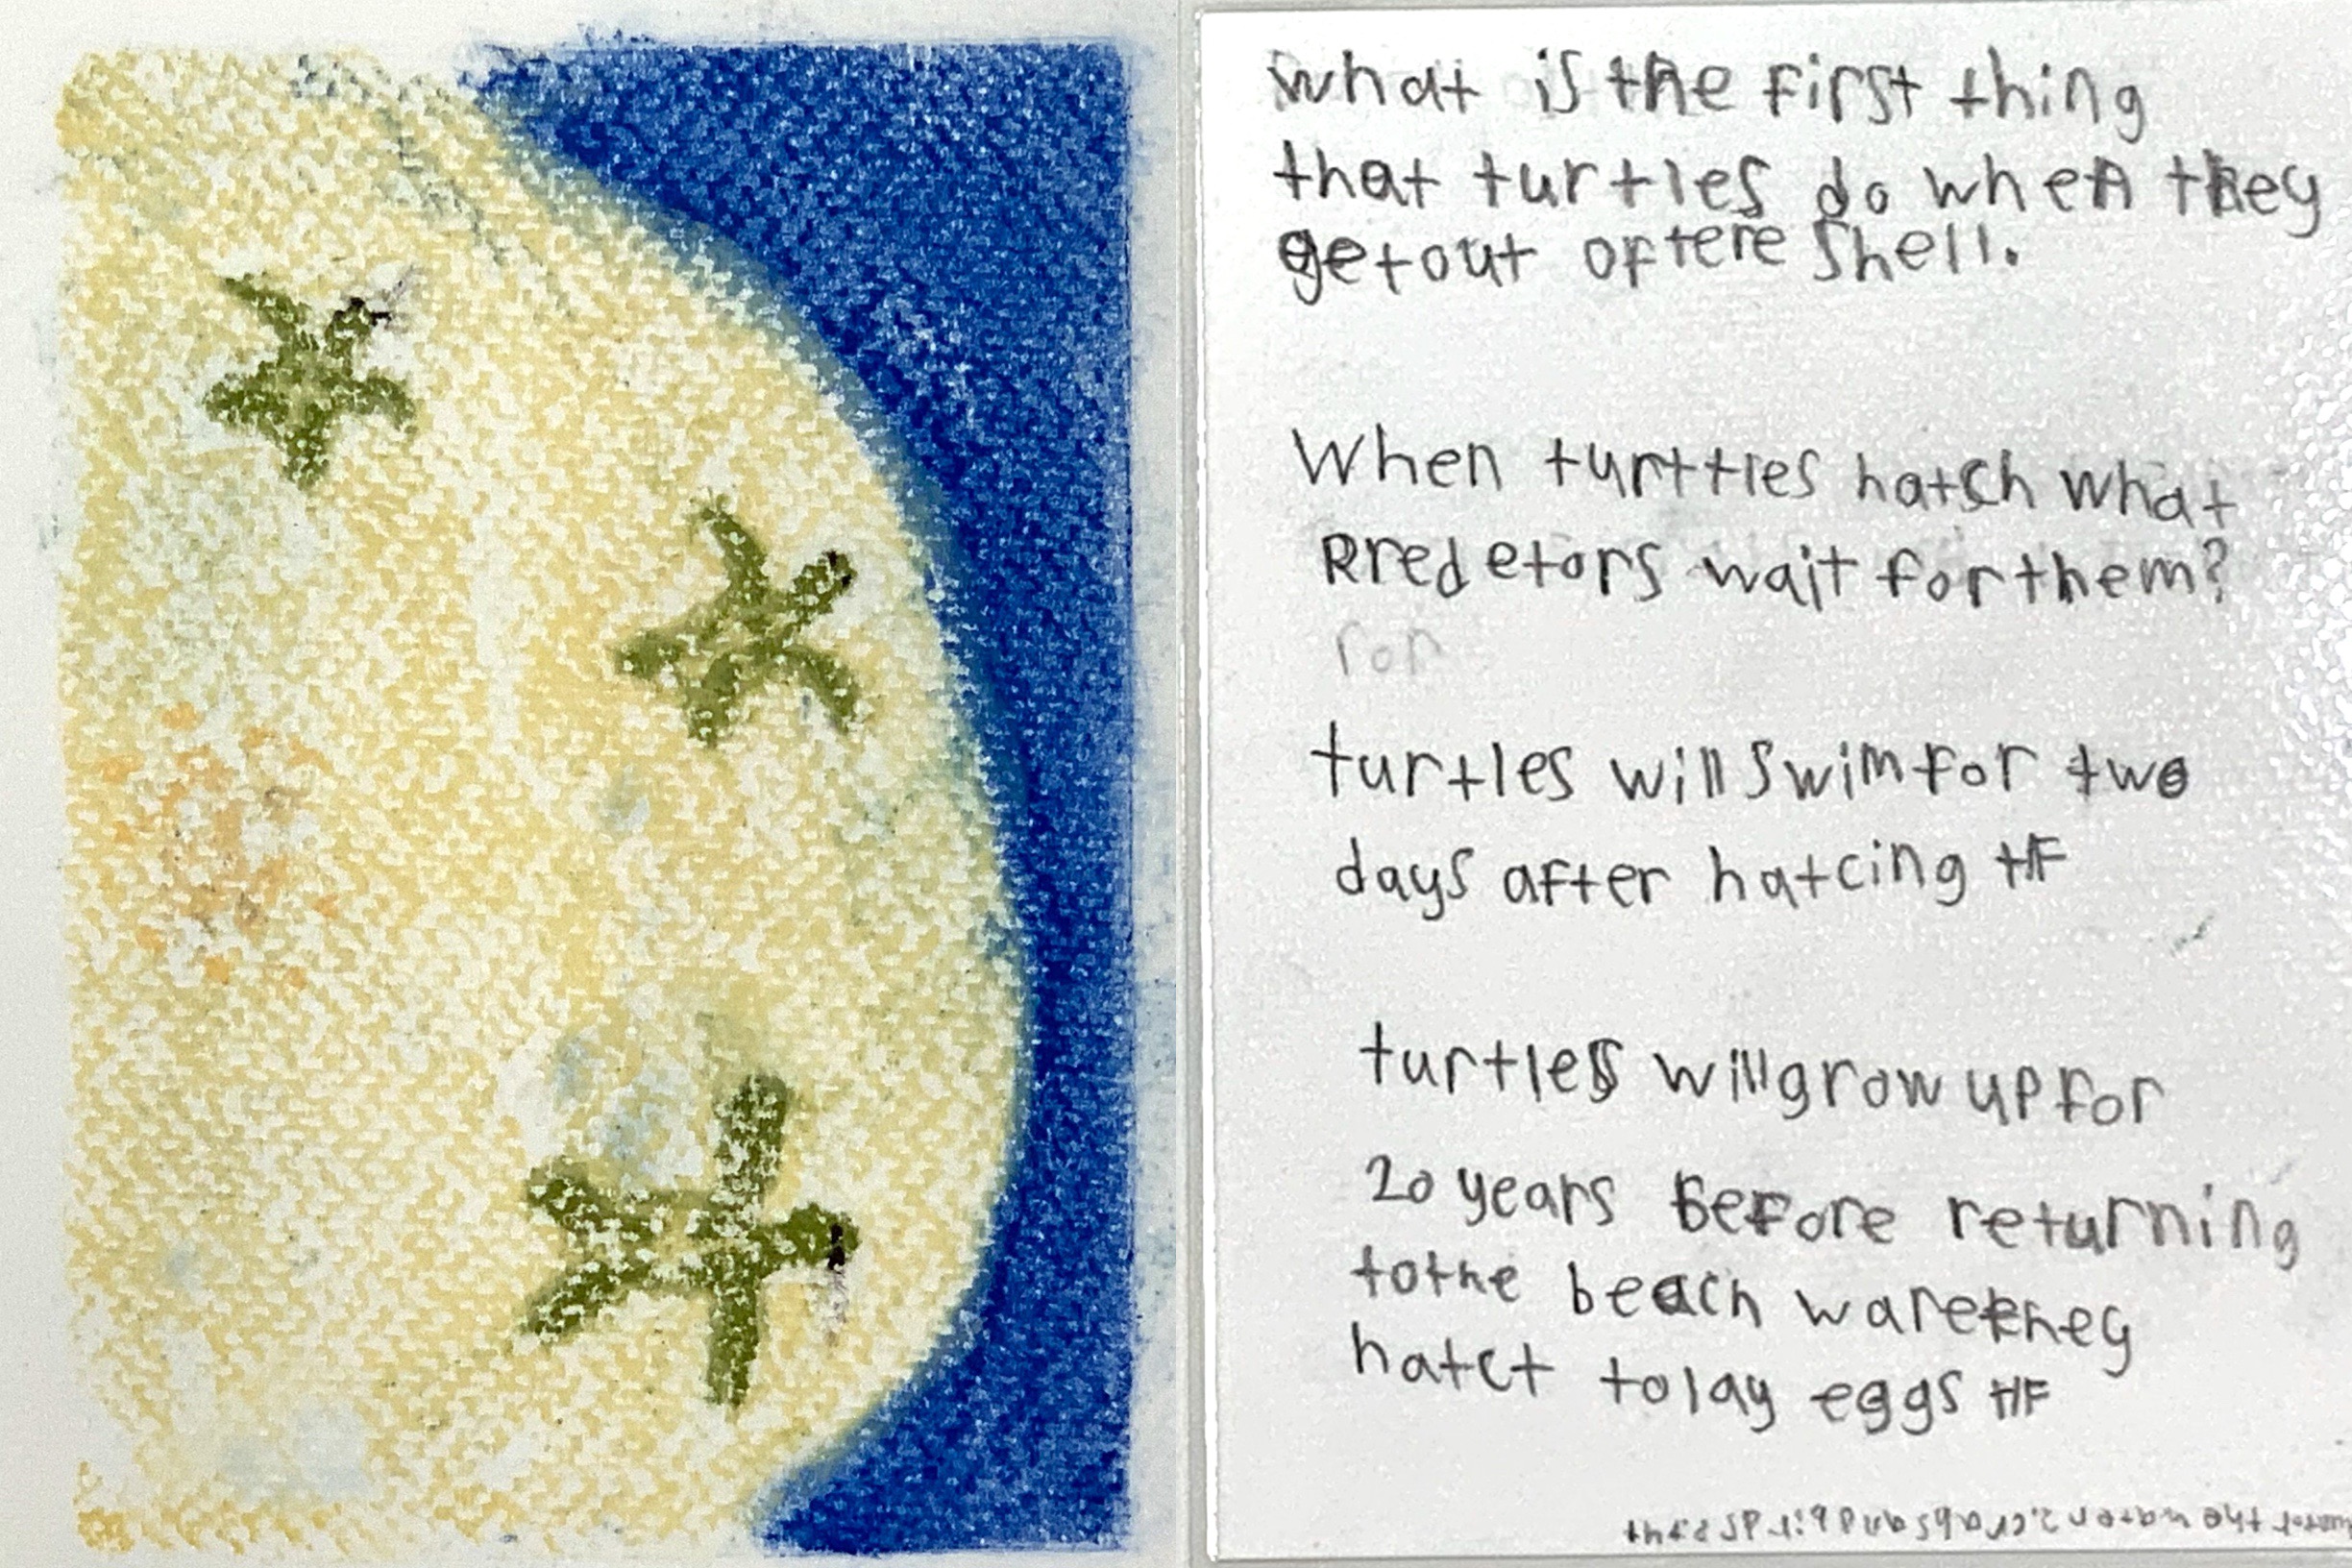
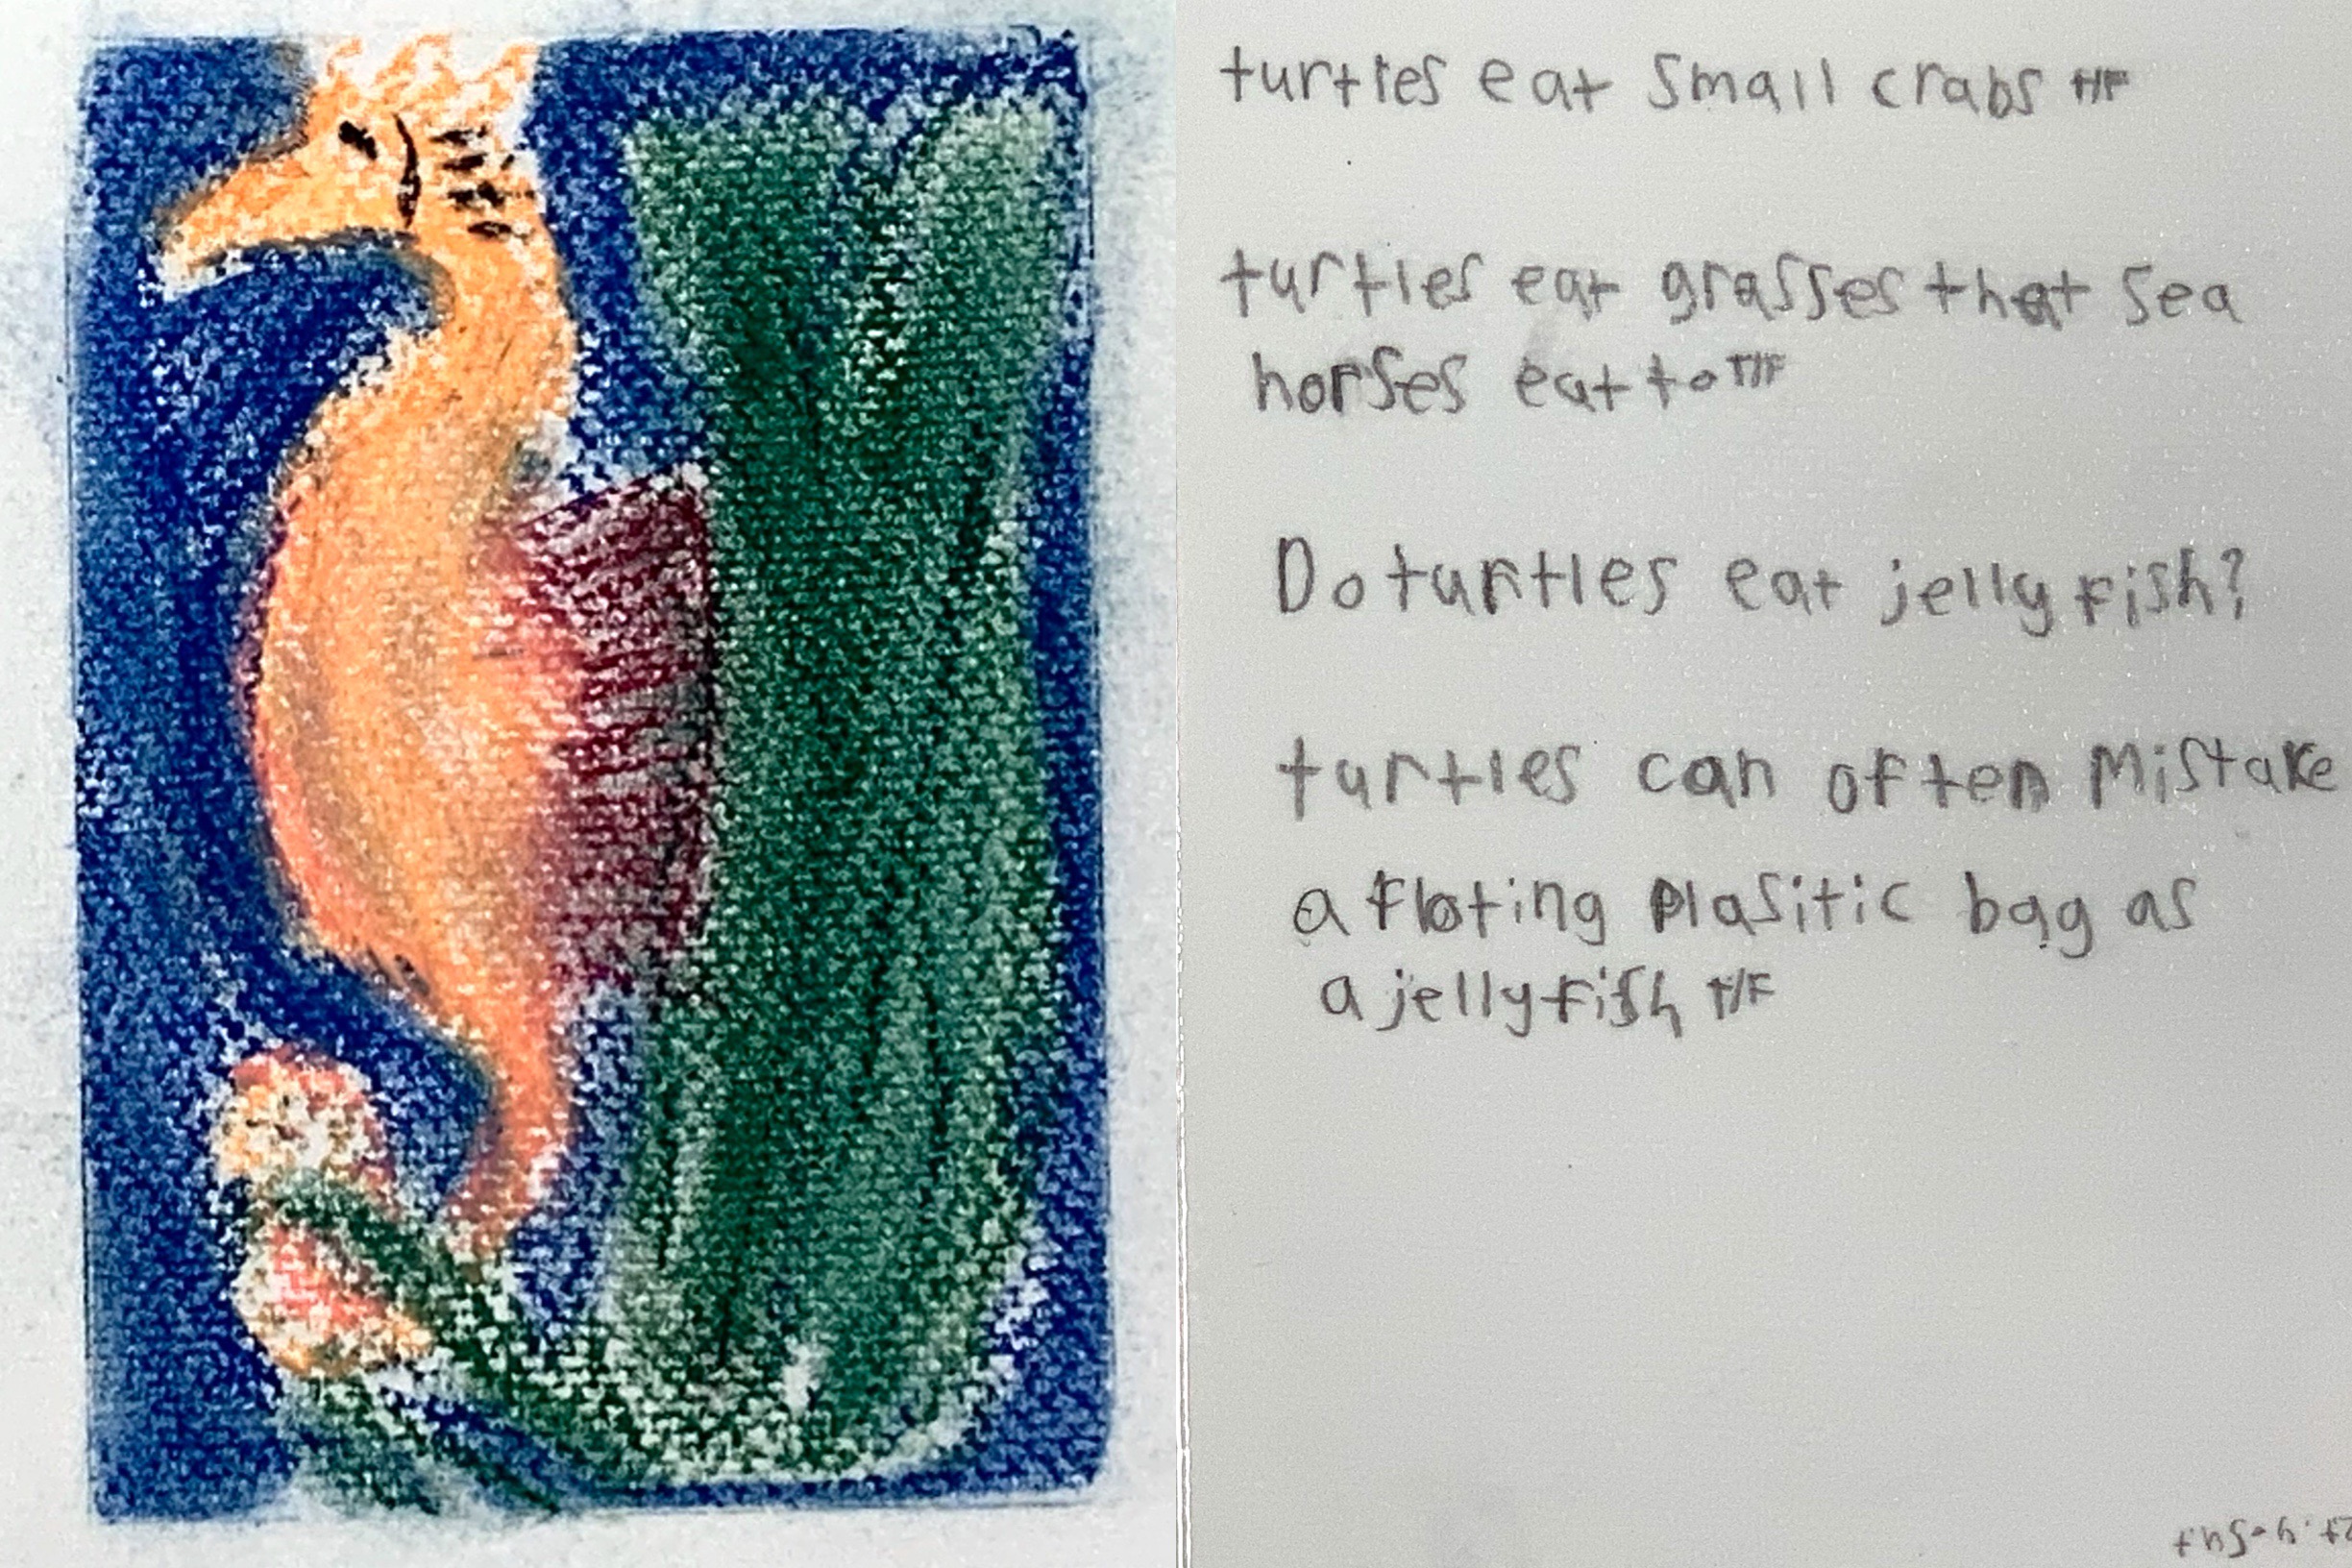
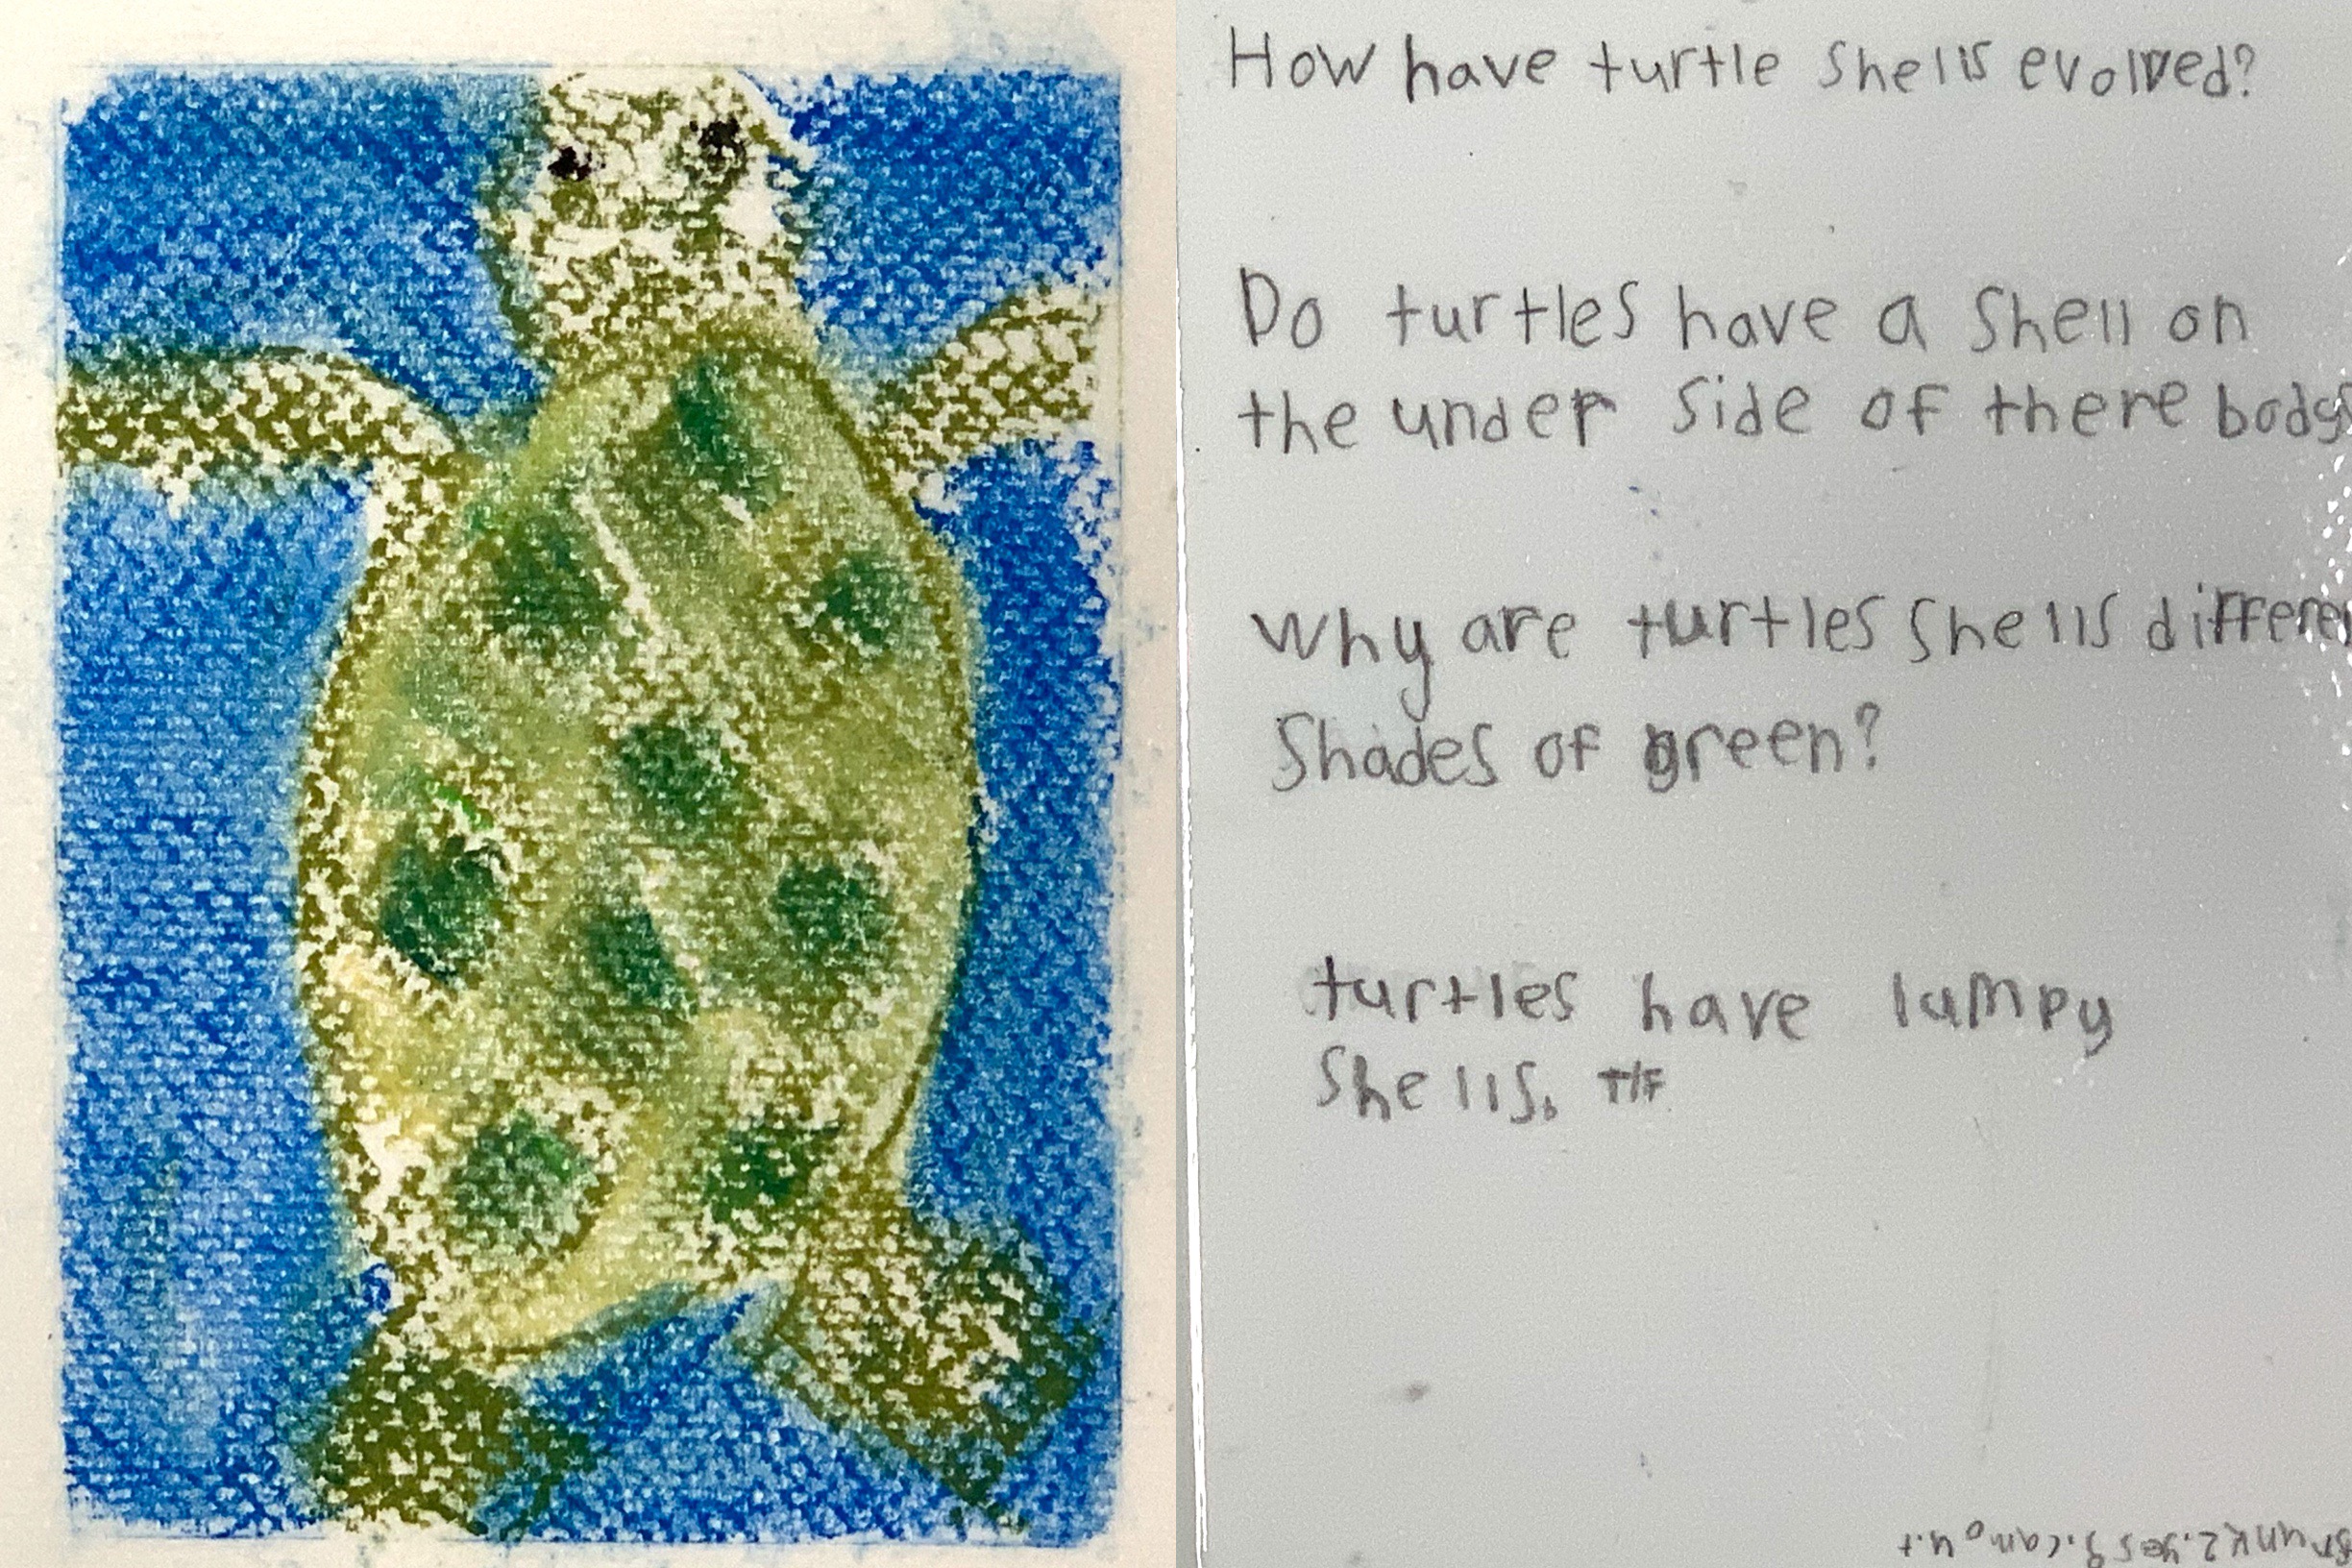
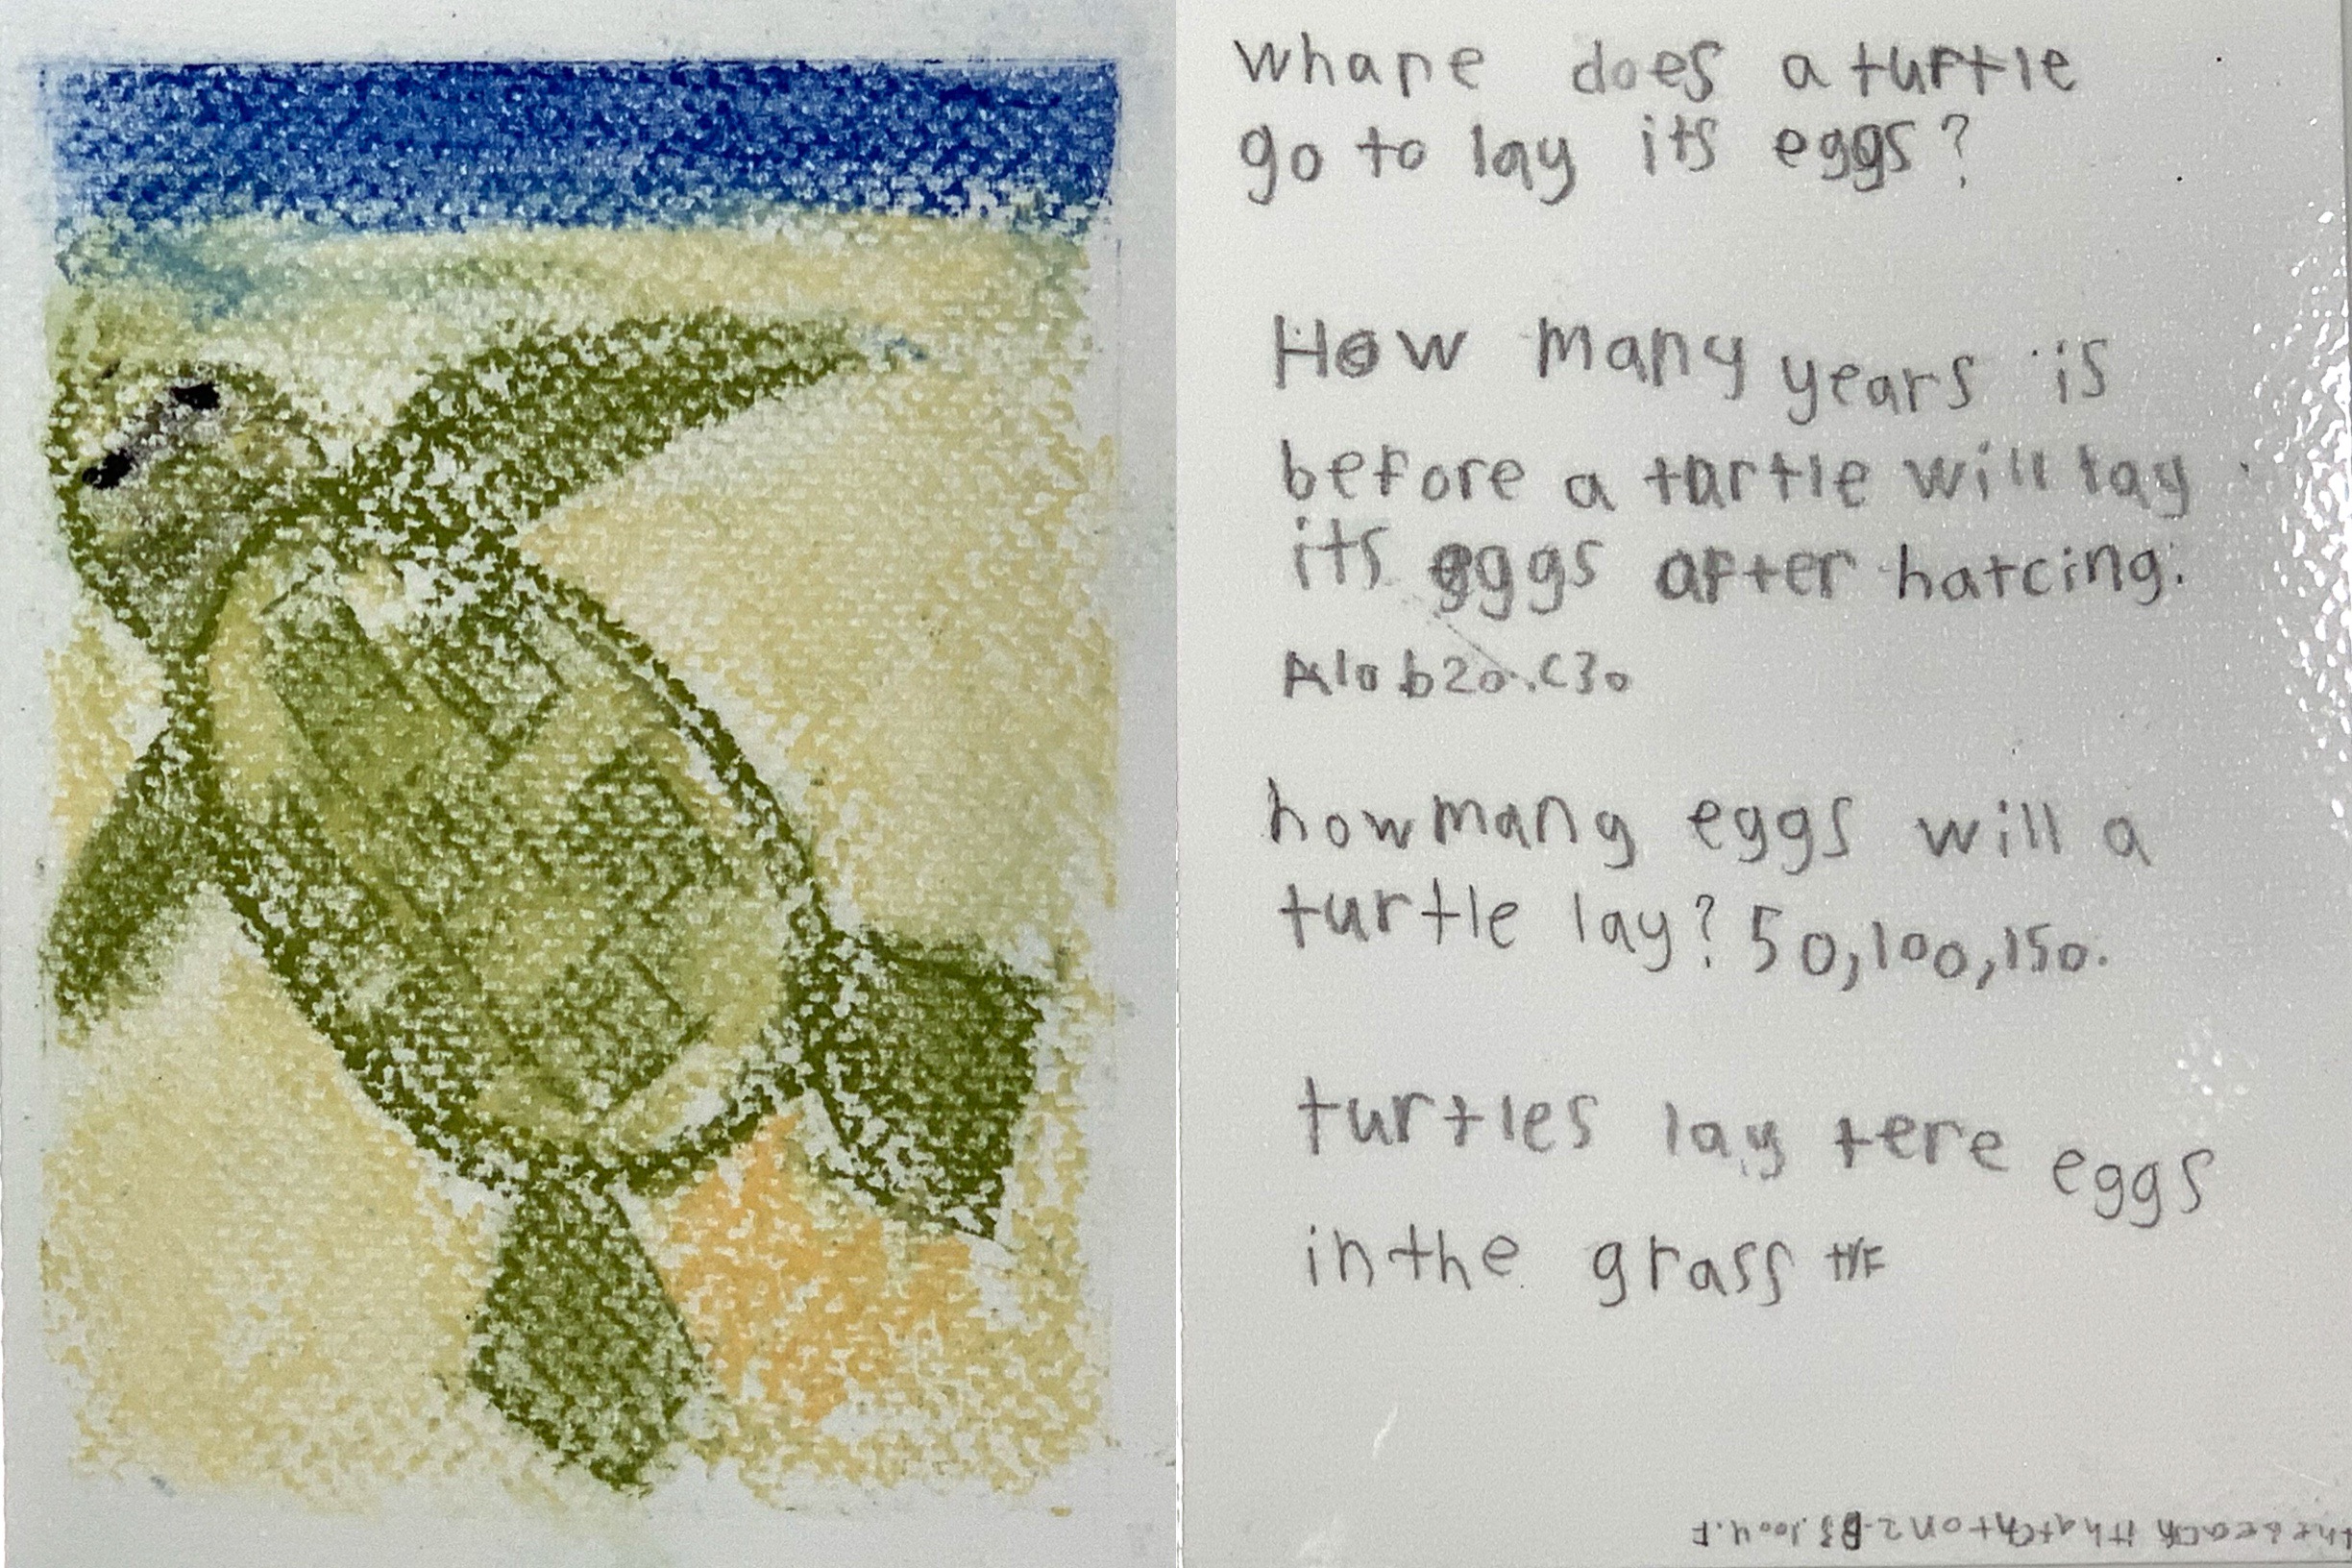
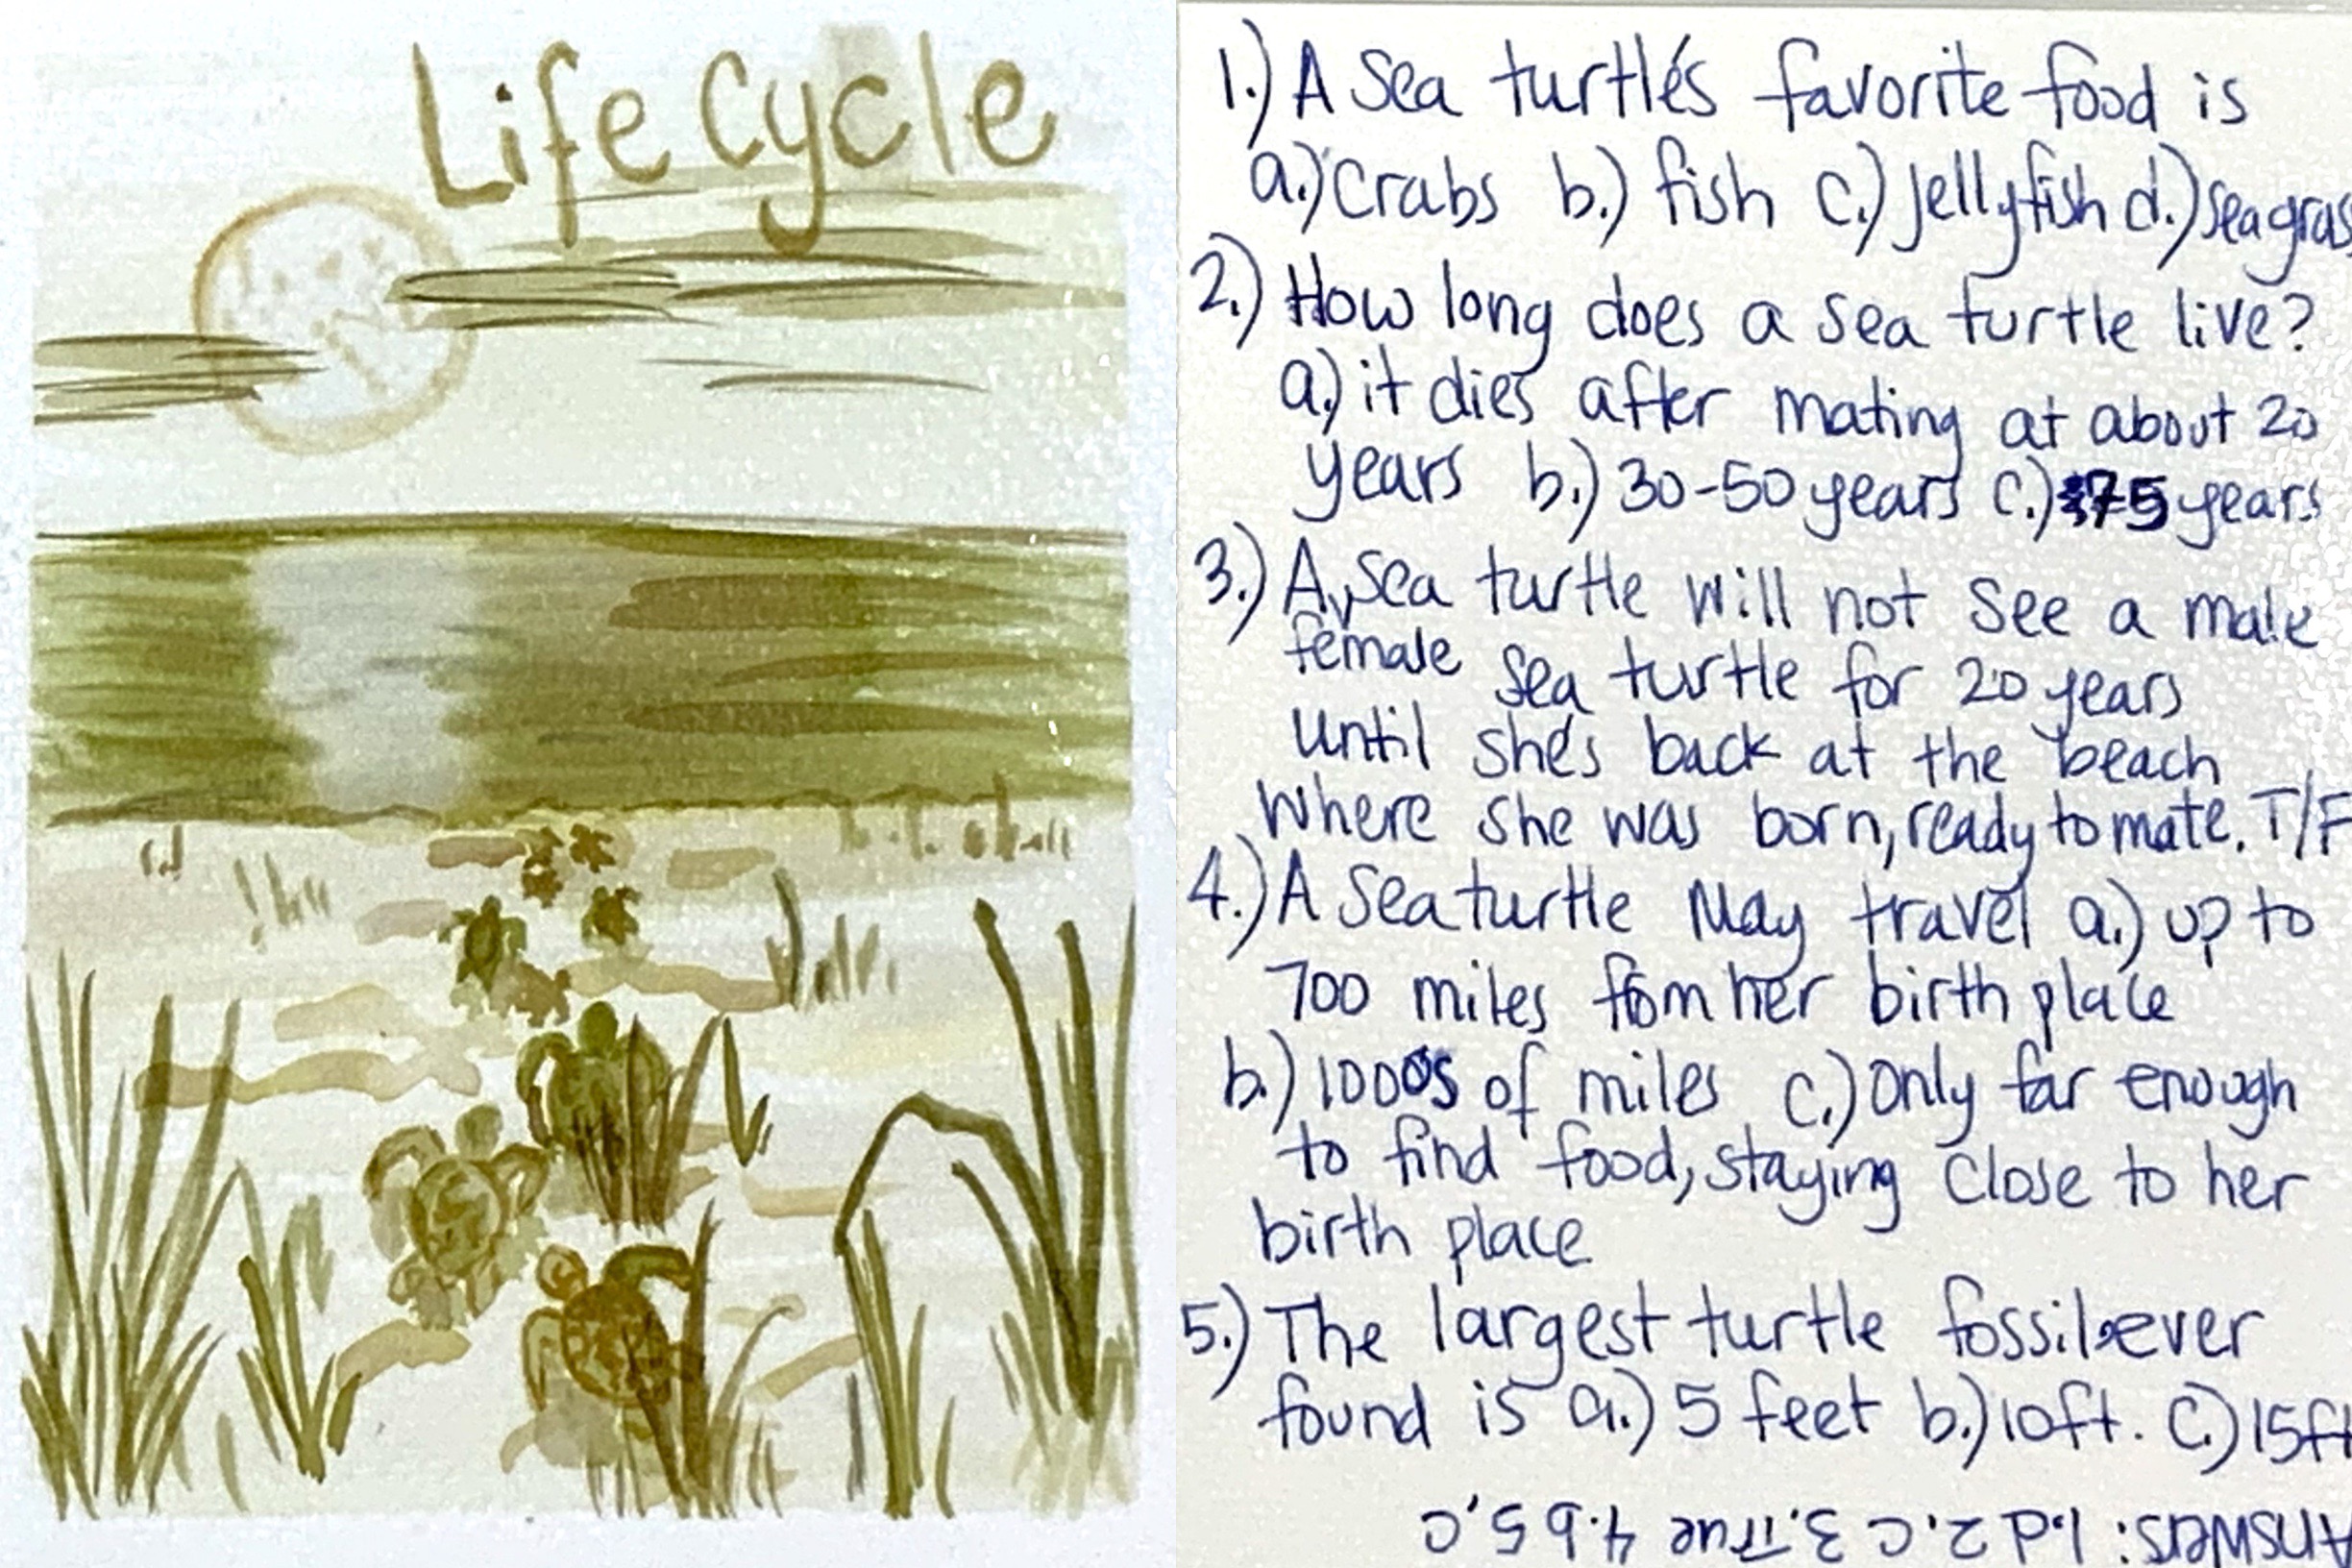
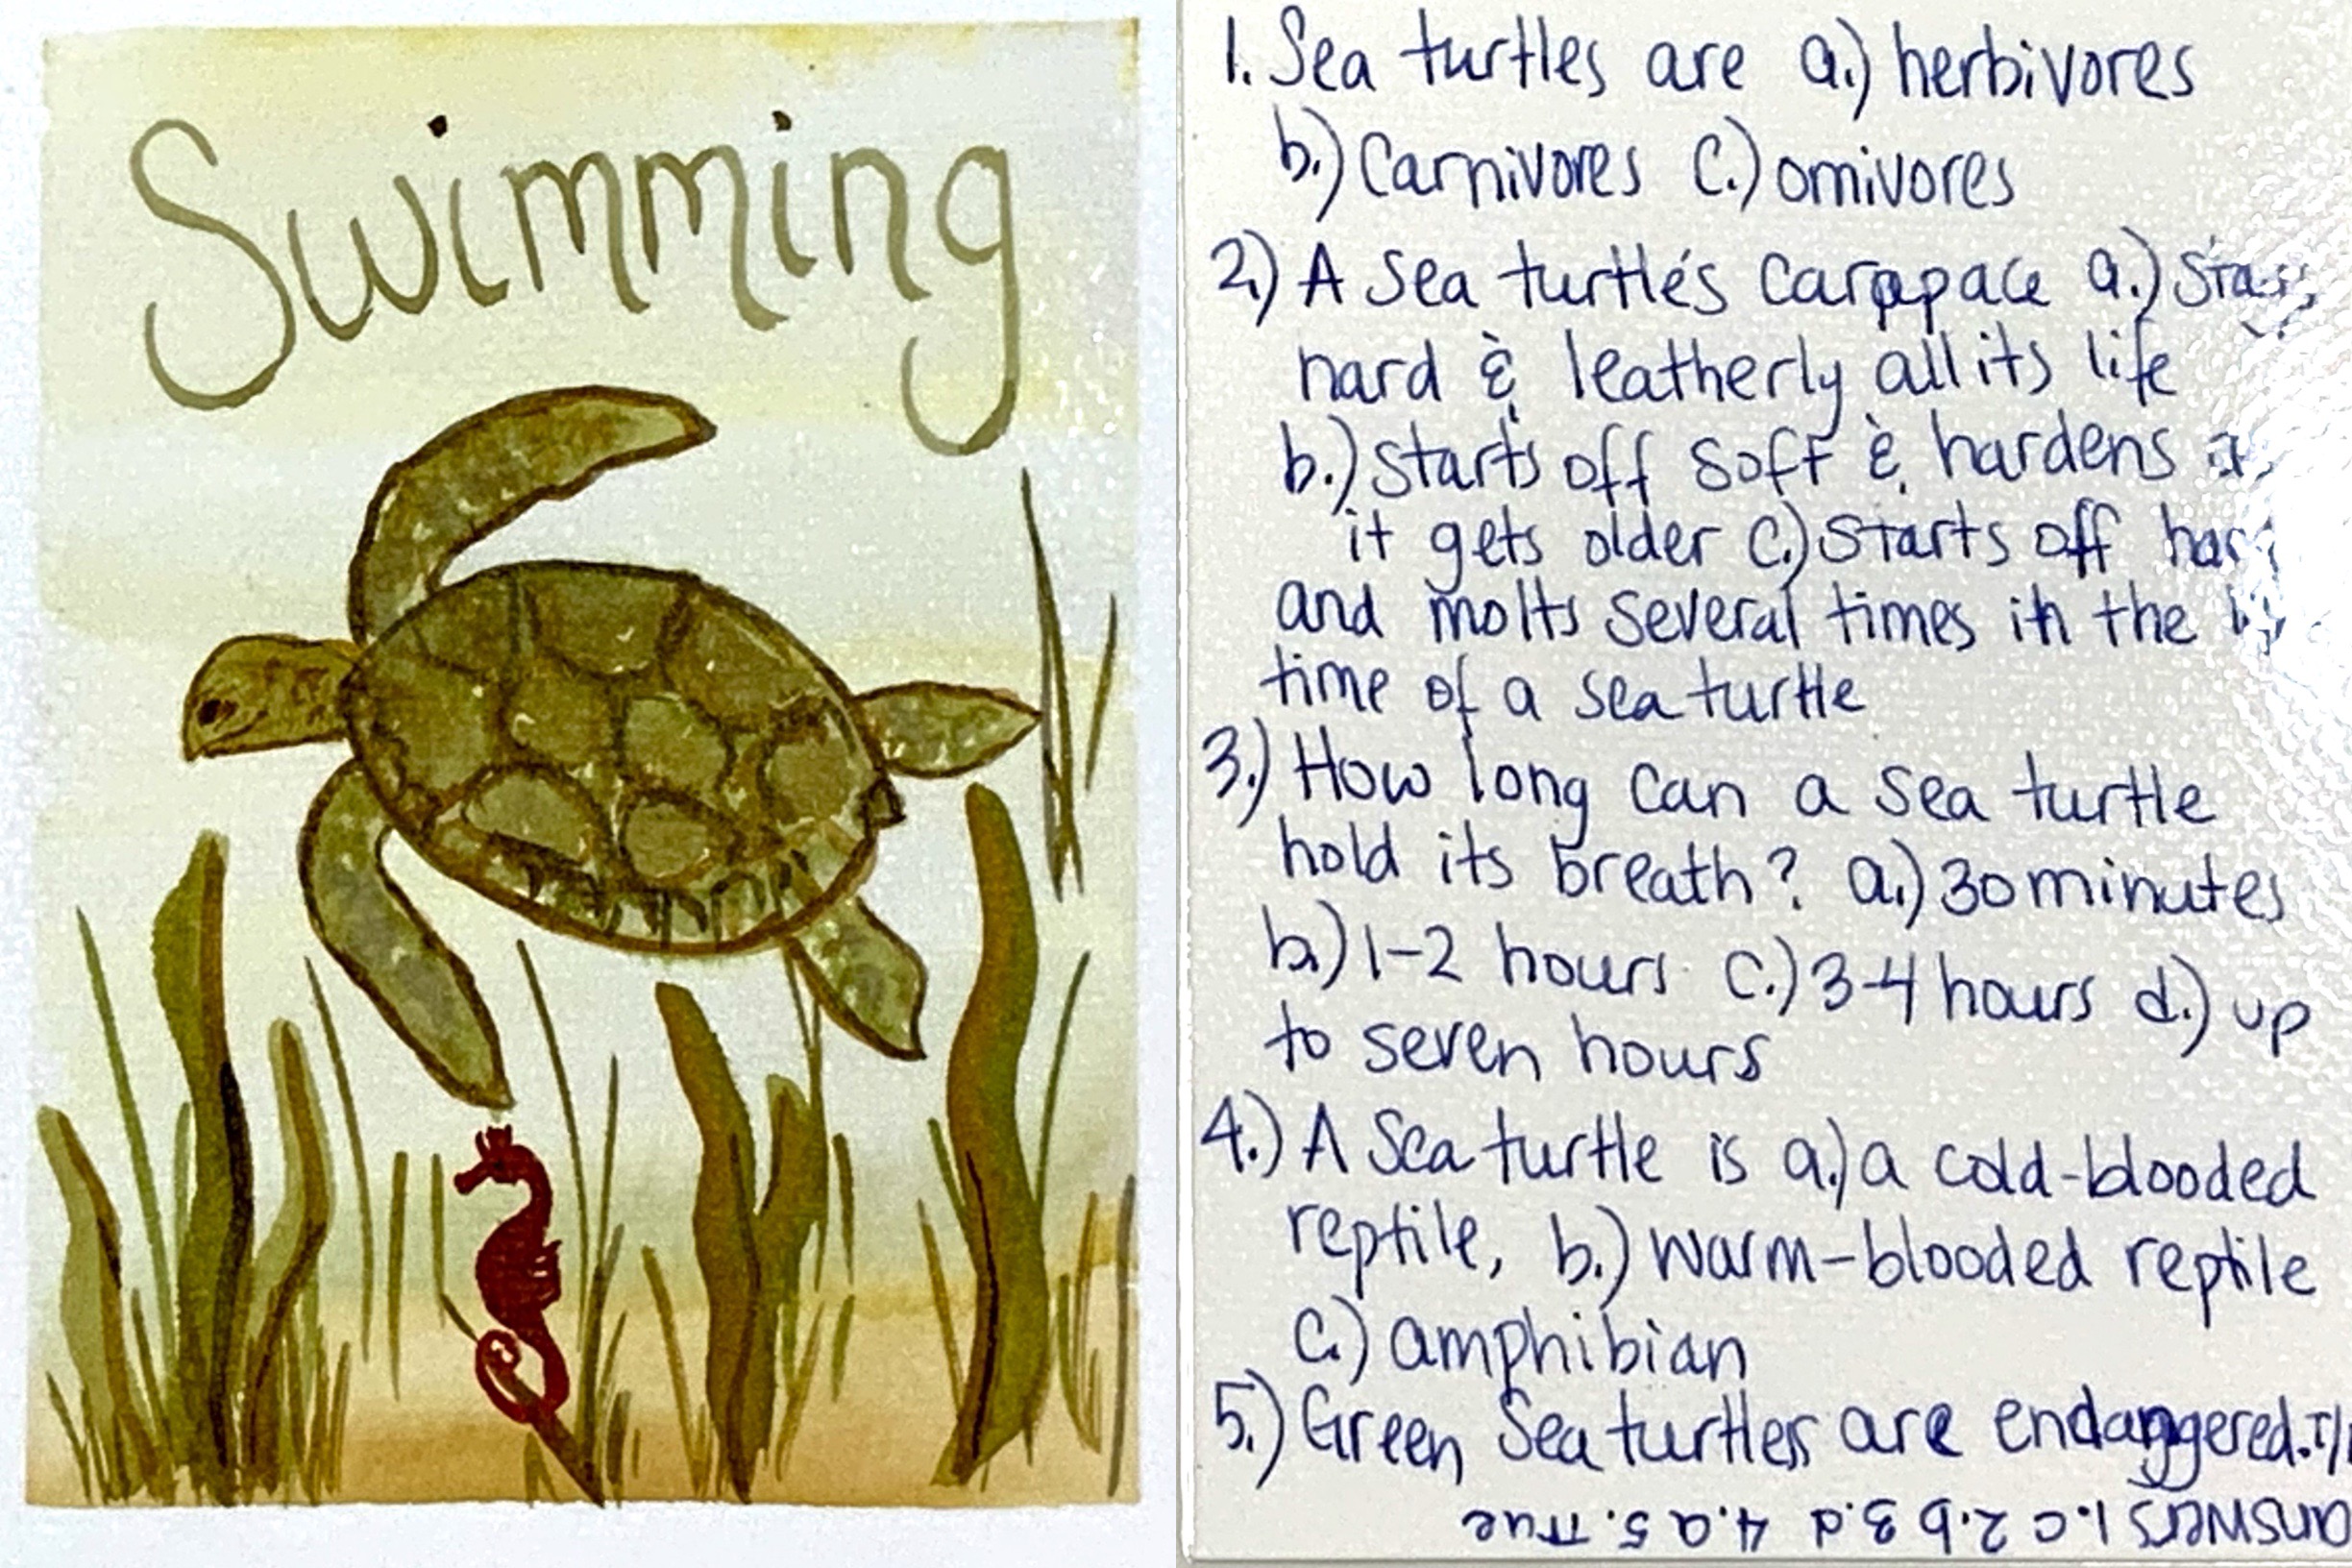
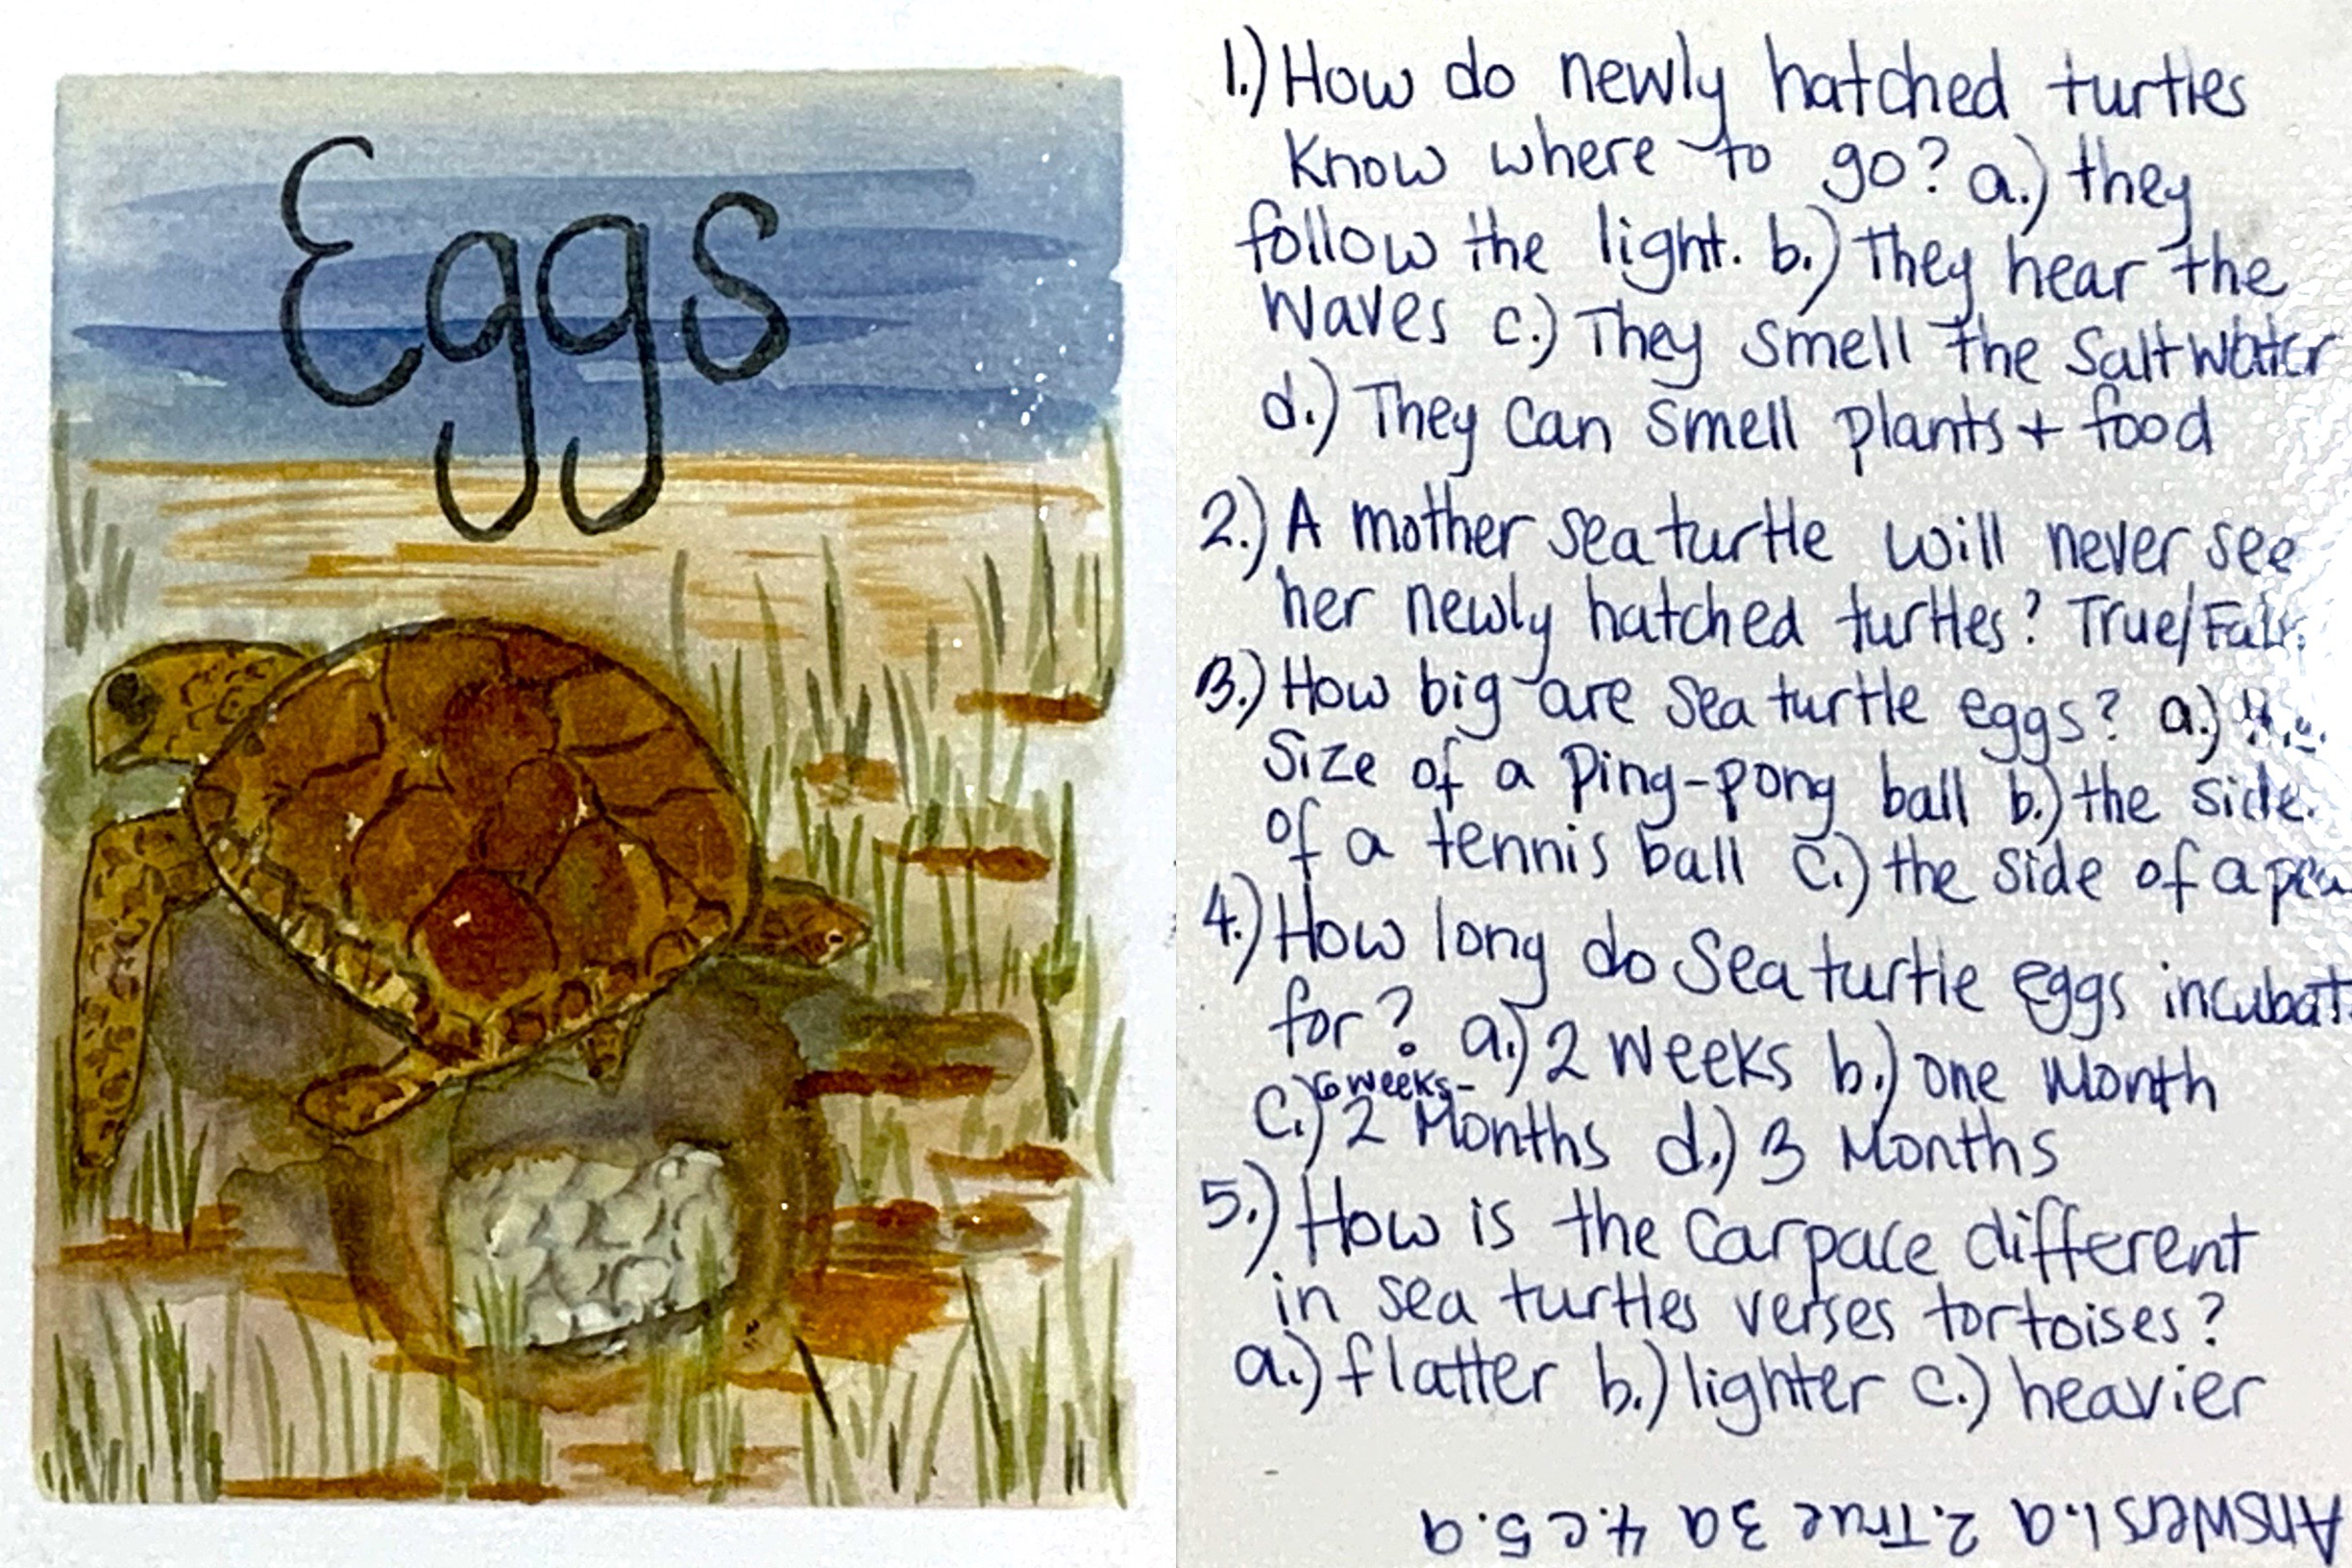
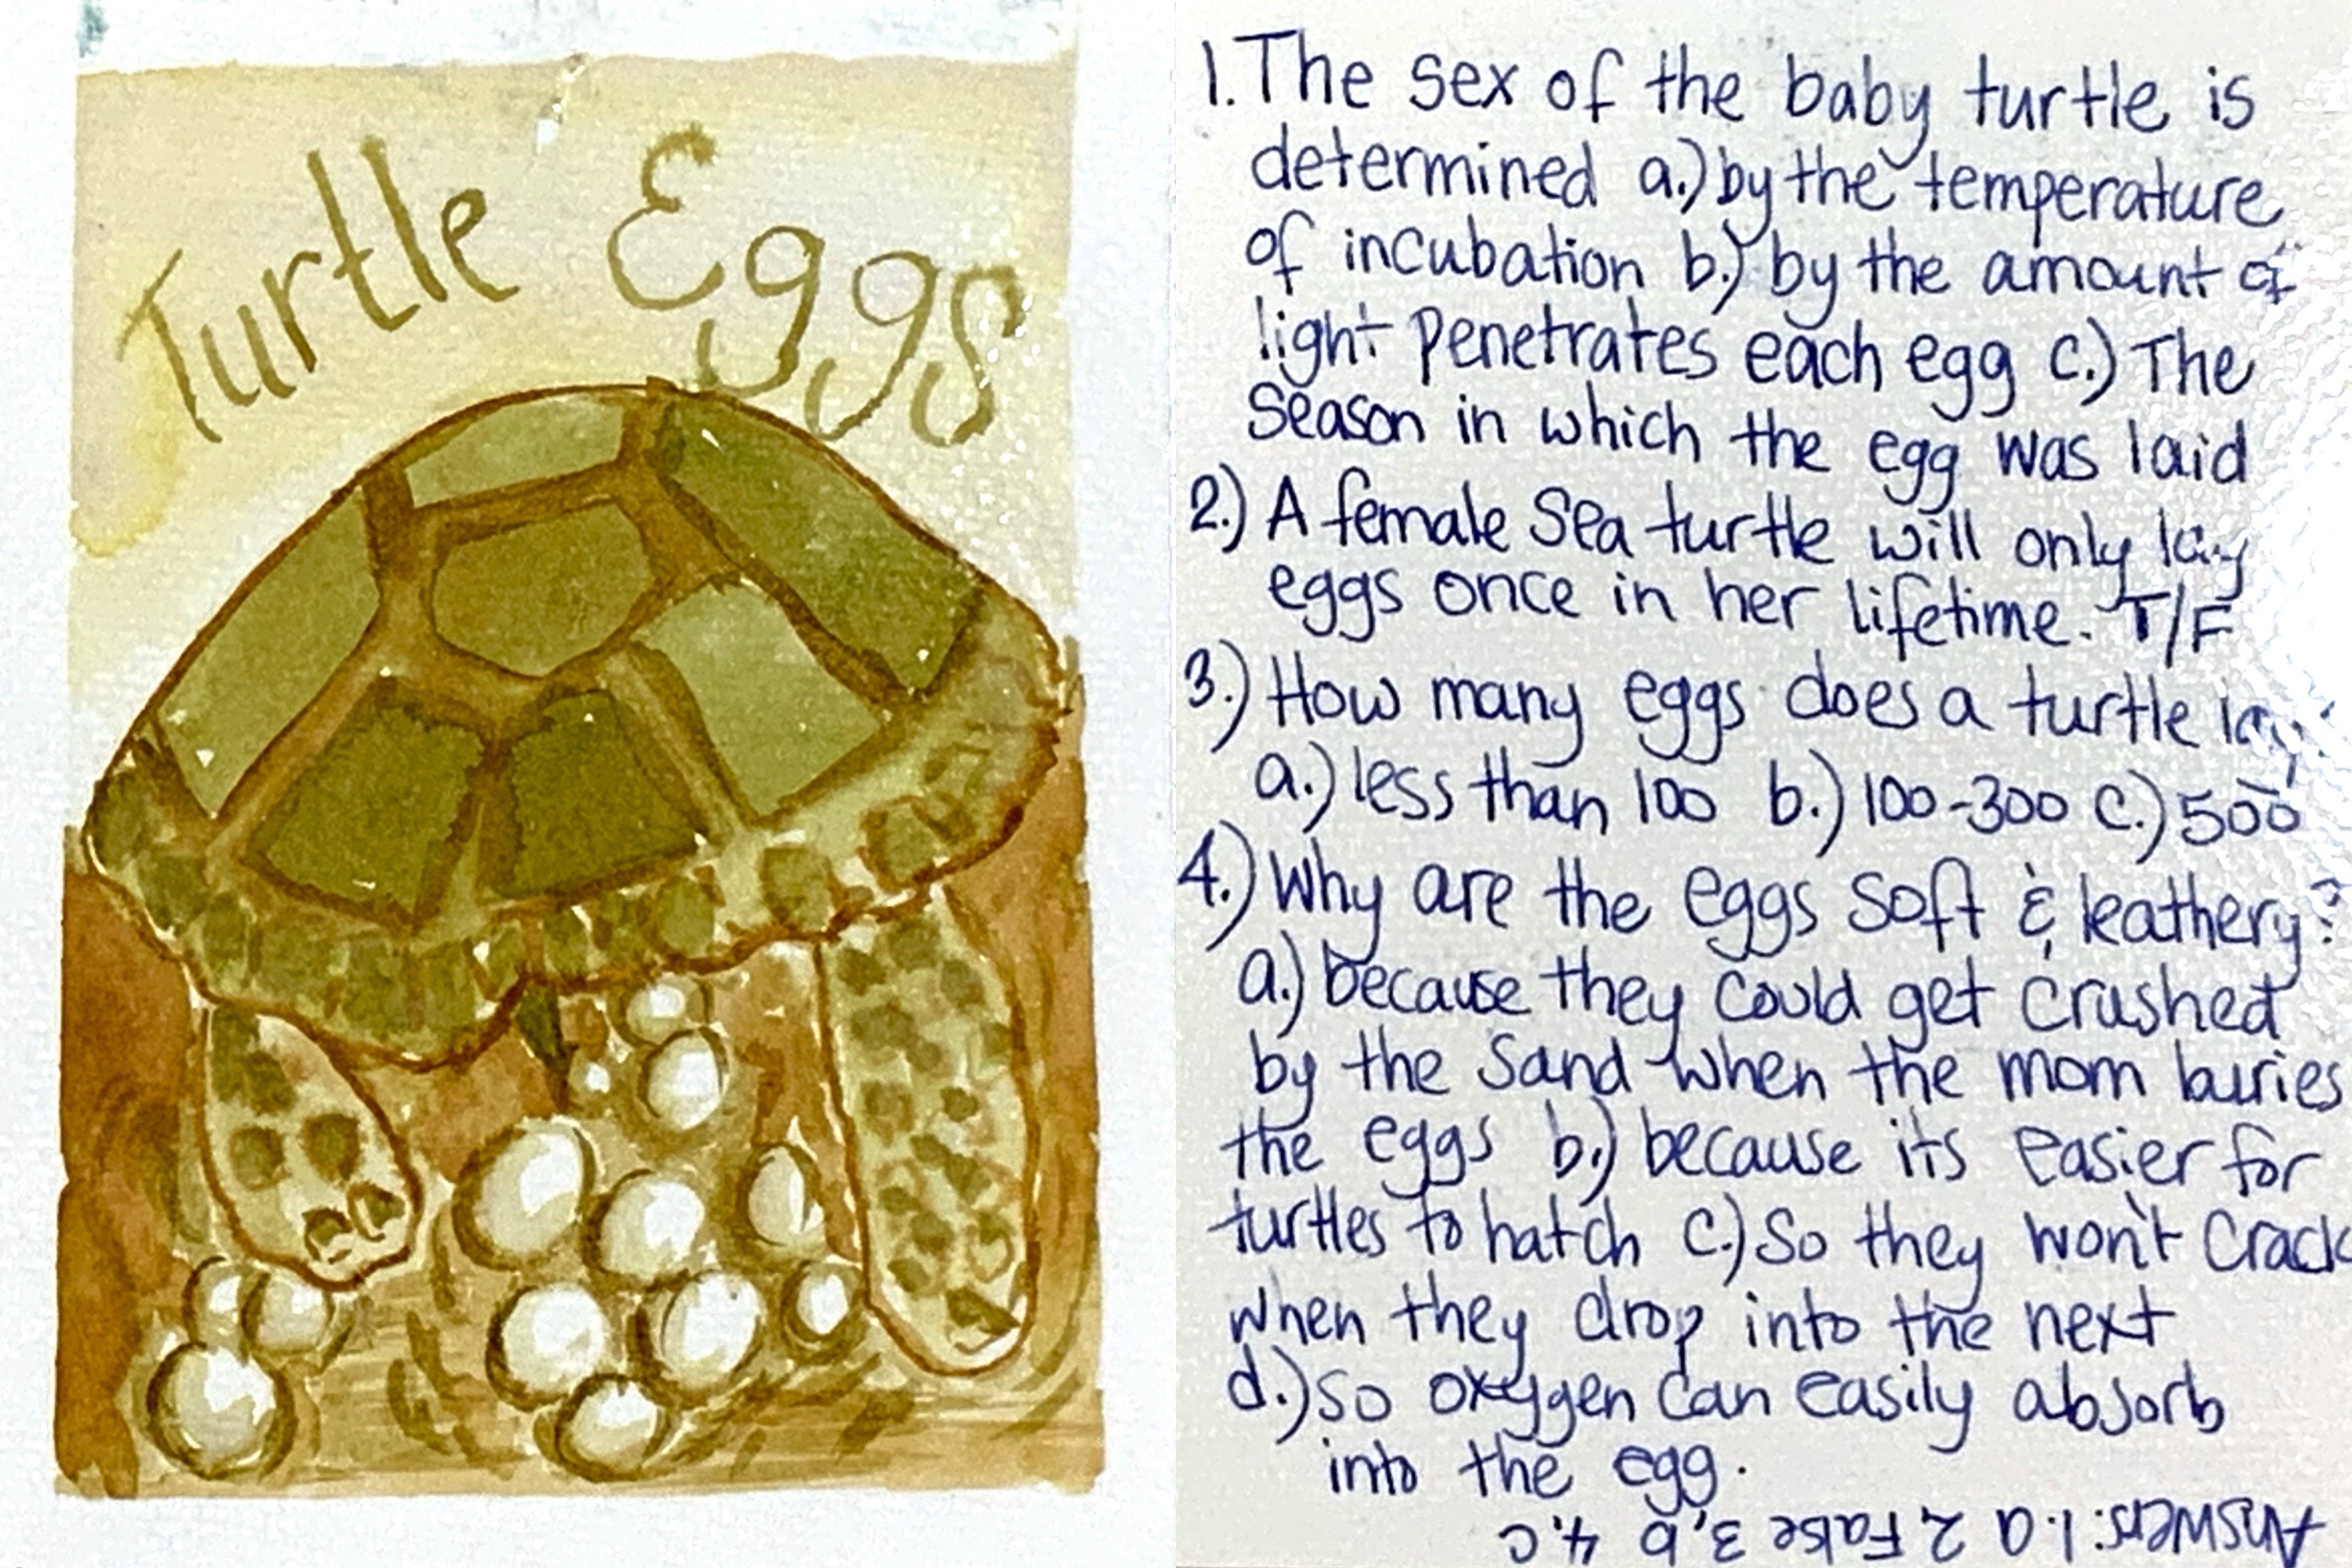
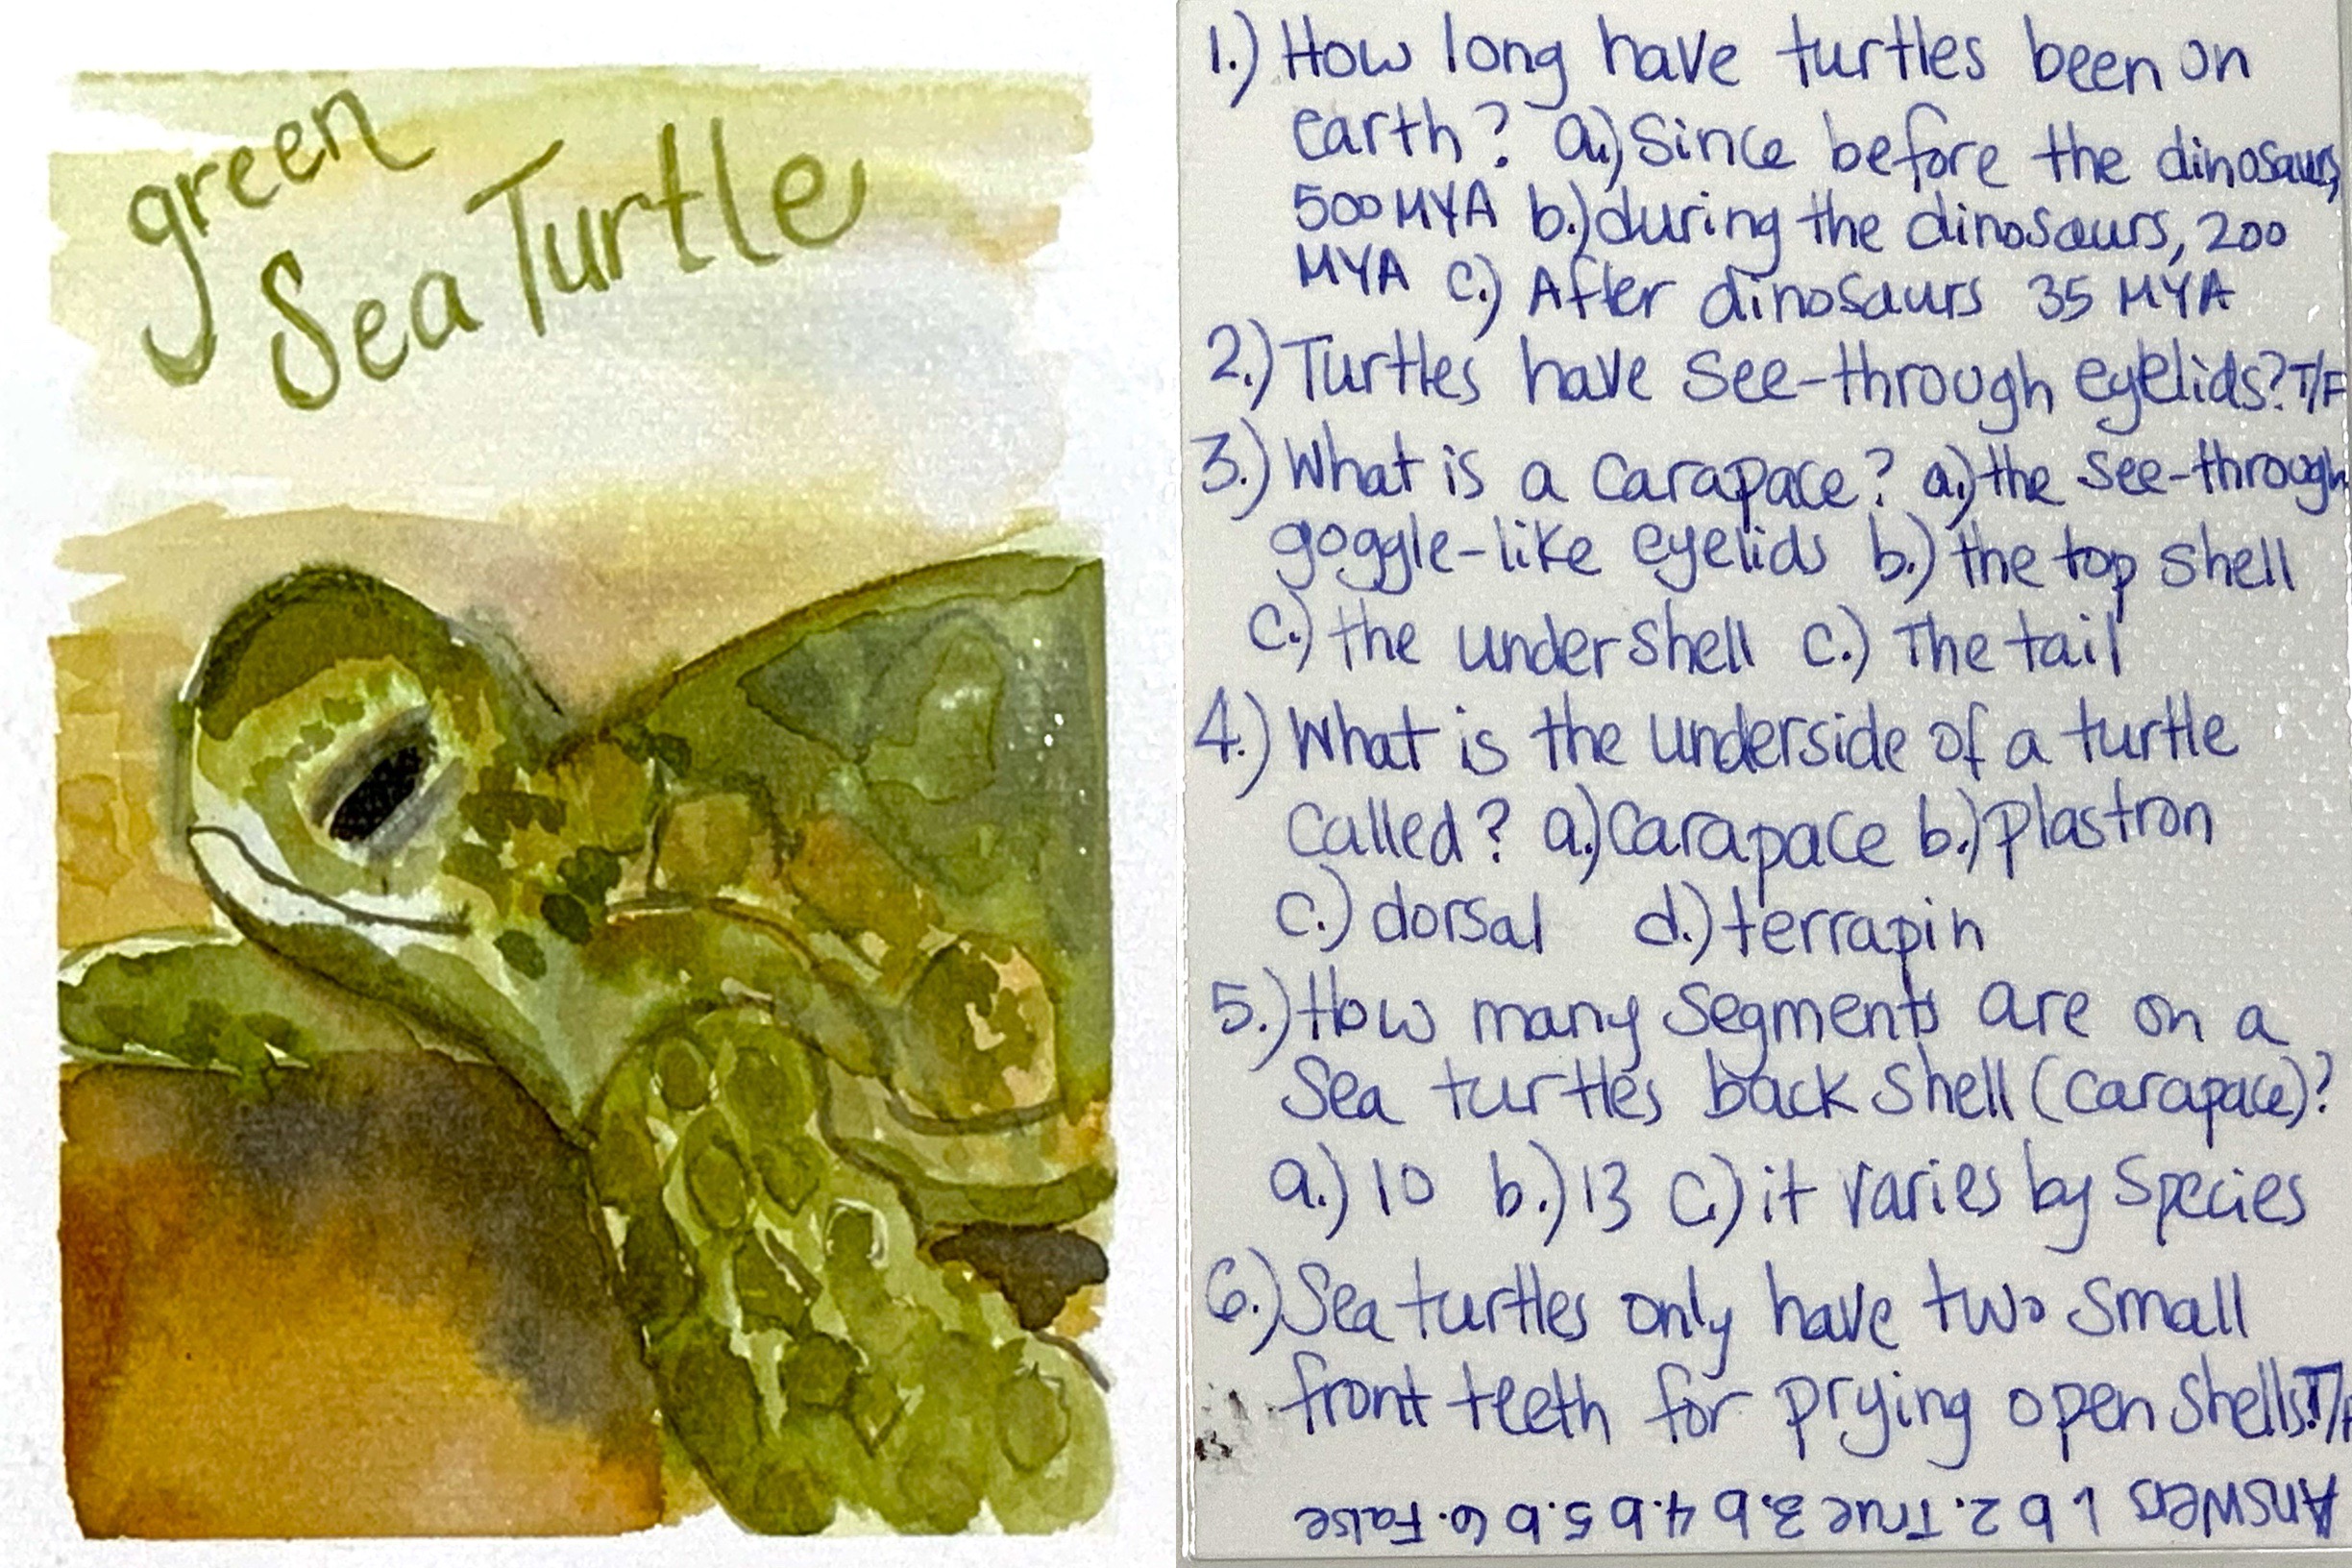
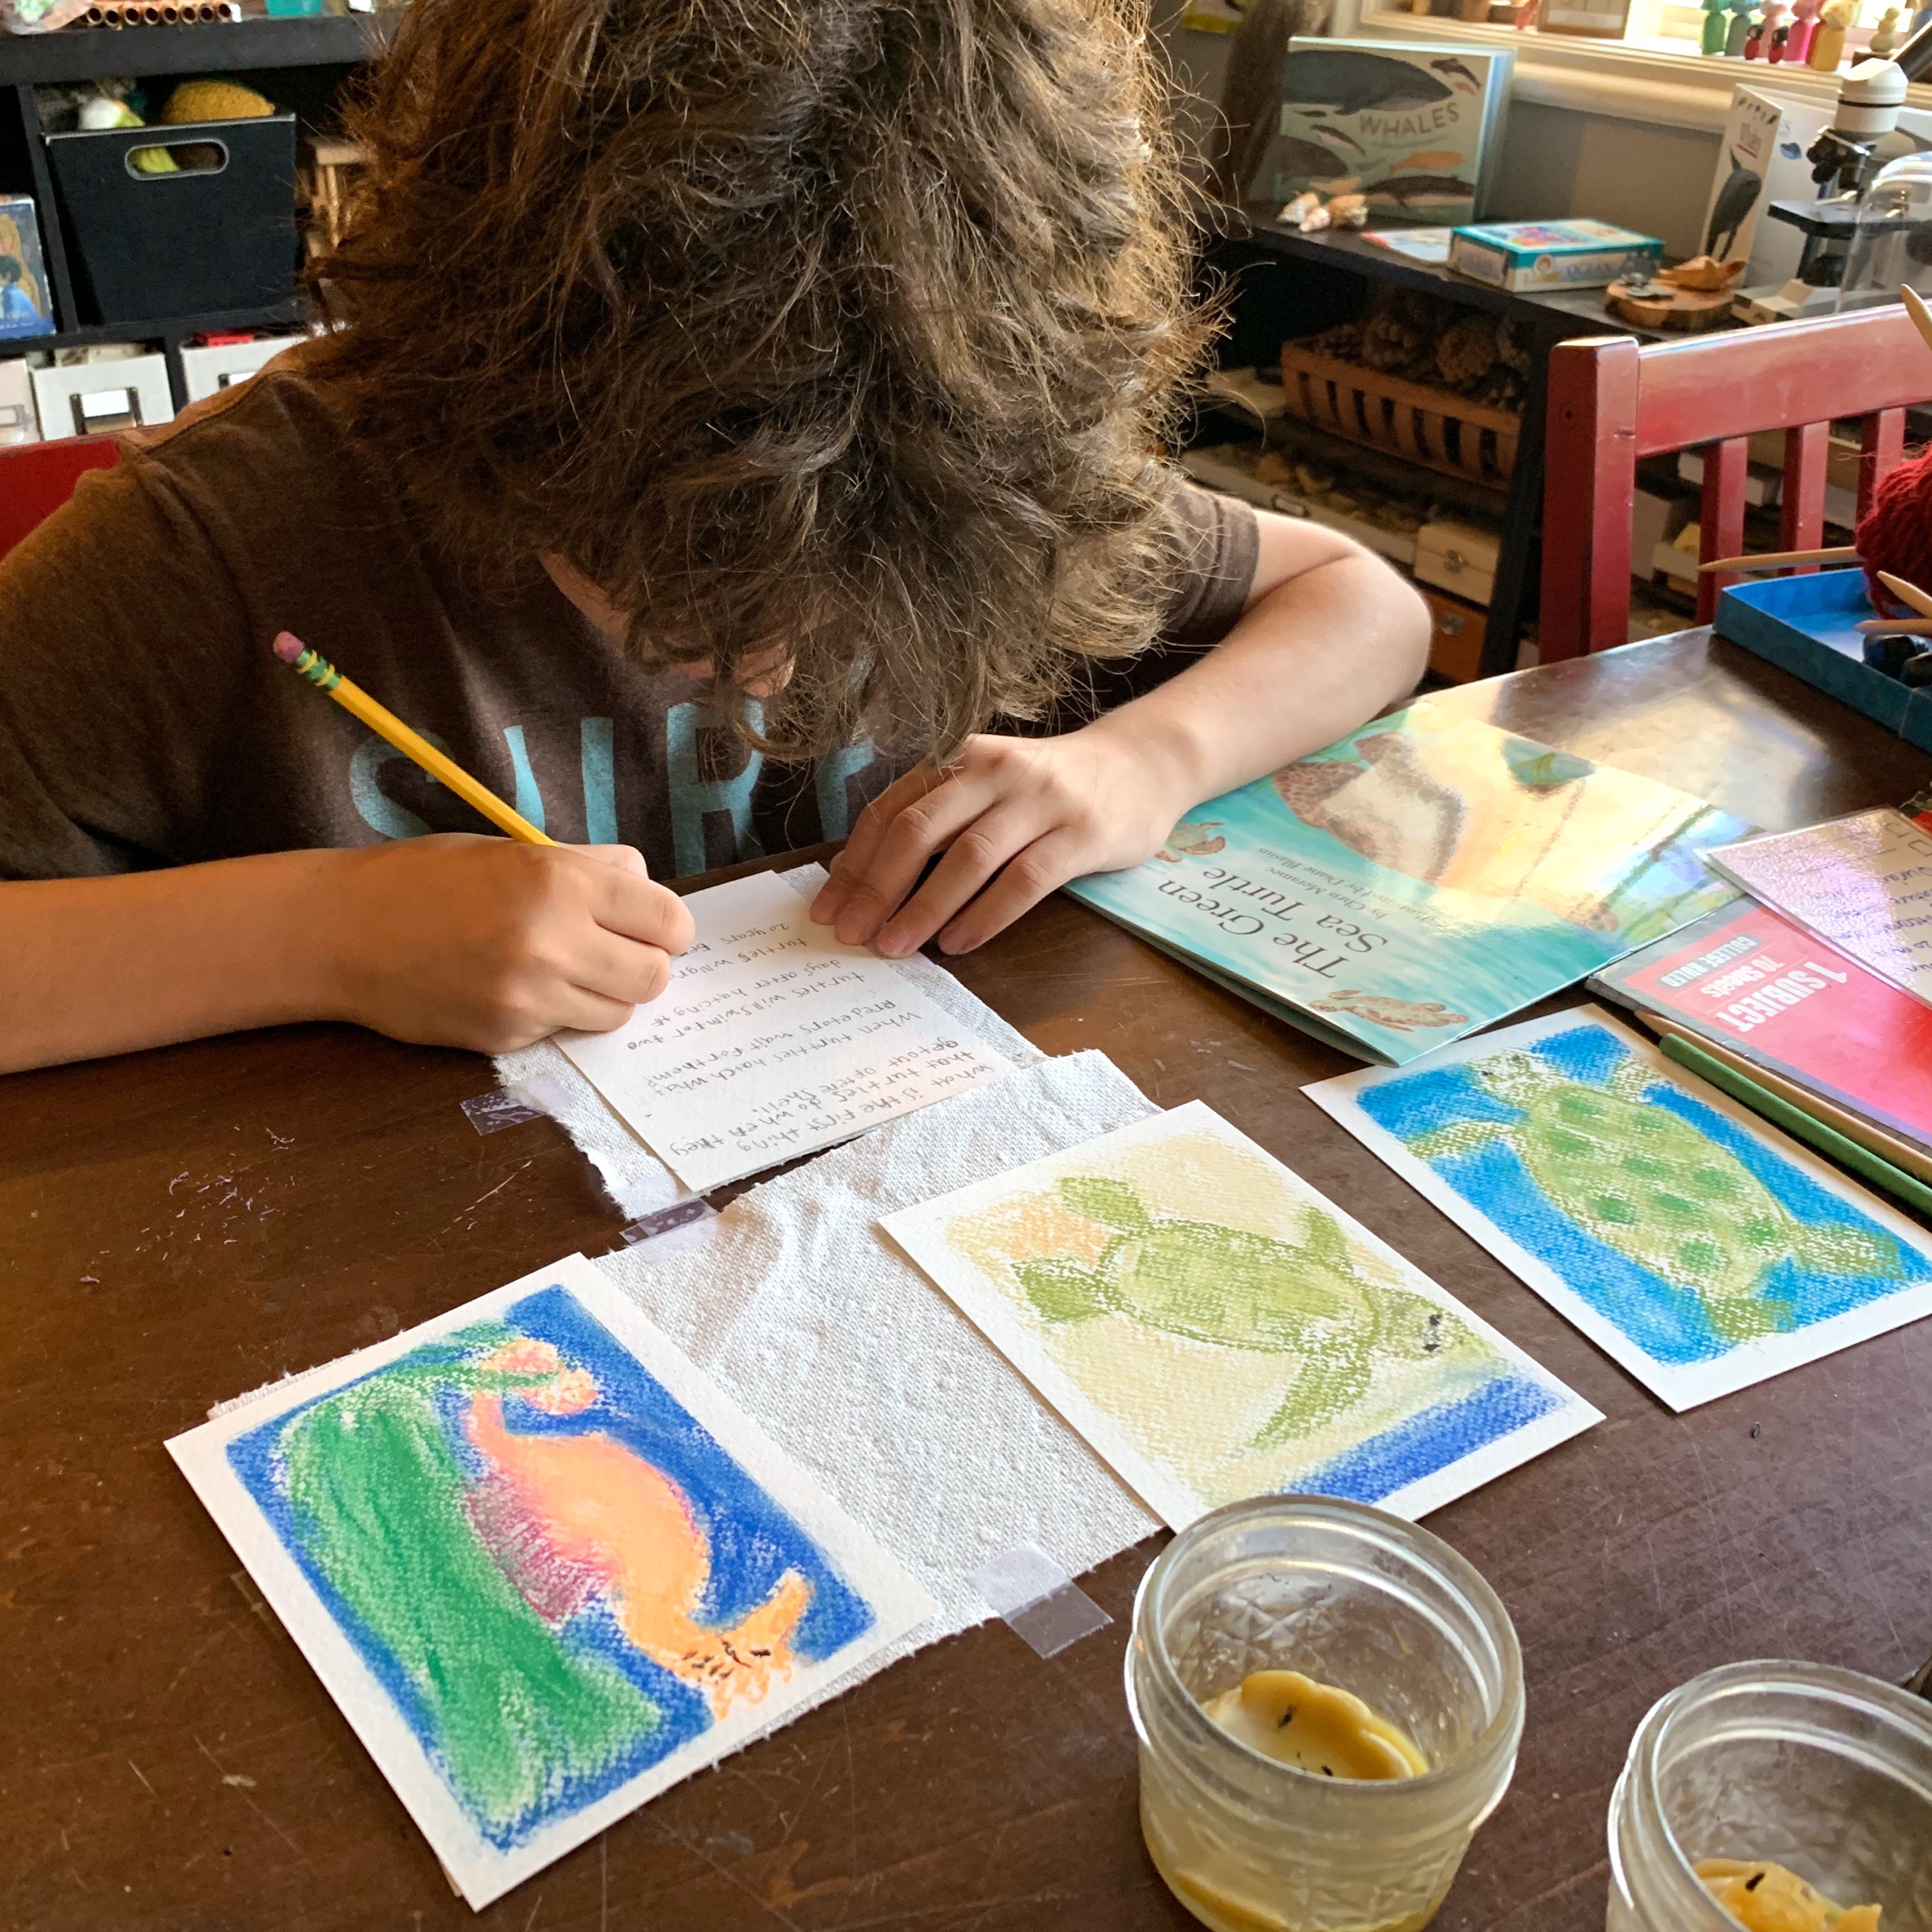
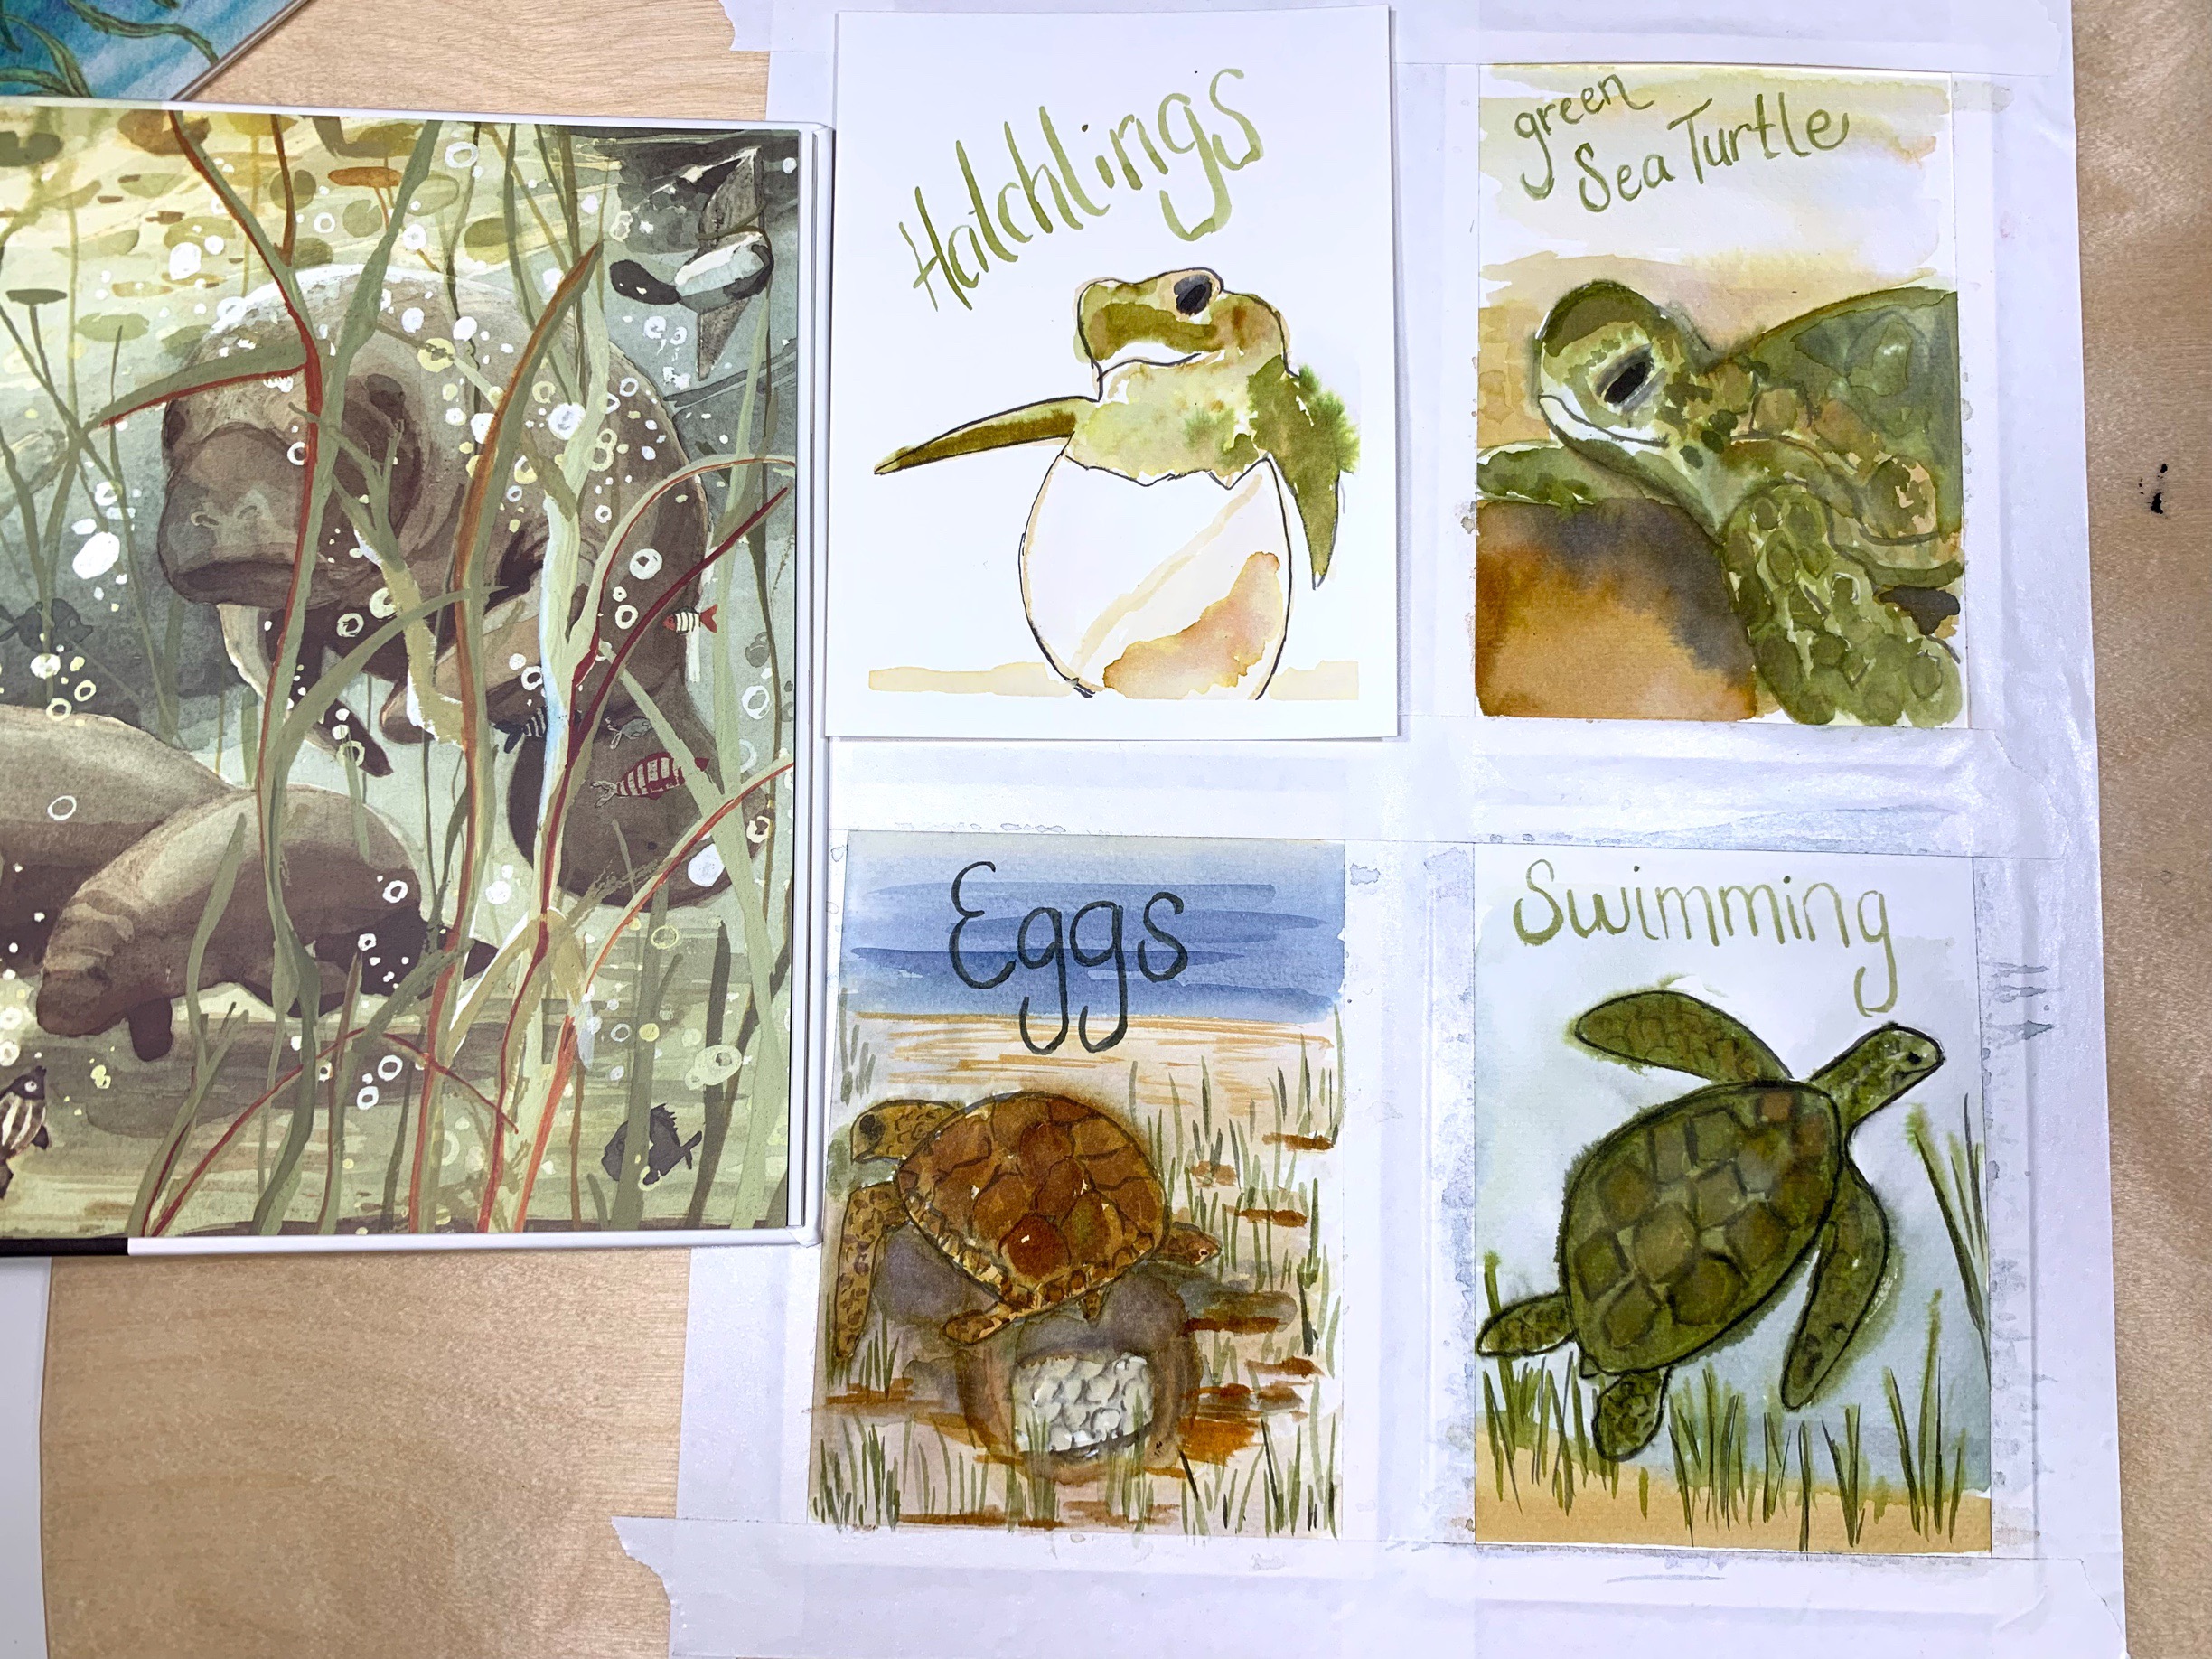
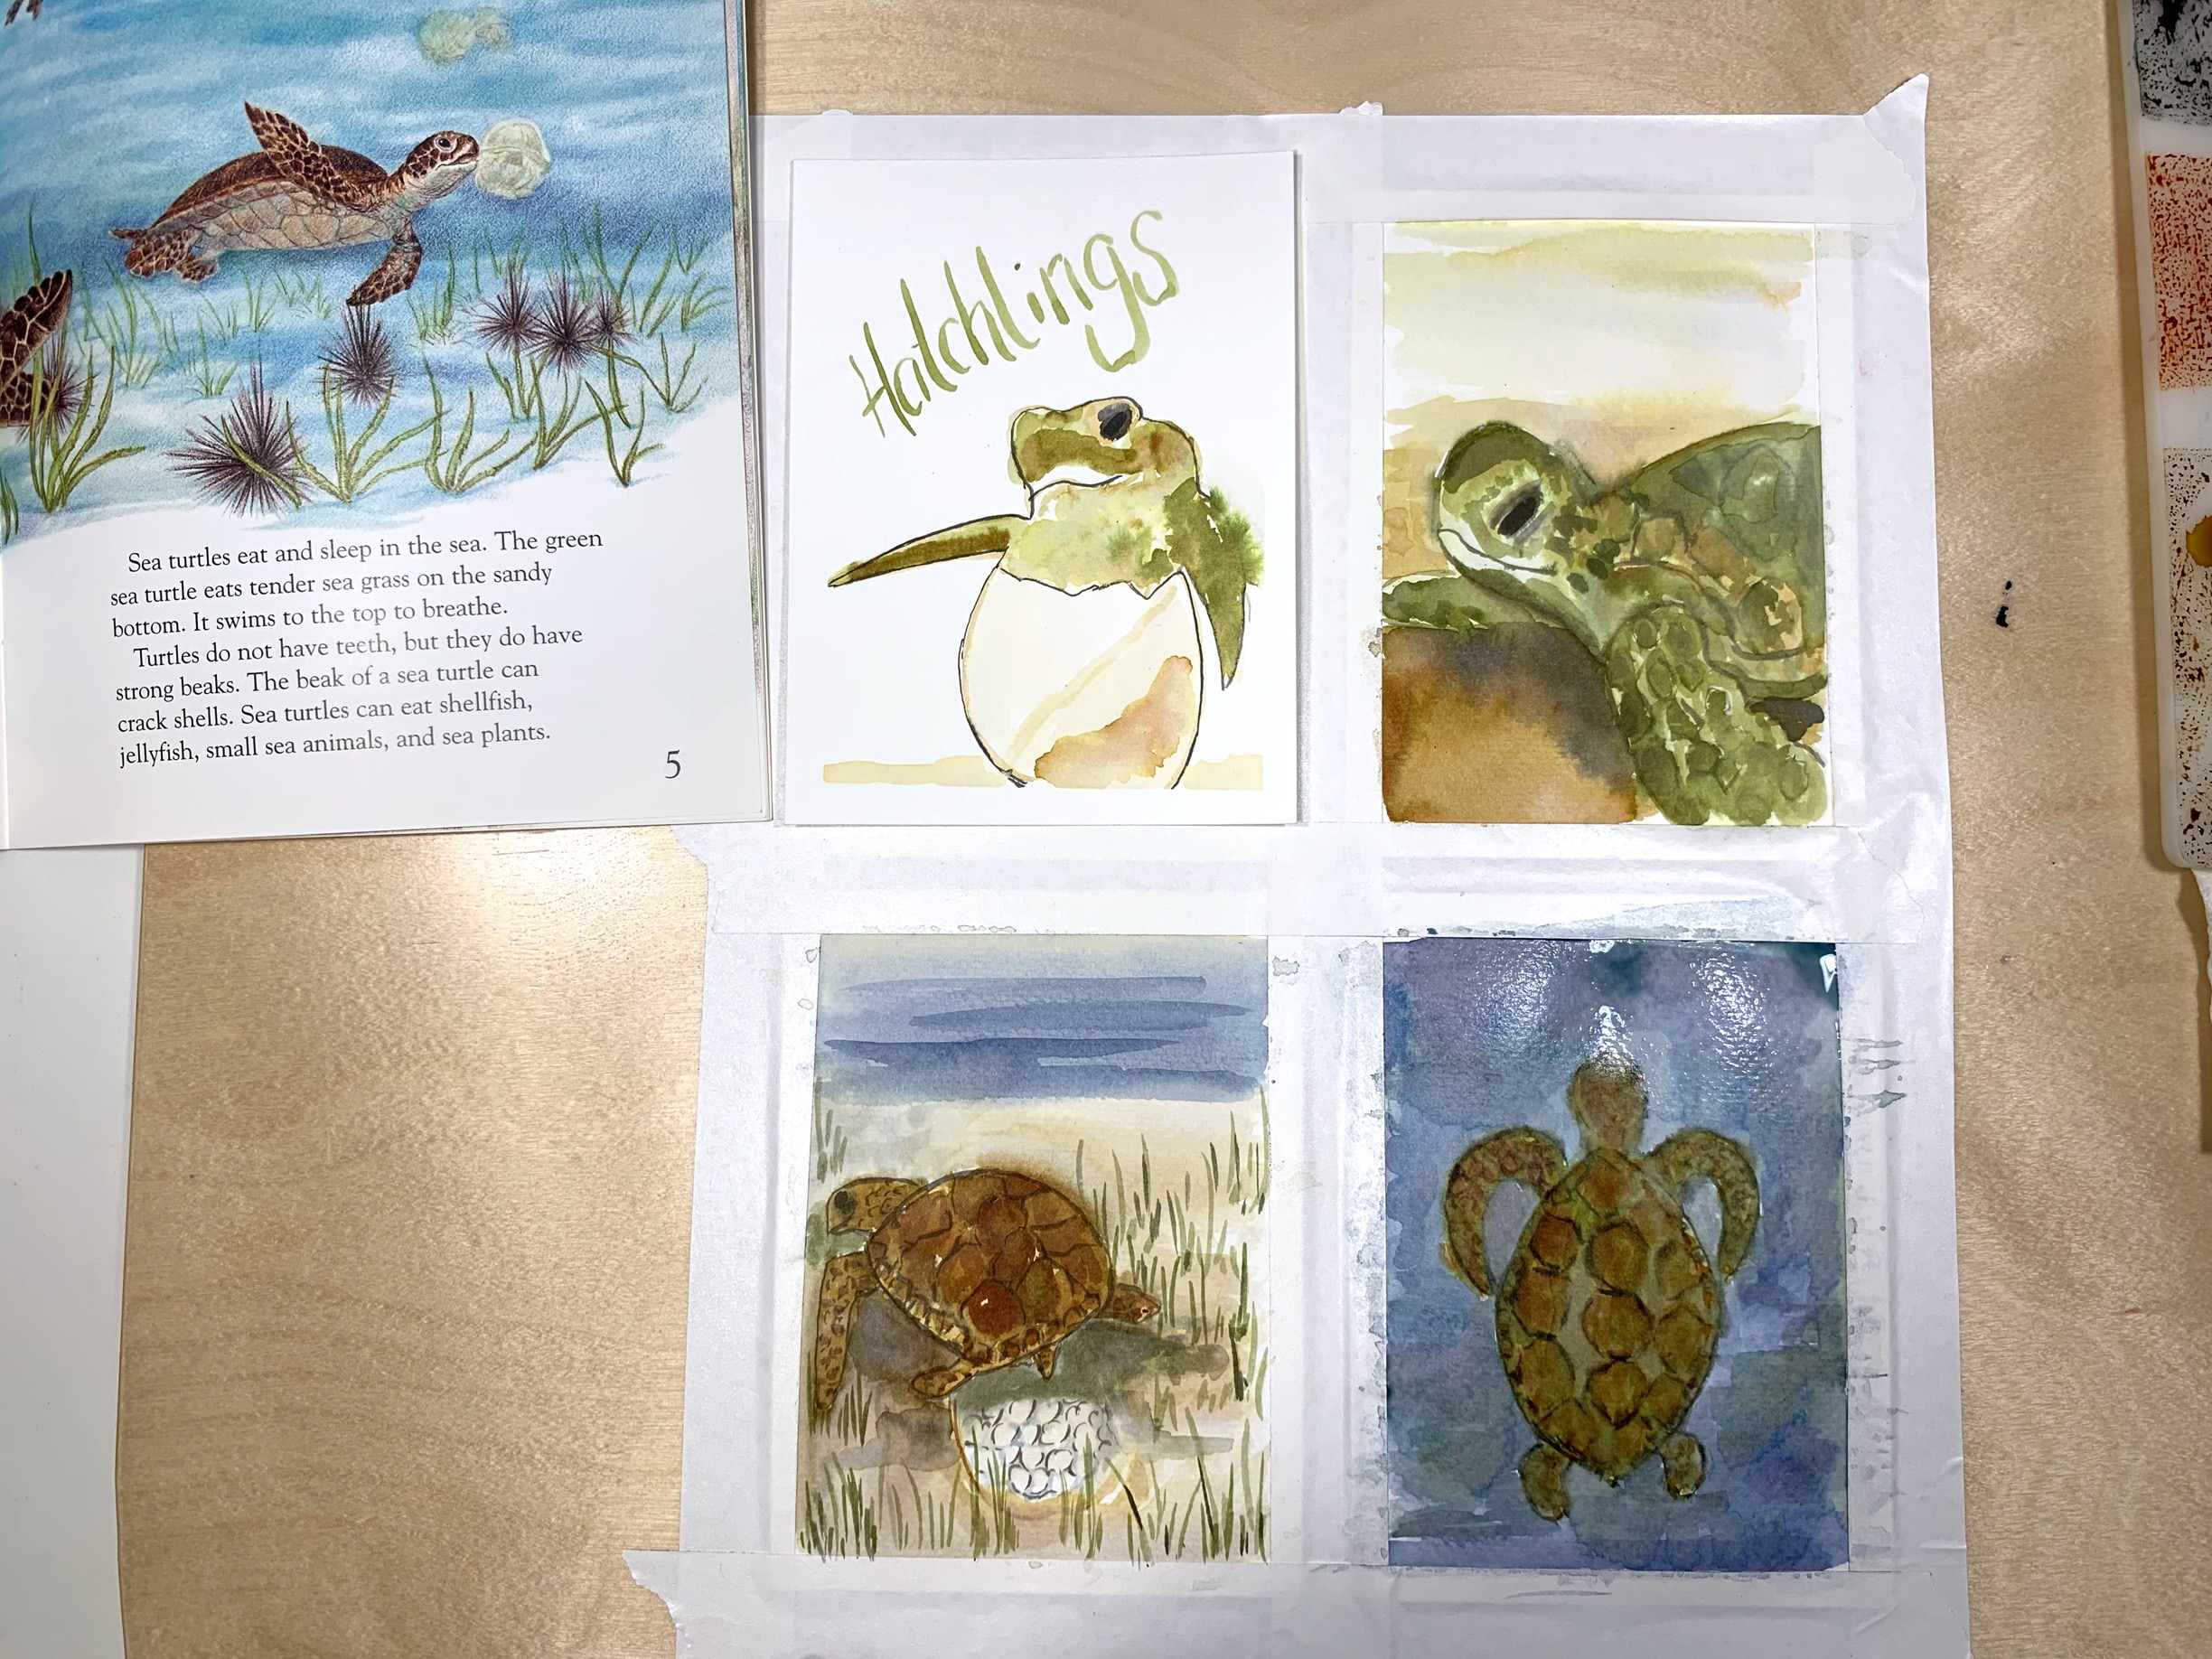
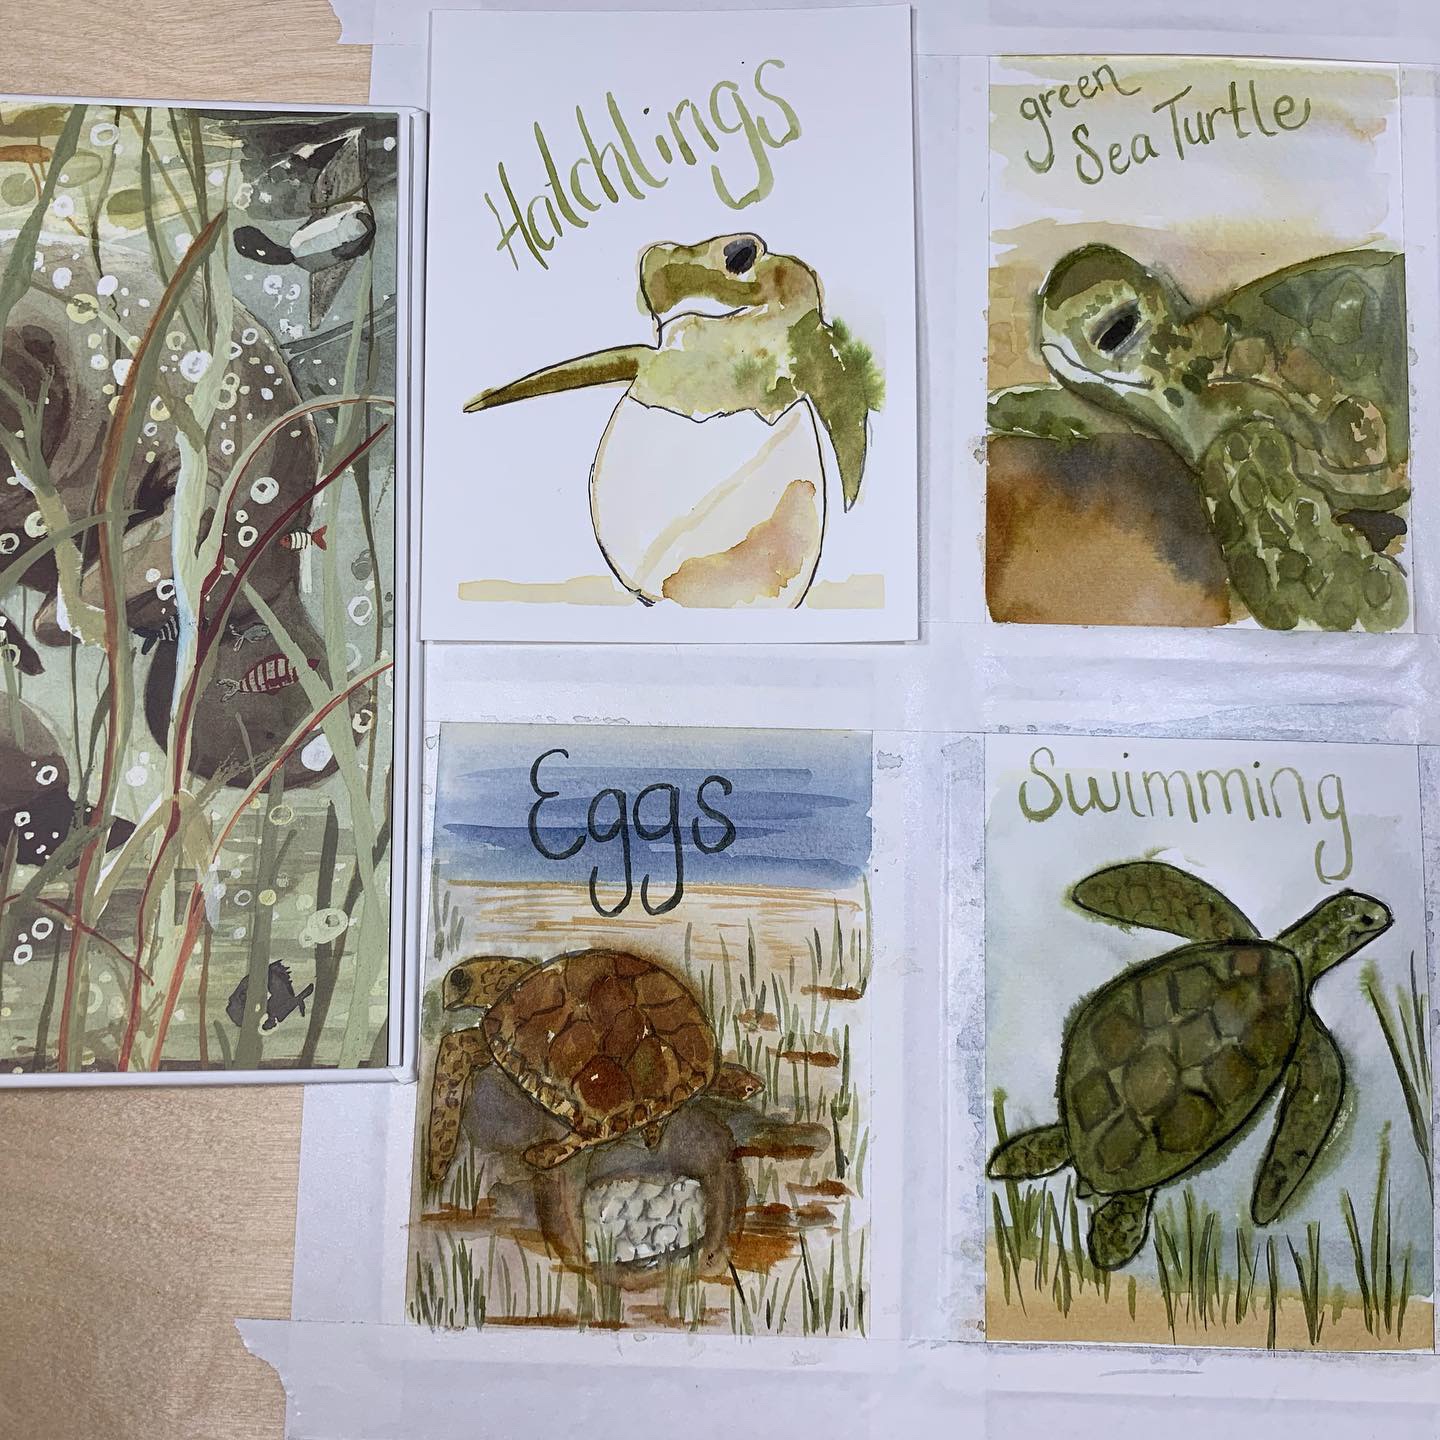
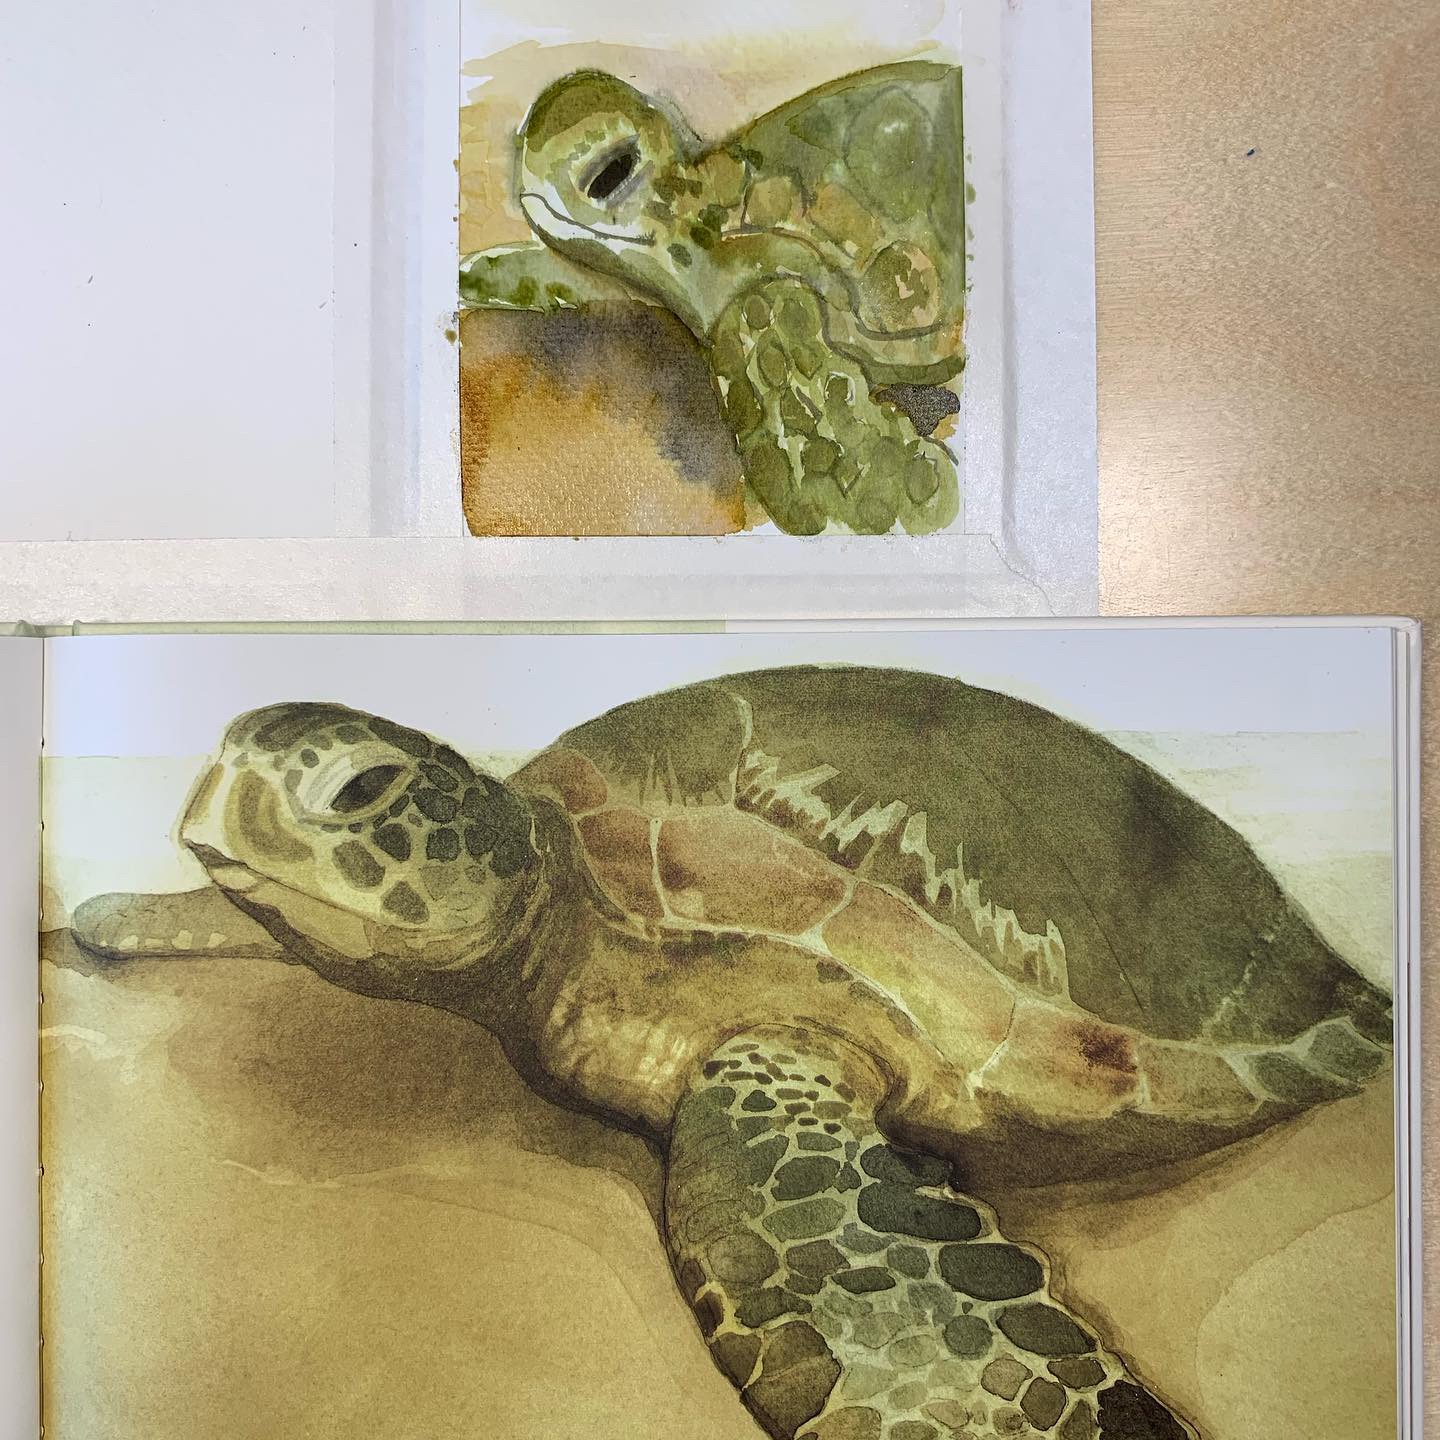
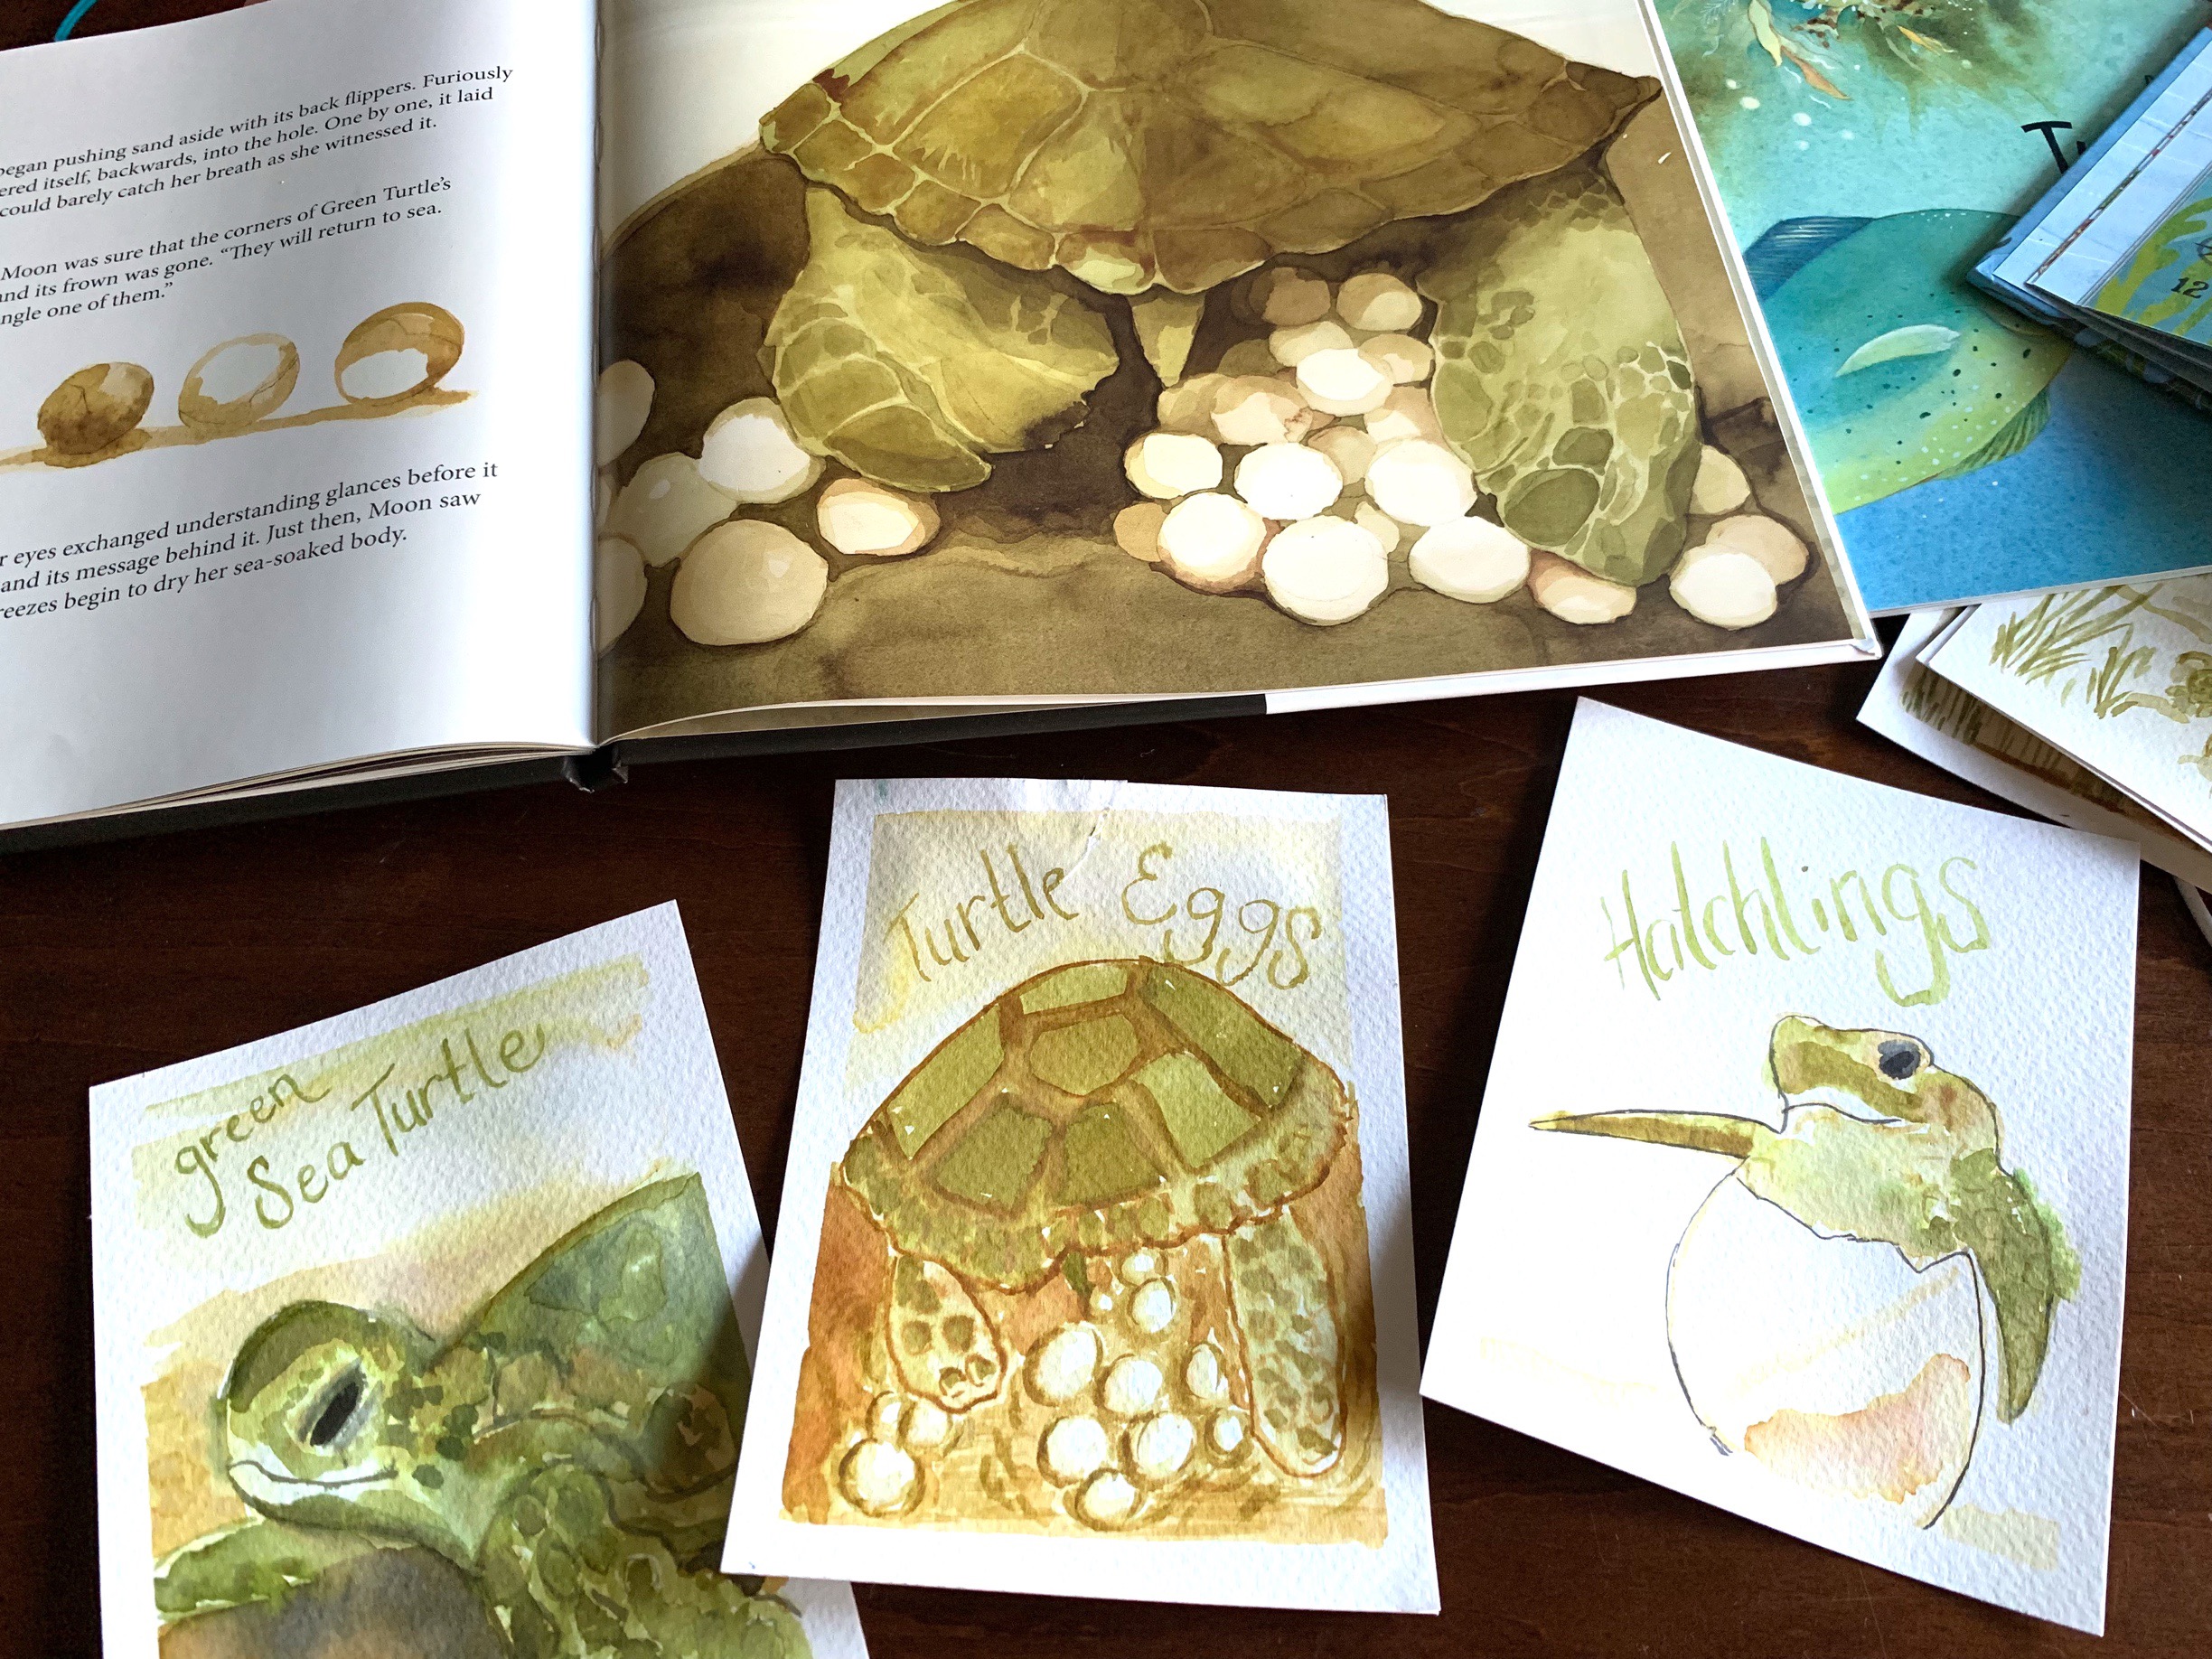
Sea Turtle Nature Cards Tutorial

Sea Turtle Unit Study Review
This was the fastest unit we ever did and for that, there are a few things that worked vastly different from our other units. In this review, I talk about the various books and resources we used and how our projects and activities progressed.
Being so quick, we didn’t have the opportunity to dive deep into this unit. Granted, we are only studying sea turtles rather than a general unit which would have plenty of opportunity to explore other areas of study. Nonetheless, if you chose to extend this unit, I think there are plenty of areas of study that could tie in: Endangered animals, evolution, ocean currents, reptiles, lunar cycle, life cycle, pollution, and food chain are a few.
Being that our unit literally lasted a week and was scheduled for only 2 days, I think we covered a lot of information and did quite a bit, but what we couldn’t do much of was natural review. That usually comes from us reading books with similar info in which the children begin to hear content that’s familiar, and that’s an opportunity for me to ask questions while we are reading. One other thing that didn’t work well was having a novel as assigned reading or as a read aloud. There just wasn’t enough time. We also didn’t do any field trips for this unit, but we were able to recall seeing sea turtles in their natural environment while on vacation in Maui recently (which incidentally was the reason why we did this unit).
For our game, we used the Professor Noggin’s Ocean Trivia Card Game which came in handy for this unit as well as our Whale Unit Study and Ocean Main Lesson Block. We love the Professor Noggin’s games so much we are making our own trivia based cards for each unit. For this unit, I made a set using Distress Inks while my son used our square chalk pastels by Sargent Art.
Our project for this unit was a water cycle enclosed system project which we continue to observe the growth the progress of that project.
Check out our complete Ocean Main Lesson Block with videos on how we put this unit together, the resources we used and the projects we did. You can also check out our smaller Whale Unit Study and Sea Turtle Unit Study which includes more projects and resources. We used our Distress Inks for many projects in this unit. You can see all the projects we’ve used Distress Inks for in a complete playlist. Enjoy!
Find me on YouTube, Twitter, Instagram and Facebook
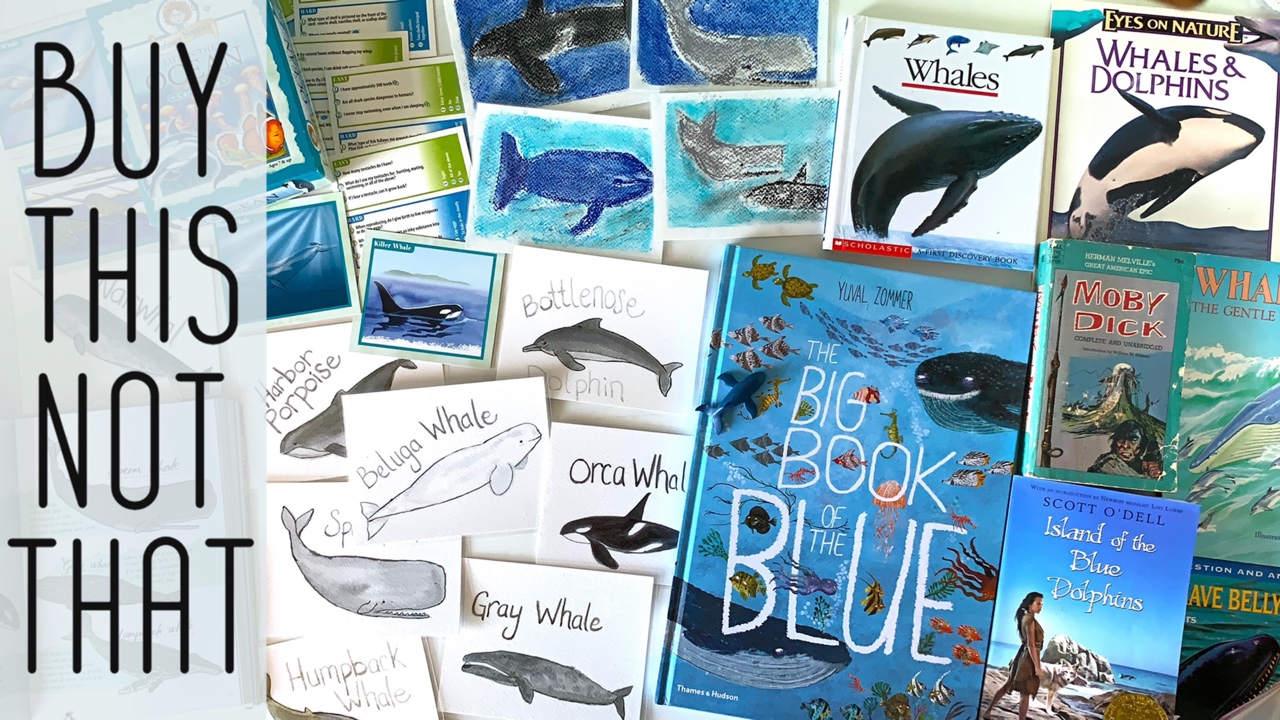
How To Put Together A Unit Study: Whales
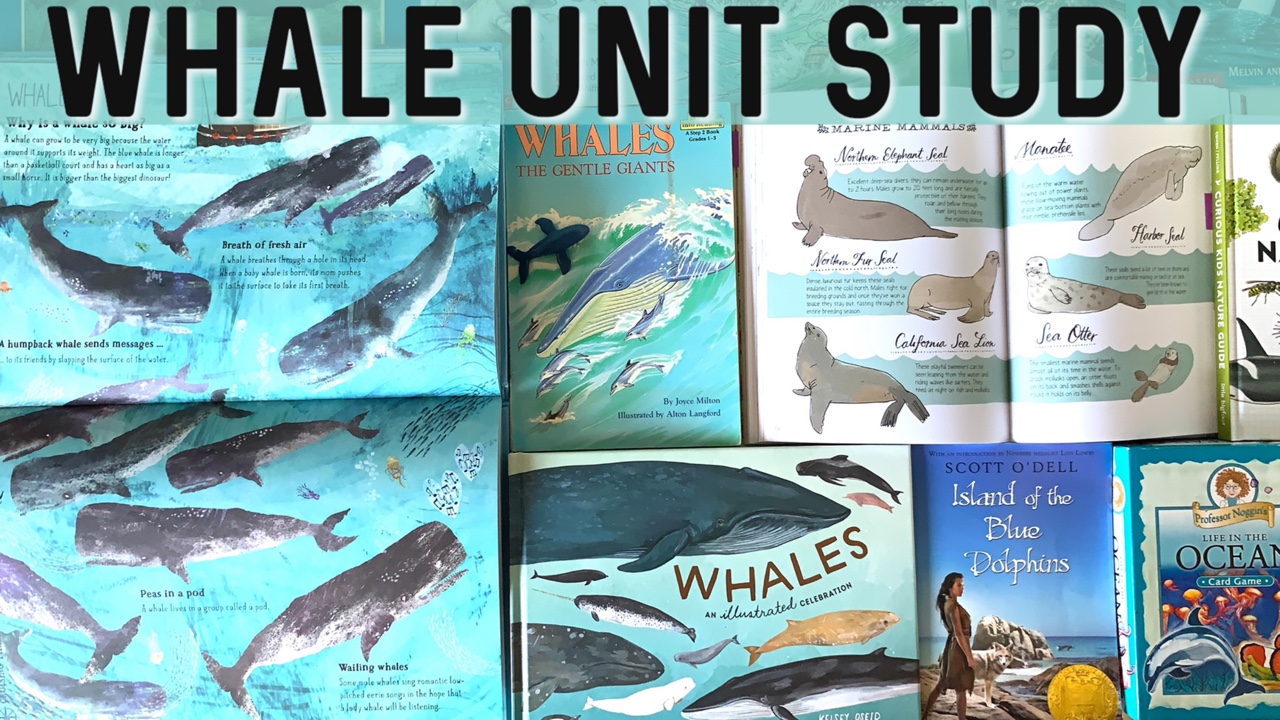
Welcome to our unit study on Whales! Or as we’ve learned, cetaceans. We are diving into this unit to study a select few marine mammals and to do so, we’ve sourced a variety of books that we are thrilled to share with you. We may not use all these books, in fact, for sure we won’t be using some books in their entirety. Be sure to check back at the review video for a complete review of these books and resources.
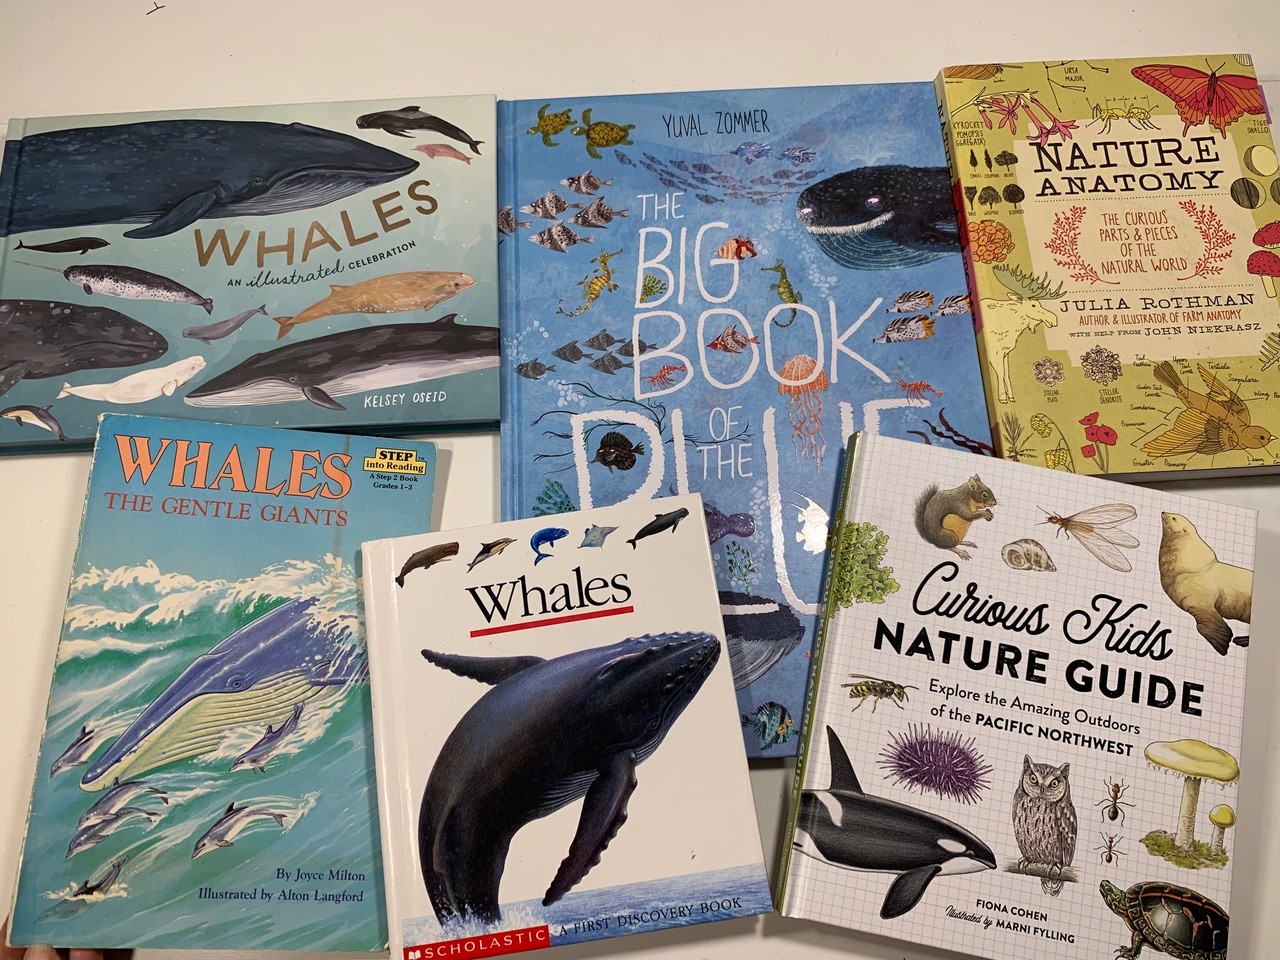
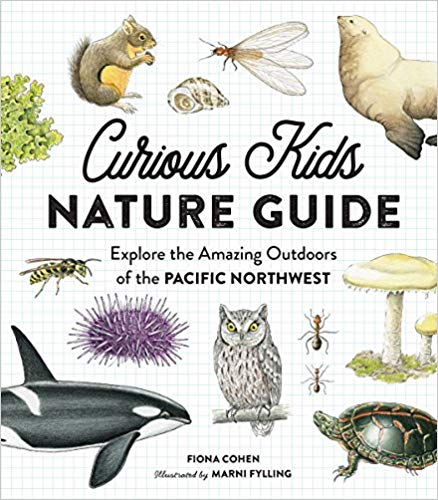
Curious Kids Nature Guide Explore the Amazing Outdoors of the Pacific Northwest by Fiona Cohen
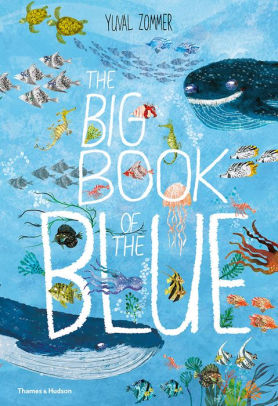
The Big Book of the Blue by Yuval Zommer
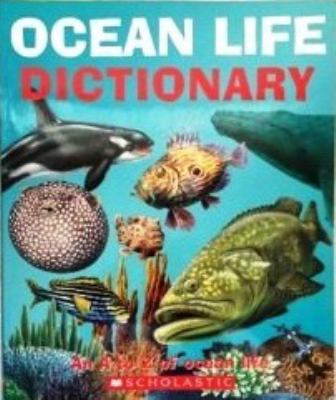
Ocean Life Dictionary by Scholastic
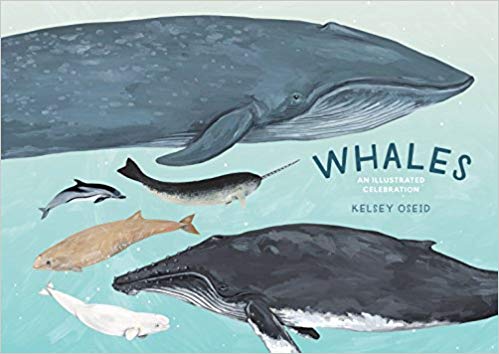
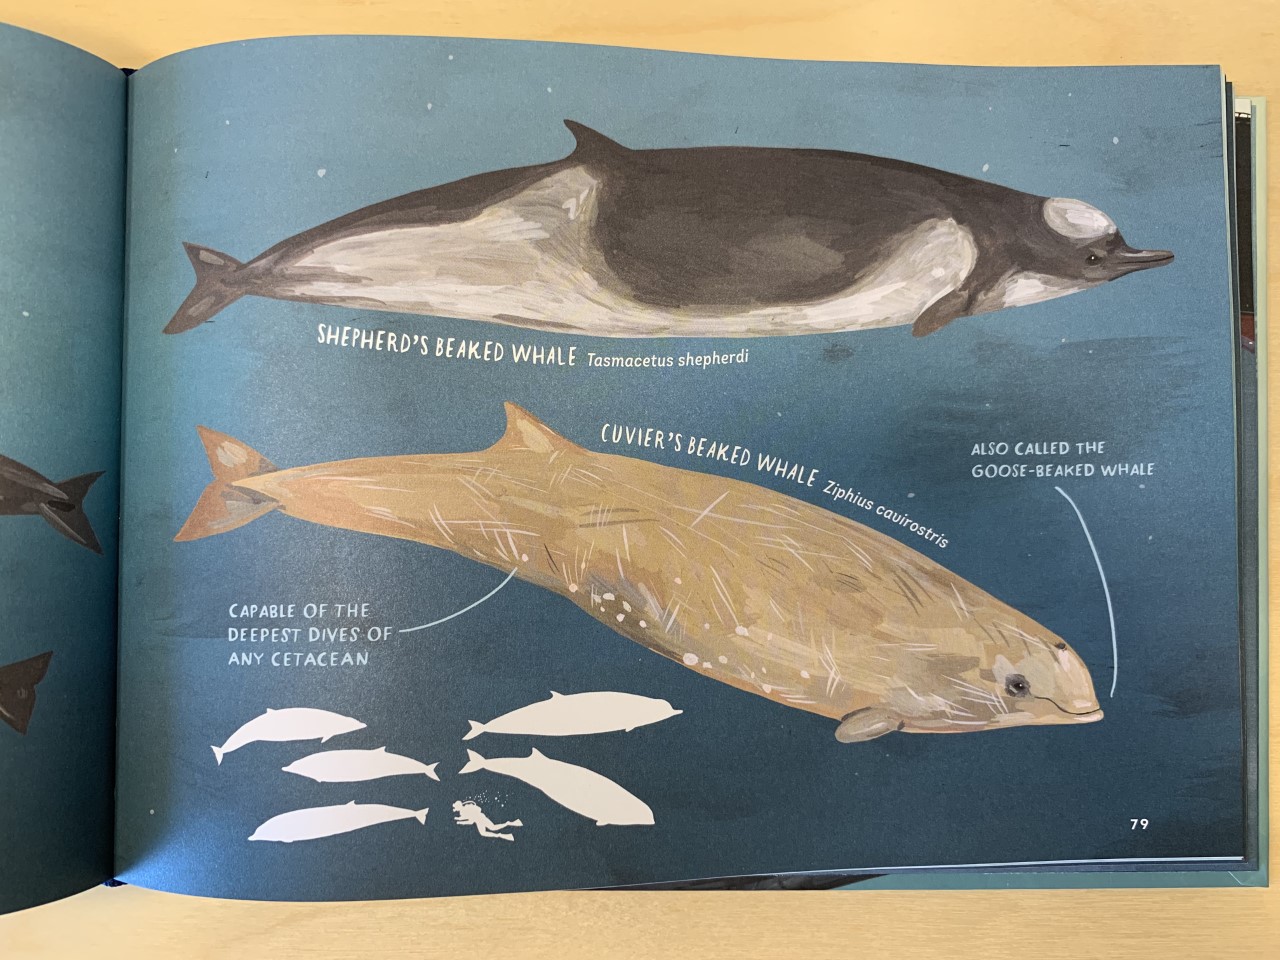
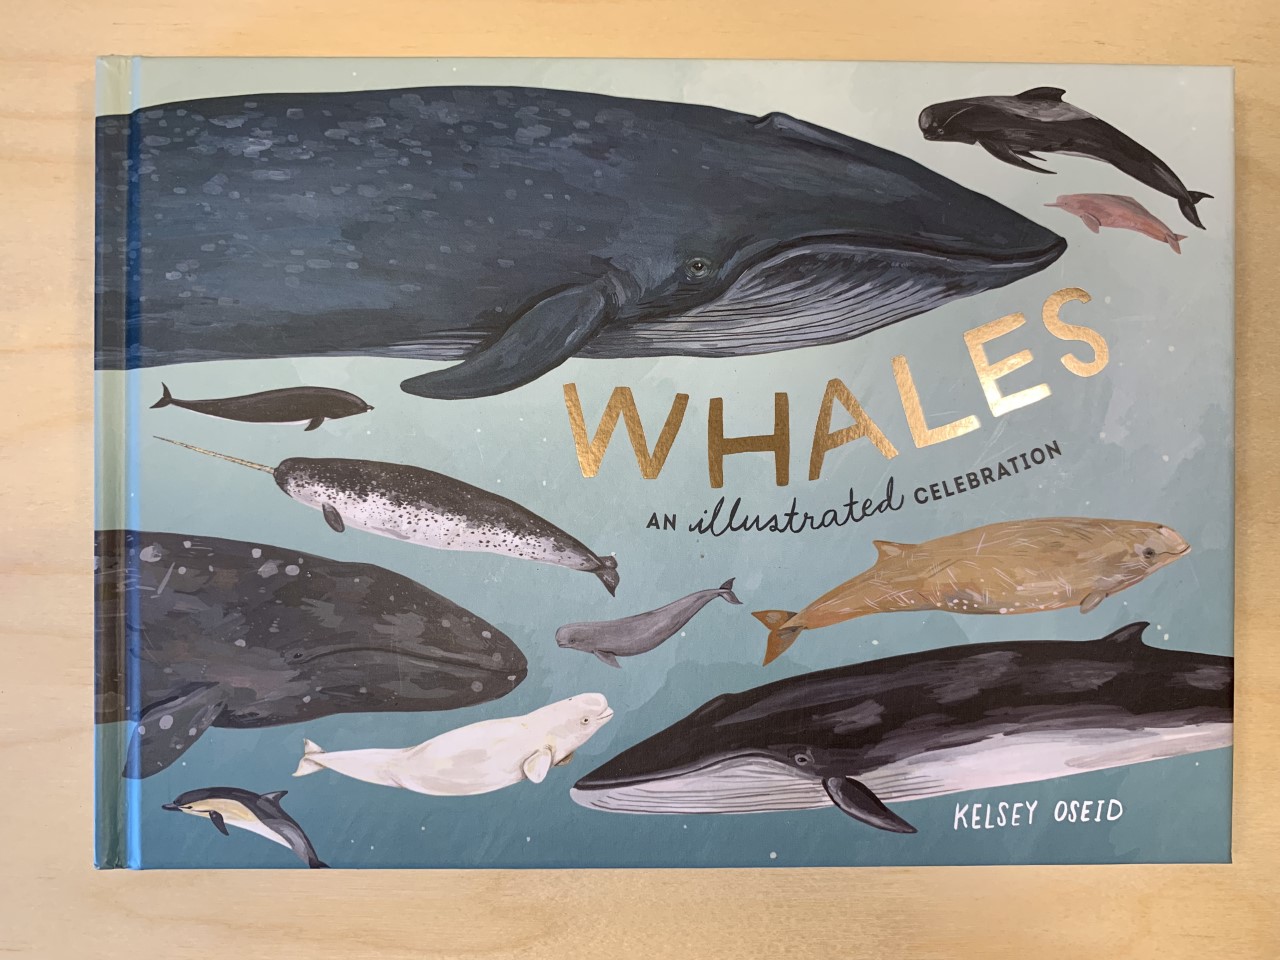
Whales An Illustrated Celebration by Kelsey Oseid
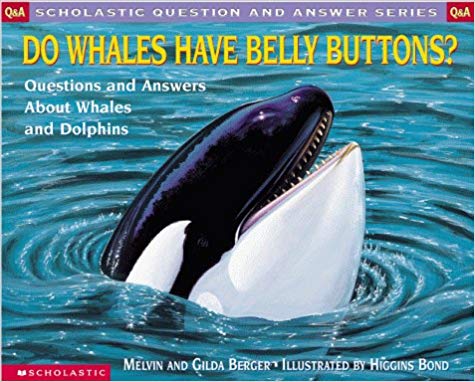
Do Whales Have Belly Buttons? By Melvin and Gilda Berger
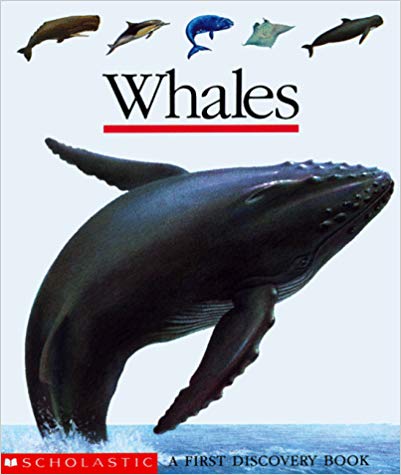
Whales A First Discovery Book by Scholastic
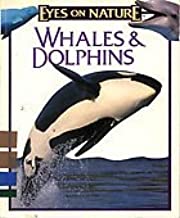
Whales and Dolphins by Eyes on Nature
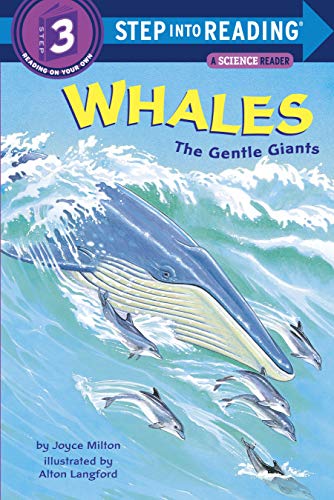
Whales The Gentle Giants by Joyce Milton
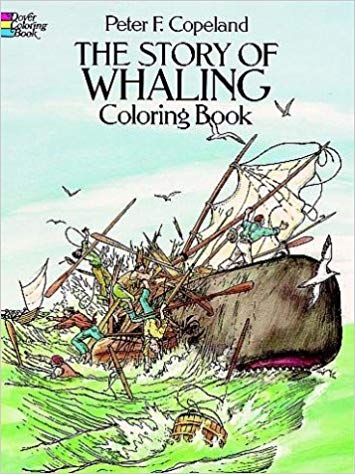
The Story of Whaling Coloring Book by Peter F. Copeland by Dover
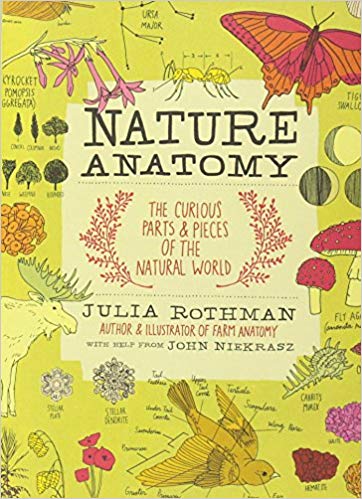
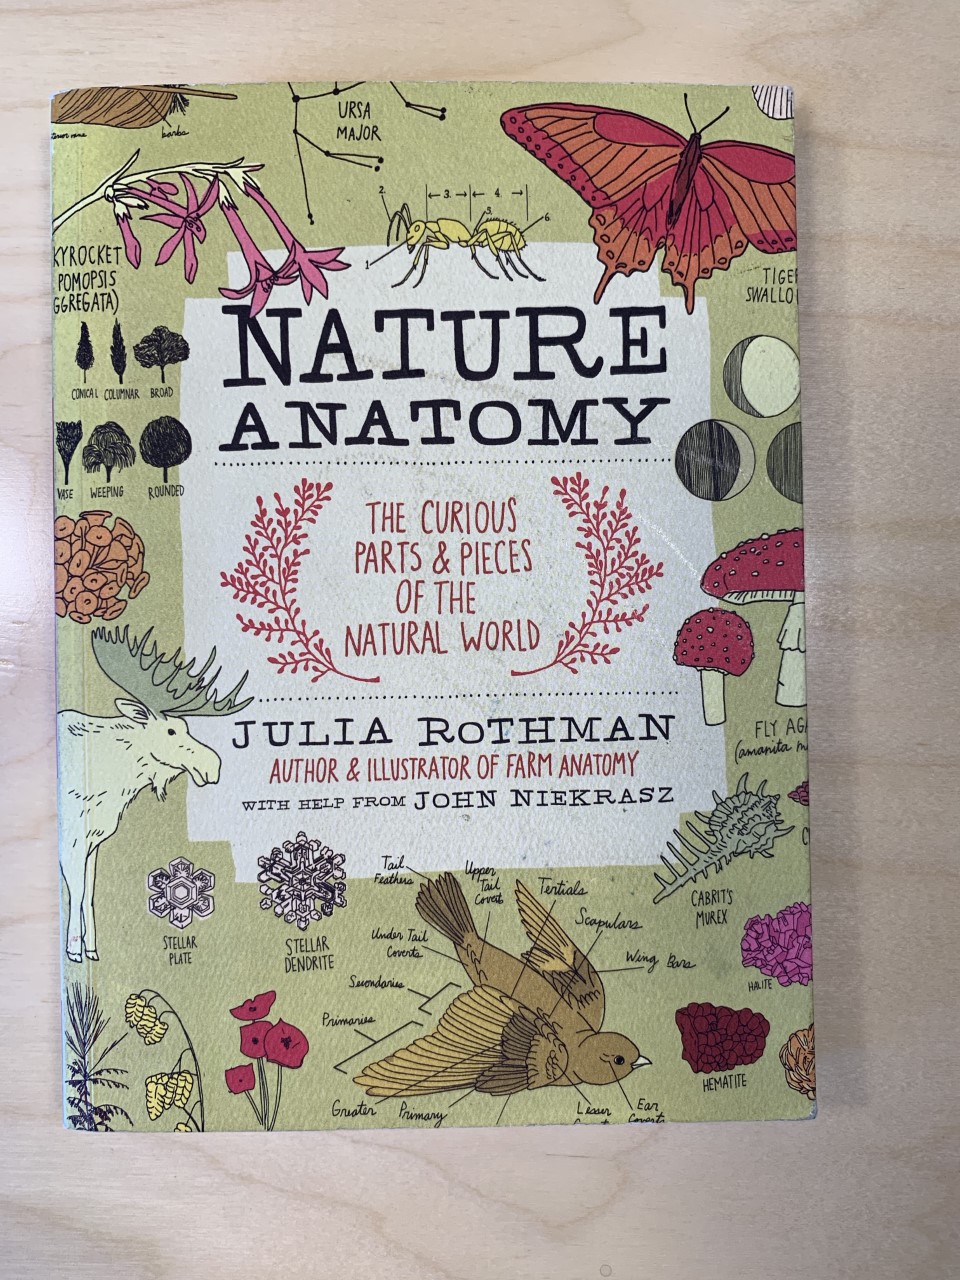
Nature Anatomy by Julia Rothman
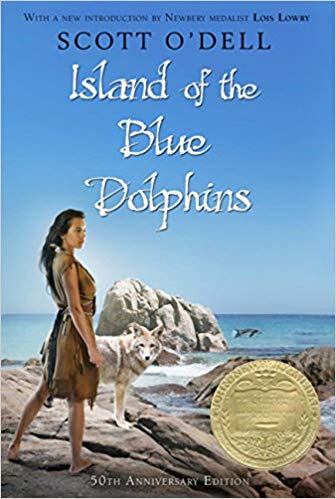
Island of the Blue Dolphin by Scott O’Dell
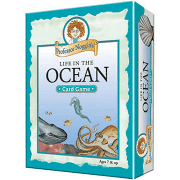
Professor Noggins Ocean Trivia Cards
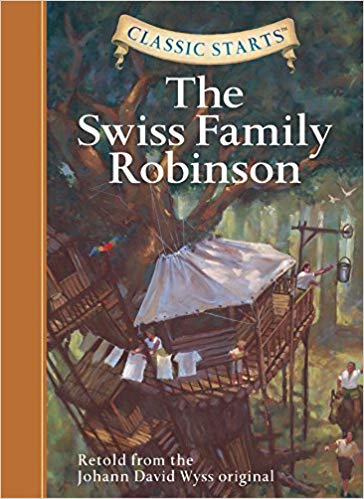
Swiss Family Robinson by Johann David Whyss
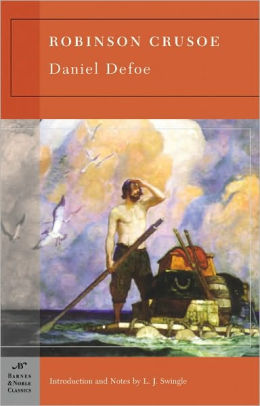
Robinson Crusoe by Daniel Dafoe
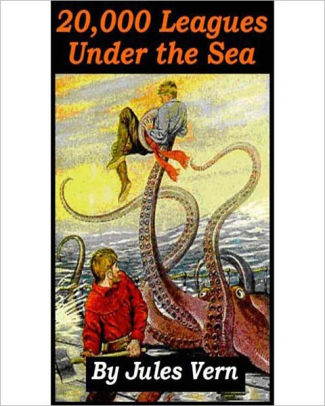
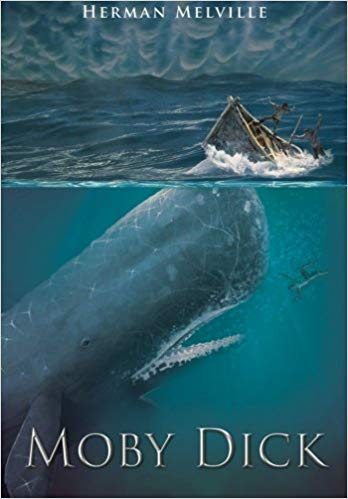
20,000 Leagues Under the Sea by Jules Verne
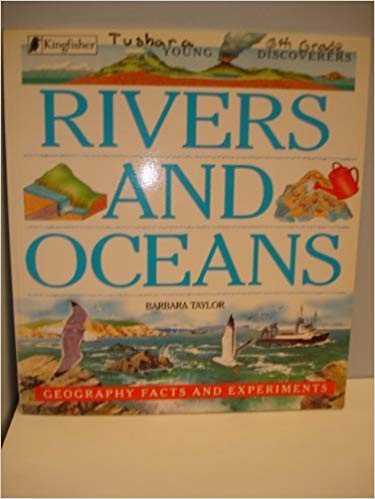
Rivers and Oceans by Barbara Taylor
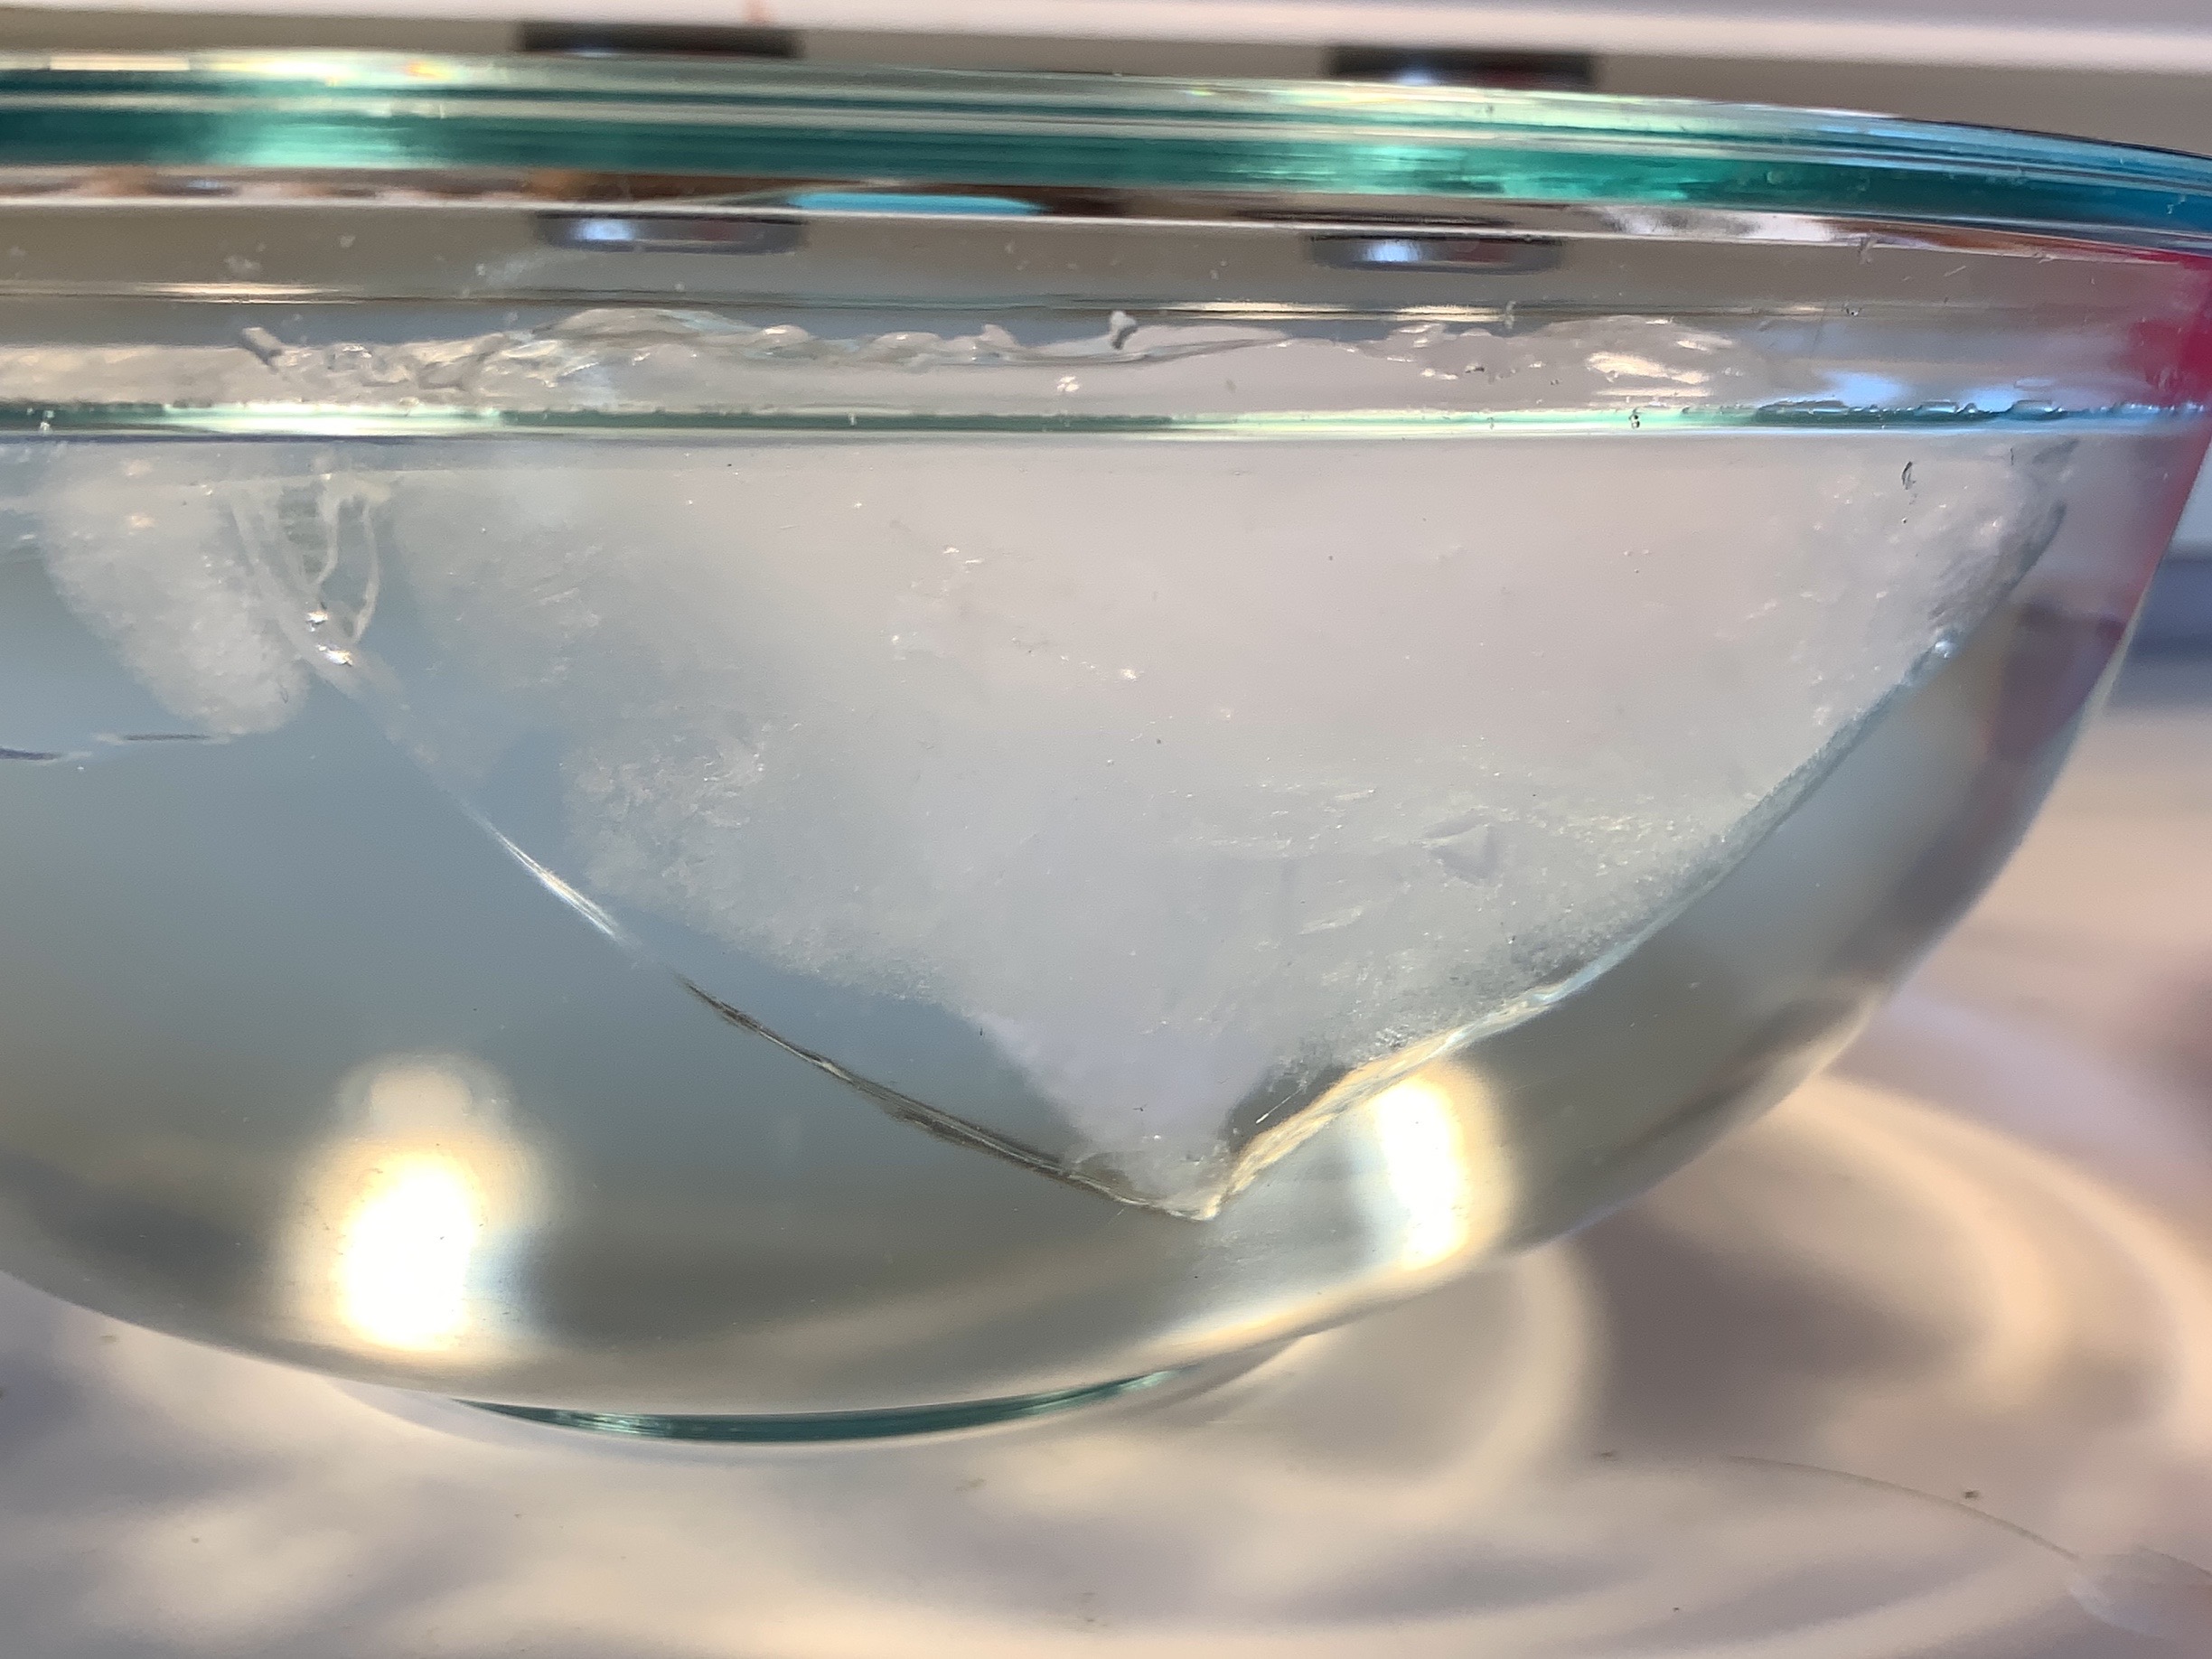
What Does An Iceberg Look Like Under Water?
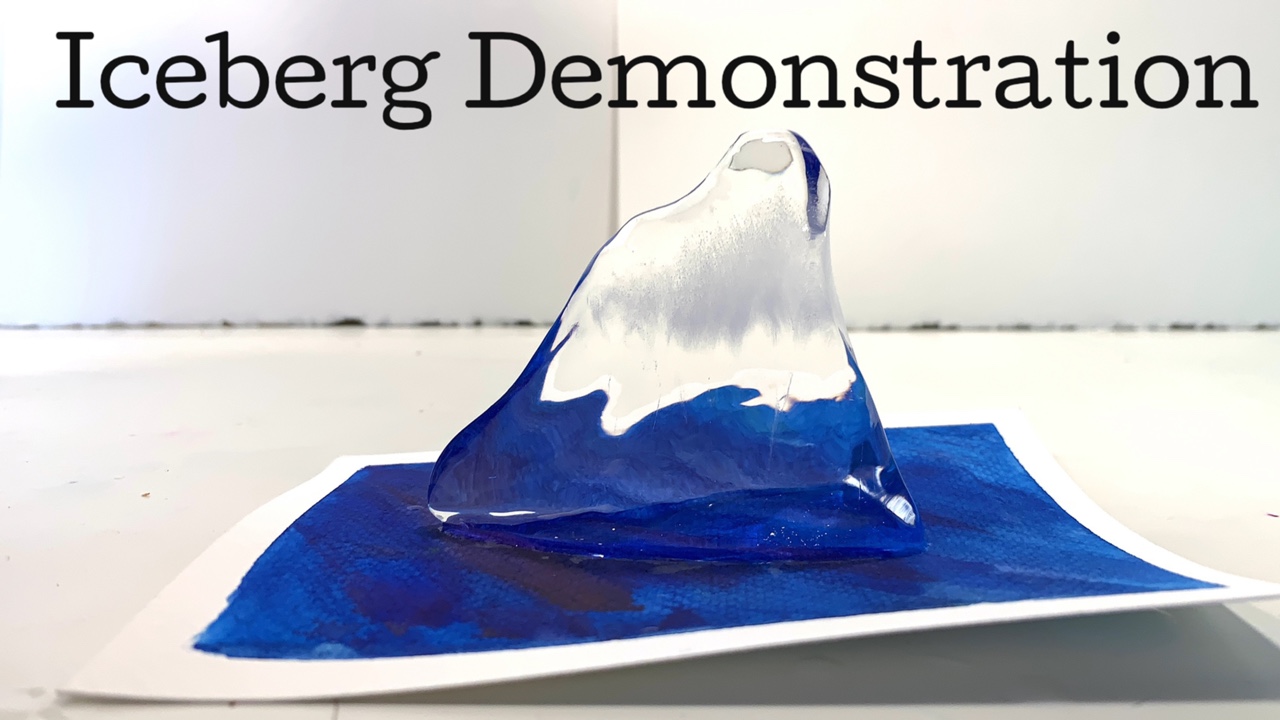
For our Whale and Sea Turtle Units, we turned to the book Rivers and Oceans by Barbara Taylor for inspiration for projects and activities. Two projects worked well for our units, even though they didn’t exactly relate to the specific topics. For this unit, we chose the super easy iceberg demonstration. Not only was it very easy to do, it was also extremely educational. You can very clearly see how 90% of an iceberg is under water, especially when you use a big chunk of ice and a clear glass container for observation. We tried this project twice, once with ‘saltwater’ dyed blue and once with clear water. The clear water was easier for observation and also allowed us to repurpose the water for watering plants (don’t water your plants with salt water!).
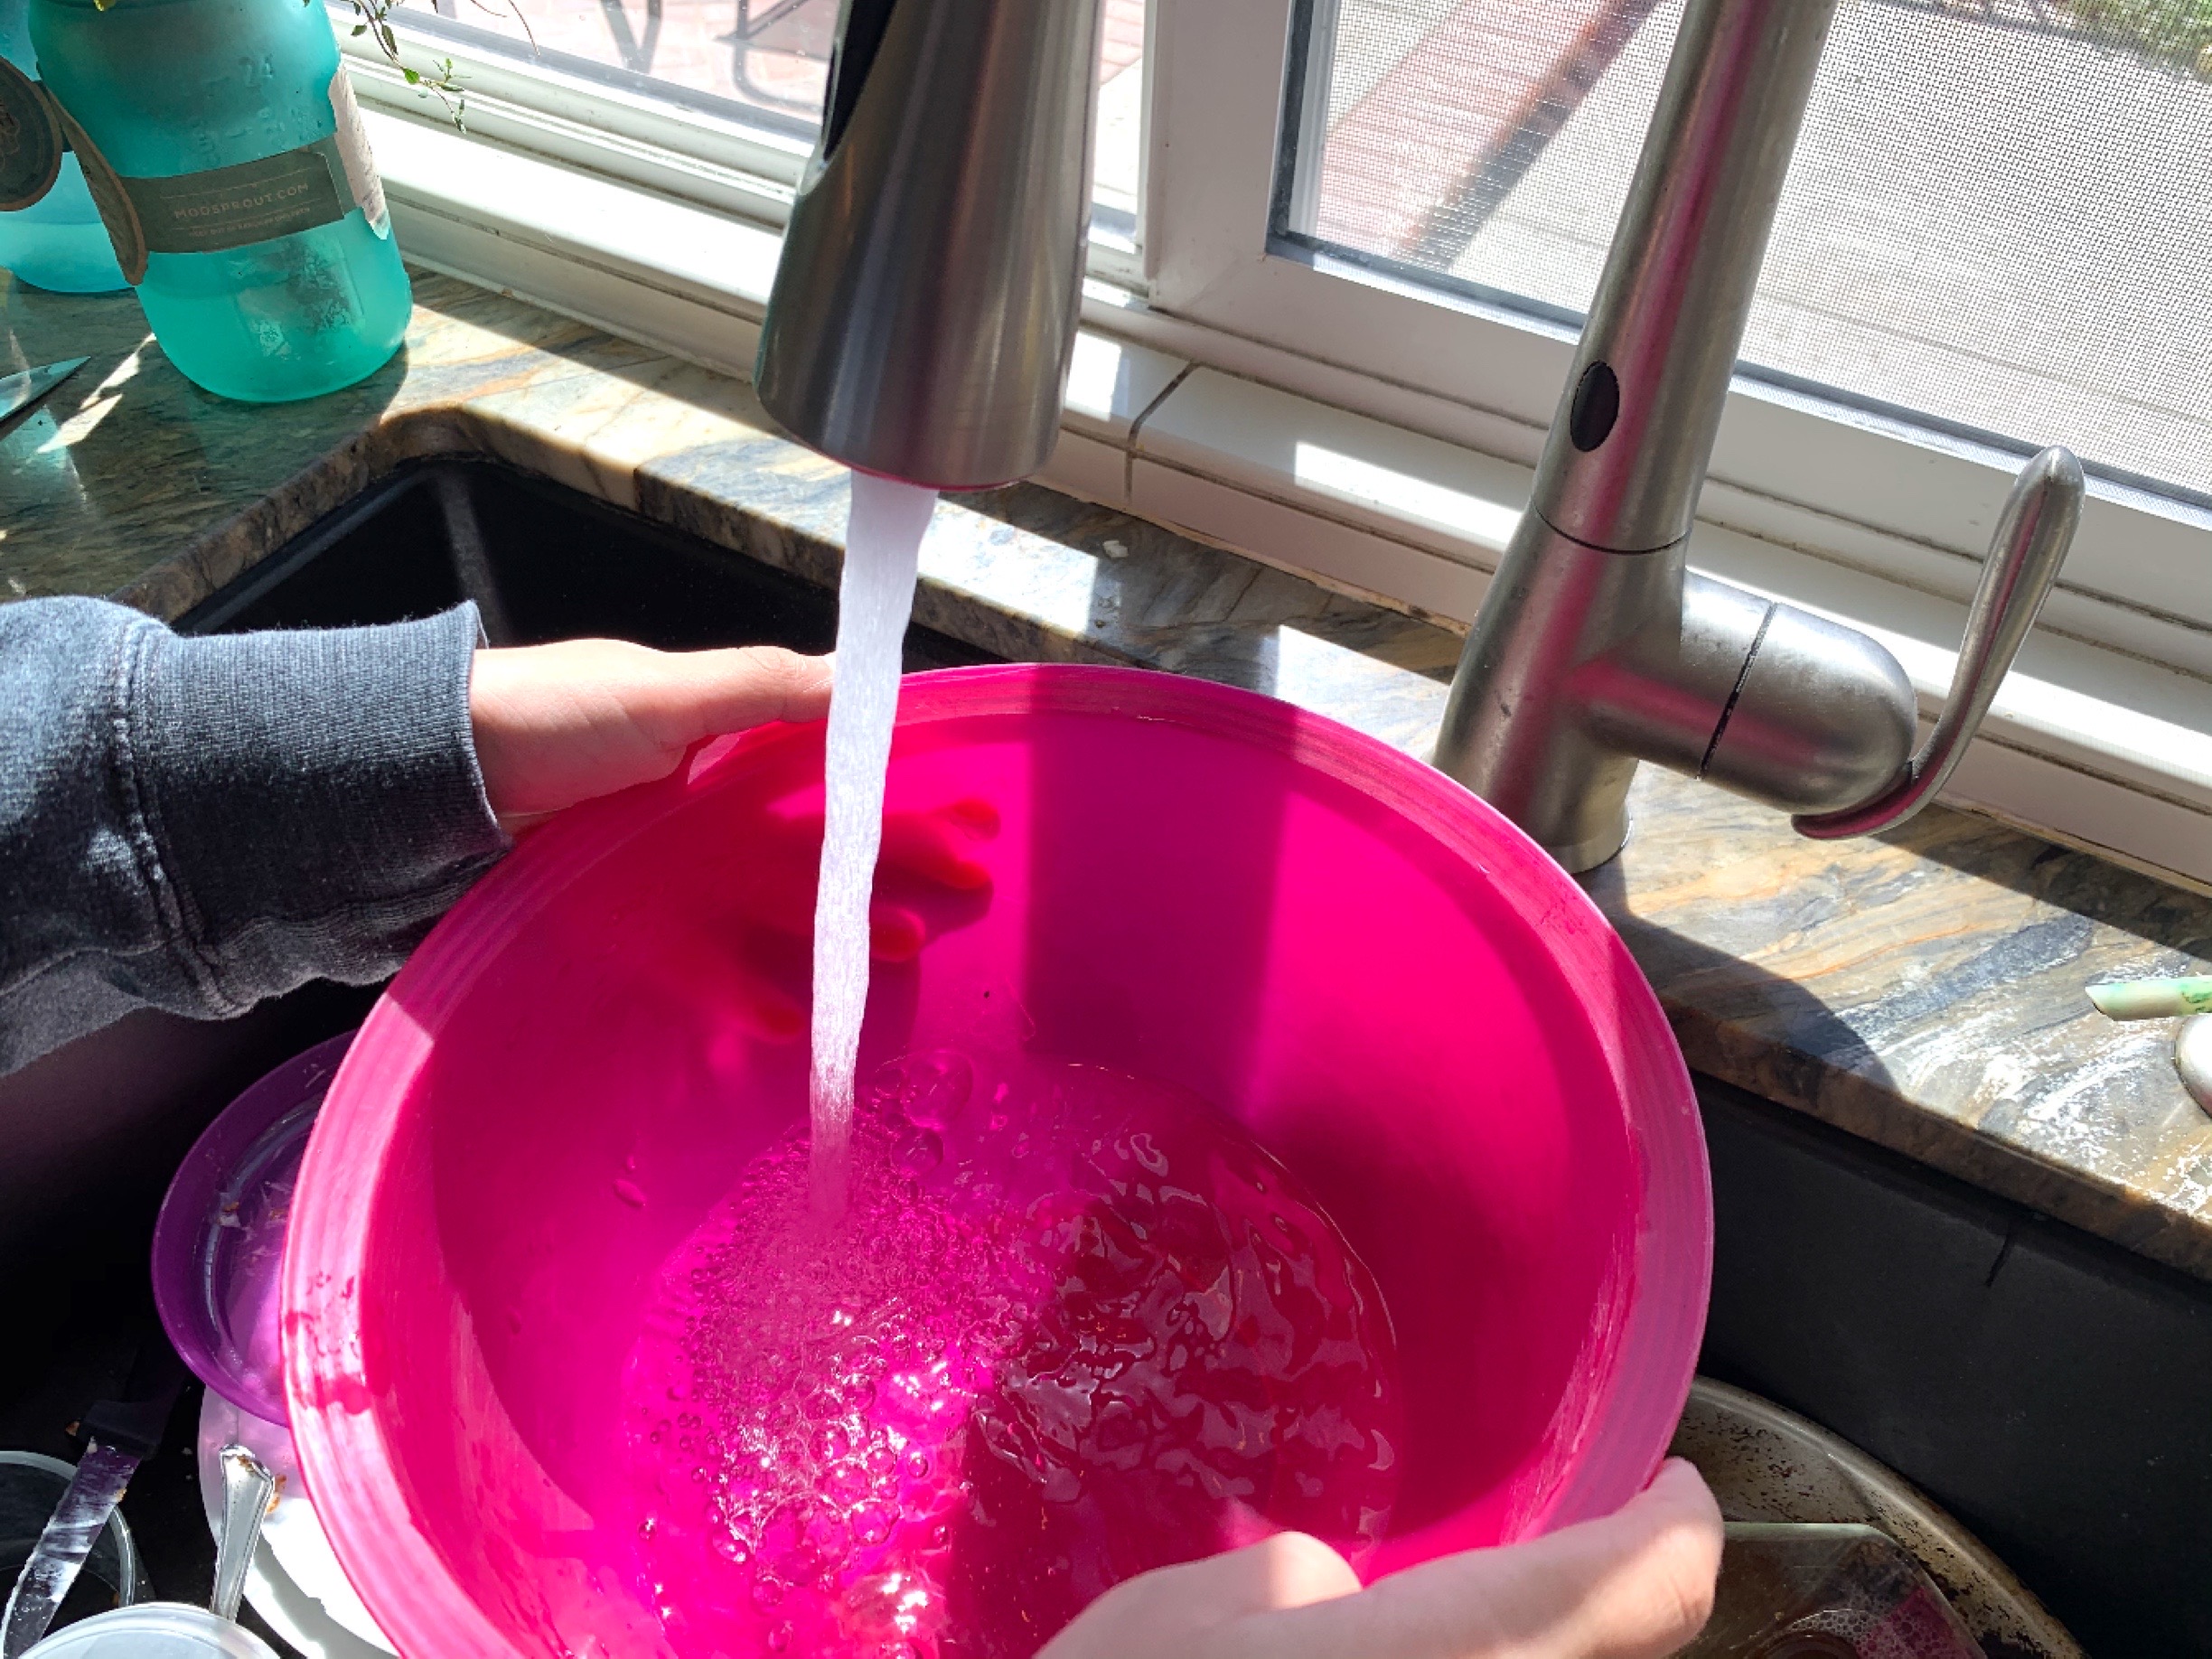

This demonstration was easy and fast and best of all, free! You can use a water-filled balloon for this project or fill a large bowl. We did both and found a bowl was better and produced less waste. We hammered away at our large chunk of ice until we had ‘iceberg’ sized pieces.
Check out our complete Ocean Main Lesson Block with videos on how we put this unit together, the resources we used and the projects we did. You can also check out our smaller Whale Unit Study and Sea Turtle Unit Study which includes more projects and resources. We used our Distress Inks for many projects in this unit. You can see all the projects we’ve used Distress Inks for in a complete playlist. Enjoy!
Find me on YouTube, Twitter, Instagram and Facebook
Nature Study Cards For Whale Unit Study
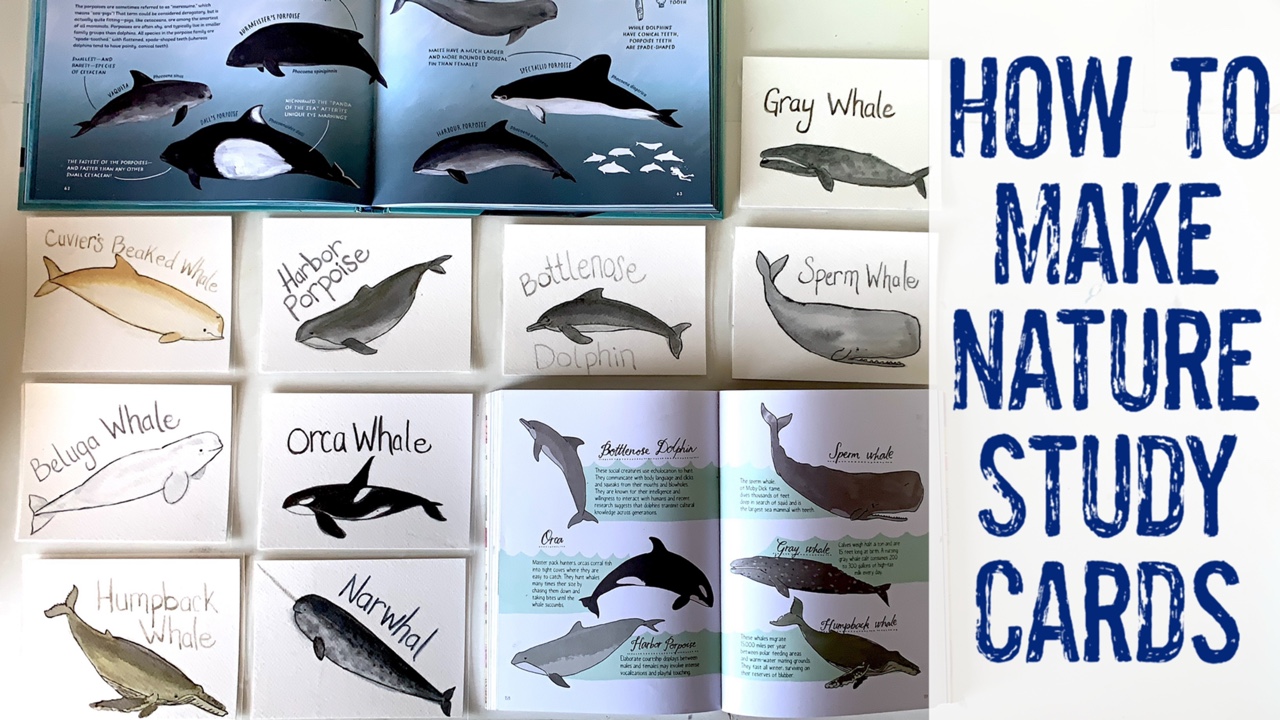
In case you missed the previous Nature Journaling Card tutorials, here’s one more that’s sure to inspire you. These were the easiest so far. In part, I think because whales are easier to draw than some of the other nature images we’ve done before. Also, I made these with a white background which simplified the process. For this project, I used the same art products we’ve used for previous nature journaling cards. I used Fabriano 140 lb. watercolor paper and Distress Inks in various blues, greys and browns. I used simple synthetic brushes we picked up years ago at a very affordable price from a local chain craft store. We laminated our cards using our Black and Decker 5 mil laminating sheets and my Heidi Swapp Minc machine. It’s a scrapbooking foiling machine that acts as a powerful and versatile laminating machine with five settings that heats up quickly.
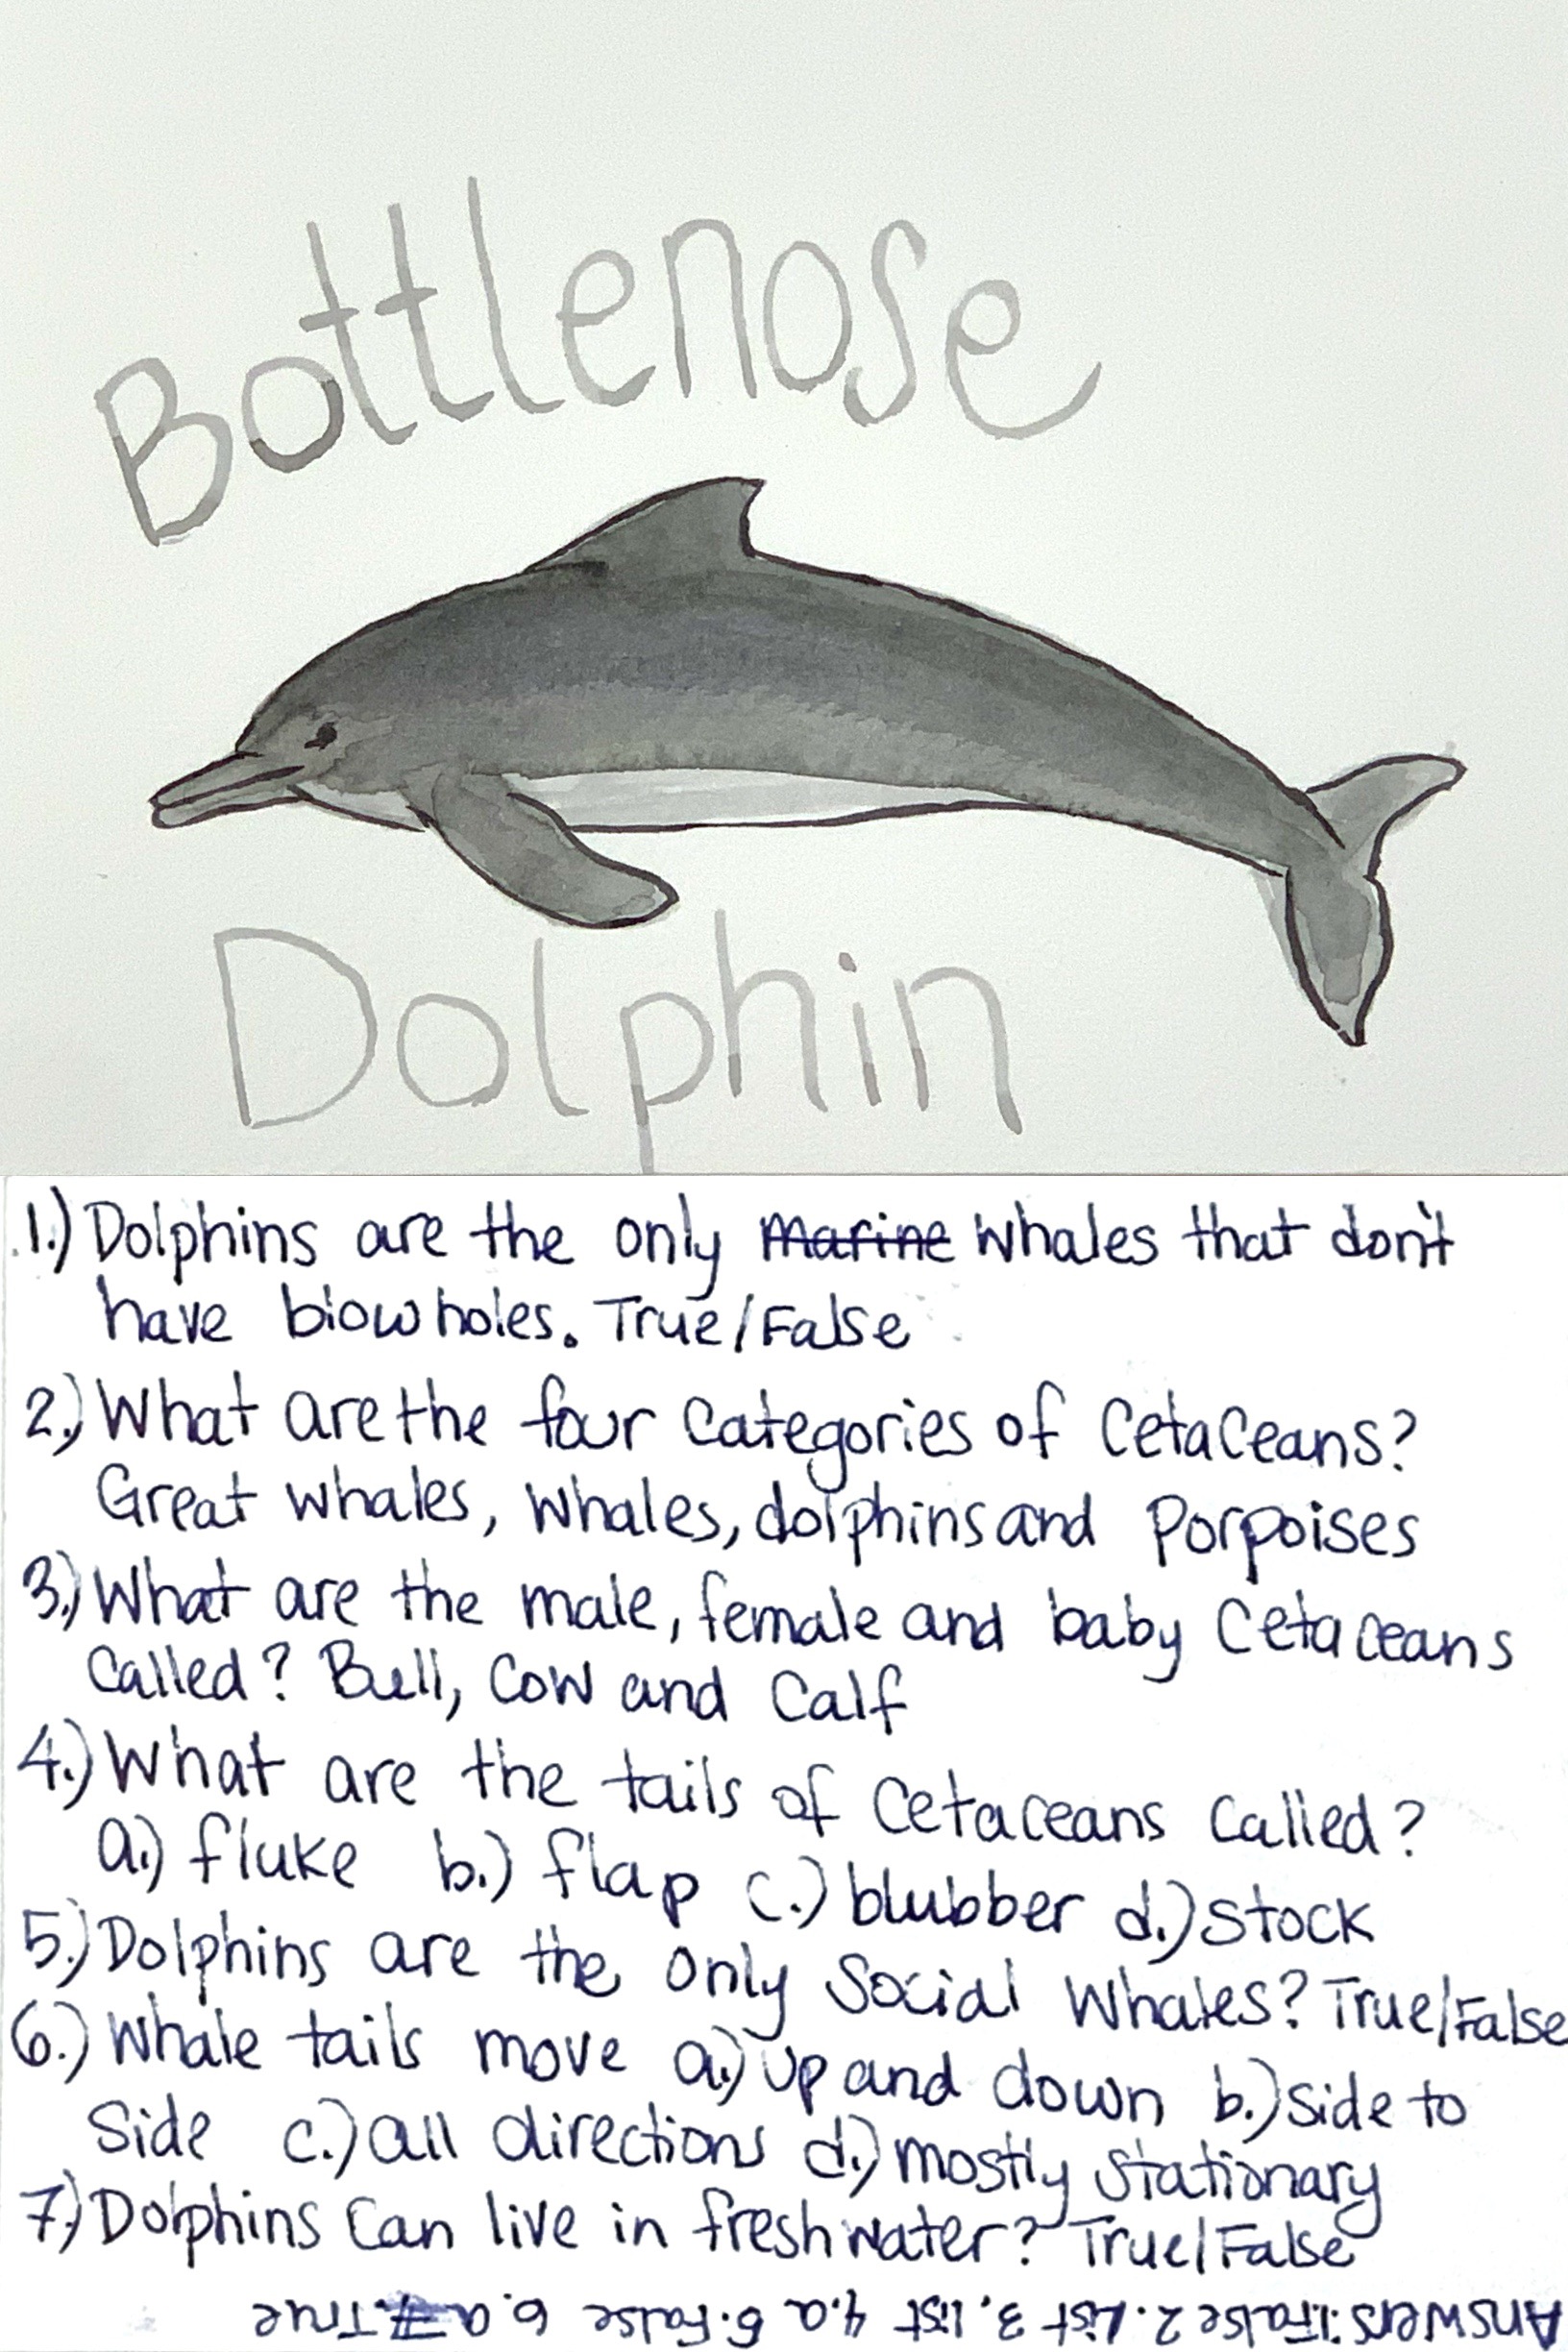
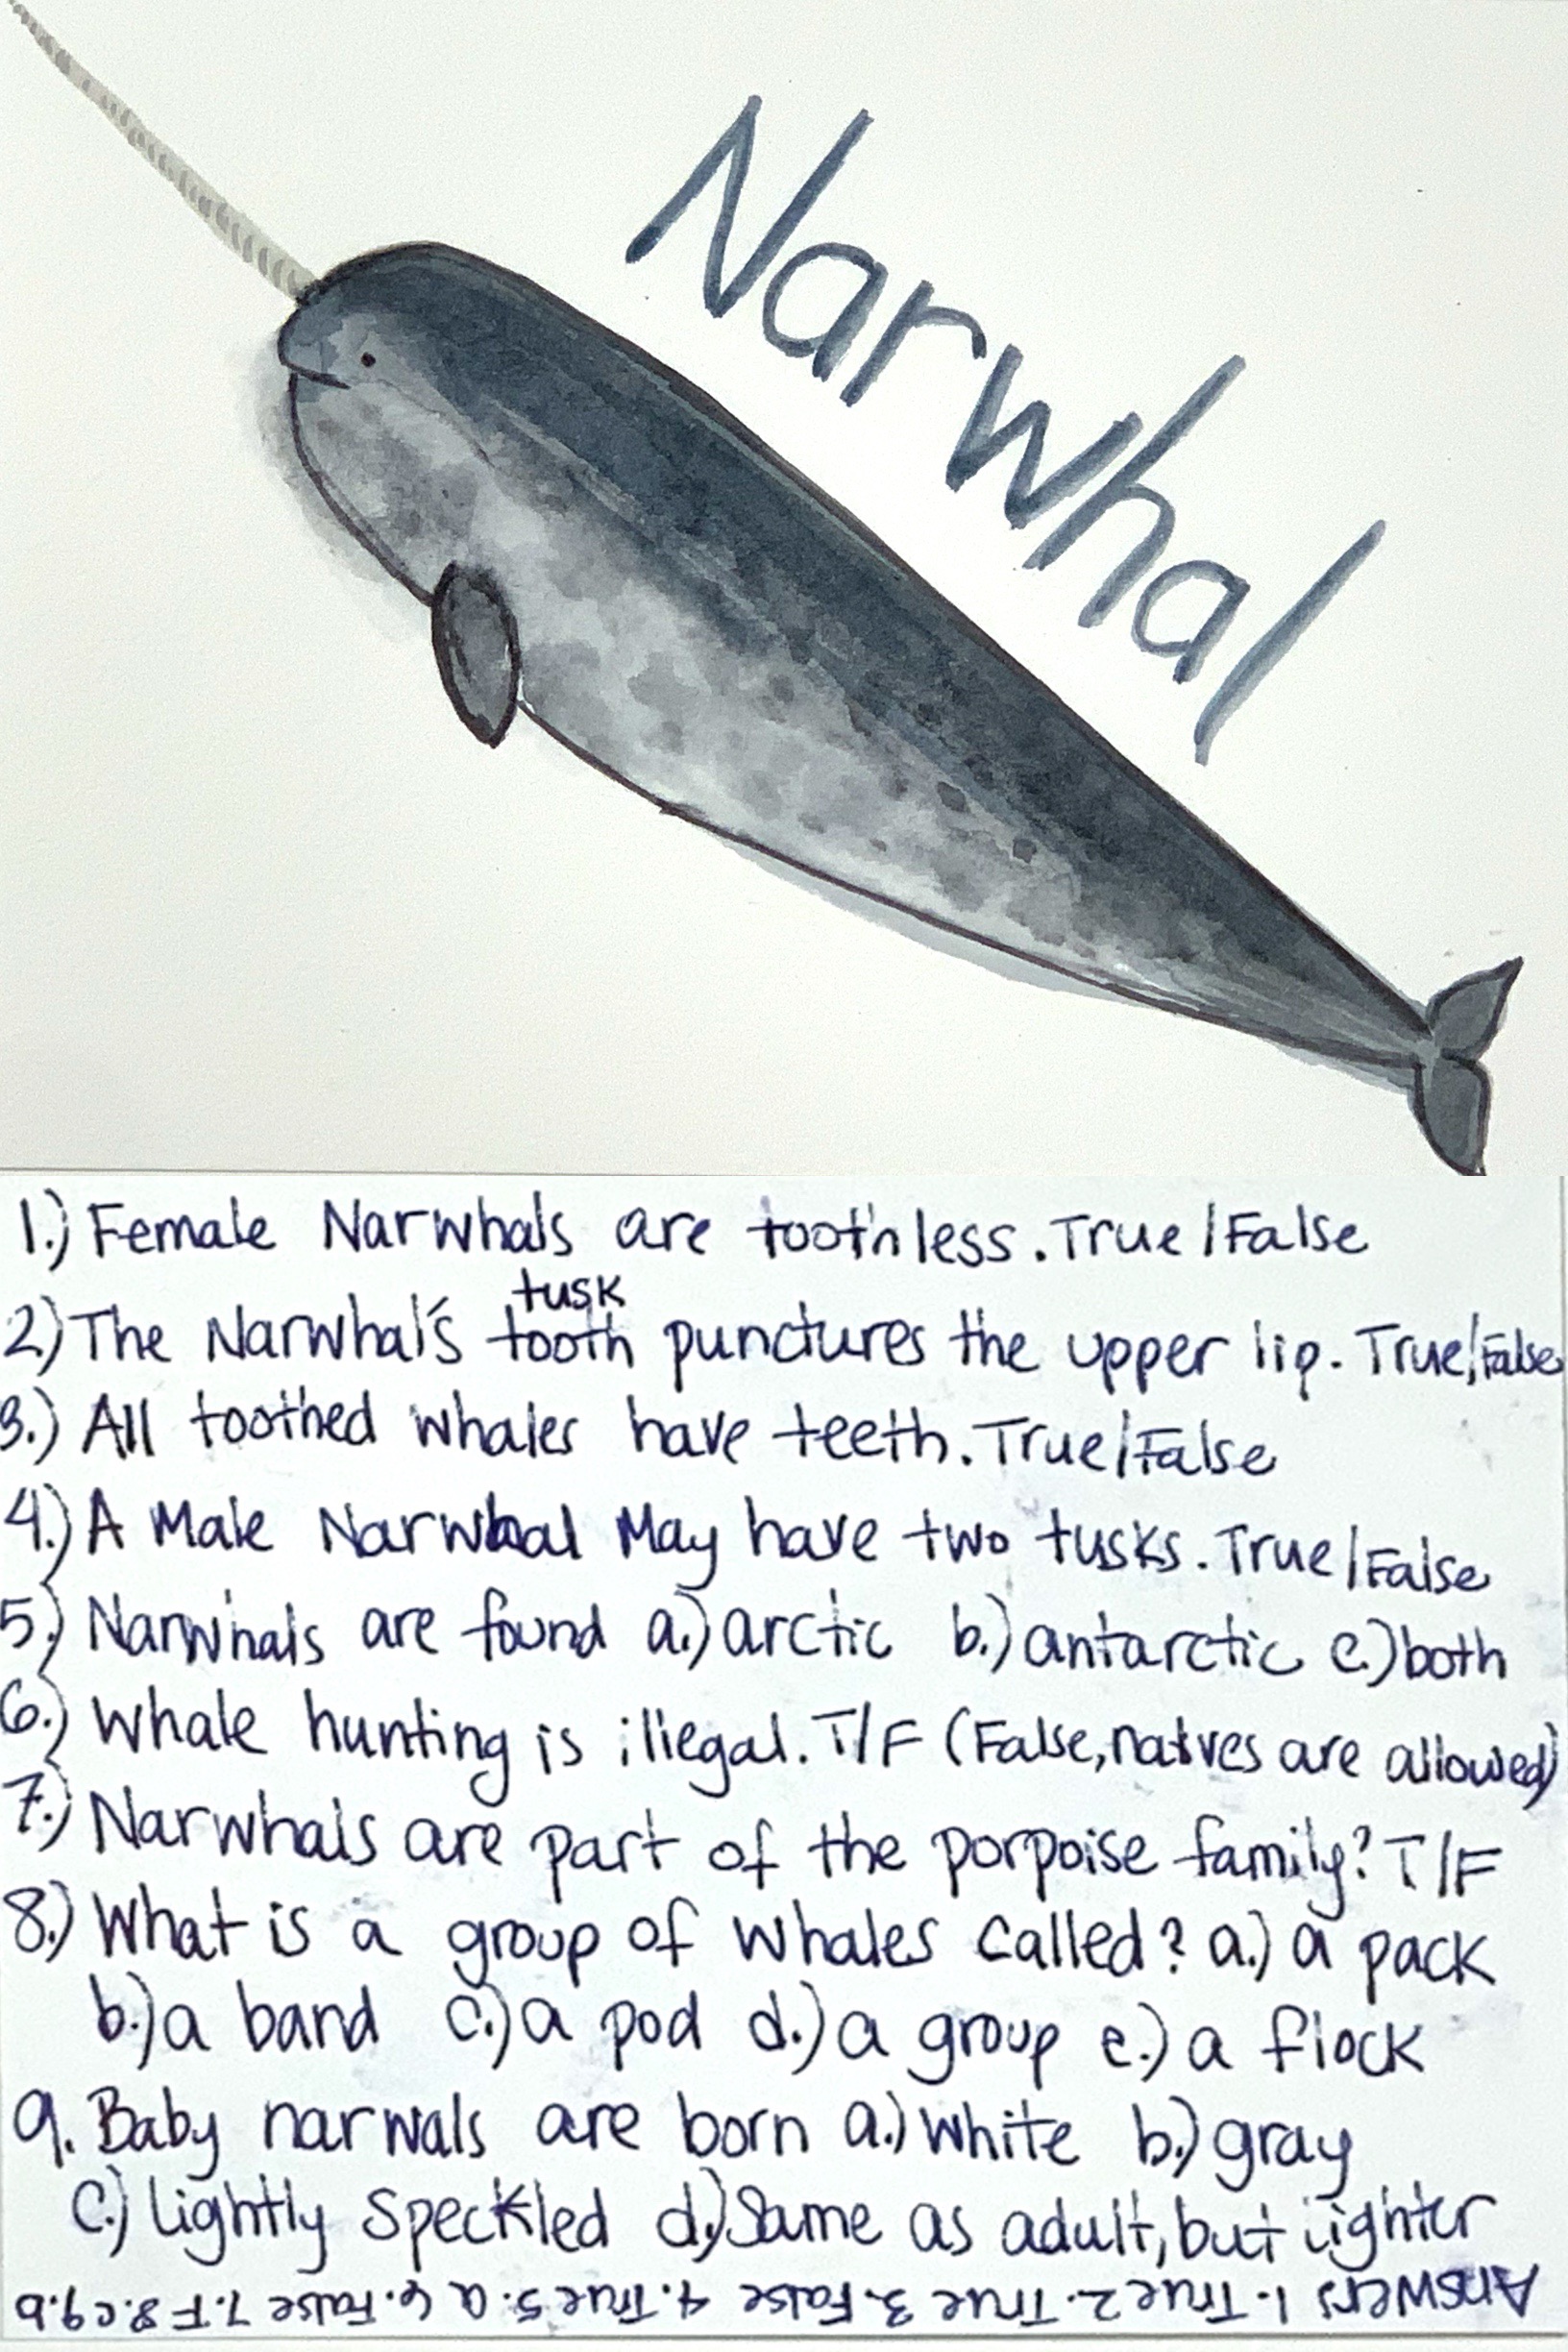
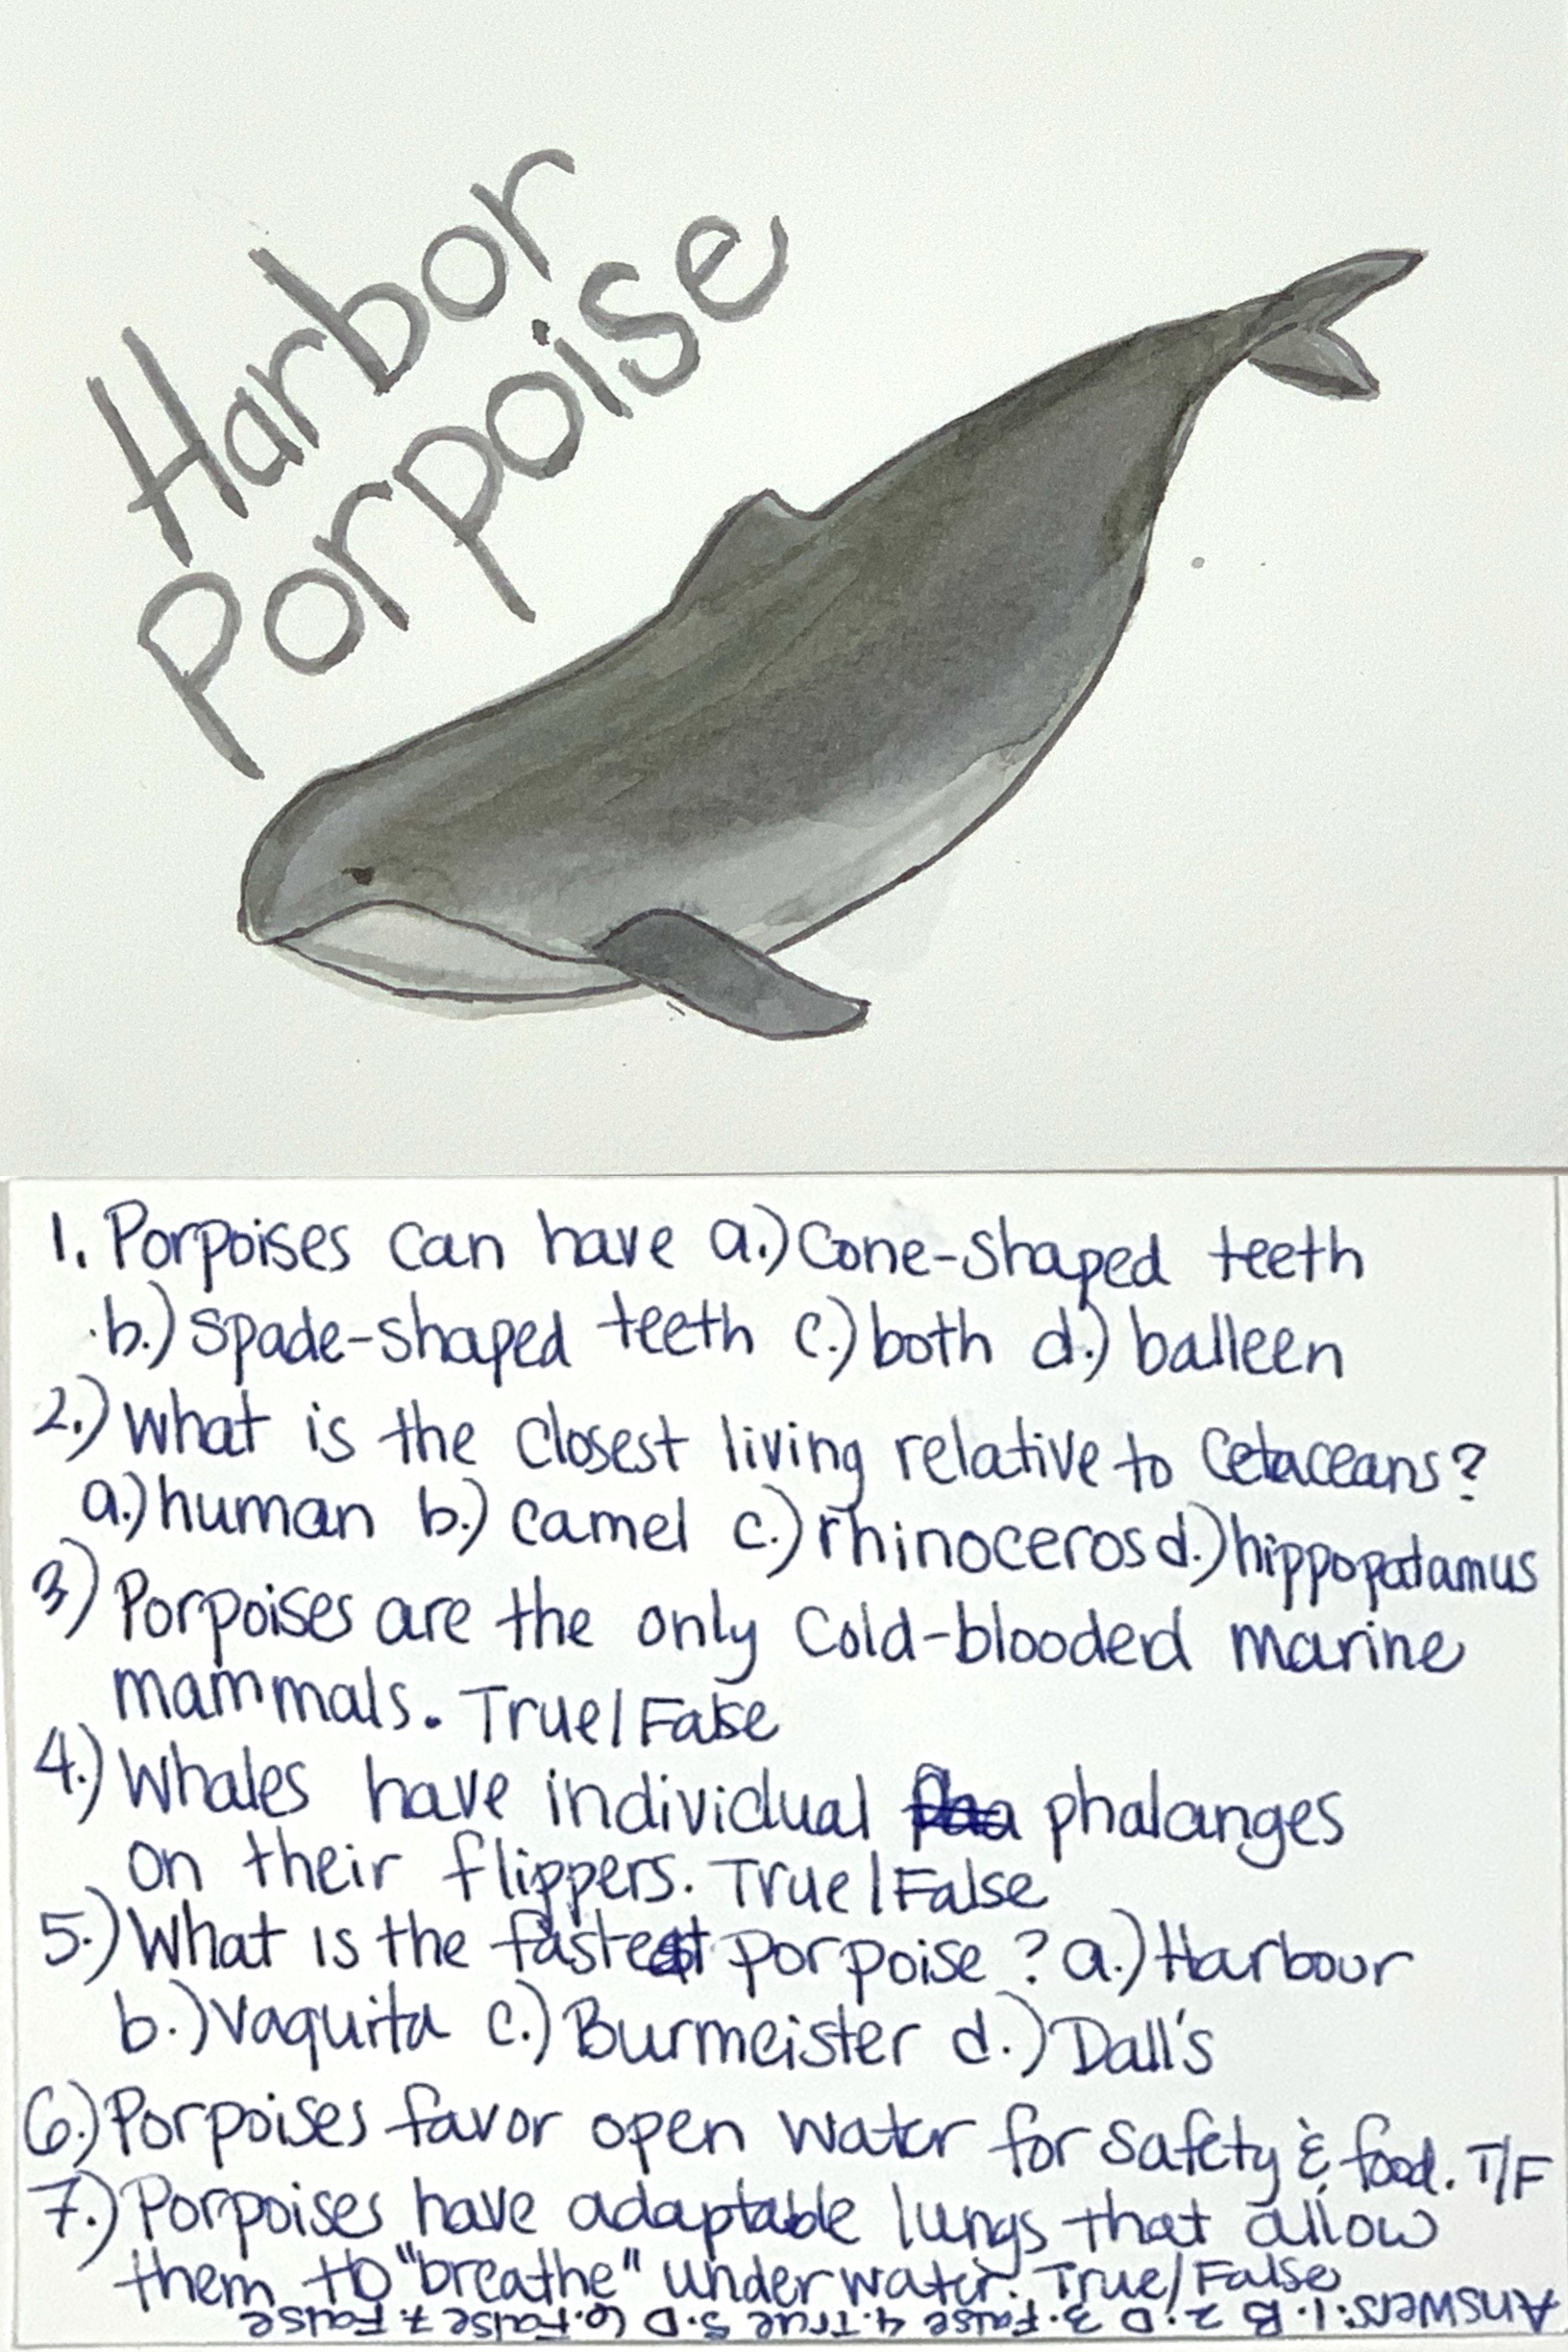
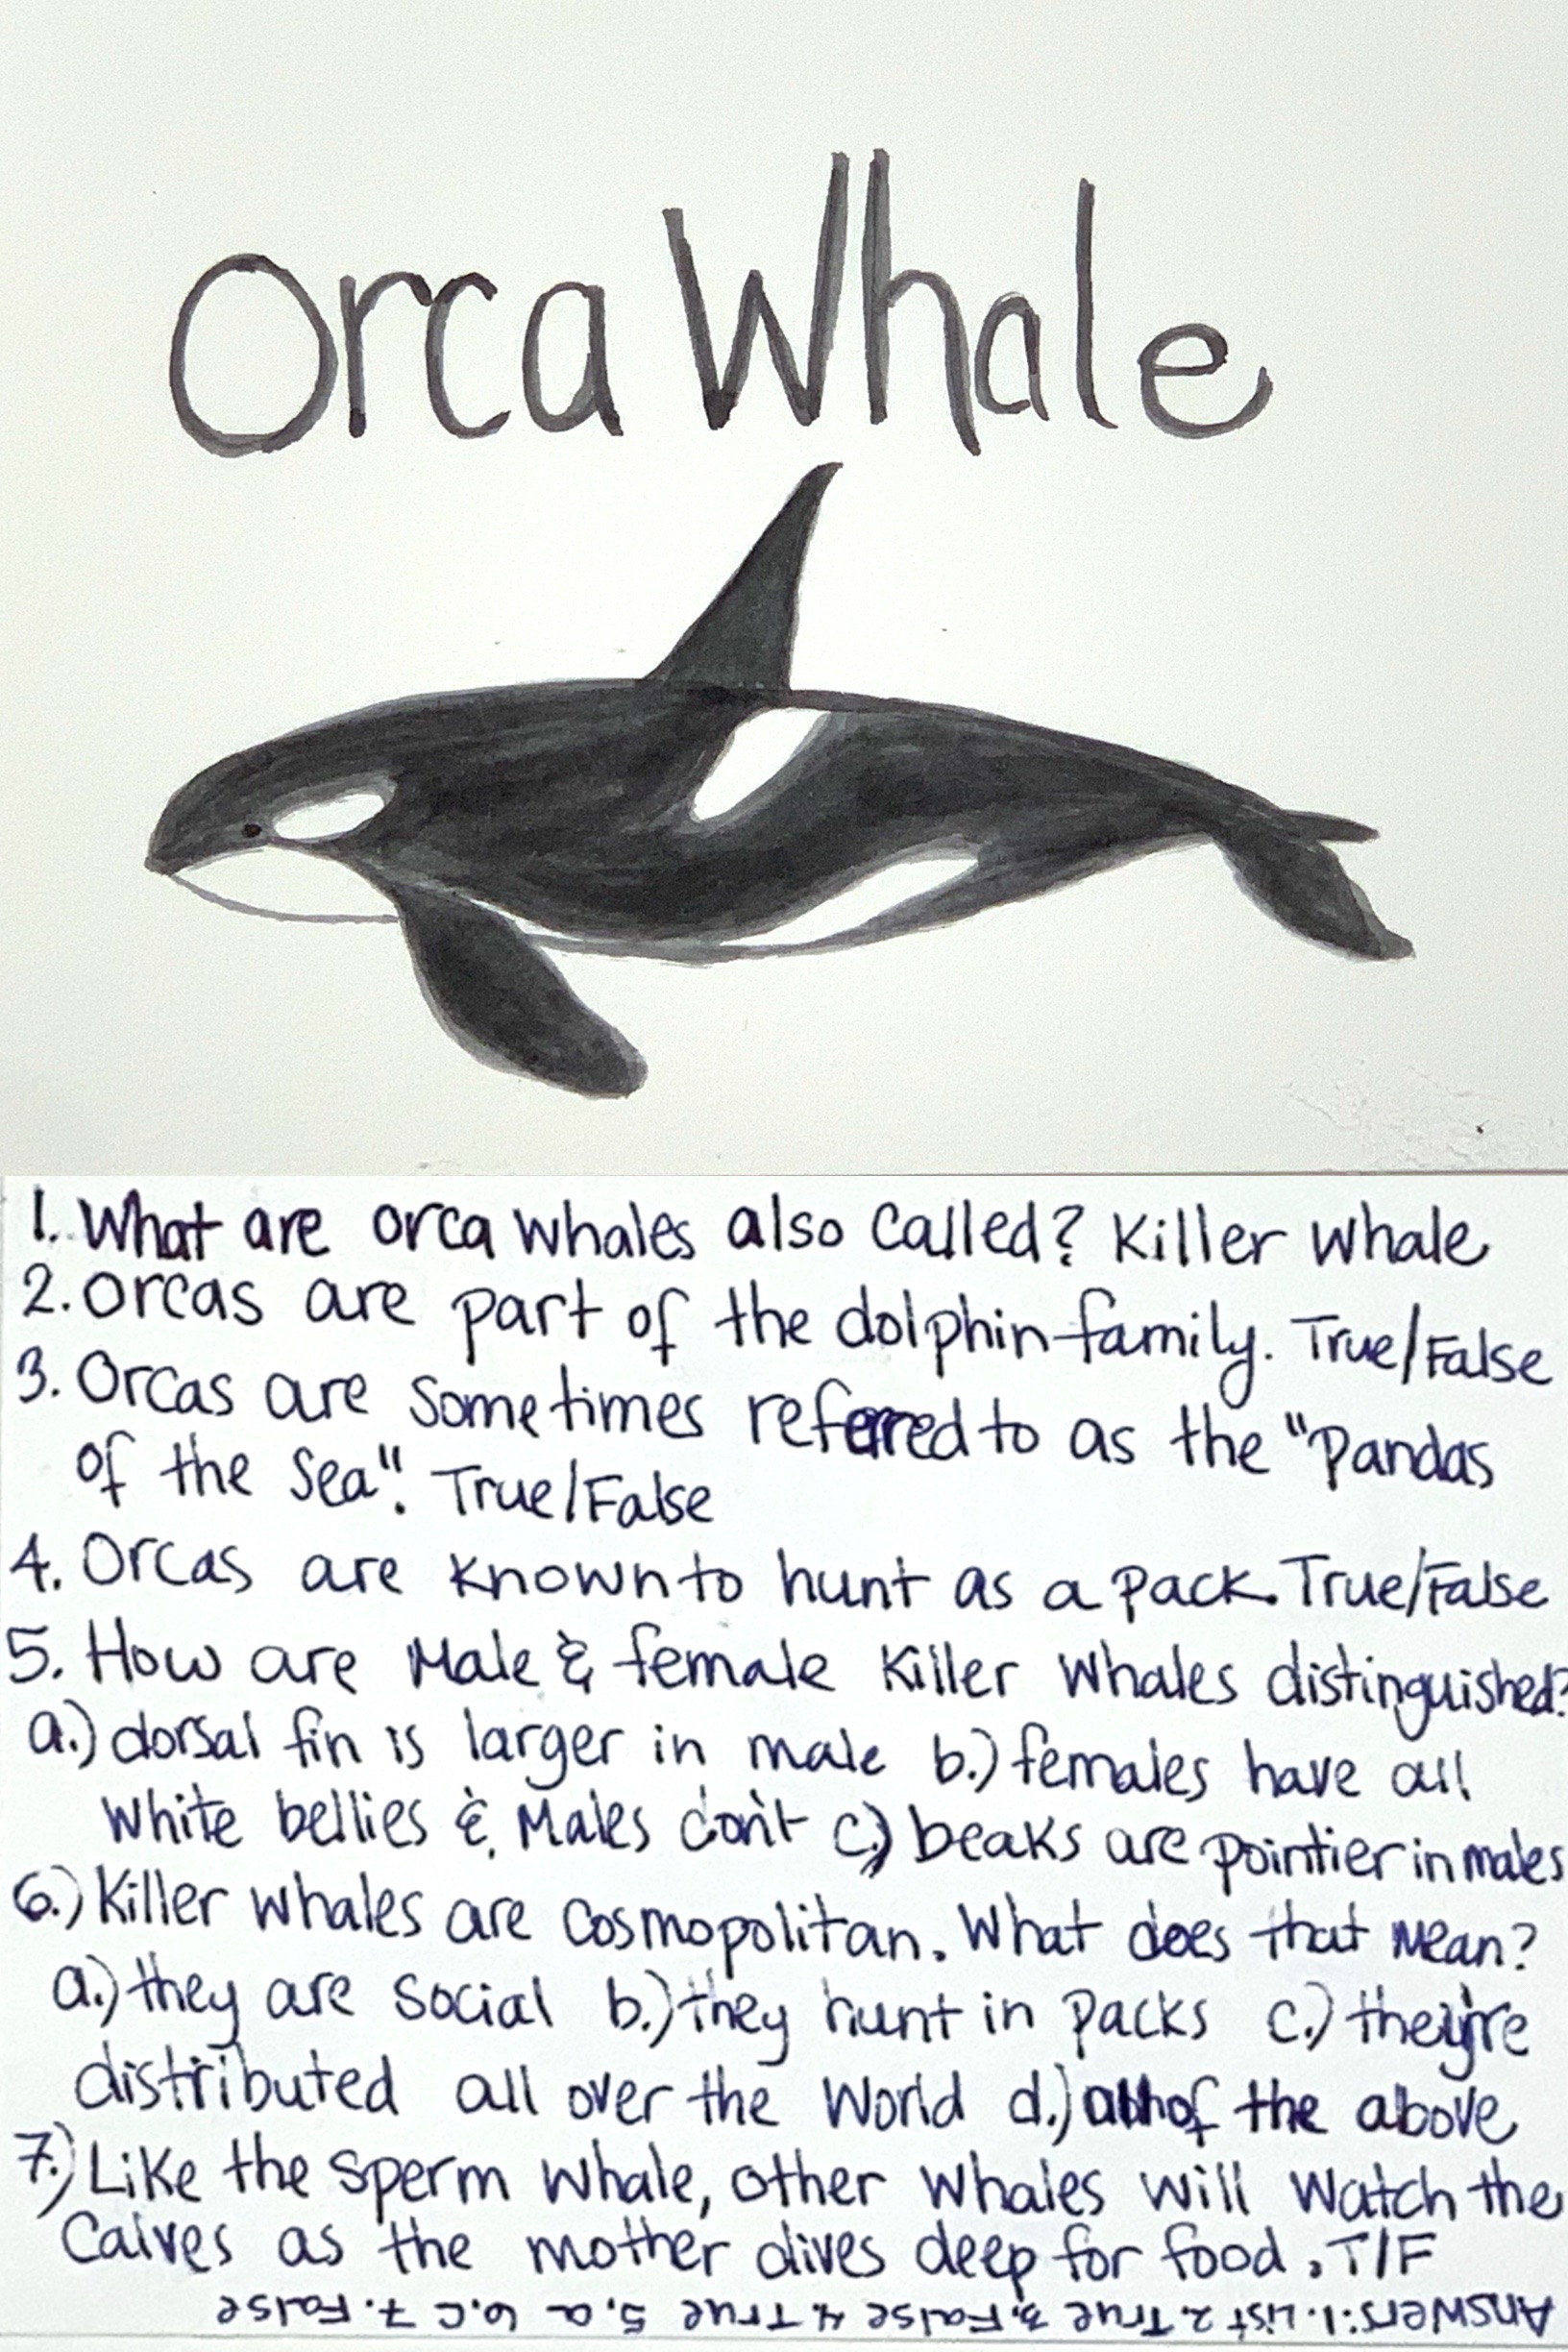
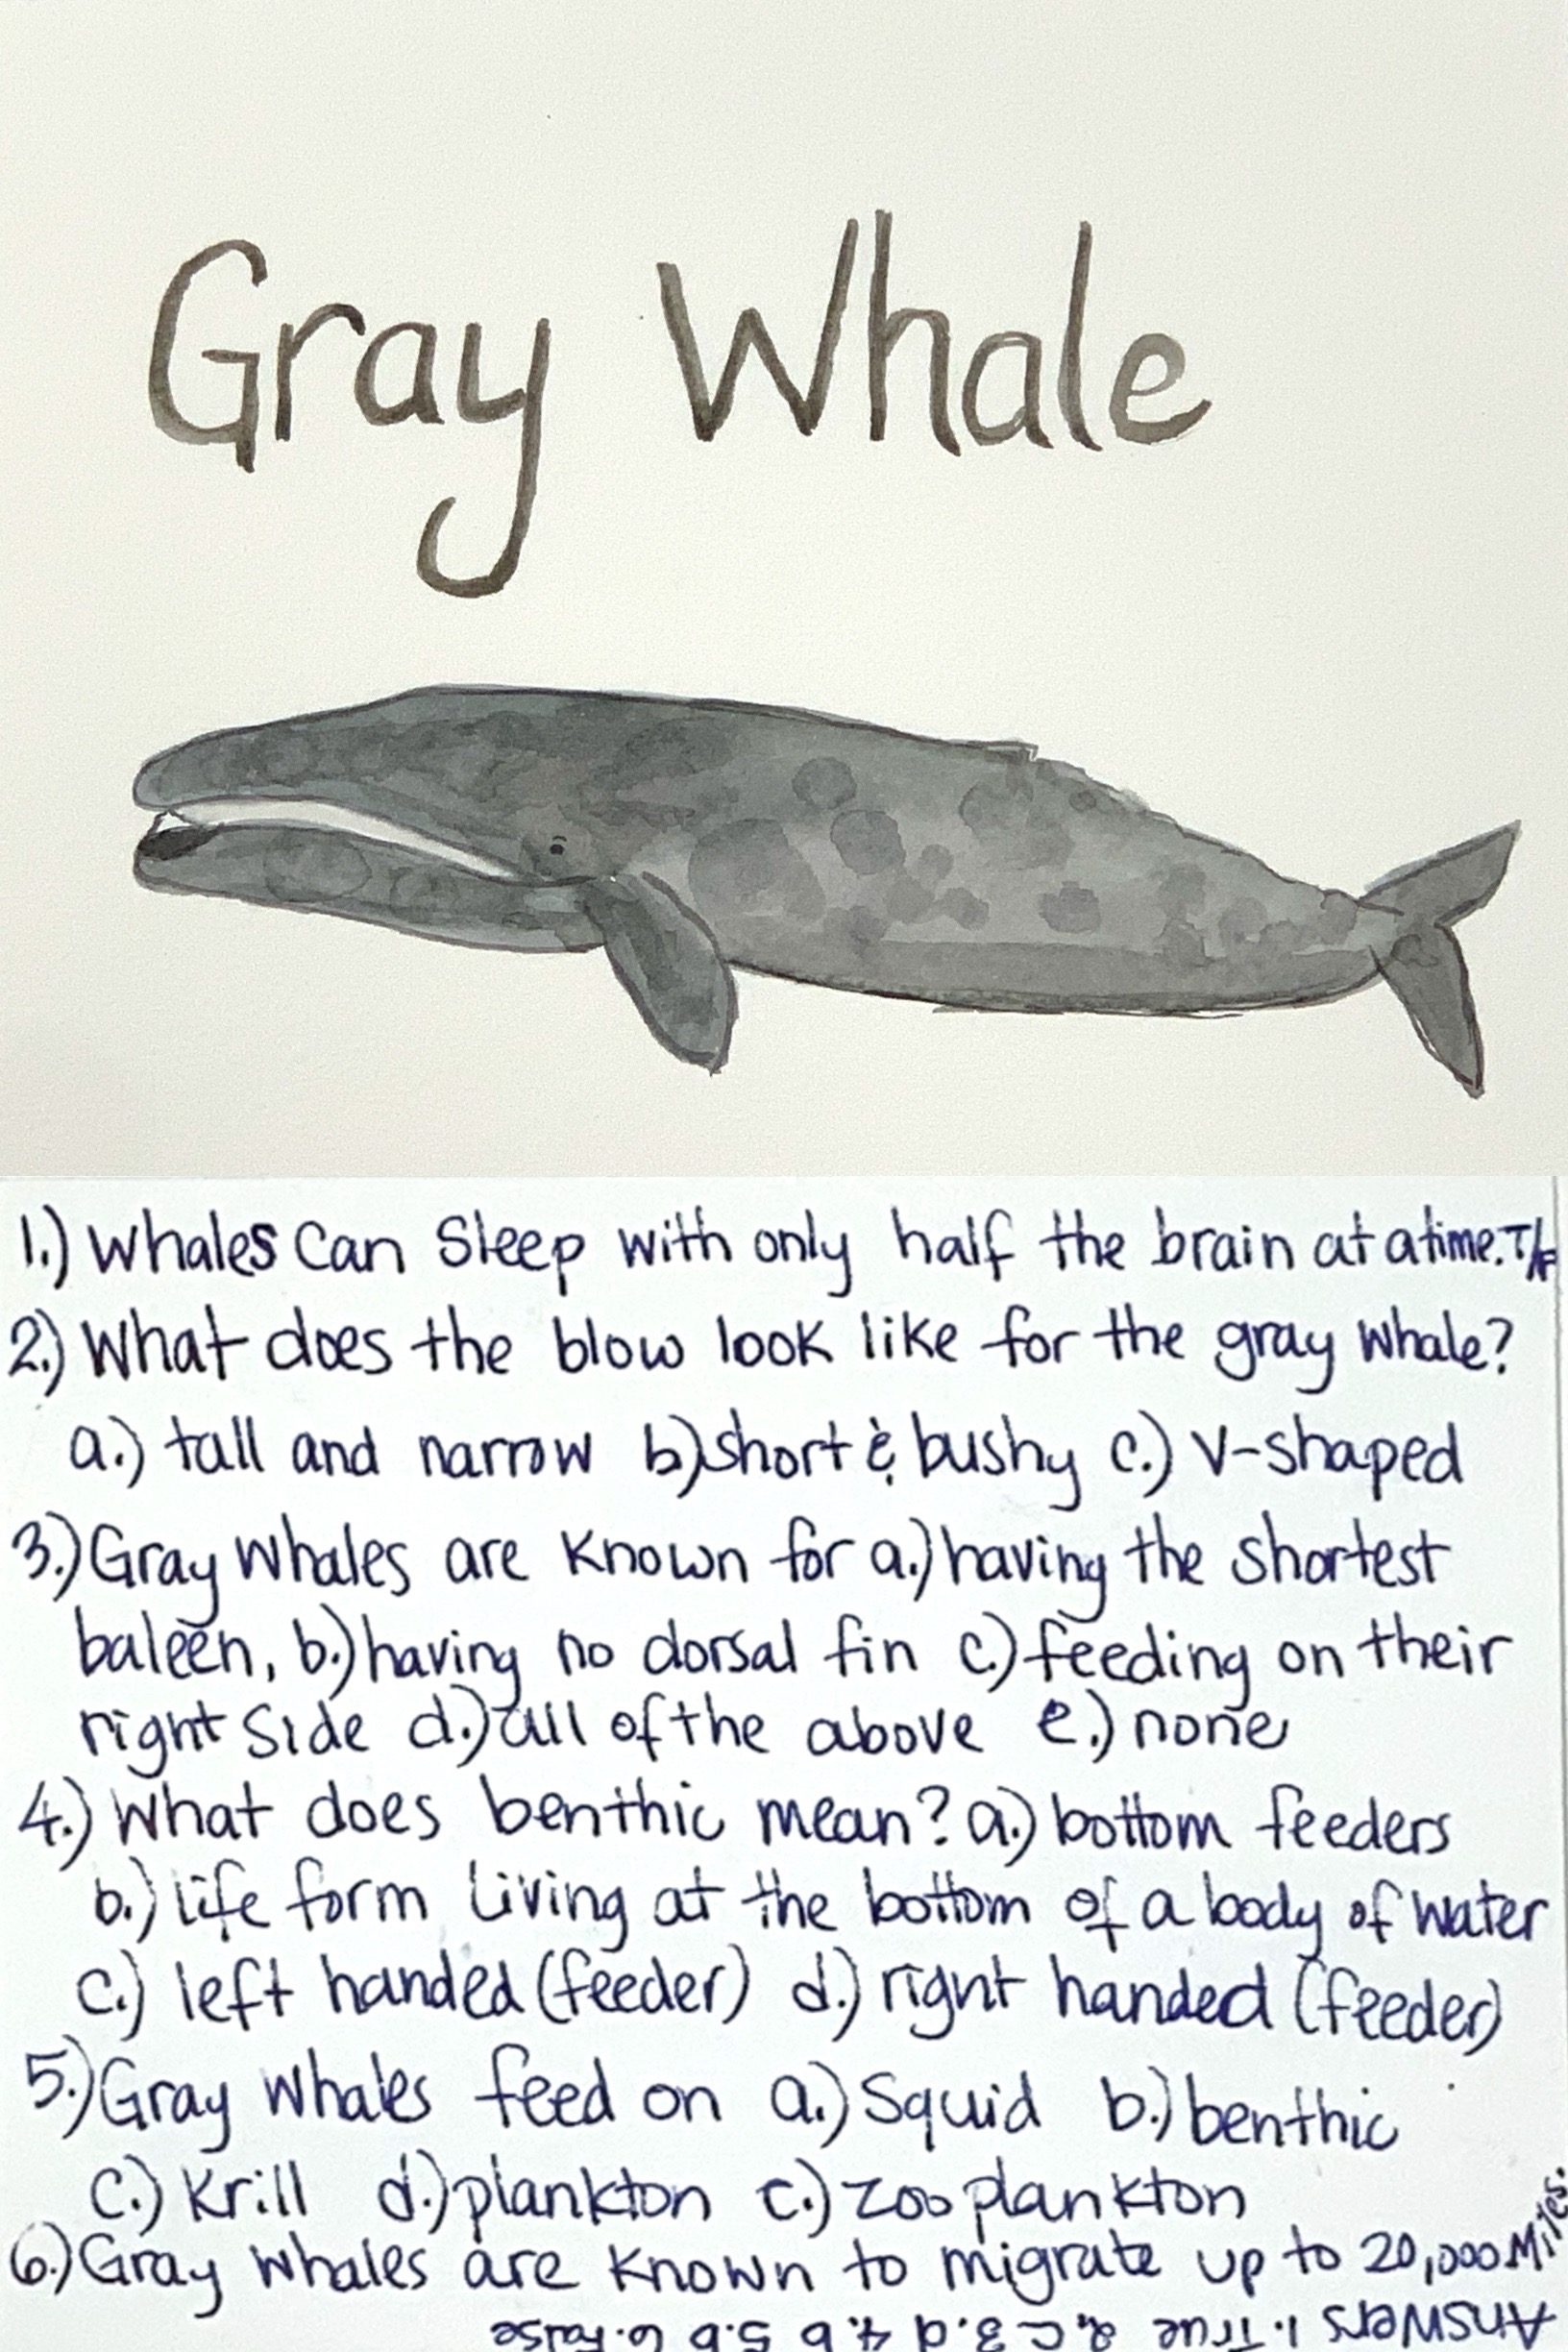
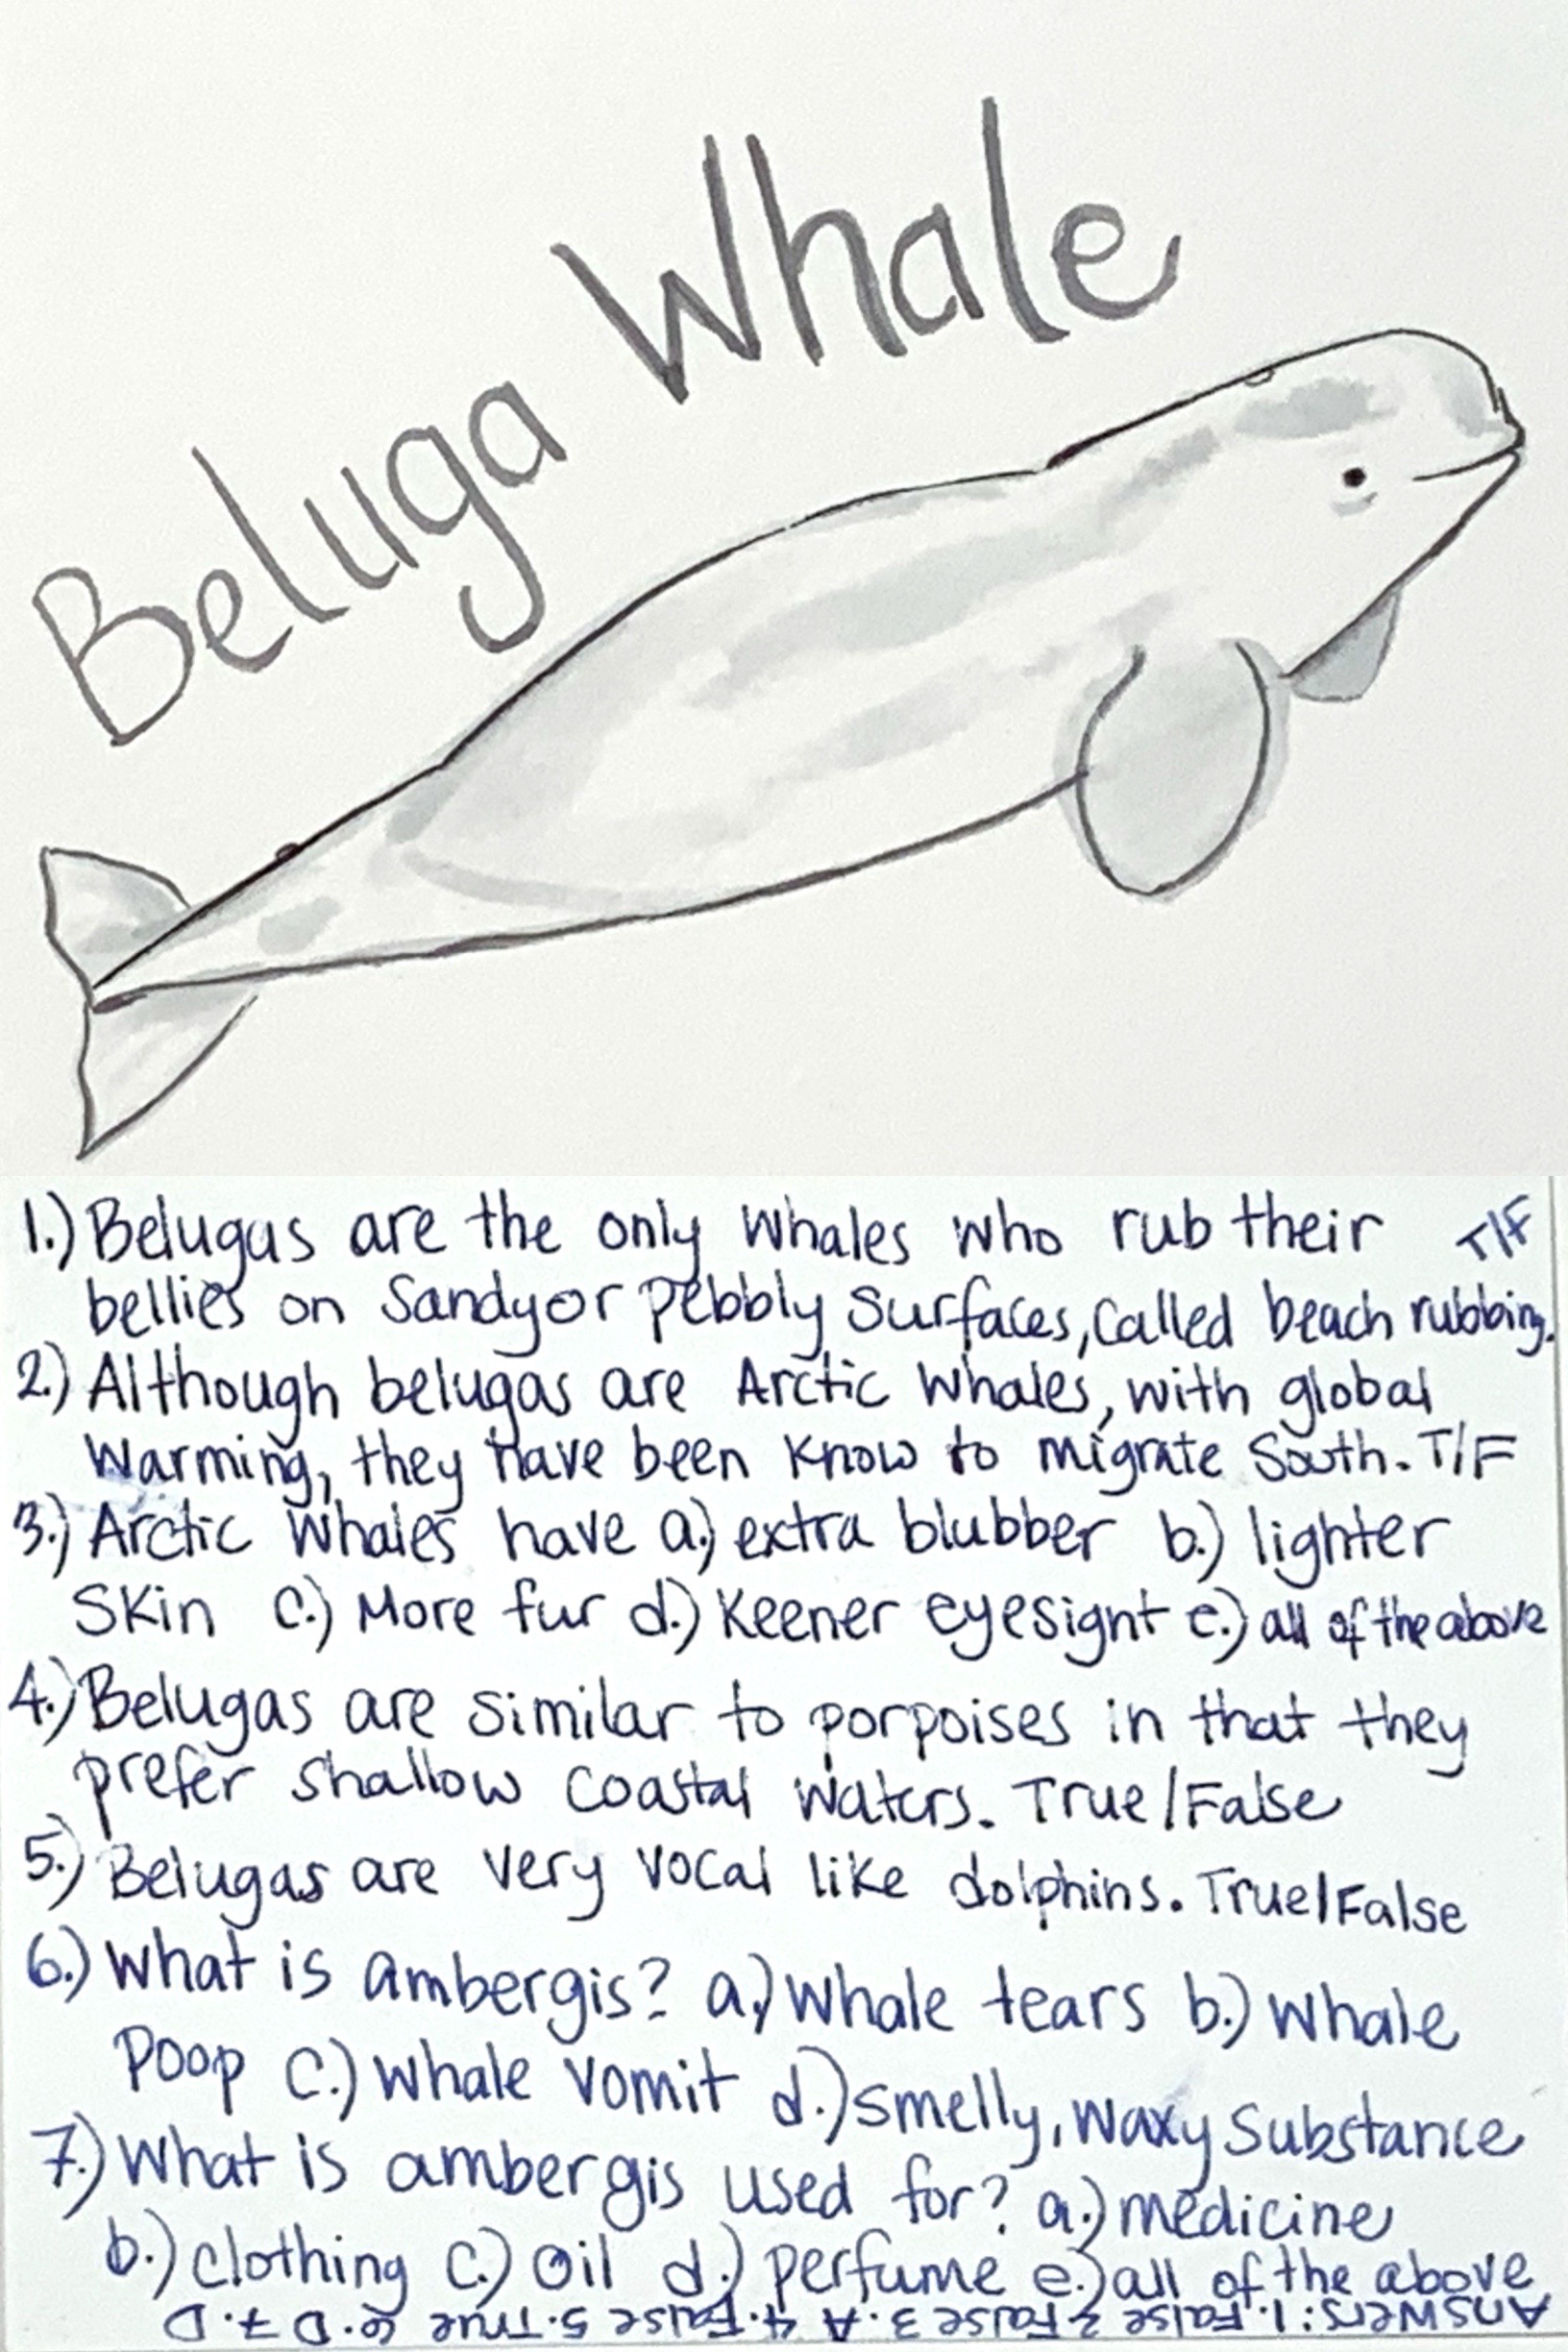
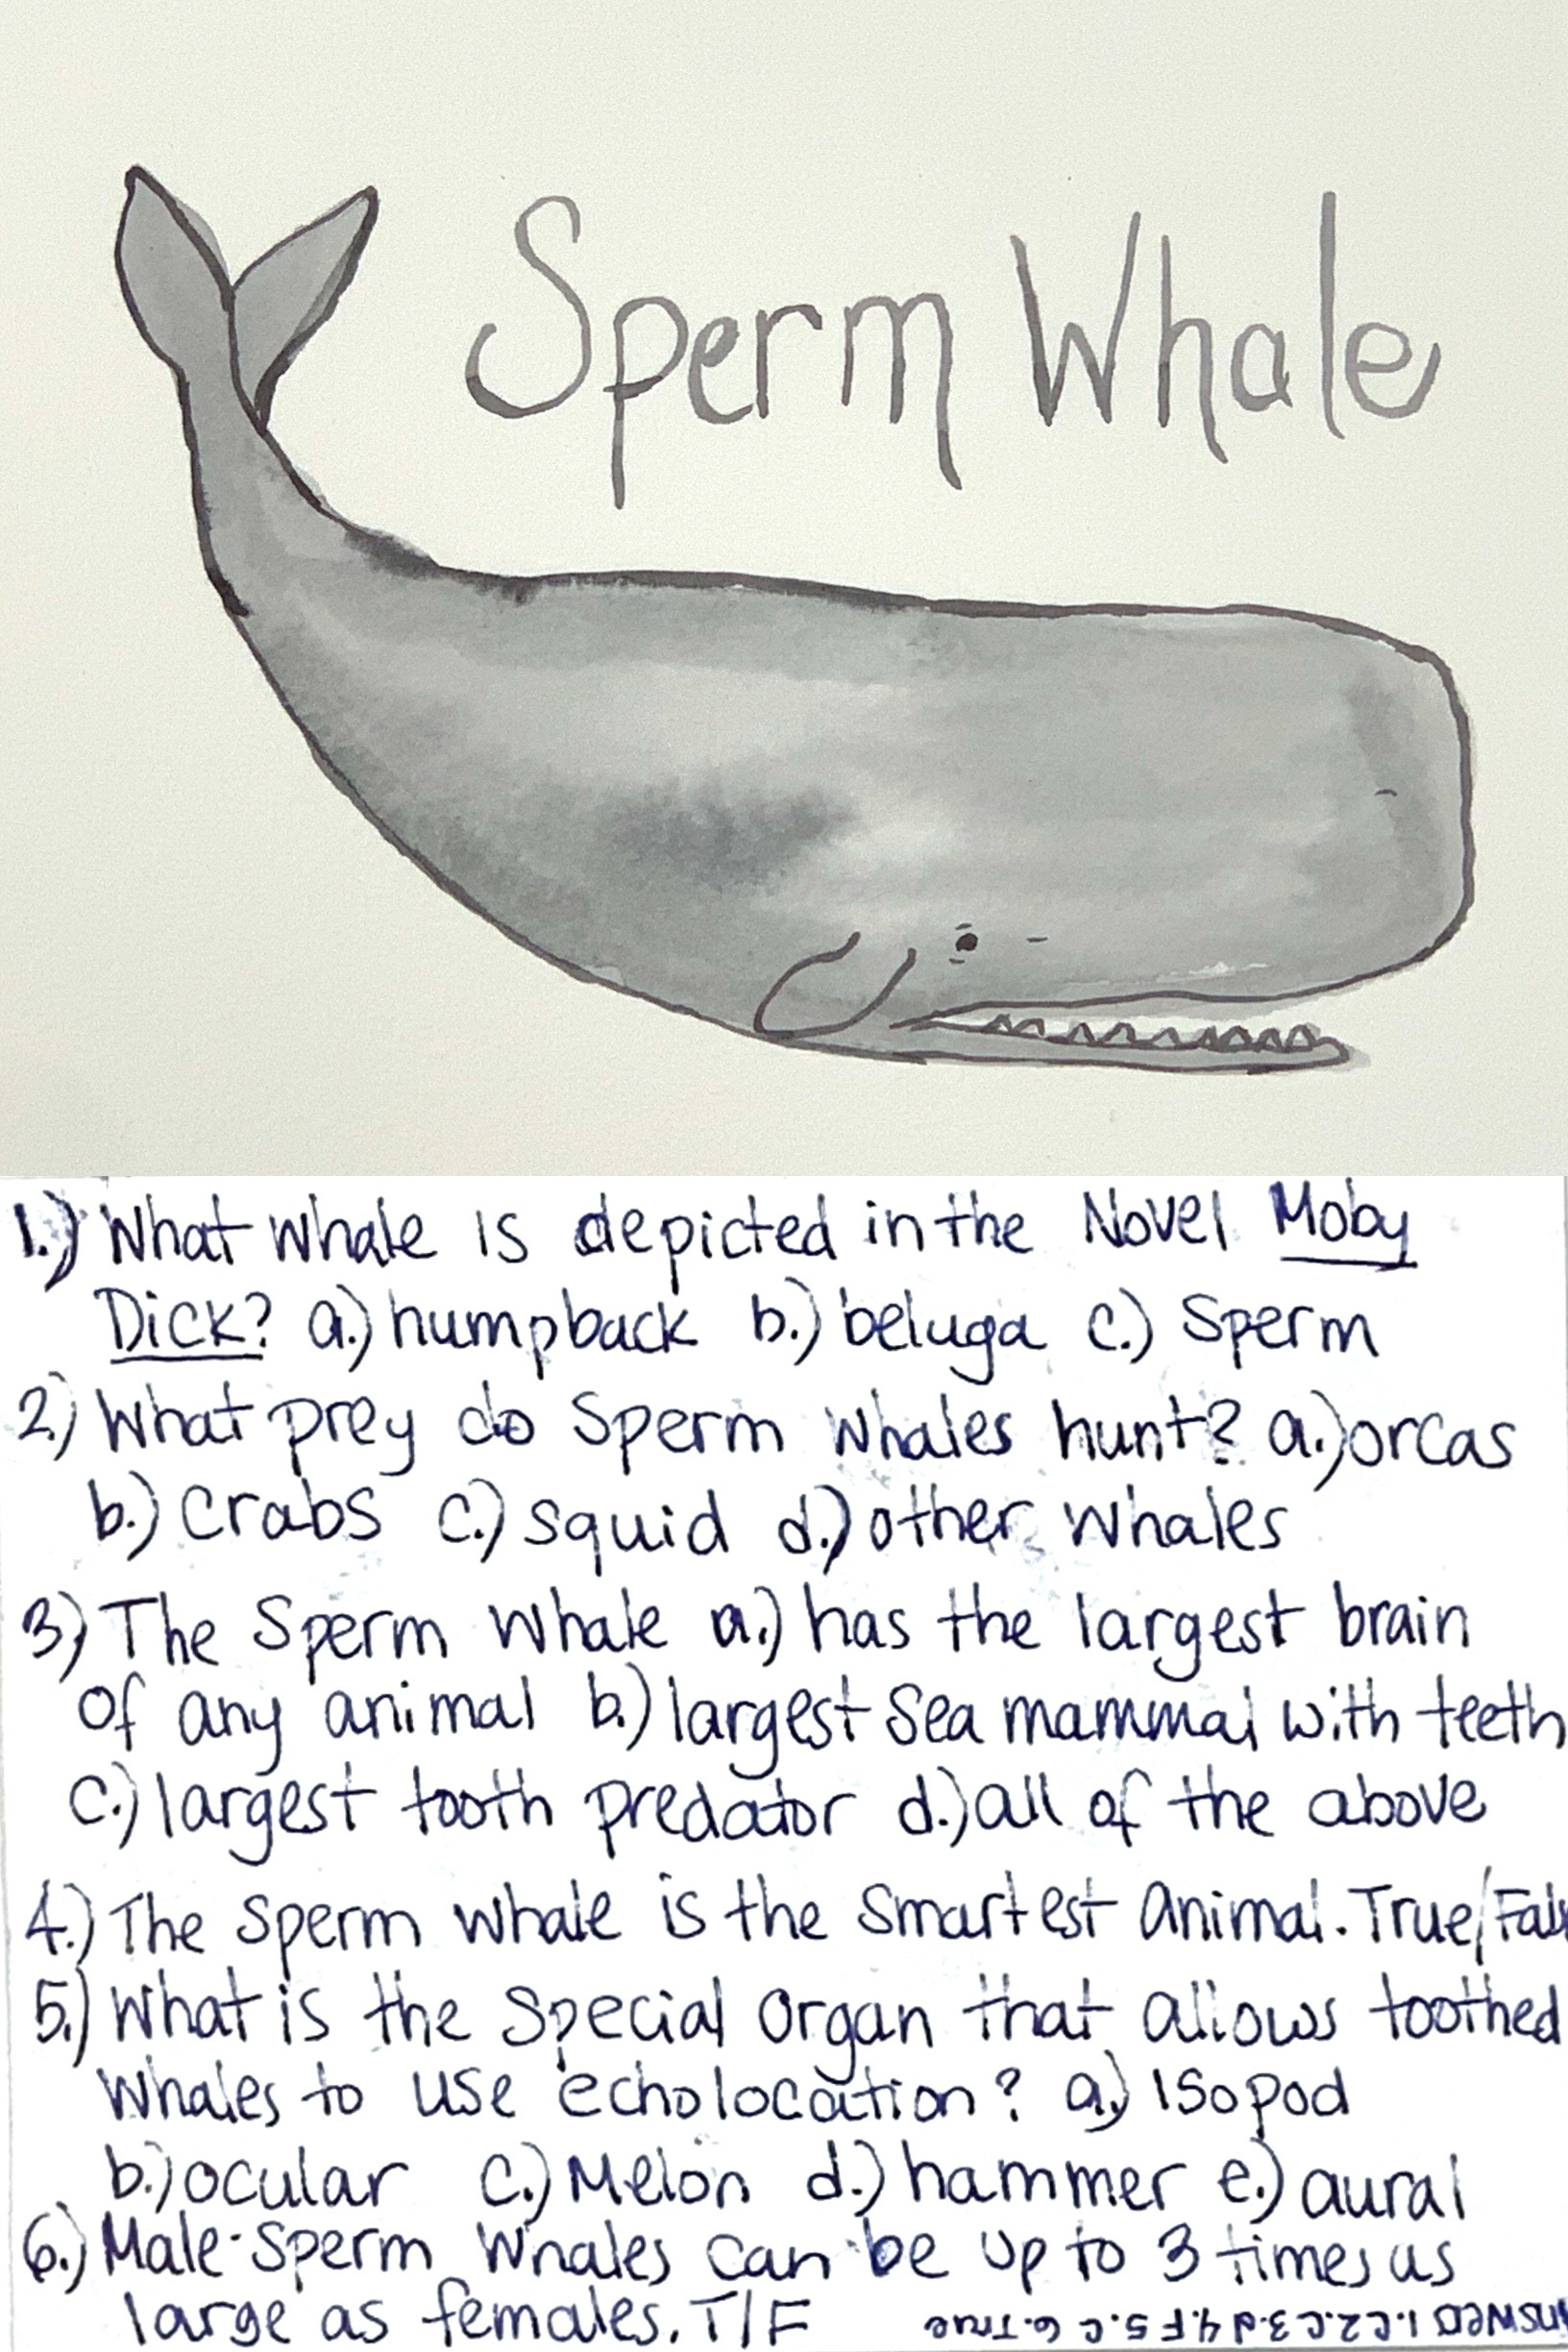
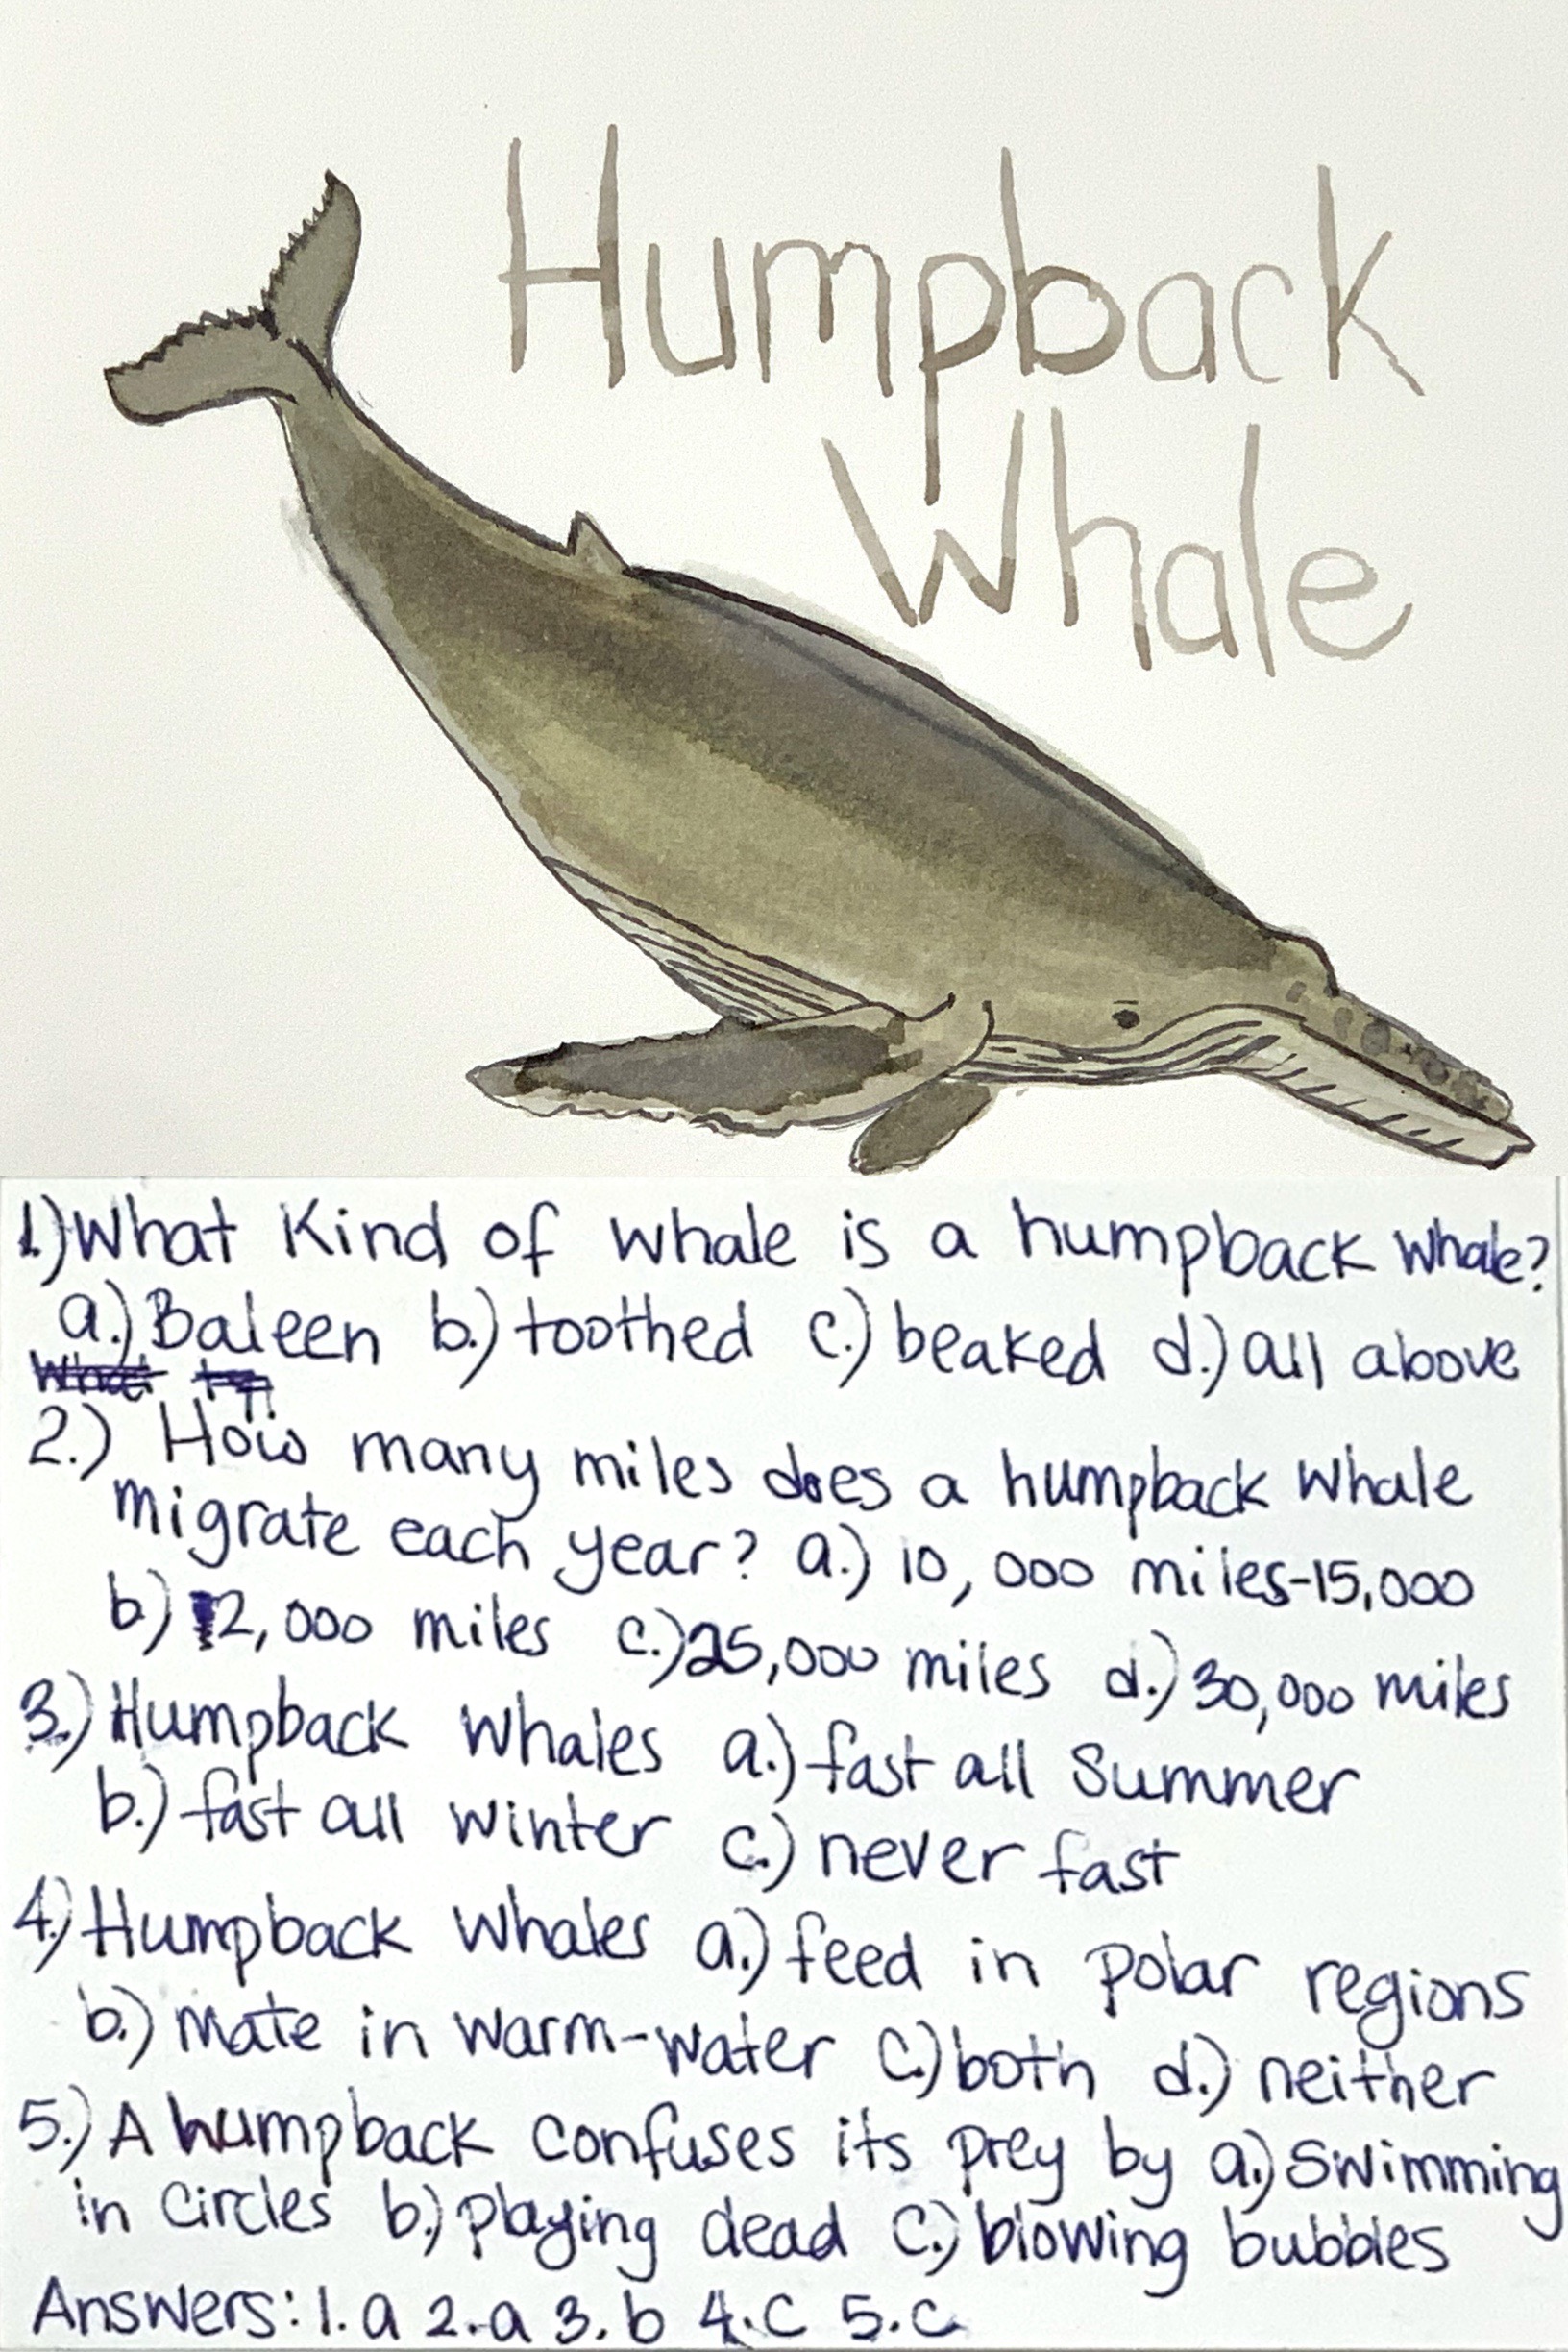
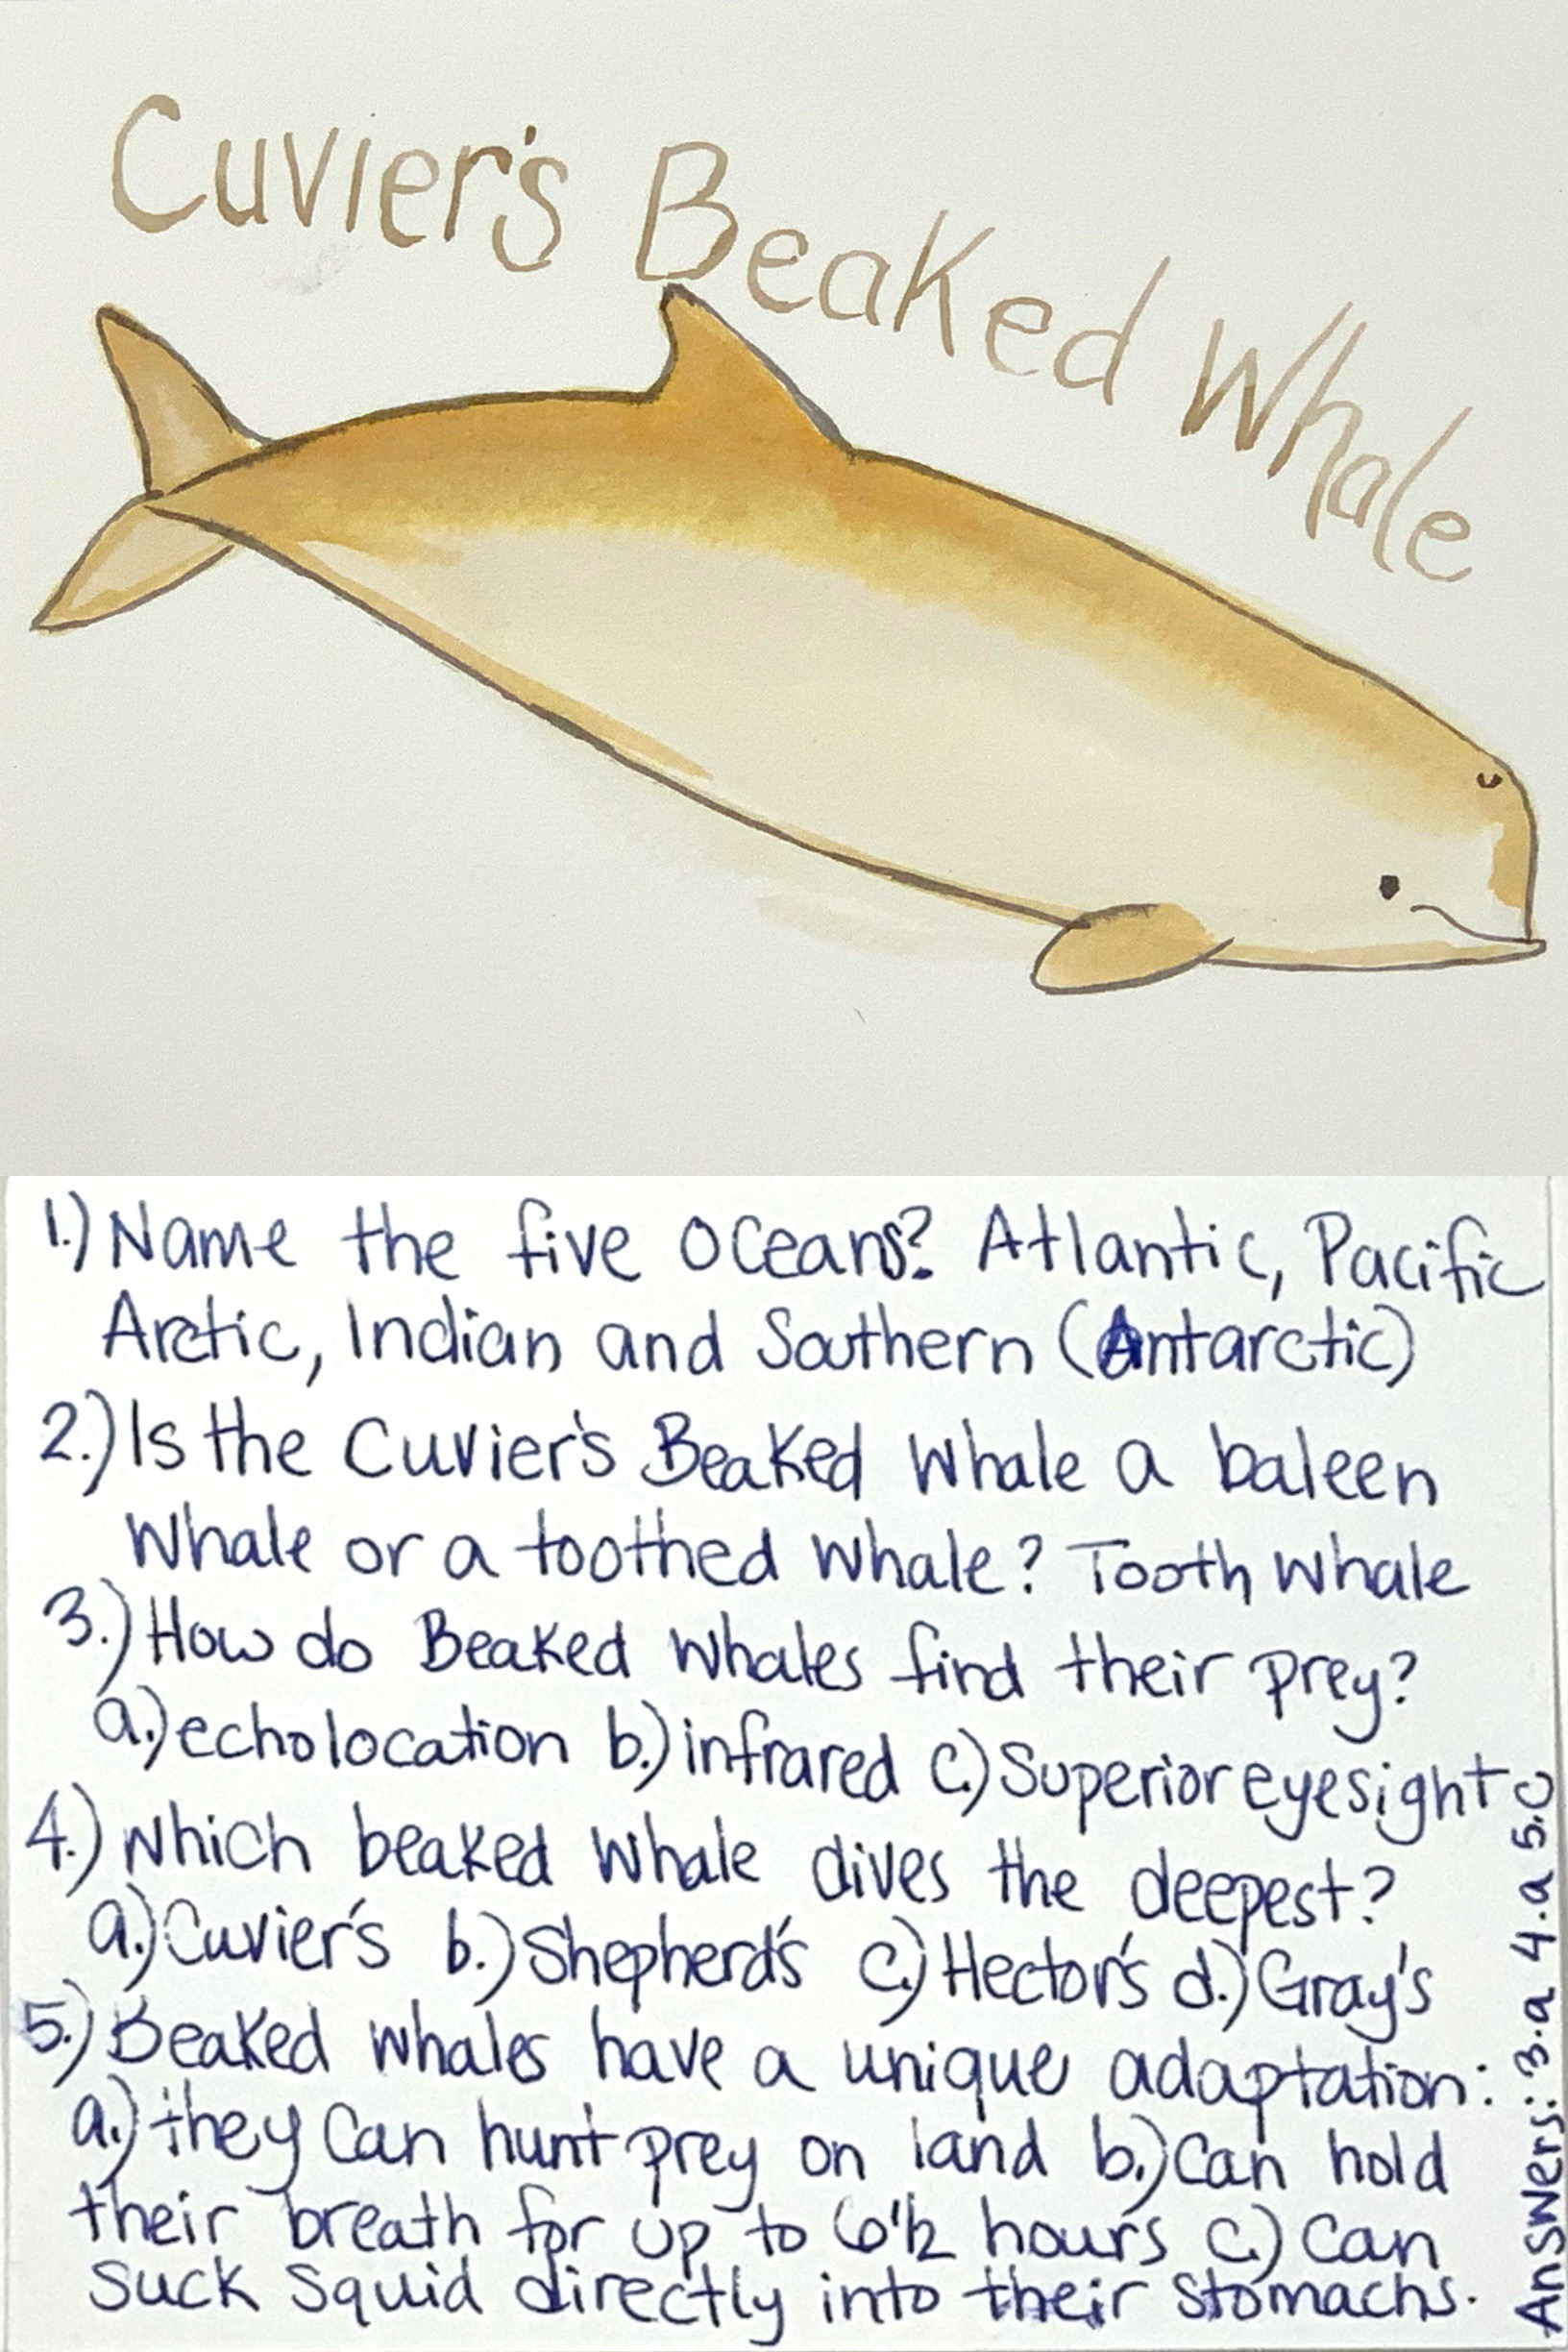
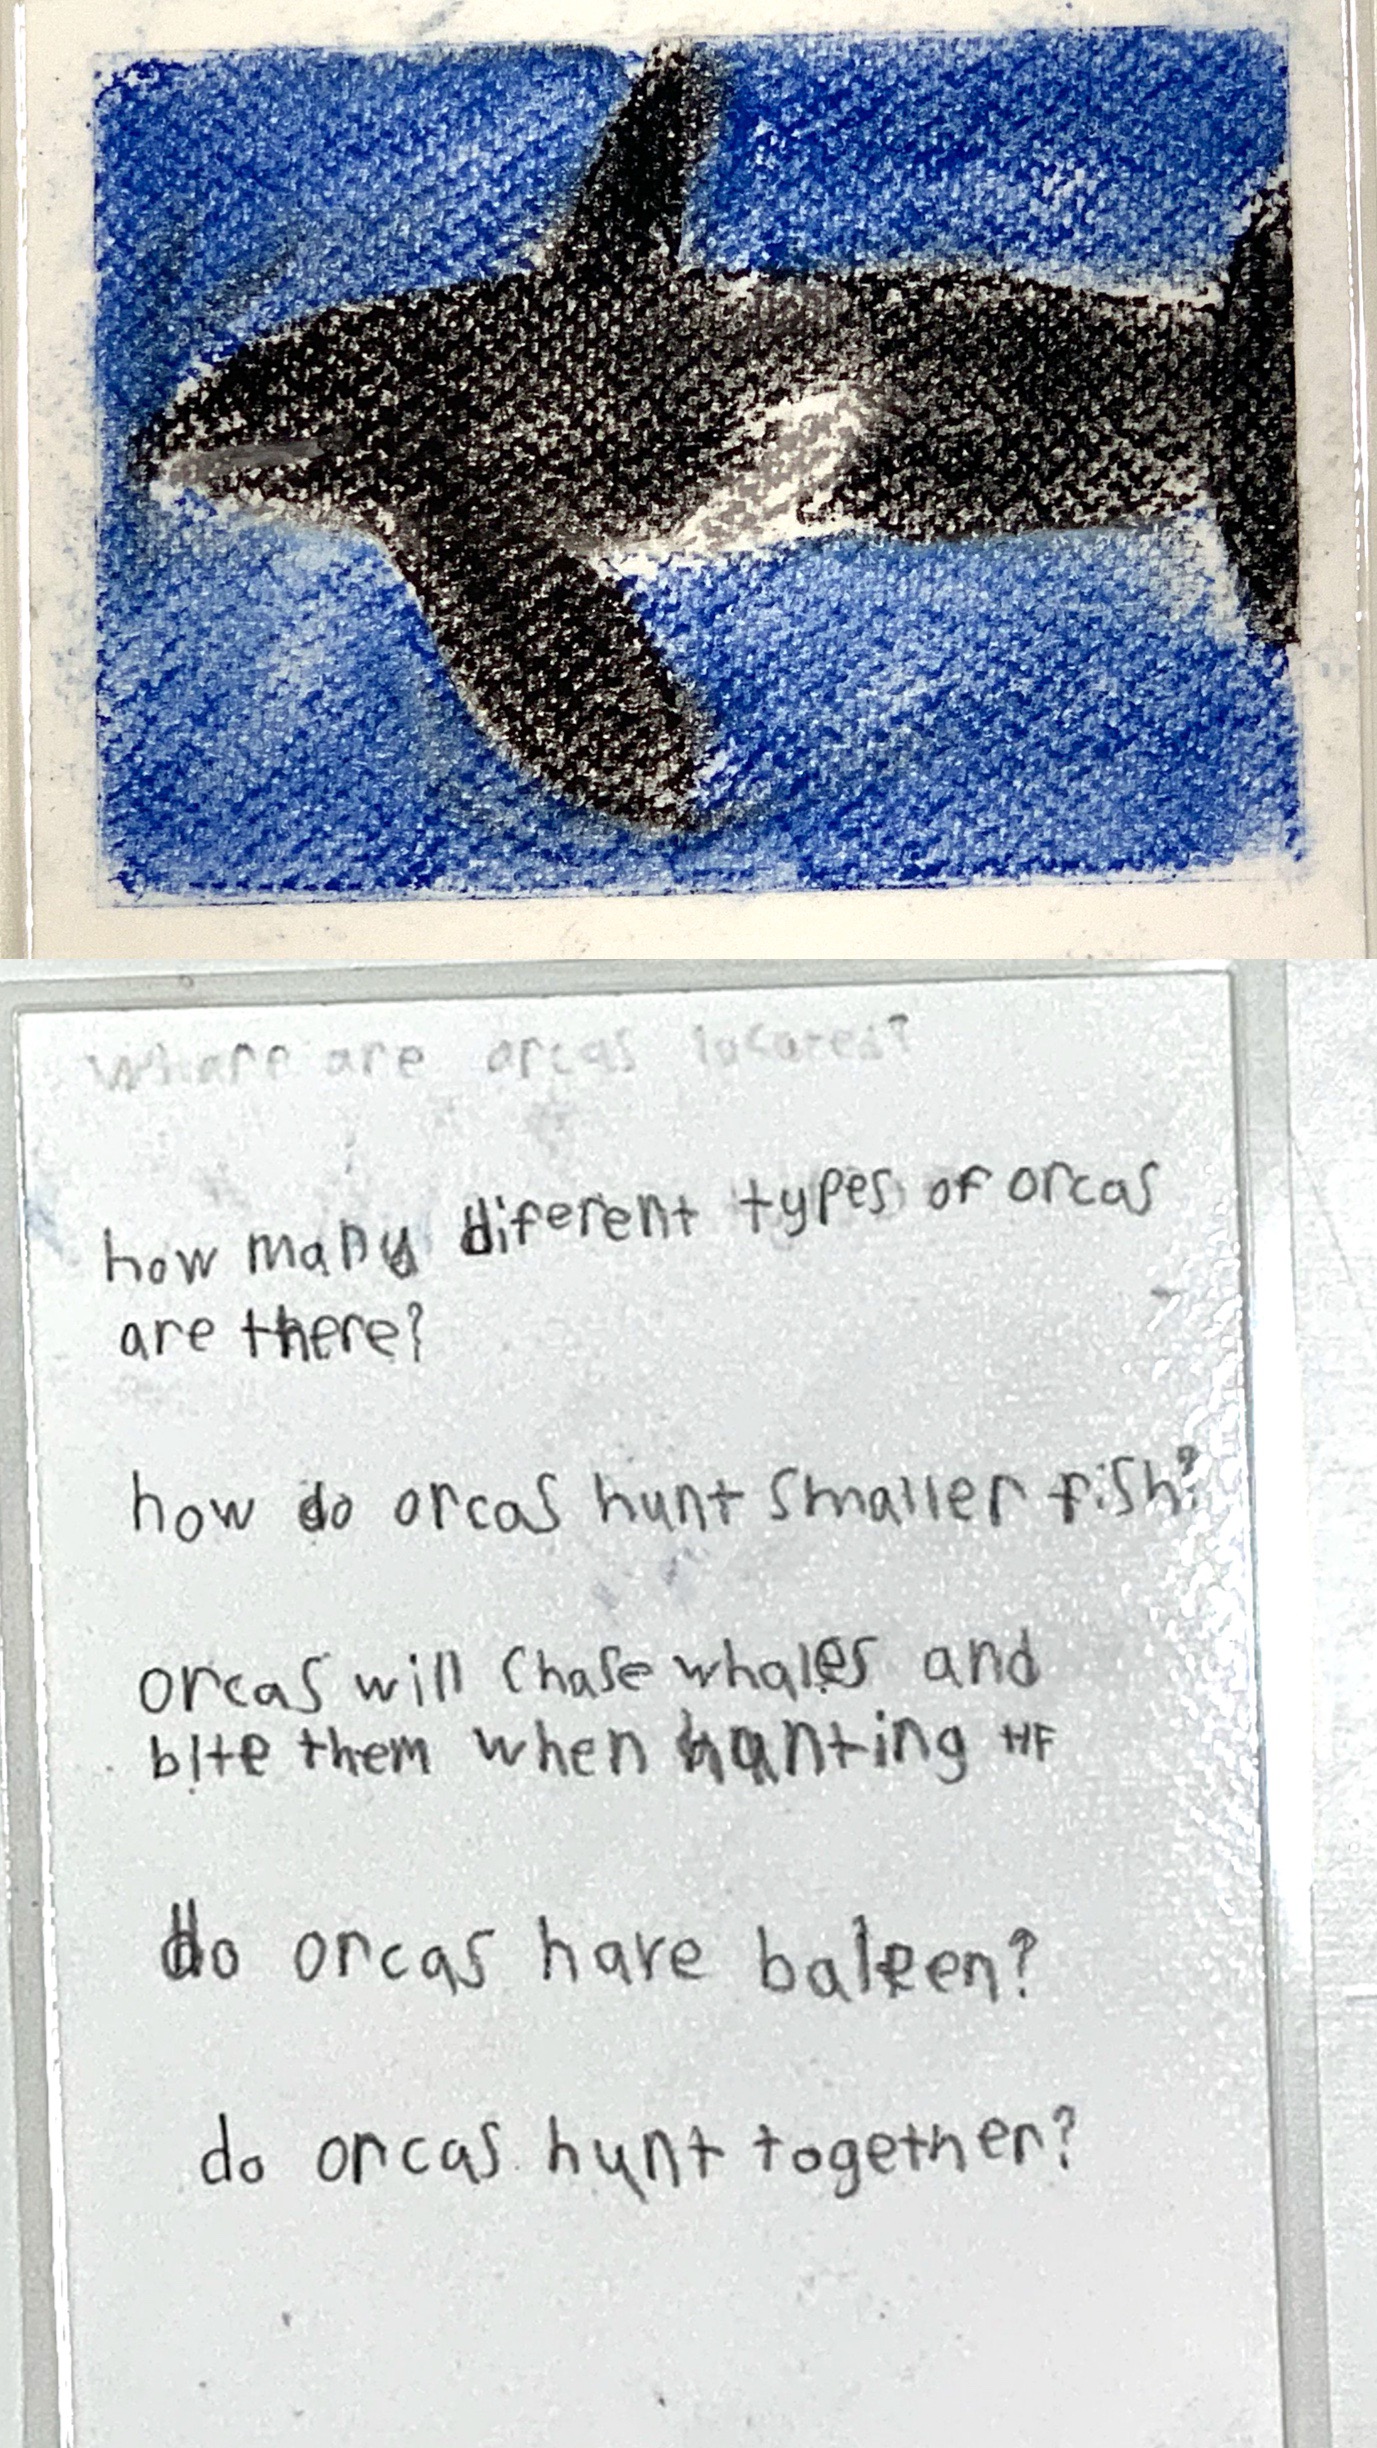
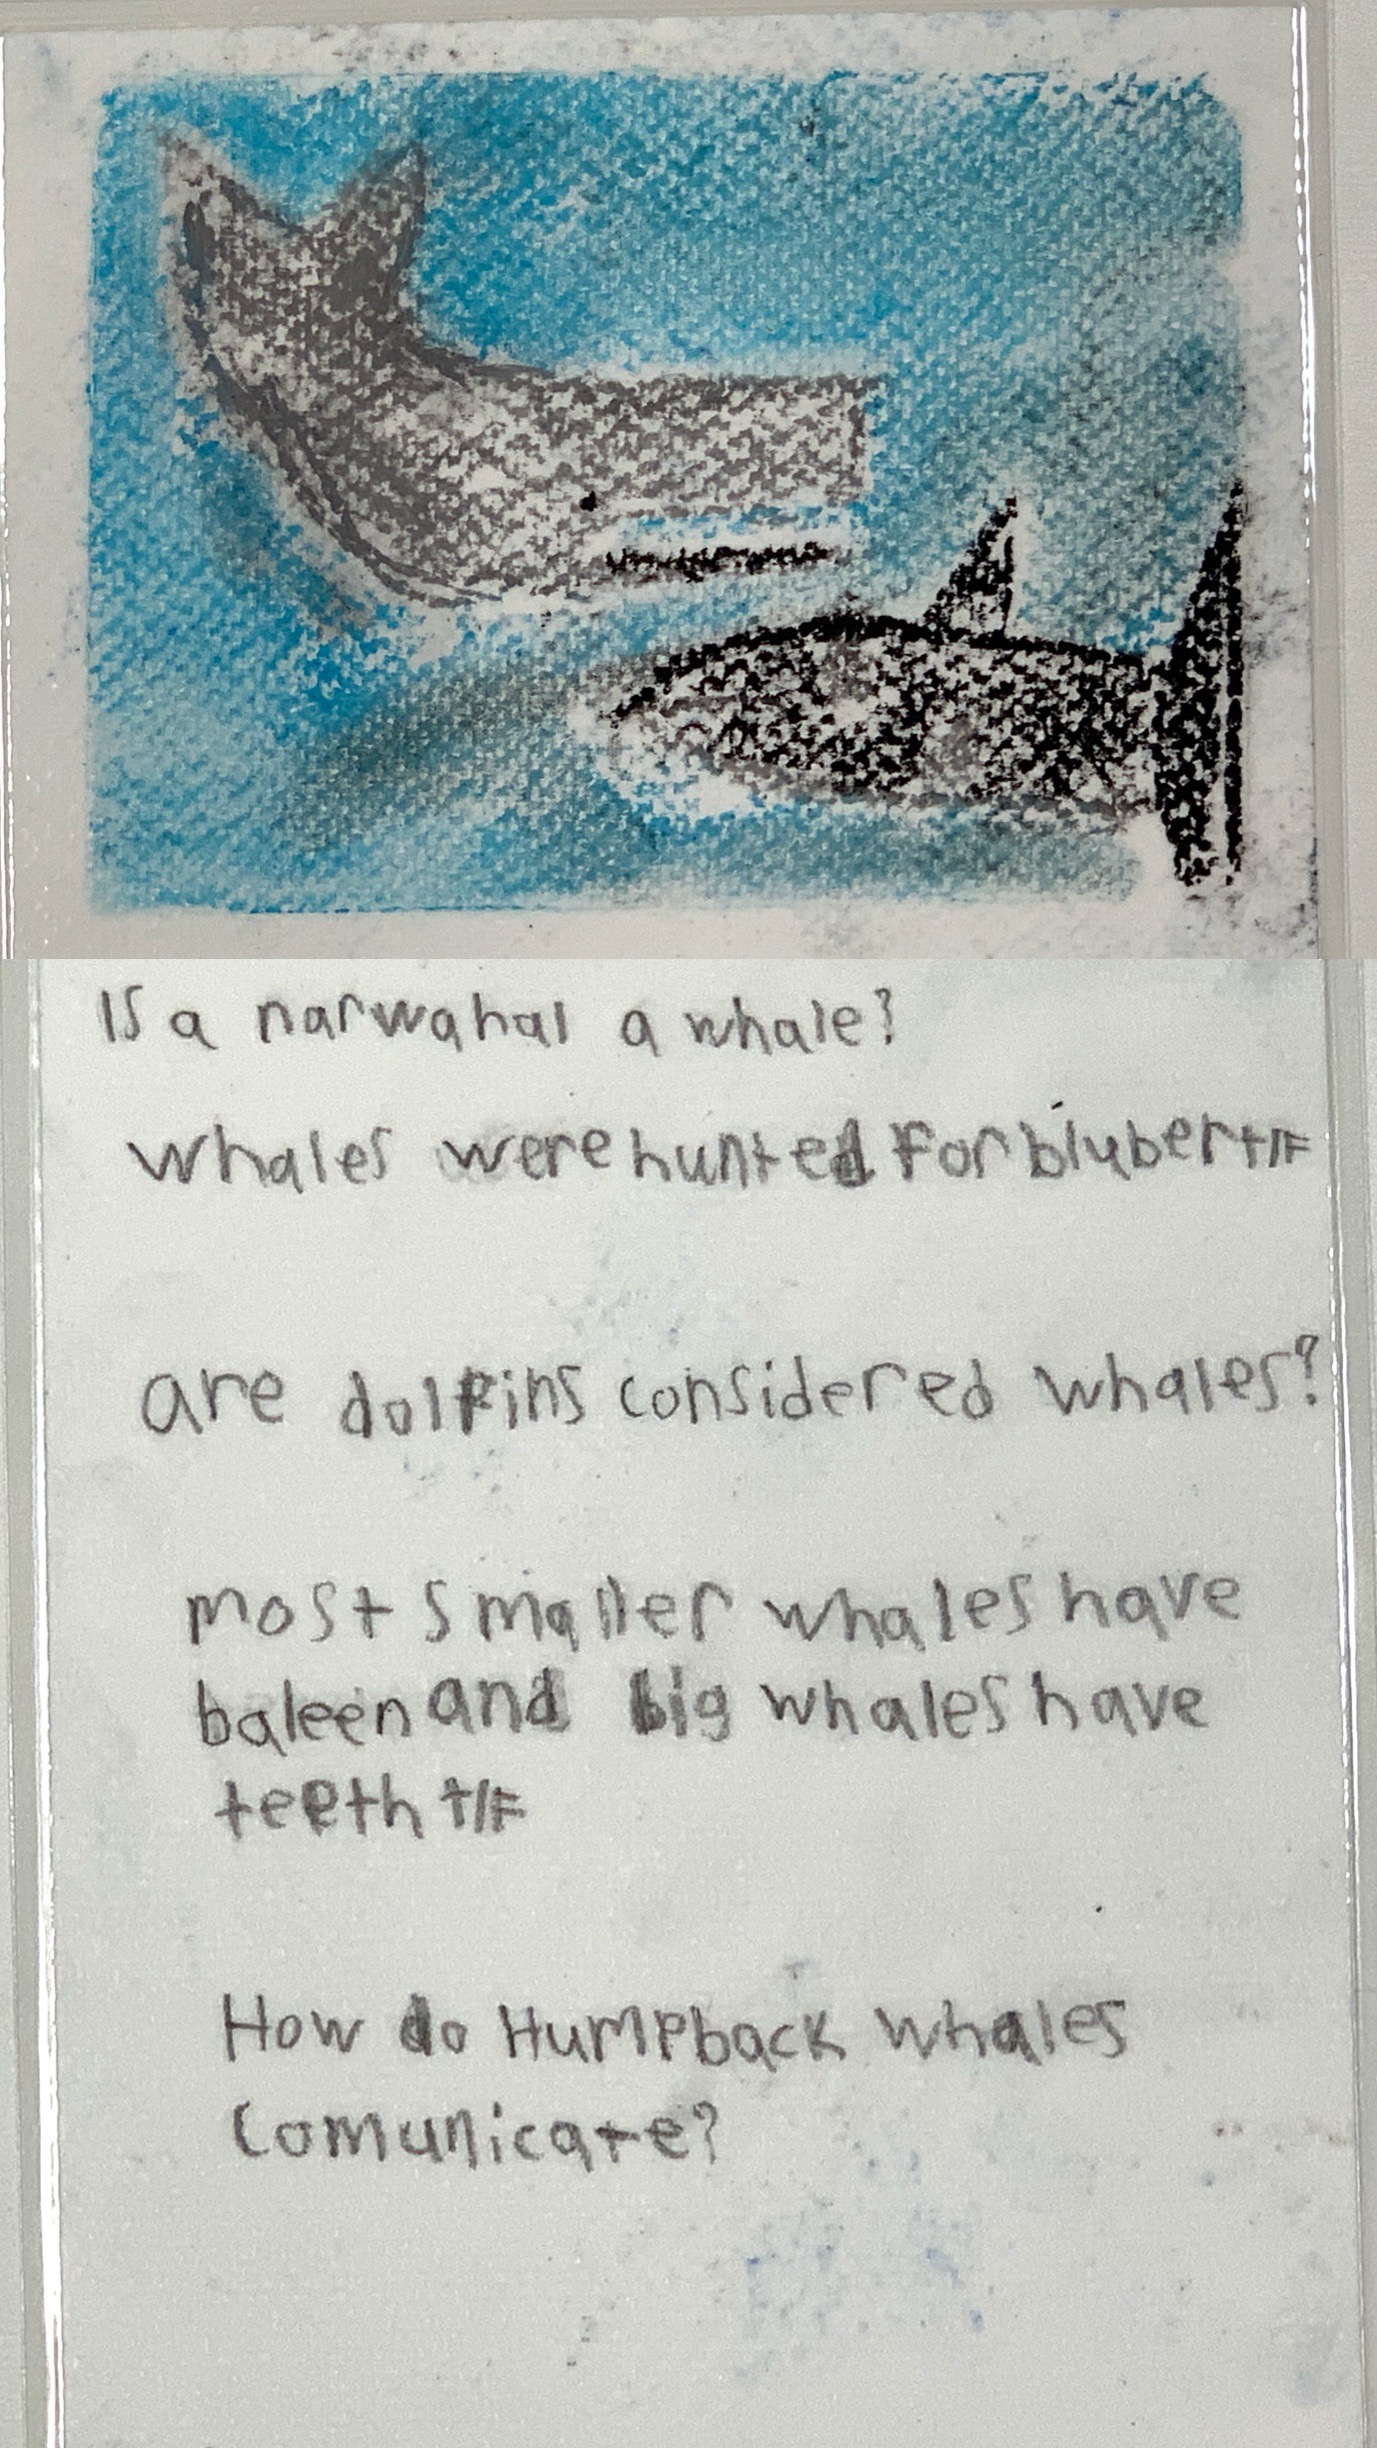
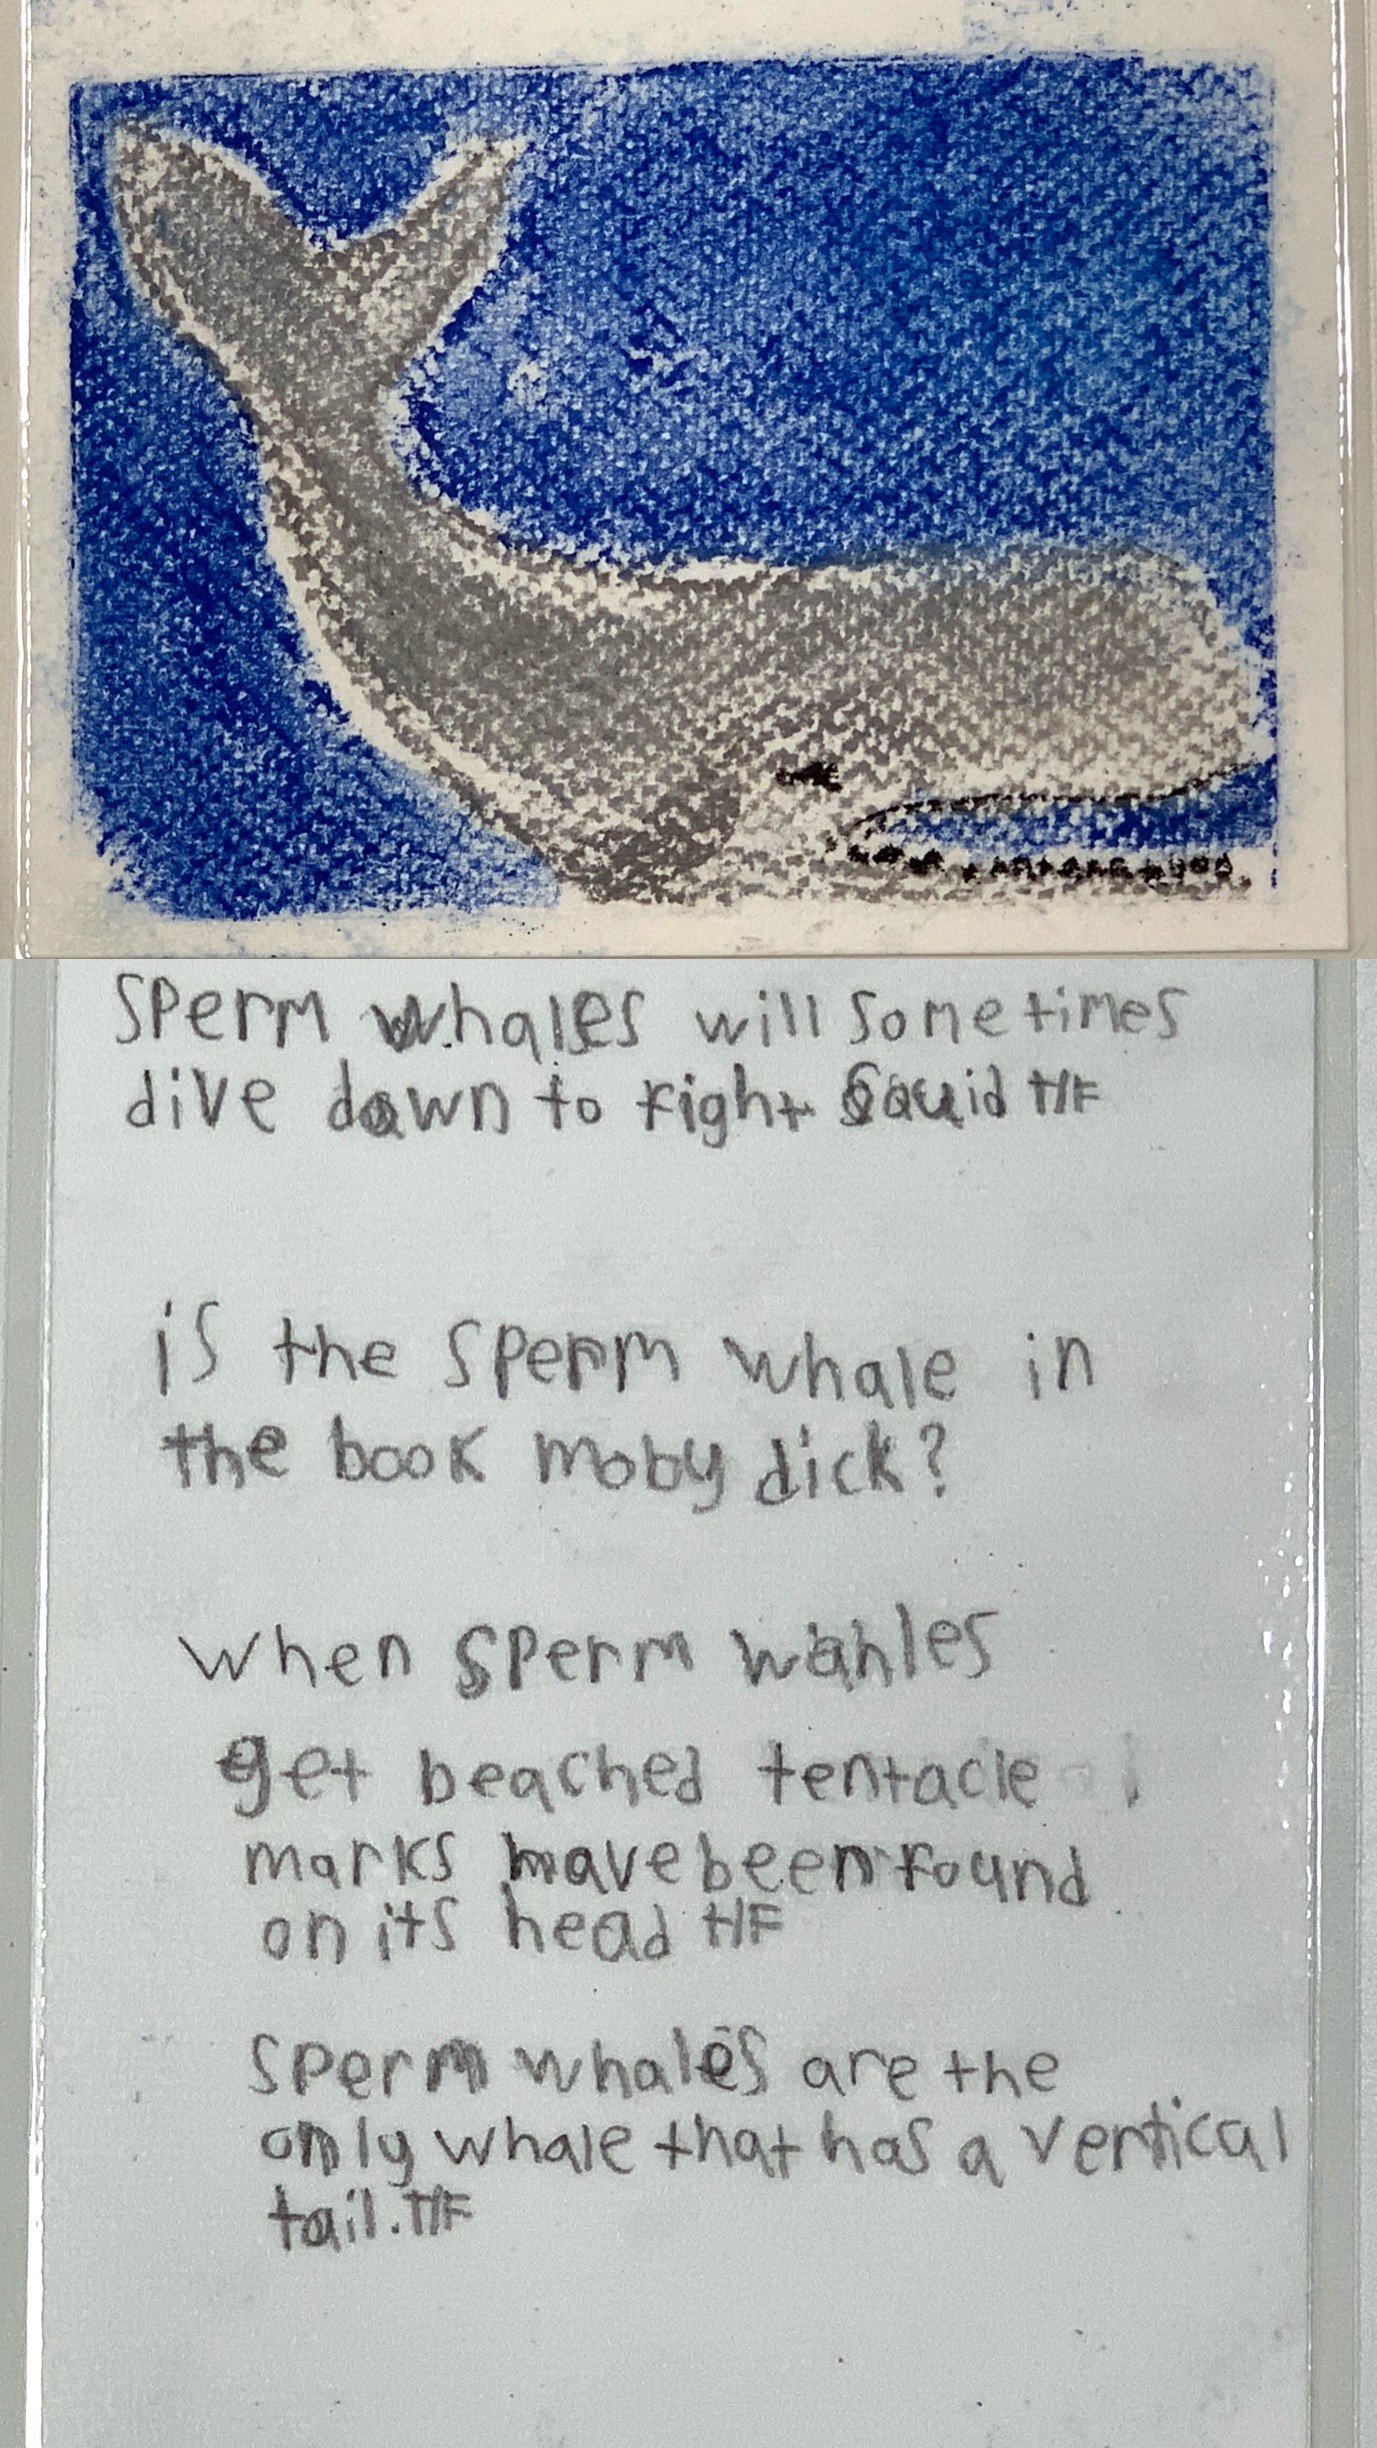
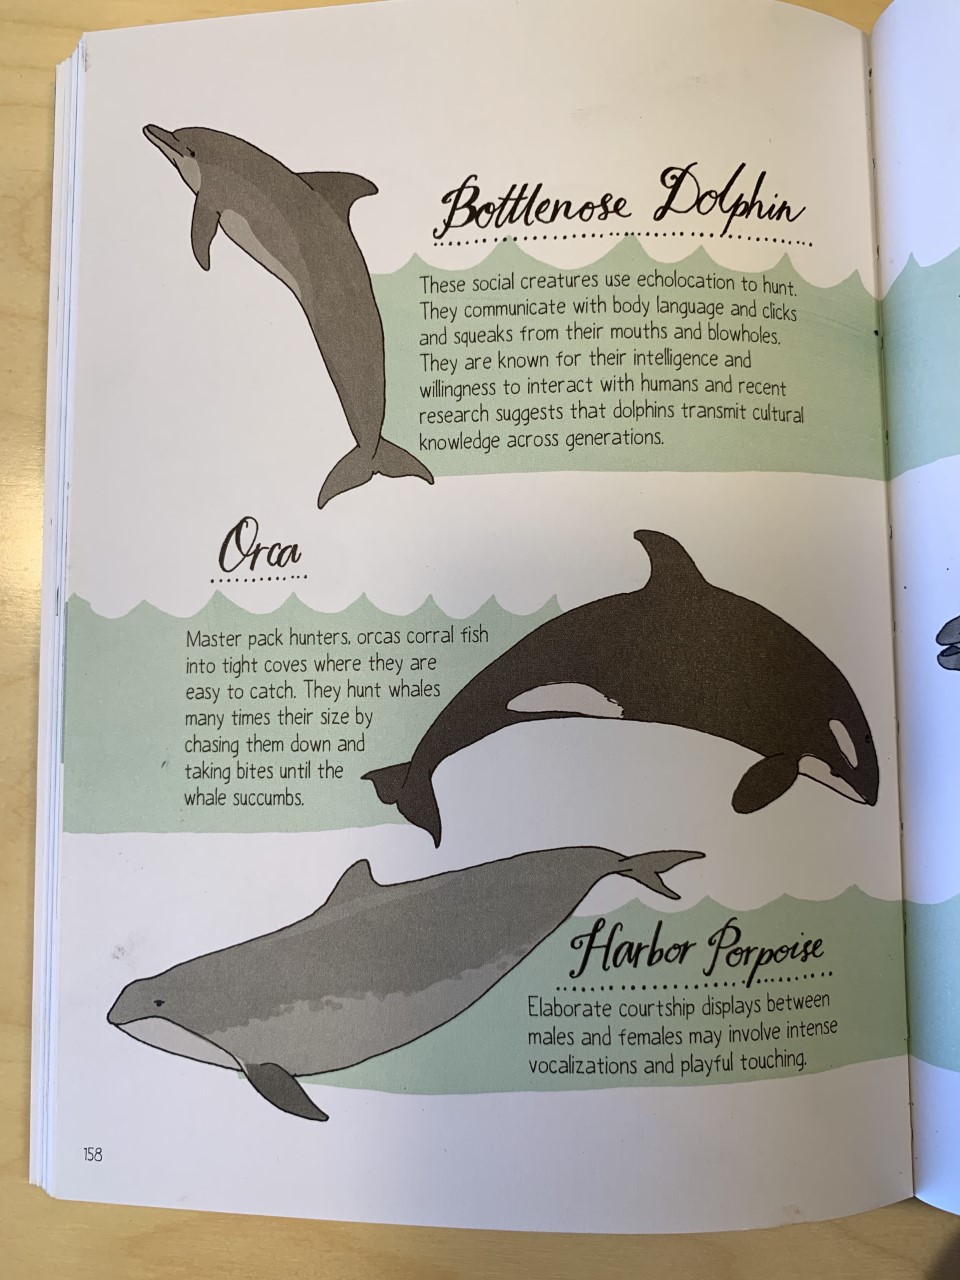
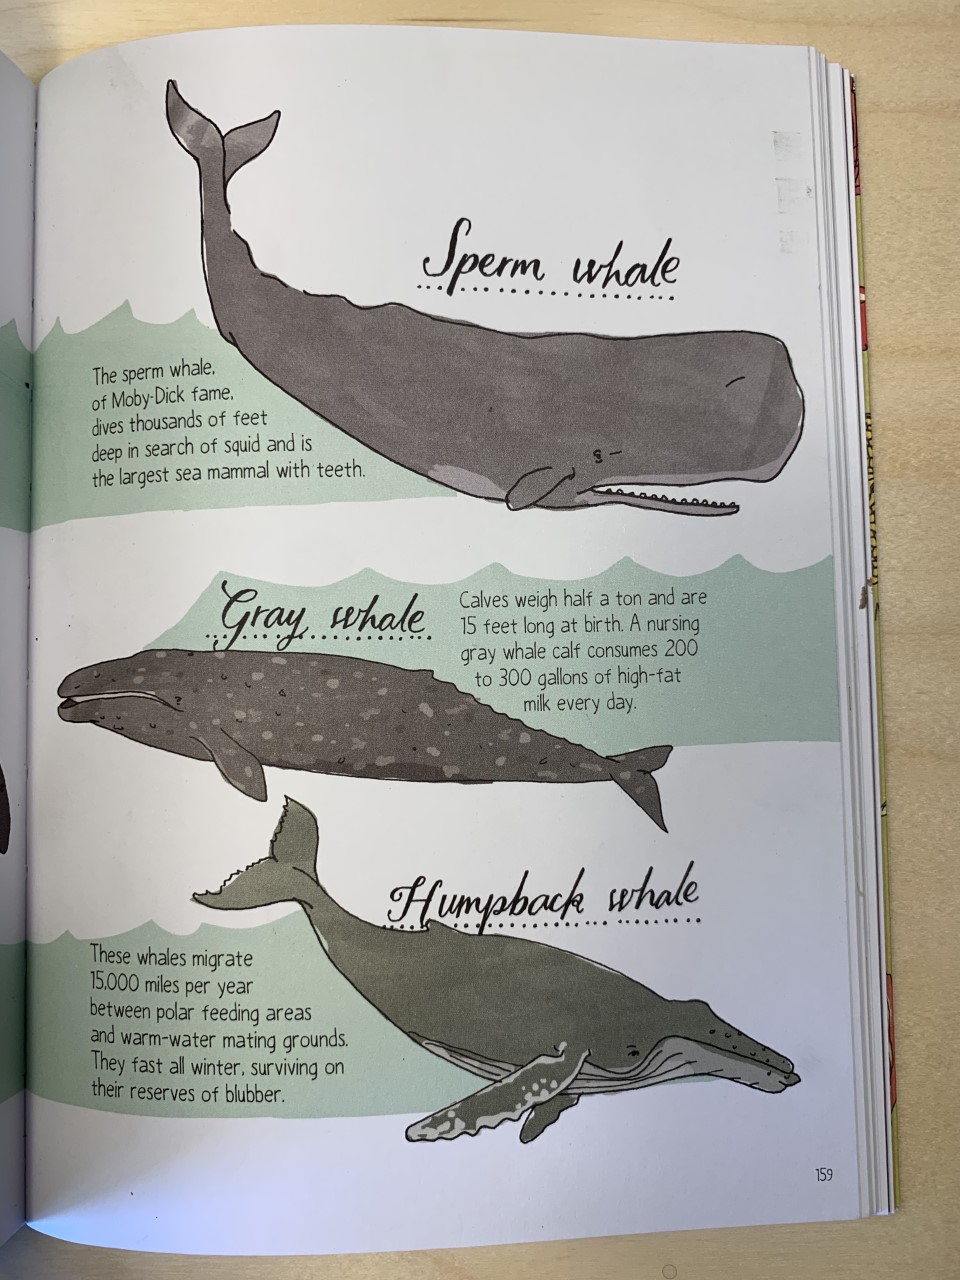
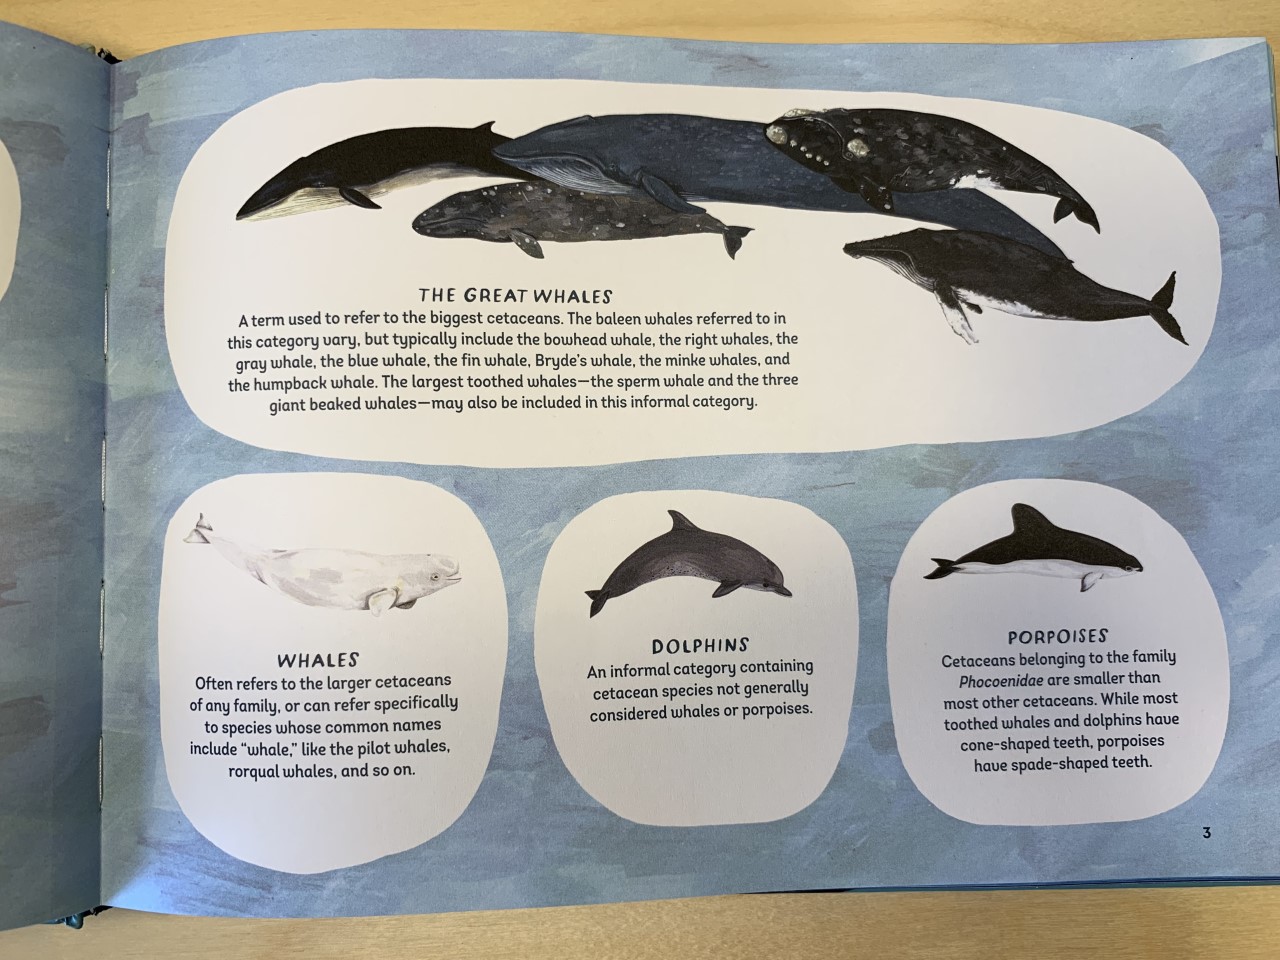
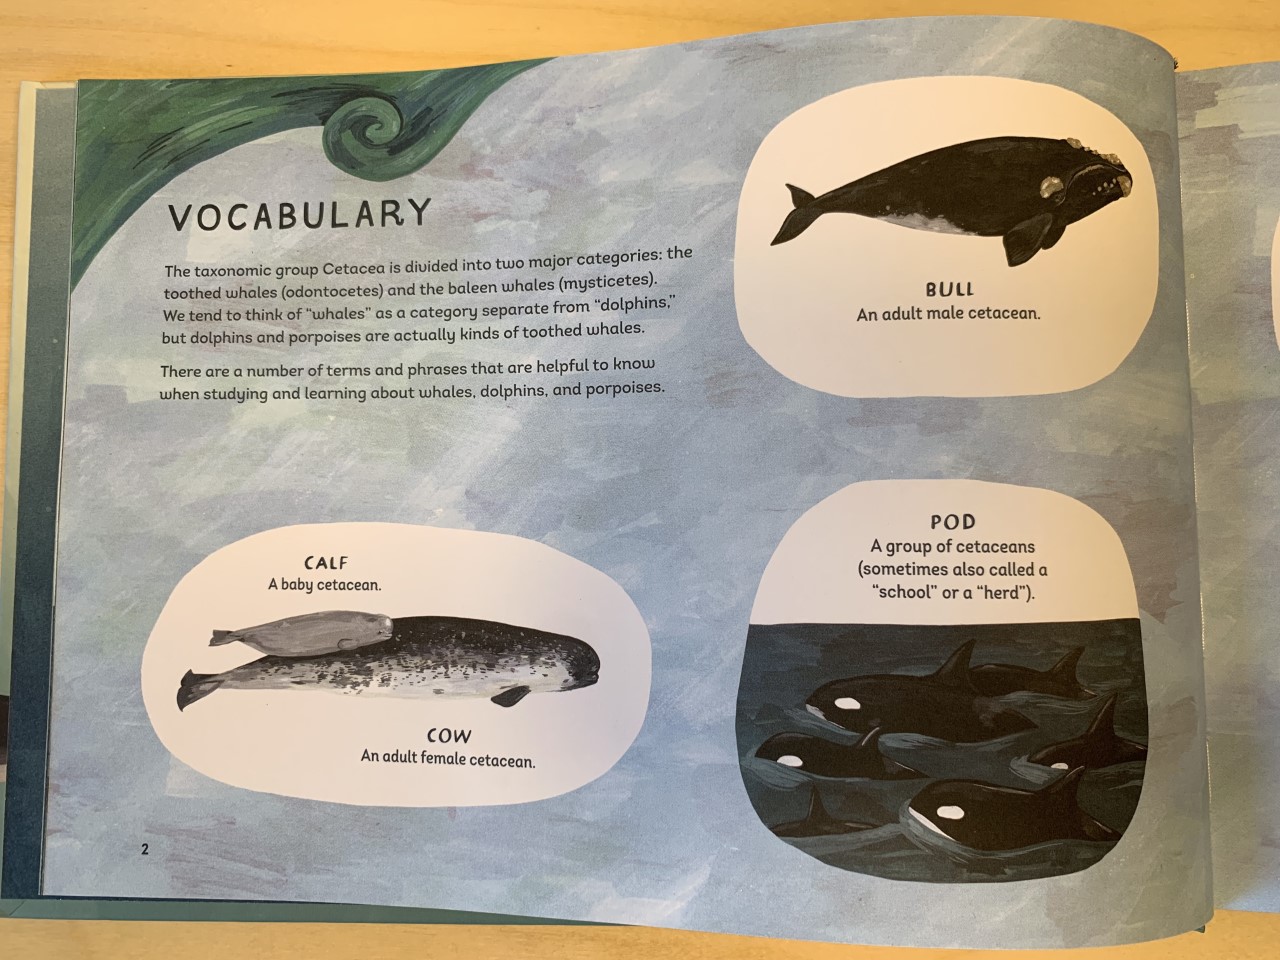
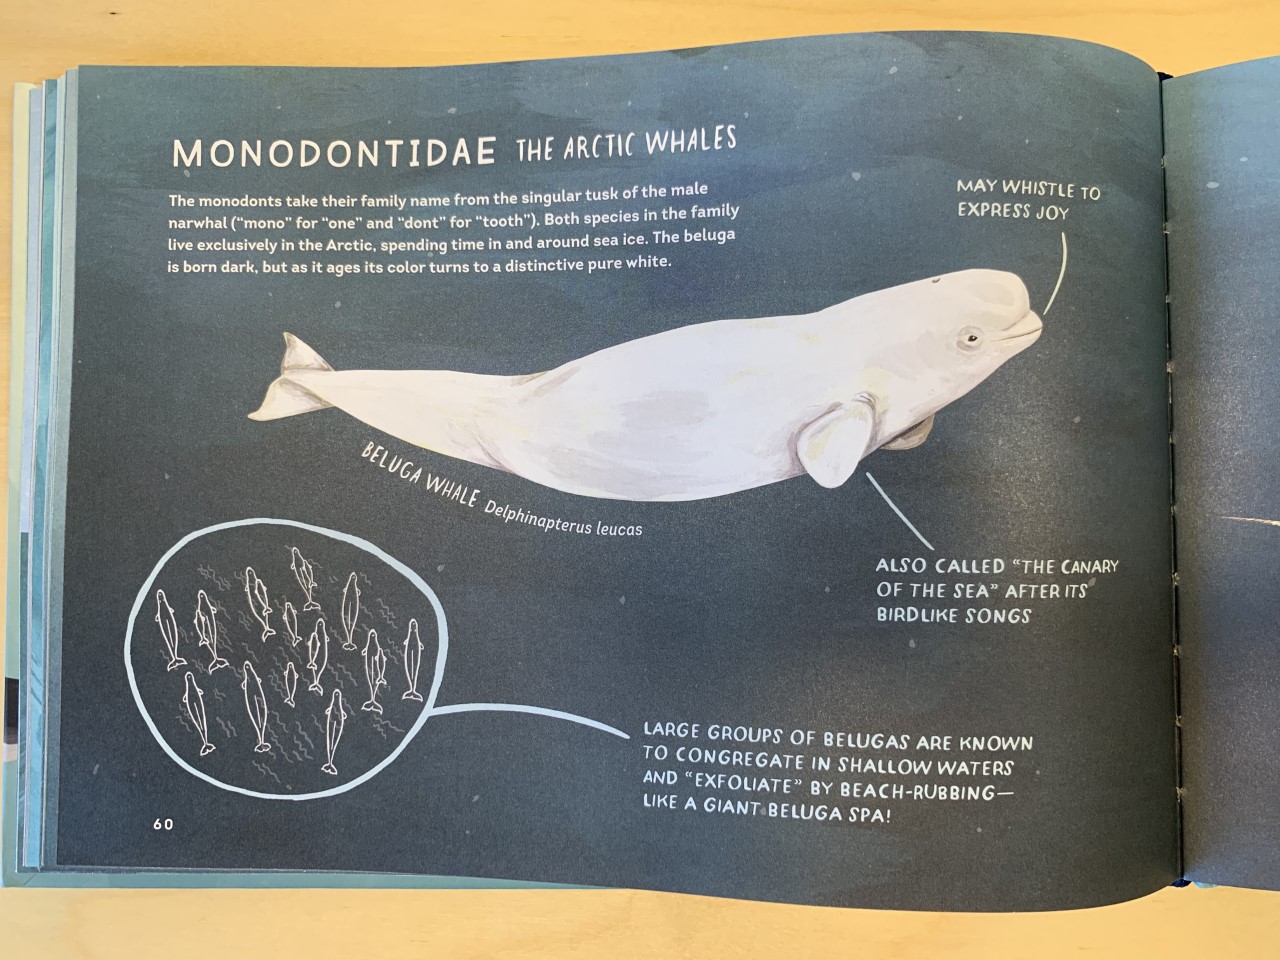
For this project we referred to two books mainly, with our other books acting as resource material for the trivia questions on the back. Whales an Illustrated Celebration by Kelsey Oseid and Nature Anatomy by Julia Rothman were the two resources we referred to the most during this project. We added trivia questions to the back of each card before we laminated each 4.5″ by 6″ card.

Check out our complete Ocean Main Lesson Block with videos on how we put this unit together, the resources we used and the projects we did. You can also check out our smaller Whale Unit Study and Sea Turtle Unit Study which includes more projects and resources. We used our Distress Inks for many projects in this unit. You can see all the projects we’ve used Distress Inks for in a complete playlist. Enjoy!
Find me on YouTube, Twitter, Instagram and Facebook
Whale Unit Study Review
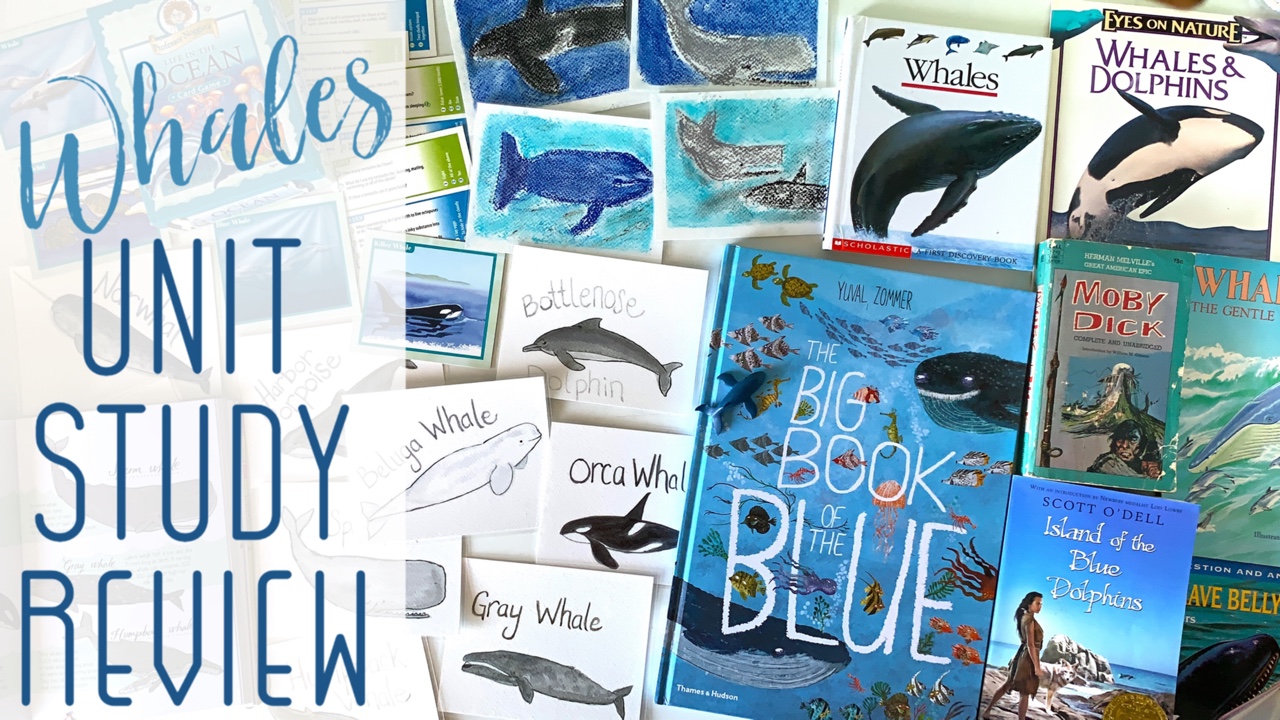
Shorty units have their pros and cons. For one, we can get through a unit before anyone tires of it, but we rarely have enough time to dive deeply into a unit that’s short. In this case, we did this unit in about three days. We focused on nothing else and simply surrounded ourselves with these books and projects. Truthfully, I dislike units this short. I feel it’s too fast and rushed. I prefer to spend a minimum of three weeks on a unit and in reality it’s far longer than that. But to put together such a tidy unit requires a few things: First, you need everything prepared, everything on hand including supplies and materials and everything has to be ready to go, as in precut or previous purchased. Even with our level of prep, this unit still took longer to complete because some projects and books overlapped with our Sea Turtle unit. Actually, this happens a lot where a unit has overlap with the unit that follows it.
One other thing that isn’t possible with such a short unit is assigning a relevant novel or having time for a chapter read aloud. In this case, I offered a number of books to my 13-year-old to choose from as his assigned reading. He chose Island of the Blue Dolphin which he’d previous read. I would have preferred he chosen one he hadn’t read yet that was more challenging, but he didn’t. Instead, he agreed to listen to Moby Dick on audio. Thankfully, we were still able to squeeze in a demonstration for this unit: Visualization of an Iceberg. We were inspired by the book Rivers and Oceans by Barbara Taylor which is packed with great simple information and super simple, yet incredibly educational projects and activities.
Check out our complete Ocean Main Lesson Block with videos on how we put this unit together, the resources we used and the projects we did. You can also check out our smaller Whale Unit Study and Sea Turtle Unit Study which includes more projects and resources. We used our Distress Inks for many projects in this unit. You can see all the projects we’ve used Distress Inks for in a complete playlist. Enjoy!
Wow. Just wow! MashAllah! You definitely have a skill and gift Hannah. MashAllah! This entire post is awesome! Long time follower yours!
This is beyond impressive. It will take me time to process all of this. Mashallah!
In’sha’Allah I will be in a place where I will be able to purchase your unit(s) soon [wishing for more to come in’sha’Allah] but this is too pricey for my family
I am sure it is worth every penny, though
Hi! I’m going to make your knitted octopus with my daughter. Are you using us size 10 needles, or metric?
Thanks
Lucy