When I started planning our American History units, I quickly found myself overwhelmed by the sheer volume of materials available. Everything looked to inviting and inspiring and I did something I do often, I overbought and overplanned. Then I had to read our way out of the massive pile of books I had purchased! We did…slowly and over years. First, you can see what we bought and why. you also get to see how I put together our units, but more importantly, you get to see what worked, what didn’t work and what we didn’t get to. A curriculum haul is fun to watch. You get to see inside the books and projects and decide if you want those things for your own homeschool. But it’s not a review. At the close of each unit, I record a unit study review in which I share the projects and activities we did and how we liked the books and resources we used. This is where you get to see whether those amazing resources were worth it or not. Since we have the ability to buy our homeschool material with educational funding, it’s okay if something doesn’t work out, but when you are on a budget, it’s important you find material that’s going to work best for your family. I aim to help with that as much as I can through my unit study videos and review videos. Often I’m surprised that material worked so well and other times I’m disappointed some books didn’t go over well.
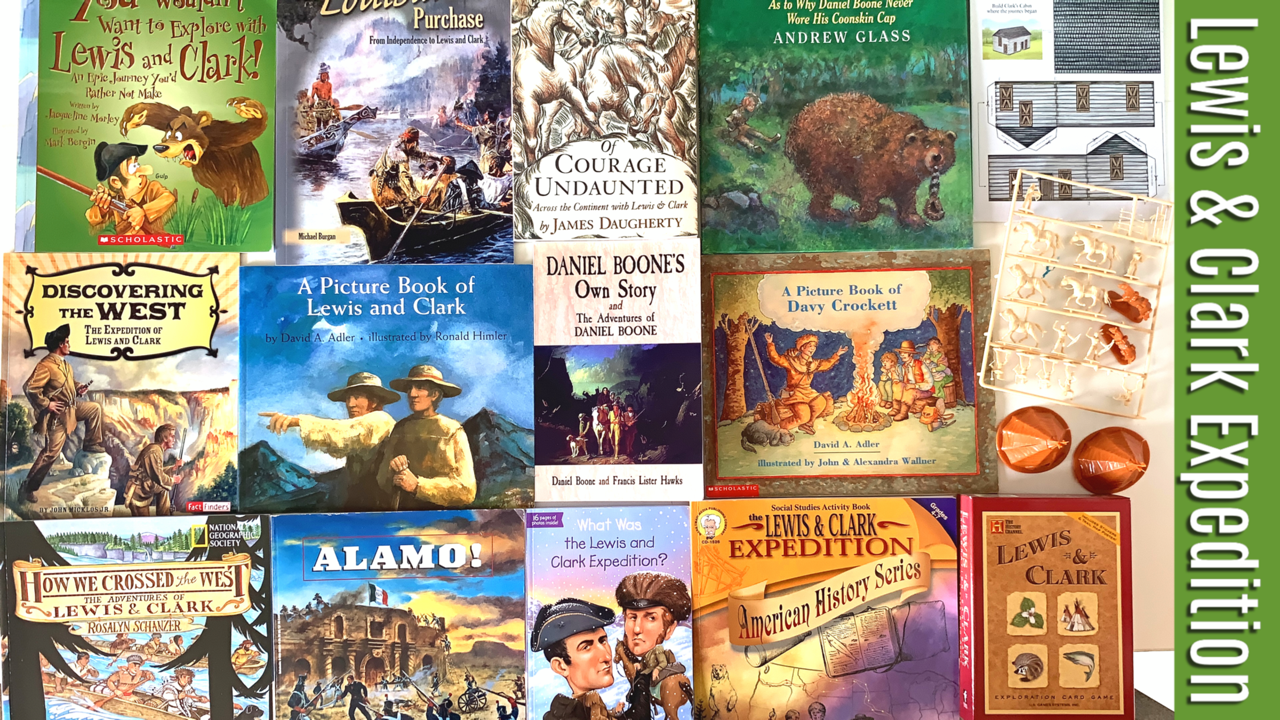
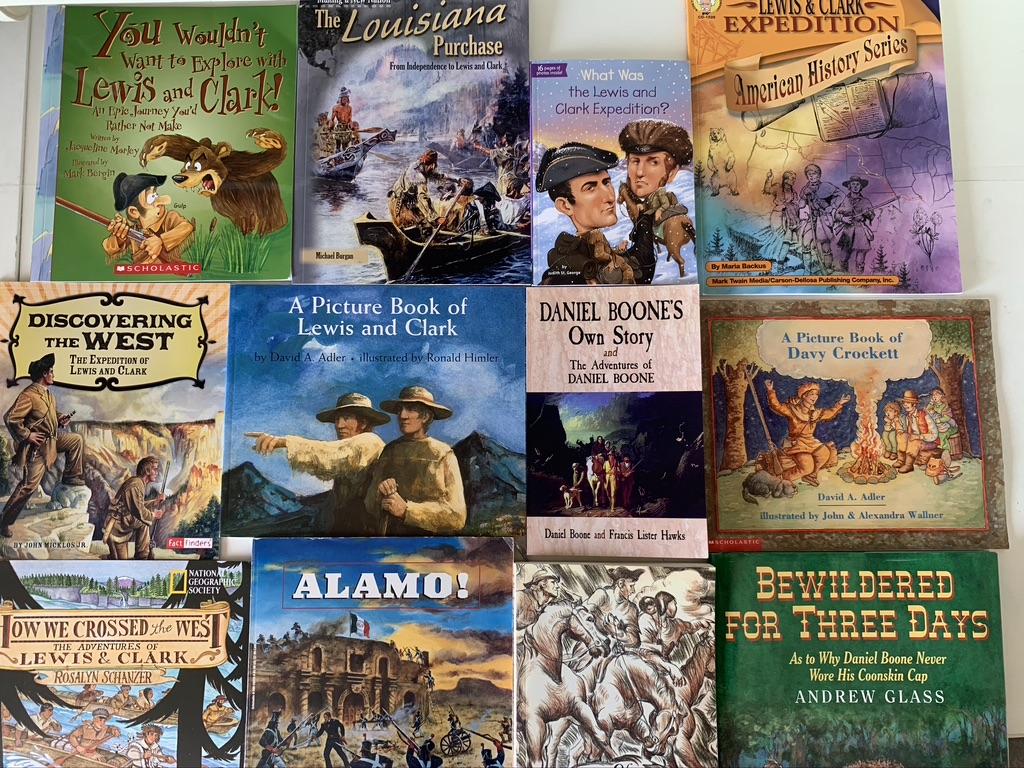
Pulling together books for our American History Unit, I knew I wanted a substantial amount of material on the Lewis and Clark expedition. We did a the westward movement and Texas history back in 2012-2013 while living in Dallas for a year, and I really enjoyed learning about the Lewis and Clark expedition and wanted to expand on it this time around. While putting together history units, I aim to get books in the following areas: biographies, reference or resource books, cultural, geography (or climate and environment), mythology or religion, historical fiction, picture books and ‘actual’ history. And by actual history, I mean books that present important dates, events, and people. I also like to include field trips, hands-on projects and games whenever possible.
Native American Tribes & First Nation
I debated whether I should have a separate unit for Native American Indians because the stories and history of the Native Americans spans the whole history of the US. This is a small compilation of supplies that would stand alone as a unit, but what would be more authentic is to distribute these materials over all our other American History unit, as currently each unit only has a little bit of relevant Native American material. While most of these supplies came from Rainbow Resource, there are a few books that were hand-me-down. Our Indian Fire Drill was purchased many years ago (possibly from a museum gift shop), but looks like something a crafter or woodworker could make.
Lewis & Clark Expedition Unit Study
How do you build a unit study out of books? How do you feel confident putting the curriculum aside and diving into living books and hands on projects without feeling the pressure to hit state standards or succumb to peer pressure when you try something different? How do you make books the curriculum?!
For years, we’ve been collecting books and resources to create our own unit studies and Waldorf inspired main lesson blocks. It’s simple, but not easy. I’ll show you the books I’m using and how we intend to use them. When putting together a unit, I look for a variety of resources. I look for kits and books first. I love hands on projects and I love it even more when they come in a kit rather than instructions in a book after which I need to source the material. I look for books to meet a variety of needs: various ages or grades, various interests and ability and of course various topics to support the unit.


Amazon affiliate links used on this page
What this looks like is books on the following topics:
An actual history book: you don’t always need this, but anchoring your unit with some dates, locations, geography and people is a helpful way to get the unit going and inspire other topics within the unit. Afterall, we are still learning too and a general book is an informative start.
Biographies: I love the Who Was book series because they are easy to read, simplified, but not dumbed down and lightly illustrated, but any biography will do. I also like the David Adler books because they are picture books which are packed with just the right amount of content to appeal to a young student all the way through middle school.
Cookbooks: Odd but true. I look for cookbooks or recipes to accompany as many units as it’s feasible. History and geography units are the easiest to find cookbooks for, but you can certainly get creative with science, math and language arts units. I love getting in the kitchen with our units. It’s usually a festive time that’s special for the kids. Sometimes recipes become family favorites we have often.
Activity Books: These are almost a must have for our units. I can’t think of a unit where we didn’t have at least one hands on project per week and often even more. I truly believe in the educational benefit of hands on activities as a means of deep and memorable learning. What I like even more than activity books are activity kits!
Kits and Projects: I’m always impressed with what is available as far as kits and projects are concerned. You can find all sorts of kits at your local craft store and online. I love browsing them and then deciding which ones I can make on my own and which ones I will buy.
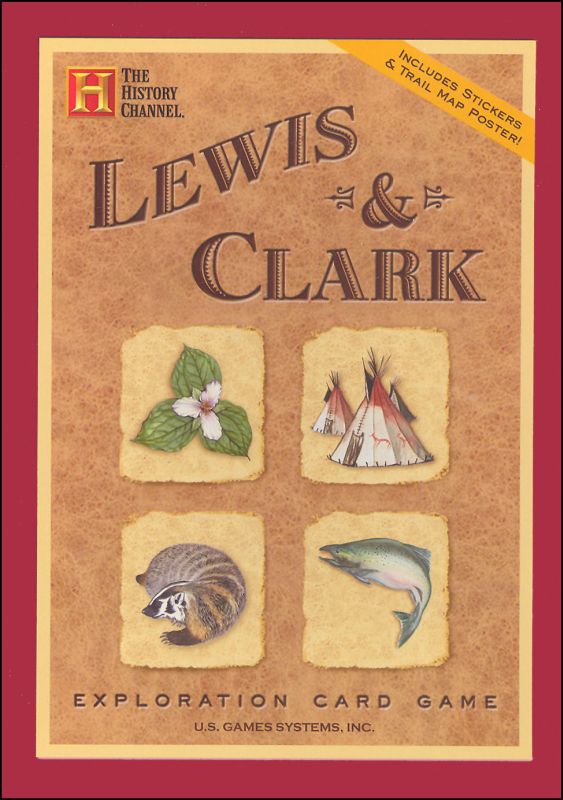
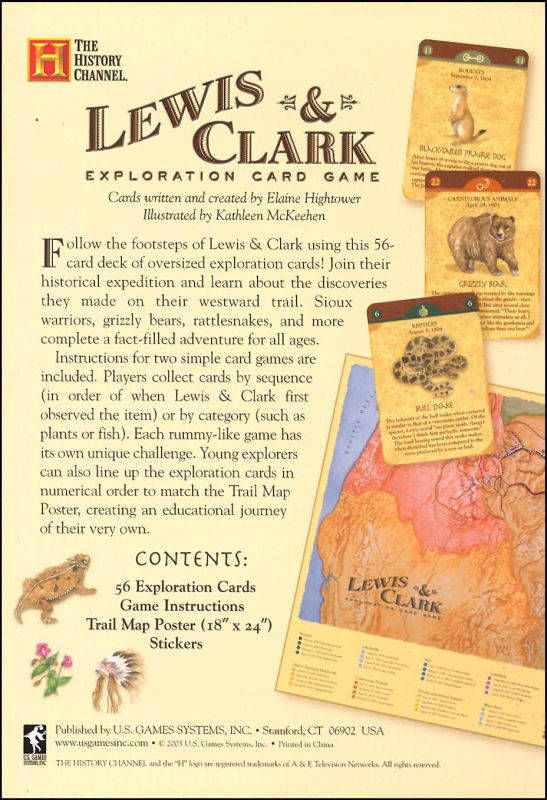
Games: We use games as our opening activities. I often use them as transition activities to inspire my children into the new learning for the day or a way to break up some of the lessons that are not as desirable. Afterall, we still need to read, write and do math everyday and sometimes the proficiency lessons are not exciting. Games bring us together, bring a fun lightheartedness to the lessons and improves our understanding of the lessons. The are a win all around.
Picture books: I truly believe that picture books are overlooked as educational books. They are a rich resource that I feel is undervalued and underestimated. Here’s why I love picture books. The illustrations! I love looking at the beautifully illustrated pages and often choose books just for their magnificent artwork. Because even if the book ends up being less than expected, if the illustrations are wonderful, you can always tell your own version of the book. I find picture books are great for all ages from toddler through middle school. Picture books invite your students to sit close. Picture books are written in a way that makes understanding big topics in a simple way, but not dumbed down. I find I learn a lot from a well-written picture book.
Historical Fiction: We all love a good story and it just so happens that history is rich with good stories. Historical fictions take the reader deep into history by means of characters who are fictionalized but set in real historical settings. I have learned the most from historical fiction because the stories stick! They often bring history to life and bring an emotional aspect that connects the student to history. However, this is an area I’ve gotten the most hits and misses. Sometimes a historical fiction is just wonderful and other times it’s a real miss and that’s so disappointing.
How to Weave a Satchel
Weaving is one of those projects you need to dedicate yourself to. It takes time, perseverance and mindfulness. Weaving engages your mind and hands, and unlike knitting for instances, you can’t easily take your eyes off your project. Weaving in found in the Waldorf curriculum starting at grade 3. It complements the the block on shelter, farming and clothing. With a bit of effort, you can actually weave fabric and potentially make your own rudimentary clothes!

In this project, however, we are weaving a bag. With a bit more effort, you can optimize your weaving time and create a bag rather than a solid piece of fabric.
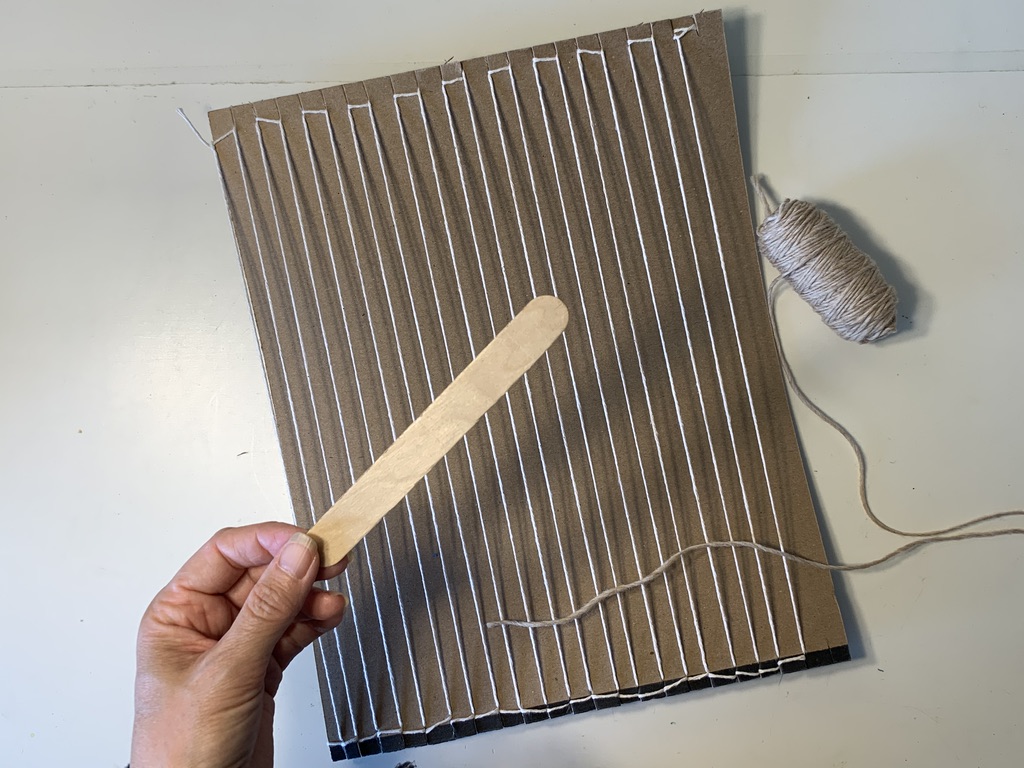
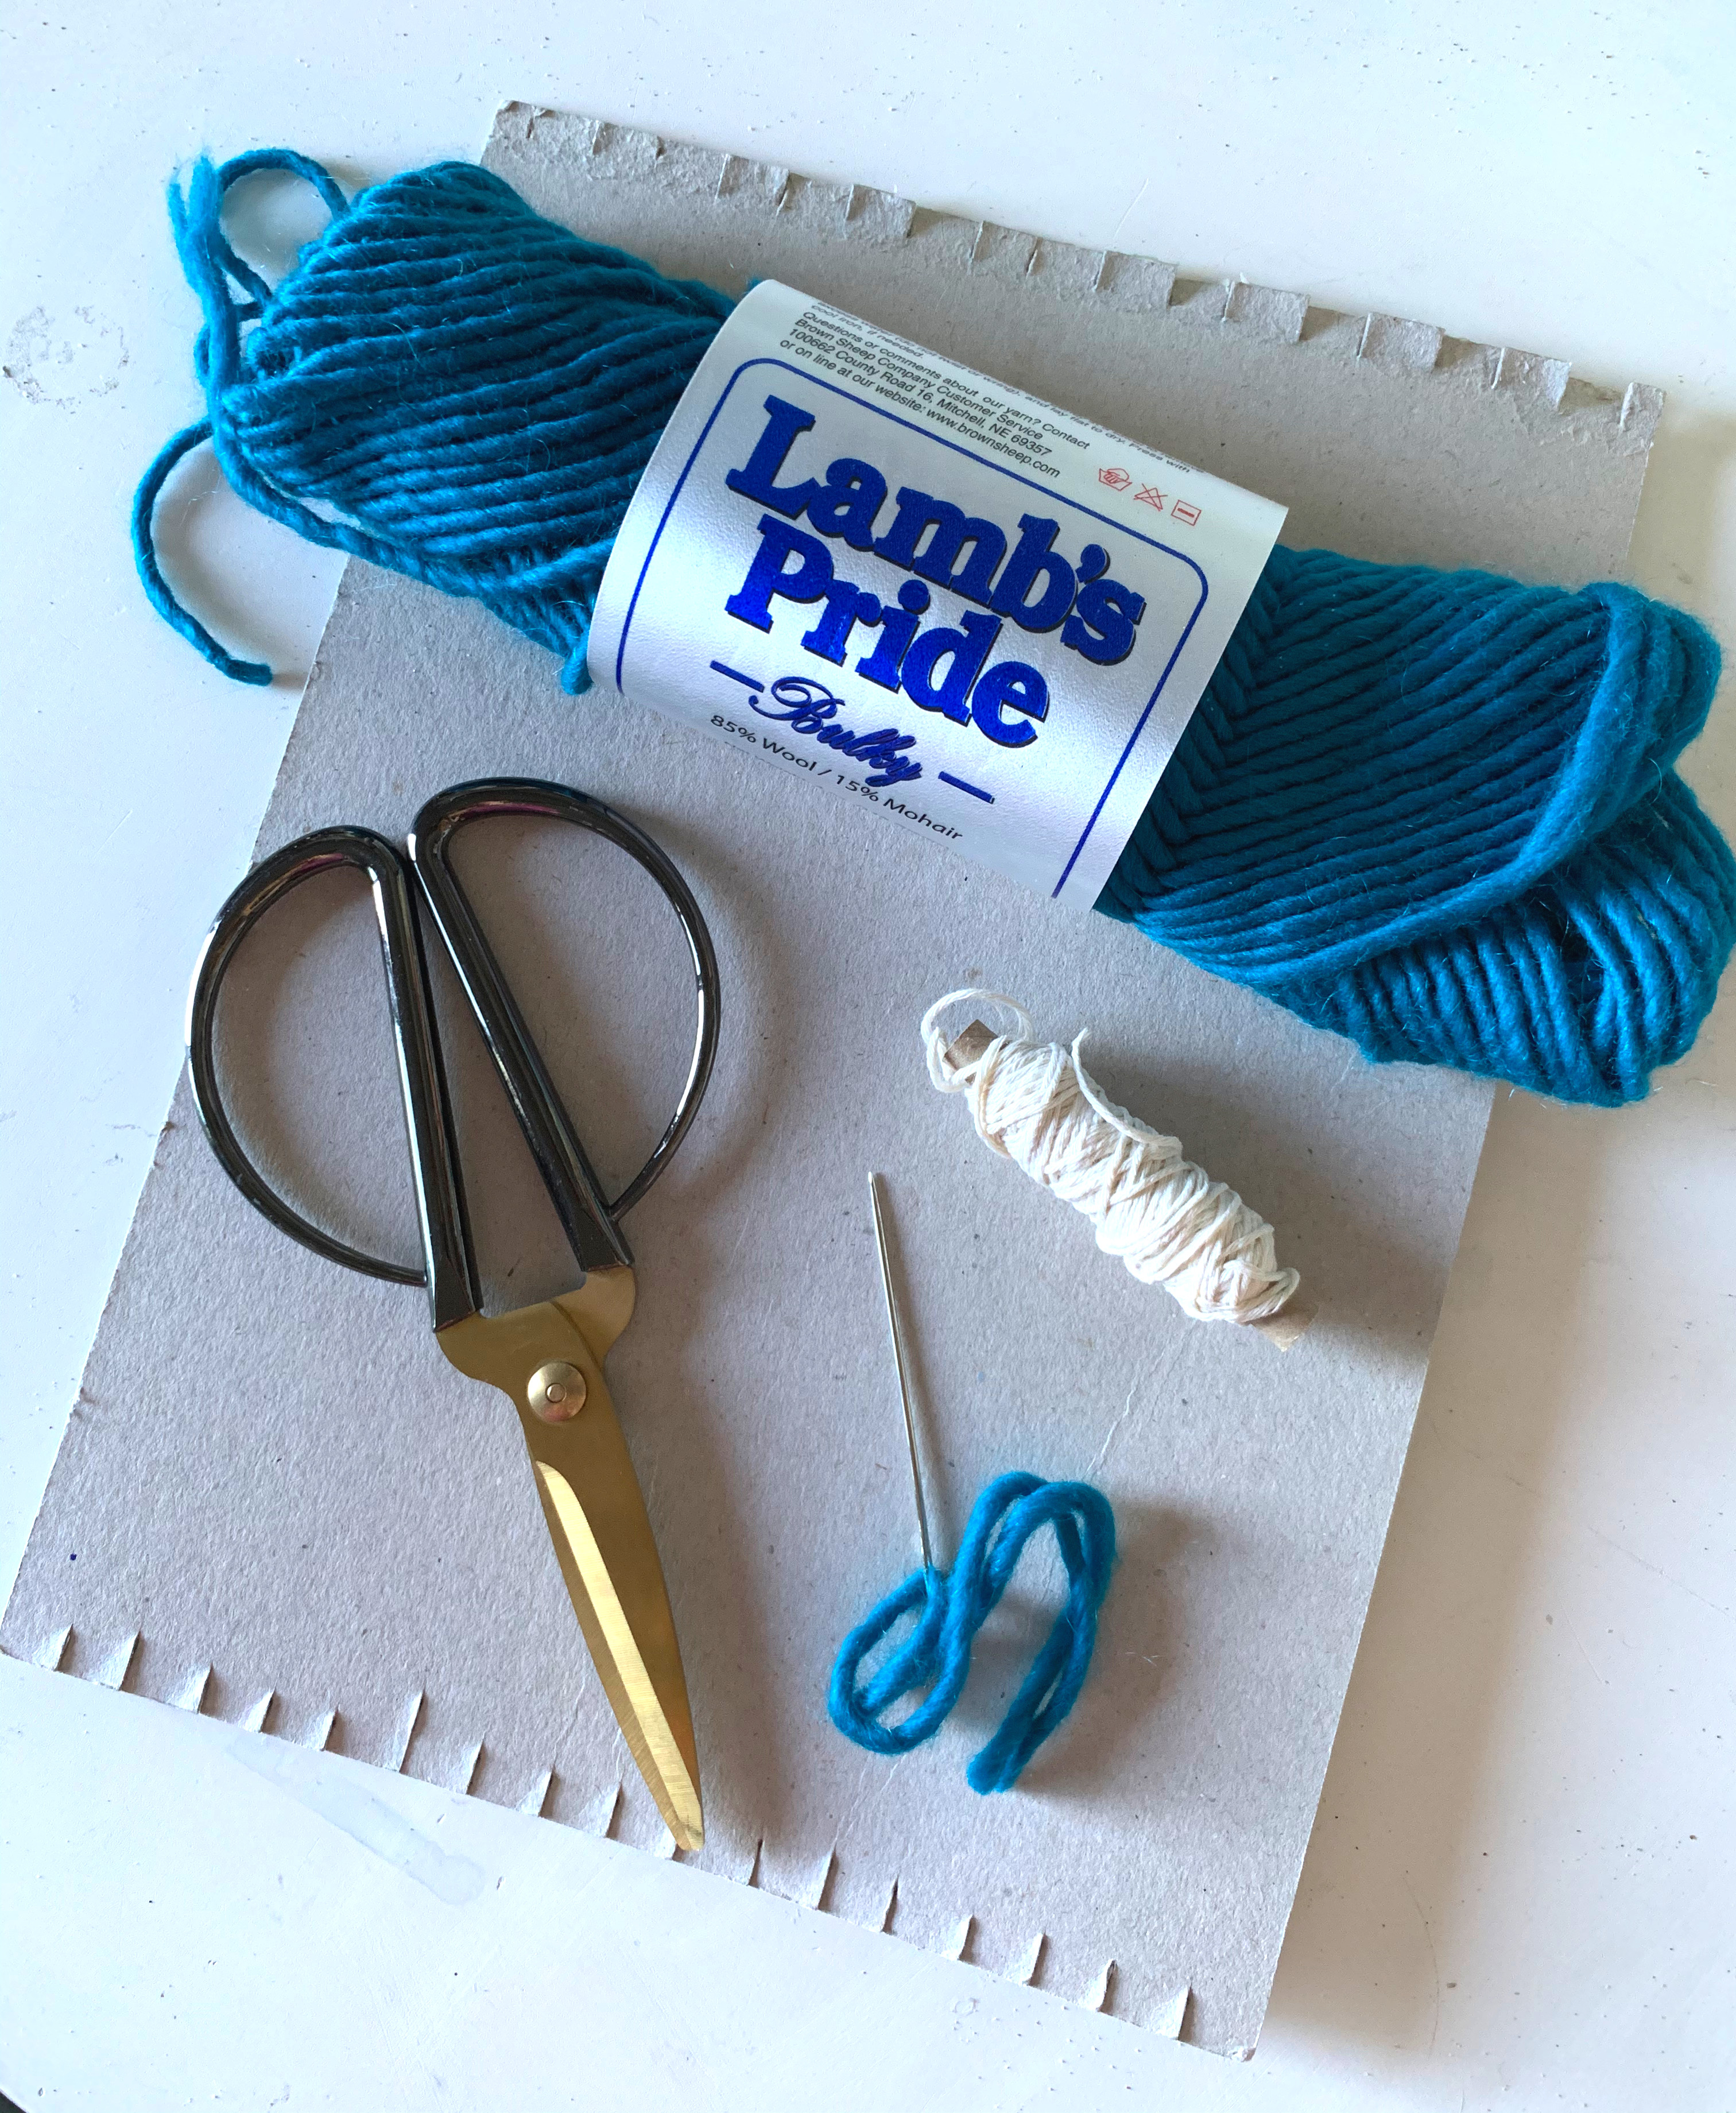
For this project, we are making our own DIY loom out of heavy cardboard or chipboard. I’m using chipboard from the backing of a watercolor paper pad. It’s thick and difficult to bend which is just what we want. The piece I’m using is 9″x12″. Along the top and bottom (9 inch side), I’m marking 1/2 inch increments. You can make your increments smaller for a tighter weave or larger for a looser weave. One thing to make sure of though, is that your last increment is as close to the edge of the chipboard as possible. If not, trim the chipboard because otherwise in the end, you’ll end up with a large bit of unwoven yarn on either end of the project. It doesn’t affect the project, but it’ll be noticeable. If you look closely, you can see if in the correct project with teal colored bulky weight yarn. Make sure you have an odd number of increments/strings otherwise you won’t have the opportunity to go over/under in an alternating pattern to create a proper weave. Once your increments are set, it’s time to string up your loom. In this case, I made a mistake.
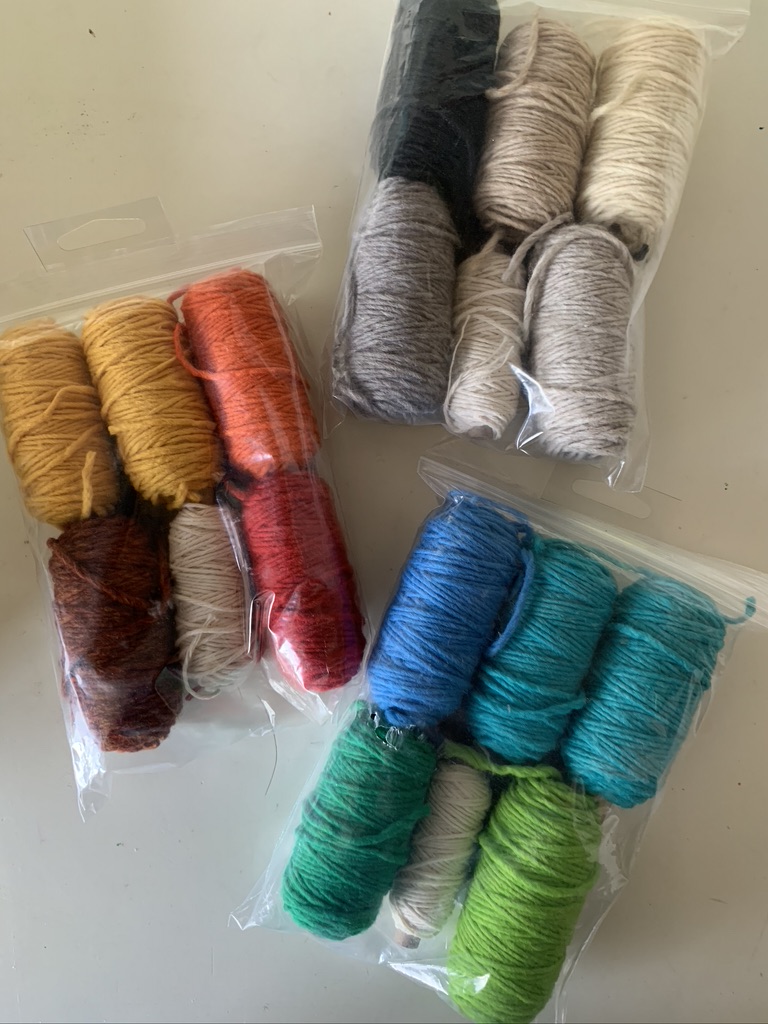
I’ve shown you my mistake in the video and how I remedied the problem, but I also show you the correct way to do it. When weaving a bag, you want an opening! Do do this you need to string your loom so that the string goes around alternating tabs and comes down the same side before circling back up the other side in which you just string it up without wrapping it along the tab. This is very confusing at first! It took me a lot of practice and there are still times I do it wrong. Truthfully, there are a few ways to do this, and I’ve now done this about 4 different ways depending on the projects and sadly, one time, it was very wrong and this is the time you get to see! In the end, we found an alternative way to fix our mistake, and while it’s not perfect, it works. I debated showing you the mistake, but in the end, with your suggestions, I showed the mistake in a way I hope isn’t confusing to the tutorial. I’m pleased with finding a solution to our problem even though it took so much time to fix. In the end, you can hardly tell and it salvaged weeks of work. Imagine starting over!! We used yarn from Harrisville Designs as well as some home dyed yarn using natural materials like onions skins and tea. The yarn dyeing and weaving accompany our American History units by adding in Waldorf inspired handwork. I love having the opportunity to tailor our lessons to appeal to my child’s interests and still work within the Waldorf Education philosophy. We initially used some tools that came in the Harrisville Designs Loom Kit, but ultimately, this was completely DIY.
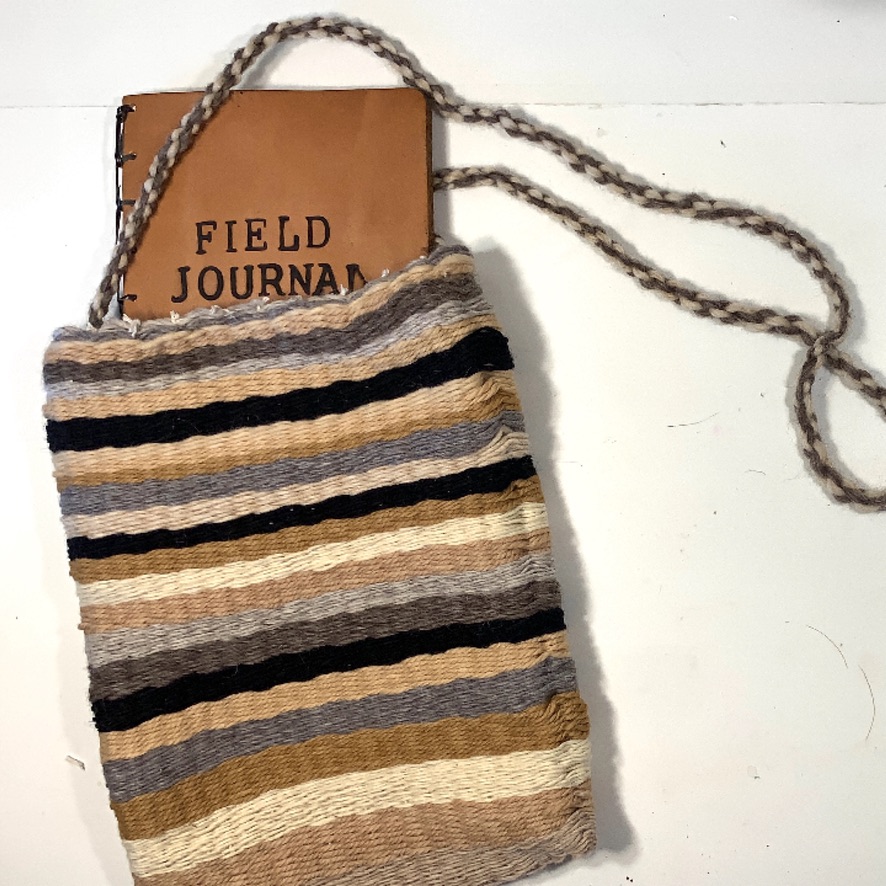
My 8-year-old daughter worked on the Harrisville Design loom to make her project, while my 13-year-old son worked on the DIY loom to make a bag using a ruler to separate the string and a popsicle stick as a shuttle. This project is fast at first and you can complete 90% of it fairly quickly. The last part is challenging because the space is so tight. I helped with that part using a knitting needle with a sharp point and a wide eye to fight the yarn. I also helped make the twizzle with my son (which is the handle) and sewed it in for him, though these are things he’s capable of doing at his age. He chose the pattern which was just an alternating of colors starting with wider bands at the bottom and tighter bands at the top. To keep in line with Waldorf philosophy, you’ll want to be mindful to use darker colors at the bottom and lighter at the top where it opens. Also if there is an embroidery design on top of the weaving, you’ll want to ensure that the bottom of the design is closed and the top open. In our case, I feel that the tighter bands would have been more appropriate at the bottom versus the top. Something to consider when you are embarking on your project!


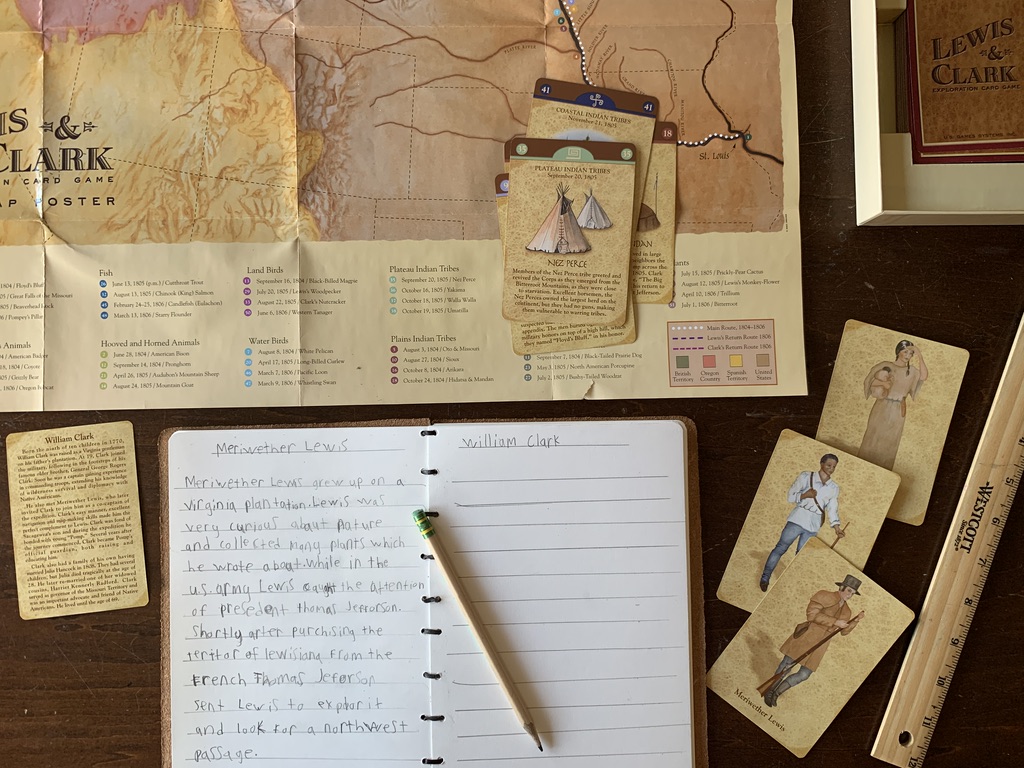
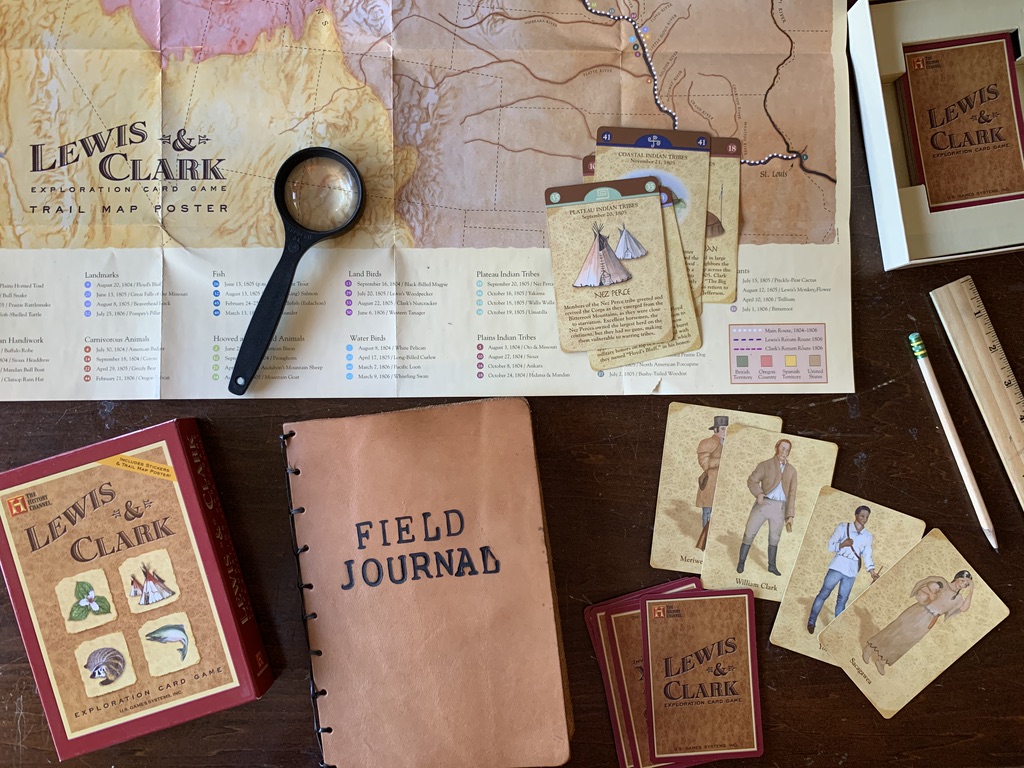
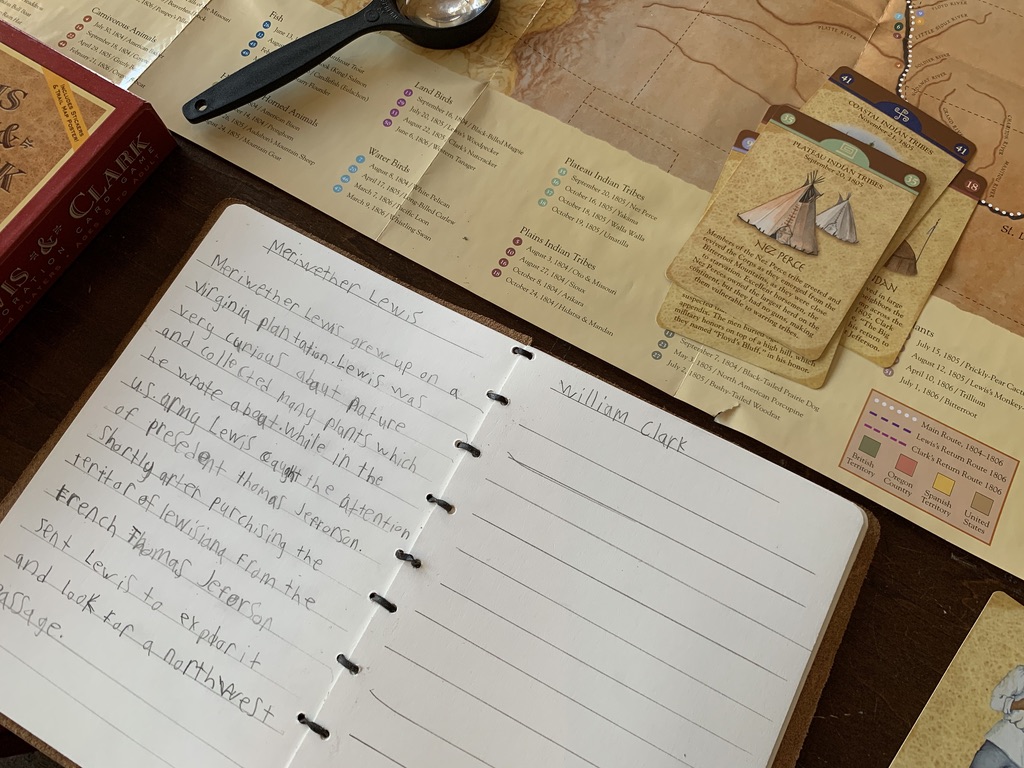
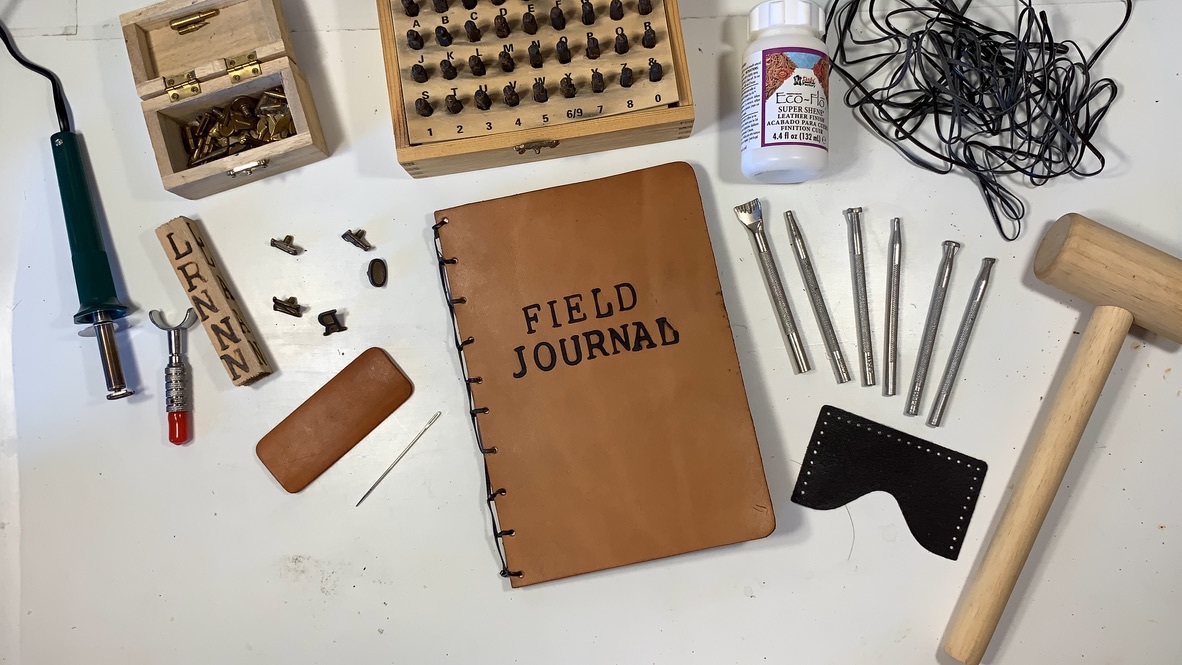
How to Make a Leather Journal
Making a journal can be easy and simple or spectacular and somewhat difficult. This is the easy version. It’s the version where you don’t need to fold or stitch. What this means is you can find more affordable options to make a journal.
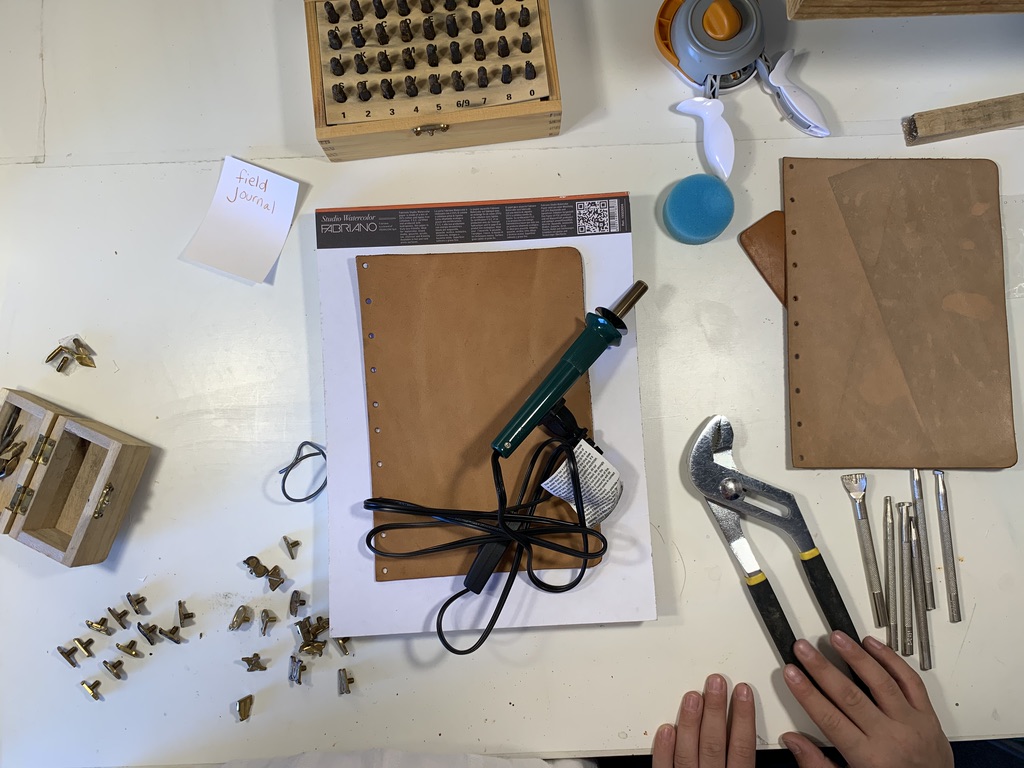
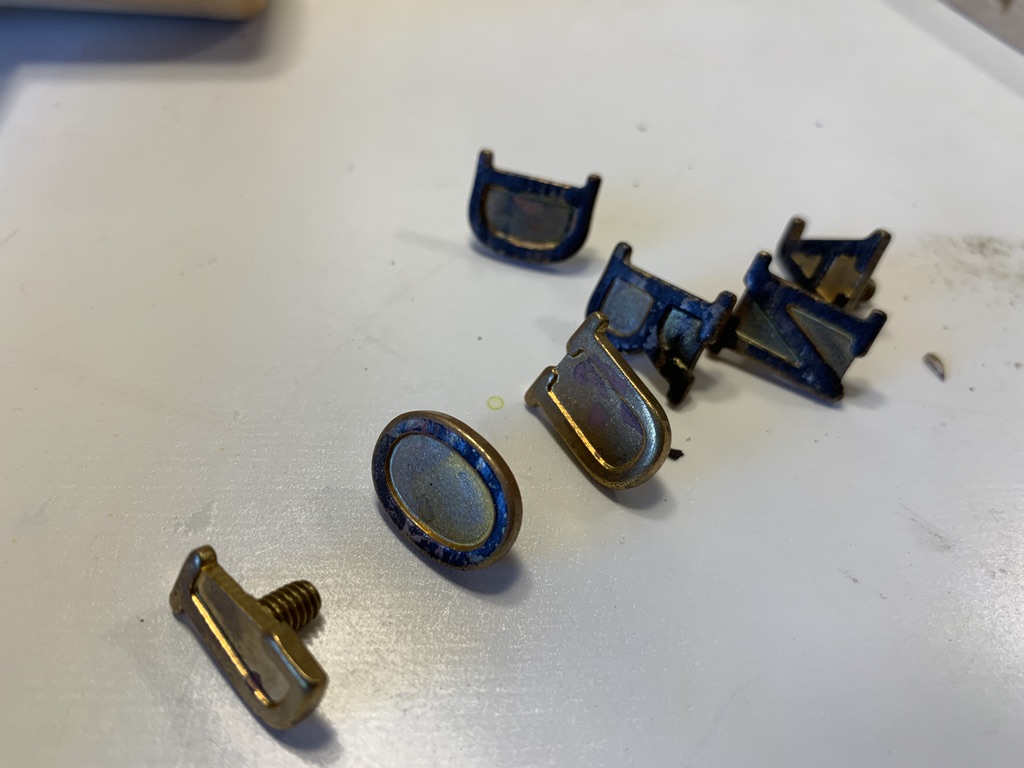
We happened to get the leather from a leather kit which included other projects, but I’ve since sourced leather for new journals which is softer and easier to use for binding and folding and stitching. This one was bound on one side with leather string that came in our kit. We had tools from the kit as well as our own materials. We used some scrapbooking tools to punch holes in our paper to match the holes in the leather. It’s an eyelet tool and I highly recommend an eyelet tool maker because we can get different attachment heads for holes of various sizes. Otherwise you are stuck using a standard hole punch size which is larger than these holes. We considered using our homemade paper, but opted for drawing paper and I’m so glad we made that decision. In the end, the paper was smooth and thin enough for my son to use for his drawings and narrations.
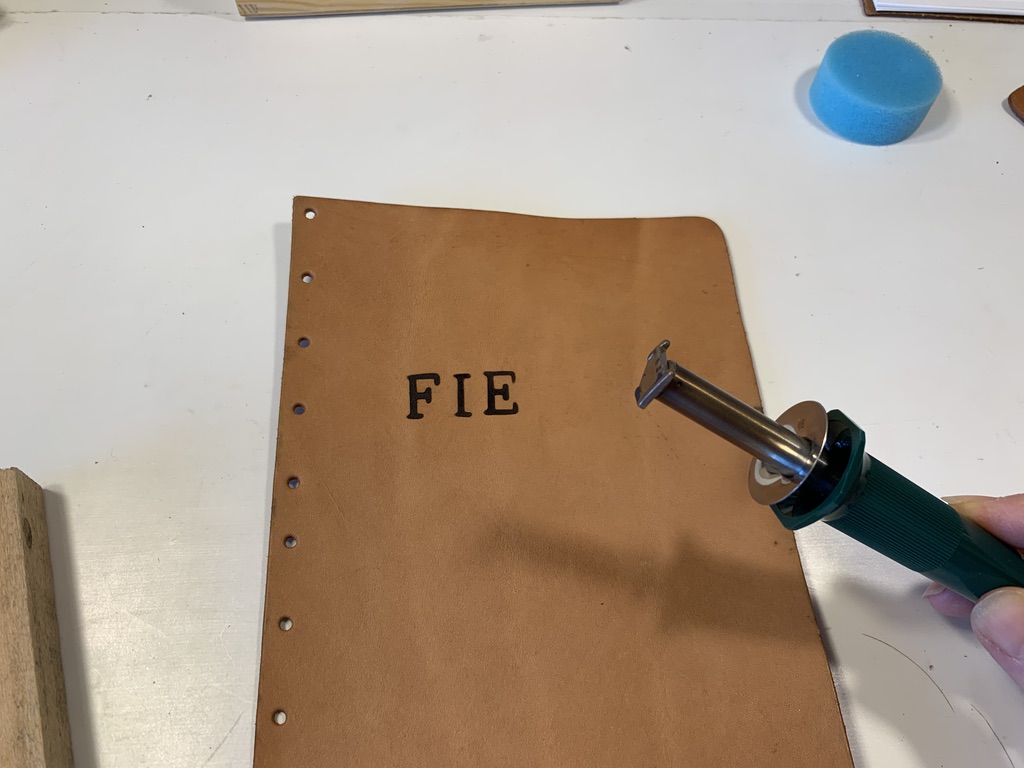
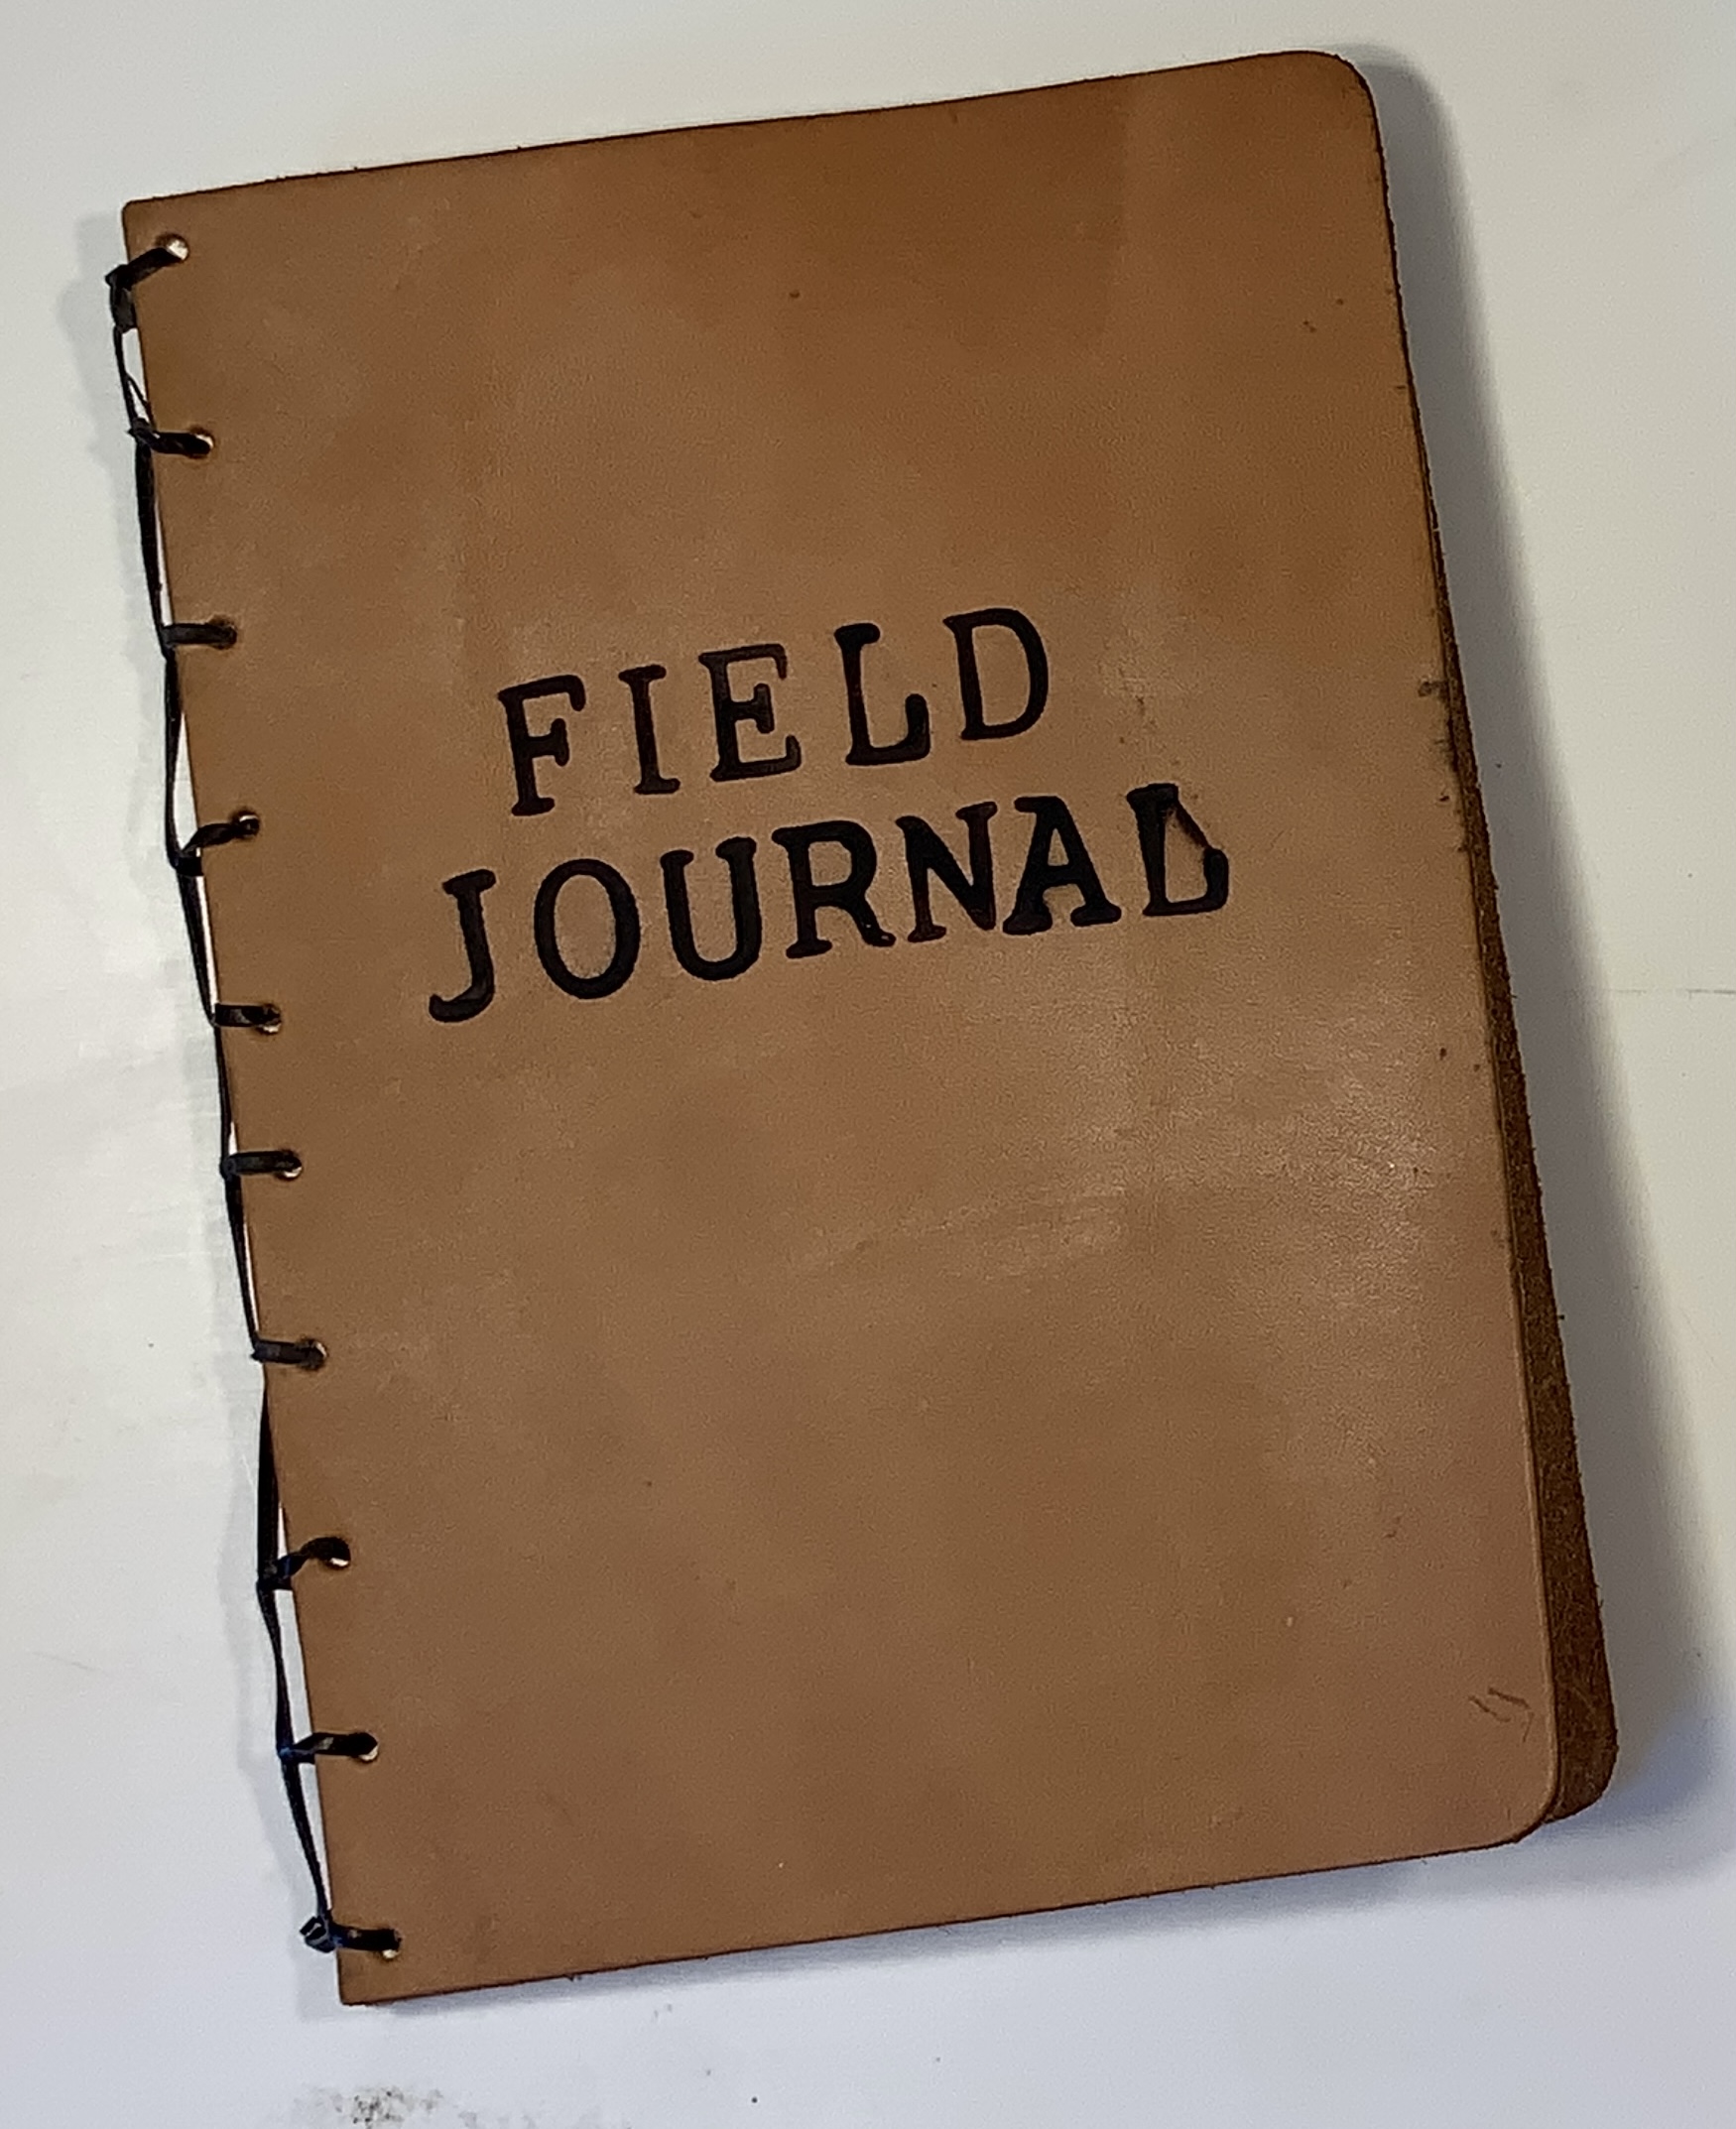
One thing I’m super proud of is our experimenting with our wood burning tool. I love the way it turned out! This is one thing I did for my son because I’m more practiced and there were no do-overs. I had no other leather at the time of this project and I knew my son would be disappointed if he messed up. I practiced on a piece of wood because leather does not need the same pressure or time, and since I didn’t have spare leather, I practiced with wood. Once I mastered the pressure, I burned the words “Field Journal” but messed up on the final letter! This is our favorite project for this unit!
I’m so pleased with the way it turned out and what’s even better, my 13-year-old son used it as his main lesson book for this unit.


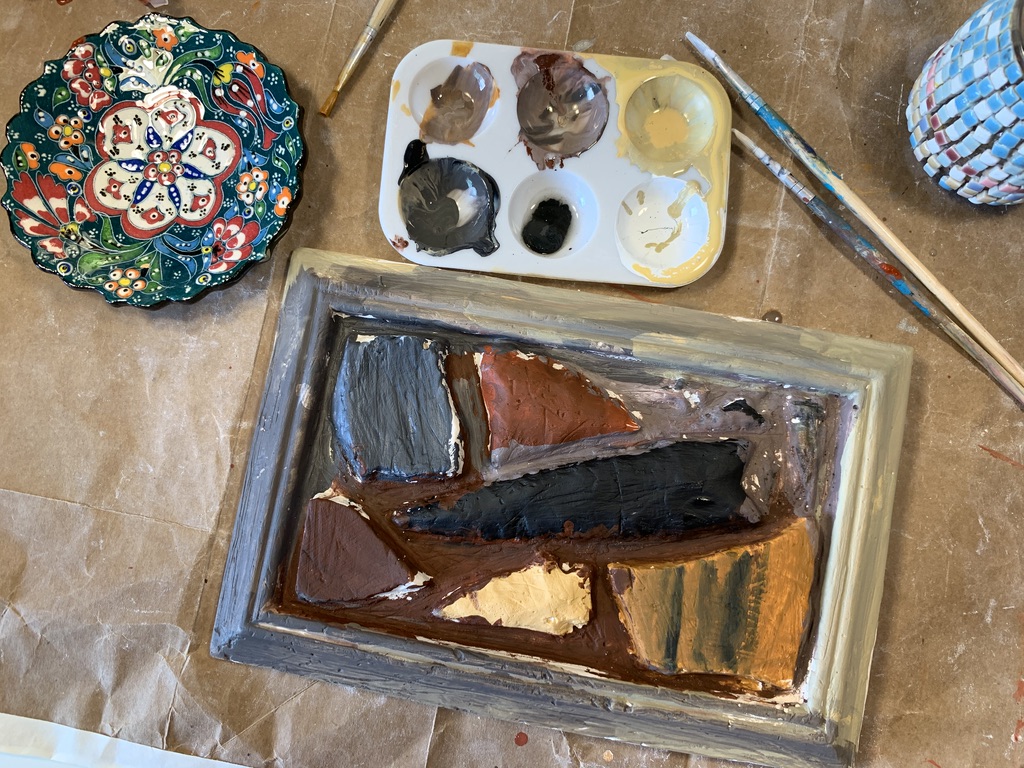
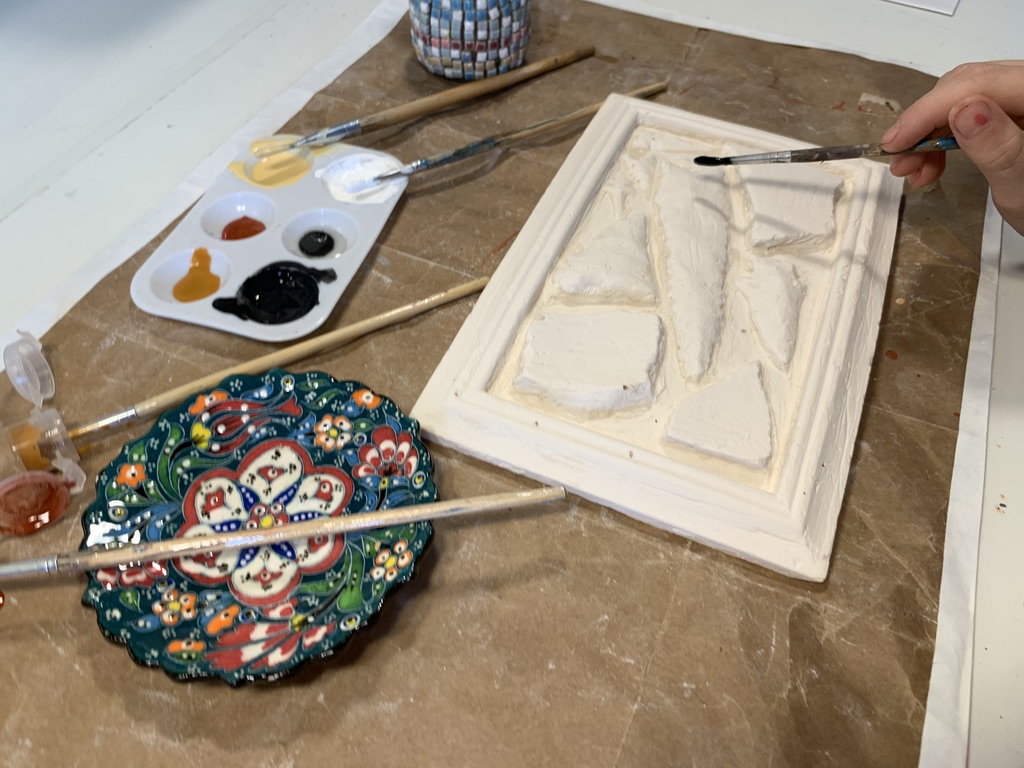
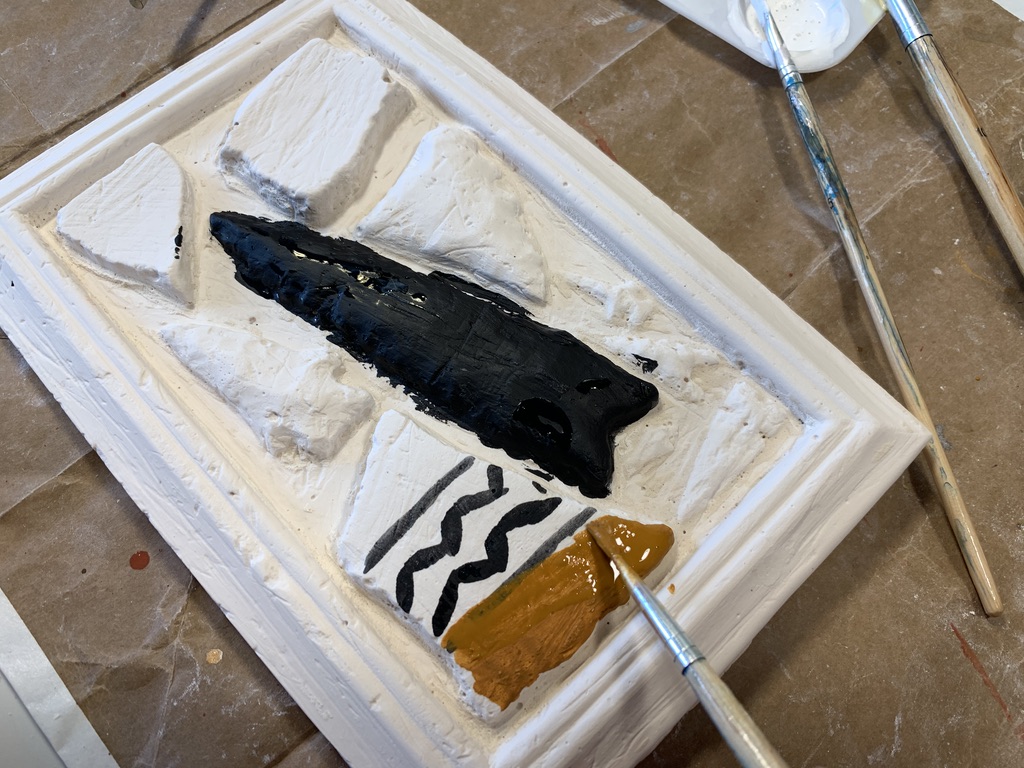
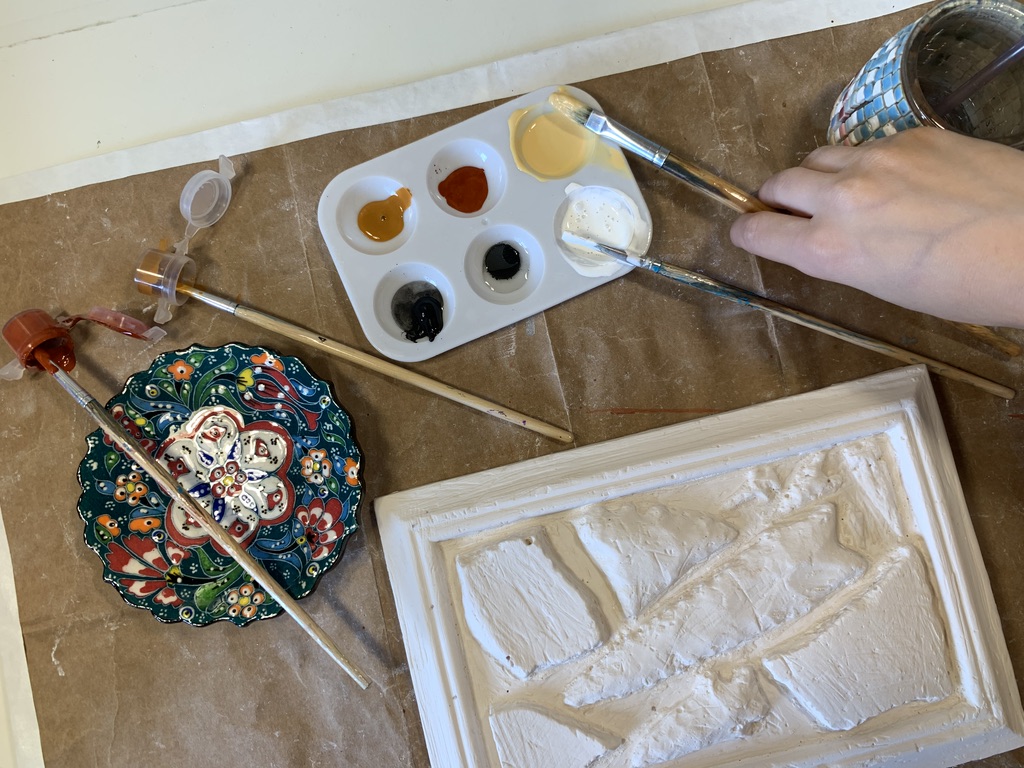
Dig Discover & Display Excavation Kit | Native American Indian Relics
I’m guessing that by now, these kits by Krystal are hard to come by. Dig, Discover and Display Indian Relics is an excavation kit in which you excavate a frame of ‘Native Indian Relics’ that you paint once the frame is cleaned of dust and plaster. We’ve used these kits for various unit studies and have always enjoyed them. But I have to say that over the years they’ve lost their charm on us. When the kiddos were younger they were especially excited about discovering what was in the plaster.
This time around my 13-year-old had less enthusiasm than he used to have, while my 8-year-old daughter was moderately excited about it. I had two kits that worked with our history units: USA Archaeology and Indian Relics. For these three small mini units: Colonial America, American Revolution and the Western Movement, we did them at the start of our school year which is unusual for as we save our history units for the winter. These were also small quick units lasting only a week or two for each. While that was fast for us, it’s probably an appropriate amount of time for most families and units. We got through a lot of material in this time but fewer projects. However, the projects we did do were long projects that took the duration of multiple units to complete.


Lewis and Clark Expedition and Western Movement Unit Study
One of my favorite stories about the Western Movement is the story of Lewis and Clark. But in all honesty I’m less interested in Lewis and Clark and completely fascinated by Sacagawea. On multiple occasions she not only saved the expedition but saved the lives of the men of the expedition and throughout it all she was just a teenager! Her heroism, feminism and quick thinking are only seen when you read between the lines of the Lewis and Clark journal or most work written about it. What angers me the most about it all is that she’s never named! She’s referred to as woman or wife but not by her name! And what’s more is that Clark asks for her son when the expedition is over. As she truly cherished her son and the men of the expedition, she willingly gave her son to William Clark to raise him. Jean Baptiste was finely educated and I’m guessing she chose to let Clark raise him in the hopes that he could provide a life she couldn’t.
There are some materials we’ve used before for this unit and other materials which are new. We also left a number of resources on our shelves because this was a smallish unit and we wanted to complete it in a week. We actually did pretty well and read through everything we set out to read except a historical fiction. One book I was exceedingly and surprisingly pleased with was Bewildered for Three Days. It’s a fantastic picture book about Daniel Boone and I highly recommend you check out that book.