https://www.youtube.com/watch?v=BBmZ_d4mXJg
Is this project destined to be a $40 mistake? For a novice wood worker like myself, I’m pretty sure I overspent for this project and definitely could have done a better job if I wasn’t so impatient or unskilled! Travel down this journey with me as I take you to the hardware store, then to my woodworking shop (my garage!) and finally bring the finished project to my homeschool room where I had originally intended this shelving unit for my future workboxes, but currently use it for my unit study.
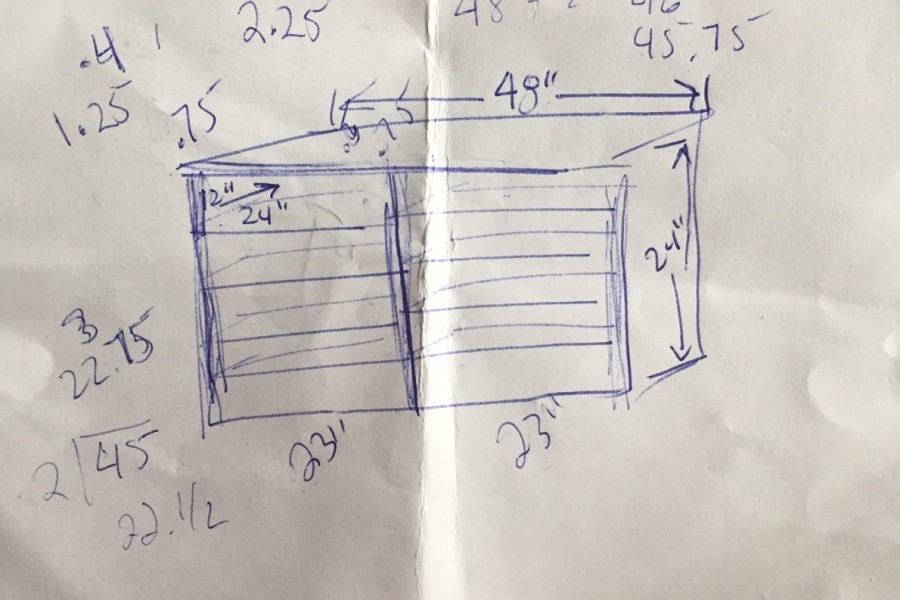
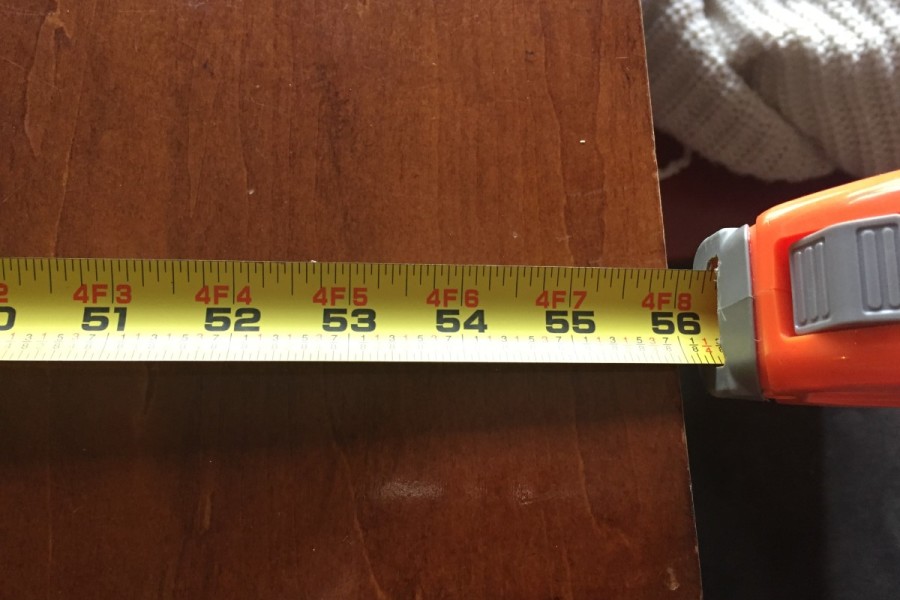
Care to know all the mistakes I made? First, I mis-measured the length of this unit as I wanted it at the base of my tables in my school room which face each other. I ‘measure’ 66″. So, I designed my project accordingly. I didn’t know what the standard measurements were for wood, so I was prepared to adjust my measurements once I got to Home Depot. I found some pine wood that was 120″ long and thought, “Perfect!” I amended the design so that the unit would be 60″ long, as it would be a more affordable way to go. But the shelves didn’t work out as well because they were 24″X48″ long, and I would need too many pieces to make the shelves at the dimensions I wanted. So I amended the project once again and decided to cut four shelves from the wood that was 24″X48″ long and make the whole unit 48″ long. Bummer, it was going to be so short, a foot and a half shorter than I wanted it. But thankfully, I mis-measured the length, and it turns out it was 56″ long so the 48″ unit was perfect! Yay!
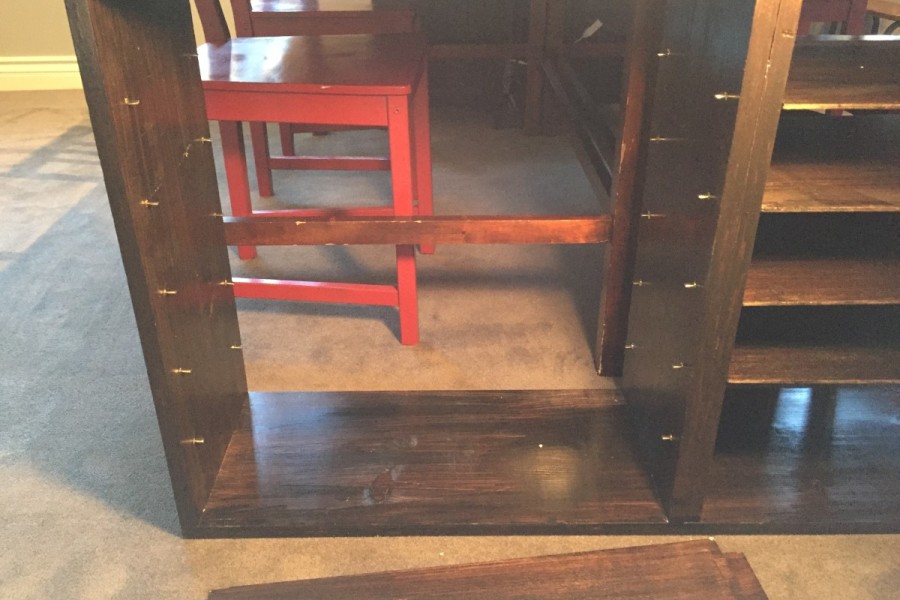
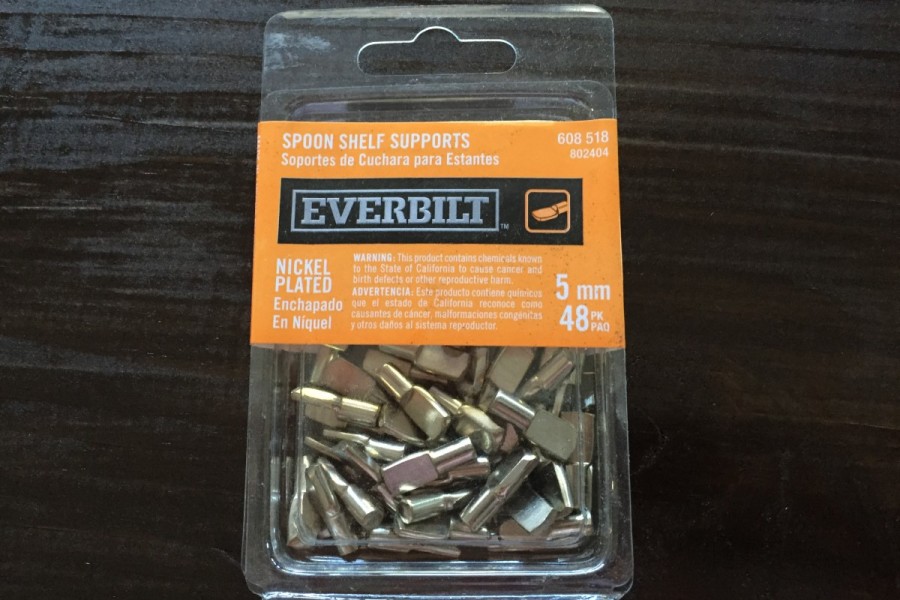
One mistake works itself out! Ironically, I end up putting my unit it a completely different spot! More mistakes? I cut the shelves to be 12″ deep because the pine is 12″ wide. Or is it? Those funny people at Home Depot call it 12″x48″ but it’s really 11.25 inches wide!!! Whaaat!! Great, now all my shelves stick out the back, but here’s to mistake number three: I forgot to buy the backing for my shelves!!! So it sticks out the back because there’s nothing there keeping it in. More mistakes? I bought a set of metal shelf supports, but when I got them home I realized I was short by eight! Arghh…I sent my kid to scour the cabinets in the house in search of metal shelf supports. He came back with…two. Well that’s ok, because again I someone did some terrible math and actually I end up with about eight extra!
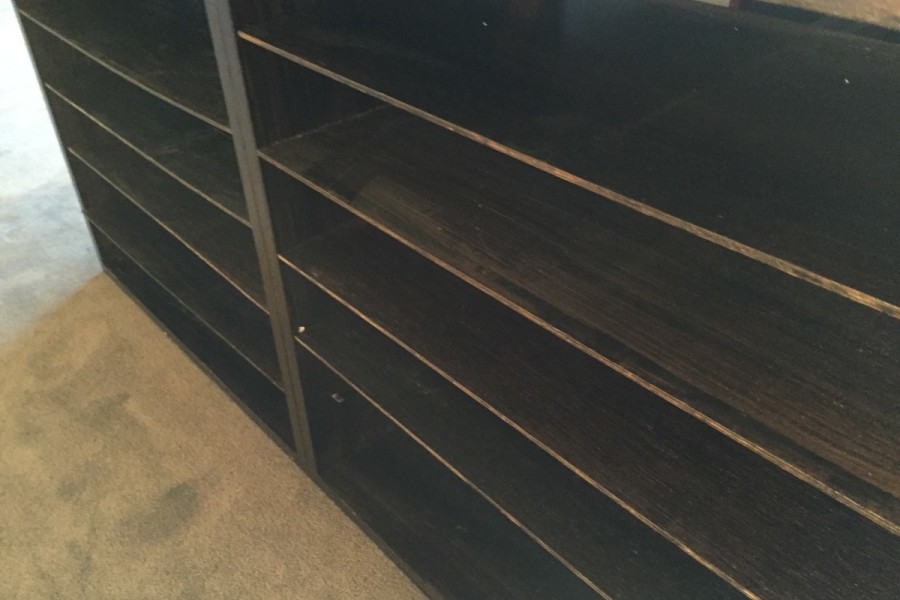
Dear me, can this get any worse…yes. I bought enough wood to make four shelves but drilled holes for five shelves! Arghh, yet again. There’s no way to re-drill the holes for four shelves because the inside would be riddled with holes! Okay, I have two choices: buy more wood to make two more shelves (one for each side) and go over budget, or leave the holes and just make four shelves, one being extra high. I go for option number 2 because of mistake number (I lost count). While putting in the center supports, I was not accurate when I drilled and glued them in place causing the right side of the unit to be about a quarter inch bigger than the left side. Result: The shelves don’t fit on the left side!!!
Arghhh! What’s a poor girl to do??? Luckily the glue hadn’t completely dried and I nudge the center support to the right (keeping the bottom part still screwed in) just enough so that four shelves fit on the left side, but not the top most shelf, which I don’t have because, remember, I made four not five!!! So it turns out four shelves is better because that one tall ‘double’ shelve is perfect for the over-sized kits that wouldn’t have fit in the originally designed shelf. The kicker: I don’t even put the unit where I intended it, nor do I actually use it for what I made it for!!!
Did I stay on my $40 budget? No. I was over by $12 not to mention I would have needed more supplies to fix my mistakes/forgetfulness.
Level: Easy
Duration: Longer than I care to admit
Cost: $62
Want to see a wood working project go the way it’s suppose to? Click here:
Mike:
https://www.youtube.com/channel/UCVbL0re_pt7CqiN3CKE-J6w
Shane:
https://www.youtube.com/channel/UCP8FfY7yOI98s_OInV_oopw
Mimi:
https://www.youtube.com/channel/UCzn_7-ayBSh3Gu1YFiw5SSA
April:
Share pics of your projects with me!
Tweets by PepperandPine
https://www.instagram.com/pepperandpine/
https://www.facebook.com/pepperandpine
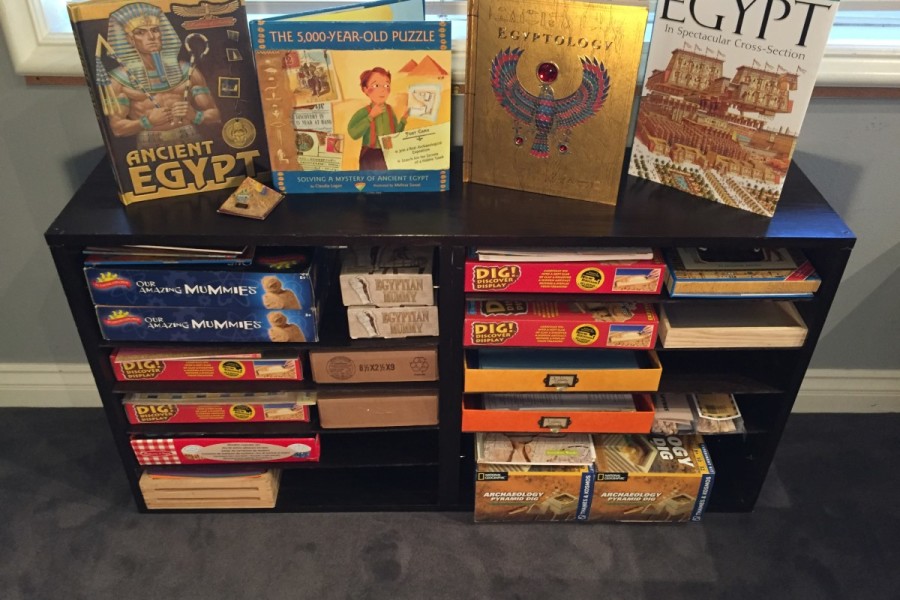
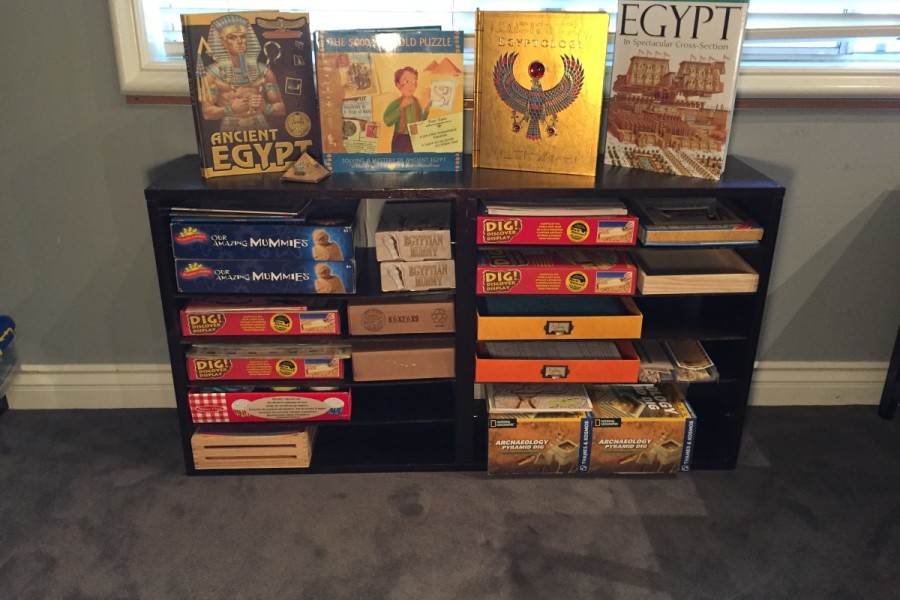
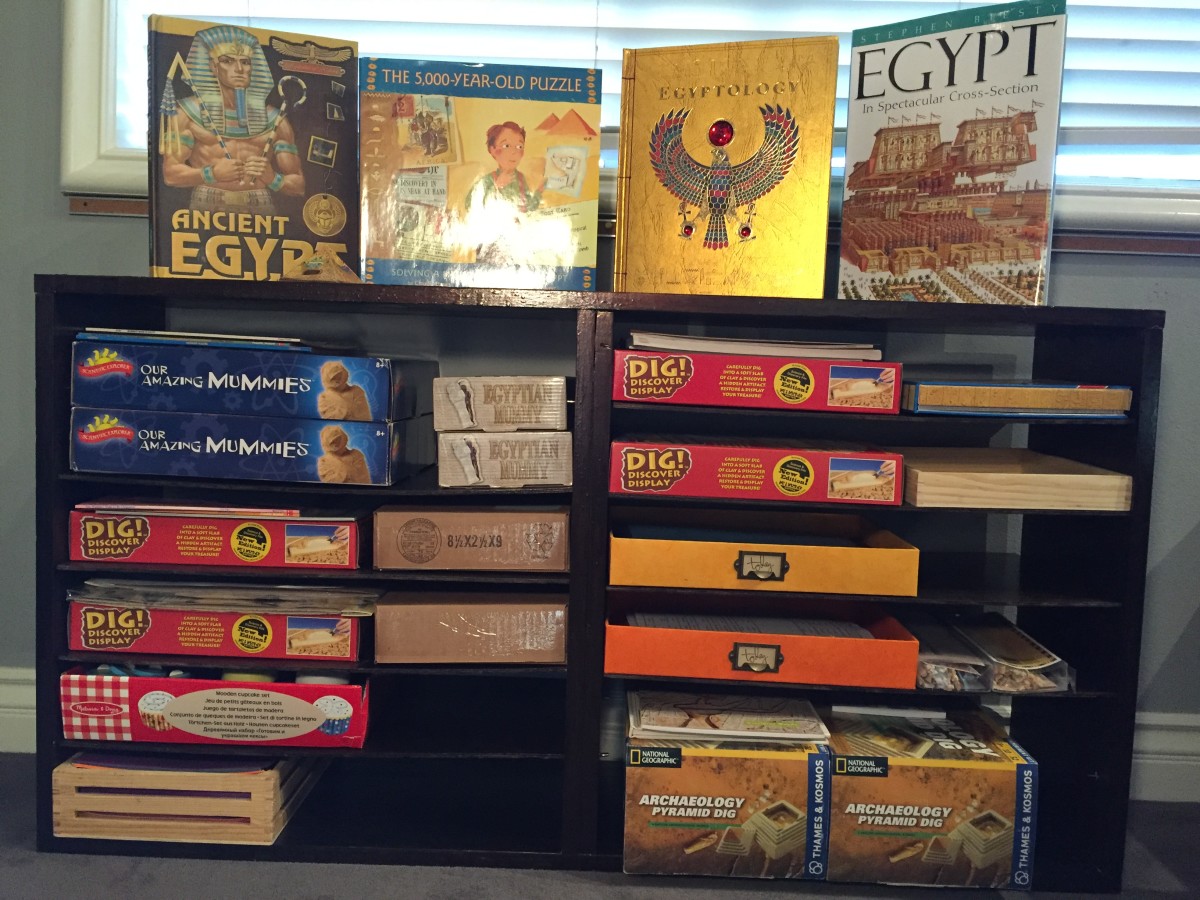
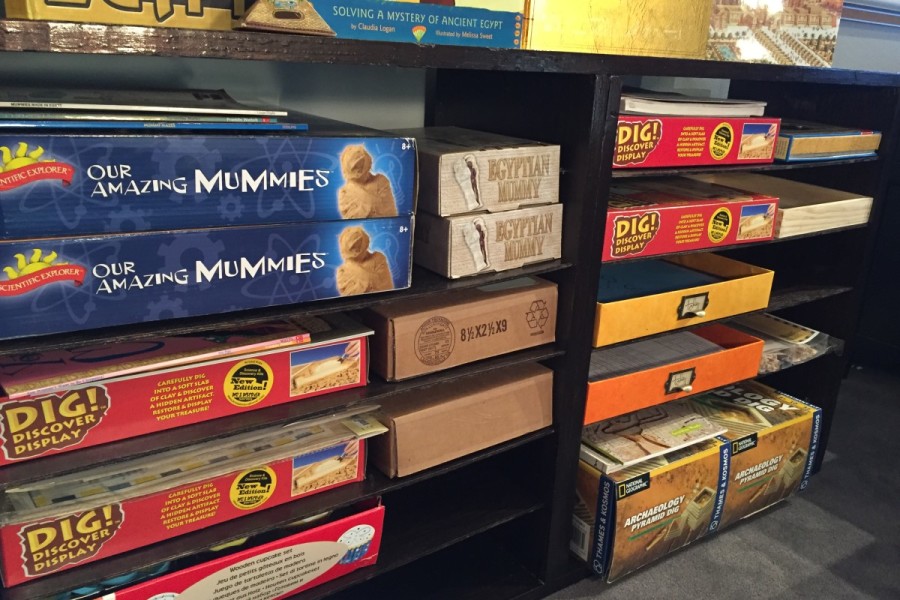 Fits our study unit perfectly. Notice the upcycled MacBook boxes?