Our exploration of Alaska came about because my sister, Samiah and her family, moved up to Alaska in the fall of 2020. Once there, she was diagnosed with a brain tumor and after surgery, it was discovered that it was an aggressive and fast growing brain cancer. As a family, we decided to visit her after she recovered from brain surgery but before she began her cancer treatment which included chemotherapy and radiation. So in January of 2021, we traveled to Talkeetna, Alaska to experience the wonderment of the area with her. She had wanted us to celebrate her move to Alaska and enjoy time together in her home and in her new home town. We did! It was breathtakingly beautiful and we enjoyed our time there. We enjoyed it so much, I decided to put together a unit to explore even more.
While most of our units include far more diversity in the types of books and topics we cover, this unit is simply a collection of books that we plan to read. There are many projects and hands on activities you could do with a winter unit or Alaska unit, but we are currently keeping it simple with just read alouds I’ll read to my 9-year-old daughter and my 14-year-old son. One project you could do is some handwork. Handwork and knitting especially lend themselves well to winter units and wintertime in general. For beginners, you could knit a scarf. If you are a little more advanced, you could knit a hat and if you are really proficient, you could knit socks or gloves.
We did bring back honey so we could get a taste of the region. Making some recipes with honey or doing a honey tasting would also be fun.
Exploring the trees of the area and what they are used for is something I would have liked to include in this unit, but we didn’t. The trees, and their sizes, were different than the ones we are familiar with and learning about them would have been a nice addition.


Buyer’s Guide
Affiliate links used on this page
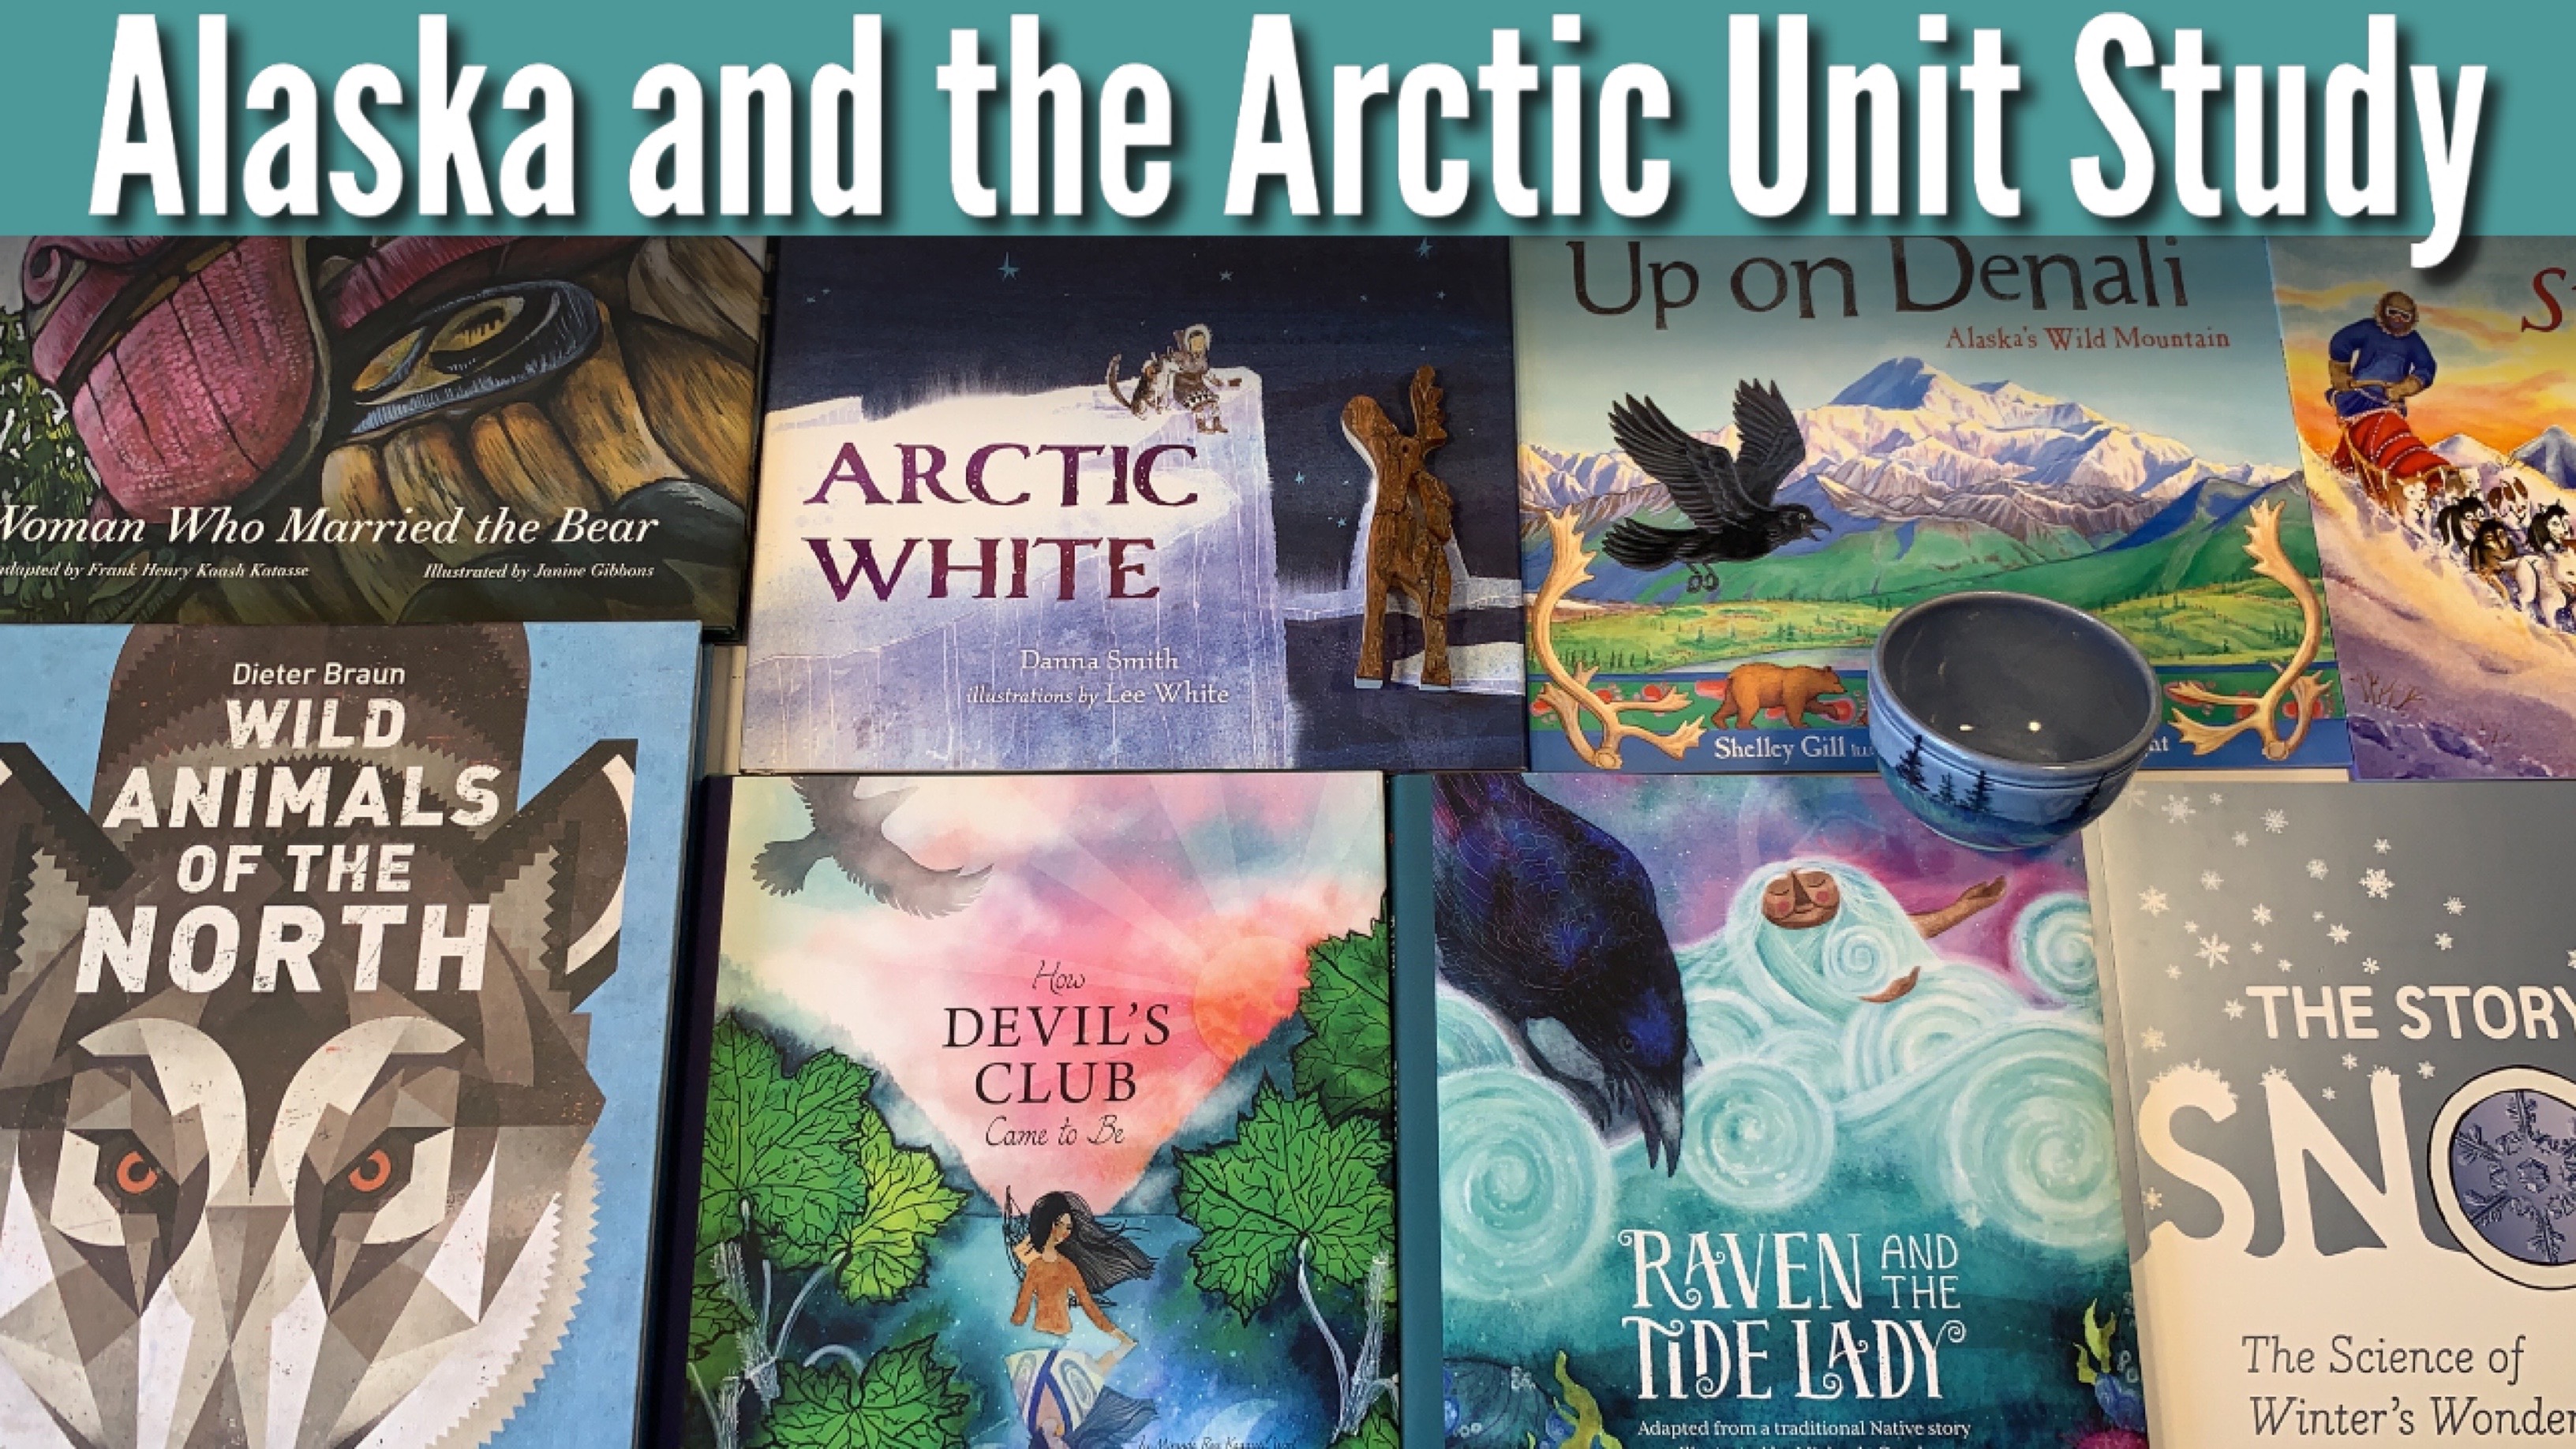
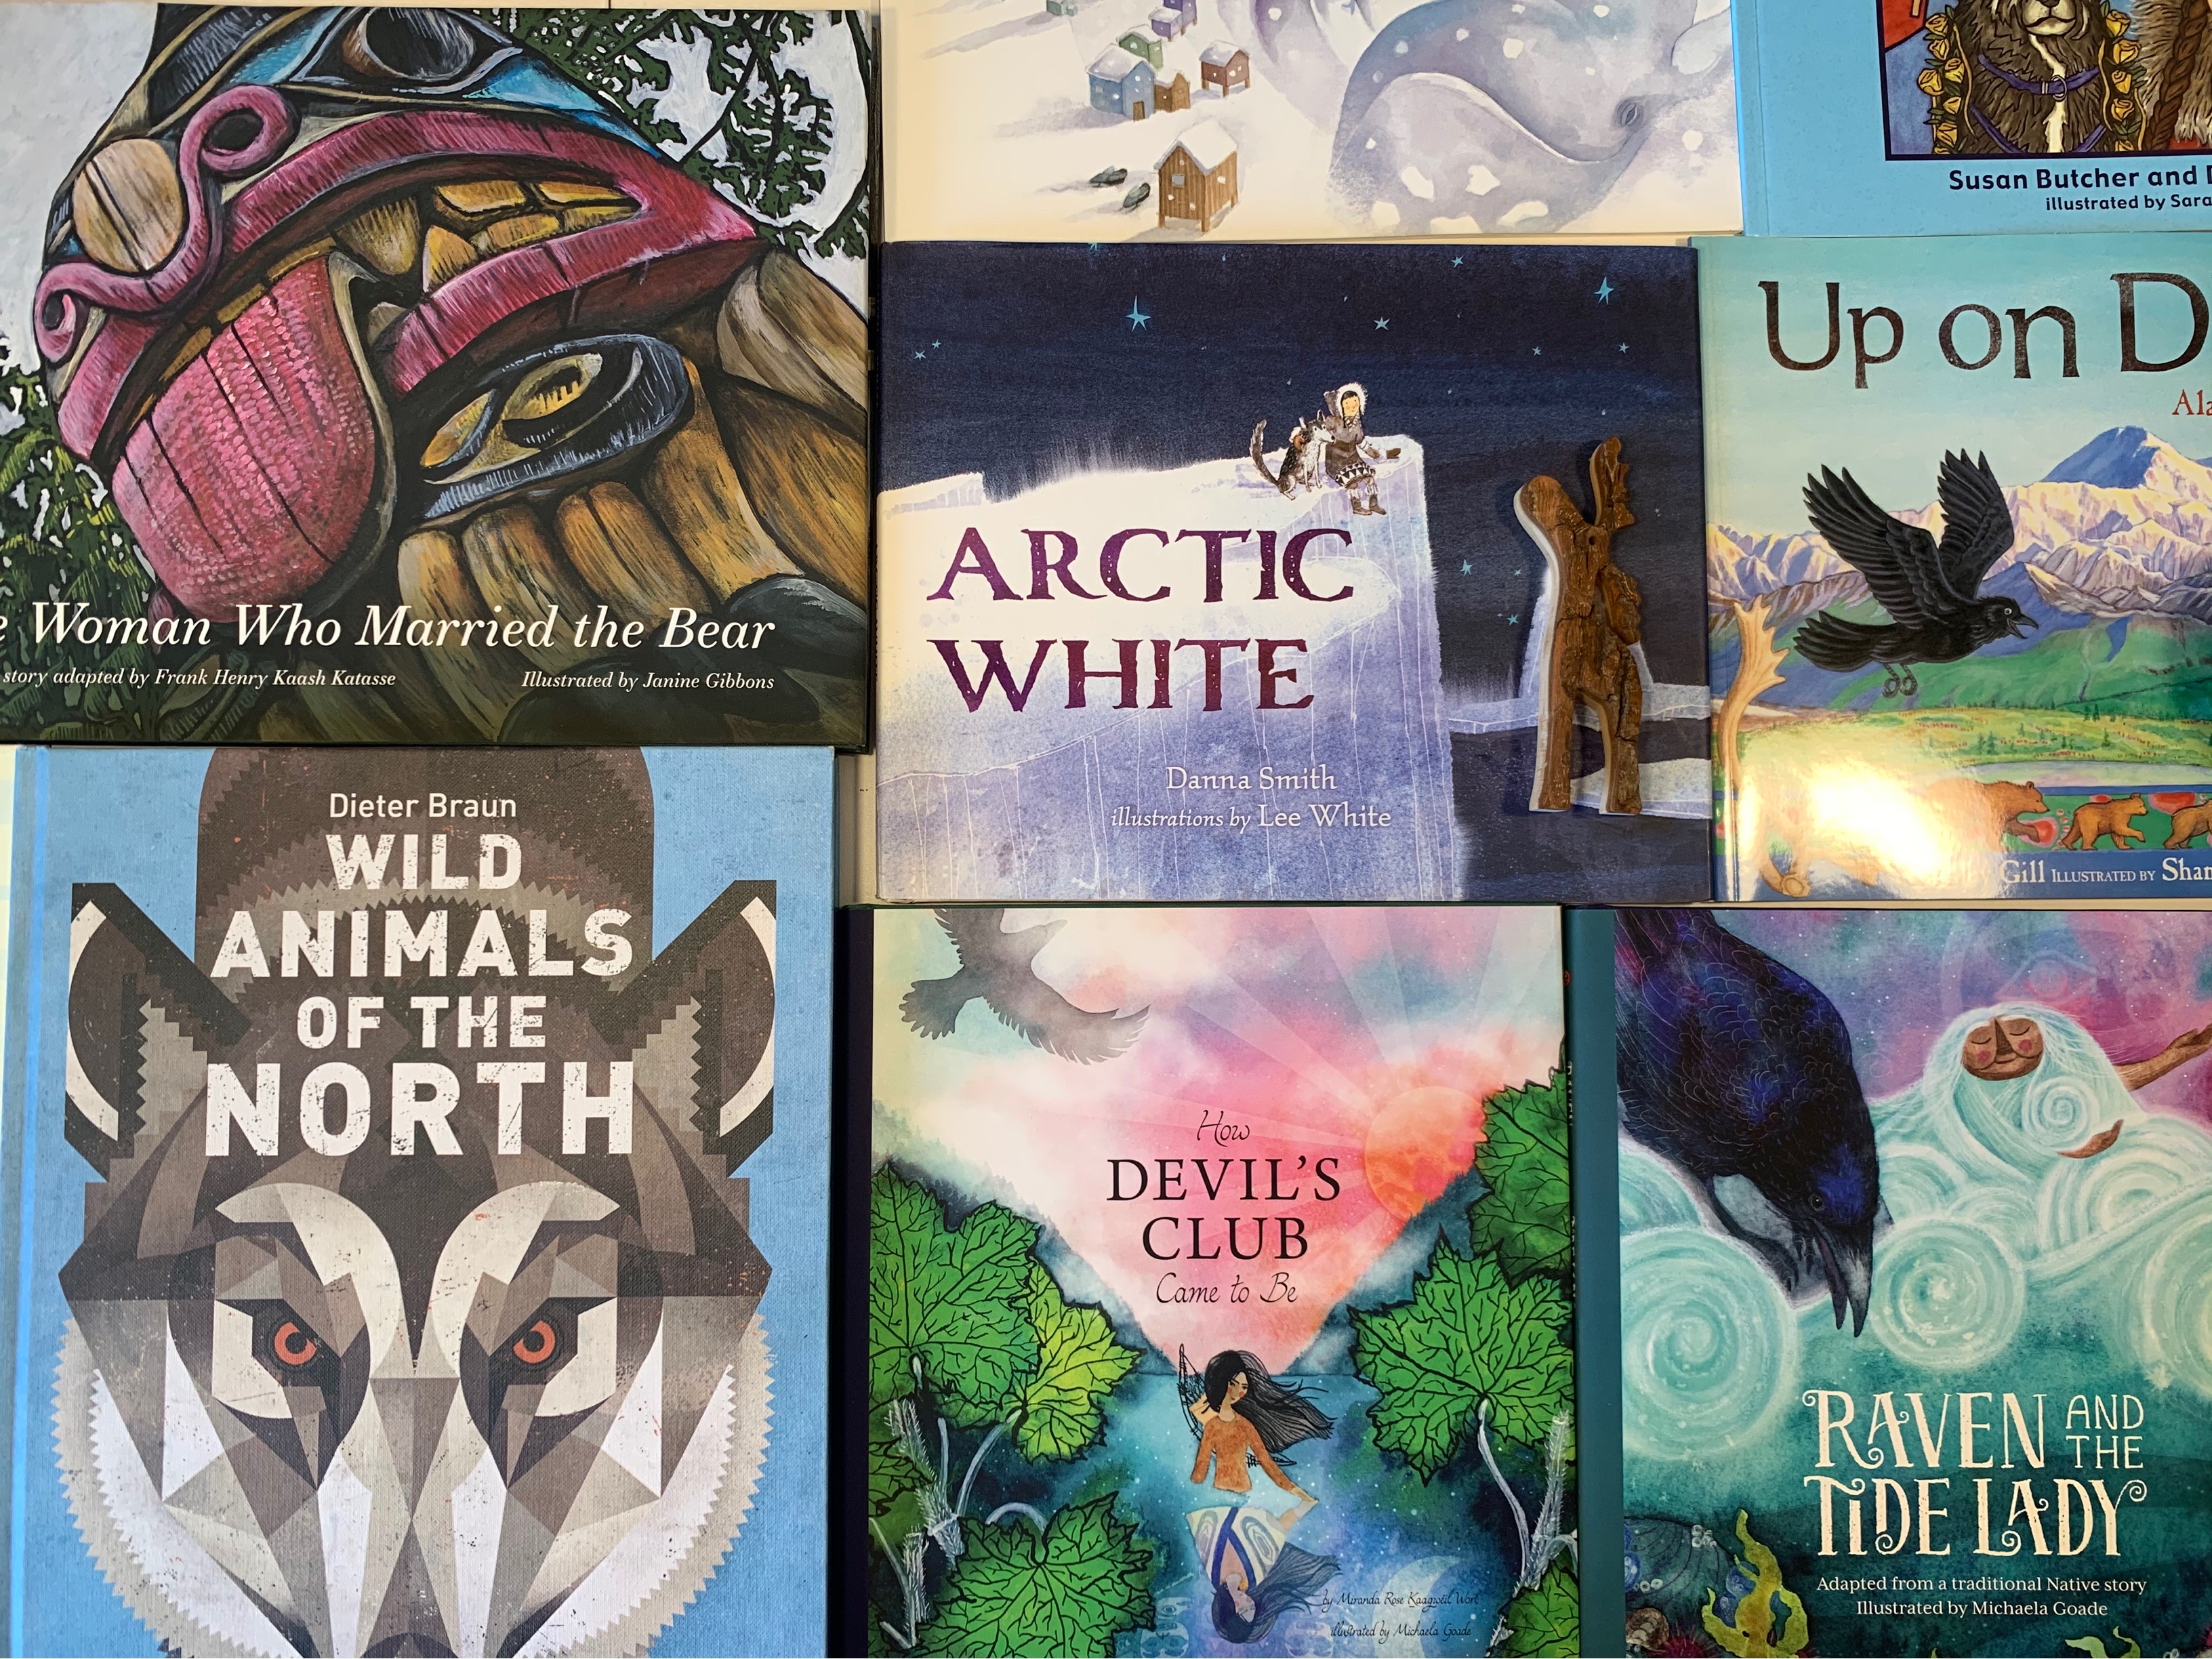
There are a few books that are not available at local booksellers. The Alaska Heritage website offers several books that are about native tribal stories. We picked up How Devil’s Club Came to Be and Raven and the Tide Lady. We also bought Woman Who Married the Bear. All these and more are available through the Alaska Heritage shop page.
Chalk Drawing
Since using our smaller chalkboards more often, I’ve found that it’s easier to make chalk drawings to accompany our unit studies and main lesson blocks. I used to (and still do) make one or two large chalk drawings to span the year on my main chalkboard which is a slate chalkboard measuring 4’x6′ which is now mounted on the wall in our homeschool room.
Several years ago in 2010, I purchased 8 small chalkboards from Paper Scissor Stone. I used them both mounted on the wall and free standing. When I went to purchase more a few years ago, I found that they didn’t have the ones I originally purchased. Instead, they had new ones that were slightly bigger (and small that were smaller), lighter weight and with a texture that allowed for some brilliant blending of chalk. I am using the 2’x3′ chalkboards from Paper Scissor Stone from their website Waldorf Supplies. I’m also using my Sargent Art Square Pastels from Blick Art Materials. I love these chalks because they are rich and beautiful. I do use a wet/damp sponge to clean the chalkboard before a new chalk drawing. I wait until it’s completely dry before starting the new chalk drawing.


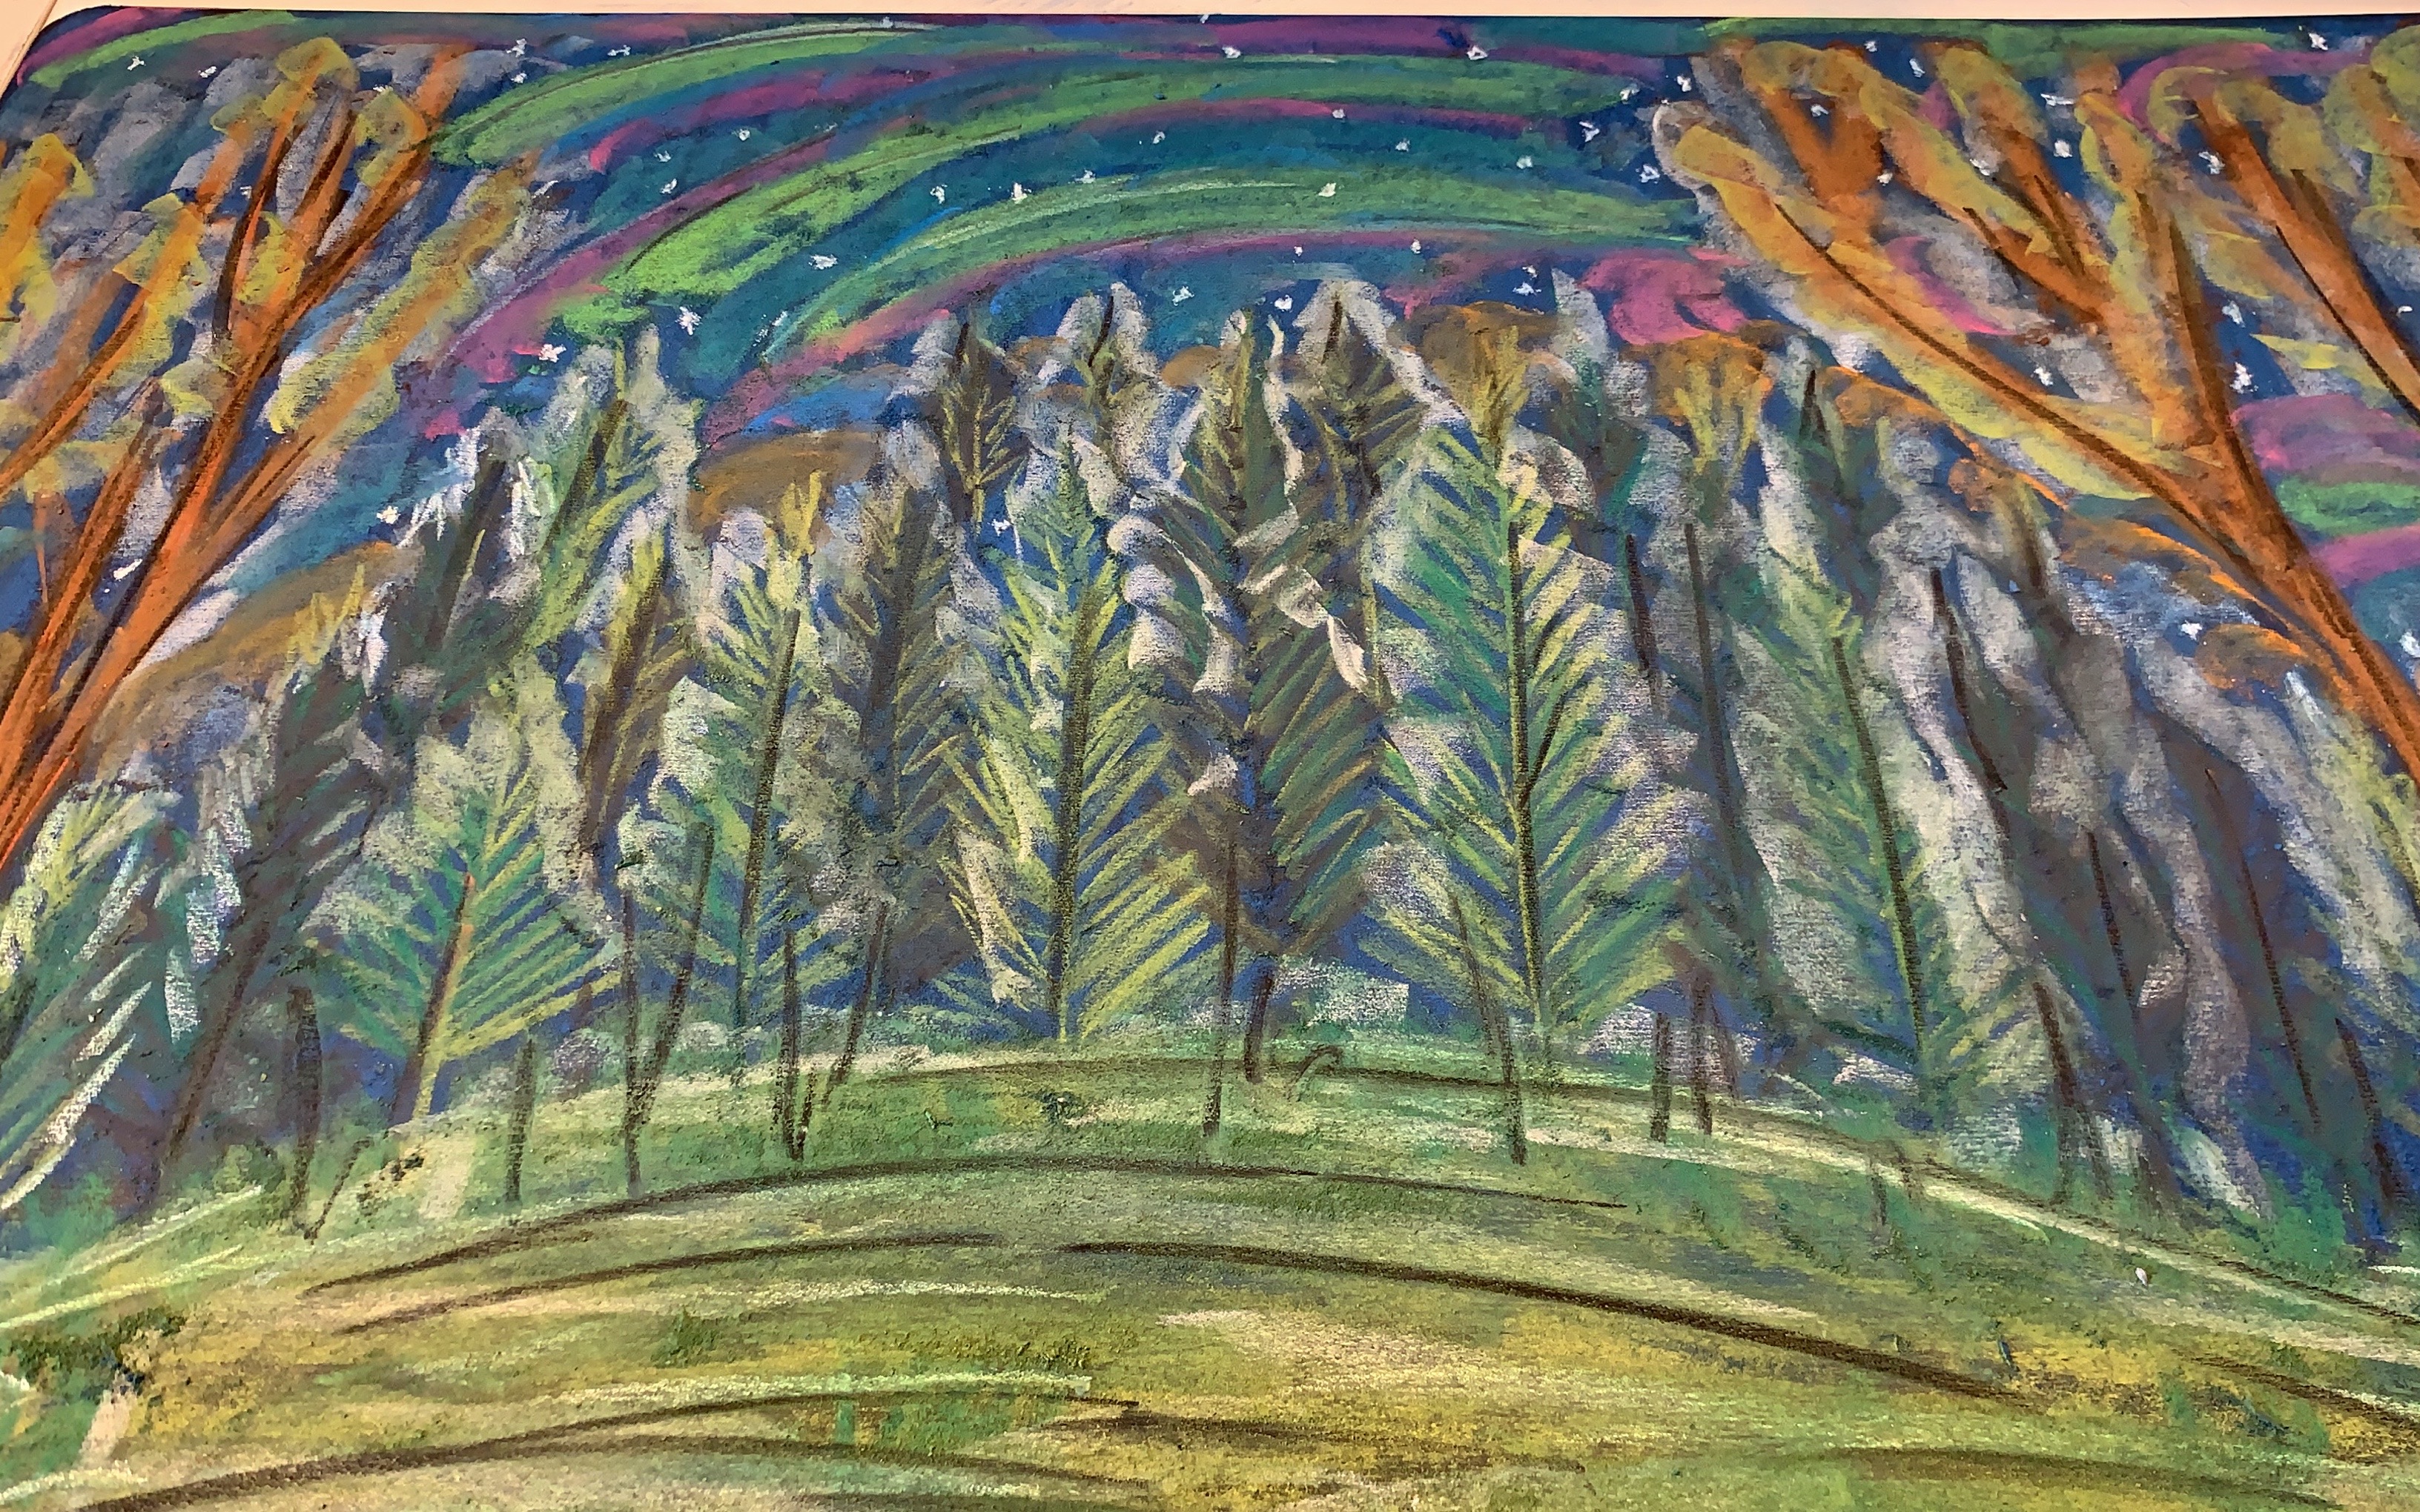
For this chalk drawing, I used the book In Search of the Northern Lights as inspiration. I used a few pages from this book which depict a brilliantly colored sky and landscape and I was eager to include it in our unit. At first I wasn’t loving all the illustrations, but they’ve grown on me. Especially the use of color which always delights me.


Lessons Inspired by the Books
Join me for this live lesson in which my 9-year-old daughter and I draw illustrations inspired by the book Raven and the Tide Lady. This lesson lasted 45 minutes and only included drawing. We did no written work. We used Faber Castell pastels and then switched to Sargent Art Chalk Pastels.


Handwork Projects
How to Knit a Scarf for Beginners
This was one easy but lengthy project! It did get a bit tedious, but it worked well with all the reading we did with our Alaska and Arctic unit. While I read, my 14-year-old son knit and sometimes, we would switch. I did cast on and bind off for him, though he is capable of doing that one his own and actually retaught his older 22-year-old brother when he made a scarf recently. I also added fringe to the end.
We used Lamb’s Pride Bulky Yarn. I cast on 15 stitches but I think 12 would have been better. I used the whole skein and that made about 45 inches. I would have preferred 60 inches. I added a 5″ fringe on each end which I think looks very nice and helps make the scarf longer.
The scarf took about 8 hours to complete and it was a group project between my son and myself. I used Blue Willow for the scarf and Smokey Sage for the fringe. I used size 10 knitting needles from A Child’s Dream and purchased the yarn by Webs Yarn.


How to Knit a Hat for Beginners
Handwork in Waldorf schools supports the development of the child and complements the curriculum. In grade 5, students begin working with 5 knitting needles to knit in the round. They work on hats and socks and may even complete the set with gloves and a scarf. To begin the year, students are likely to make their own knitting needles using hardwood dowels as they did in grade 1. This time around, they make the needles double pointed. They sand them down using progressively finer sandpaper. For this project, I used handmade knitting needles I made during the Handwork Conference. You can find more information about the conference by visiting Waldorf Handwork.
We used bulky weight yarn by Lamb’s Pride in various neutrals. You can find Lamb’s Pride at many online vendors, but I frequent A Child’s Dream for most of our Waldorf needs. The following pattern is for a child’s sized hat, but you can cast on the same number of stitches for a teen or adult sized hat as well, but you’ll need to knit a couple more inches before decreasing. Cast on 24 stitches onto three needles. Knit 2 purl 2 for several rounds until you have about an inch of ribbing. Knit a total of about 4-5 inches before decreasing your stitches. You can choose any color and any design. Our design was based on the yarns we had, I alternated colors and when I ran low on them, I only knit a couple rows of them. The only other pattern I used for this hat was to alternate colors for one row, then knit a solid color (one of the alternating colors), then knit the third row with alternating colors again. When you are ready to decrease your stitches, add three markers (tie a contrasting piece of yarn to the needle) to each needle, one after every 8 stitches. Then knit two together after each marker, and then continue knitting normally until you get to the next marker. Slip the marker onto the needle and then knit two together. Once you’ve completed that round, knit two rows normally. Continue to knit this way until you have 6 stitches left on each needle. Then bind off and sew the top together with yarn. For this project, I learned three new skills: purling, knitting in the round (with 4 needles), and making a design with the yarn by strategically alternating colors.
Stitching Snowflakes
This is one simple yet beautiful project you can complete in no time, especially if you do the stitching like my 11-year-old son and not like me! We used gold and metallic DMC thread to stitch designs on the wool blend die cut snowflakes using two simple stitches: the running stitch and the back stitch. You can use a single or a double strand of thread, but I found that the single strand looked far better. The gold stands out more on the white snowflakes, but the silver looks magical. I asked if Over The River Felt would be interested in sending me samples of their products so I could share them with you and they said yes! The snowflakes were sent to me free of charge. They come in two sizes and are of a high quality wool blend felt.
Project Details: Materials: snowflake diecuts, metallic thread or colored embroidery floss, needle, scissors. Cost: $7 for 12 projects, less if you use DMC embroidery thread instead of metallic thread
Level: easy/beginner Age: 8 years and up Duration: 15 minutes
Find the snowflakes at Over The River Felt: Small measuring 3″, Large measuring 4″ and DMC thread available at A Child’s Dream.
Making Metallic Snowflakes
In all my years of homeschooling this past year is the first time we made snowflakes. Living in southern California where it never snows (where we live), we’ve never done winter projects that involve cold weather and snow. But because we are doing a special unit on the Arctic and Alaska, I decided to try them out but with a twist of course. We were inspired by the book The Science of Snow to do a few projects and our metallic snowflakes was one f them. We are using semi-transparent origami paper by Folia available at A Child’s Dream. We fold them into thirds then fold it one more time before cutting our design. Then the fun happens when we unfold our designs and see what we’ve made. I’m using a metallic mixative in silver by Ranger called Adirondack. You can find it at craft stores like Jo-Ann Fabric Store or Blick Art Materials.


Panning for Gold
I bought this kit when we did our American history units when I put together our unit on California history. We ended up not quite reaching that California history when those history units were over (they’ll be revisited again), but I had all the kits. This panning for gold kit was added to our Alaska and Arctic unit study as Alaska went through a gold rush as well. At the time we didn’t include books on the Alaska Gold Rush but we have since added two books: Call of the Klondike: A True Gold Rush Adventure and The Bite of the Gold Bug: A Story of the Alaskan Gold Rush.


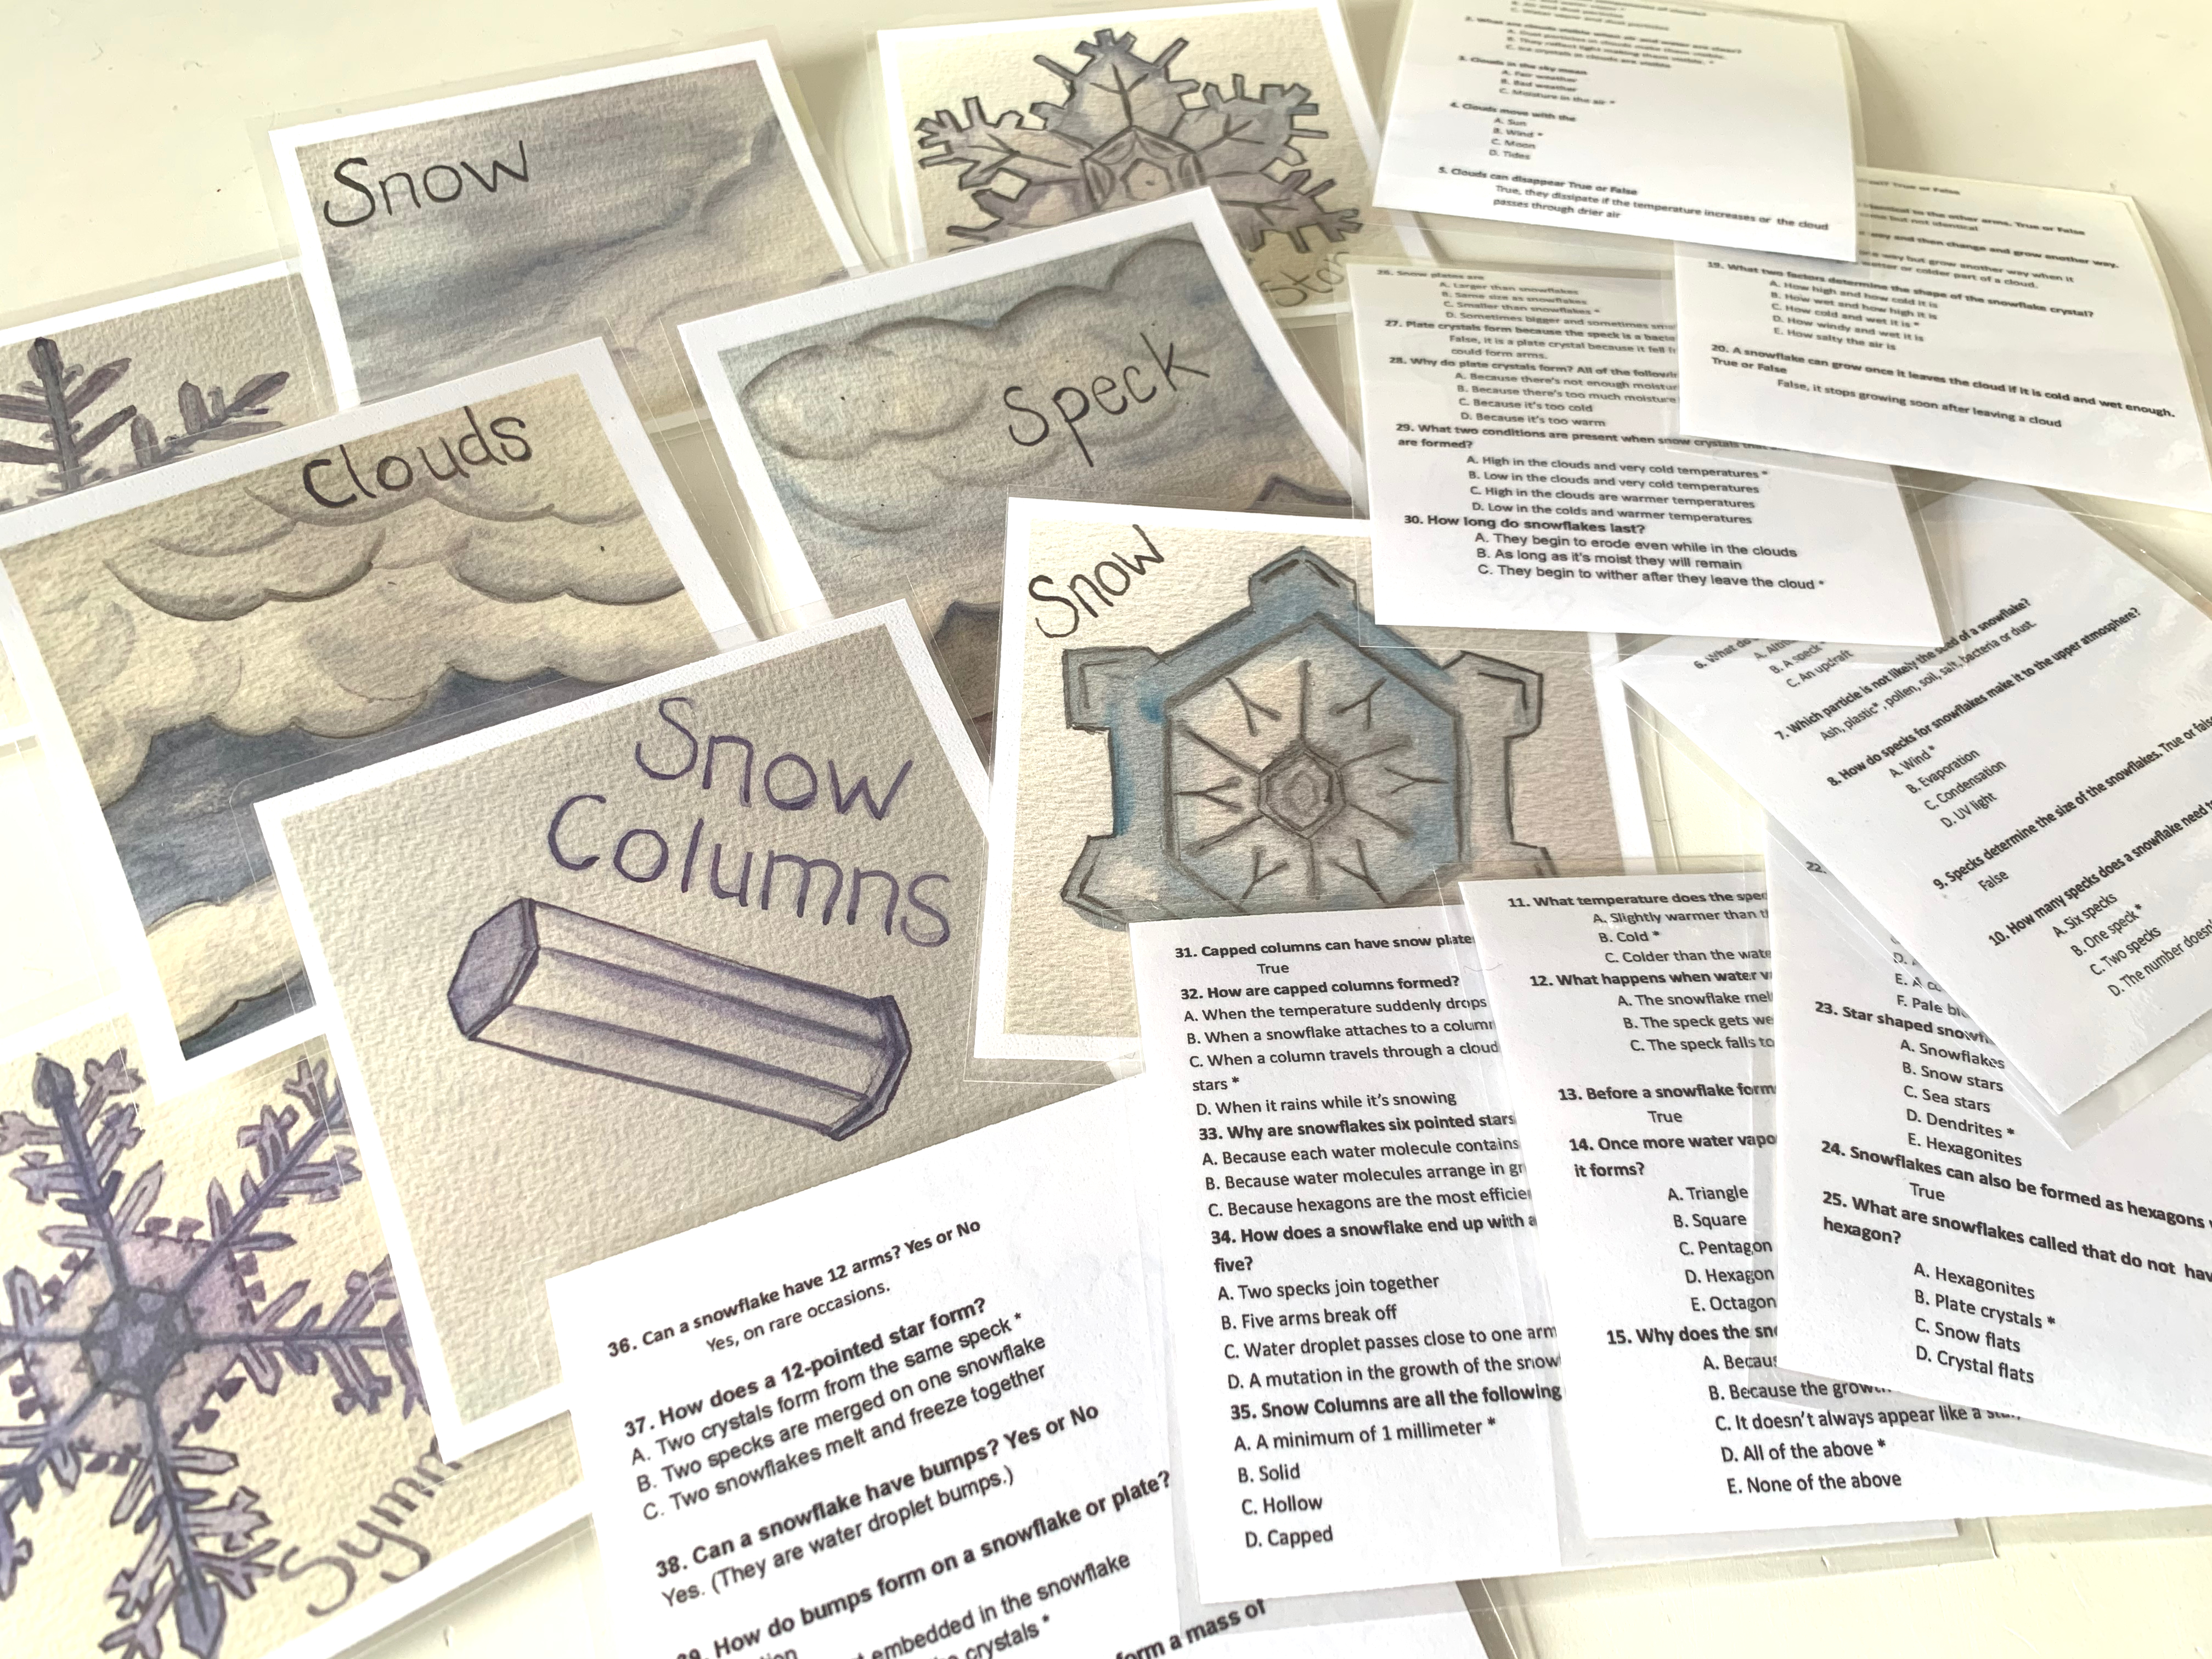
Making Snowflake Trivia Cards
Opening activities which include games are a family favorite in our homeschool and one of our favorite trivia games is the Professor Noggin’s Trivia Cards. Over the years, we started making our own. First with Astronomy Trivia Cards, then Bird Trivia Cards and most recently Bee Trivia Cards. We like making our own, but we love playing them even more. Usually, I’ll make a set alongside my children. I come up with my own questions based on the reading we’ve done for the unit and I write those questions on the back on each card. I laminate the cards to protect them. My children come up with their own questions and when we play, we ask each other the questions. Over time, even when we come up with the questions, we forget them so it’s fun to play months after a unit is done and see how well we can remember the information we learned during our unit.
For our Snowflake Trivia cards, I used the book The Story of Snow by Jon Nelson as inspiration for the illustrations and the content for the questions.
This time around, I have made our work available as a downloadable printout so you can enjoy these trivia cards as well. You will need a color printer and a pair of scissors or paper trimmer. This is a digital product so you can purchase anywhere in the world that allows this purchase. No shipping is needed!
You may choose to laminate these printouts. I used 5 mil Black and Decker sheets and my Minc laminating machine.
You may buy these printouts!
This product includes 8 Snowflake trivia cards with 5 questions on the back on each card. There are a total of 8 sheets that need to be printed double-side. Please do a test print first. For best results, use a color printer and high quality paper intended for color printing. I used Astrobright 28lb paper in bright white. While I liked this paper, I think thicker would be nicer, especially if you forego laminating. You may need to adjust your printer settings to get the desired color. I prefered the lighter version of the printing.


Review of Alaska and Arctic Books


This is the quickest I’ve ever decided to put together a unit. I sourced books, put together the unit and did it all within about a month. Part of doing it so quickly or rather being able to complete it in just one week was the fact that we didn’t include any projects officially. I do mention a few that would work well and of course if you are doing this unit in the winter, you can explore snowflakes and precipitation. We, however, only knitted, tasted our honey, used our Ulu and read plenty of books! And then we added more projects! We panned for gold, knitted our scarf and hat, did art inspired by the books we read, and explored animal tracks using the kit from Nature Watch.
As the unit progressed, we also added more books to this unit. I had a number of books on animals of the north, so I pulled those off our shelves and added them to the unit to round out the subject area. Having some books on the flora and fauna of the


