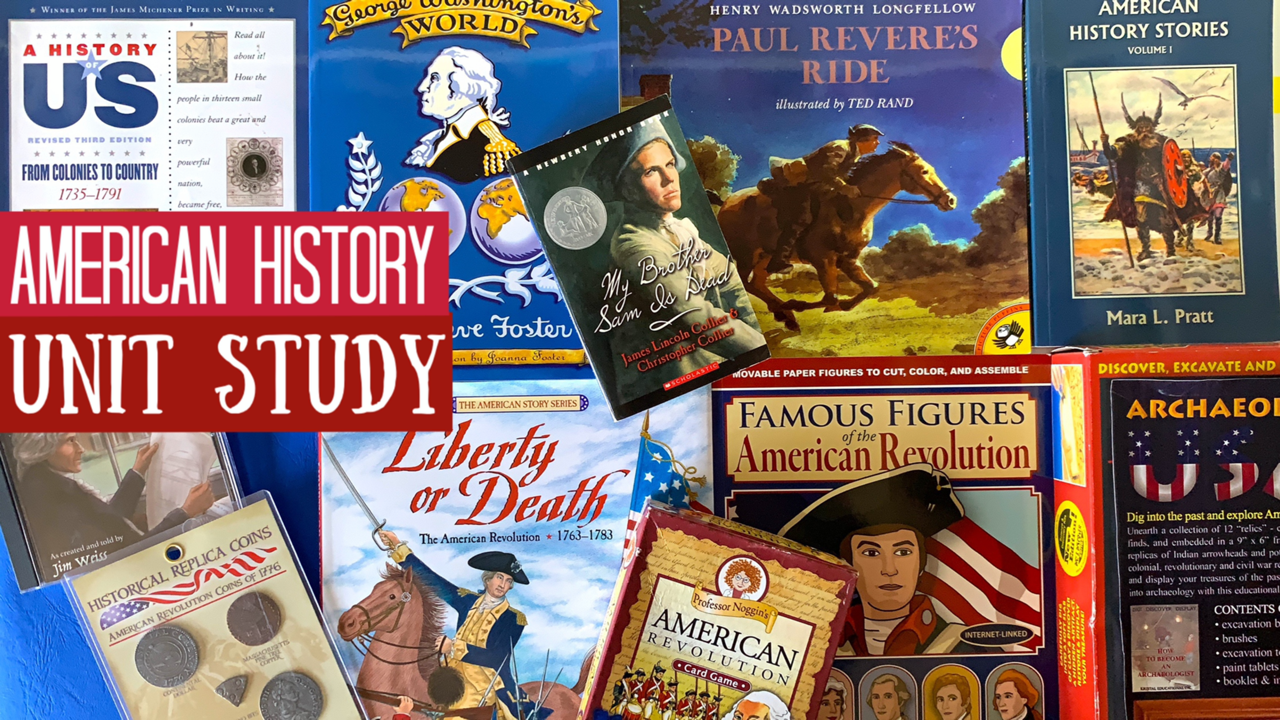
It’s time for a new unit! This one is for the American Revolution time period. Though we completed our Colonial Times unit study, there are two books that will trail into this unit. Some audio books/songs we had scheduled for this unit, just don’t want to make an appearance! We’re still really enjoying the audio CD Spirited Sounds of Colonial Times. My lesson plans are a little different these days, too. Instead of lesson planning on the computer using Excel as I’ve done for several years now, I’m handwriting general plans in a composition notebook. It’s works okay, but I’ve noticed our units are dragging on instead of finishing in a more timely manner. I can already tell you that there are books I have for this unit we are just not going to get to for two reasons: Not enough time, and they don’t look engaging. With so many well-written engaging history books, there no need to waste time on boring, dry books. Keep a look out for my American Revolution unit wrap up where I’ll share my thoughts on the books we read.
To see the complete list of books used for our history units, you can check the Pepper and Pine page at Teacher Pay Teacher for a free download!
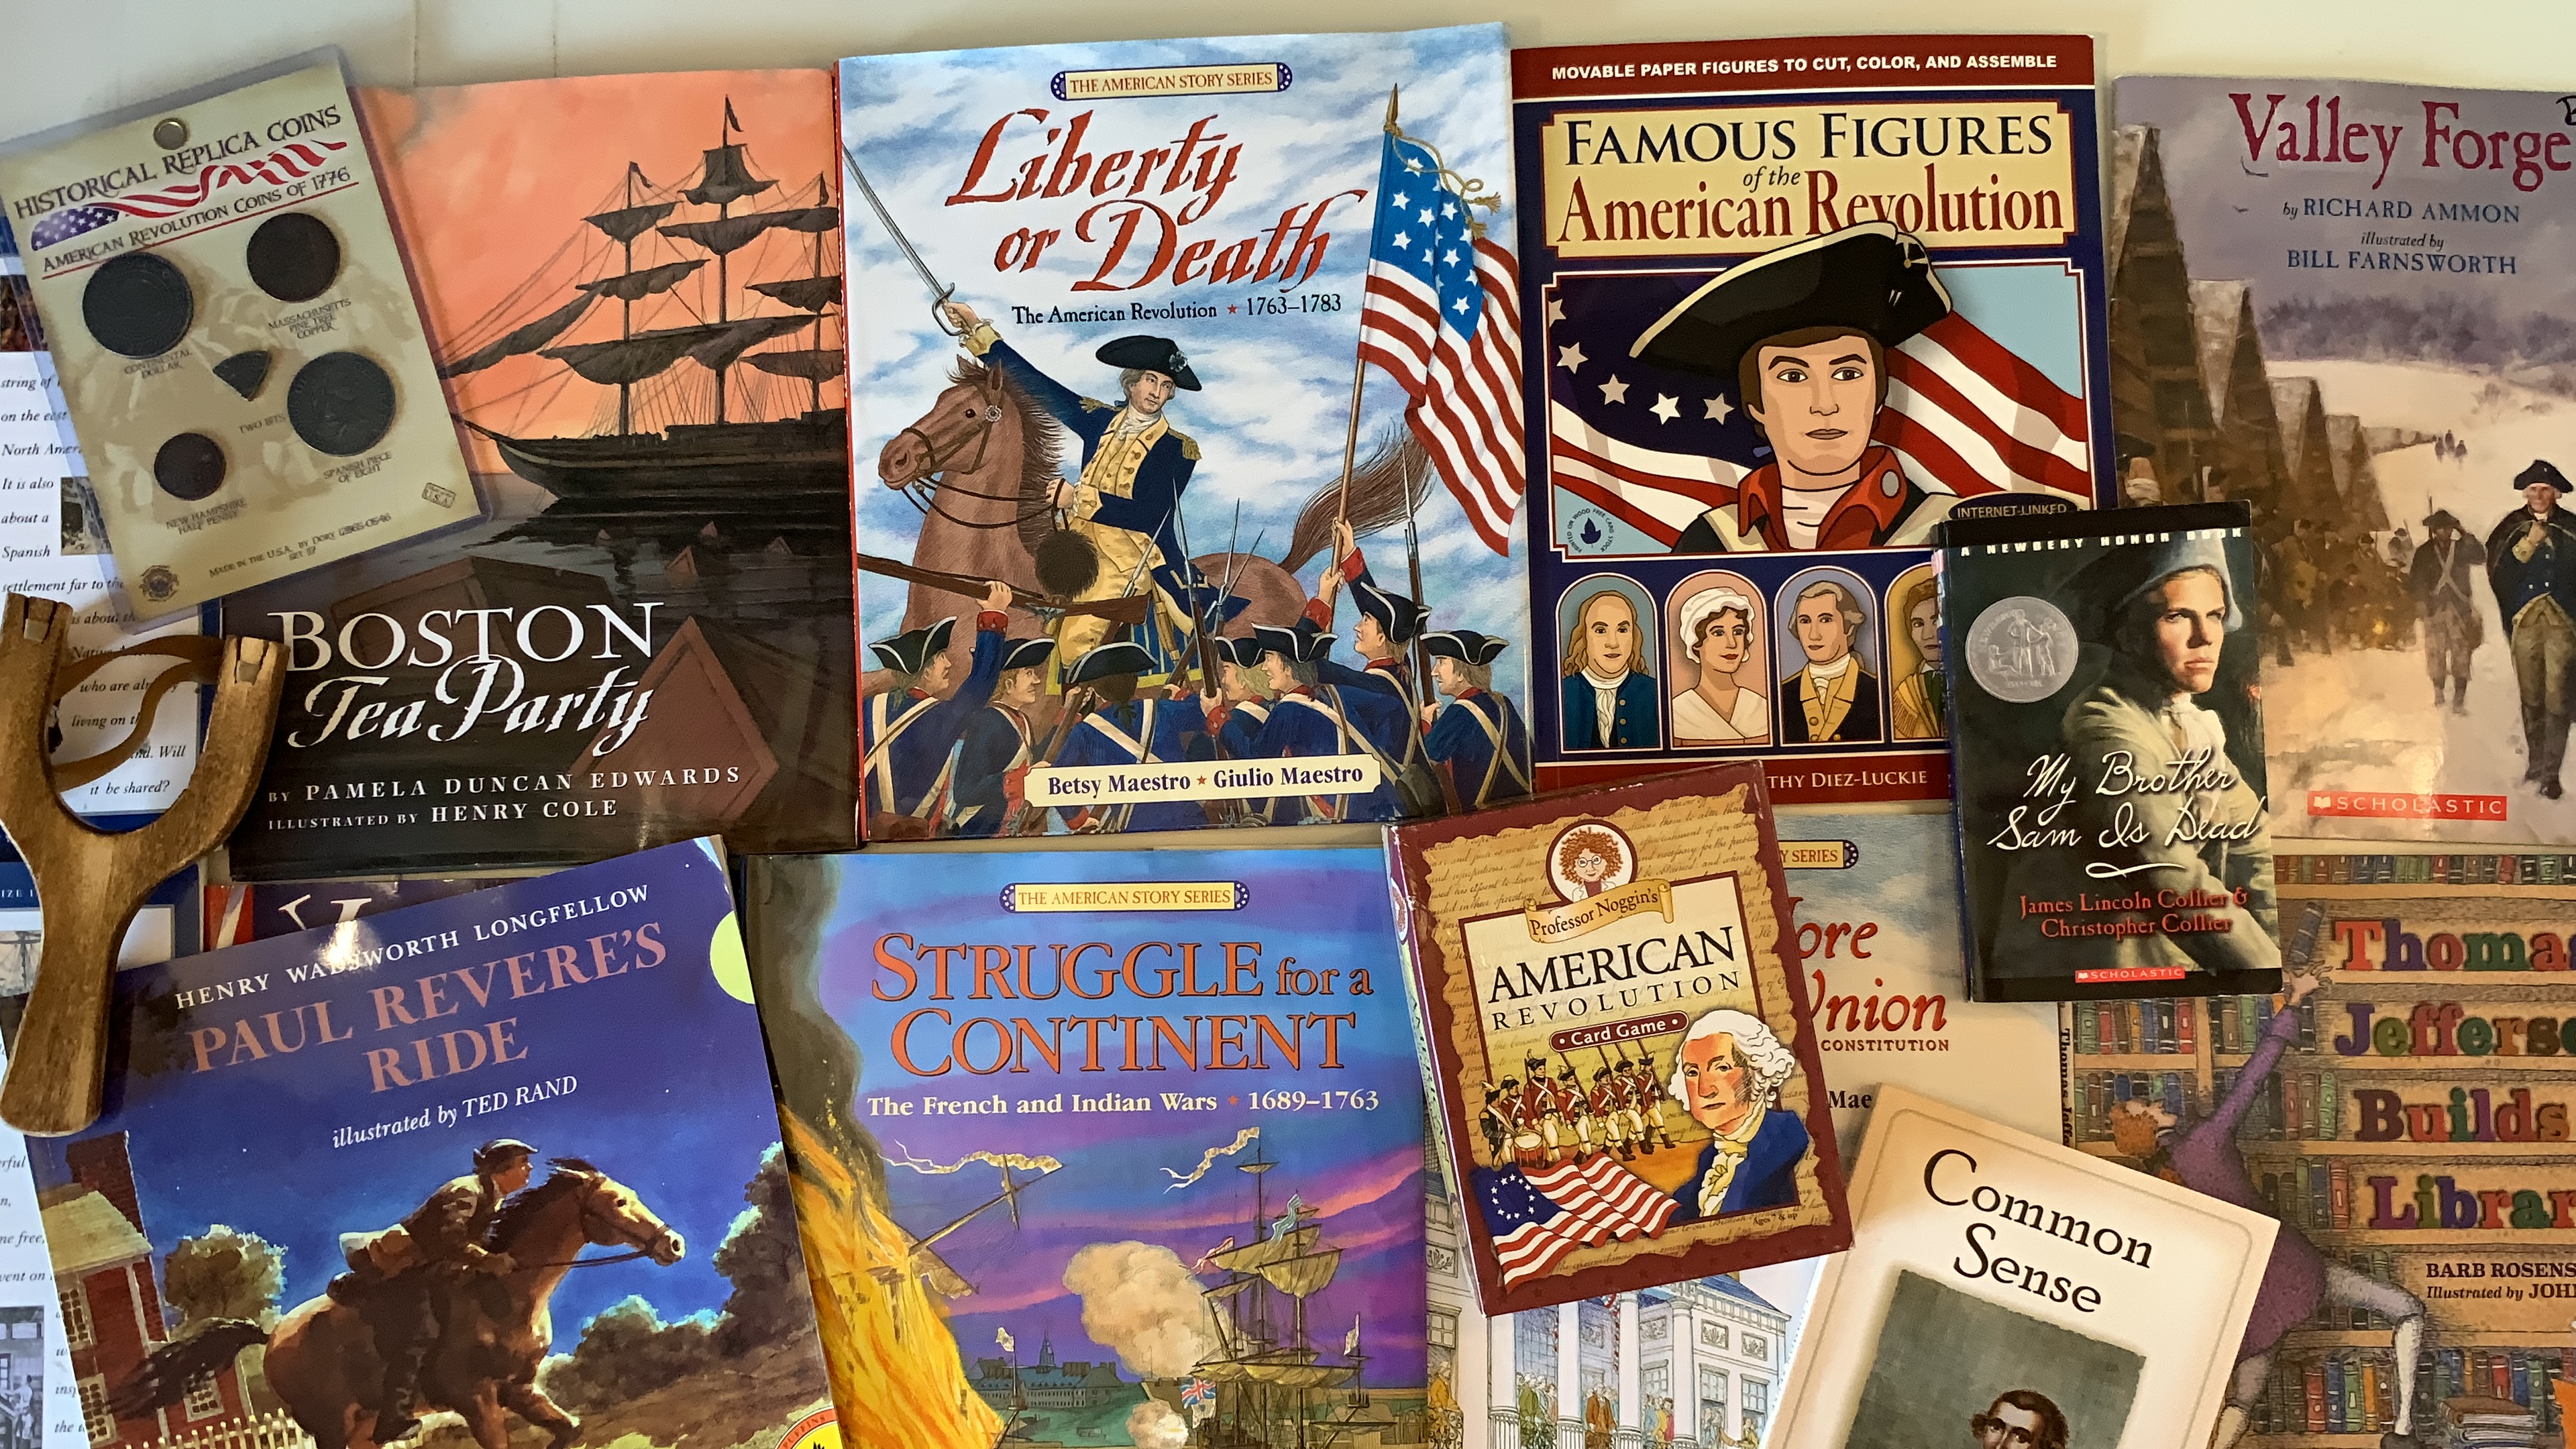
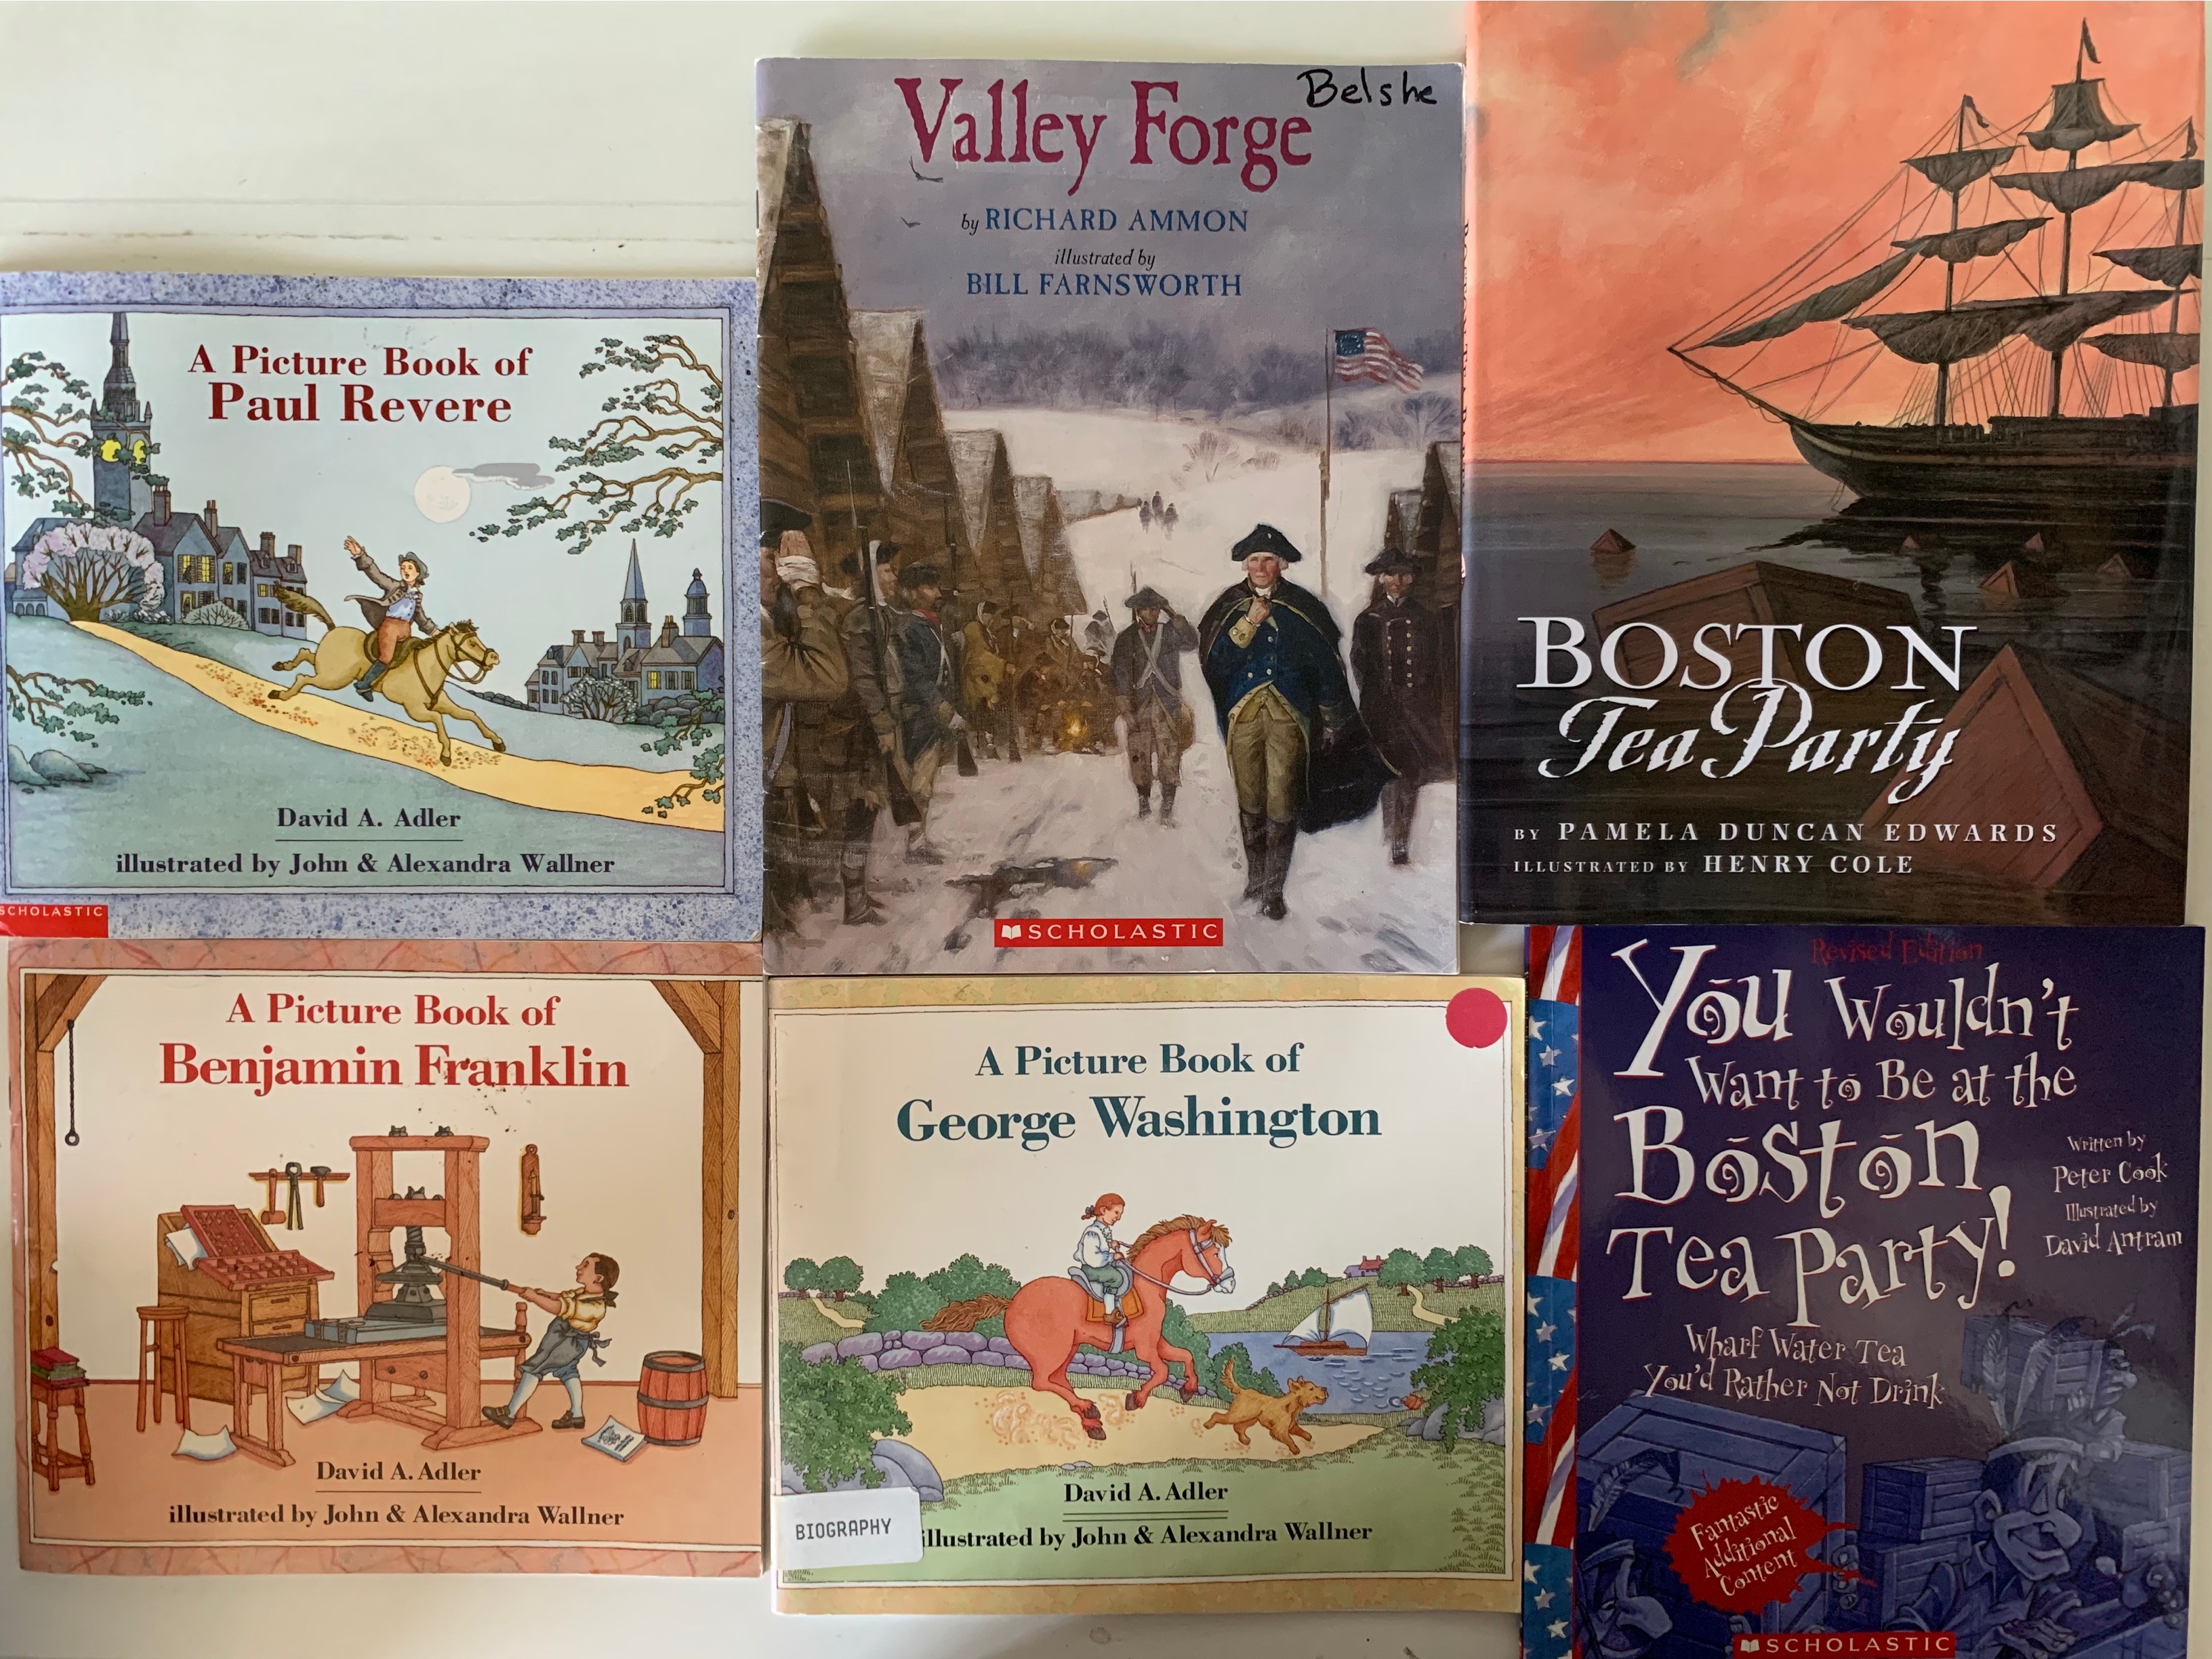
For a list of the materials we used for our various US History units, you can check out this blog post which lists all the books and resources as well as approximate ages and grades for each resource. I share a few thoughts on each resource as well.
This unit was a special request from my 13-year-old son in the fall of 2019. We had only recently completed a more extensive US History unit in 2016 which included several pockets of American history. We completed these smaller units, but didn’t get through all of them the first time in 2016. While we usually do our history units in the winter when we do a lot more reading, we chose to do several mini units at the start of the school year. This took quite a bit of planning and a lot of staying on task to complete the work we set out to do. In addition to some nature science units (Whales and Sea Turtles), we completed 3-4 history units in just 5 weeks! Usually our history units last twice as long for one unit! But I’m actually really pleased with the outcome and wonder if these smaller more intense units are the way to go.
For our small American Revolution unit study which span only about 20 years of US history, we read some read alouds together, I assigned some reading material to my son and we scheduled just a couple big projects that actually took longer than the unit. But that’s okay. My son ended up working on his knitted sock, hat and weaving project throughout all the fall units.

Famous Figures of the American Revolution | Paper Dolls
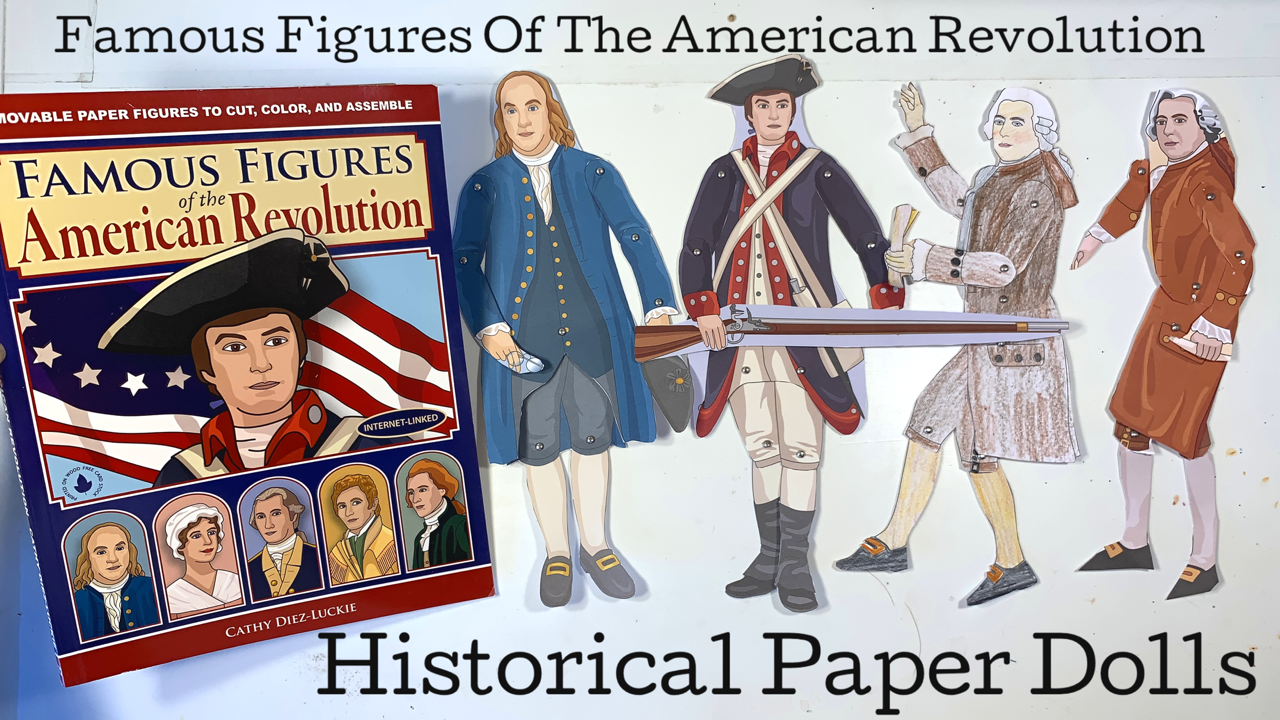
The book Famous Figures of the American Revolution is a paper doll activity book. What I love about this book and others in the series is that you get two identical dolls for each figure. One that’s completely colored in and one that’s completely blank. Both need to be cut out and assembled but what I like about the choice is that if a student would rather to not color in the figures, she may still participate in the project and glean much from the content provided about each figure. That content can be found at the start of the book in nicely laid out blocks with the name of the person, his or her profile and a brief history. If your student chooses to color in the figures, having a pre colored one is helpful to have something to copy.
While our unit was primarily for my 13-year-son, my 8-year-old daughter participated in whatever capacity she chose. So while she did not have a main lesson book or was required to produce any written work, she did listen in on our lessons and do the projects that appealed to her. This was her favorite!
We had this book for our Middle Ages unit and she devoured the book! She made the majority of them and then spent days playing with them. We’ve since purchased as many of these as we can as she just can’t get enough of this project. She loves assembling both the pre made ones as well as the ones she colors in, but the best is watching her play. She frequently asks me to tell her the name of the figure (which is conveniently printed on the back and to tell her something about the person.
As a learning tool, I think these are fabulous! I highly recommend them though I can’t vouch for the content. I have not read through each profile to share my thoughts.
You will need some tools and materials for this project: paper piercer (a sharp large safety pin will do), small brads (we used some from our scrapbooking supplies), scissors, a mat or spongy packing styrofoam to place under your work when piercing it, and some colored pencils.


Discovering US Archaeological Relics
Dig Discover and Display kits come in all varieties. I mistaken called this one Indian Relics, when in fact it’s Archaeology USA. We have been using these kits for years in our homeschool and my children enjoy them immensely. We have used them for many of our history kits and again this time we are using them for our American history units which this fall included Colonial Times, American Revolution and the Lewis and Clark expedition. While these kits may be hard to find now, you can make your own! With a large silicone mold, some plaster of Paris and some artifacts (Indian arrowhead or reproductions), you can create your own exciting archaeological dig!


Find me on YouTube, Twitter, Instagram and Facebook
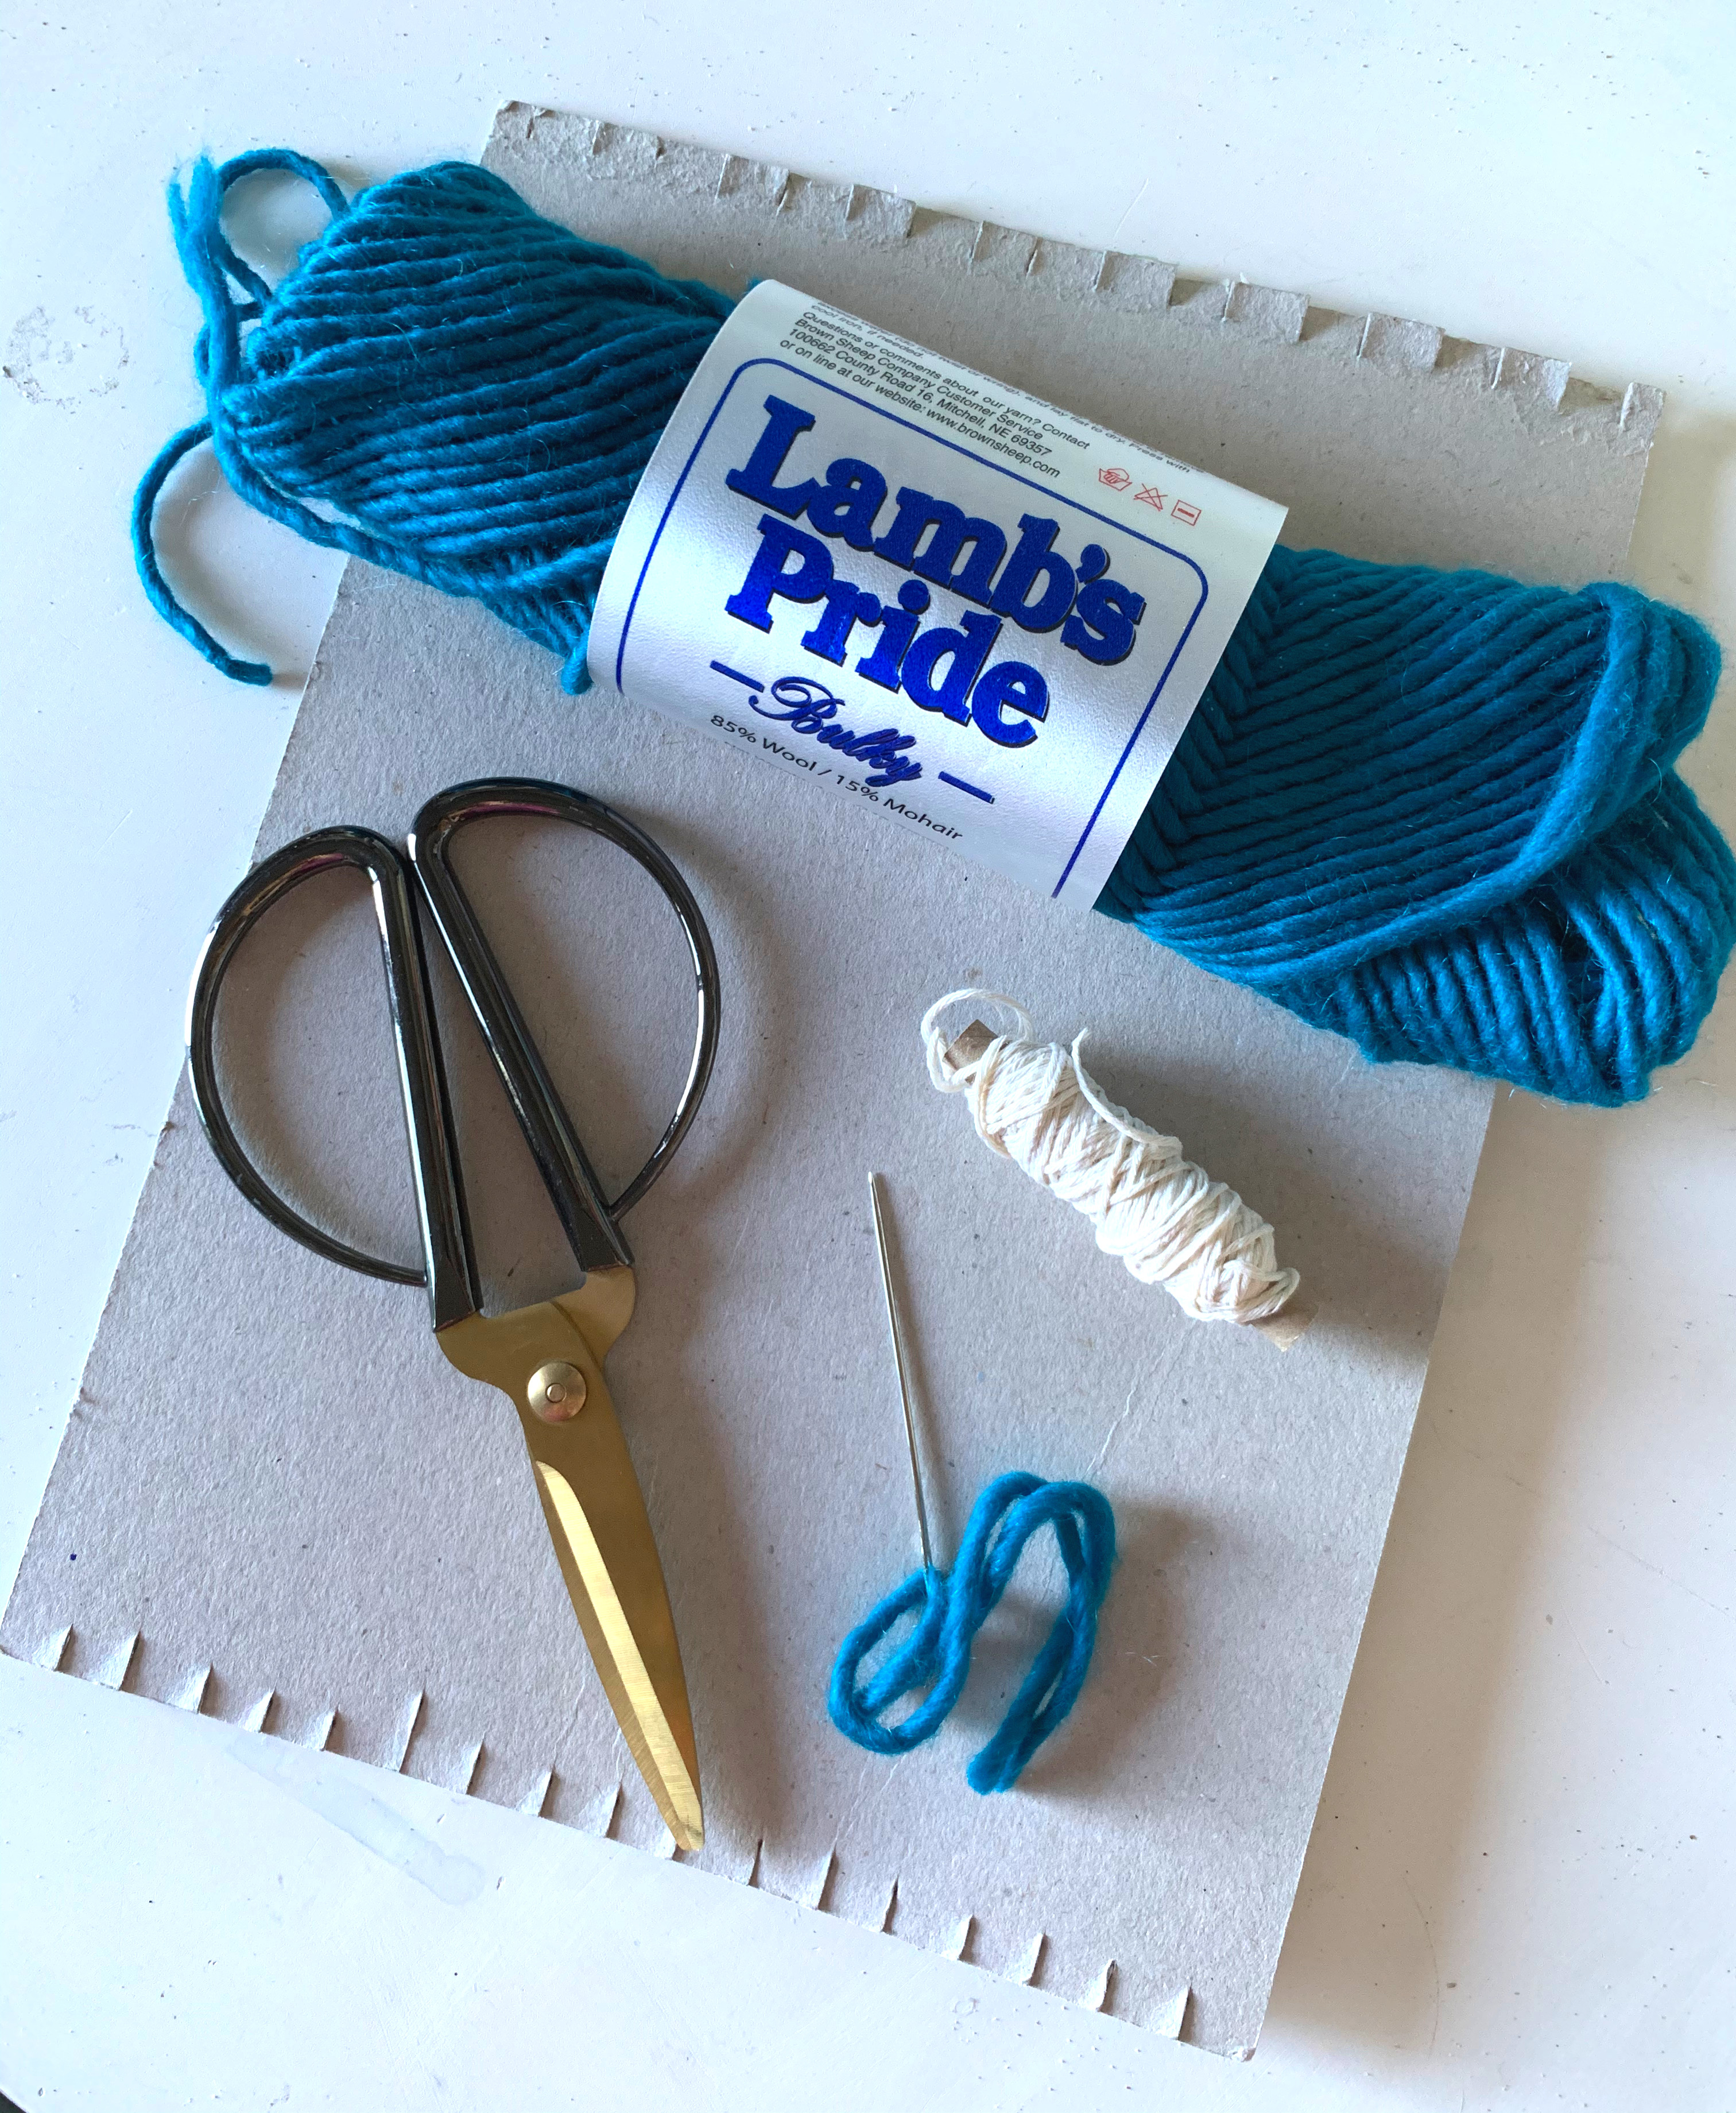
Weaving a Satchel with a DIY Loom
Weaving is one of those projects you need to dedicate yourself to. It takes time, perseverance and mindfulness. Weaving engages your mind and hands, and unlike knitting for instances, you can’t easily take your eyes off your project. Weaving in found in the Waldorf curriculum starting at grade 3. It complements the the block on shelter, farming and clothing. With a bit of effort, you can actually weave fabric and potentially make your own rudimentary clothes!
In this project, however, we are weaving a bag. With a bit more effort, you can optimize your weaving time and create a bag rather than a solid piece of fabric.
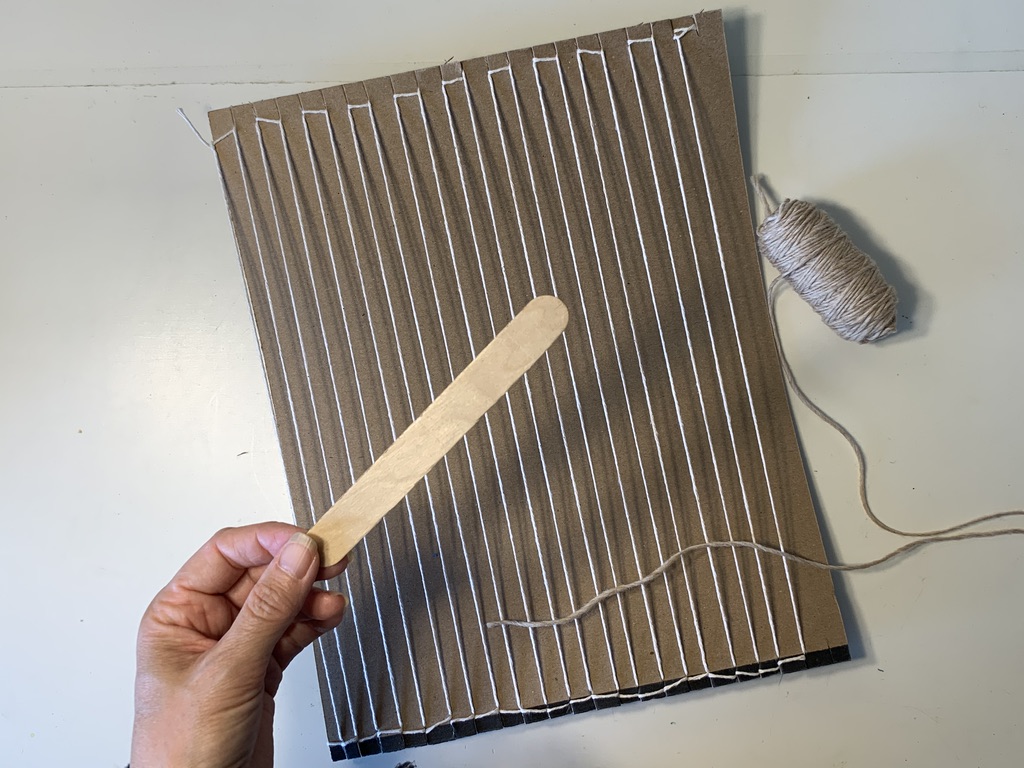
For this project, we are making our own DIY loom out of heavy cardboard or chipboard. I’m using chipboard from the backing of a watercolor paper pad. It’s thick and difficult to bend which is just what we want. The piece I’m using is 9″x12″. Along the top and bottom (9 inch side), I’m marking 1/2 inch increments. You can make your increments smaller for a tighter weave or larger for a looser weave. One thing to make sure of though, is that your last increment is as close to the edge of the chipboard as possible. If not, trim the chipboard because otherwise in the end, you’ll end up with a large bit of unwoven yarn on either end of the project. It doesn’t affect the project, but it’ll be noticeable. If you look closely, you can see if in the correct project with teal colored bulky weight yarn. Make sure you have an odd number of increments/strings otherwise you won’t have the opportunity to go over/under in an alternating pattern to create a proper weave. Once your increments are set, it’s time to string up your loom. In this case, I made a mistake.
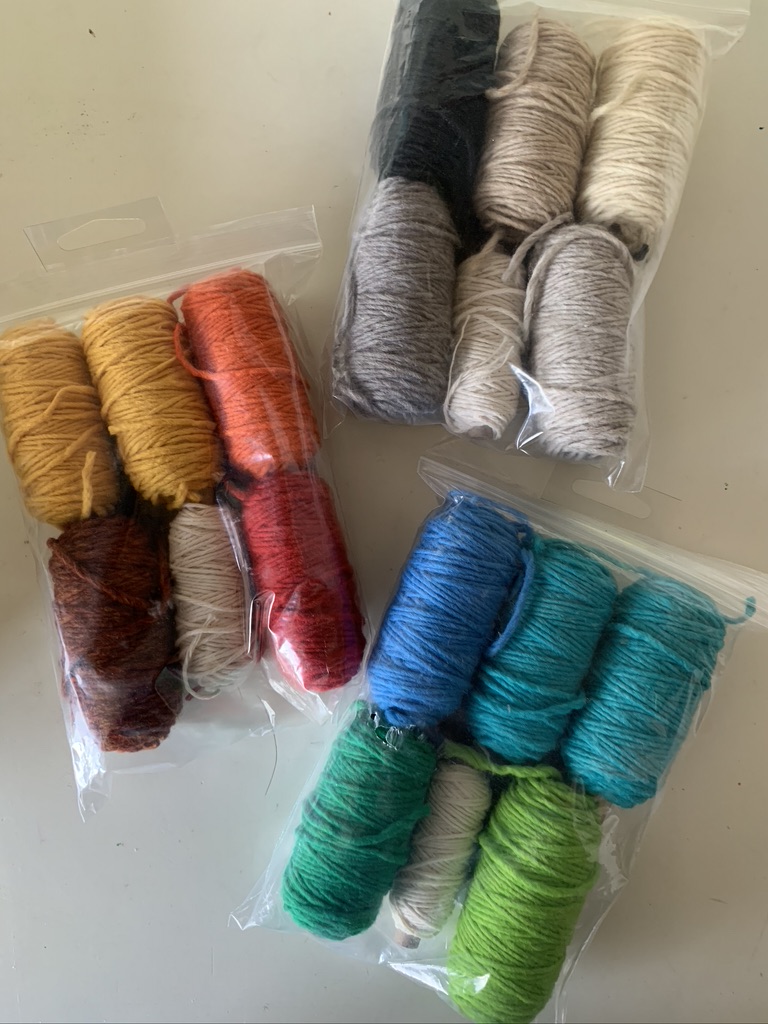
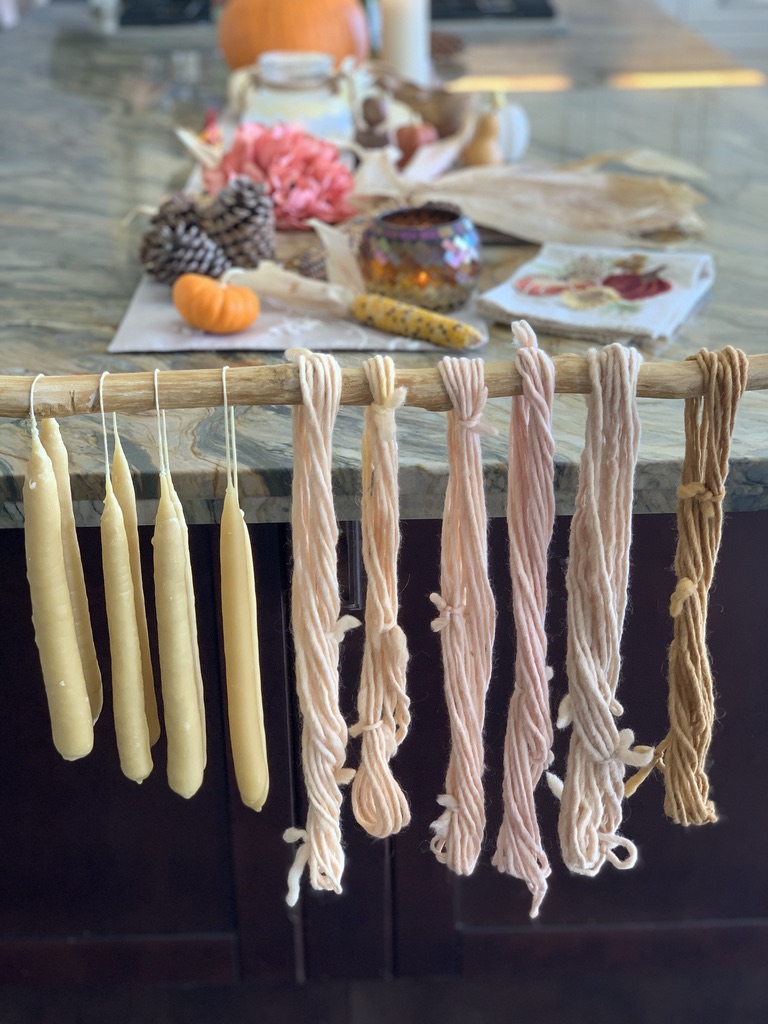
I’ve shown you my mistake in the video and how I remedied the problem, but I also show you the correct way to do it. When weaving a bag, you want an opening! Do do this you need to string your loom so that the string goes around alternating tabs and comes down the same side before circling back up the other side in which you just string it up without wrapping it along the tab. This is very confusing at first! It took me a lot of practice and there are still times I do it wrong. Truthfully, there are a few ways to do this, and I’ve now done this about 4 different ways depending on the projects and sadly, one time, it was very wrong and this is the time you get to see! In the end, we found an alternative way to fix our mistake, and while it’s not perfect, it works. I debated showing you the mistake, but in the end, with your suggestions, I showed the mistake in a way I hope isn’t confusing to the tutorial. I’m pleased with finding a solution to our problem even though it took so much time to fix. In the end, you can hardly tell and it salvaged weeks of work. Imagine starting over!! We used yarn from Harrisville Designs as well as some home dyed yarn using natural materials like onions skins and tea. The yarn dyeing and weaving accompany our American History units by adding in Waldorf inspired handwork. I love having the opportunity to tailor our lessons to appeal to my child’s interests and still work within the Waldorf Education philosophy. We initially used some tools that came in the Harrisville Designs Loom Kit, but ultimately, this was completely DIY.
My 8-year-old daughter worked on the Harrisville Design loom to make her project, while my 13-year-old son worked on the DIY loom to make a bag using a ruler to separate the string and a popsicle stick as a shuttle. This project is fast at first and you can complete 90% of it fairly quickly. The last part is challenging because the space is so tight. I helped with that part using a knitting needle with a sharp point and a wide eye to fight the yarn. I also helped make the twizzle with my son (which is the handle) and sewed it in for him, though these are things he’s capable of doing at his age. He chose the pattern which was just an alternating of colors starting with wider bands at the bottom and tighter bands at the top. To keep in line with Waldorf philosophy, you’ll want to be mindful to use darker colors at the bottom and lighter at the top where it opens. Also if there is an embroidery design on top of the weaving, you’ll want to ensure that the bottom of the design is closed and the top open. In our case, I feel that the tighter bands would have been more appropriate at the bottom versus the top. Something to consider when you are embarking on your project!
American Revolution | Unit Study Review | Living Books
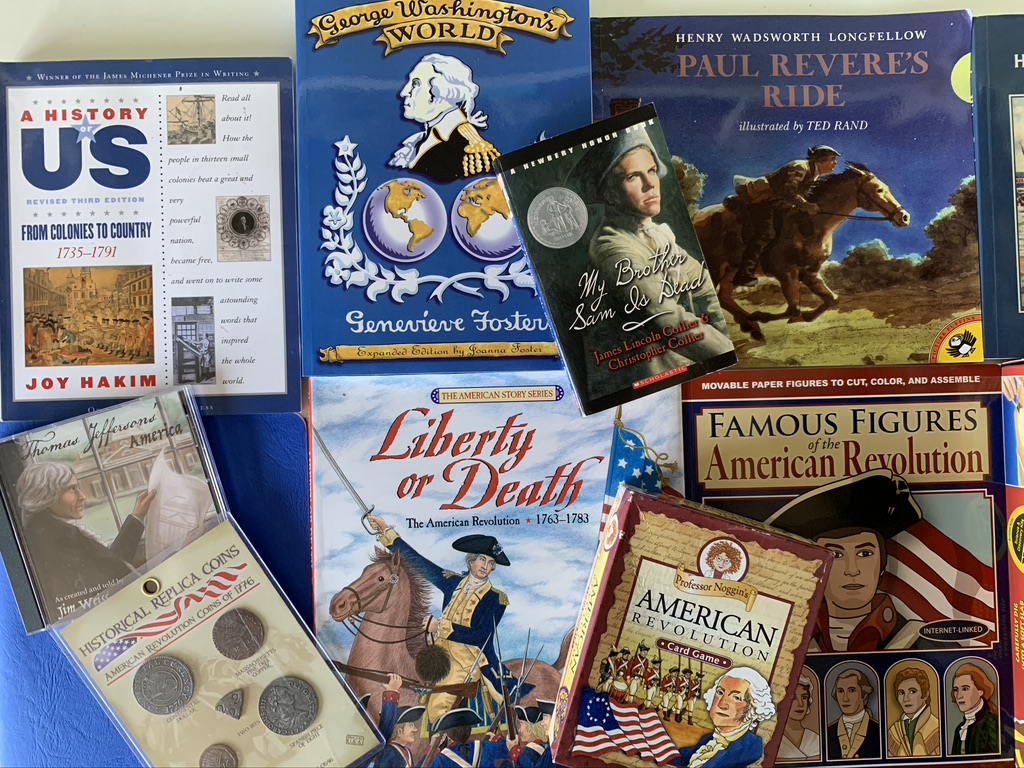
At the close of a unit, I reflect on the materials we used and share with you what worked, what didn’t work and what we didn’t get to. I often over plan my units and main lesson blocks, and often I am choosing material we’ve never used before. For those reasons, I find it very important that I share with you how our unit went and how we lived the materials we used so you can best choose for yourself the materials you wish to include in your homeschool.
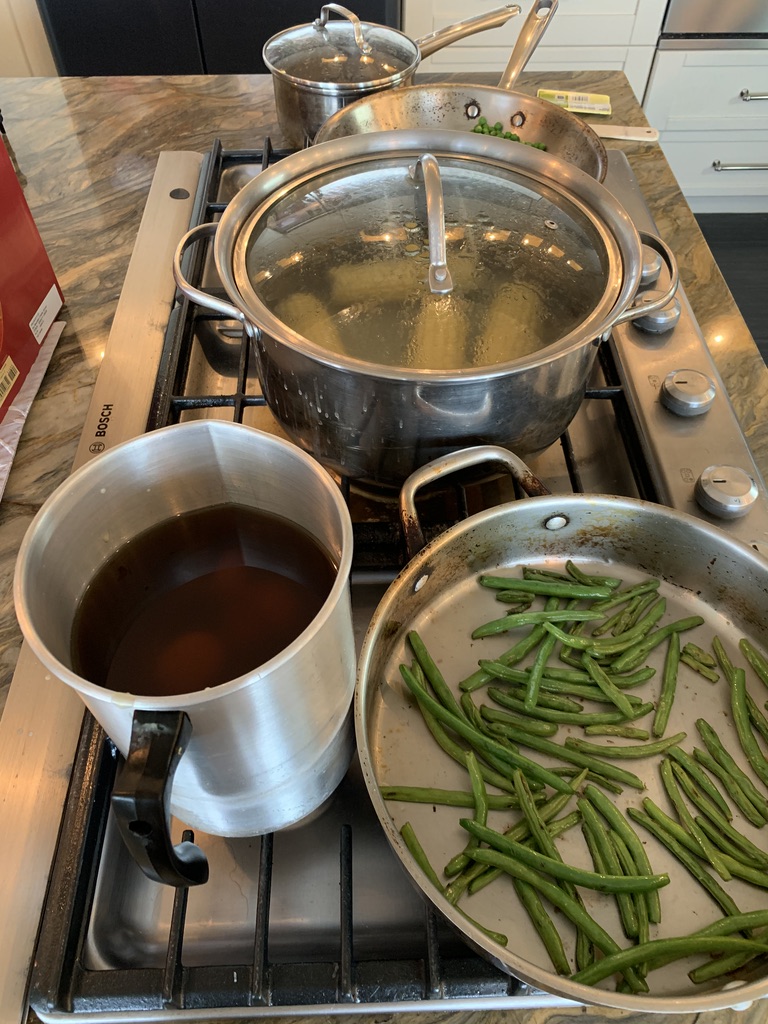
As this unit was a mini unit that accompanied a Colonial Times unit and a Western Movement unit, some of the projects and activities overlapped between the three units and in total these units took about a month. There are a few activities that I didn’t include as videos because we have done the projects before and video tutorials are already on my channel, or I didn’t record the process as with our Colonial Feast and wool yarn dyeing. While I do want to share those projects/activities in a video, most likely it won’t be for a while, but know that they were two things that were new for this unit that we enjoyed, though not as richly as I hoped.
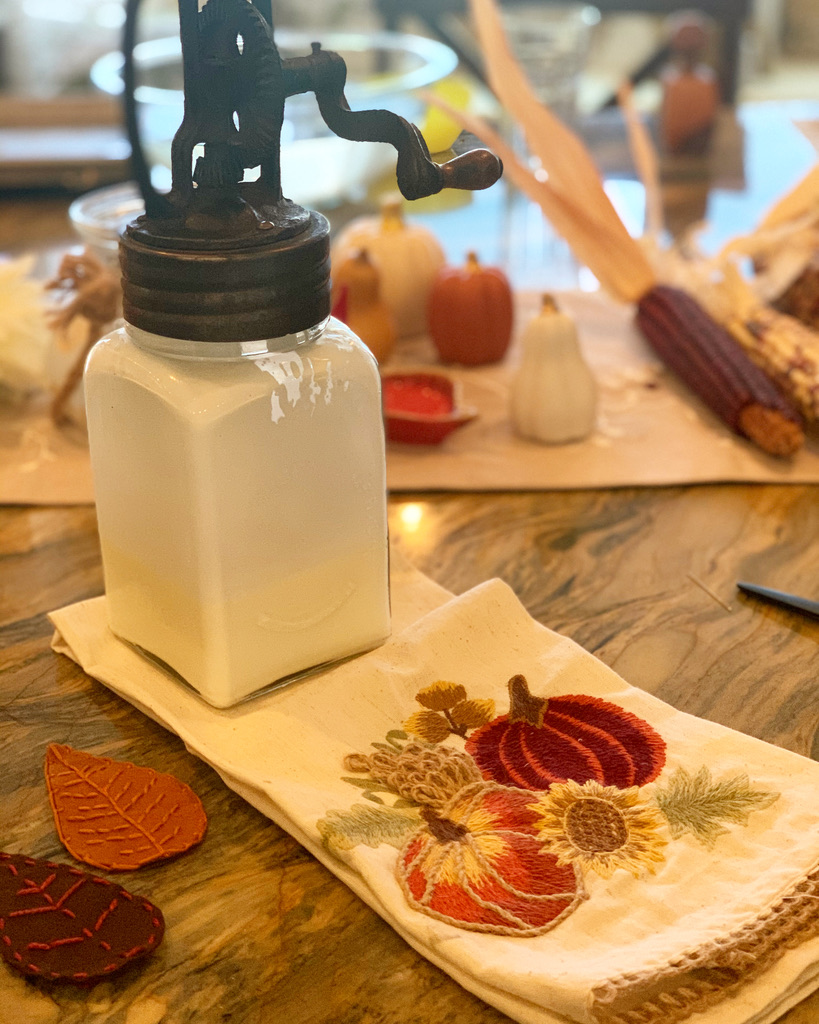
Our Colonial Feast was planned so well but flopped for emotional reasons. Our handwork projects, though hits in the past, were duds this time and our yarn dyeing, while beautiful, took more work than expected and the results were moderately thrilling. Because some of these activities can be repurposed in other units, I fully intend to do yarn and fabric dyeing again for our other history units.

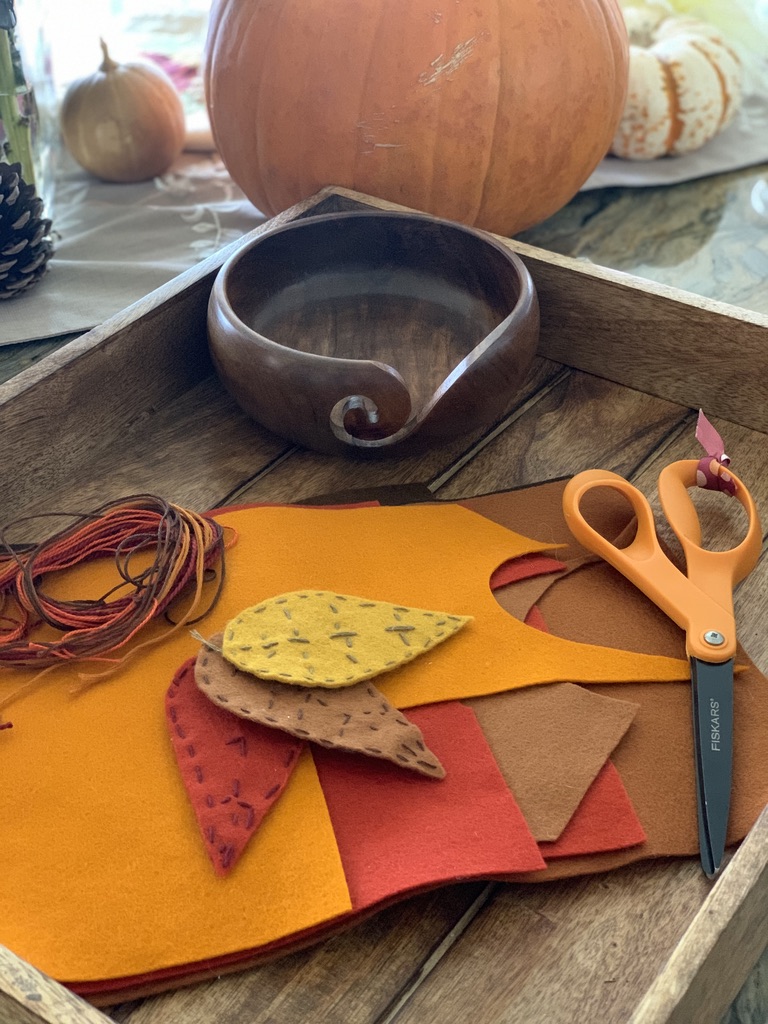
Handmade Quill
We picked up these chicken feathers from Five Marys Farms while attending the Wild + Free conference in southern California. I try a couple different ways to make a quill. Using a pair of scissors turns out the best. They are surprisingly easy to use, but it does take some time to to get used to the idea that you have to dip your quill in ink or you’ll run out of ink!
My nine-year-old son drilled a hole into a avocado tree round wood block to make a holder for his quill. He tried to drill it straight down, but ended up with an angled hole which means his quill is droops to the side.
We found it easier to write on homemade paper because it was more absorbent and didn’t scratch the surface of the paper leaving little ink like it does on smooth paper.
This project is great on its own or as part of our American Revolution history unit.