The Ancient Civilizations are taught in Waldorf schools in grade 5 when children are 10-12 years old. The ancient cultures are taught uniquely in a Waldorf setting as the main aspects of the lessons are concentrated on the beliefs of the people, their spiritual beliefs, their creation stories, and their divinely guides teachers on the earth plane. While I tend to add other books and resources to our main lesson blocks, these additional resources may take away from the approach or may add needed background information for the teacher or student to give context to the lessons. One addition I deeply believe is an enhancement is the addition of preparing food from the culture of study. While I only feature one cookbook in this blog post (gifted by my late mother-in-law), I do feature several family recipes from my sister-in-law and mother-in-law as well as friends. My children are half Indian so they are exposed to the culture often.
When putting together a history unit, I look for a certain variety of books: historical fiction, religious/spiritual, historical, geographical, cookbooks, picture books, craft books and more. For this unit, I didn’t source material as thoroughly as I typically do, so there are no historical fictions, limited picture books, and only a couple historical books. The historical books are the ones that give a general history, time lines, rulers, geography and culture. These books tend to be a bit dry compared to a picture book or historical fiction, but they do add the needed context for the lesson and even if the student isn’t reading them, I recommend that you (the teacher) read them if possible.
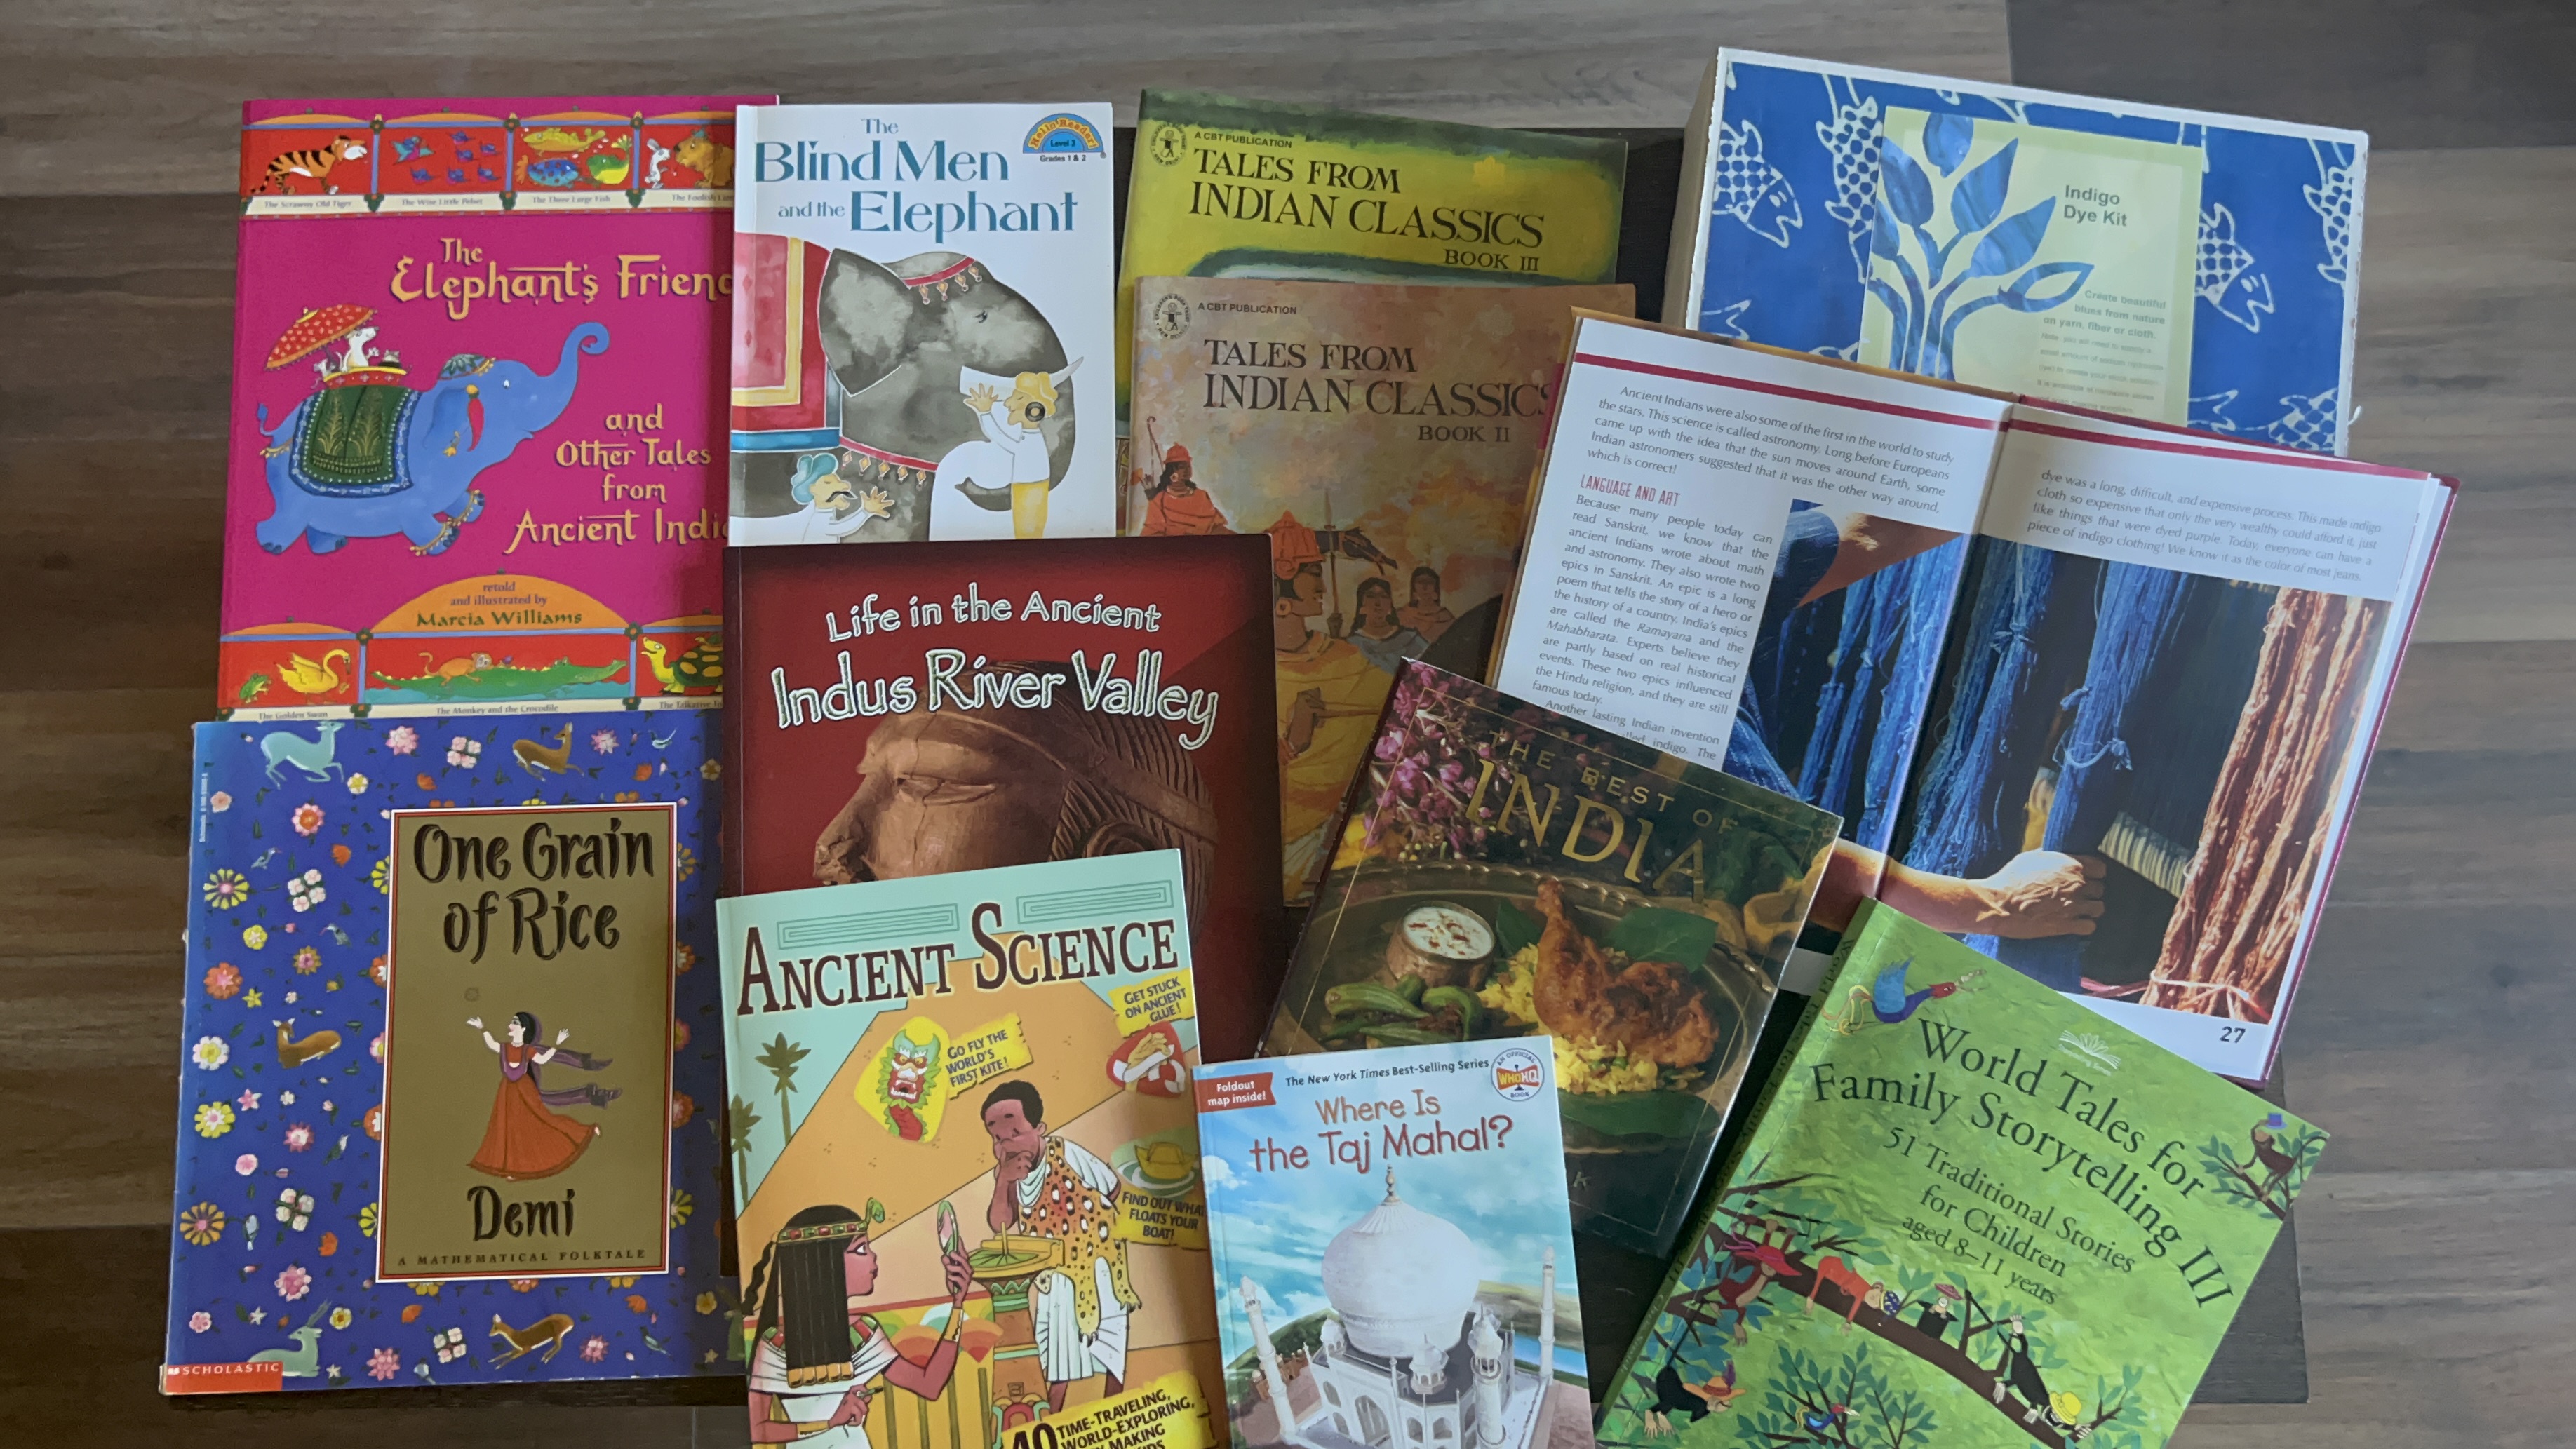
Books & Resources
Ancient India, by Live Education, Waldorf curriculum
Main lesson books from A Child’s Dream measures 9” x 12”
Sergeant art square chalk pastels
The best of India A cookbook by Balraj Khanna
Where is the Taj Mahal by Dorothy and Thomas Hoobler
The Blind Men and the Elephant retold by Karen Beckstein, illustrated by Annie Mitra
A CBT publication Tales from Ancient India classics book 2 retold by Savitri and illustrated by Pulak Biswas
A CBT publication Tales from Indian Classics book 3 retold by Savitri and illustrated Sukumar Chatterjee
Life in the Ancient Indus River Valley, by Hazel Richardson Crabtree publishing company
And One Grain of Rice, by Demi, a mathematical folktale
The Elephant’s Friend and Other Tales from Ancient India, retold and illustrated by Marcia Williams
Exploring Ancient Civilizations India, written by Marilyn G. Barr
World Tales for Family Storytelling, volume 3
51 traditional stories for children, aged 8 to 11 years by Chris Smith
Ancient science, by Jim Wiese
India Revealed Unearthing Ancient Civilizations by Donna Reynolds
Main Lesson Book

We completed our work in main lesson books. Instead of chalk drawings on a chalkboard, I choose to work alongside my daughter and create a main lesson book with her. We drew together using our chalk pastels, she in her book copying mine in my book. We also both did written narrations. Usually I wouldn’t write narrations with my student unless it was something for them to copy or to write dictation, but she wanted me to write narrations with her, so I did. On occasion she would copy work from me or the main lesson book by Live Education, but mainly she wrote her own daily narrations.
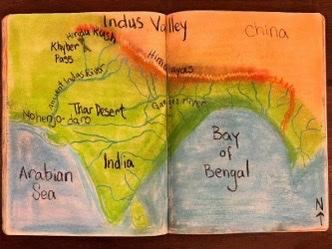
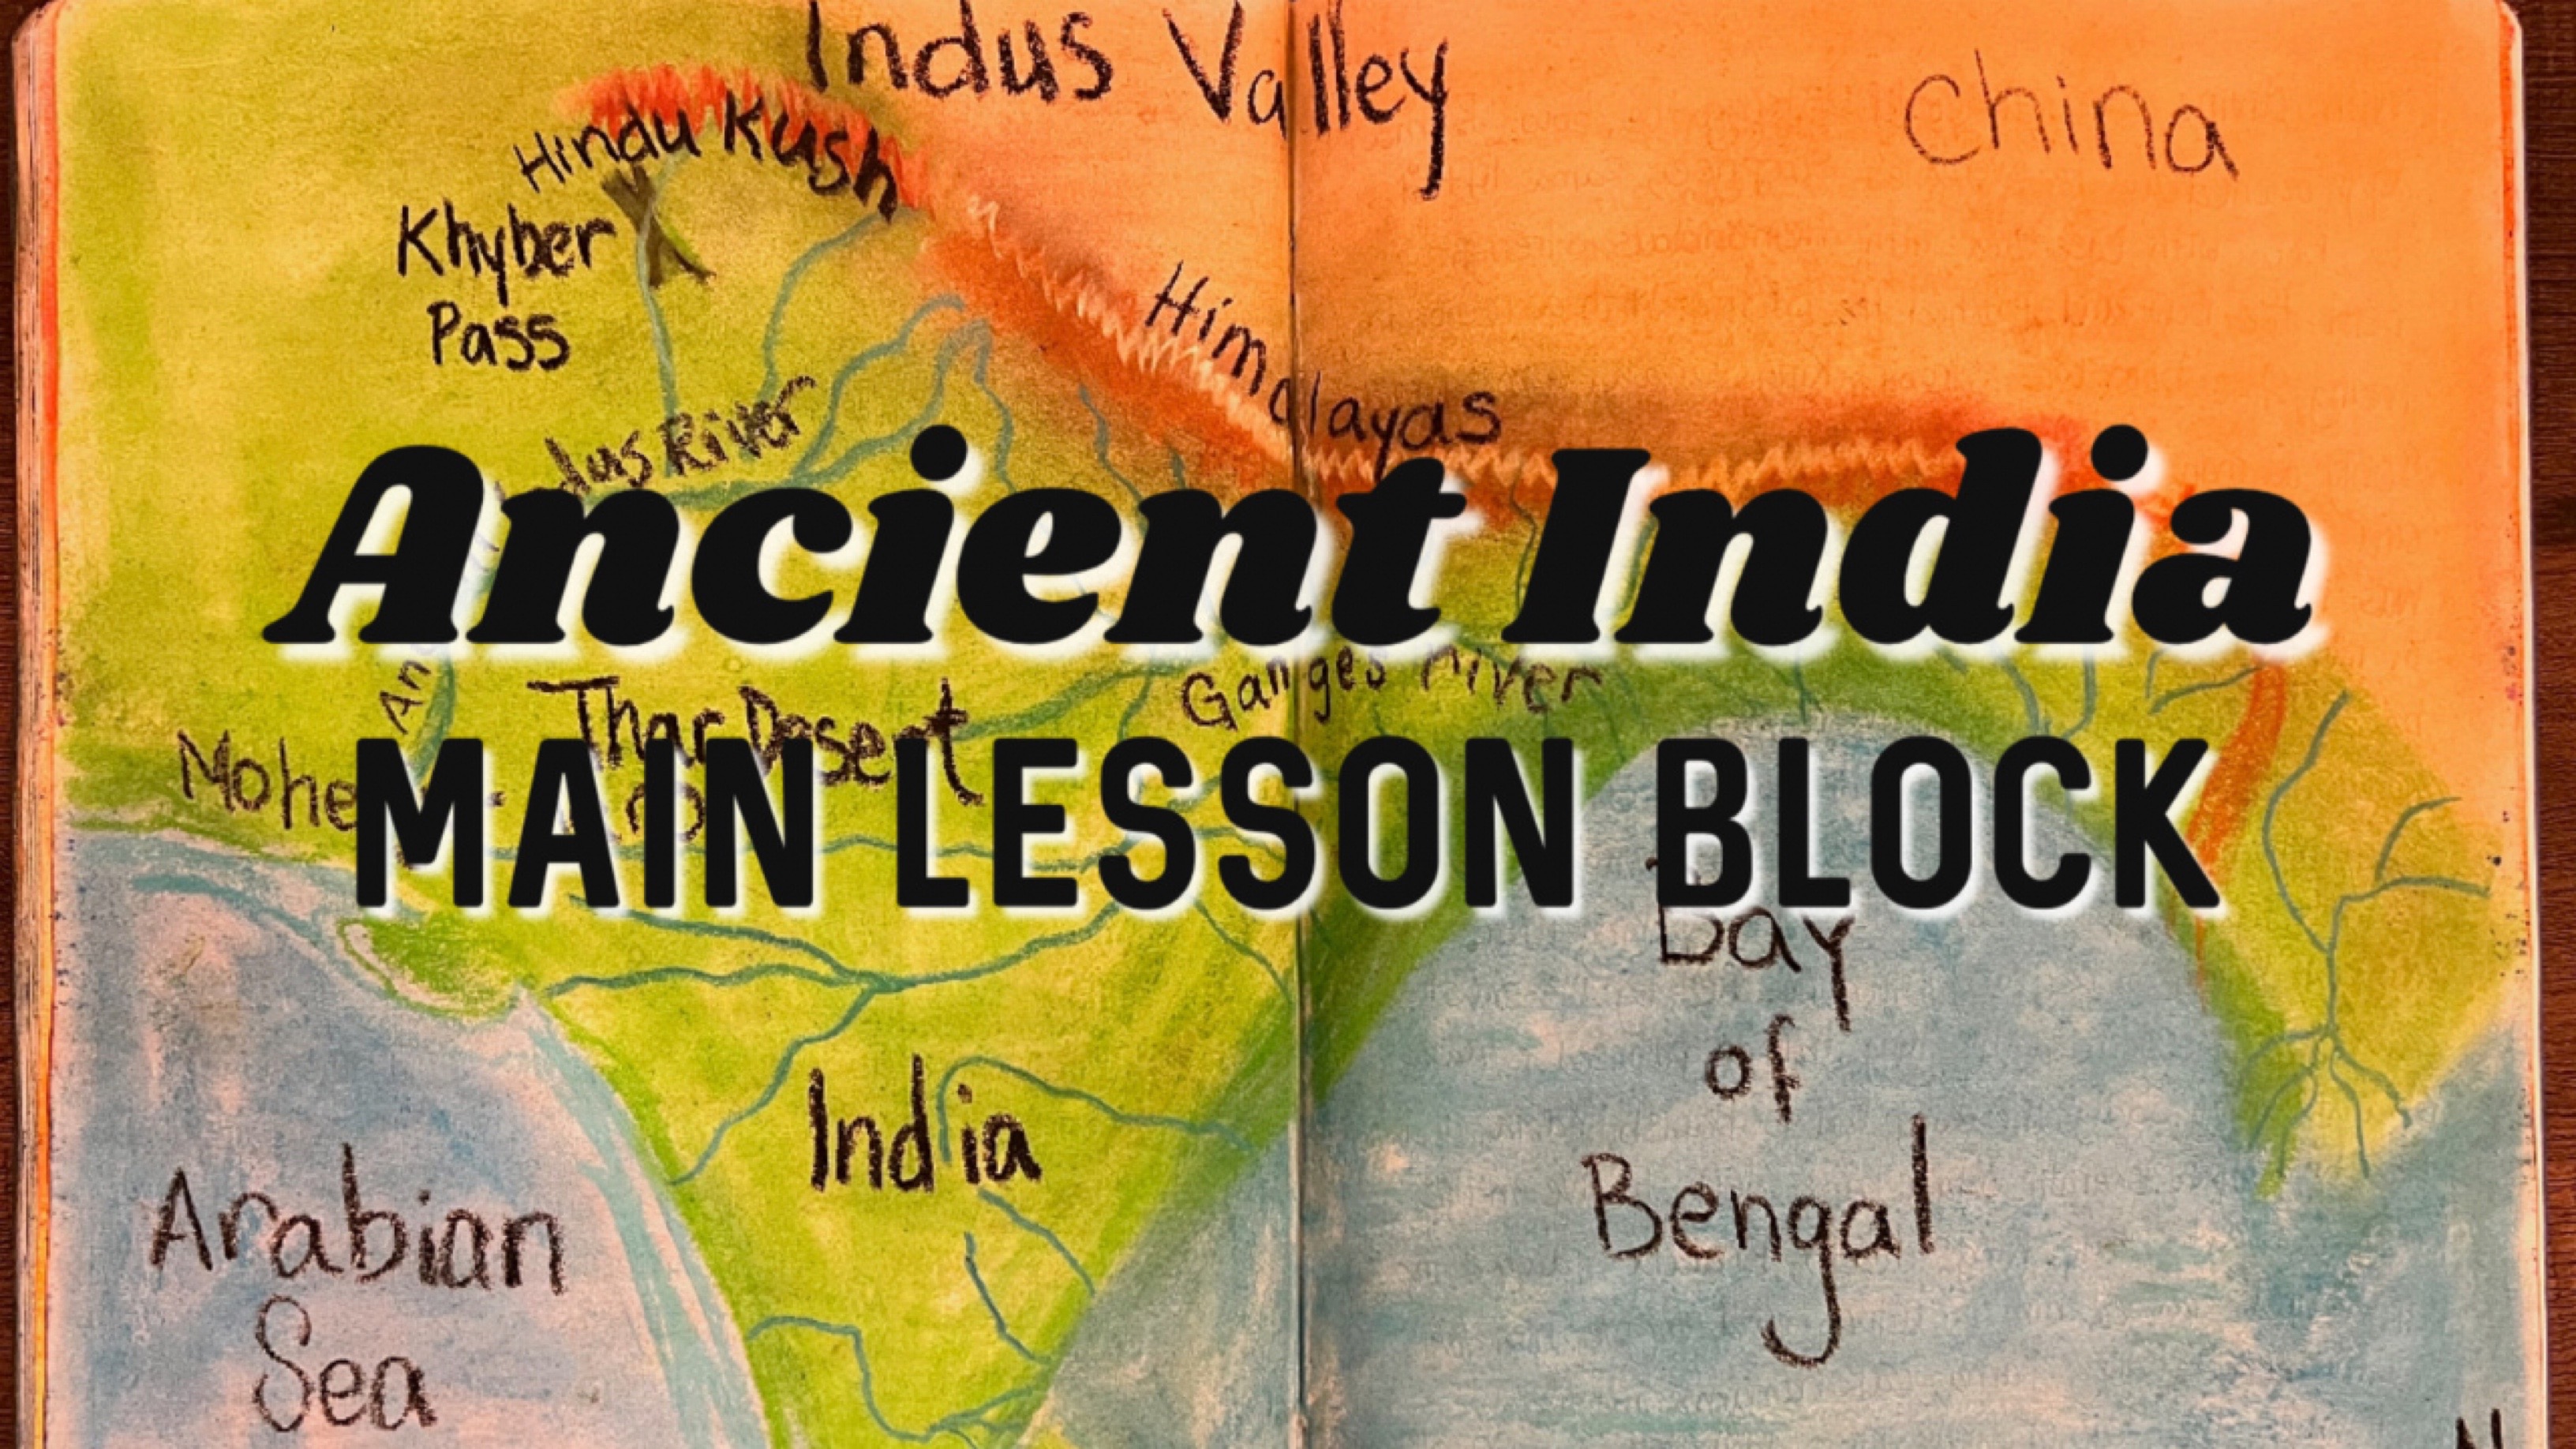
Typically map drawing is saved for older students, but I chose to add a map in the main lesson book in part because my daughter is older (12 years) than a typical student working through these main lesson blocks and because I found it necessary for me to orient myself with the location when discussing lessons and in preparation for the next unit that follows: Ancient Persia
To The Kitchen!
Chai: I’ve been both praised and cursed for my tea. Praised because it always tastes so good, cursed because it’s so strong that my tea drinkers are usually up until the wee hours of the morning, tossing and turning because they can’t sleep. So with caution and fair warning, here’s my tea recipe (which is a combination of tea recipes from my sister in law and a couple of close friends): 2-4 cups of water 5-8 peppercorns 2-3 crushed green cardamom 3-6 cloves 1 cinnamon stick or a generous sprinkle of cinnamon powder 2 teaspoons of loose black tea 2 tablespoons of brown sugar or more or less of your desired sweetener 3 tablespoons of heavy cream or similar creamer Add all spices (not tea, sugar or cream) to a pot of water. Bring to a boil. Cover and let simmer for as long as you’d like (sometimes I give it 5 minutes, other times, I put it on the lowest flame and leave it for 30 minutes or more while I do something else). Add tea and cover. Remove from heat and let it steep for 3-5 minutes. Next, add cream and sugar and bring back up to a boil. Reduce heat and let it simmer for a couple minutes. Using a strainer, pour into a cup and enjoy! You can get creative with your chai! Some people like a bit of fresh ginger as well. You can also make this tea with tea bags. In my experience, you need more tea bags than typical to get the desired strength and color. What additions do you like? Share in the comments!
If you’ve never tried fruit salad with spices, I encourage you to try this. You fruit will get a kick out of it, and so will you! You’ll impress your taste buds with cayenne, salt and pepper mixed with sugar and the sweetness of seasonal fruit and fresh juice. The recipe is on my website at the blog post that accompanies this video.
The first time I tried this salad, I was hooked! That was back in 2003. My sister-in-law made this salad, and I couldn’t get enough of it. I ate everyday for days. While I do like fruit, I don’t seem to eat a lot of it, so spicy, flavorful fruit salad like this certainly helps me get my five servings of fruits and veggies. What’s more, is that it’s hydrating. I’ve found that fruit chaat is especially good during Ramadan or anytime of year in which you are fasting. Either to start or break your fast, this Indian inspired fruit salad will keep you hydrated longer than just drinking water, at least, that’s what I’ve experienced. There are so many varieties of this beloved Ramadan iftar recipe. I hope you find a combination you love as much as I love this one.
There are some dishes I tend to make just during Ramadan. This is one of them. It’s an Indian inspired recipe was shared with my by my sister-in-law who knows how to make good food, fast! I even have a secret shortcut to this recipe that you can find on the blog post that accompanies this video tutorial. Cholay is a garbanzo bean side dish that can be served hot or cold and has several varieties. Today’s is a cold version that can be stored in the fridge for hours or even a day or two and the flavors just get better over time. This version may be better known at Chana Chaat. Either way, it’s a delicious protein rich side dish or a meal in itself.
If you’re in a pinch to make dinner, I recommend learning this recipe! It’s my fast version to making Indian ground beef (keema). It’s usually served with rice, which could take 15 minutes to make, so if you are really short on time, serve it with naan which you can find in the frozen section of many grocery stores. While my mother in law taught me how to make this using fresh ginger and garlic, I find that in a time pinch, using powdered ginger and garlic work just fine. In fact, they work even better if you have a child (or adult) who is picky about their food and doesn’t like the stringy nature of fresh ginger or the bite of garlic. Here’s the super easy recipe: For every pound of ground beef (you can use any fat content), season with: 1 teaspoon garlic powder 1 teaspoon ginger powder 1 teaspoon paprika (optional and not shown in the video) 1/2 teaspoon cayenne 1 teaspoon turmeric 1 1/2 teaspoon of cumin Start by lightly frying a whole medium diced onion. Add beef with seasoning. Cook until nearly done (5 minutes or so), and add fresh chopped cilantro to finishing it off.
I’m may not be a fan of rice by my family is! Being married to an Indian, I quickly learned how to make the perfect basmati rice from my mother-in-law. Thereafter, I sort of stalled in my skills for rice making and for years made simple basmati rice. Then my Iranian friend, Teyebeh, taught me how to make several Persian rices and suddenly I had found a rice a liked! And now with The Silk Road Gourmet by Laura Kelley cookbook, I’m learning to make even more flavorful and robust rices. Ones that could be a meal by themselves. Today’s recipe is inspired by the cookbook The Silk Road Gourmet by Laura Kelley. I say inspired by because I had to make a number of changes to the recipe to suit the ingredients I had on hand to suit our family’s dietary needs. While you can find the complete and unmodified recipe in the cookbook The Silk Road Gourmet on page 79, you can find my version (I made some changes based on the ingredients I had).
Dahi Pulki or Yogurt Tortilla is a family favorite, especially during Ramadan. We like to break fast with fruit chaat and this layered tortilla dish that’s thick with yogurt and fried onions. While this appetizer is a Ramadan family favorite of ours, you could really have it any time of year. It’s simple to make and other than frying the onions, it’s really fast too. Wow your friends and family at your next dinner party with this crowd pleaser. It’s lightly toasted tortillas layered with yogurt, cilantro, jalapeño or serrano peppers, and fried onions. Layer three times and then let it chill or rest for 20 minutes until the tortillas are moistened by the yogurt. You can also prepare this up to one day in advance by storing it in the refrigerator, but I prefer to eat mine fresh. Just know that you don’t have to eat it directly after making it. The only thing difficult about this dish is cutting it! Oh and eating it! It’s a bit messy, but oh so worth it!
So the thing is that I only make these during Ramadan, but really, you can make them any time of year. This year, I didn’t make them once for Ramadan. And now that Ramadan is over, I’m making up for lost time and turning out samosas like it’s nobody’s business. This recipe utilizes leftover ground beef or freshly made with a sprinkling of Indian spices and good old fashioned Mission Tortillas. I’ve tried three different varieties of tortillas and the Mission brand is hands down the best. They are light, airy and soft and fry up really nice and crispy. These have been a family favorite and crowd pleaser for many years now. I have my mother in law to thank for this recipe (and many besides). The ingredients and directions are simple, and if you are only making enough for your family, not too time consuming. I’ve made these in the past for big dinner parties, and that’s quite the commitment. Here’s what you need (for this recipe, but you can cut it down easily): 2 pounds ground beef (I used 15% fat, but I’ve used ground sirloin with only 5% fat) 1-2 teaspoons of the following spices (I recommend starting with 1 teaspoon of each and tasting as you go until you reach the desired flavor). Cayenne, cumin, turmeric, ginger, garlic, salt and paprika You can use a serrano pepper or a jalapeno pepper for added kick and for a rich authentic flavor, you can use fresh ginger and garlic or ginger garlic paste. 1 large onion diced, or two small onions Add hidden veggies in the form of 1 green bell pepper or a zucchini. Dice them small and sauté with the onion. 10 tortillas flour and water oil Directions: Sauté onion in a large flat pan with oil of your choice. Meanwhile, rinse ground beef and break it up so it’s smooth. Use a metal strainer to keep from losing the meat. Drain well. I usually work the meat with a wooden spoon and let is rest in the sink draining while the onions fry. Fry other veggies at this time too. Prepare the spice mix by adding 1 teaspoon of each spice into a small dish. You can add more to taste once the meat starts cooking. Turn the heat up to high and add the meat to the browned onions. Work the meat and add the spices. It takes about 5-10 minutes to cook down. Remove from heat and allow the meat to cool so you can work with it. If there’s too much liquid, continue to cook it until the liquid evaporates. Avoid draining the liquid because the flavor will drain with it. While the meat cools, prepare the tortilla and ‘glue’. Cut the tortillas in half and set aside. In a small bowl add 1 cup of flour and slowly add 1 tablespoon at a time of water until you create a thick paste. If the paste is too runny, it won’t seal the tortillas. Add a thin line of paste along the edge of half the tortilla. Add about 1-2 heaping tablespoons of meat (keema) to the tortilla and fold the tortilla over and seal it shut. Let it rest for a bit to make sure the seal keeps. To a pan add as much oil as needed to fry samosas. Heat to medium heat, but watch it constantly. If it’s too hot, it will burn or brown quickly, but the inside will be cool or not warm enough. If the oil is too cool, it’ won’t fry properly and absorb too much oil. Make sure the samosas are sealed completely before frying. Fry for a minute or so on each side. Remove and let drain on metal rack or paper towel. Serve hot with your choice of garnish. I like them plain, but some of my kids enjoy ketchup.
There are three things I want my children to know how to cook well: Rice, fried onions, and eggs. It seems silly, I know, but these three simple recipes are often easily messed up and can be tricky at times. Today, I’m making basmati rice. I learned this method from my mother-in-law and have made it this way for many many years. Here’s how you do it: First, rinse and soak your rice. This is optional, but rinsing your rice is good practice to remove arsenic and other pesticides or chemicals. If you are using an organic basmati rice, you can skip rinsing, but some rice connoisseurs swear by soaking. You can soak the rice for a few minutes to several hours. In a large pot, fill several cups of water. You are going to be boiling the rice like you would pasta. You’ll need a lot of water so the rice has room to move around. You’ll want to salt your water and wait to put the rice in until the water is boiling. Drain the rice of any excess water and add it to the boiling water. If you cover your rice to bring it back to a boil, watch it! It will boil over. After 8-10 minutes check your rice. If it is firm, but soft. It’s done! If it’s still hard, give it another minute or two. Drain the rice thoroughly and add it back to the pan. You can leave it with no heat or you can put the stove on the lowest temperature setting for just a few minutes. Sprinkle saffron and salt over your warm rice and drizzle with olive oil and grapeseed oil. Give your rice about 5-10 minutes to rest before tossing it and serving it. Troubleshooting tips: Make sure you have enough water so the rice and move around. If your rice is too soft, quickly rinse it with cold water to stop the cooking process. If you drained the rice too early, put it back on the stove, cover it and put the temperature on low. Watch it for 3-5 minutes. The rice should soften up. If your rice is too soft, drain it and put it back on the stove with NO heat. Leave it uncovered and let it sit for 10-15 minutes. It won’t be perfect, but it will allow the water to evaporate. Pair this rice recipe with keema!
I made a huge batch of shami kebabs! You can cut this recipe down quite a bit, but whenever I make these, because they are so labor intensive to begin with, I make a huge batch and freeze them for easy meals. The trick is freezing them flat as kebabs so they freeze easily (once par-frozen on a sheet pan, I place them in a freezer bag), and defrost easily (and quickly) making them great for those days when we haven’t planned a meal. Shami Kebabs: 5 pounds lamb stew (cooked in pressure cooker for 40-50 minutes) 5 russet potatoes (peeled) (cooked until soft) 1 cup garbanzo beans (soaked with water and baking soda for at least 1 hour and cooked on high pressure for 1 hour) 1 cup red lentils toasted on stove until 1-2 brown, then let cool and blend to a flour in blender 2 large onions diced and sautéd 2 heads of garlic and equal amount ginger, ground to a paste spice mix: salt and pepper to taste, cayenne pepper and/or chilis to taste, 5-8 black cardamom (just the seeds), 10 green cardamom (just the seeds), 3 tablespoons coriander, 2 teaspoons cumin seeds, 1 tablespoon black seeds, 1-2 tablespoons fenugreek seeds, 1 teaspoon of ajwain seed Instead of using all the spices separately, I recommend a shami kebab spice mix. Or, to make it more simple, just use cumin and coriander along with salt and pepper to taste making it as spicy as you wish. 5 eggs lightly beaten Once all ingredients are cooked and a bit cooled, mix them together with raw eggs. Form into patties and fry until golden brown. Serve with lentils and rice. Freeze kebabs flat then transfer to freezer bag.